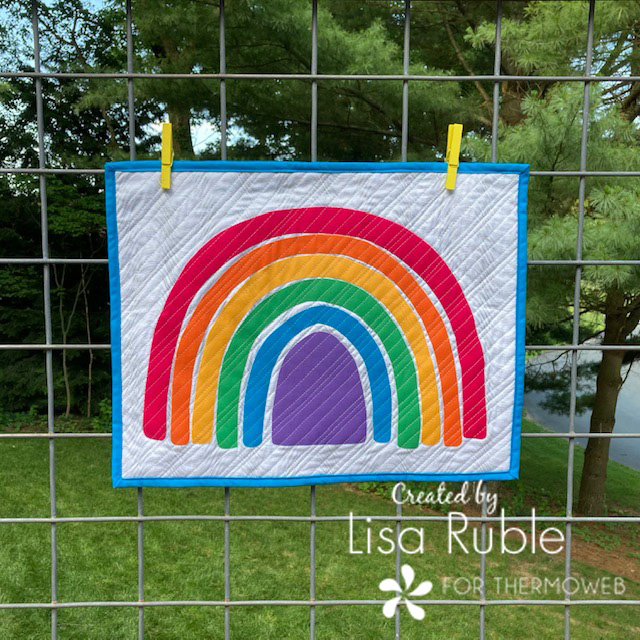
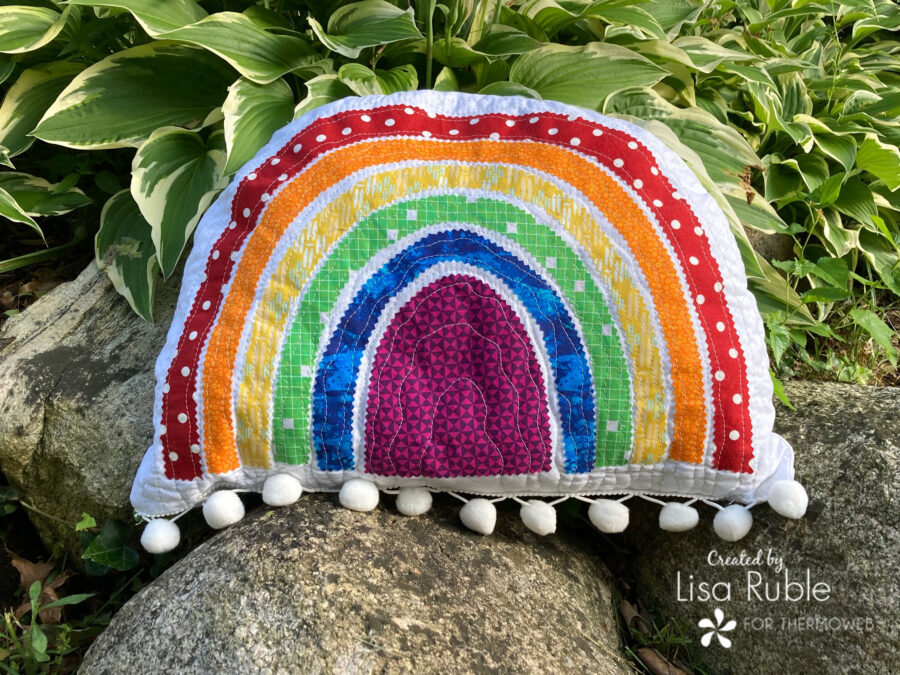
Don't you just love a great rainbow? I know I do! I had so much fun creating this fusible rainbow project that I made two different versions of it. I had so much fun digging through my fabric scraps to pick the "perfect" rainbow colors, and when I added on the pom-pom trim, I knew it was the cherry on top!
 You'll Need:
1/2 yard white on white fabric for background and backing
12" x 16" piece of red fabric
11" x 14" piece of orange fabric
10" x 13" piece of yellow fabric
9" x 11" piece of green fabric
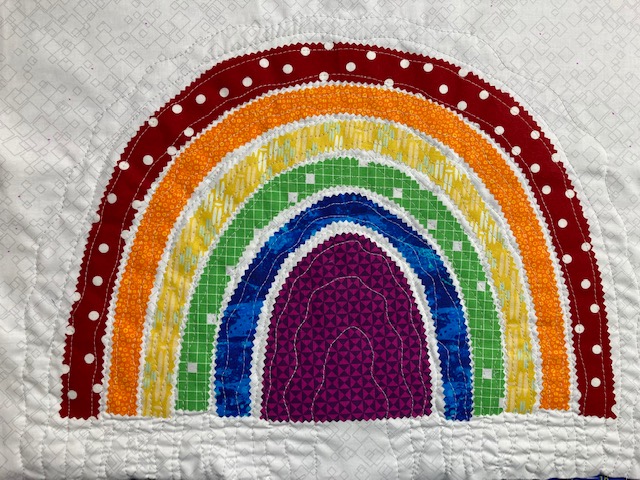
7" x 9" piece of blue fabric
6" x 7" piece of purple fabric
1/2 yard white pom-pom rim
HeatnBond Lite Iron-On Adhesive
HeatnBond Fusible Fleece
HeatnBond Lite 5/8" Iron-On Adhesive Tape
Pressing Paper
Fiberfill
Fabric marking pen
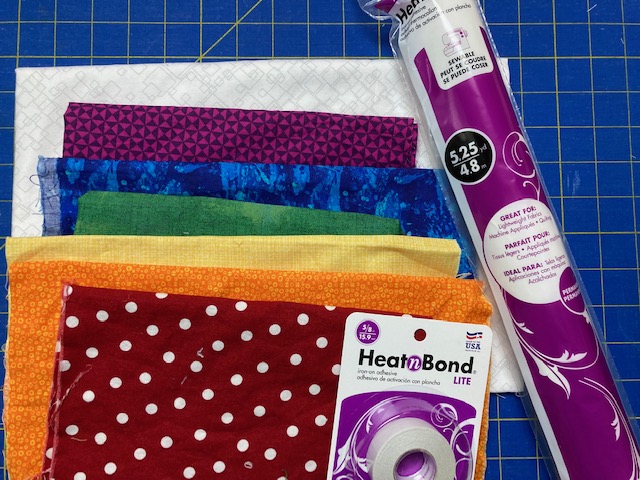
My supplies:
Cutting:
From the white on white fabric:
(2) 14" x 18" pieces
From the Fusible Web:
(2) 12" x 16" pieces
Download the template pages here. Note that the templates are intended to be freehand-style and imperfect--feel free to add your own personality to the arcs as you trace them, including rounding the bottom corners!
![]() Let's get started!
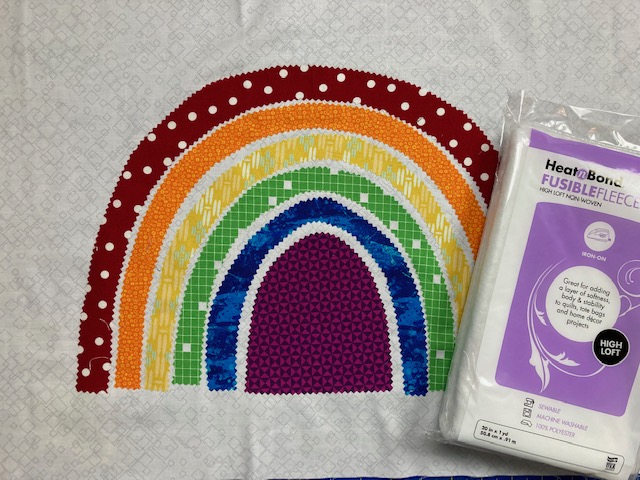
Note: You'll see both my solid and scrappy Rainbow-licious version in my step-by-step photos so you can see how the straight cutting versus pinking shears cutting looks.
Step 1
Let's get started!
Note: You'll see both my solid and scrappy Rainbow-licious version in my step-by-step photos so you can see how the straight cutting versus pinking shears cutting looks.
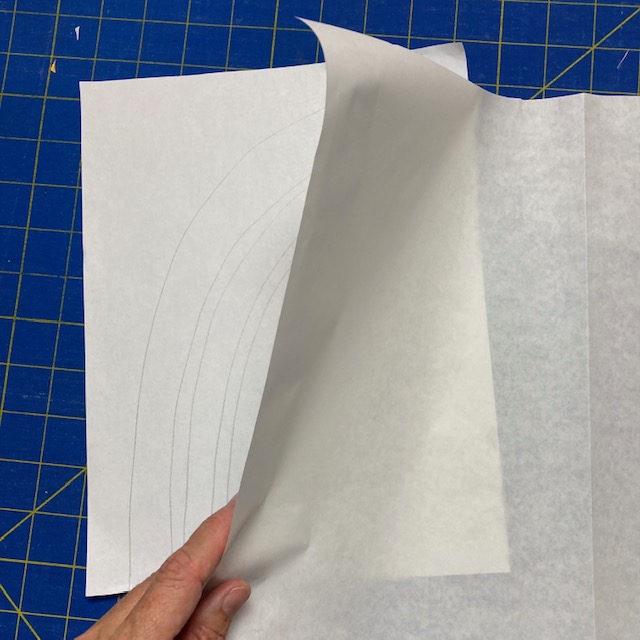
Step 1 Print out the template pages and follow directions to join the rainbow top and bottom for each arc. Note that the templates are only half of the rainbow—you’ll need the mirror image as well. Trace the six rainbow arcs onto the paper side of Iron-On Adhesive, tracing red, yellow, and blue onto one sheet and orange, green and purple onto the second sheet—this allows you to have the needed 1/4” past each arc. Label each arc so you know what color it should be fused to.
[tooltip text="TooltipText"]
Tip: I folded the Iron-On Adhesive piece in half, paper side out, traced the half arcs, and then flipped the folded piece over and traced the mirror image through the two layers of Iron-On Adhesive.[/tooltip]
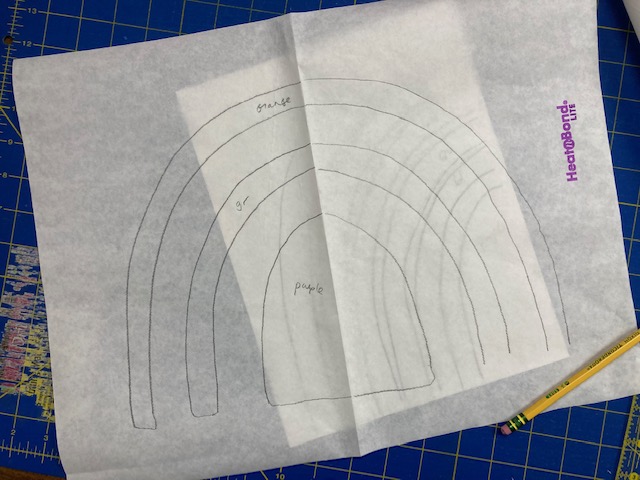
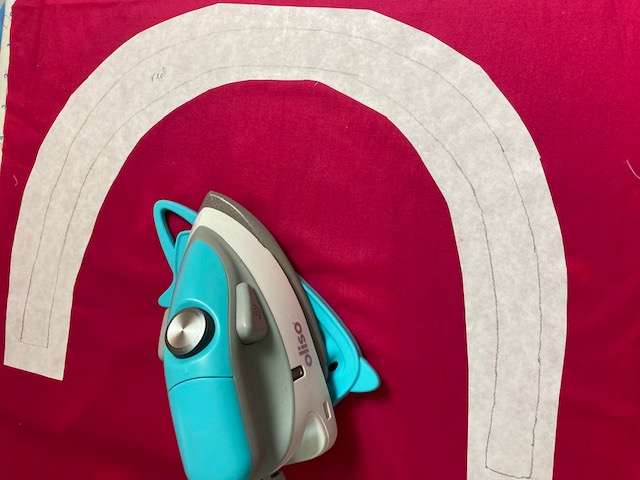
Step 2 Cut out each arc at least 1/4” beyond the drawn shape. Fuse each arc to the indicated fabric. Cut out each arc on the drawn line, using either regular scissors or pinking shears—your choice.
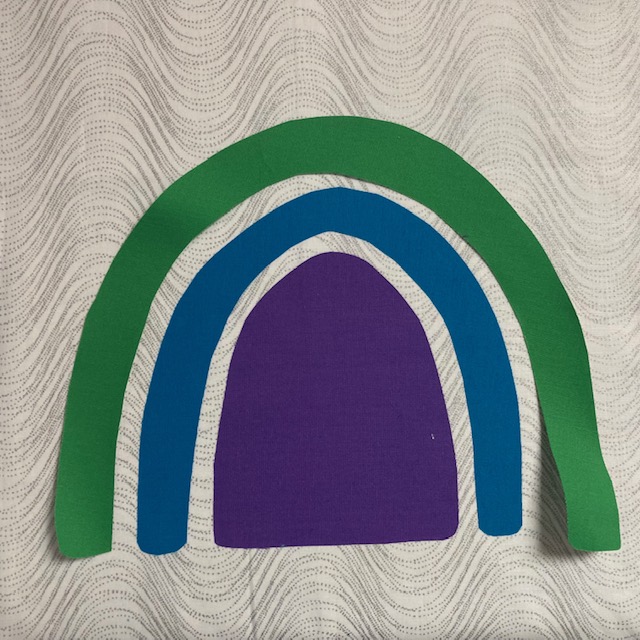
Step 3 Fold the white background piece in half and finger press to mark the center so your rainbow is centered. Remove the backing from the purple arc and position it centered from left to right on the white background piece, 2” up from the bottom edge. Fuse in place.
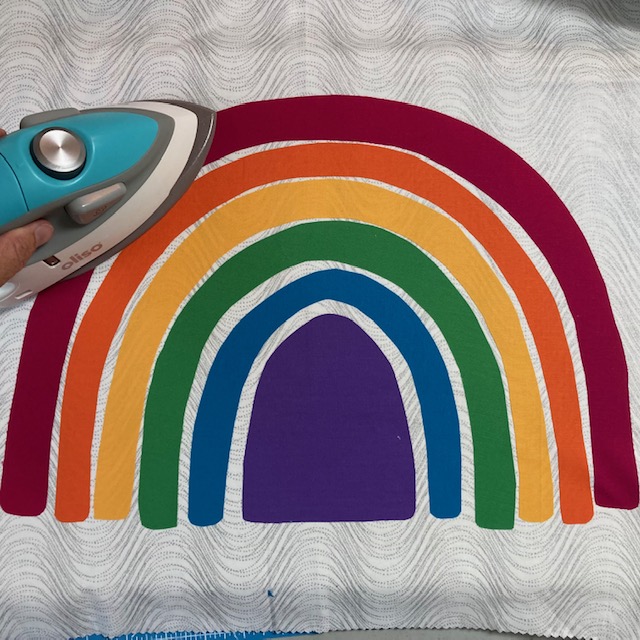
Step 4 Repeat with remaining rainbow arcs, leaving white space between each.
Step 5 Adhere HeatnBond Fusible Fleece to the wrong side of the white rectangle.
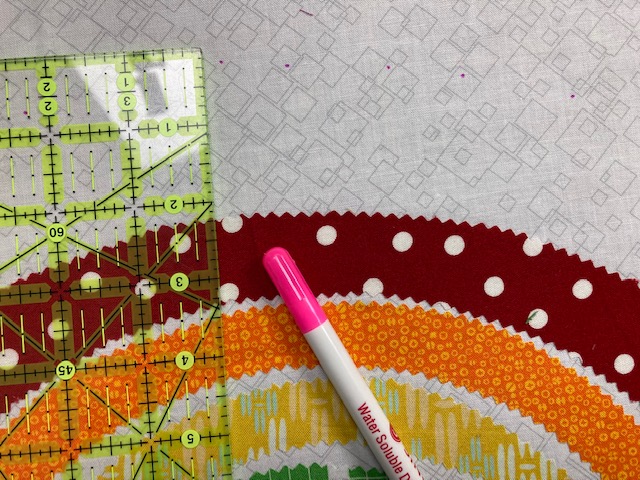
Step 6 Using a ruler, measure 2” out from the red/pink rainbow edge and mark with a fabric pen, creating a loose outer arc shape.
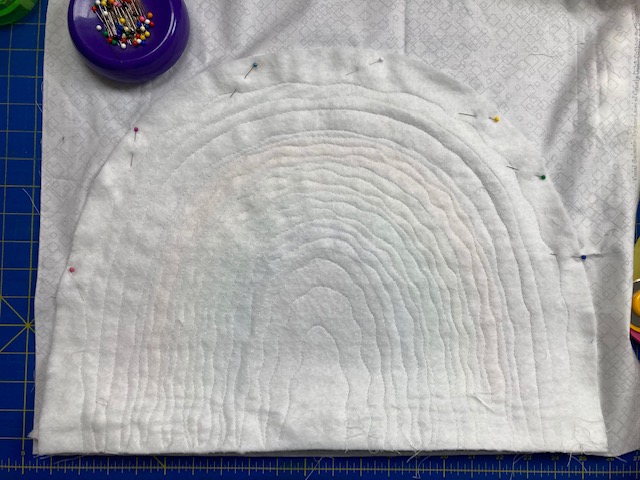
Step 7 Machine quilt the rainbow, including the 2” background area beyond the red/pink arc. Make sure your machine quilting extends to the bottom edge of the fabric.
Step 8 Cut the rainbow shape out on the marked line to create a rough semi-circle shape. Cut a length of HeatnBond Lite Iron-On Adhesive Tape and pom-pom ribbon the same length as the straight edge of your rainbow.
Step 9 Apply a strip of 5/8” wide HeatnBond Lite Iron-On Adhesive Tape along the bottom straight edge, using a pressing sheet as you fuse.
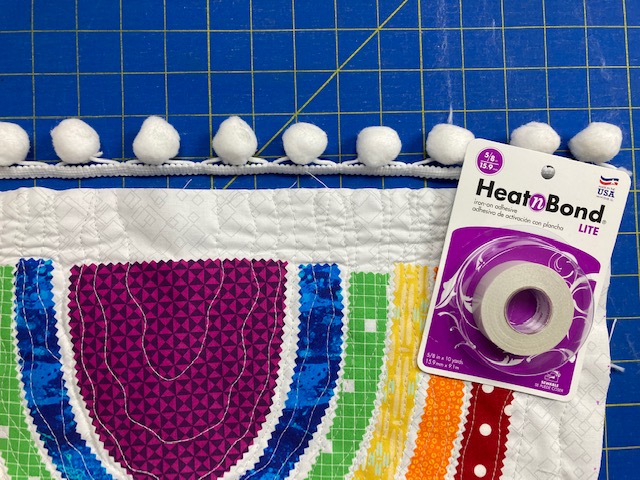
Step 10 Peel off the tape and position a length of pom-poms on the fused edge. Using a pressing sheet, slowly and carefully adhere the pom-pom ribbon edge to the bottom of the rainbow, with the pom-poms pointed up toward the rainbow and the ribbon edge aligned with the fusible edge.
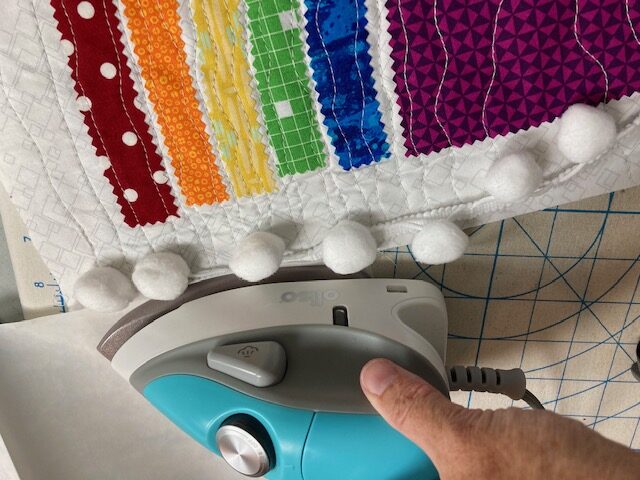
Step 11 Layer the rainbow shape right sides together on the backing piece and pin to secure. Pin extensively along the pom-pom edge to help hold balls out of the way. Stitch around the outer edge of the rainbow, leaving a 6” opening along one curved side for turning. Be careful stitching along the pom-pom edge—the balls make it tricky, so sew slowly. Backstitch at the beginning and end of your opening.
Step 12 Turn right side out and stuff with fiberfill. Hand stitch the opening closed.
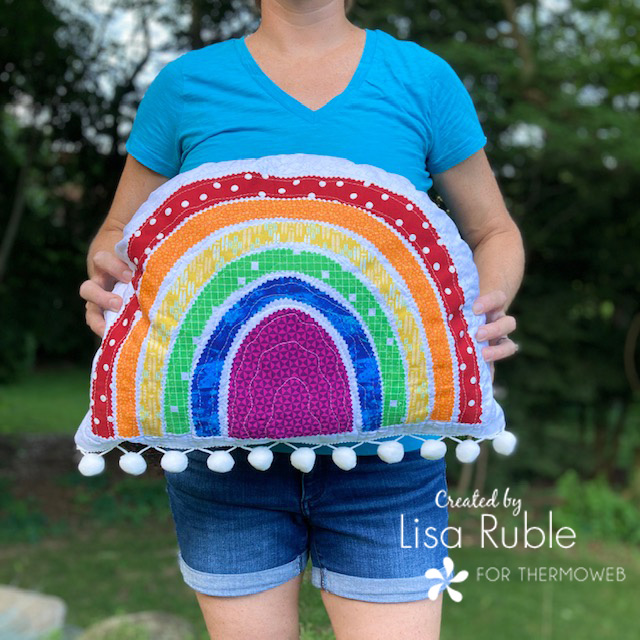
I hope you have as much fun making this Rainbow-licious pillow as I did!
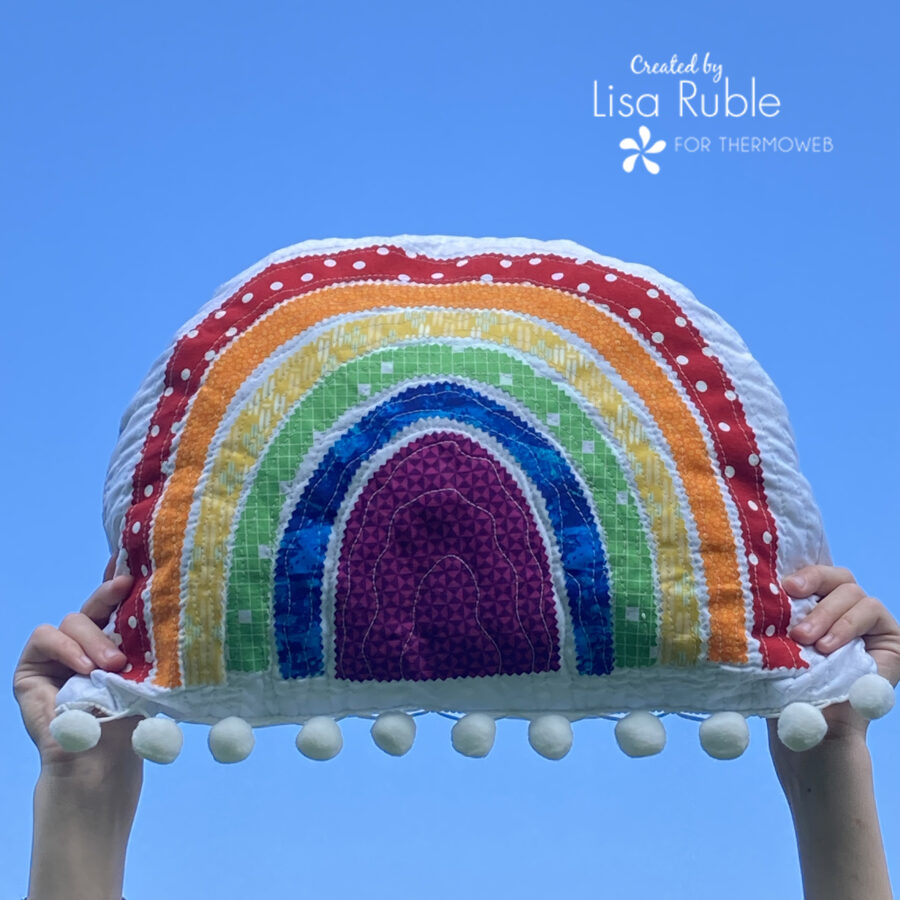
Here's my second version, and I'm sharing instructions on how to finish the rainbow as a mini quilt on
my blog, so stop on over!
Written by Lisa Ruble



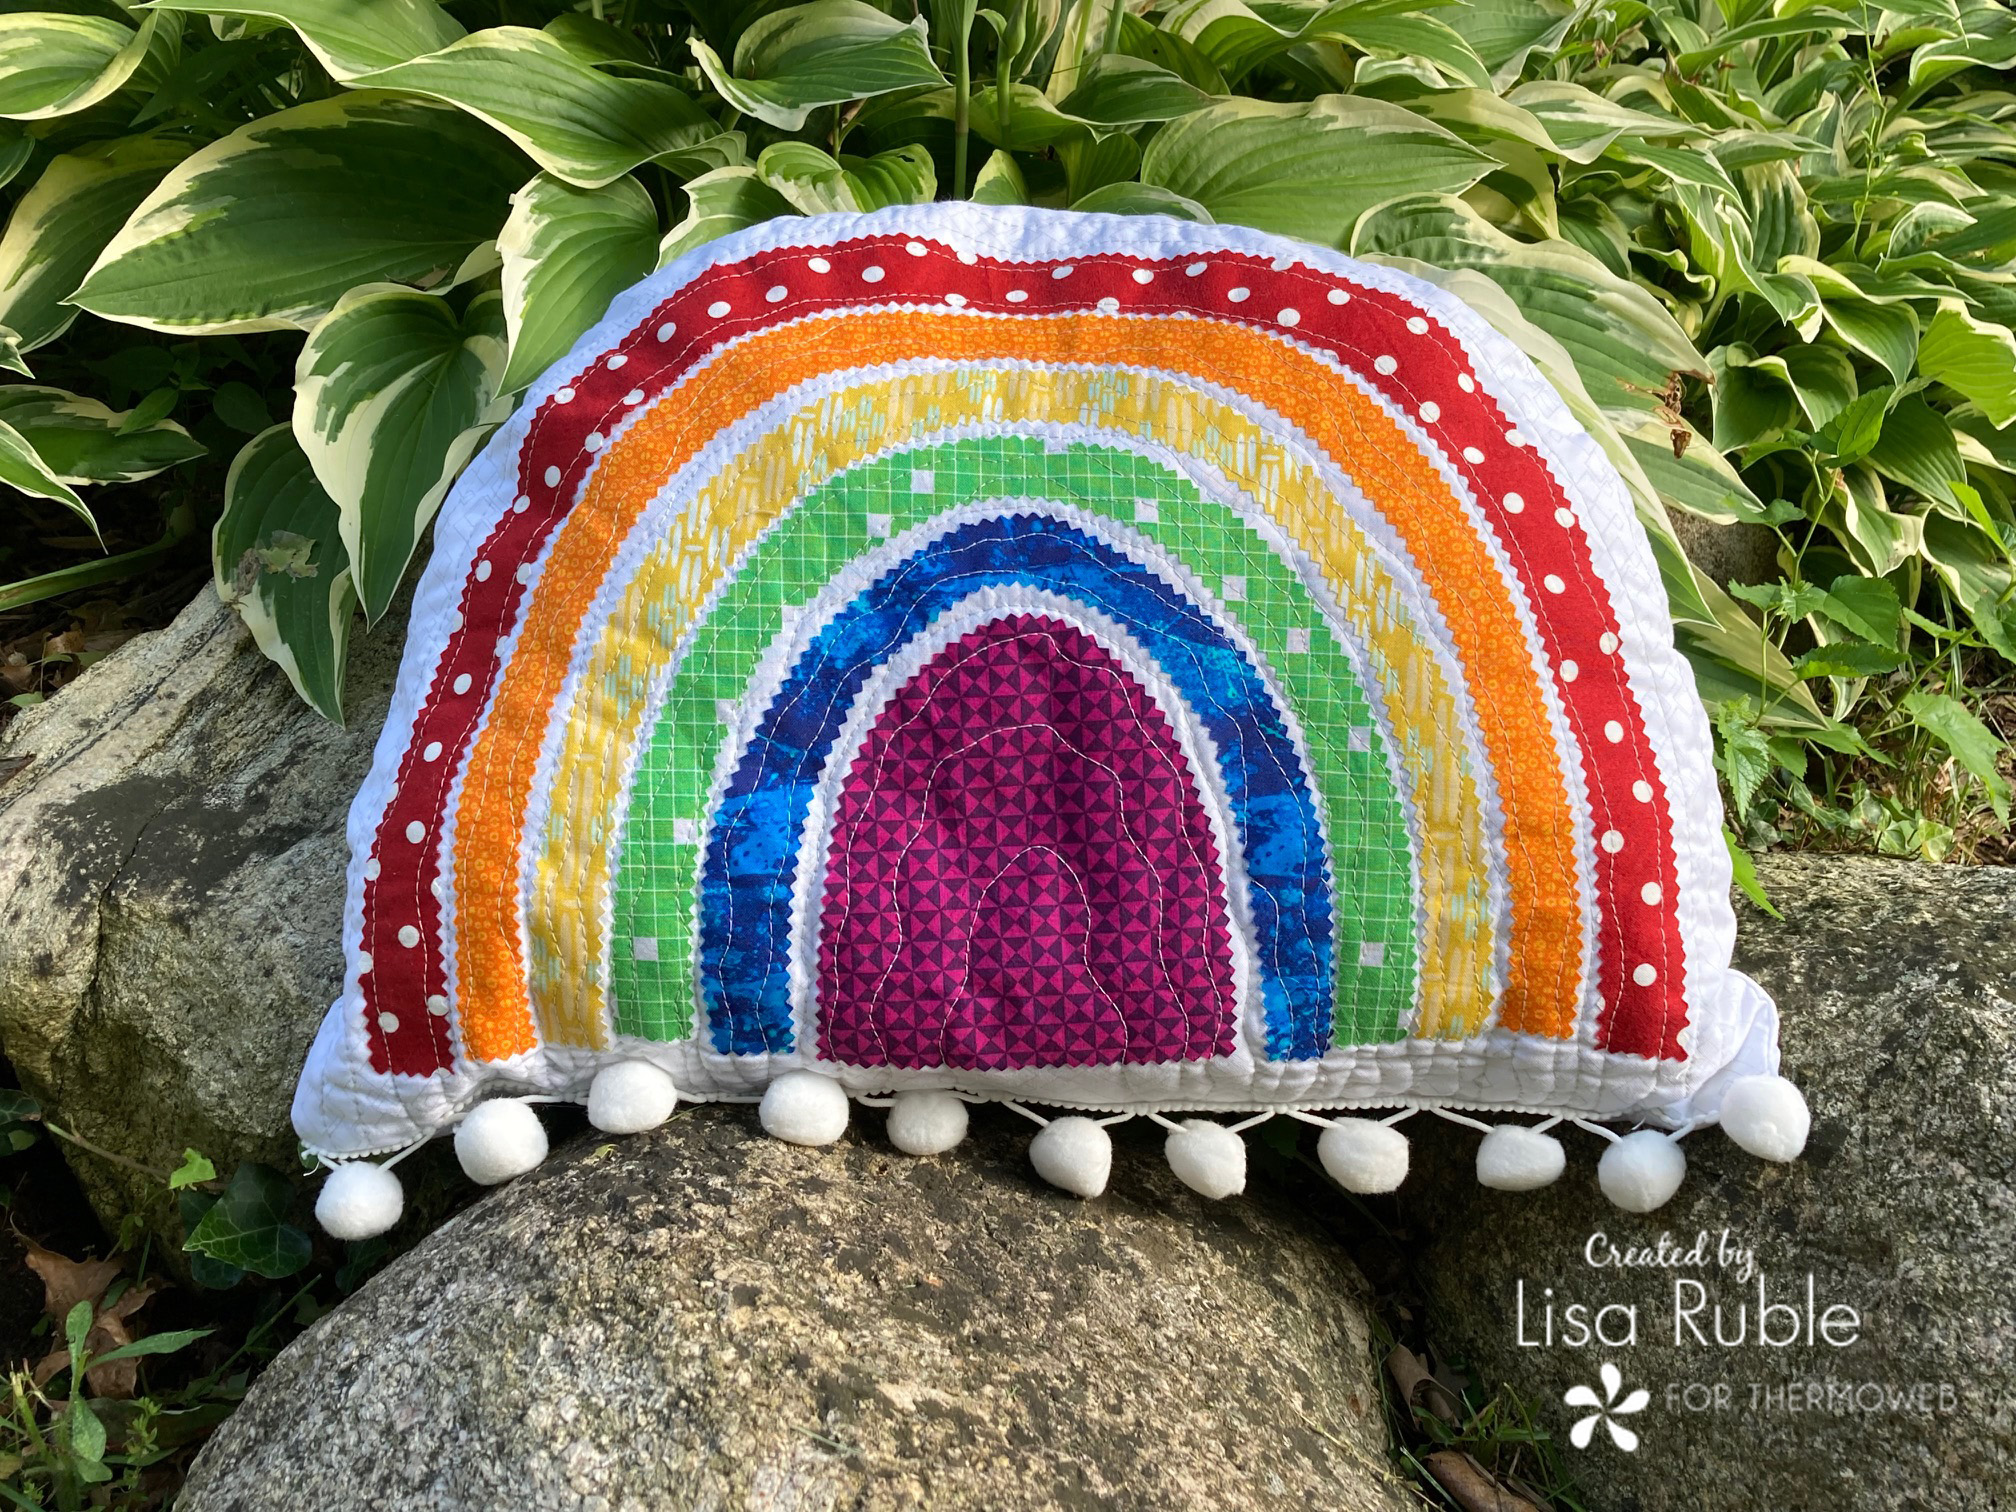 You'll Need:
1/2 yard white on white fabric for background and backing
12" x 16" piece of red fabric
11" x 14" piece of orange fabric
10" x 13" piece of yellow fabric
9" x 11" piece of green fabric
7" x 9" piece of blue fabric
6" x 7" piece of purple fabric
1/2 yard white pom-pom rim
HeatnBond Lite Iron-On Adhesive
HeatnBond Fusible Fleece
HeatnBond Lite 5/8" Iron-On Adhesive Tape
Pressing Paper
Fiberfill
Fabric marking pen
You'll Need:
1/2 yard white on white fabric for background and backing
12" x 16" piece of red fabric
11" x 14" piece of orange fabric
10" x 13" piece of yellow fabric
9" x 11" piece of green fabric
7" x 9" piece of blue fabric
6" x 7" piece of purple fabric
1/2 yard white pom-pom rim
HeatnBond Lite Iron-On Adhesive
HeatnBond Fusible Fleece
HeatnBond Lite 5/8" Iron-On Adhesive Tape
Pressing Paper
Fiberfill
Fabric marking pen
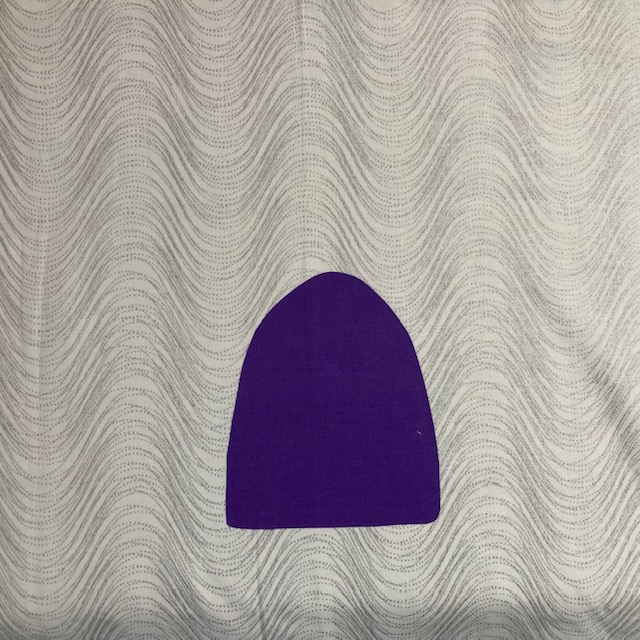
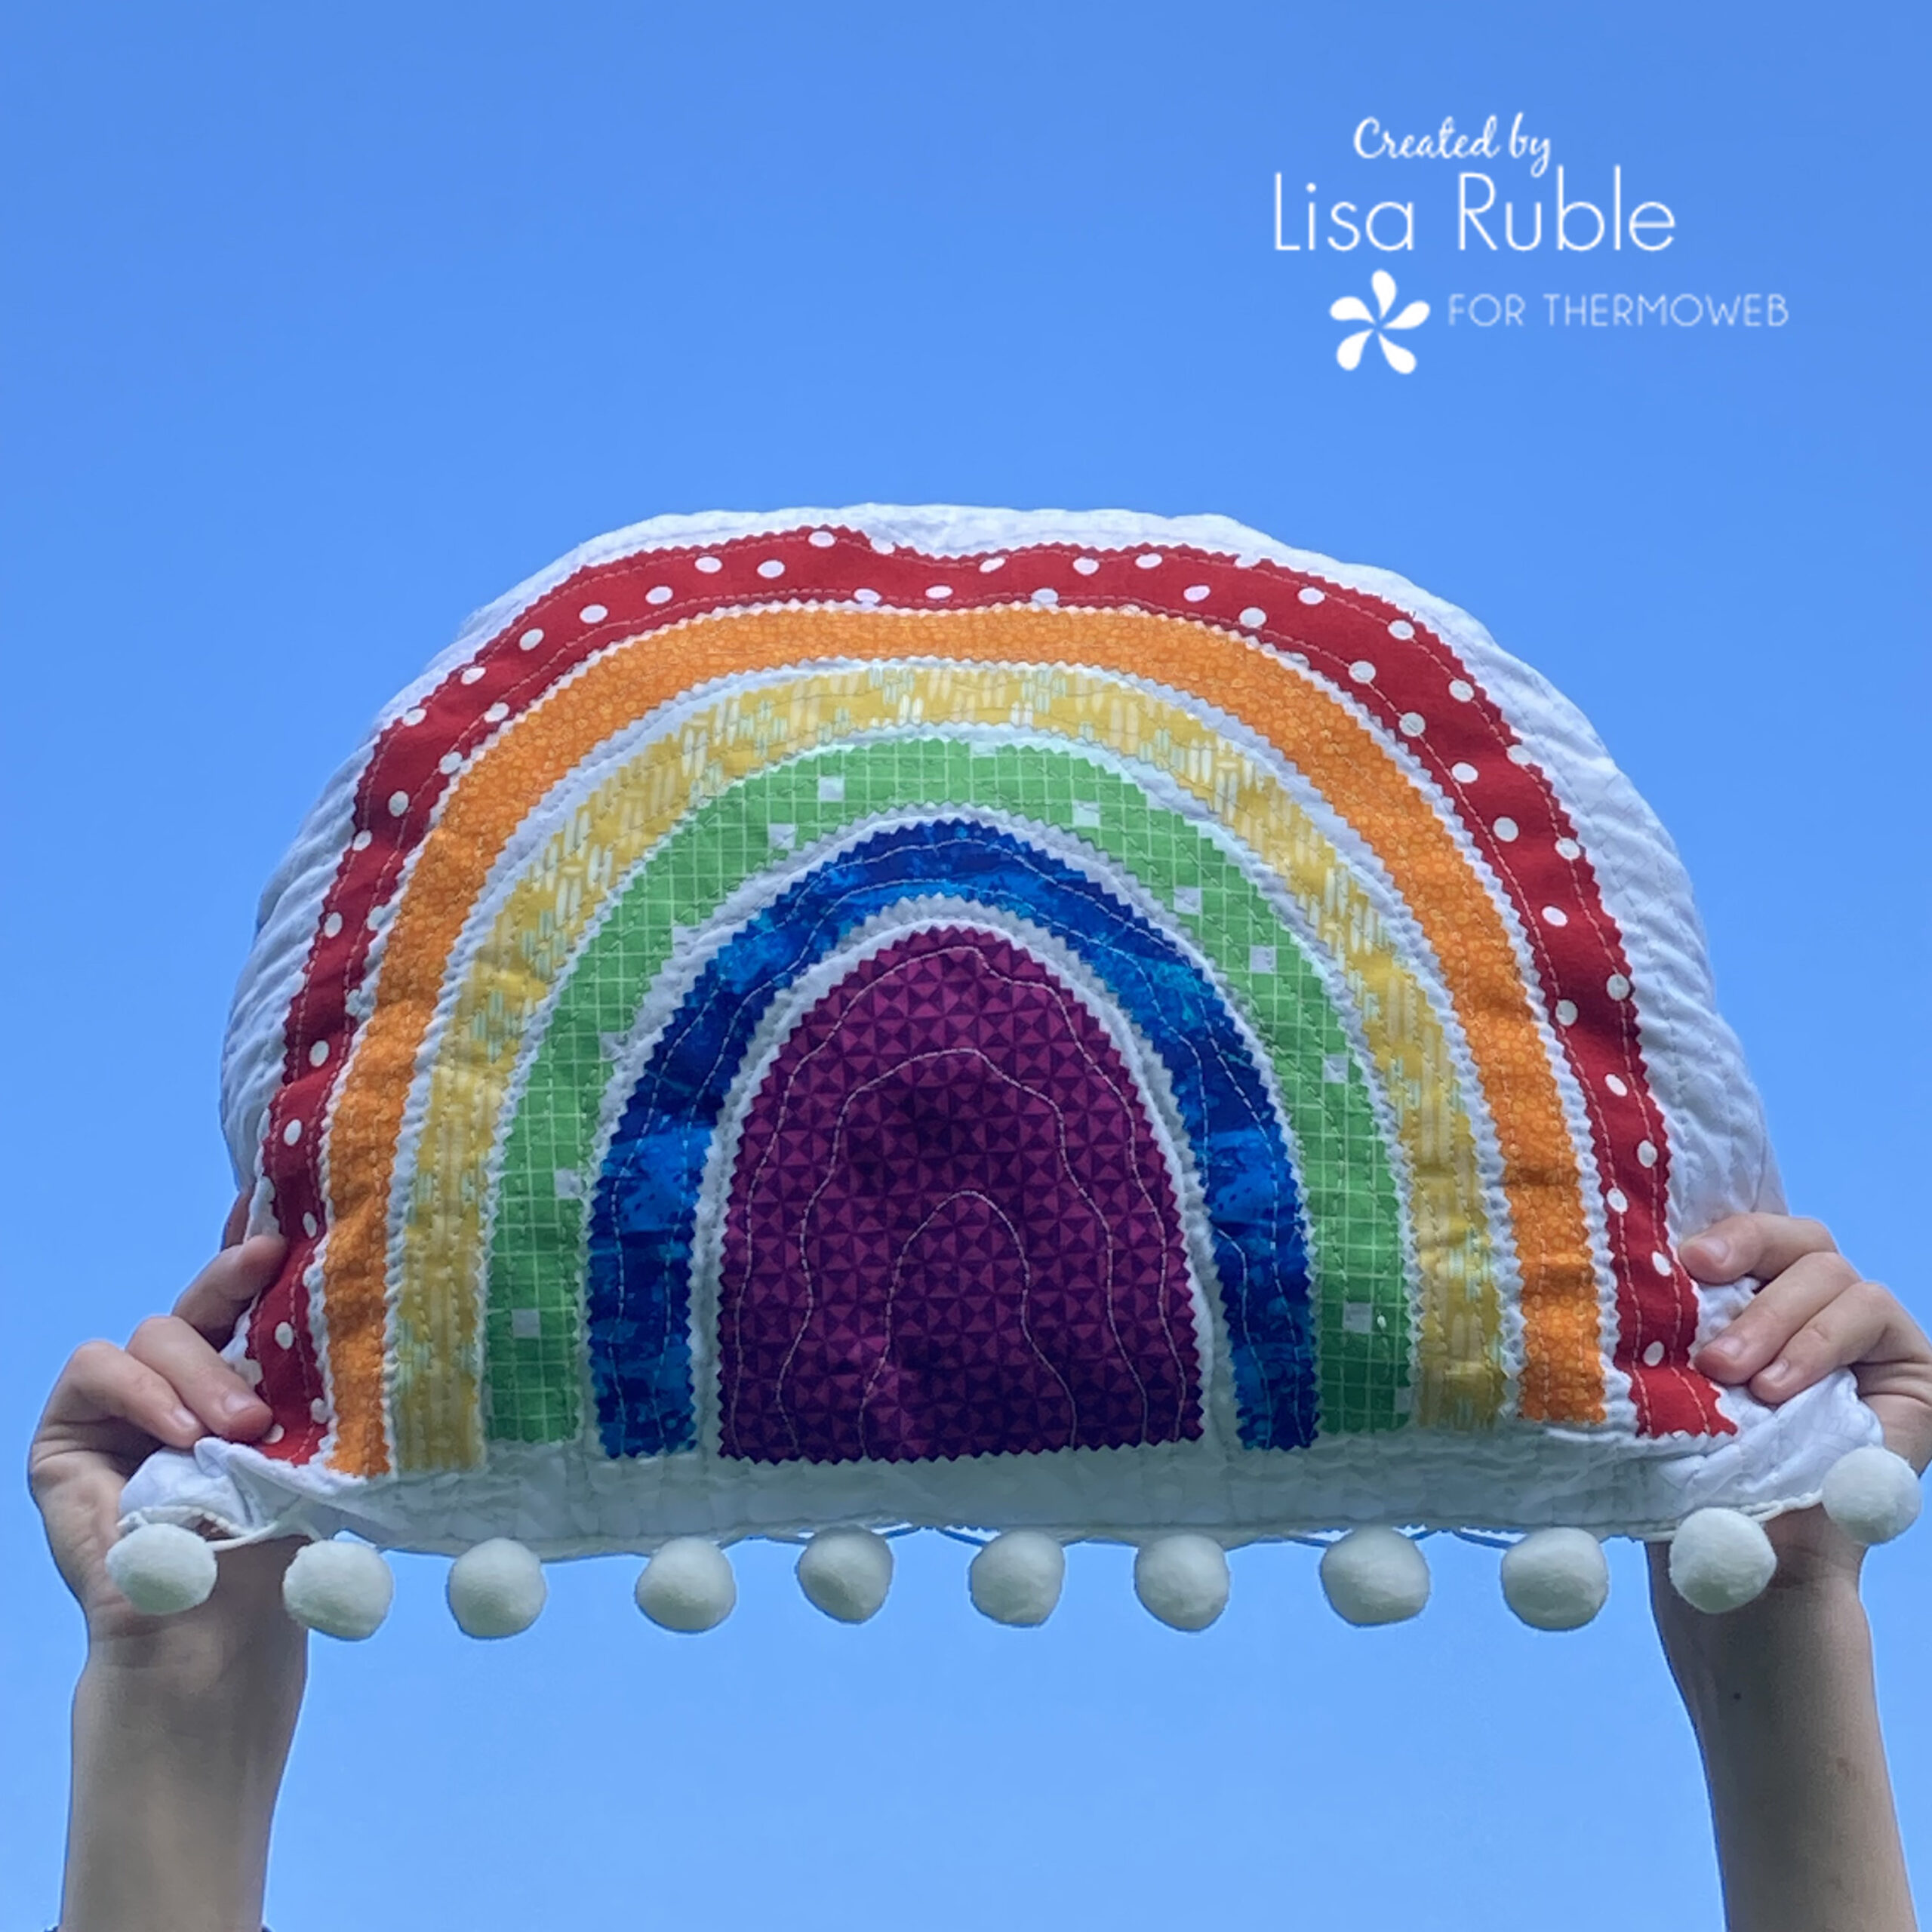 Here's my second version, and I'm sharing instructions on how to finish the rainbow as a mini quilt on my blog, so stop on over!