No Products in the Cart



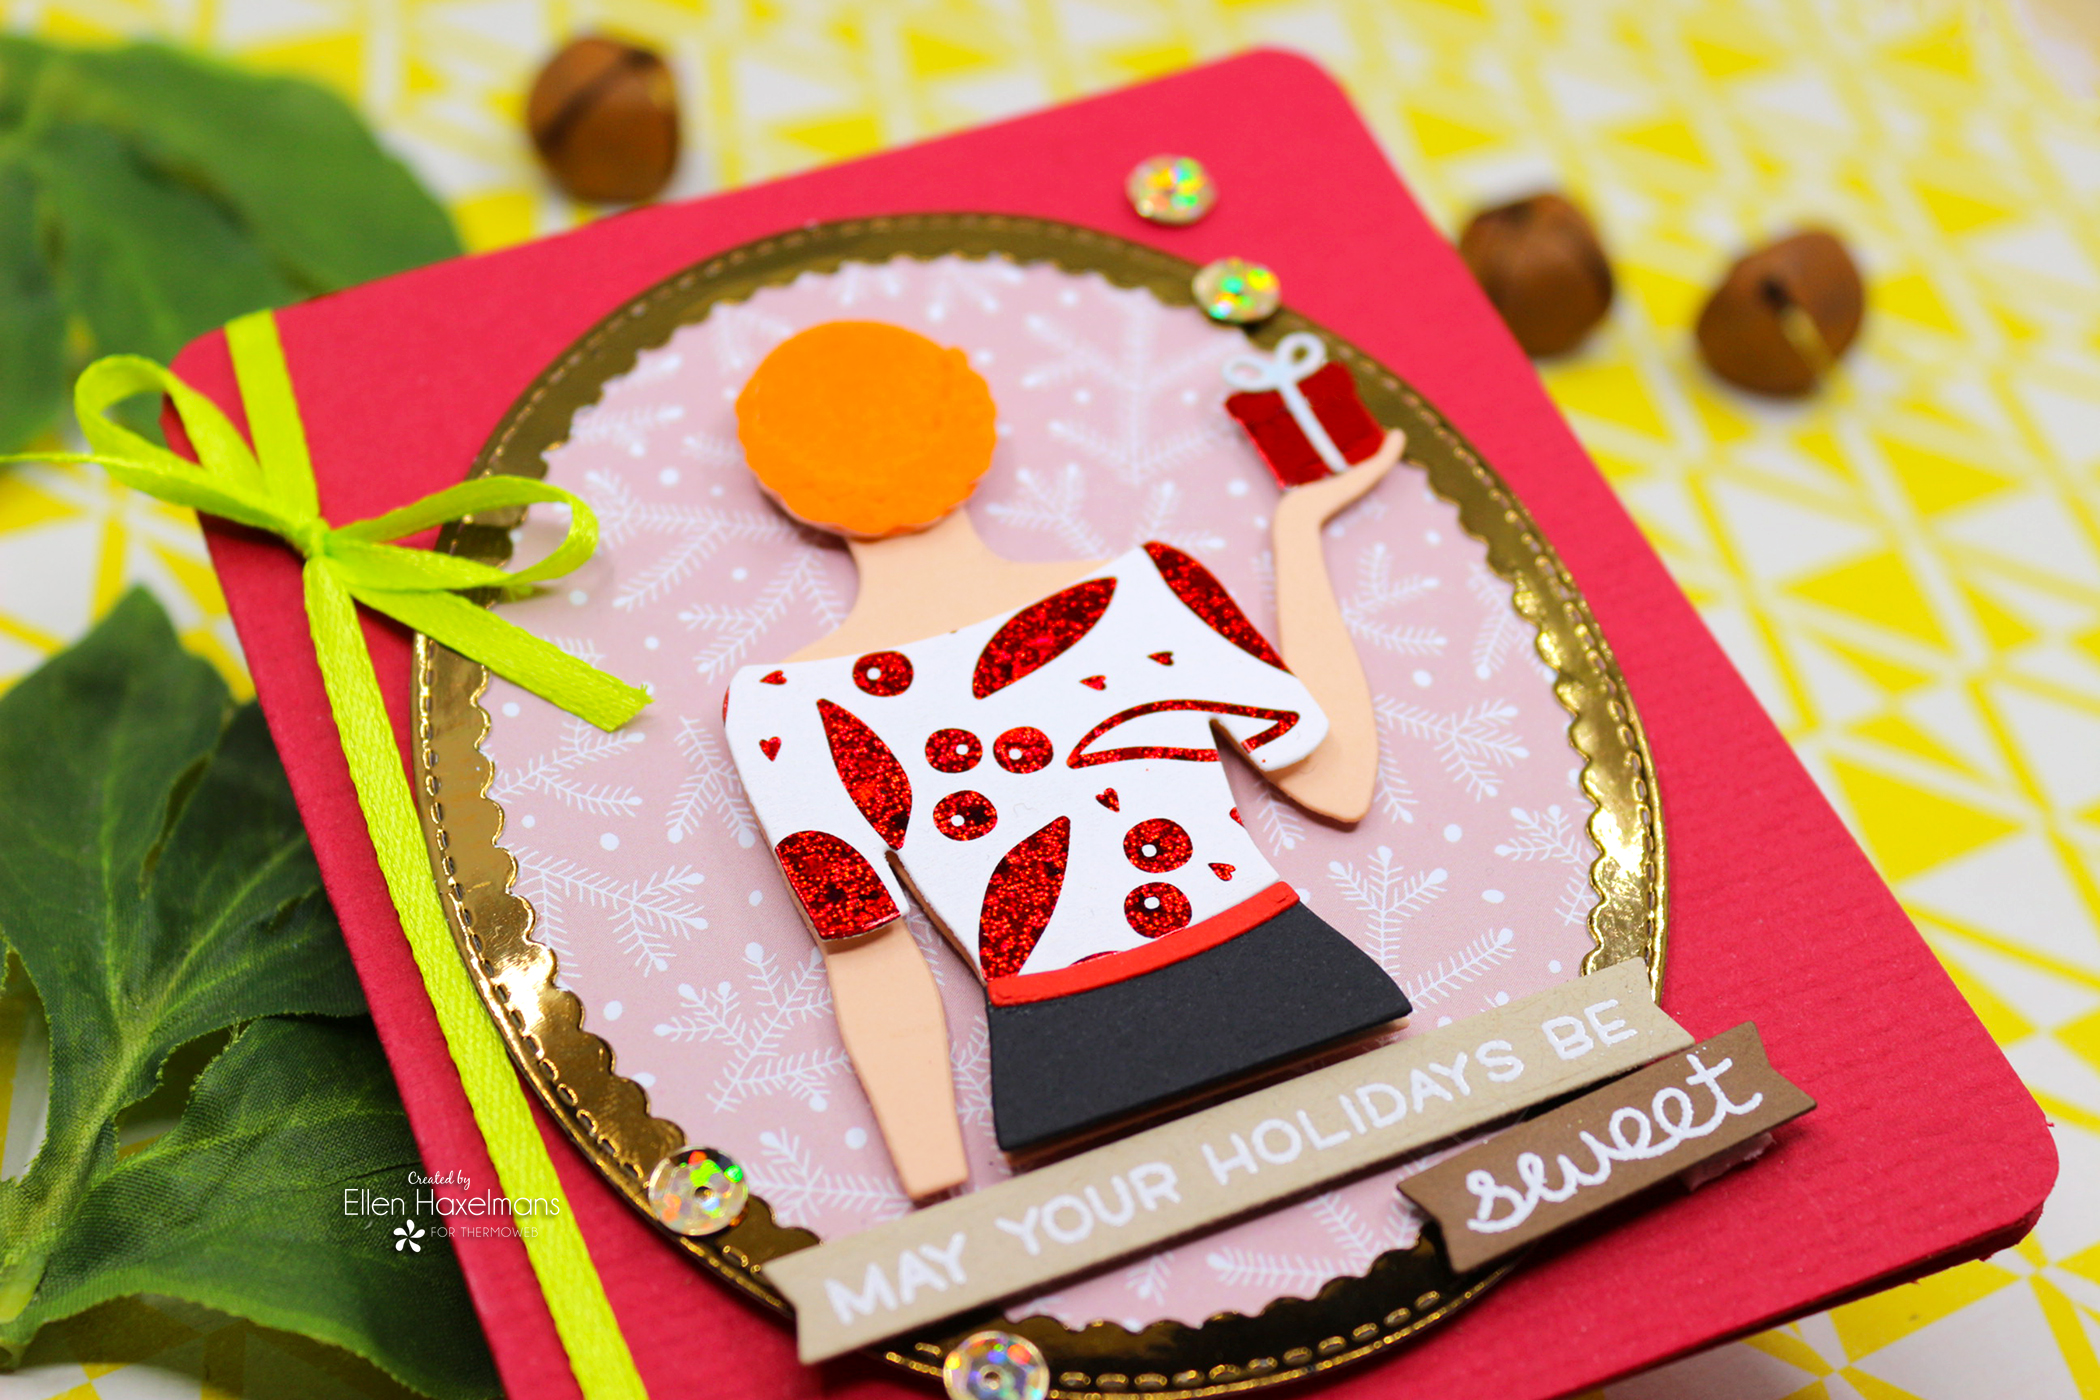
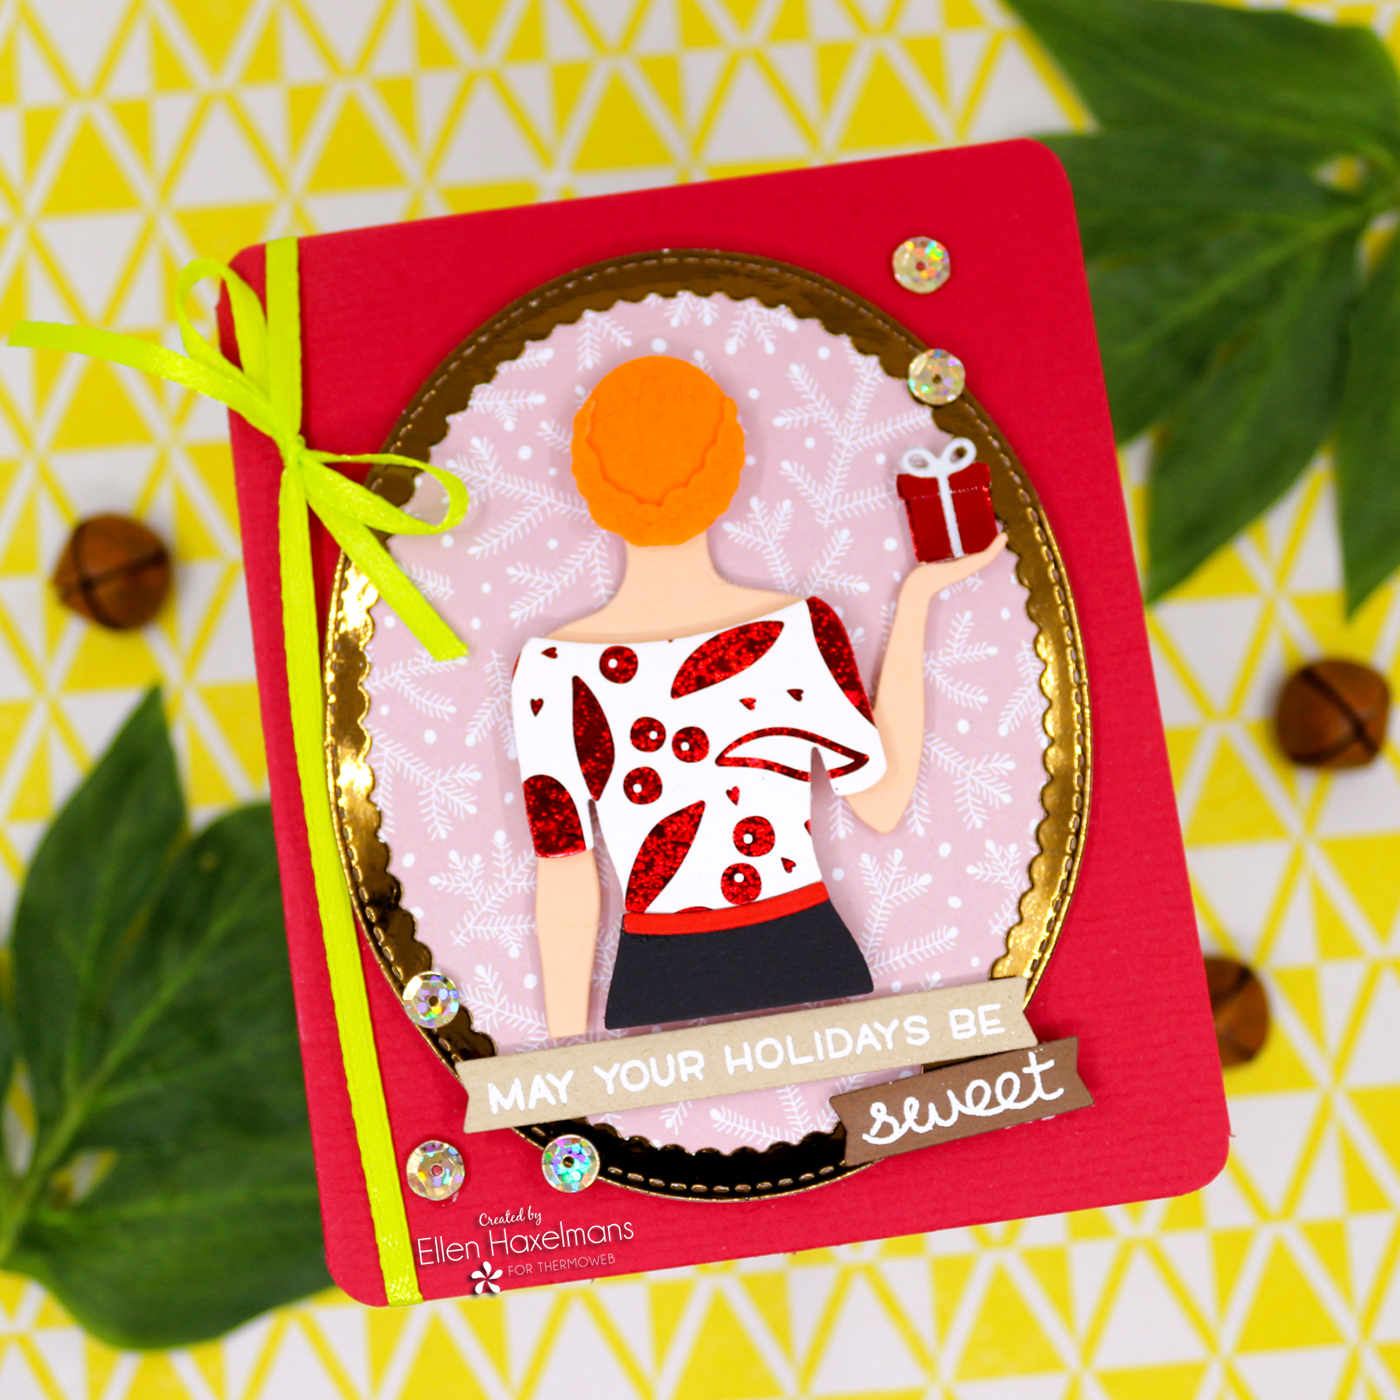
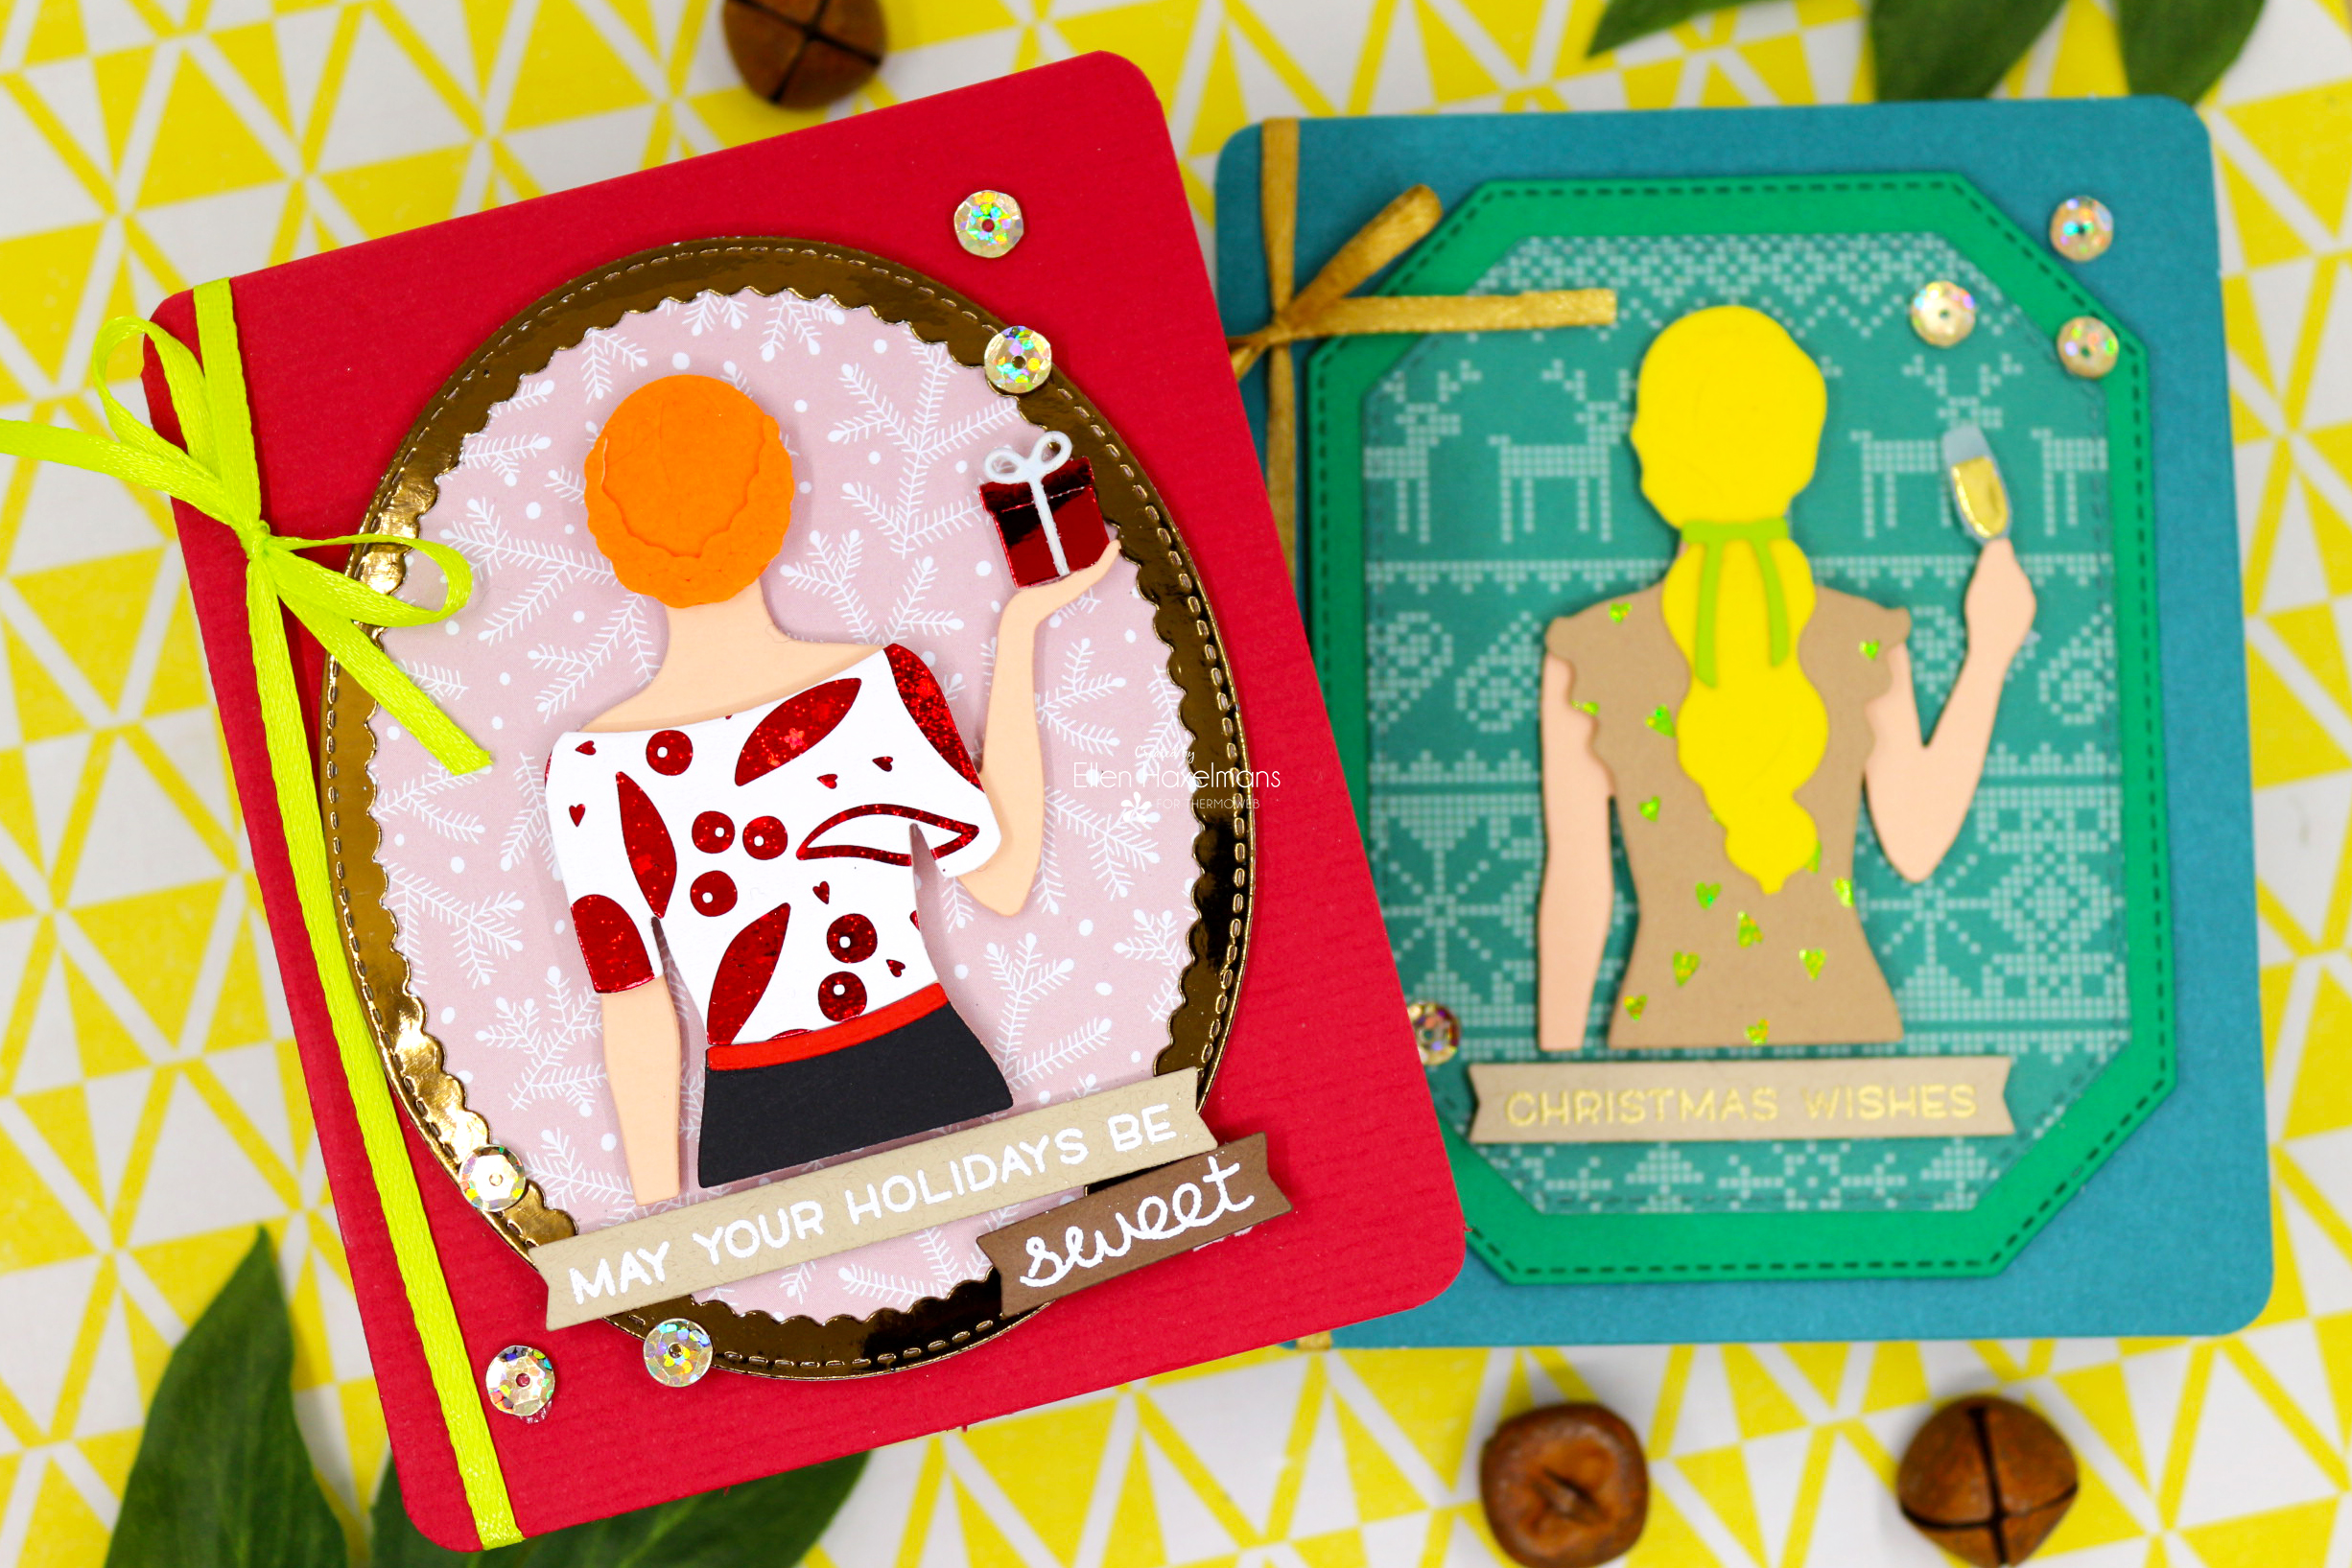 Below I will show a step by step tutorial.
 Let's start with how I applied all the foil.
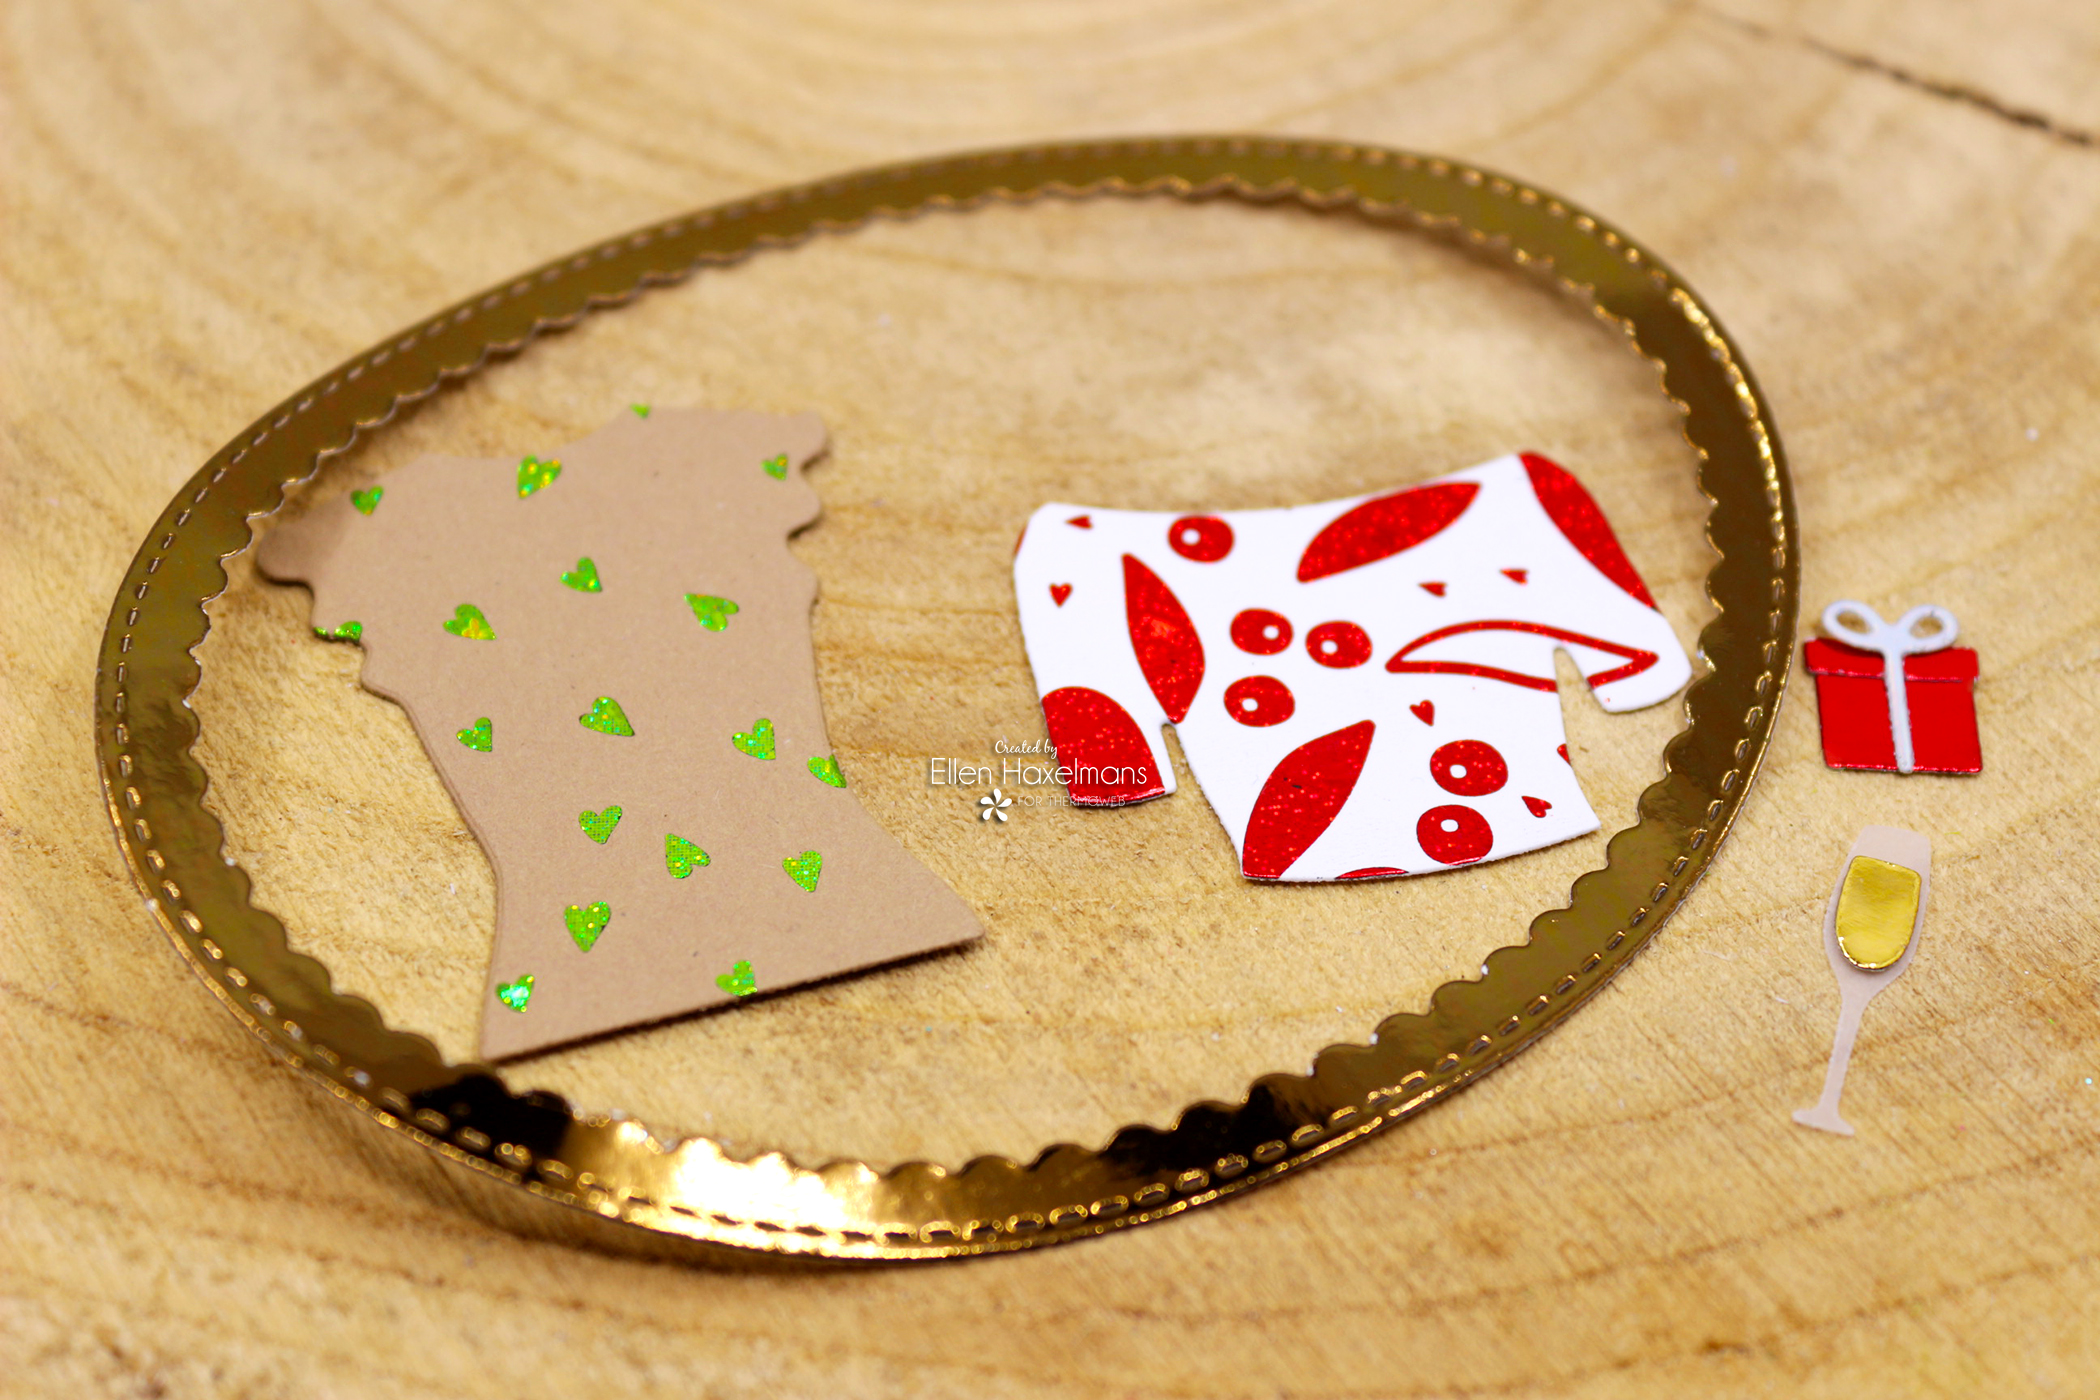
First, I choose the Toner Card Fronts ('Love Blooms', 'Dainty Hearts' and 'Solid Black'). wanted to use. Cut a piece of the Toner Card Fronts and the Foil (here I used Radiant Red, Glittering Green, Gold and Red) slightly larger than the dies you want to use. When you are ready, insert the sandwich in the folded carrier sheet (foil pretty/color side up). Than let it go true a hot Laminator. As last step let it cool off (when it cools down you get the most pretty results) and peel of the residu foil.
 Now that we have toner card fronts, we can cut them with our dies and use them.
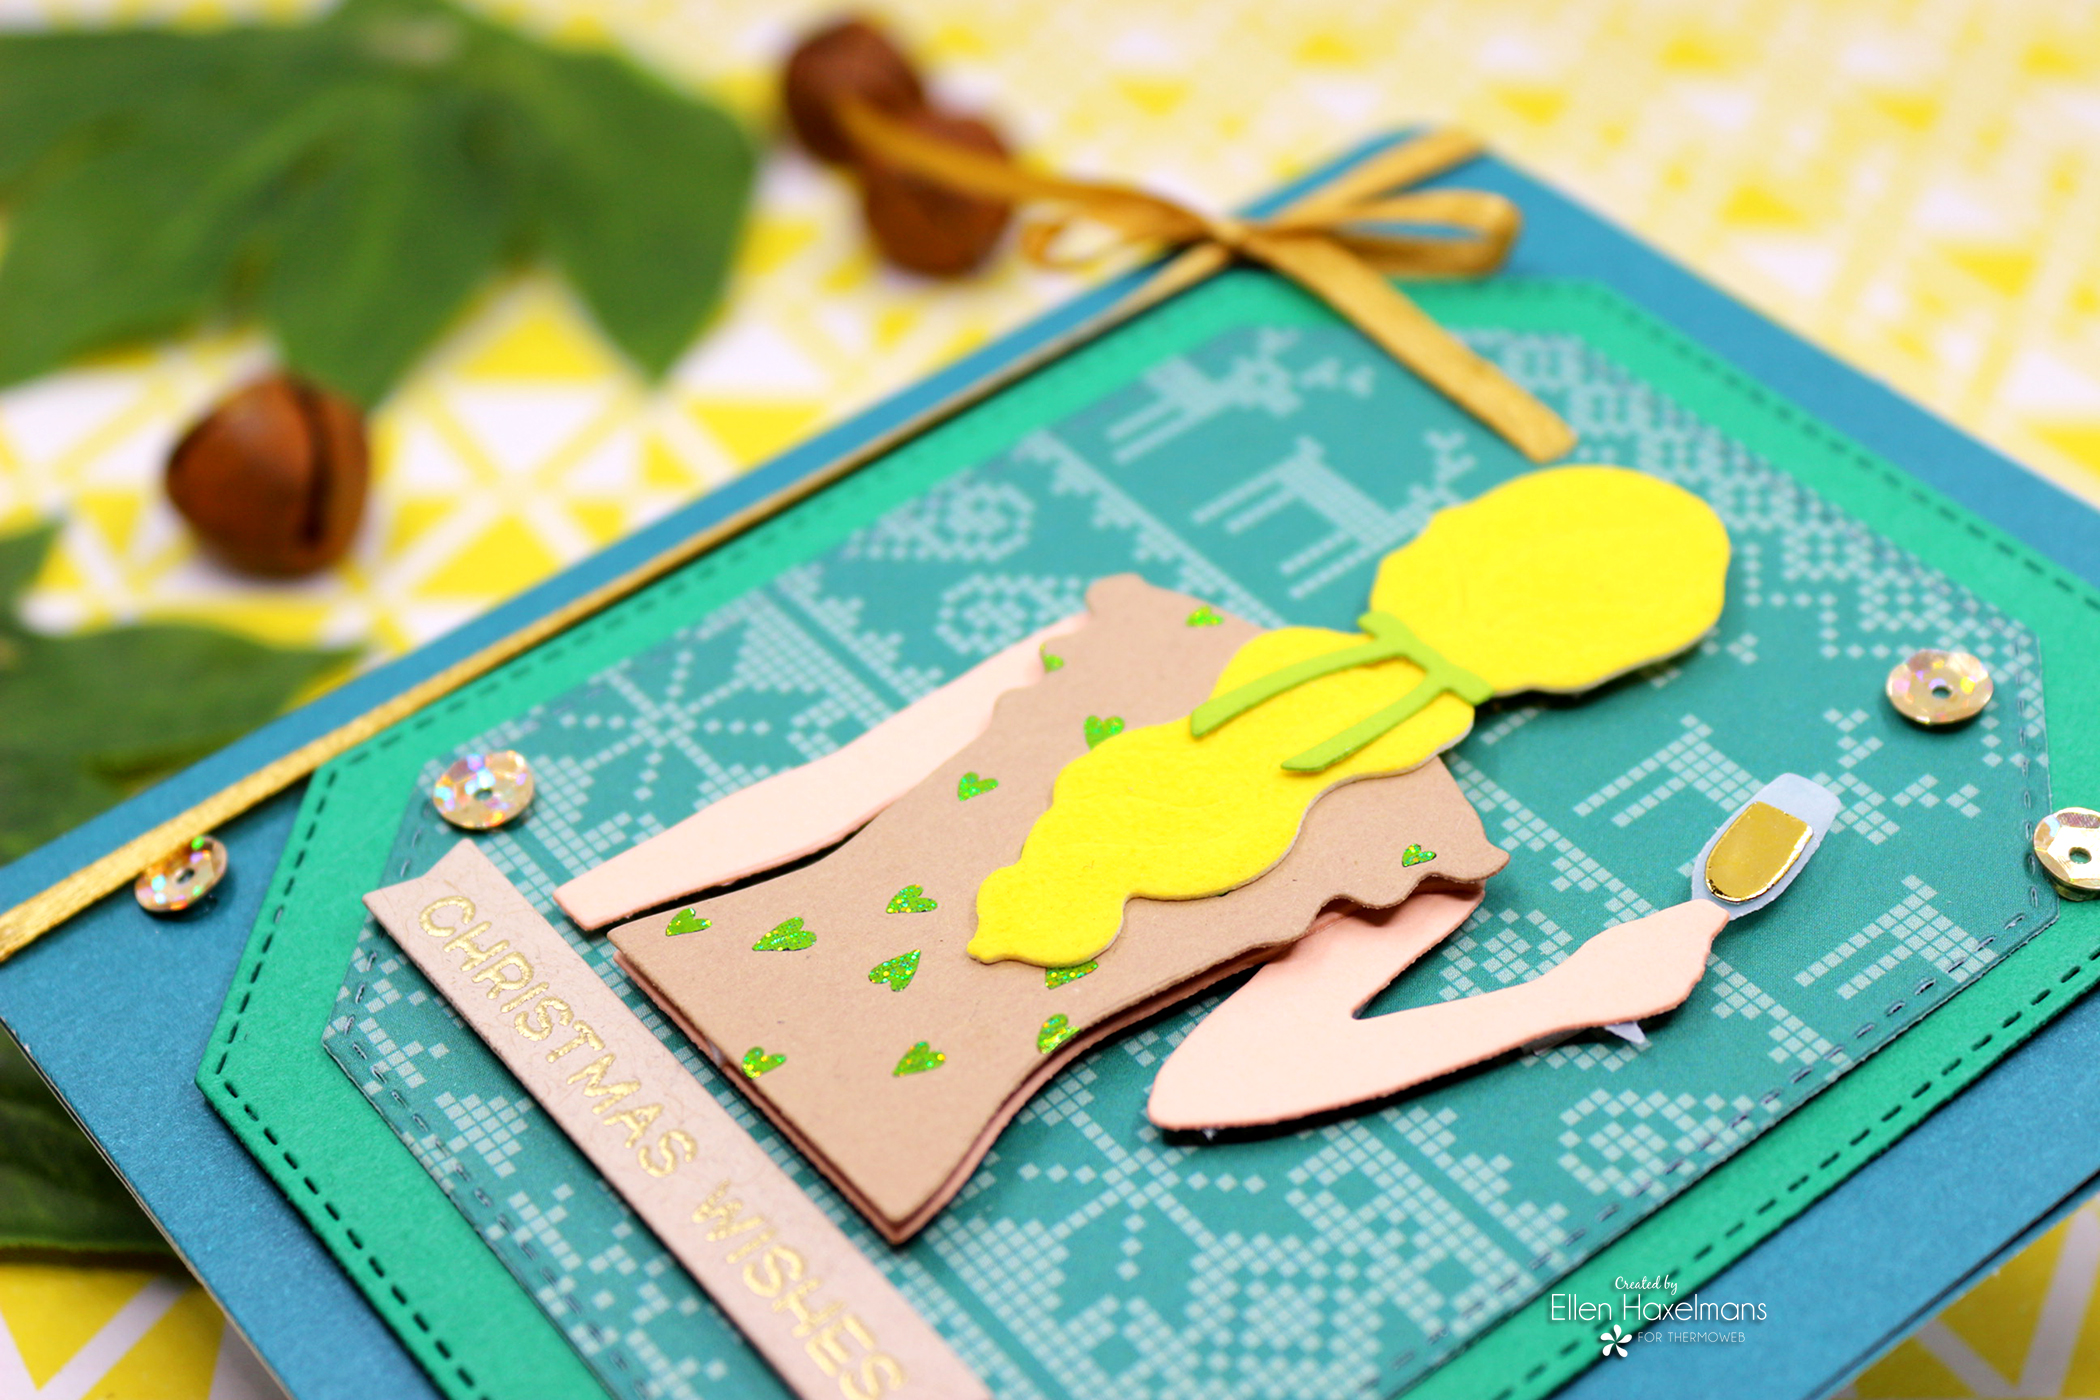 Foil is not the only thing we can use, but we also have Plush Papers. These paper add a velvety flock texture to any project (they are the better versions of Flock). In this blog post I still use flock, because I am curiously waiting for a package from the US wut the new Plush Papers.
 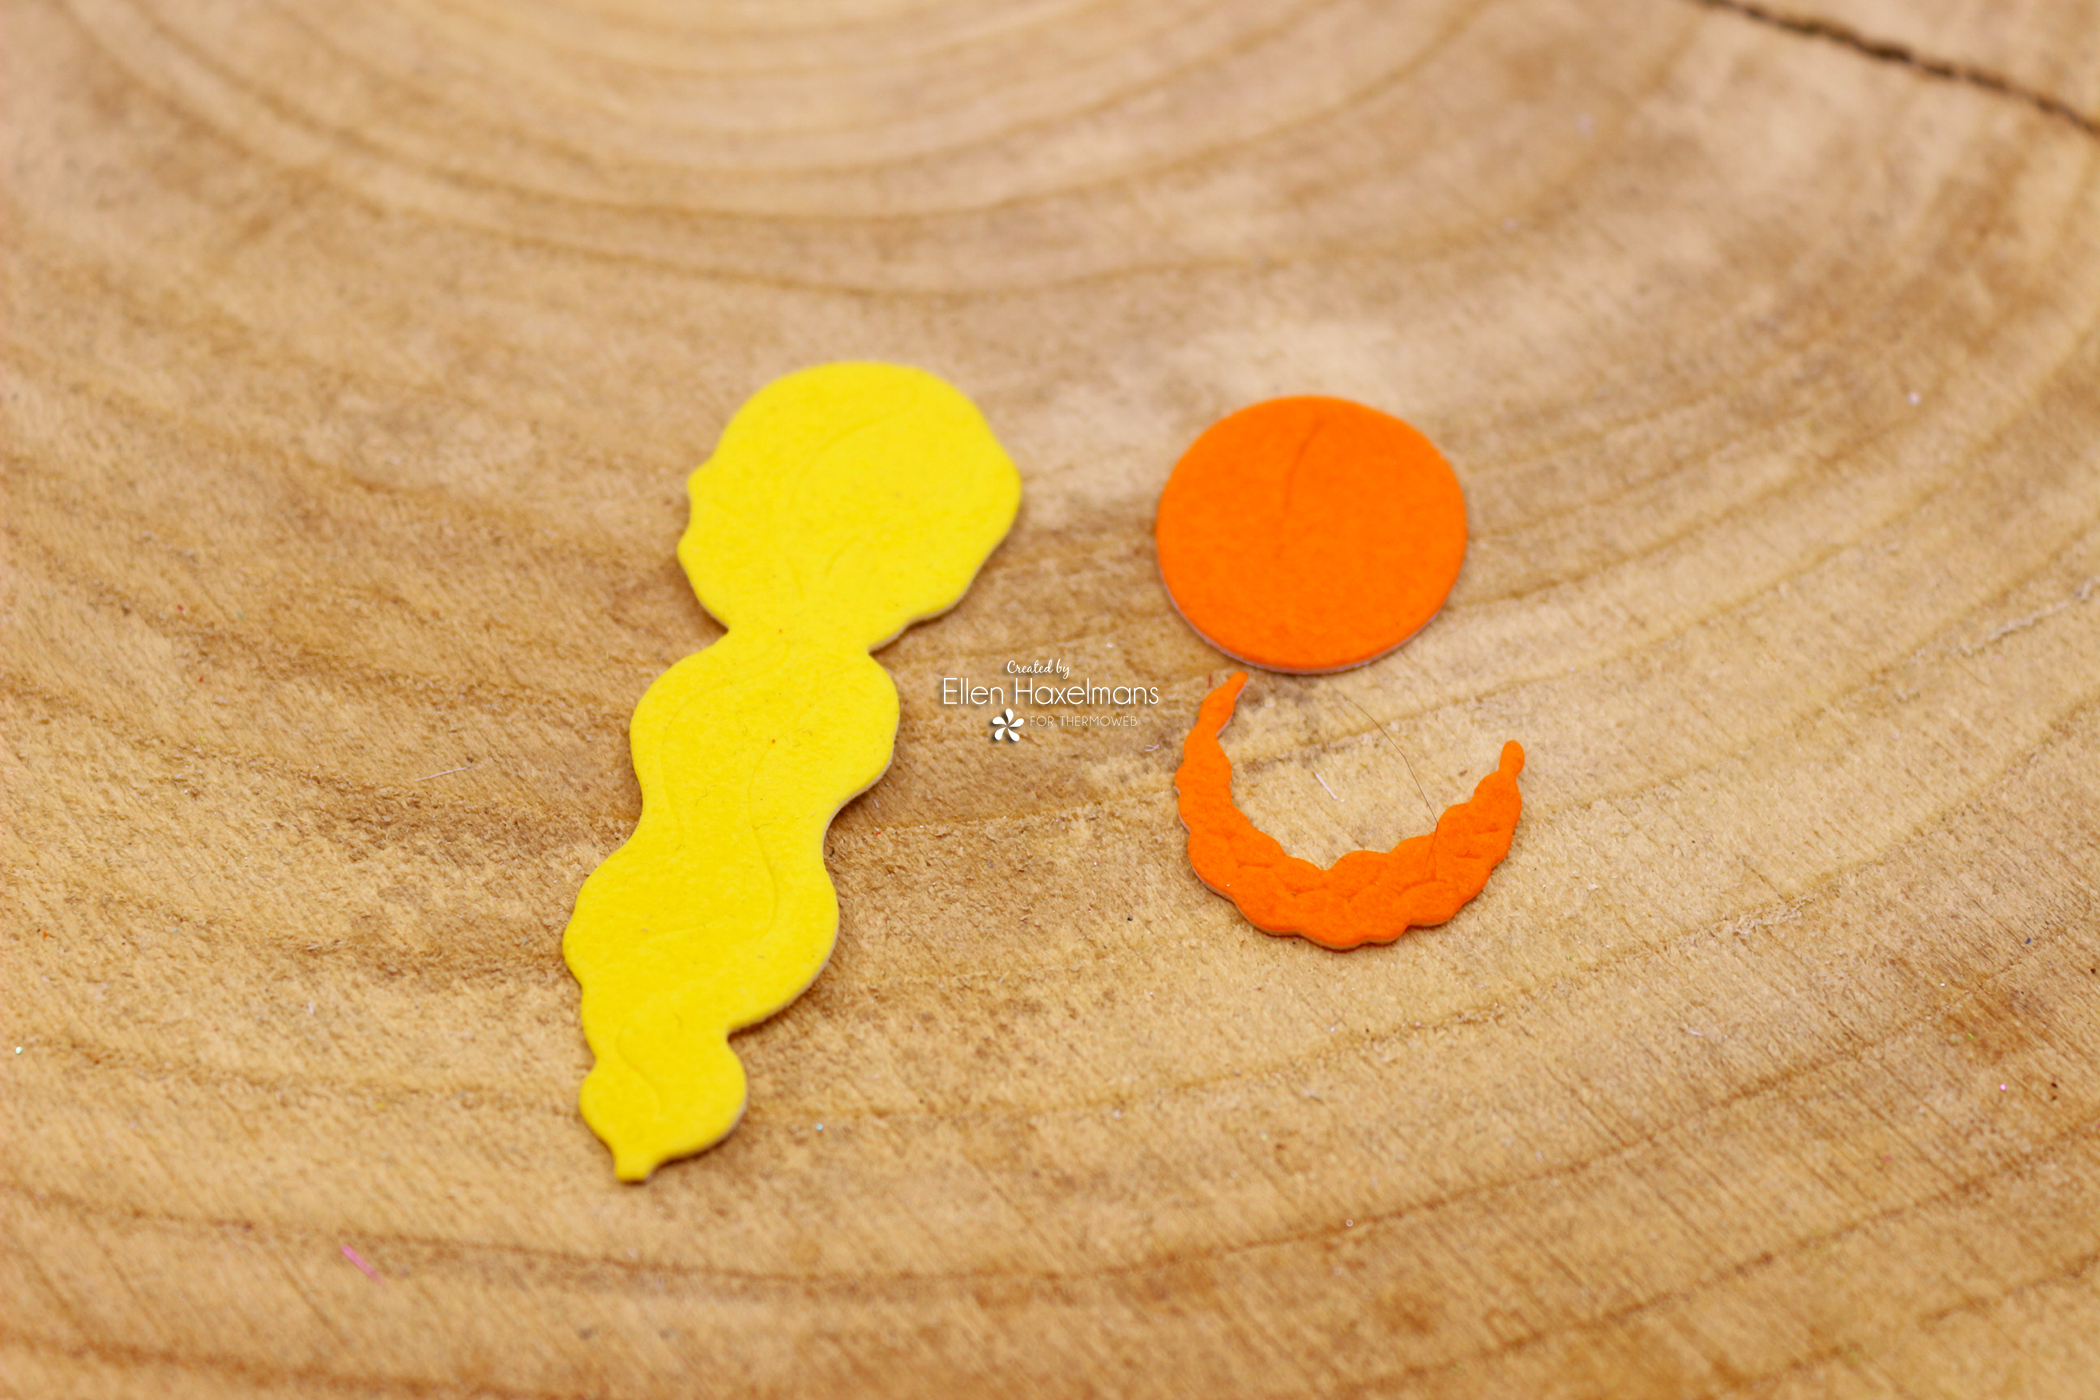 I did cut a piece of flock slightly larger than the dies I used. Place a piece of foam facedown onto colored side of flock. Run through your die cutting machine. Peel away flock sheet from foam design and remove remaining liner and die cut the piece of flock.
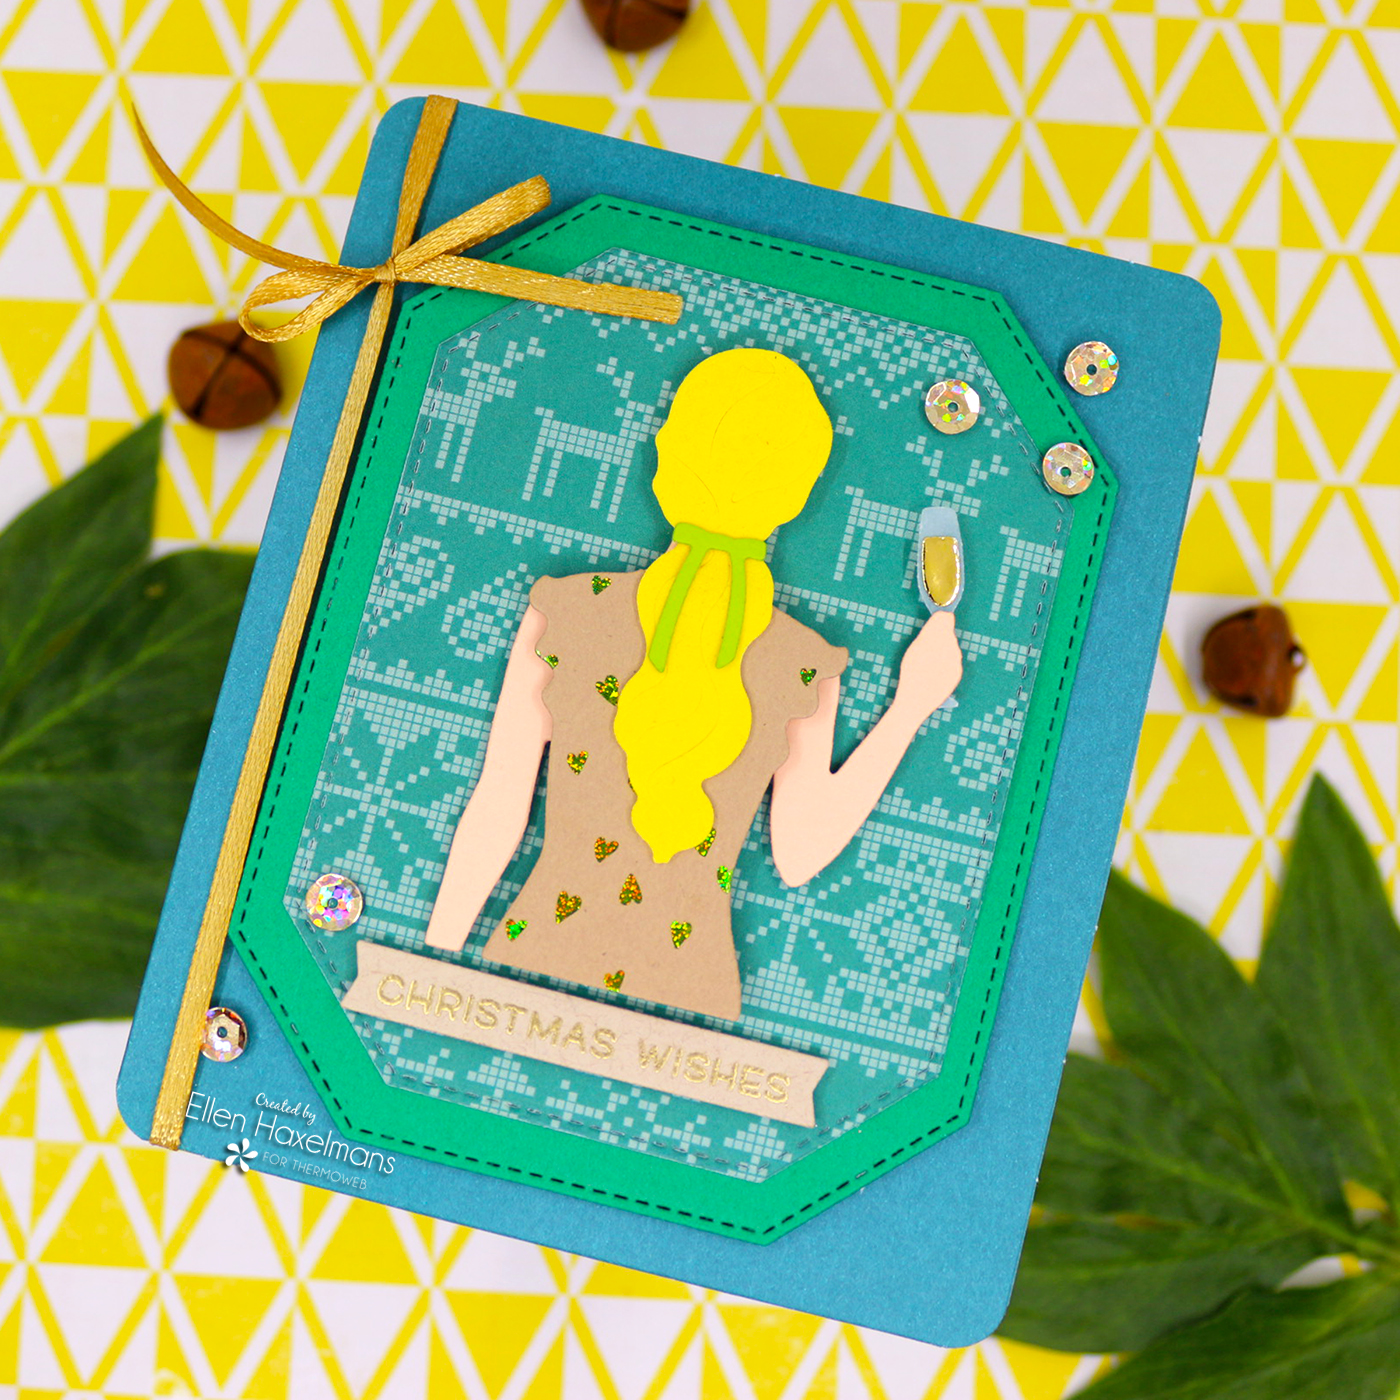 With the 'Zots Clear Adhesive Dots' I stick down the sequins and with adhesive foam and an adhesive dot runner I created the rest of my cards.
Thank you for joining me. I really hope you enjoy today's inspiration!
With the 'Zots Clear Adhesive Dots' I stick down the sequins and with adhesive foam and an adhesive dot runner I created the rest of my cards.
Thank you for joining me. I really hope you enjoy today's inspiration!
