No Products in the Cart
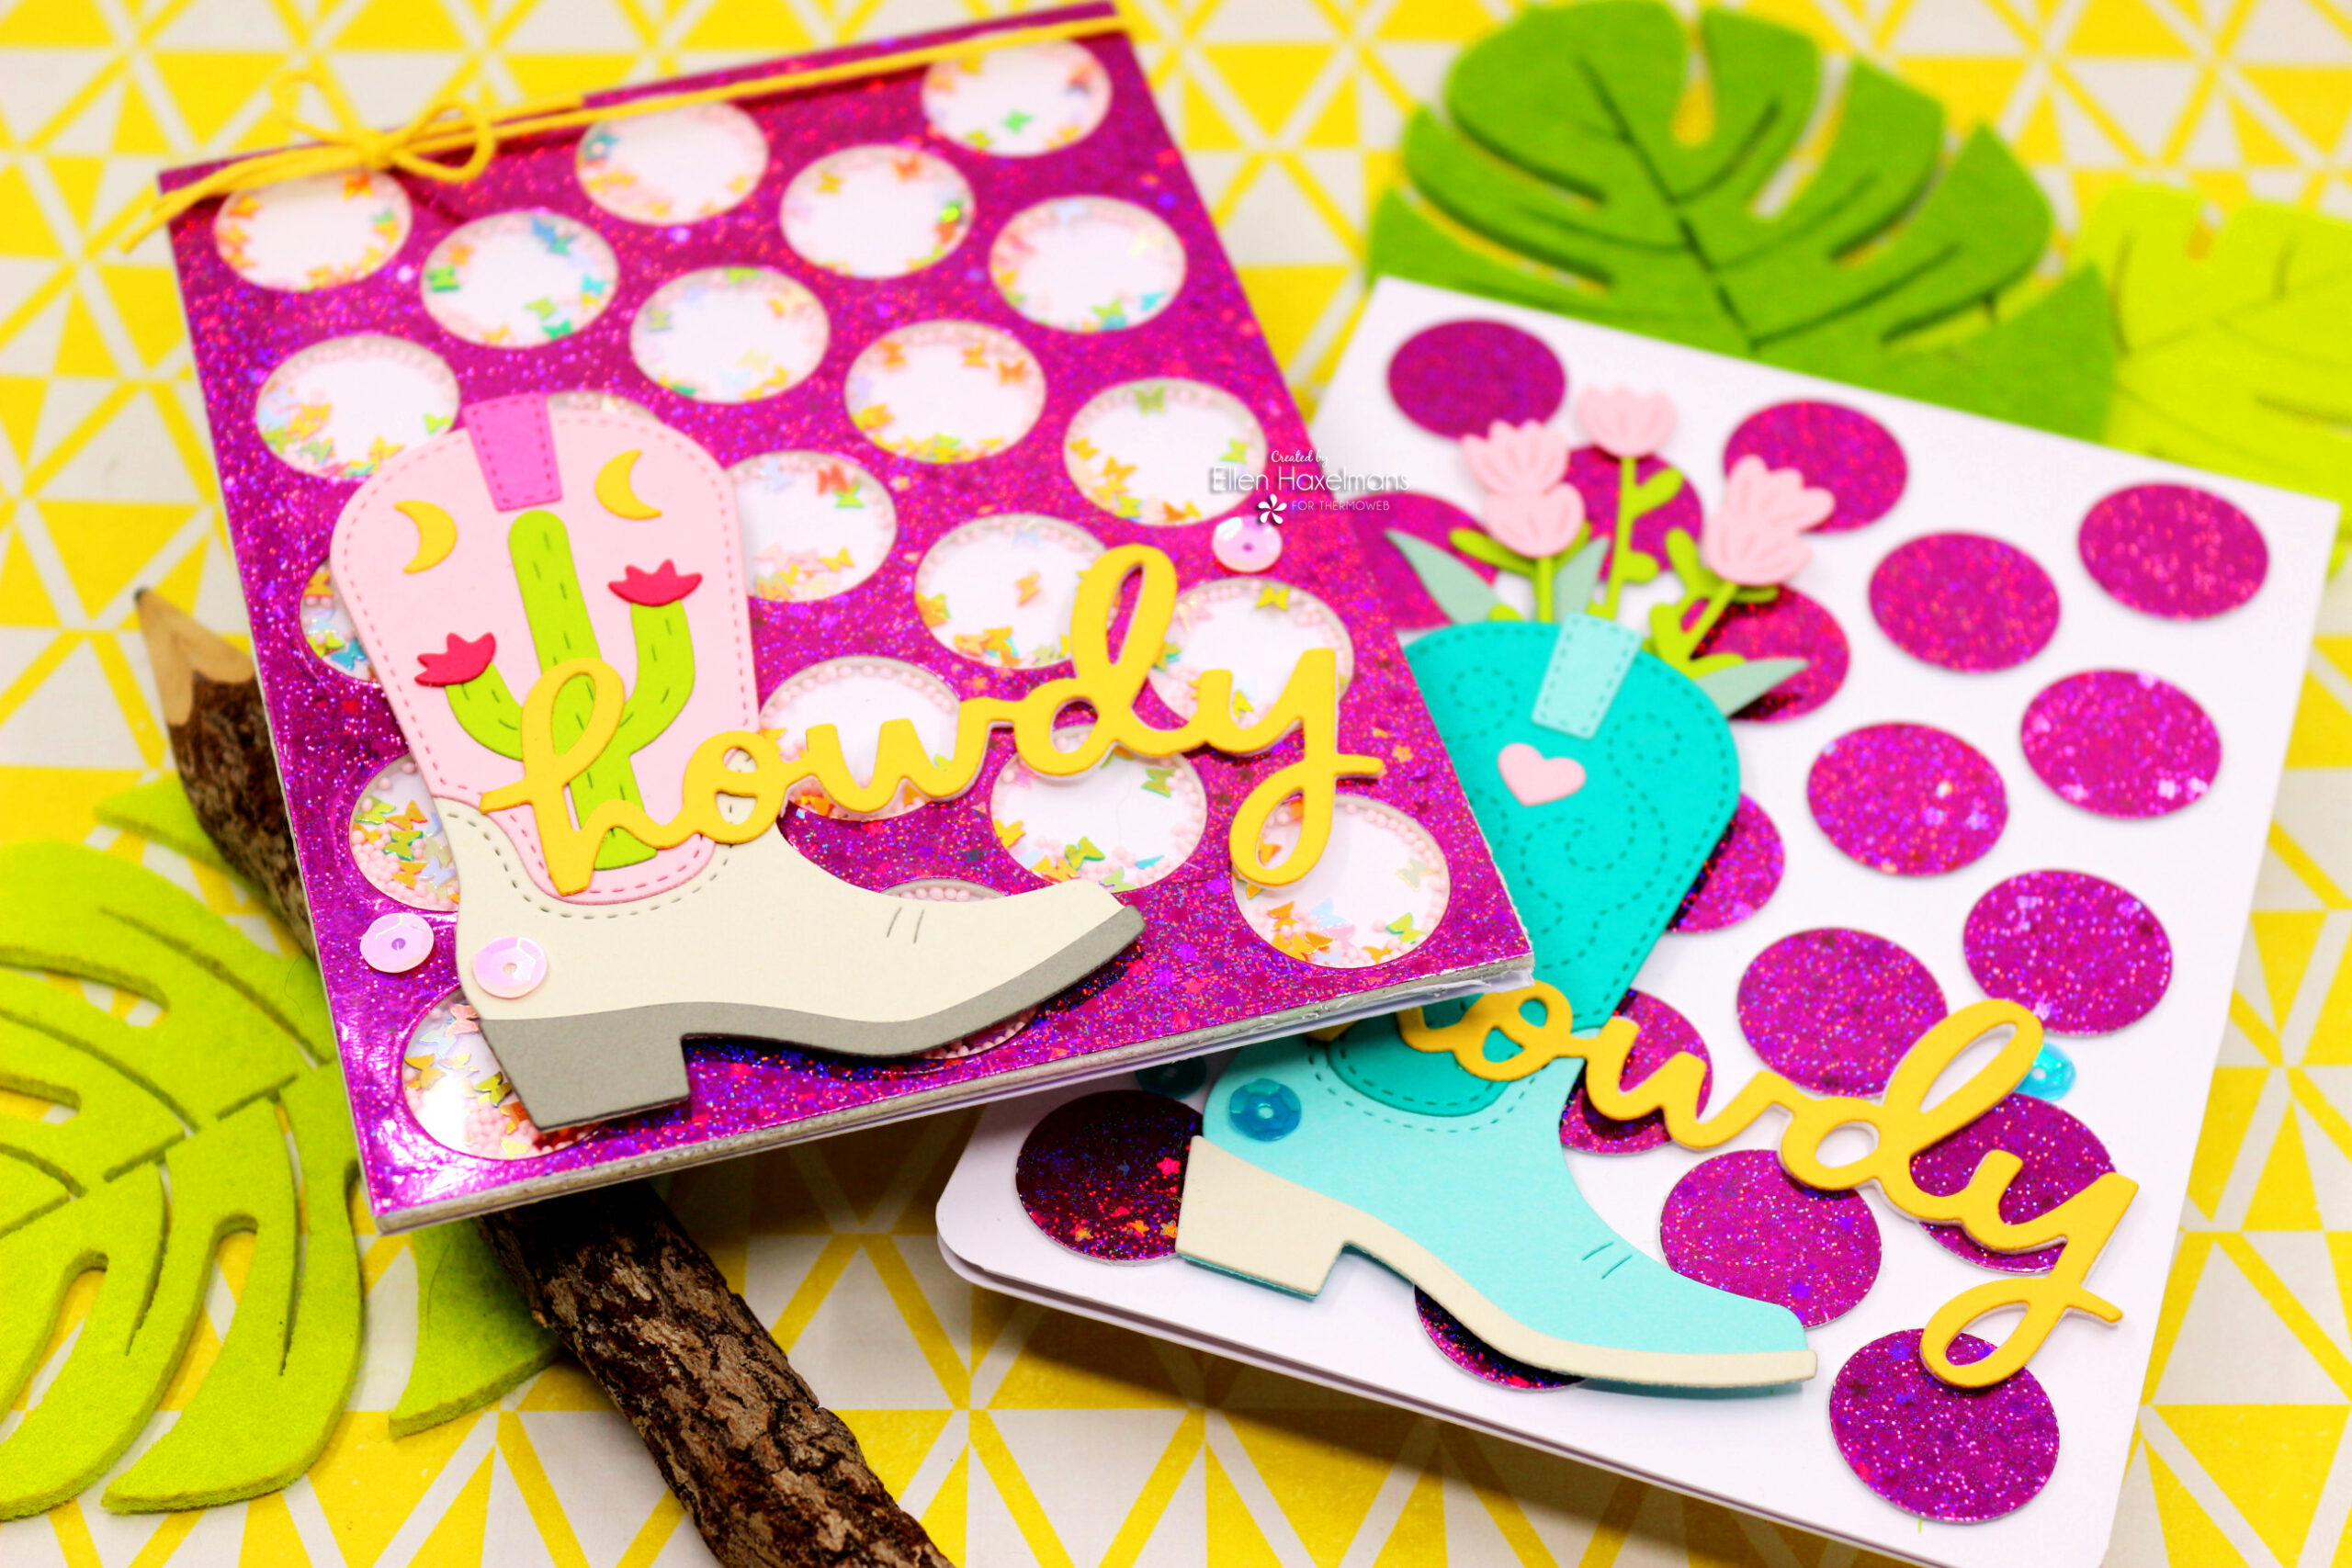 I will briefly show you what I made...
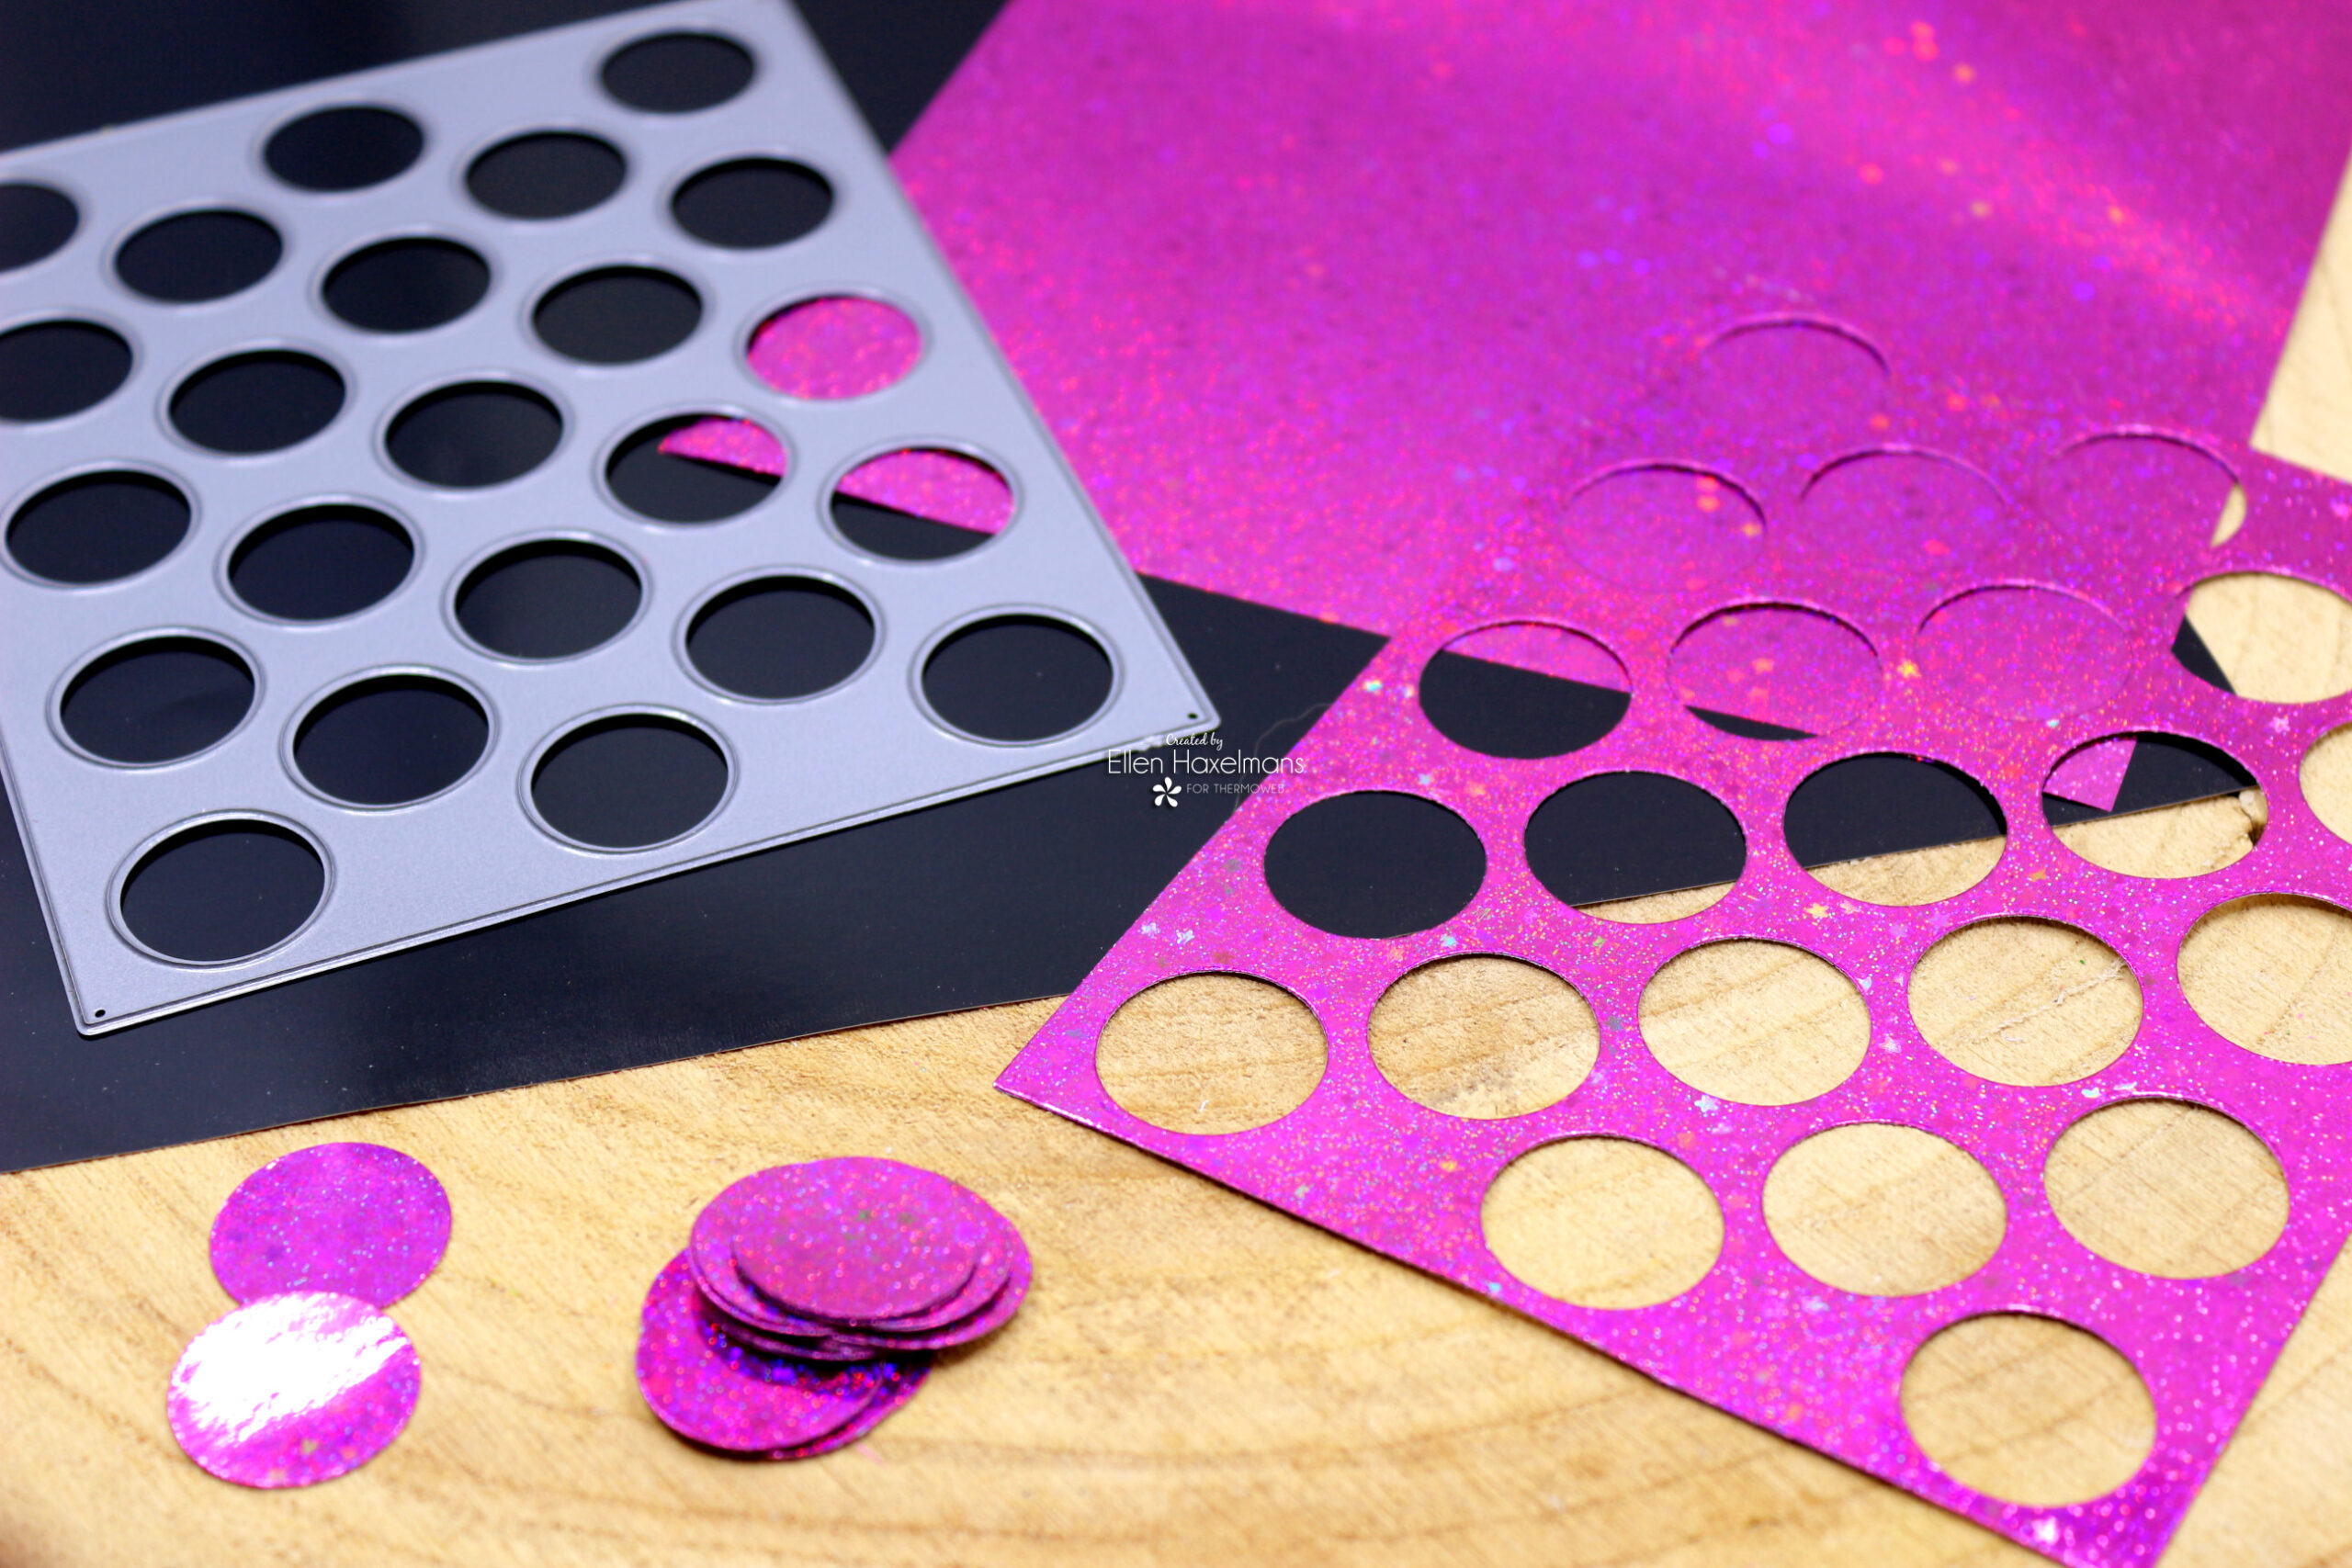
I used Fancy Transfer Foil, 'Twinkling Pink' and adhere it on a Toner Card Front using the Fuse Foiling System Laminator. Next I did cut out the bacground once with the die.
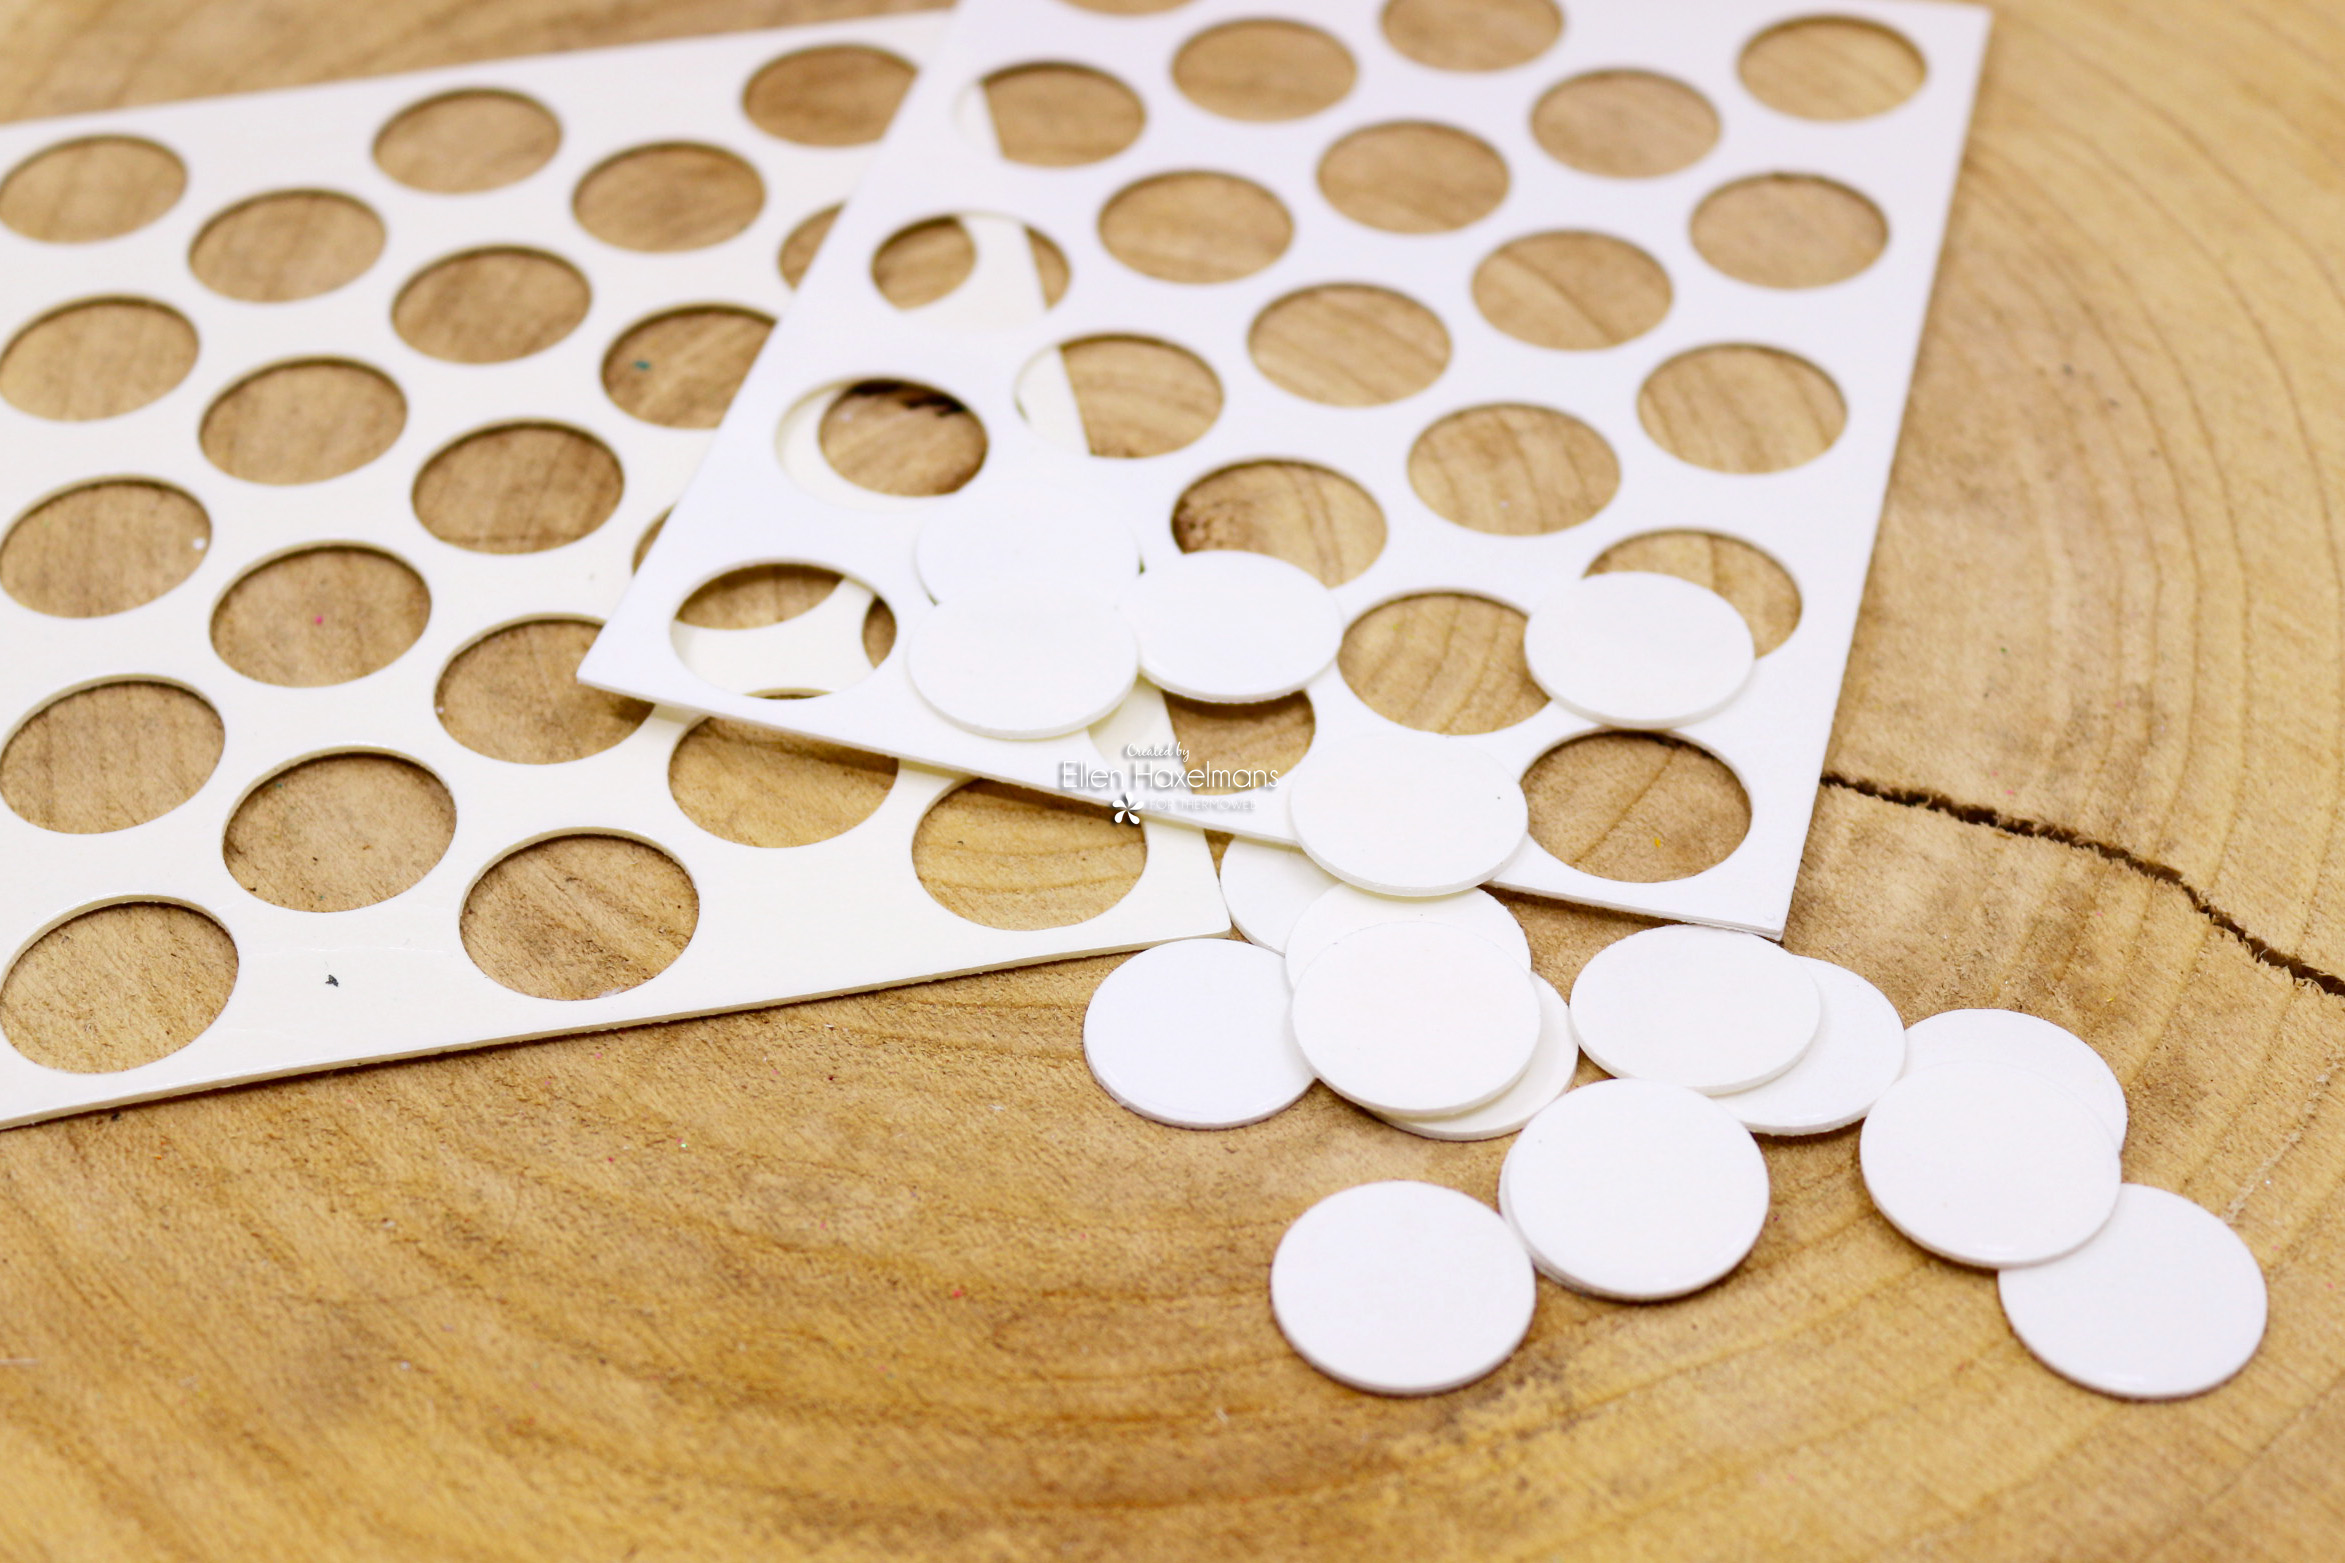
 I drew the circle on a card base using the background dies. This way I could glue all the foam circles in the right place.
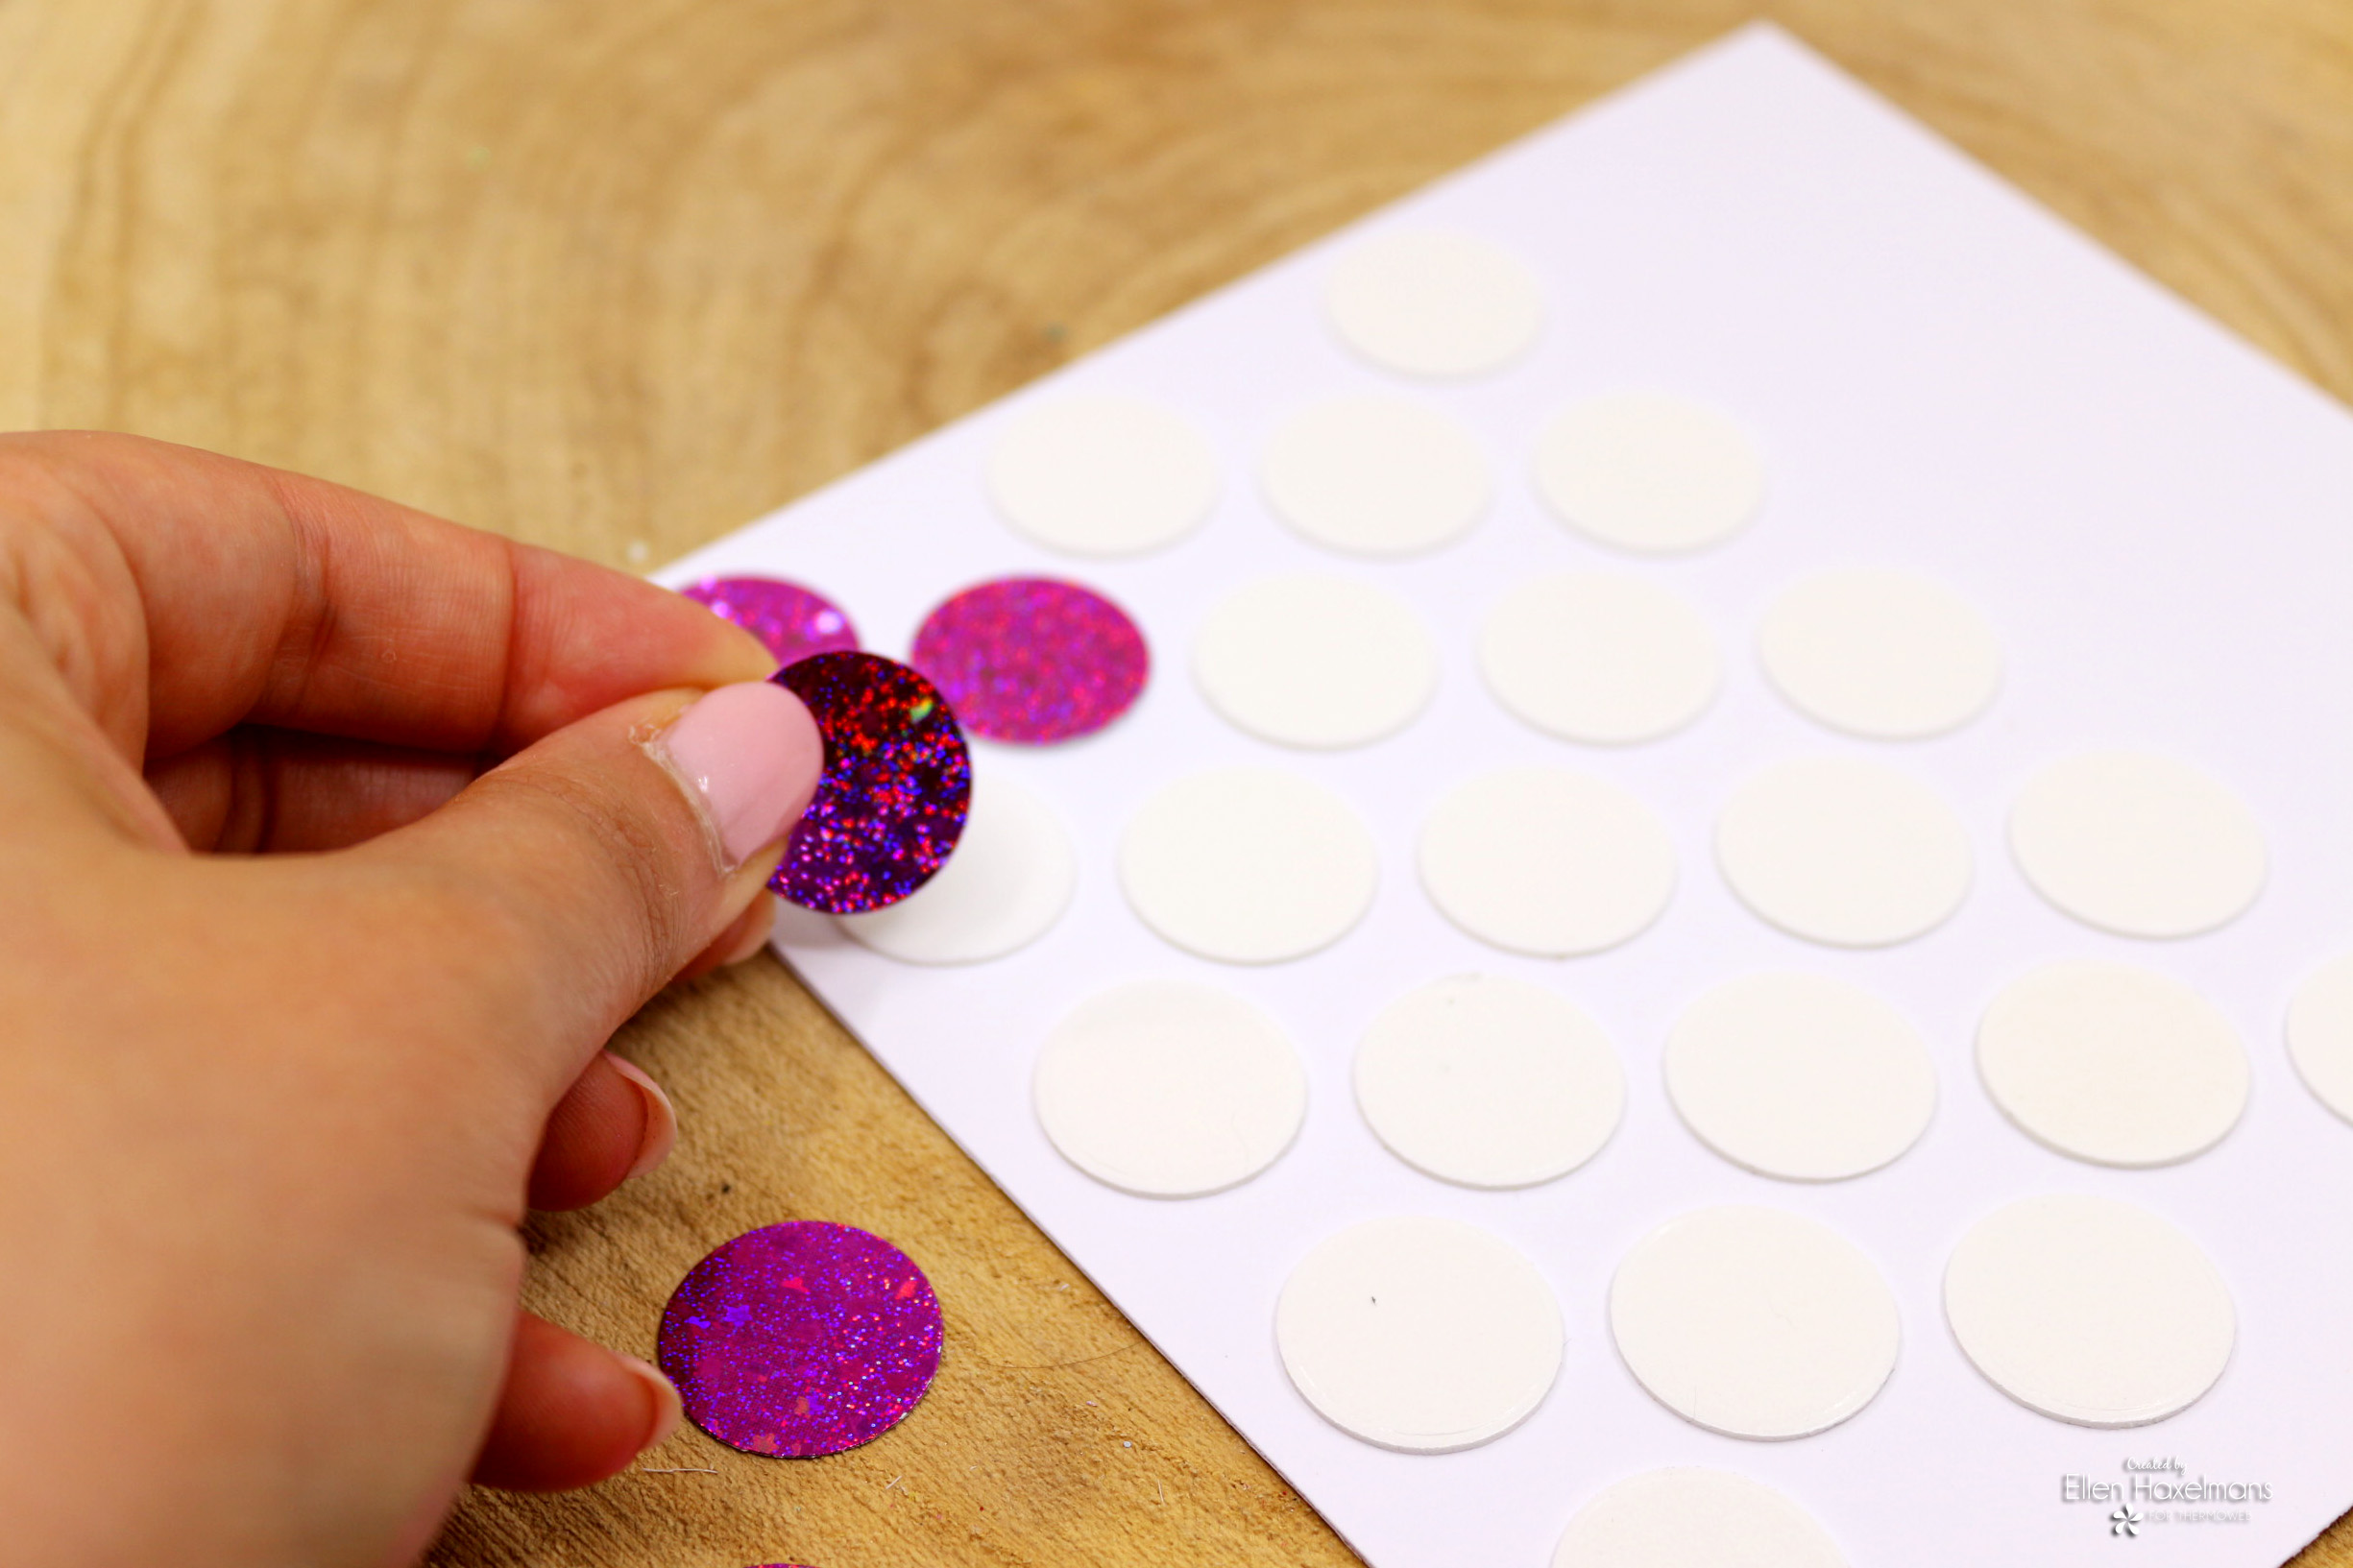 Next I placed all the glitter circles on top of them.
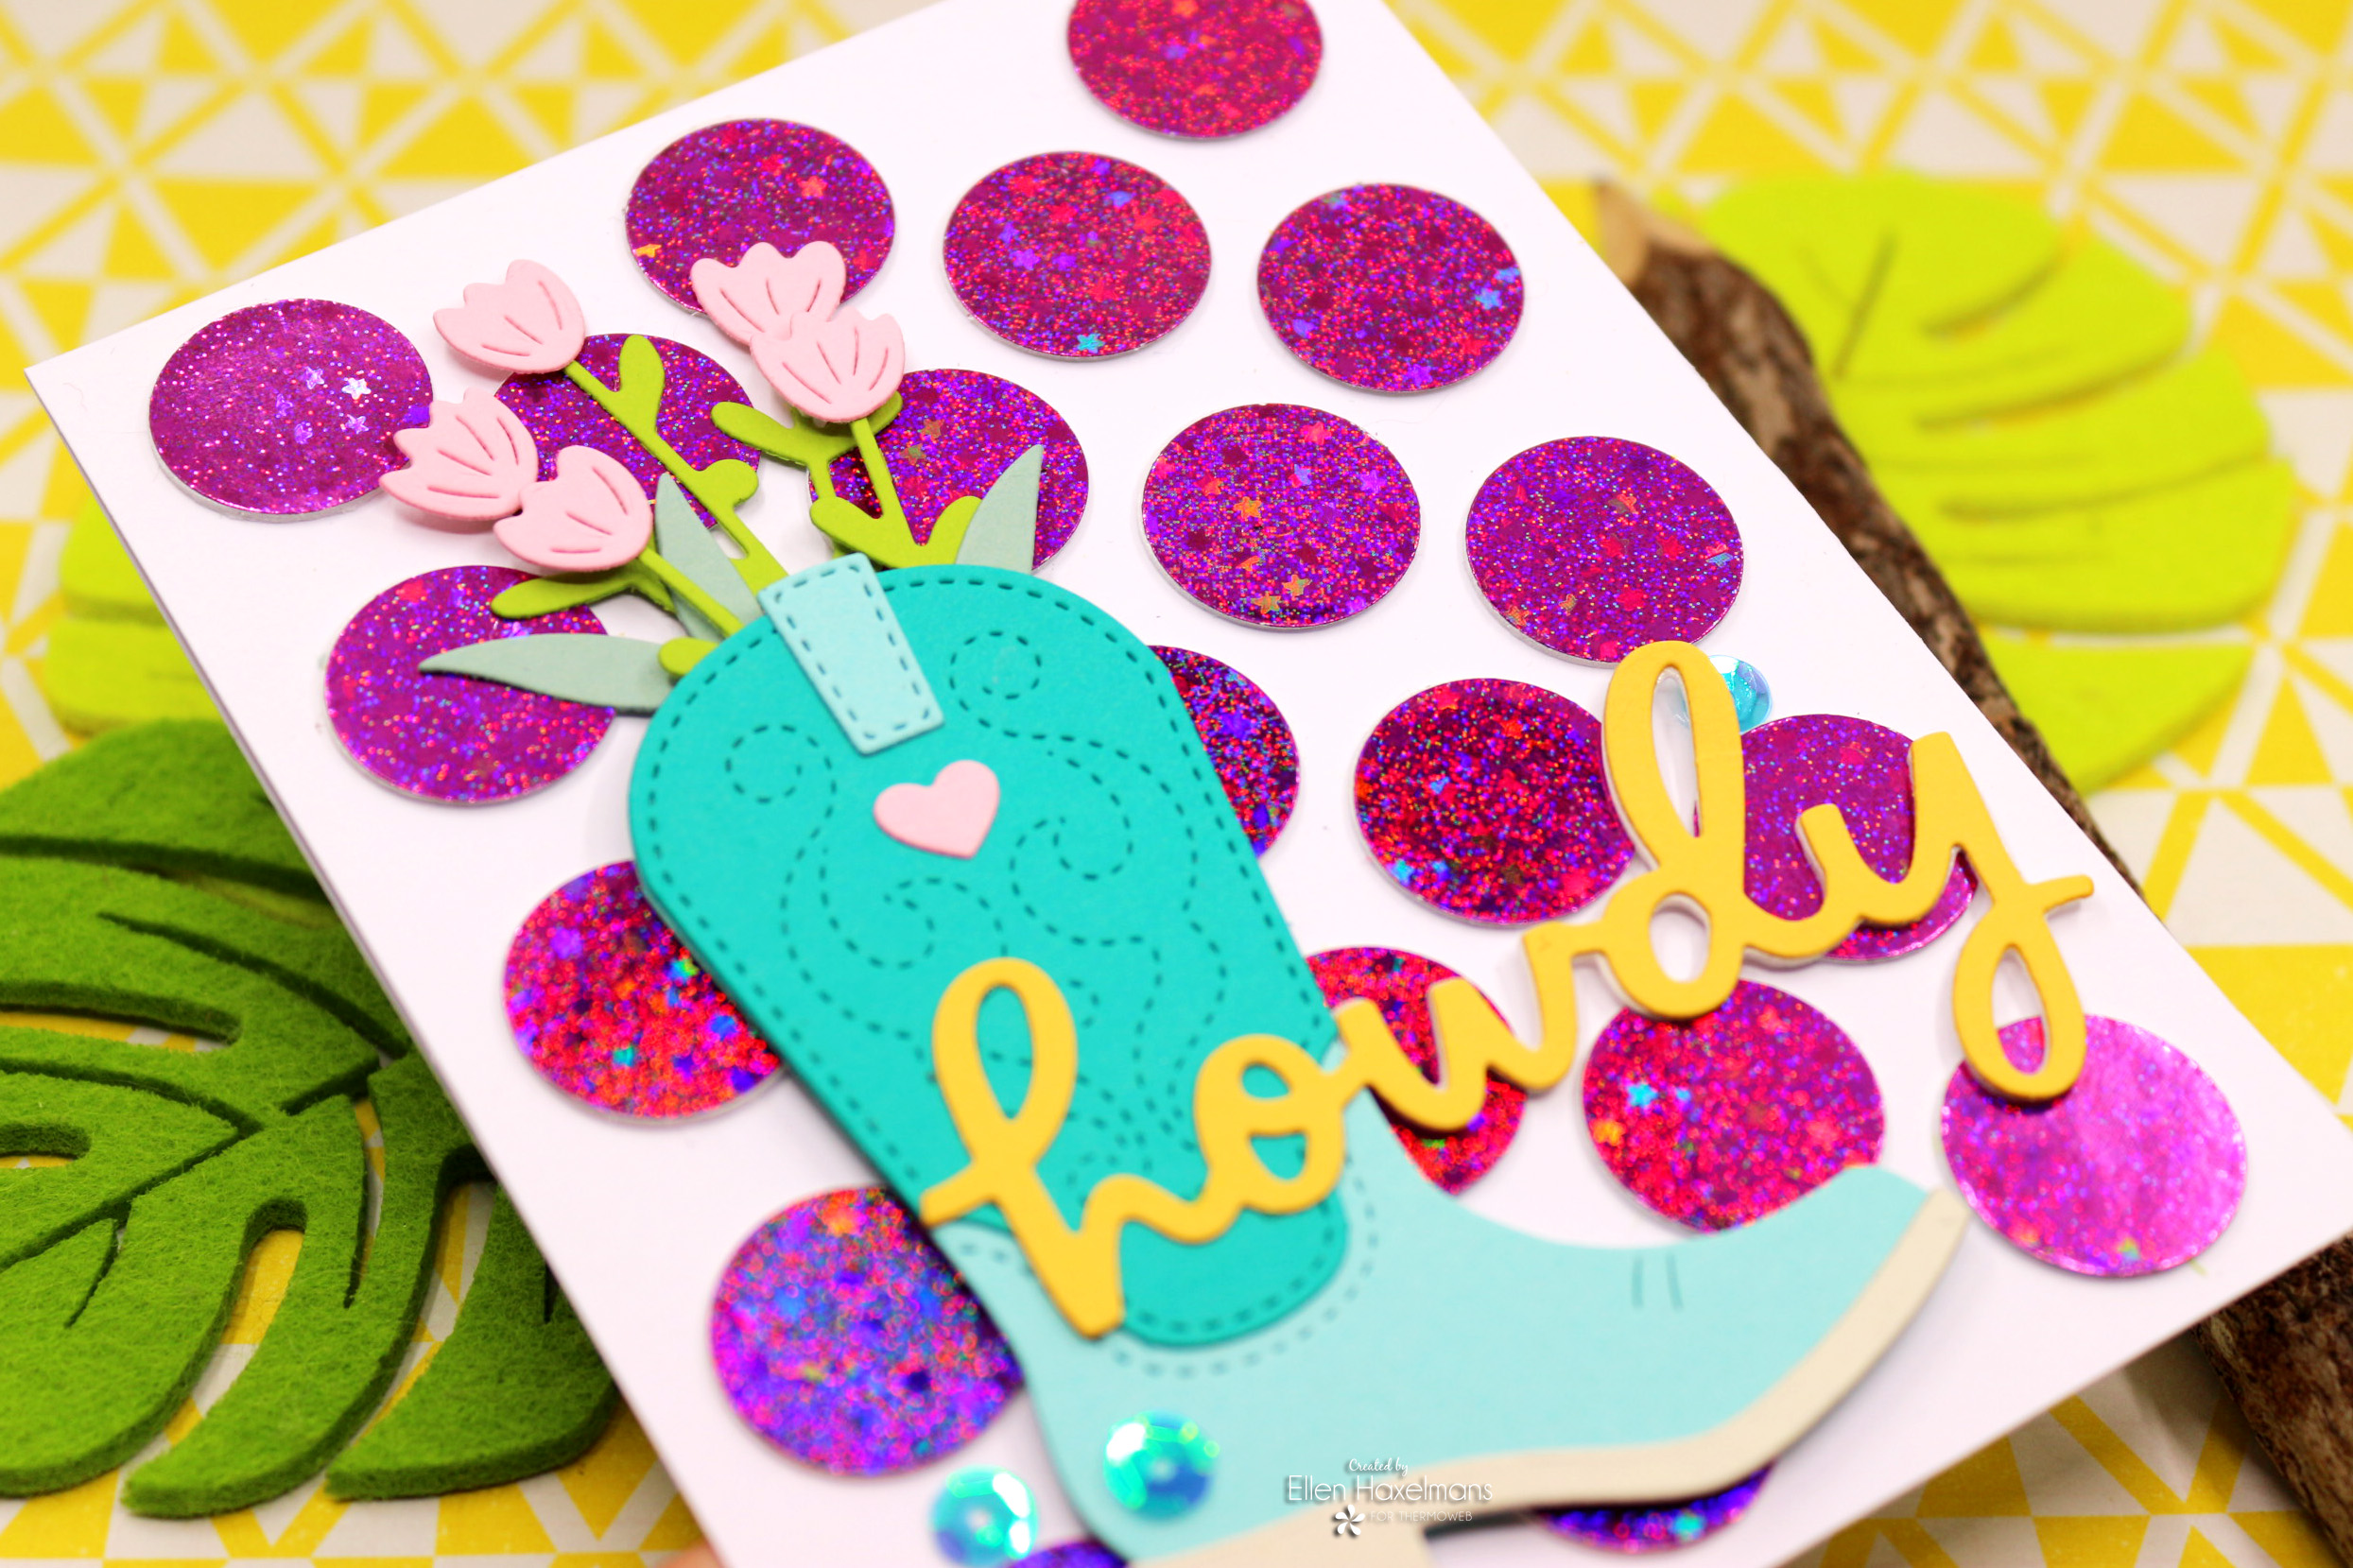
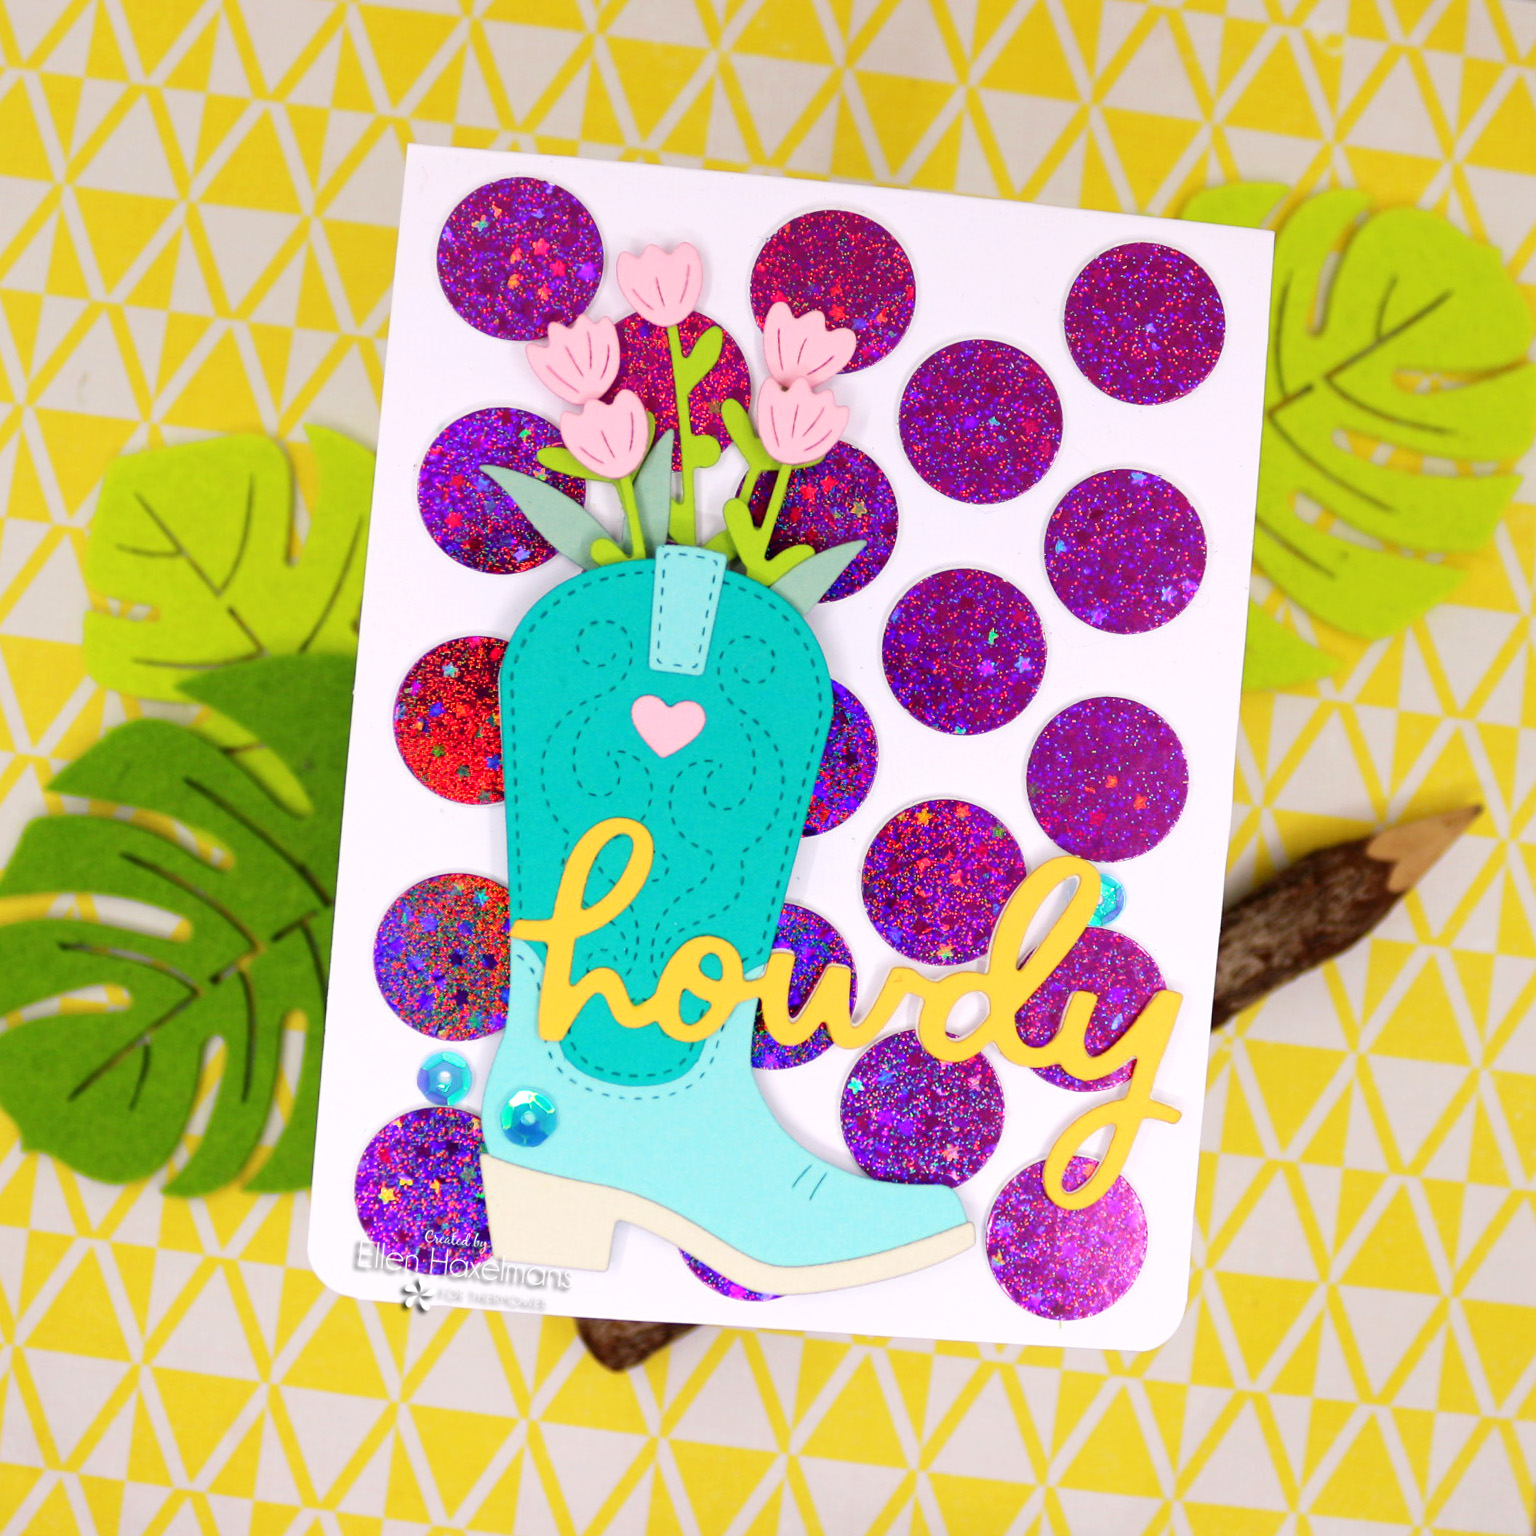 Of course I glued the rest of the items with the wide range of ThermOWeb glues.
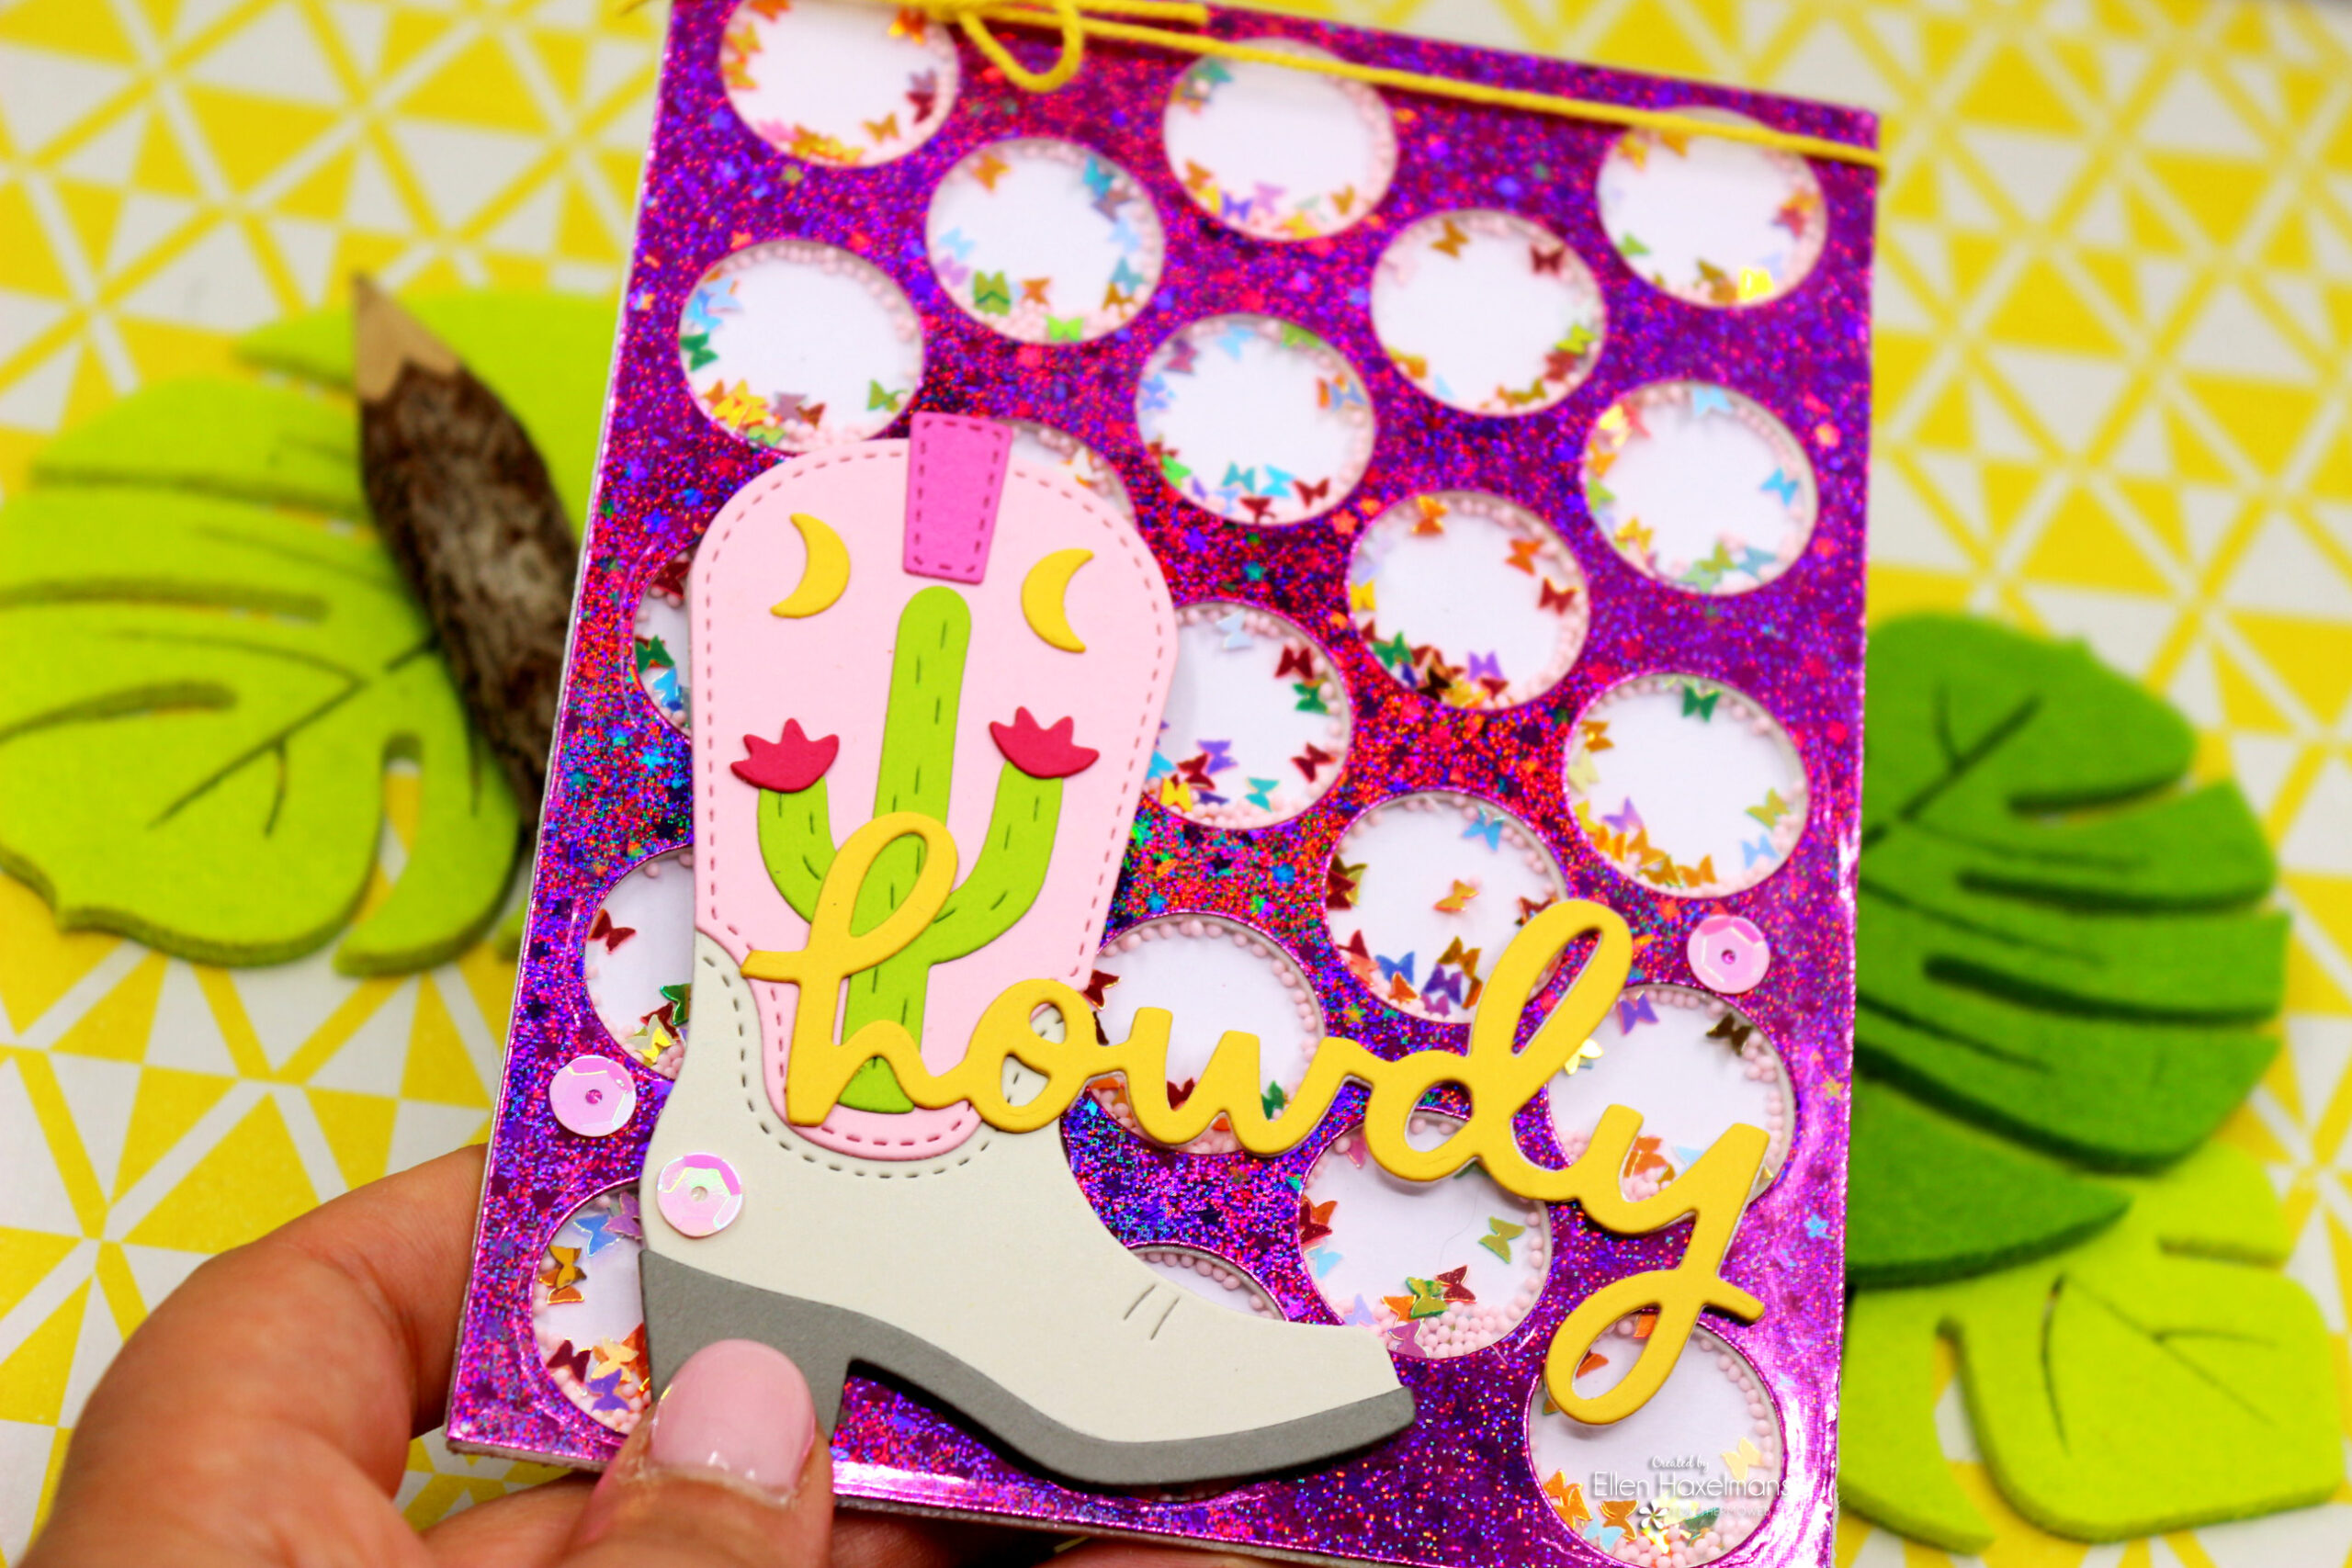 You can always use everything. Of course I made a shaker card with the other part of the cutting die.
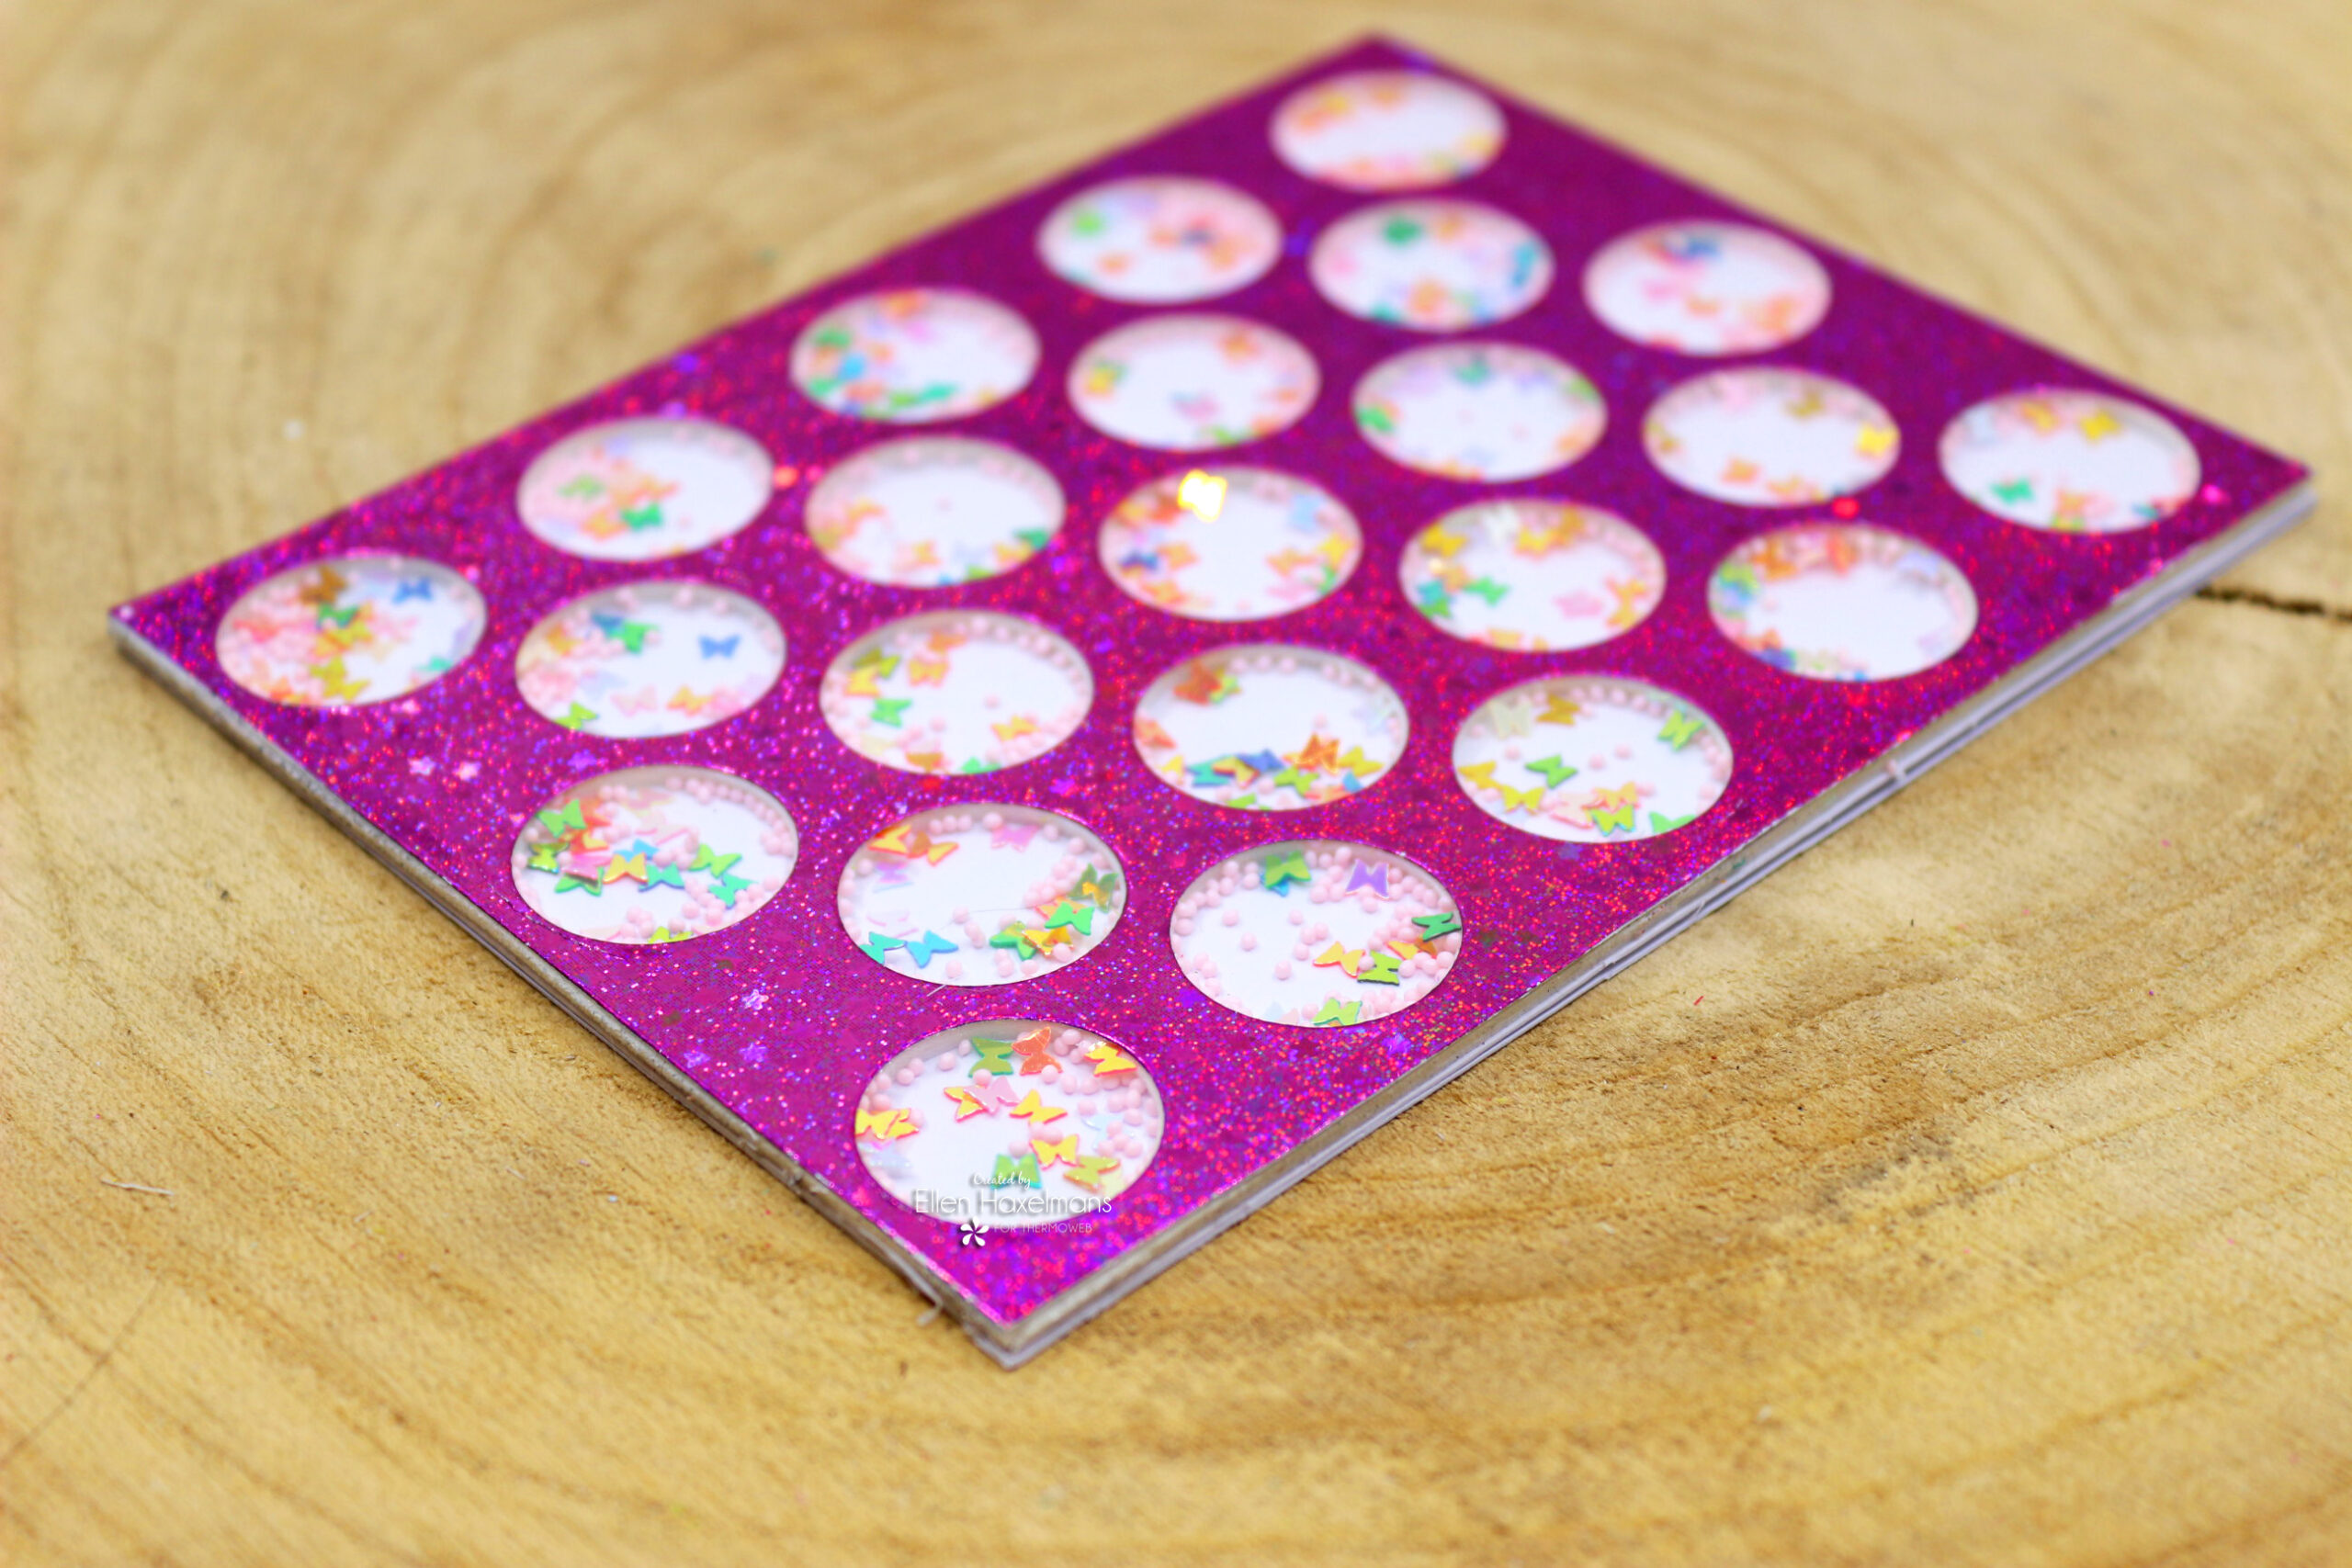 I glued 2 layers of the foam on top of each other. Then I put all the shaker material into the circular holes. Next I glued the transparency one on in and finally on top the foil glitter layer.
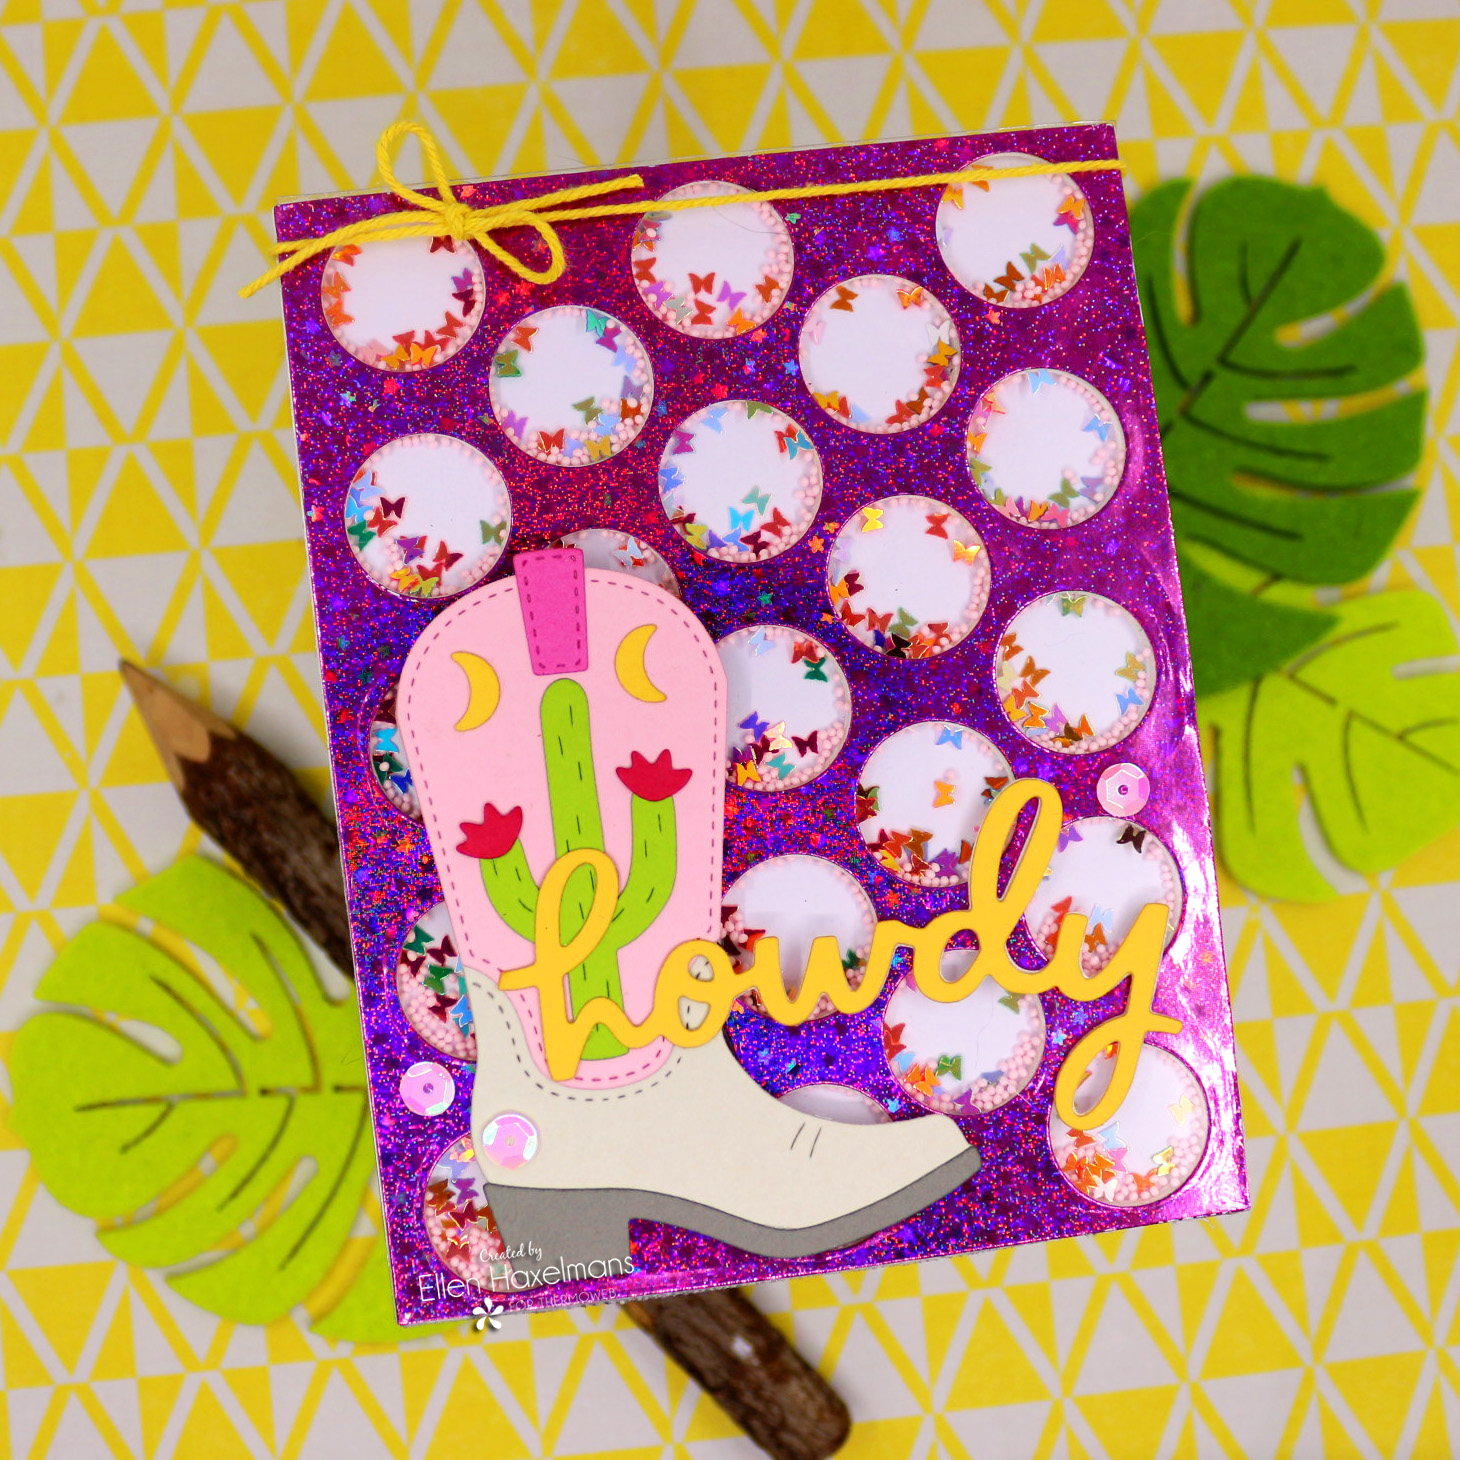 I hope you are inspired and you can craft the stress away this summer!
Gina K. Designs Fancy Transfer Foil, Twinkling Pink Deco Foil Toner Card Fronts - Solid Black Gina K. Designs Fuse Foiling System Laminator Deco Foil Foam Adhesive Sheets, White Zots Clear Adhesive Dots Roll 325 count, Bling iCraft UltraBond Permanent Dries Clear Adhesive, 2 fl oz Gina K. Designs Double-sided Adhesive Foam Squares 1/4 in, White iCraft 3D Foam Tape Jumbo Roll (White) 1/16 Thick x 108 ft
Other Supplies: Bootcut Dies - Concord&9th, Polka Dot Background Die - My Favoritte Things, Fly High Rainbow Butterfly Confetti Mix - Twiddler's Nook