No Products in the Cart




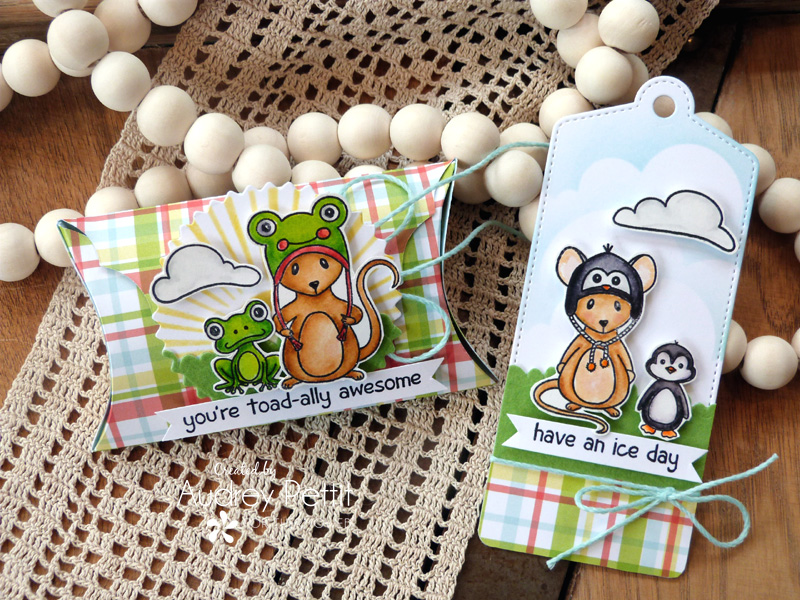
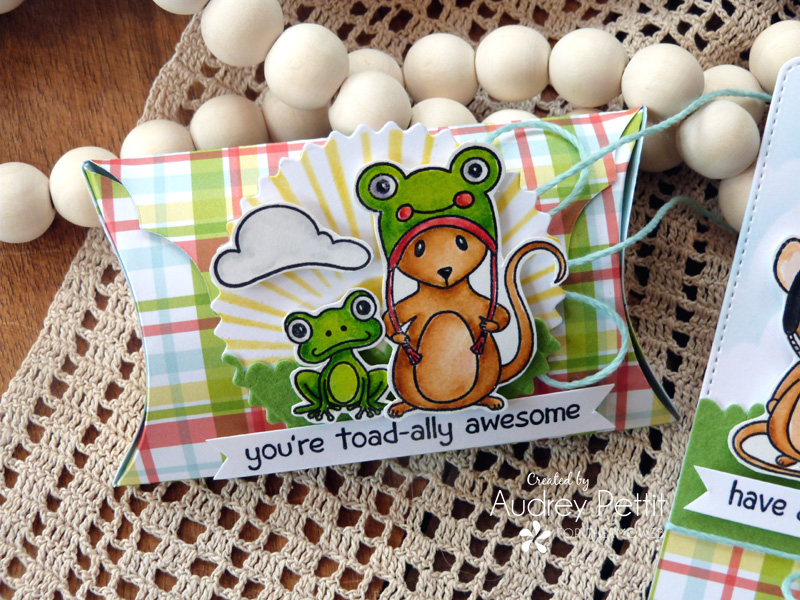 This week, the Therm O Web team has the very great pleasure of joining up with our friends at Miss Ink Stamps! We are so excited about this collaboration and look forward to sharing lots of project ideas and inspiration combining Miss Ink's adorable stamps with our amazing Therm O Web line-up of products. Today I made a sweet gift set to share that features some of Miss Ink's cute critter images with one of my favorite Therm O Web products, iCraft Deco Foil Flock. I can't wait to gift these to my BFF for her birthday next week!
I have the complete step-by-step tutorial to share with you, so let's take a closer look.
This week, the Therm O Web team has the very great pleasure of joining up with our friends at Miss Ink Stamps! We are so excited about this collaboration and look forward to sharing lots of project ideas and inspiration combining Miss Ink's adorable stamps with our amazing Therm O Web line-up of products. Today I made a sweet gift set to share that features some of Miss Ink's cute critter images with one of my favorite Therm O Web products, iCraft Deco Foil Flock. I can't wait to gift these to my BFF for her birthday next week!
I have the complete step-by-step tutorial to share with you, so let's take a closer look.
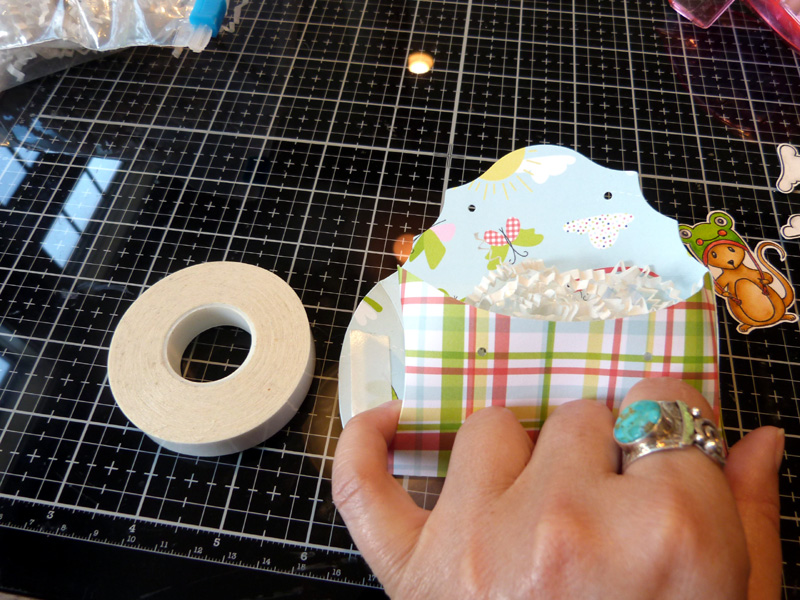 To begin, stamp, color, and cut out some images from the Say Cheese clear stamp set. I stamped mine in Jet Black Archival Ink onto Bristol Smooth cardstock and colored it with Zig Real Brush Markers. Next, die-cut a pillow box from plaid patterned paper. Fold up the box following the crease lines in the die, and then secure the ends with pieces of strong iCraft Adhesive. Fill the pillow box with a small gift, and then thread twine through the die-cut holes to secure the box shut.
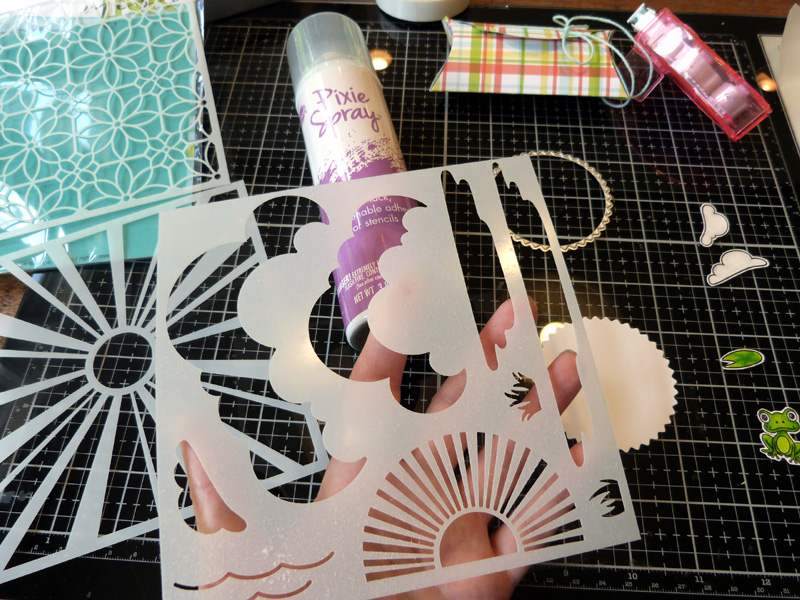 Die-cut a pinked circle from white cardstock to use as the focal shape for the gift box. Spray the backside of the Scene Builder Stencil with Therm O Web Pixie Spray, and then set it aside for about five minutes to allow the spray to dry.
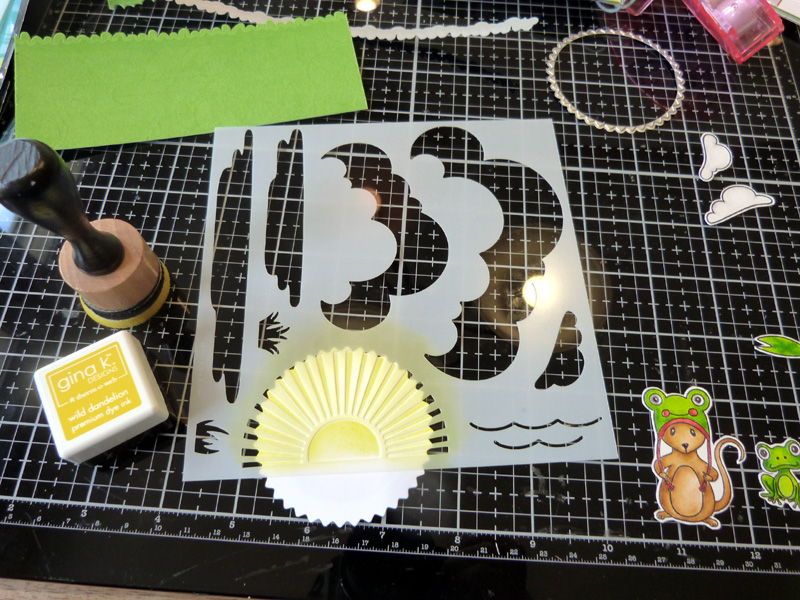 Place the stencil down onto the die-cut circle so that the sun rays motif is centered. The Pixie Spray will keep the stencil perfectly in place onto the die-cut and your work surface. Ink the sun with yellow dye ink. Die-cut a grassy border along the top edge of a piece of Green Envy iCraft Deco Foil Flock.
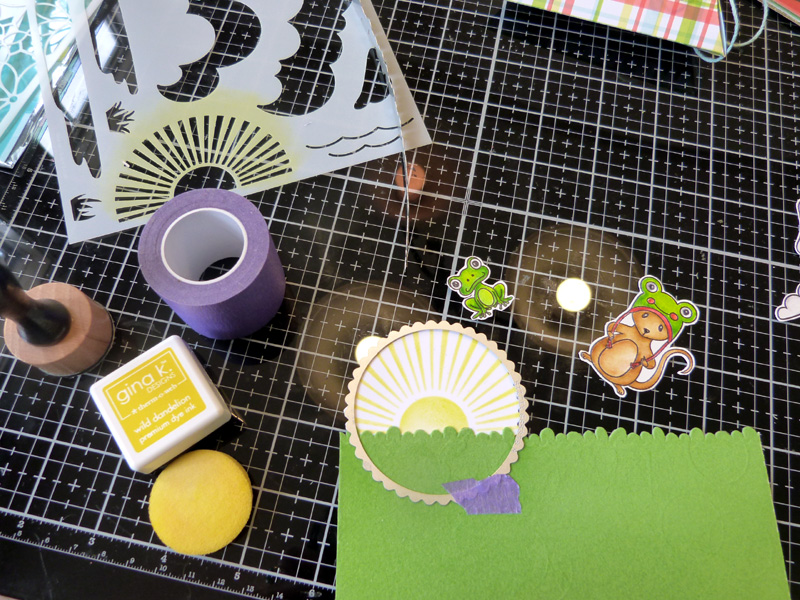 Adhere the die-cut flock across the bottom of the pinked circle. Line the die back in place, and keep it from shifting with a bit of our Purple Tape. Die-cut the circle again.
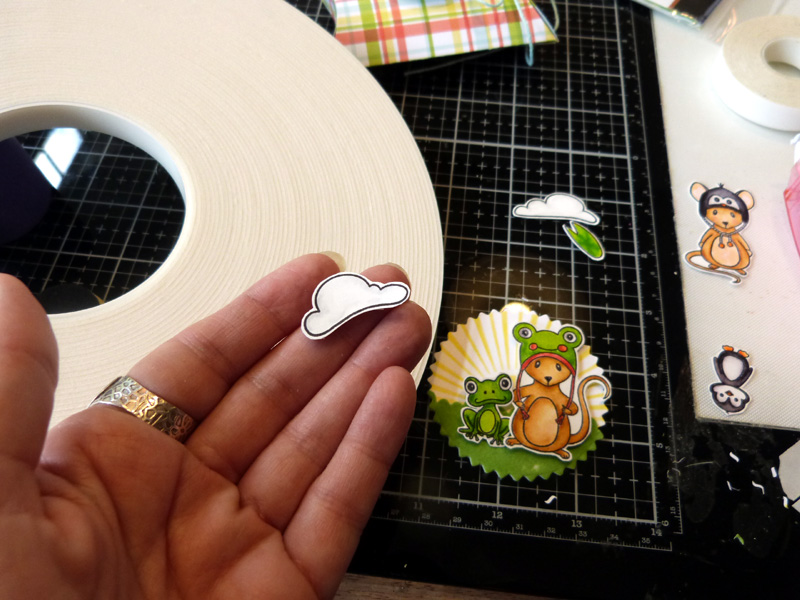 Add pieces of Foam Tape adhesive onto the back of your stamped images, and add them to the pinked circle.
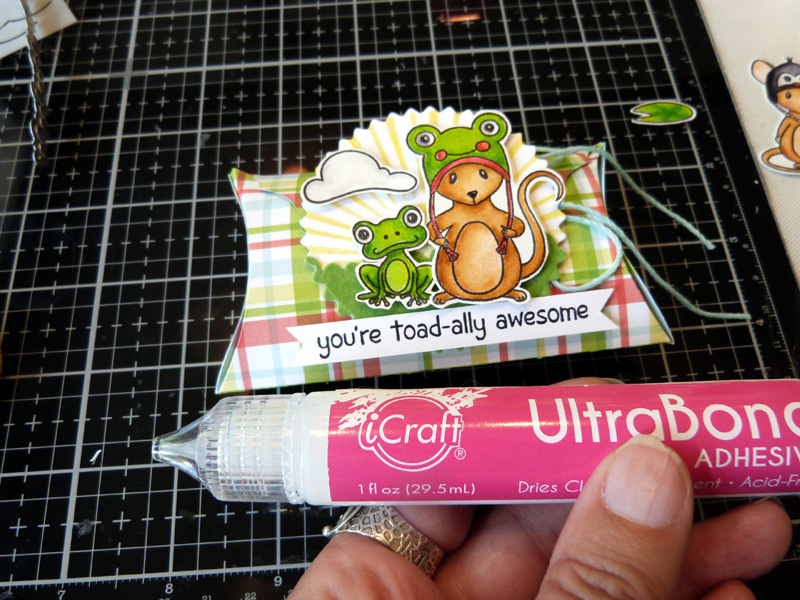 Stamp a sentiment in black ink onto a thin strip of white cardstock, and cut the ends into a V-notch with your scissors. Add a thin line of Ultra Bond Adhesive to the back of the sentiment strip, and then adhere it to the bottom of the die-cut circle. This adhesive works perfectly for gluing onto the textured flock sheets.
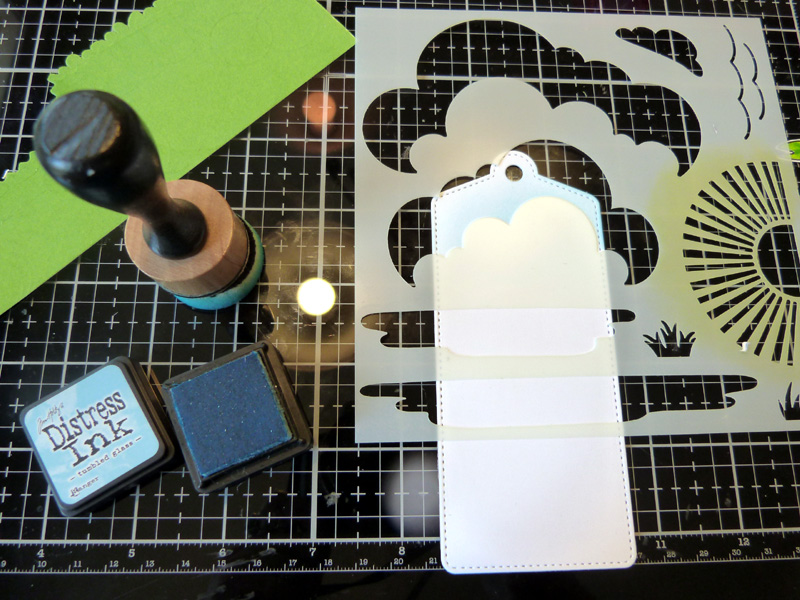 Die-cut a tag shape from white cardstock for the gift tag, and we'll repeat the same processes to create a coordinating set. This time, lay the cloud portion of the Scene Builder Stencil onto the top of the tag, and ink using light blue dye ink. Shift the stencil down a bit, and ink again using a different section of the stencil to vary up the cloud border. Continue to ink and shift the stencil down until you have added clouds to about half of the tag shape. Add a piece of the plaid patterned paper to the bottom of the tag, and then adhere a strip of the flock above that. You should still have enough grassy border left from the first project to complete this tag, otherwise, be sure to die cut the grass before attaching it to your tag.
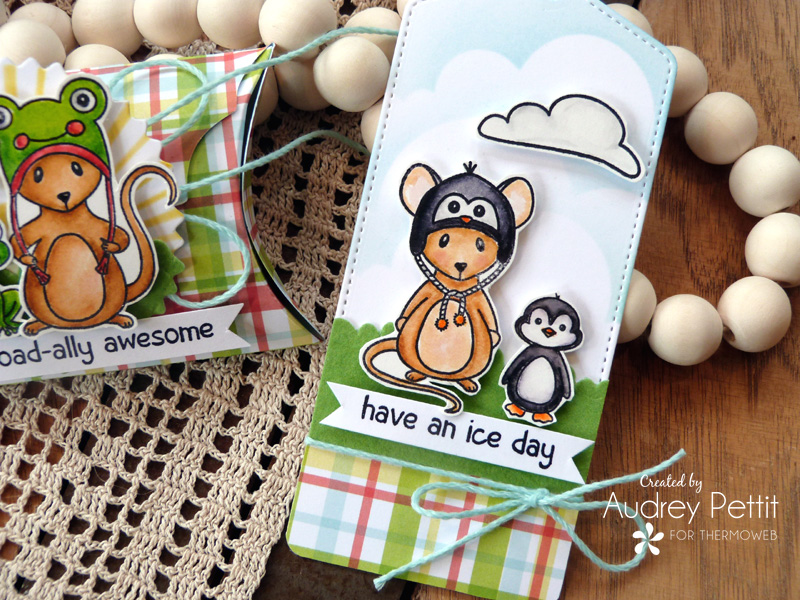 Tie twine around the tag at the junction of the flocked sheet and patterned paper. And then add your stamped images and another stamped sentiment strip to the tag using Foam Tape adhesive in the roll.
Enjoy!
Tie twine around the tag at the junction of the flocked sheet and patterned paper. And then add your stamped images and another stamped sentiment strip to the tag using Foam Tape adhesive in the roll.
Enjoy!