No Products in the Cart
 Hello there! Shemaine here today for another fun day during our Sunny Studio collaboration. Today I am sharing a fun way to use our brand new Deco Foil Flock Transfer sheets two different ways. Let's get started.
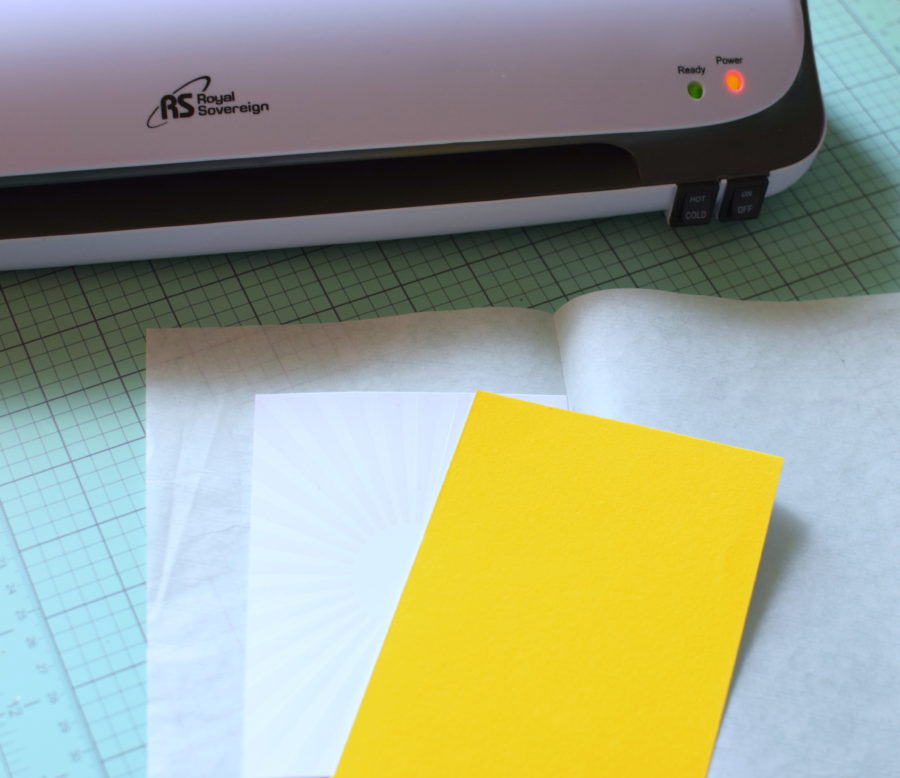
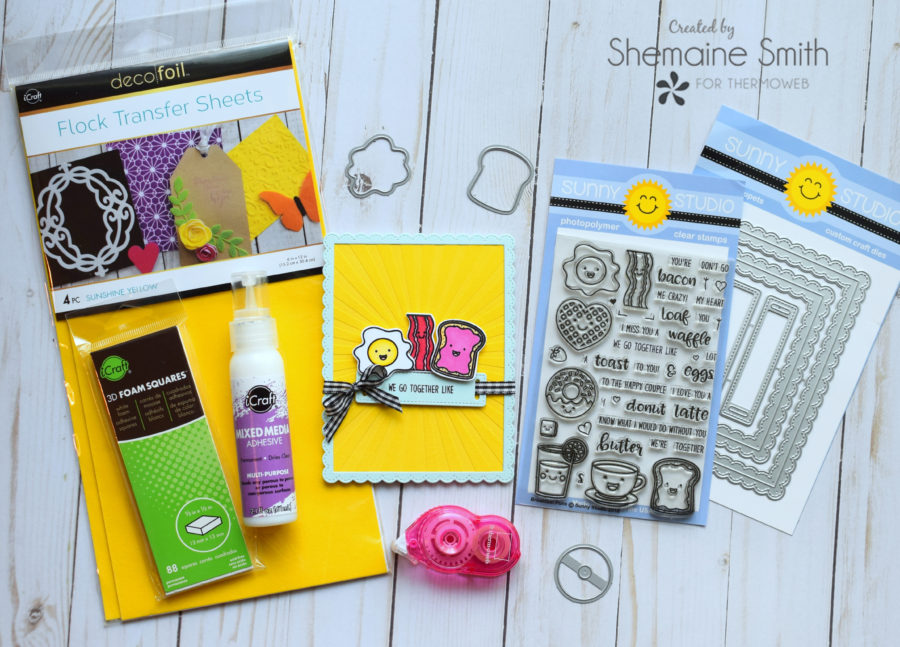 Here's a look at the supplies we'll be using for this first card.
Therm-O-Web Supplies:
Here's a look at the supplies we'll be using for this first card.
Therm-O-Web Supplies:
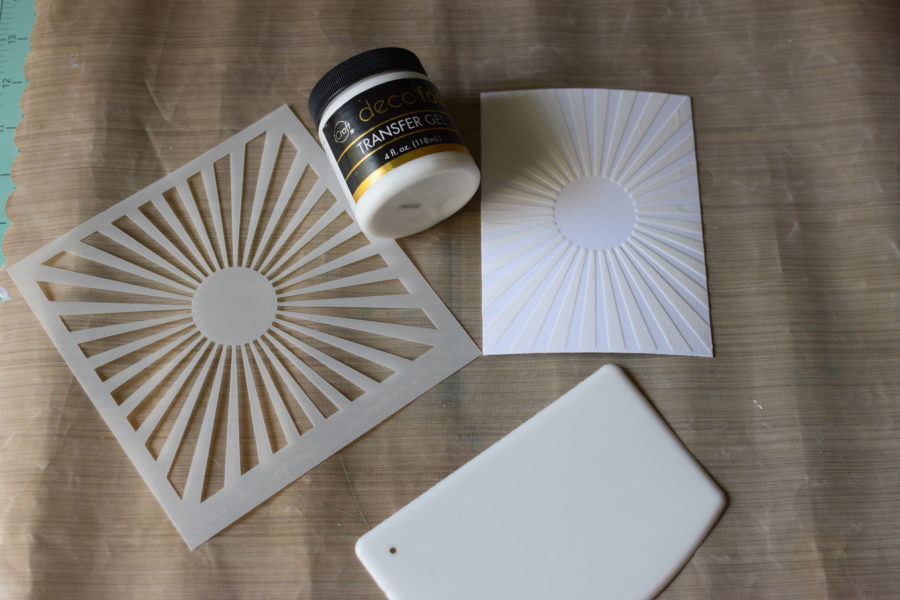
 Lift the stencil to reveal the design and set aside to dry approximately an hour. Repeat the above steps as many time as you like if you'd like to create more projects later. I like to create several extras since I have all the supplies out. Once they are dry, I can store them in my art bins for use later.
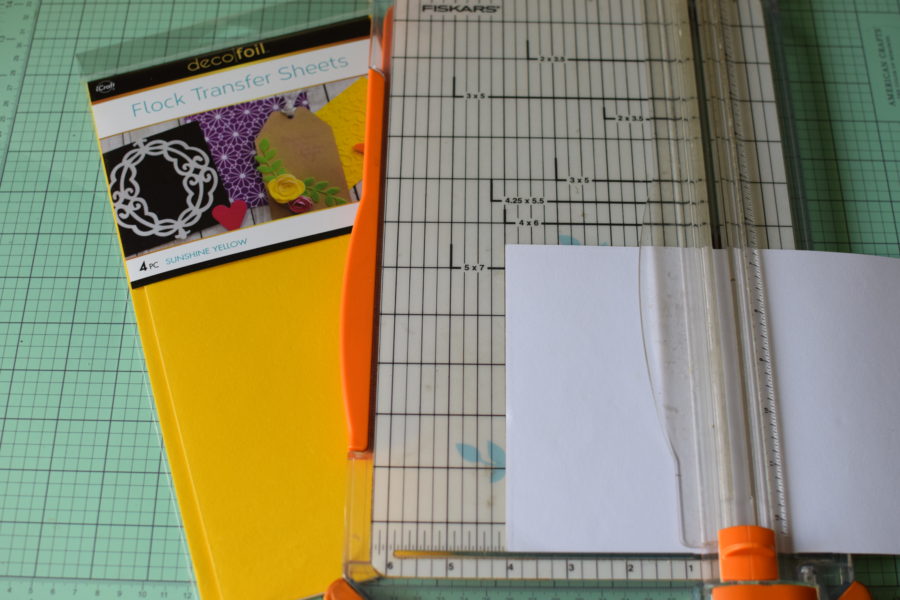
 While that is drying, Cut a piece of the Flock transfer sheet with the flock face down on your trimmer.
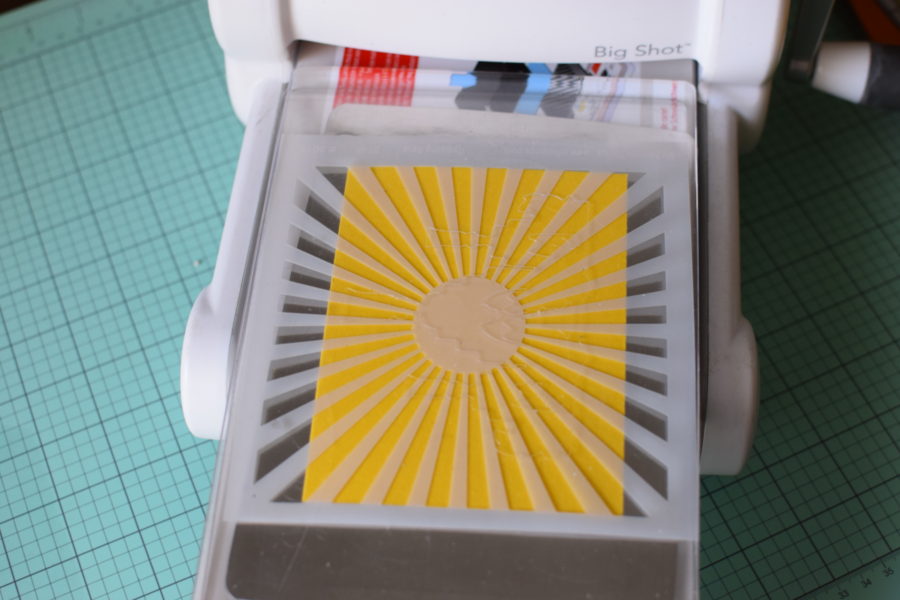
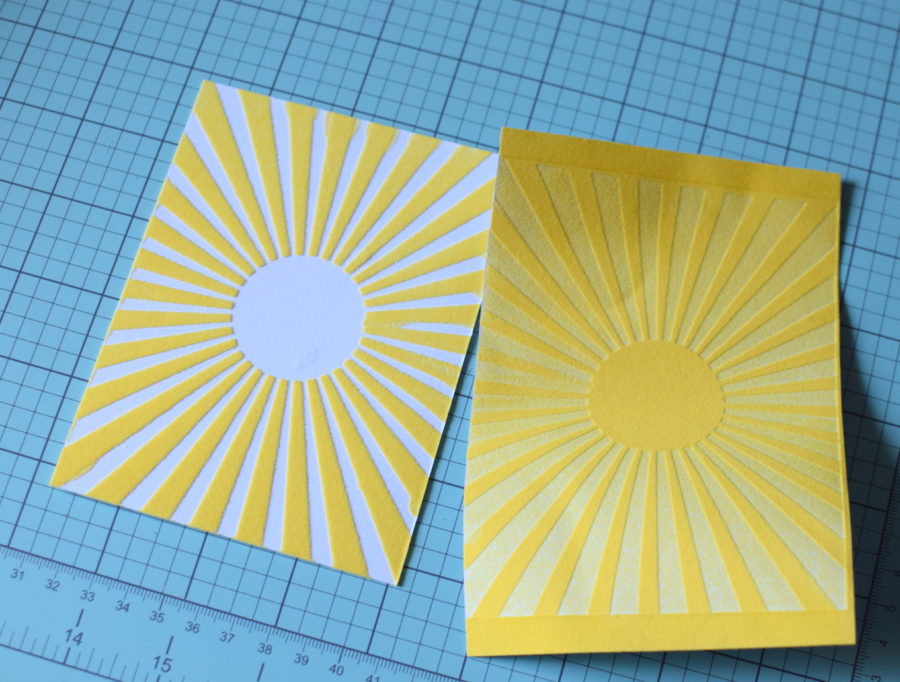
 Next cut the same size piece of the Deco Foil foam adhesive. Peel away the top layer and adhere to the deco flock. color side up. Place the stencil over the Flock transfer sheet and run it through your die cutting machine.
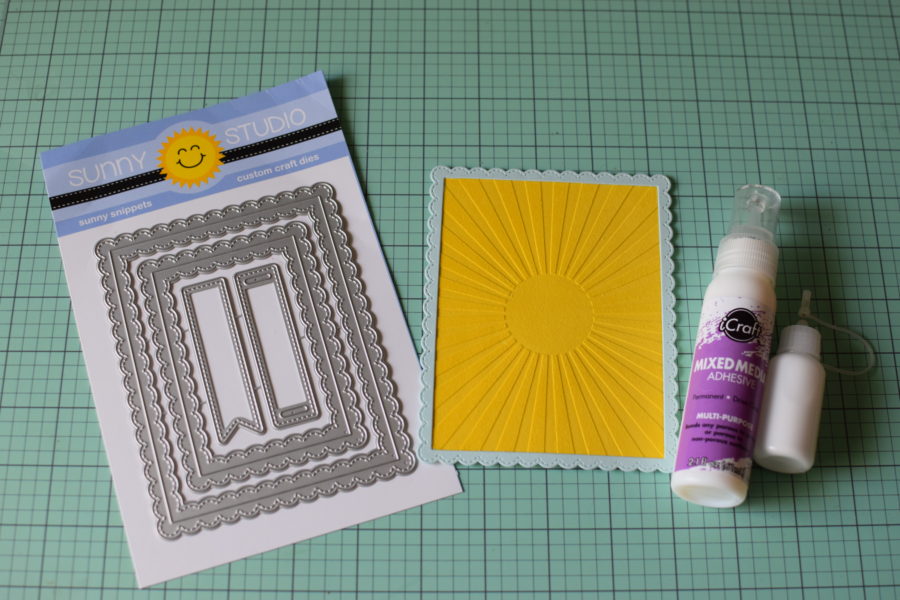
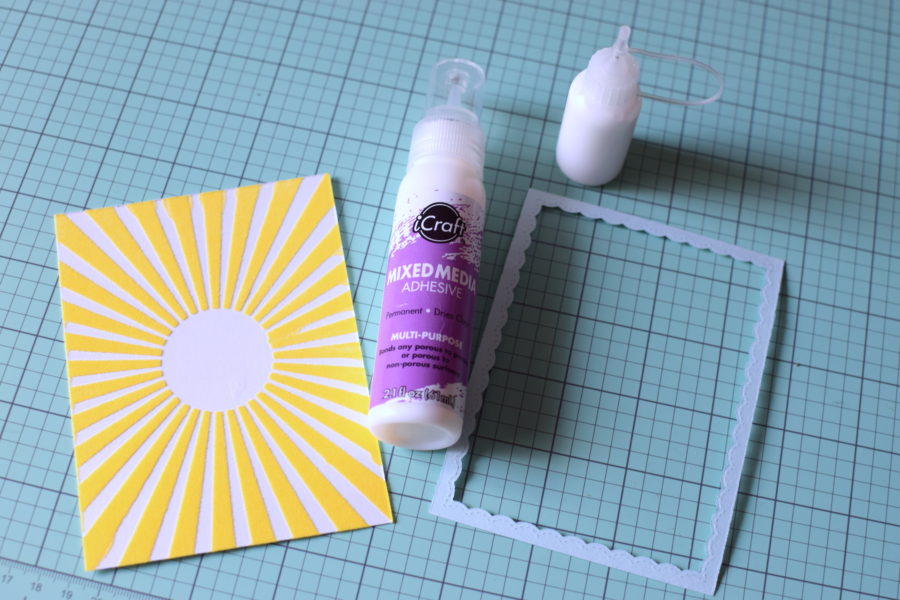
 Next, I cut a die frame from the Sunny Studio that I wanted to glue around the border of the embossed design. I love our quick drying mixed media adhesive. I picked up one of those fine tip bottles and filled to use on areas that are limited in size.
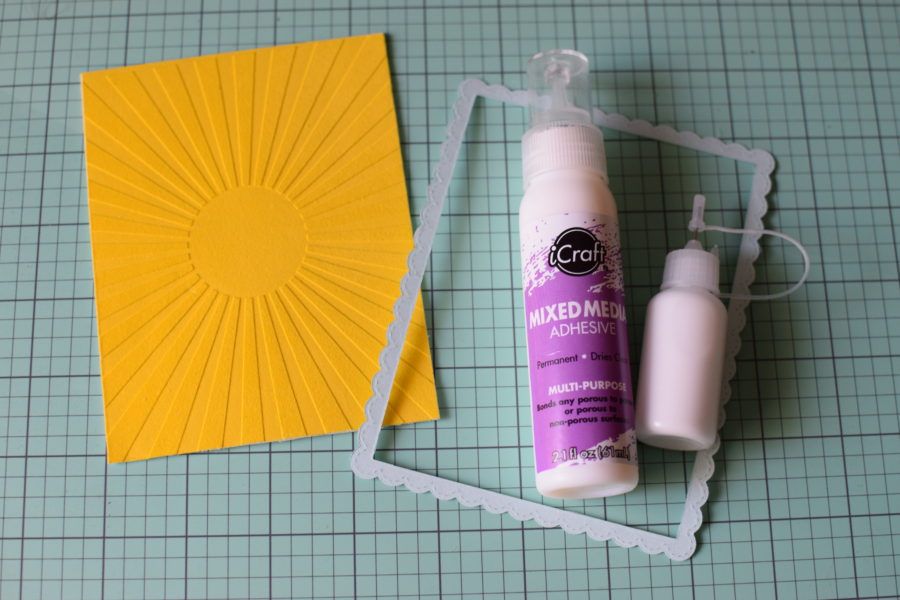 It's bonded almost instantly and looks great!
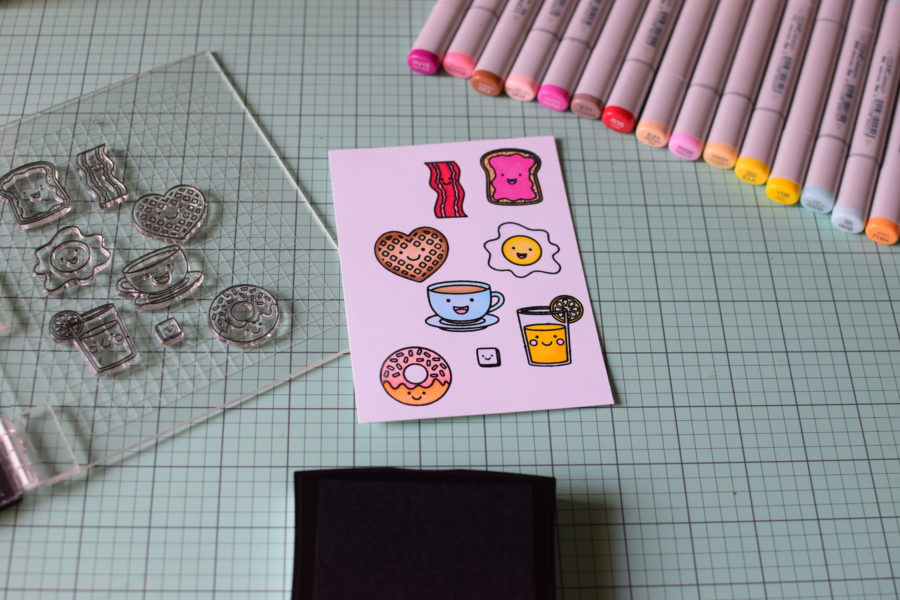
 Now I am ready to stamp my Sunny Studio images from the Breakfast Puns set. I like to stamp several images at one time since I'll already have the supplies out. Once I get a crisp image, I embossed them with clear embossing powder.
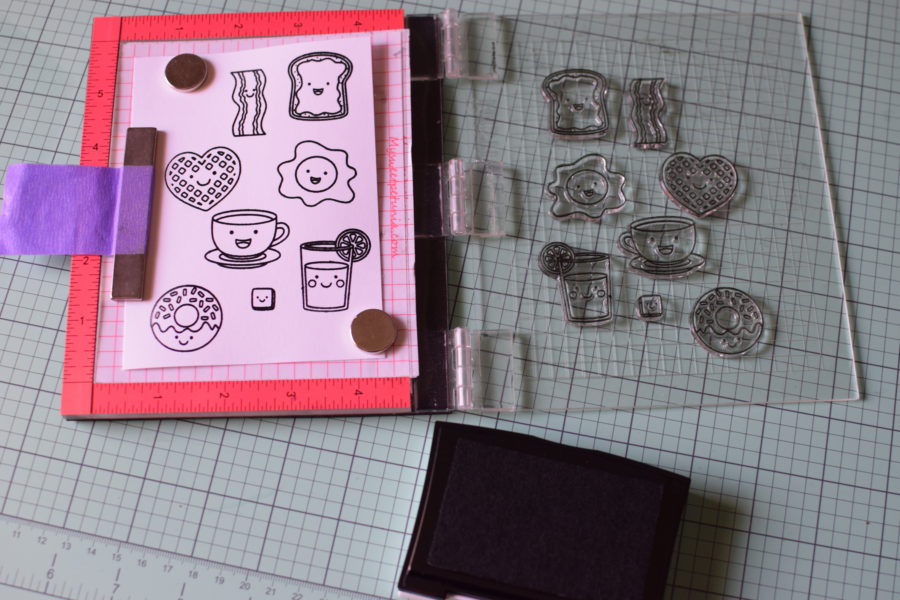 Next, I color the images with a variety of Copic markers.
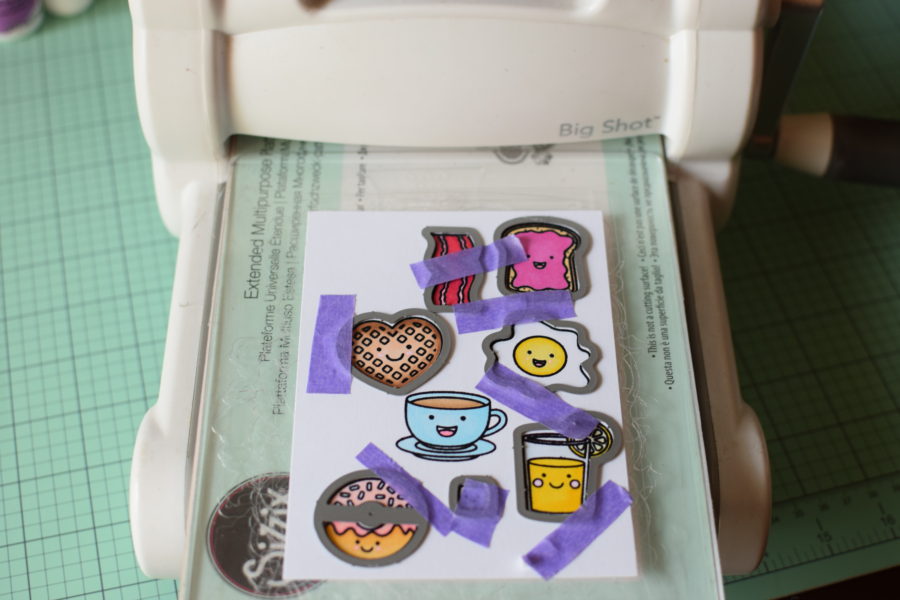
 Using purple tape to secure the coordinating dies, I run them through my die cutting machine.
 Next, I stamp my sentiment and arrange the die cuts on my card base.
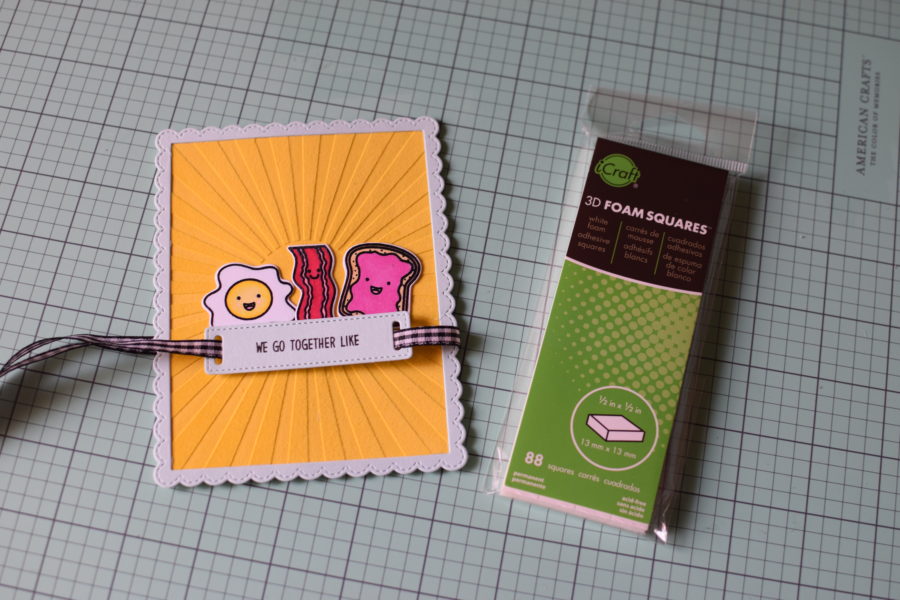 Using some ribbon, the sentiment is attached and so are the die cut stamps.
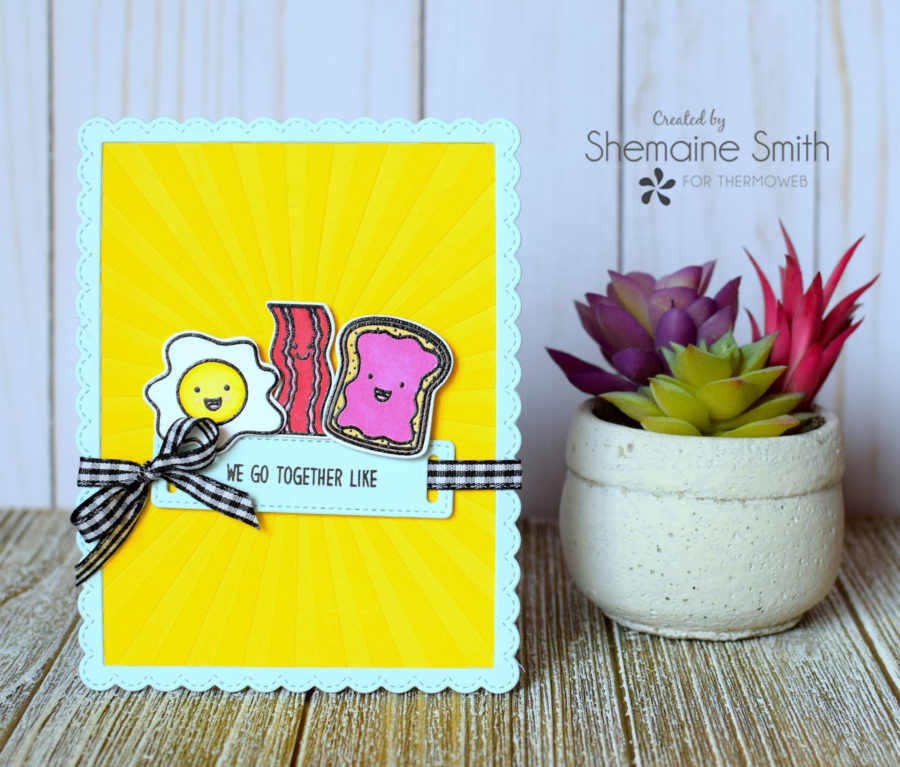
 The finished card is so fun and the background looks so vibrant! Super cute right?
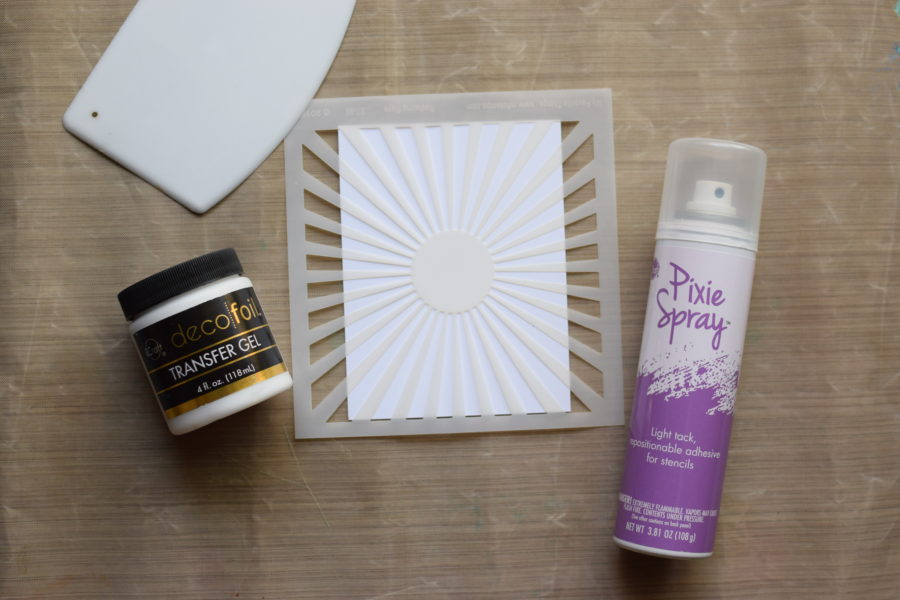
 Now that the Deco Foil Transfer gel has had enough time to dry, we can create a second look with the stencil.
 I cut another piece of the Flock transfer sheet and place it over the dry transfer gel design. Placing it inside the parchment paper, I tun it through the laminator. Be sure to always transfer the Deco Foil Flock to the Deco Foil Transfer Gel within 12 hours of application.
 Let it cool for a few mins and then gently tear the top away to reveal another really great look!
 I am repeating the same step as above with the die cut frame and adhering it over the flocked design.
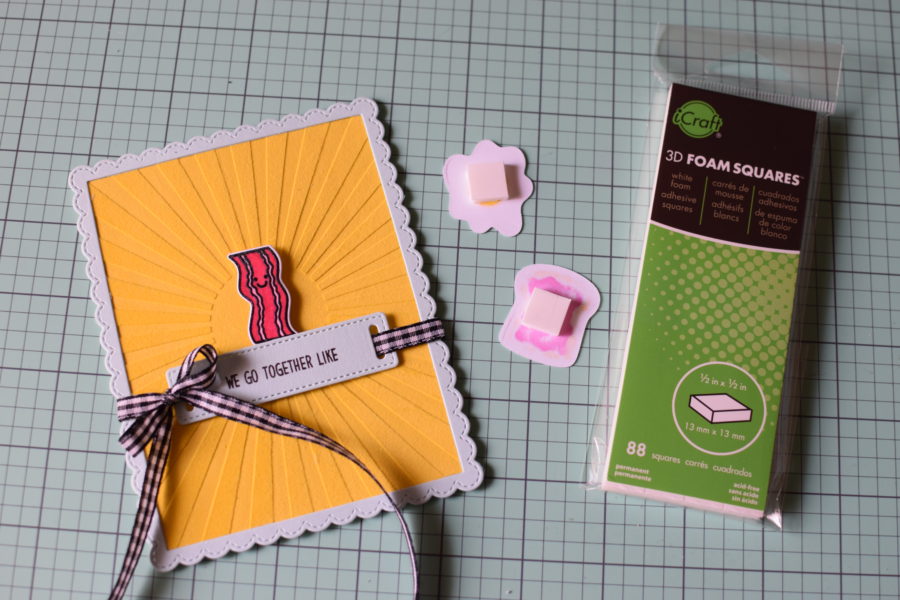
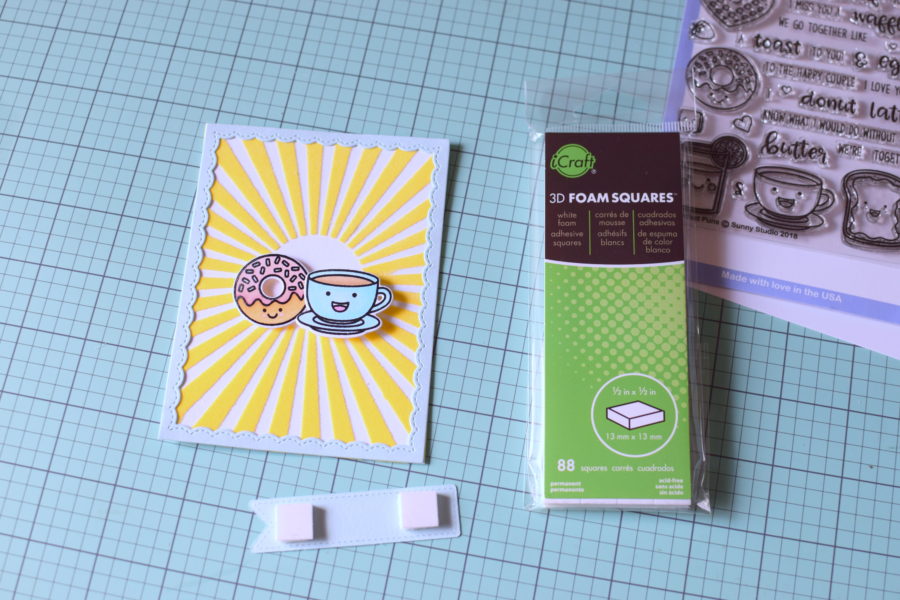 Using the 3D foam squares I adhere the die cut stamped images and the sentiment to the card base. I really love how this look turned out.
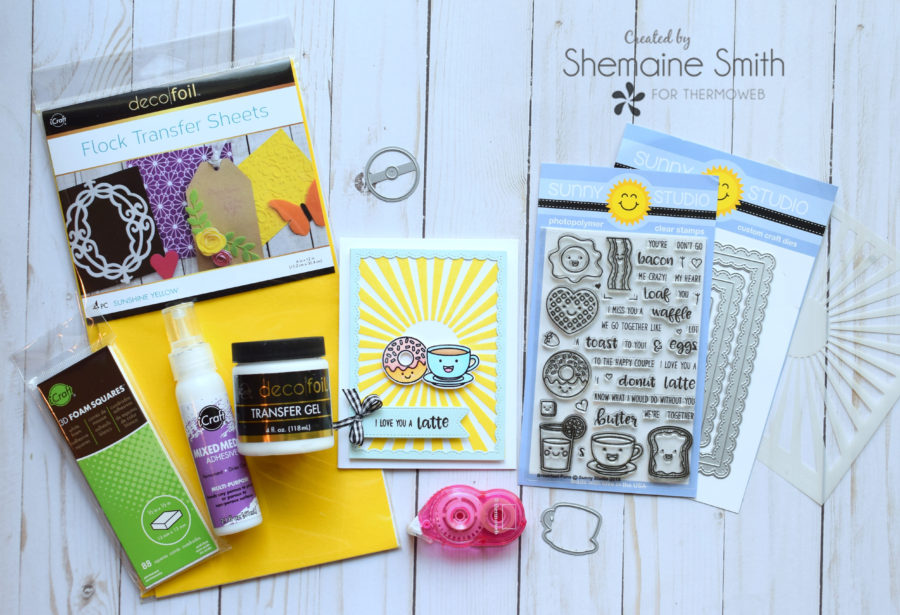 Here are all the supplies used to create this card.
 The finished card with a cute bow.
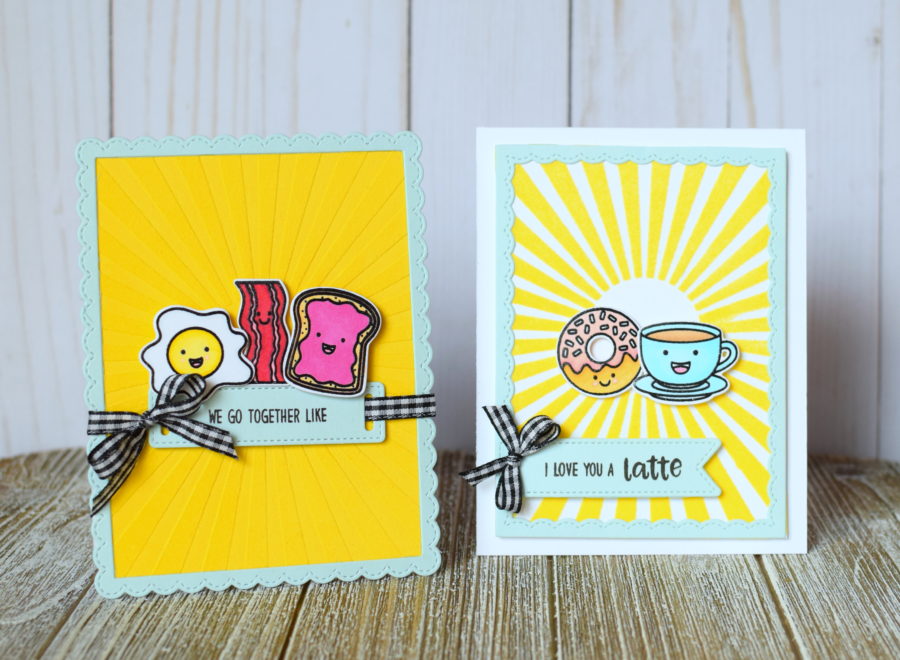 So there you have it! The same flocked transfer sheet used two different ways. I hope you'll give these two techniques a try and hashtag your creation via social media. We enjoy searching Instagram and Facebook for #thermoweb, #decofoil #decofoilflock and #decofoiltransfergel to see what you're making.
Thank you to Sunny Studio for teaming up with us this week. Make sure you check out their website for all of their fun designs including the ones used today!
Shemaine
THANKS SO MUCH for stopping by today and STAY TUNED for LOTS of FUN all this week as we SHARE LOTS of ideas this week during the Sunny Studios Stamps Collaboration Week!!
So there you have it! The same flocked transfer sheet used two different ways. I hope you'll give these two techniques a try and hashtag your creation via social media. We enjoy searching Instagram and Facebook for #thermoweb, #decofoil #decofoilflock and #decofoiltransfergel to see what you're making.
Thank you to Sunny Studio for teaming up with us this week. Make sure you check out their website for all of their fun designs including the ones used today!
Shemaine
THANKS SO MUCH for stopping by today and STAY TUNED for LOTS of FUN all this week as we SHARE LOTS of ideas this week during the Sunny Studios Stamps Collaboration Week!!