No Products in the Cart
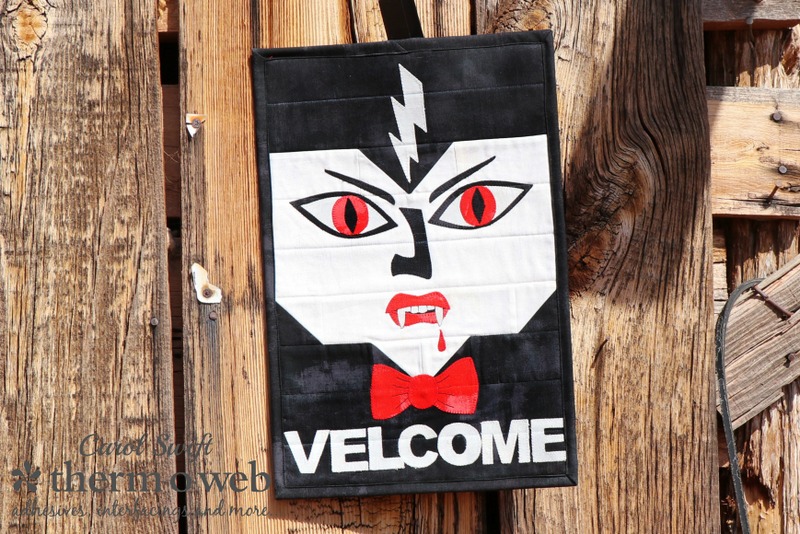 What you’ll need to make “Velcome To My House”:
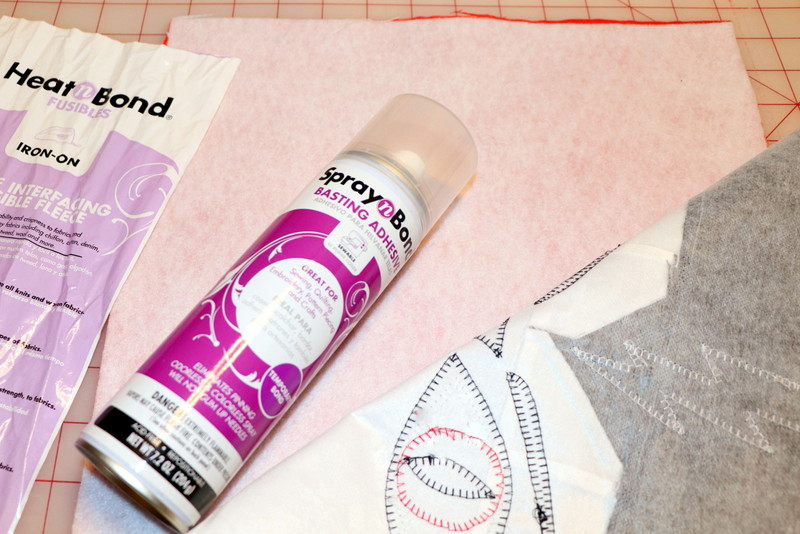
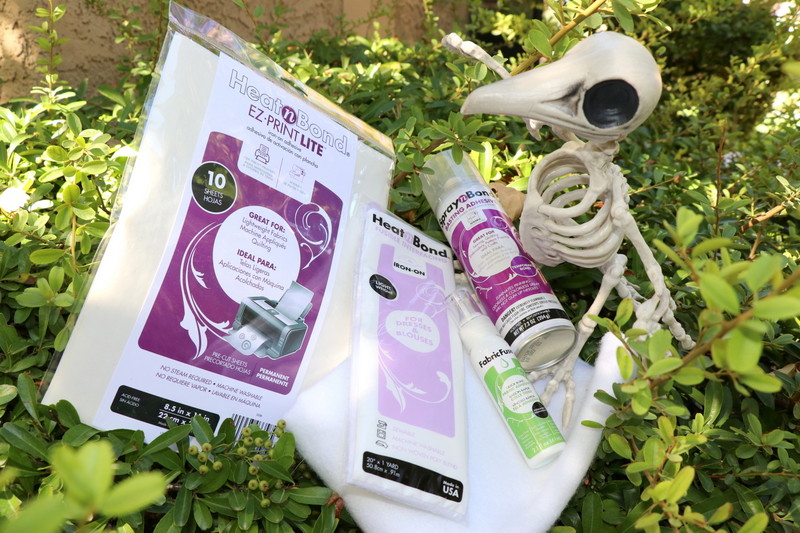 Heat n Bond Fleece Fusible High Loft
Therm O Web EZ Print Lite Sheets
Therm O Web Spray n Bond Basting Adhesive
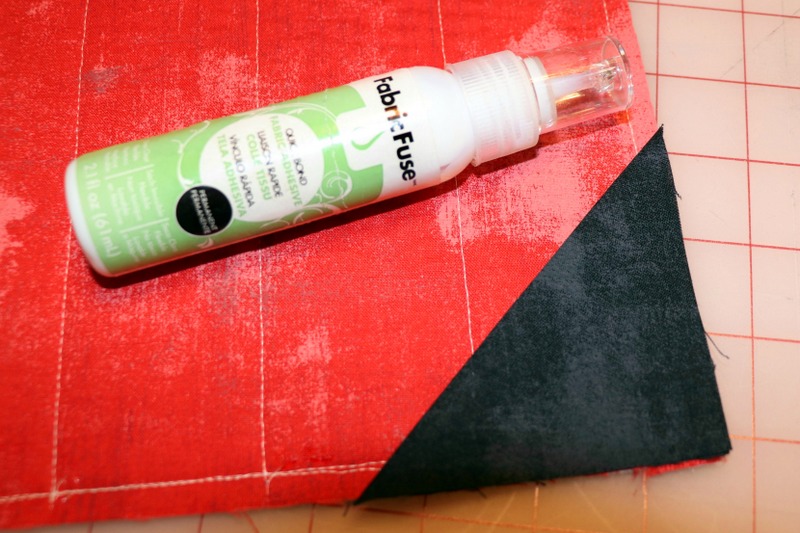
Therm O Web Fabric Fuse Liquid Adhesive
Heat n Bond Fusible Interfacing
Oliso Purple Iron *Purple makes ironing more fun!
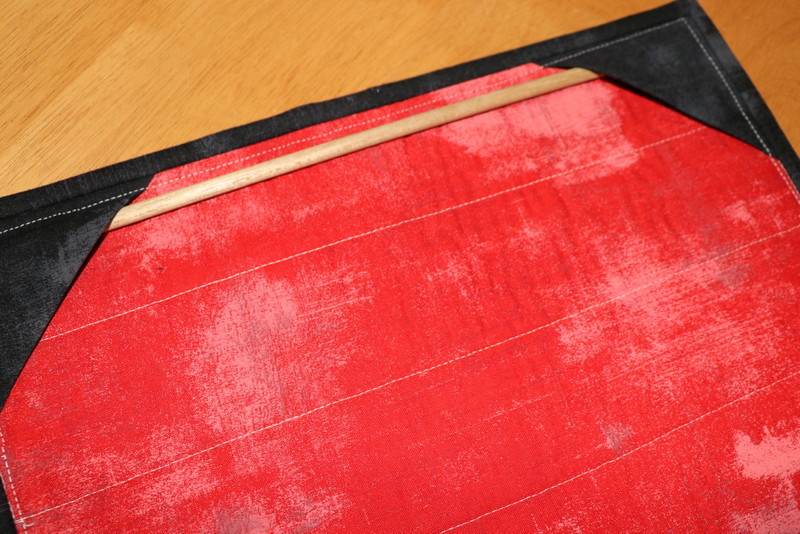
Wooden dowel
Velcome To My House pattern
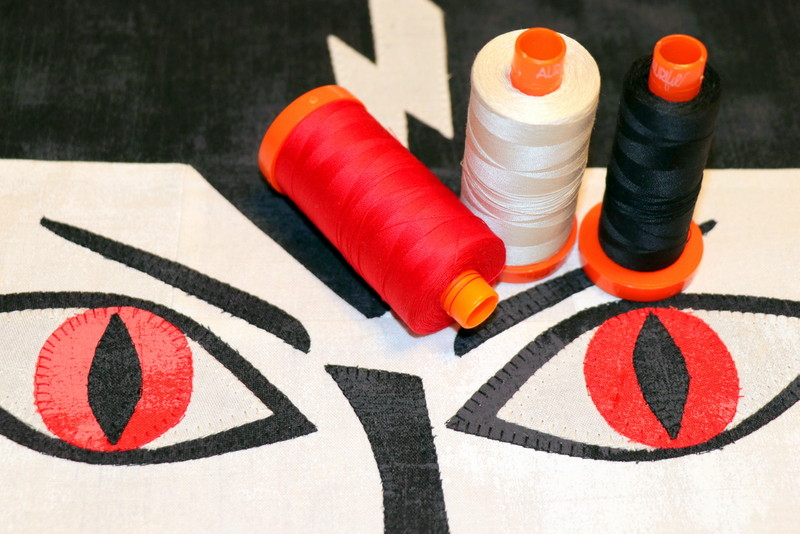
Aurifil Thread 50wt thread
Heat n Bond Fleece Fusible High Loft
Therm O Web EZ Print Lite Sheets
Therm O Web Spray n Bond Basting Adhesive
Therm O Web Fabric Fuse Liquid Adhesive
Heat n Bond Fusible Interfacing
Oliso Purple Iron *Purple makes ironing more fun!
Wooden dowel
Velcome To My House pattern
Aurifil Thread 50wt thread
 Fabric needed:
3/4 yard black
1/4 yard white
1/3 yard red
Cutting instructions:
Cut 2 – 4½” x 12½” black strips
Cut 2 - 2½” x 4½” black rectangles
Cut 3 – 3” x 3” black squares (for HST’s)
Cut 1 – 12½” x 18½” black rectangle (backing)
Cut 2 – 2½” x 42” black strips (binding)
Cut 2 – 3½” x 3½” black squares (pocket for hanging)
Cut 1 – 4½” x 12½” white strip
Cut 2 – 2½” x 4½” white strips
Cut 1 - 2½” x 8½” white rectangle
Cut 3 – 3” x 3” white squares (for HST’s)
Cut 1 - 12½” x 18½” red backing
Cut 1 – 12½” x 18½” Heat n Bond Fleece Fusible High Loft
Sewing/Applique Instructions: Seams are sewn 1/4” wide
Fabric needed:
3/4 yard black
1/4 yard white
1/3 yard red
Cutting instructions:
Cut 2 – 4½” x 12½” black strips
Cut 2 - 2½” x 4½” black rectangles
Cut 3 – 3” x 3” black squares (for HST’s)
Cut 1 – 12½” x 18½” black rectangle (backing)
Cut 2 – 2½” x 42” black strips (binding)
Cut 2 – 3½” x 3½” black squares (pocket for hanging)
Cut 1 – 4½” x 12½” white strip
Cut 2 – 2½” x 4½” white strips
Cut 1 - 2½” x 8½” white rectangle
Cut 3 – 3” x 3” white squares (for HST’s)
Cut 1 - 12½” x 18½” red backing
Cut 1 – 12½” x 18½” Heat n Bond Fleece Fusible High Loft
Sewing/Applique Instructions: Seams are sewn 1/4” wide
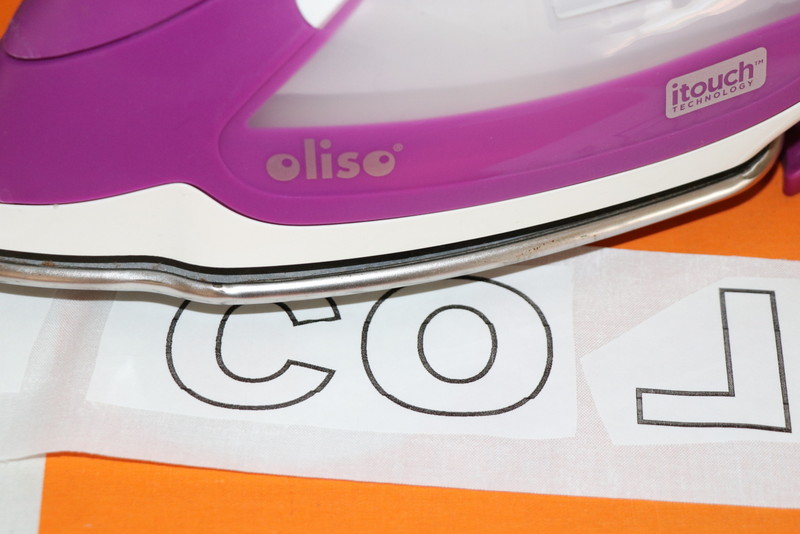
 Step 2: Iron adhesive pieces to wrong sides of fabrics with a medium heat iron, no steam. Press for 2 seconds. Repeat until all surfaces have been bonded to the fabric. Let cool. Cut out applique pieces. Peel off paper liner. Place applique shape, adhesive side down, on top of the project. Press and hold iron for 6 seconds on each section until the entire piece is bonded. Let cool. Cut out applique pieces. Set aside.
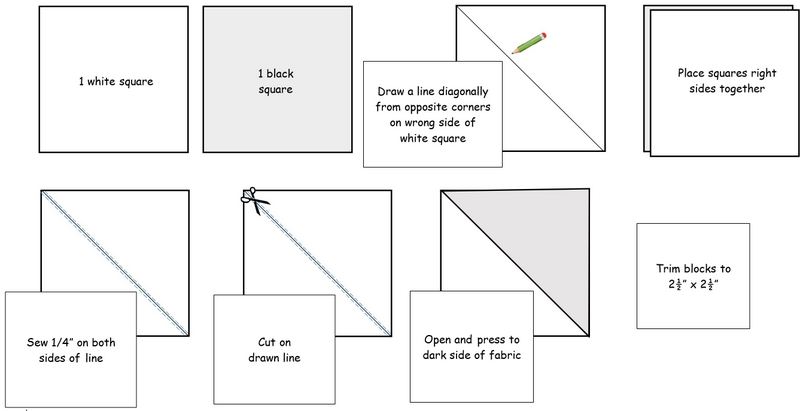
 Step 3: Prepare and sew HST’s -
 Step 4: Assemble quilt front – Sew strips together as shown on pattern starting at top. Press seams down.
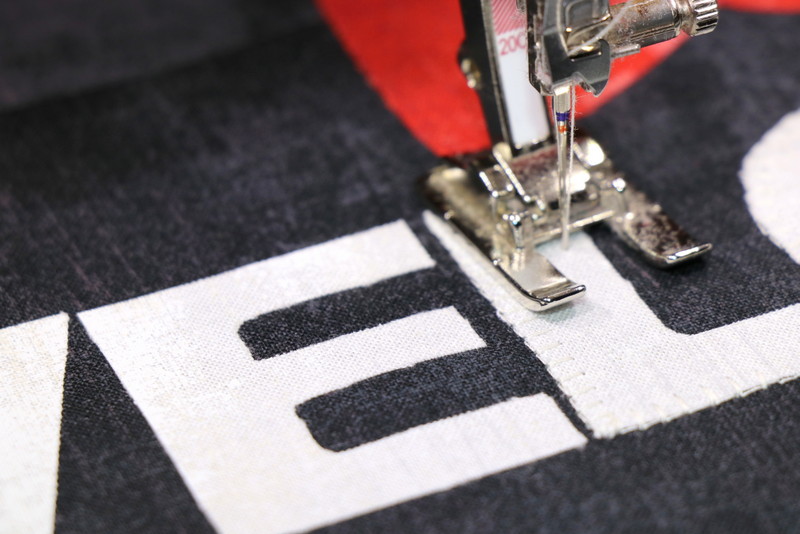
 Step 5: Apply applique designs - Peel off paper liner from the backs of applique pieces. Place applique, adhesive side down, on the right side of the fabric. Press each section following the manufacturer’s directions until the entire piece is bonded. Let cool. Sew around edges using a straight, zig-zag, or blanket stitch.
 Use a washable/erasable marker to add lines for machine or hand embroidery.
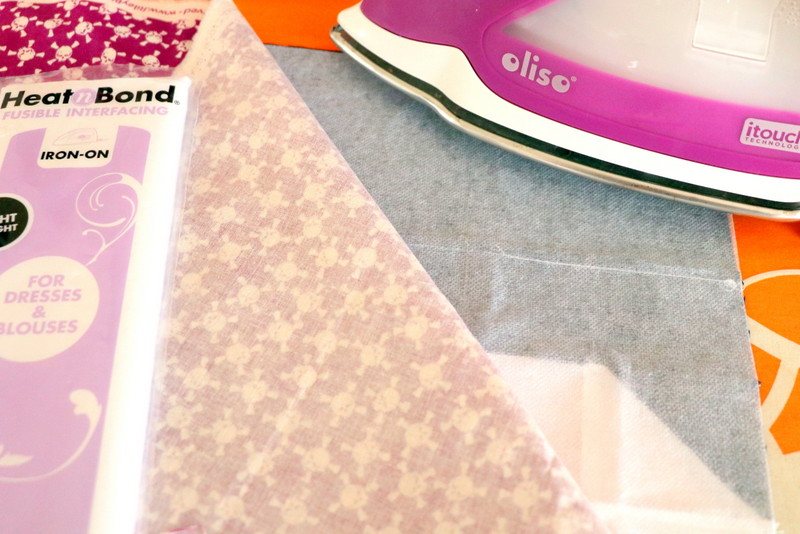
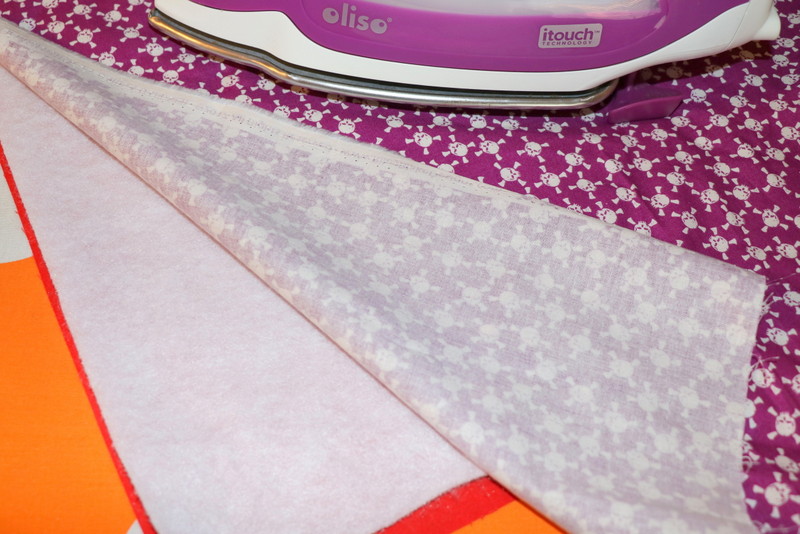
 Tip: Ironing Heat n Bond Fusible Interfacing to the back of an applique block can help keep the threads from showing through the fabric and make stitching small pieces easier. Always use a protective covering when ironing interfacing to the fabric. Using a leftover piece of fabric works great![/tooltip]
 Step 6: Assemble wall hanging using Heat n Bond Fleece Fusible High Loft and Therm O Web Spray n Bond Basting Adhesive: Iron Heat n Bond Fleece Fusible High Loft to the wrong side of backing fabric following package directions. Always use a protective covering when ironing fleece to fabric.
 Protect the area where you will be working with adhesive spray by placing an old sheet or paper under and around the area you’ll be spraying. Lay your backing on the protected area with fleece side up. Spray the Therm O Web Spray n Bond Basting Adhesive on the fleece side from one edge to the other. Place the wall hanging front wrong side down over the sprayed surface of the fleece. Smooth fabric to ensure it adheres to the sprayed fabric. Check for creases or folds…the fabric can easily be lifted and replaced. Quilt using your favorite method.
 Step 7: Add dowel hanger - Create corner pockets on the back using two 3½” x 3½” squares of fabric and Fabric Fuse Adhesive. Fold the squares in half diagonally and press on the fold. Dab the adhesive along the corner edges of the quilt back. Place raw edges of folded corners in place over the adhesive and let dry. Add binding using your favorite method.
 Cut a dowel to fit between the two corners. The dowel hangs easily using a nail or hook on a wall or door.
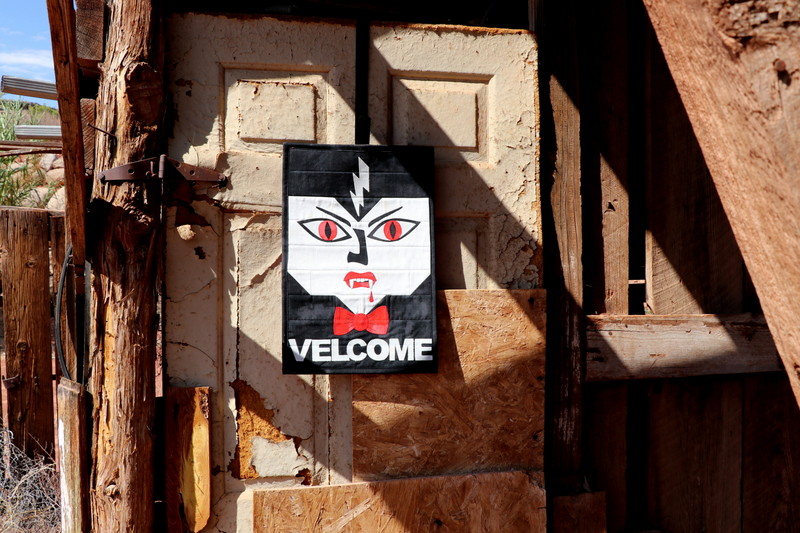 You can find the complete "Velcome To My House" PDF pattern HERE.
 Happy Halloween!
 We're pleased to share with you today the kick-off of our NEW HeatnBond How-To Video Series! We know it's important to see how to use our products and that's exactly what we've done. In today's project Carol used many of our most popular products and you'll soon find videos to help you with how to use those! Today we're kicking off our new Video Series with videos for our HeatnBond Lite and Featherlite Fusible Adhesive along with our HeatnBond Ultrahold Fusible Adhesive!
https://youtu.be/L5uWKL1s_cU
https://youtu.be/XaiCEe_Vb-8
Join us starting today and throughout the next few weeks as we bring you our NEW How-To Video series that will cover how to use our Heatnbond products, SpraynBond, StitchnSew and our Fabric Fuse. Be sure you are a subscriber to our YouTube Channel!
We're pleased to share with you today the kick-off of our NEW HeatnBond How-To Video Series! We know it's important to see how to use our products and that's exactly what we've done. In today's project Carol used many of our most popular products and you'll soon find videos to help you with how to use those! Today we're kicking off our new Video Series with videos for our HeatnBond Lite and Featherlite Fusible Adhesive along with our HeatnBond Ultrahold Fusible Adhesive!
https://youtu.be/L5uWKL1s_cU
https://youtu.be/XaiCEe_Vb-8
Join us starting today and throughout the next few weeks as we bring you our NEW How-To Video series that will cover how to use our Heatnbond products, SpraynBond, StitchnSew and our Fabric Fuse. Be sure you are a subscriber to our YouTube Channel!Written by Carol Swift