No Products in the Cart



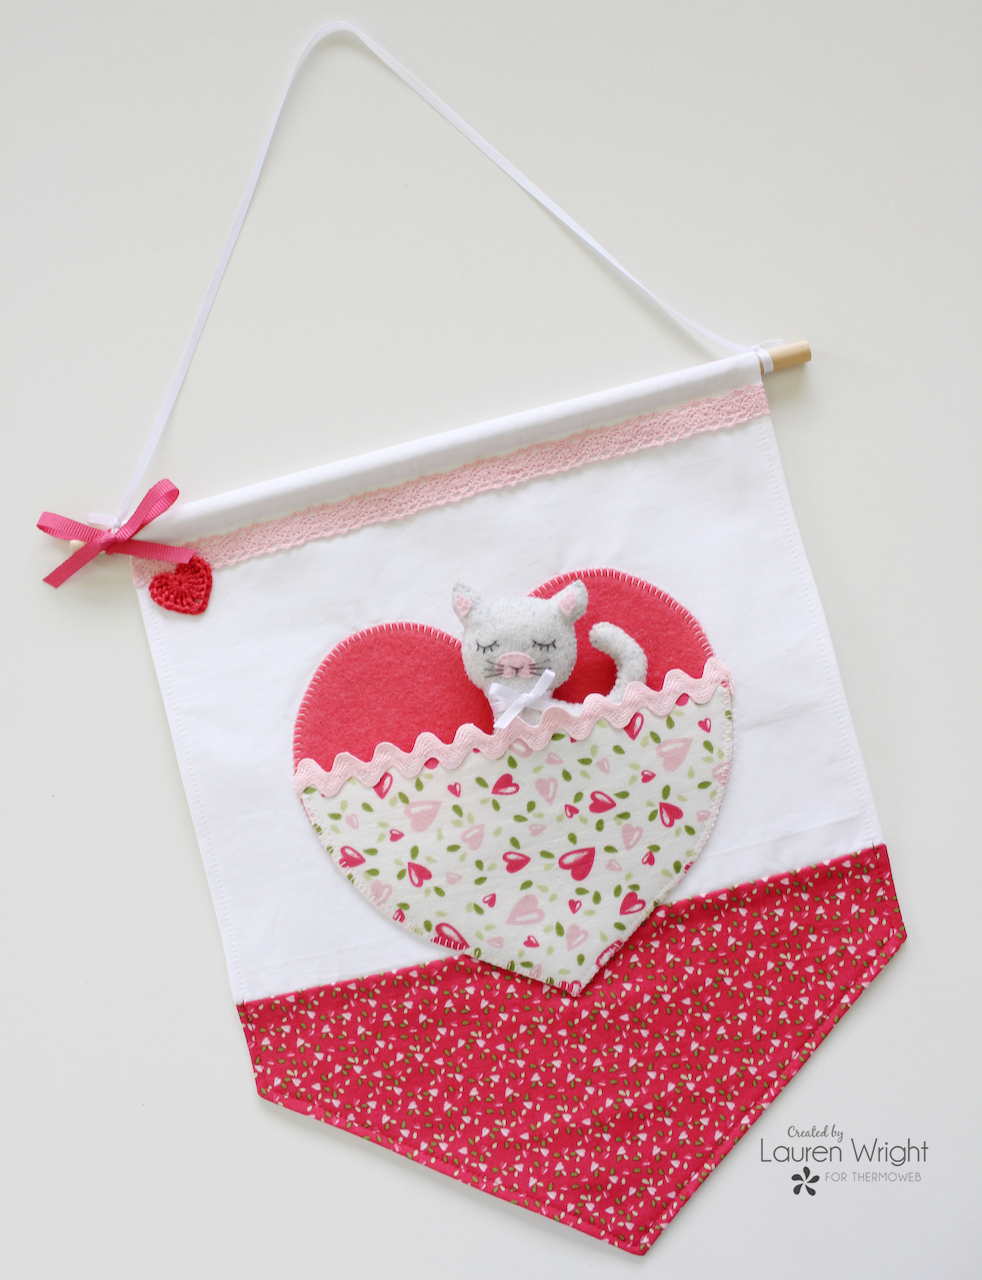
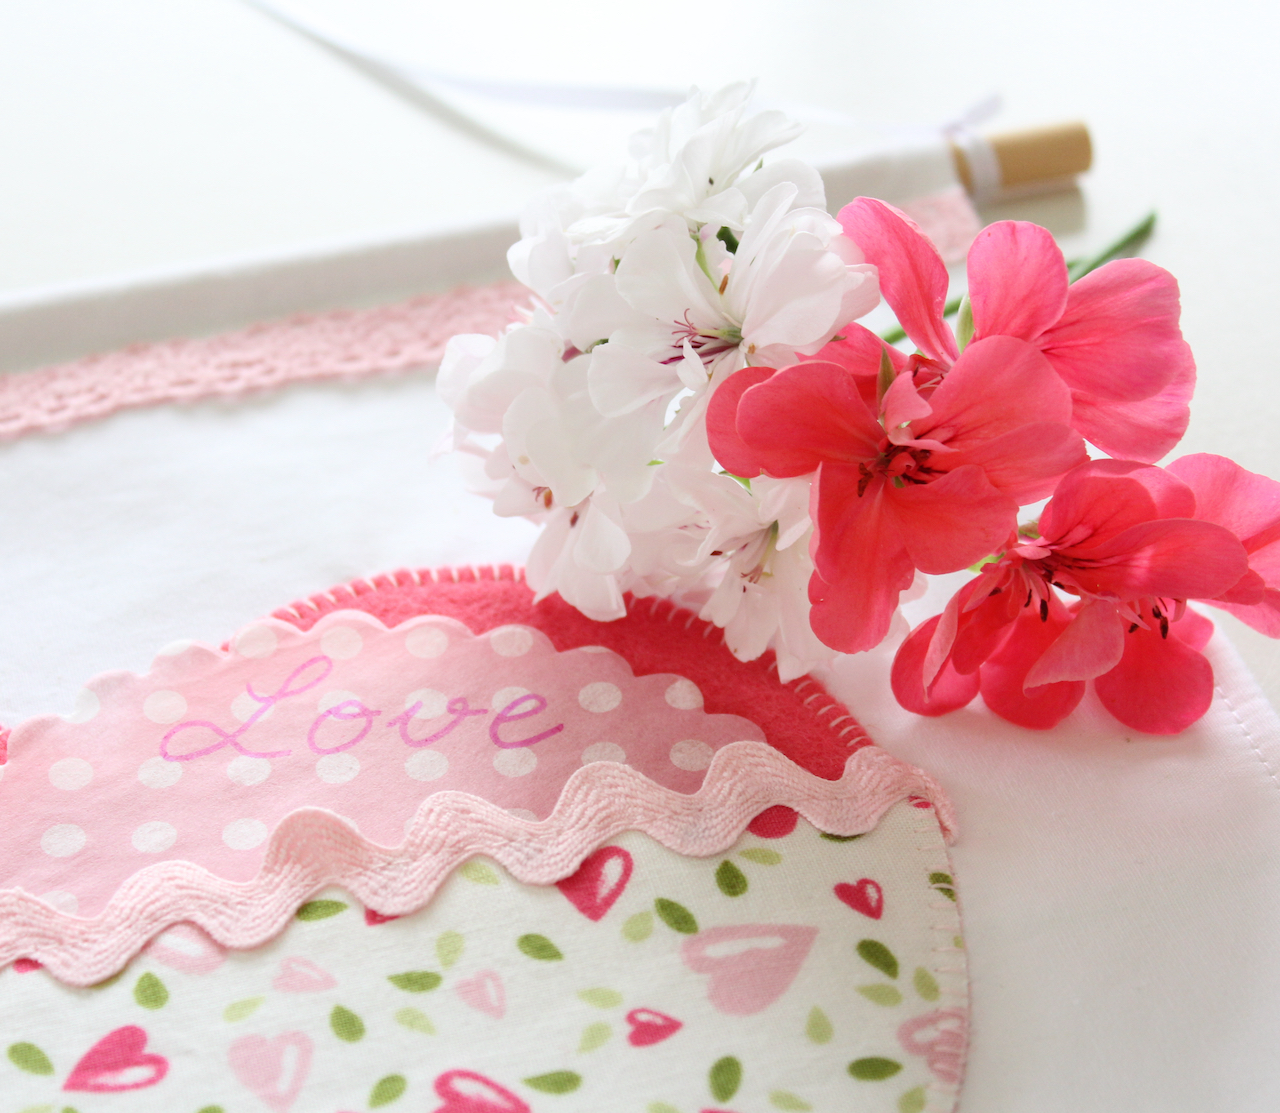
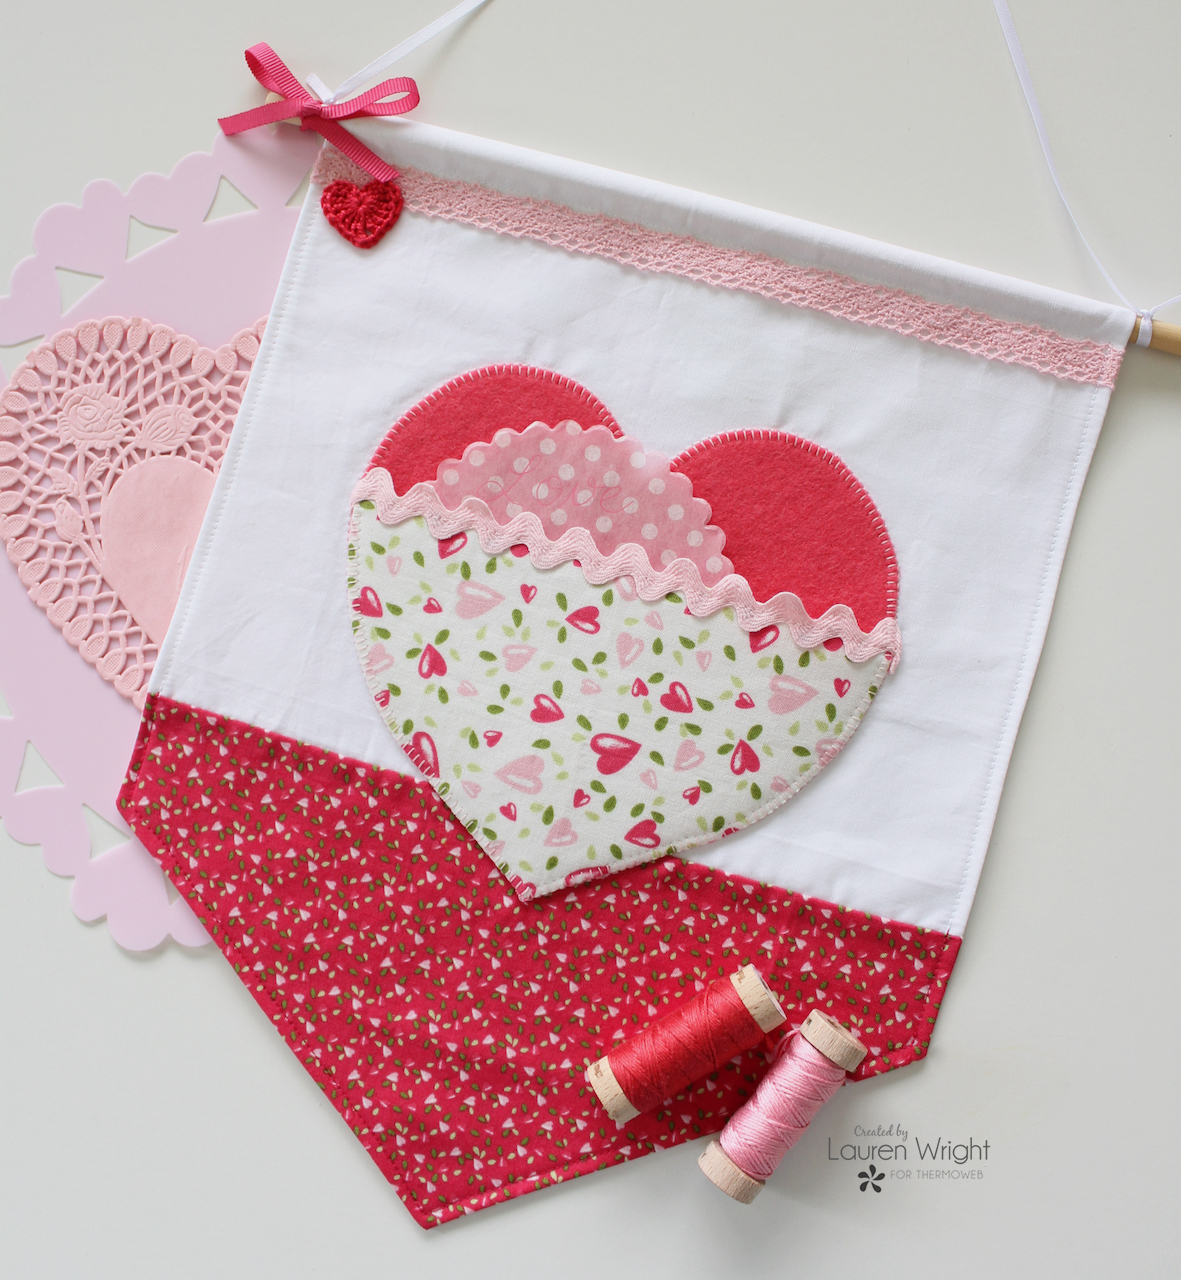
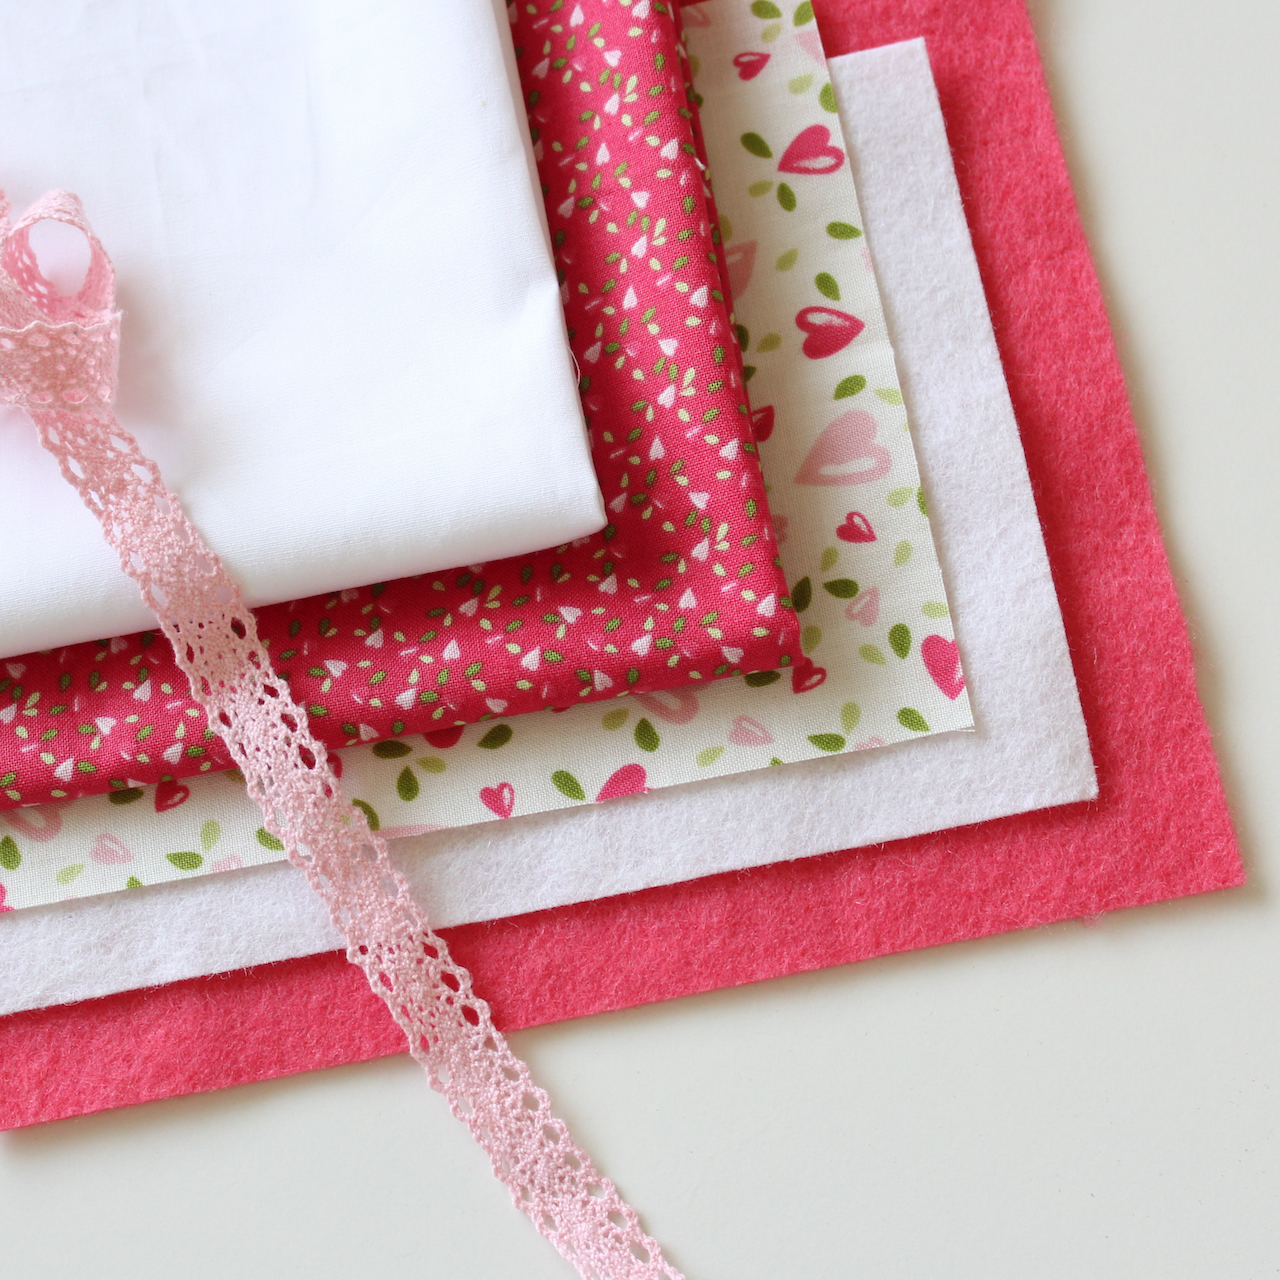
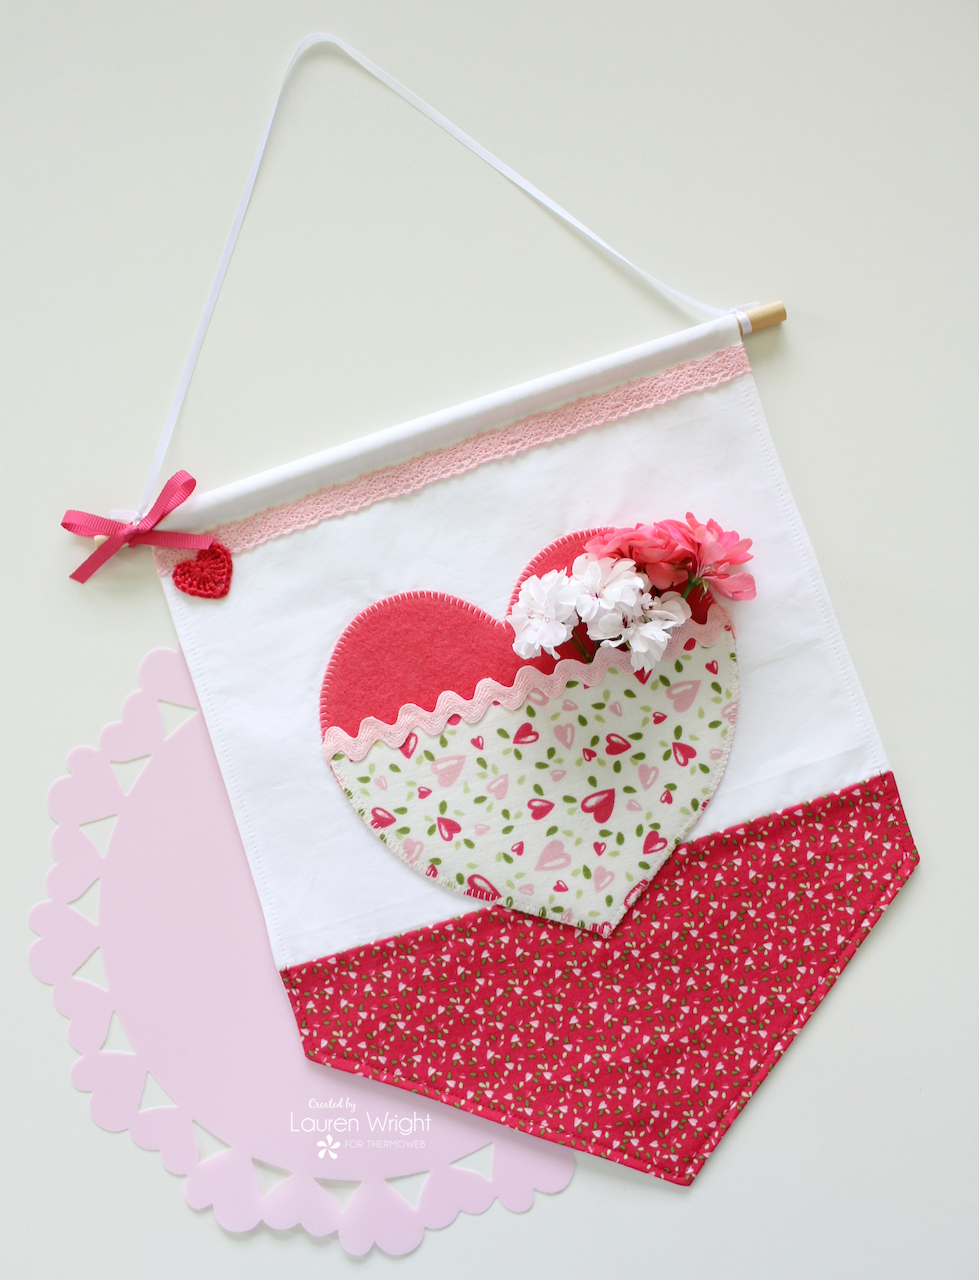 Nothing say's Valentine's Day like some pretty heart decor to decorate the home. This lovely wall banner has a special felt heart pocket on the front. It's the perfect place to find a love note, a special message or even a small Valentine's gift.
This quick and easy project can be whipped up in no time!
FINISHED SIZE: 13.5" tall and 10.5" wide
Nothing say's Valentine's Day like some pretty heart decor to decorate the home. This lovely wall banner has a special felt heart pocket on the front. It's the perfect place to find a love note, a special message or even a small Valentine's gift.
This quick and easy project can be whipped up in no time!
FINISHED SIZE: 13.5" tall and 10.5" wide
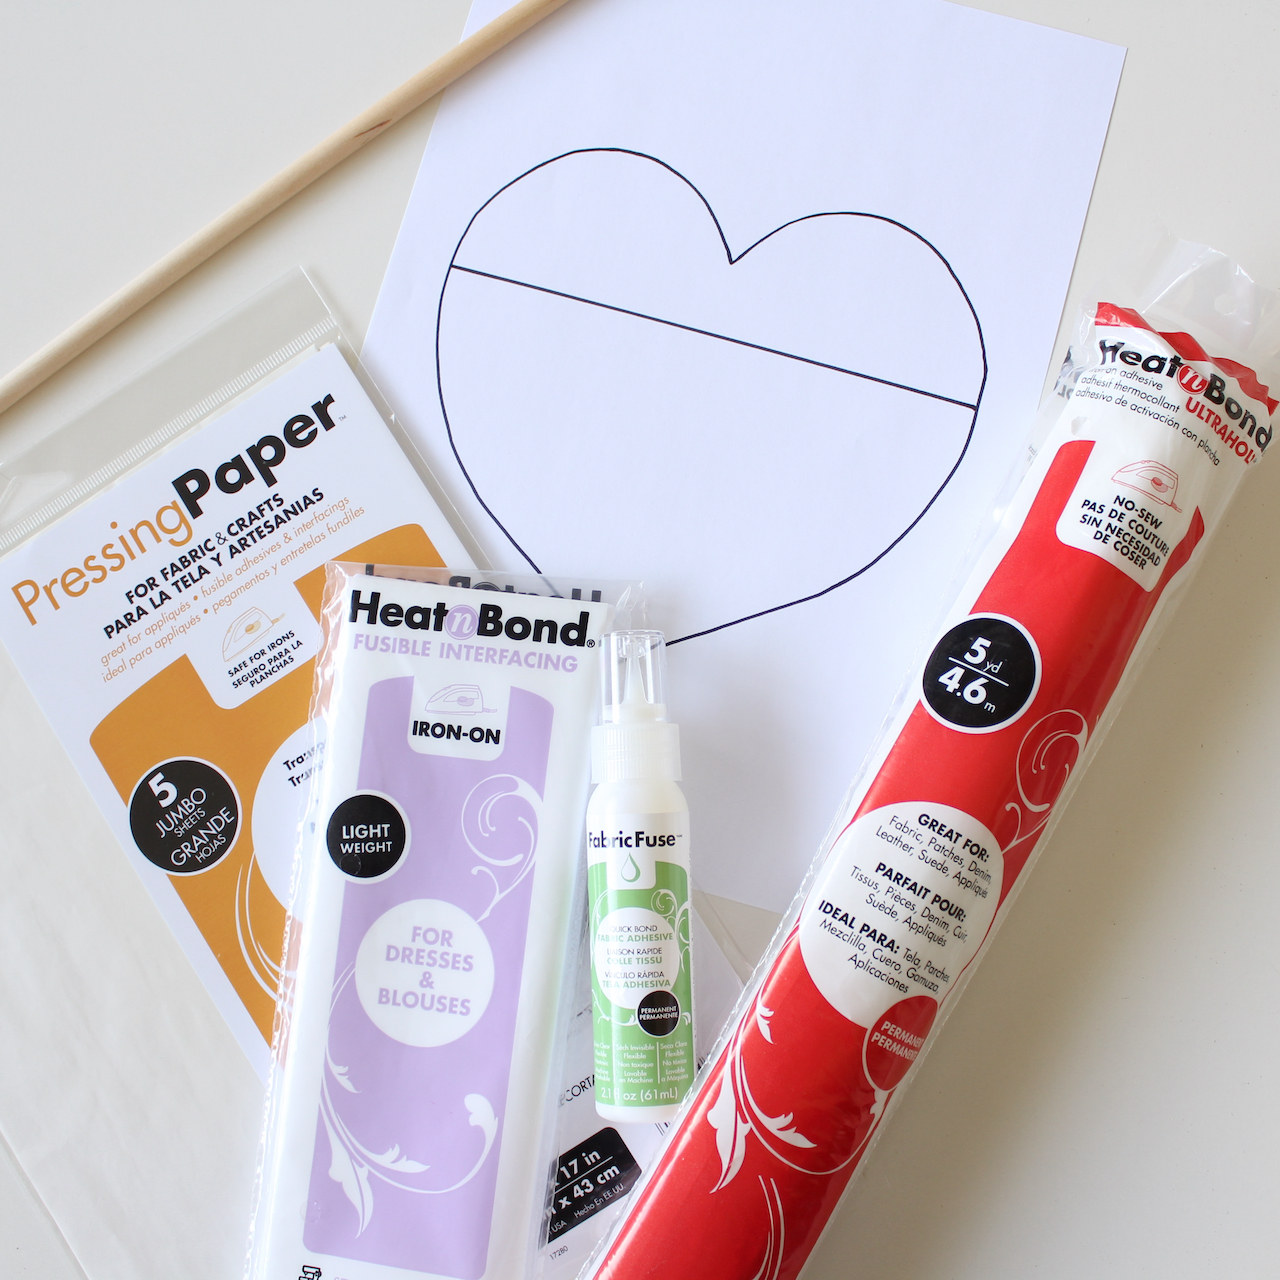
 Cut out the heart shape on the line.
Cut the paper template along the solid straight line to form the bottom half of the heart. Position this template onto the fabric side of the white fabric / felt rectangle and trace the shape.
Cut out the heart shape on the line.
Cut the paper template along the solid straight line to form the bottom half of the heart. Position this template onto the fabric side of the white fabric / felt rectangle and trace the shape.
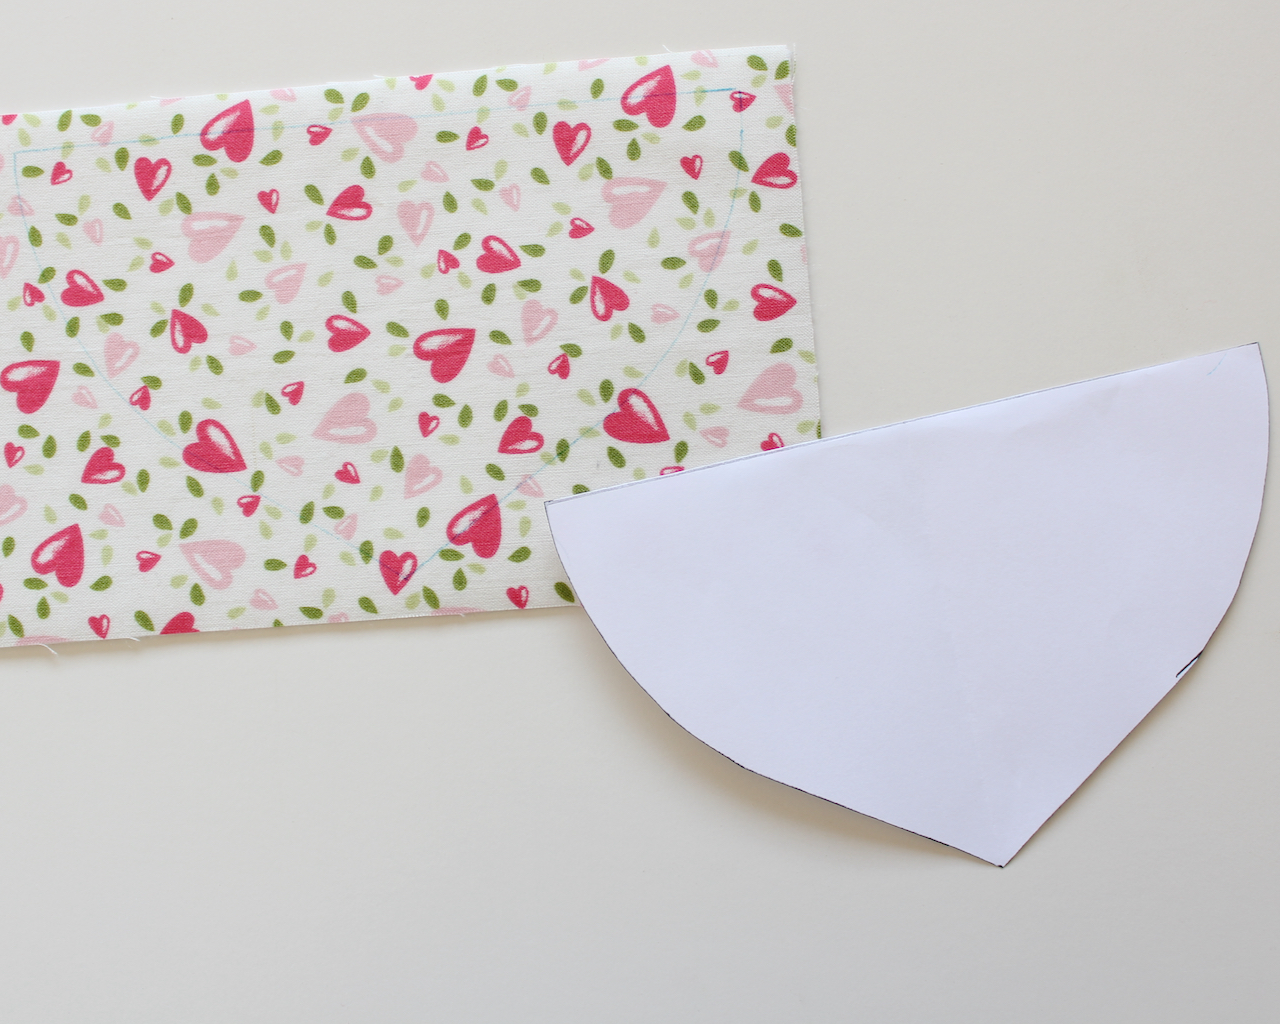 Cut out the half heart shape and peel off the backing paper on the red felt heart.
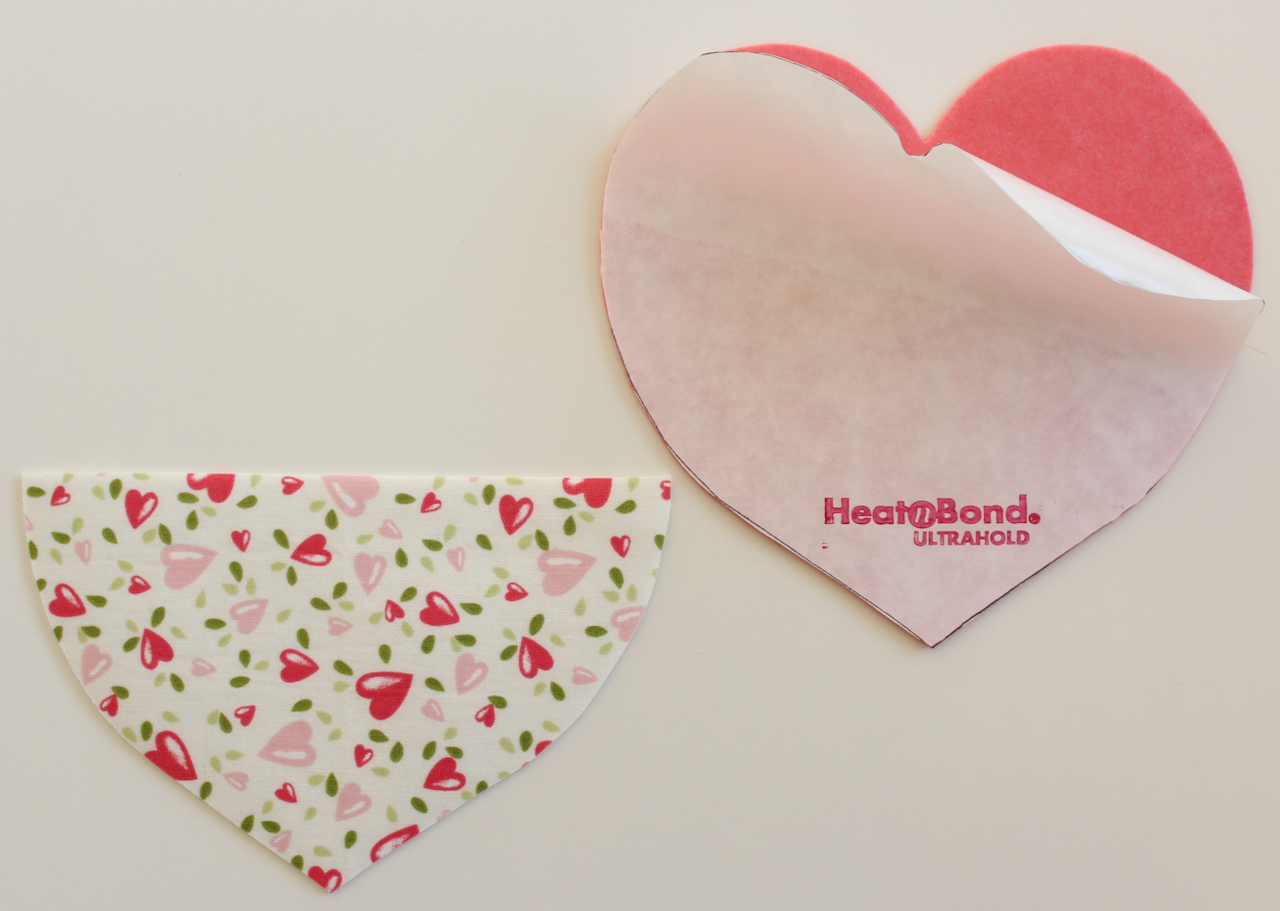 Use small amounts of the fabric fuse glue on the bottom edge of the ric rac and position it on the top straight edge of the white floral heart, then press to secure in place.
Use a straight stitch on the machine to ensure the ric rac stays in place. Be sure to tuck the ric rac ends towards the back of the shape. Set shape aside.
Use small amounts of the fabric fuse glue on the bottom edge of the ric rac and position it on the top straight edge of the white floral heart, then press to secure in place.
Use a straight stitch on the machine to ensure the ric rac stays in place. Be sure to tuck the ric rac ends towards the back of the shape. Set shape aside.
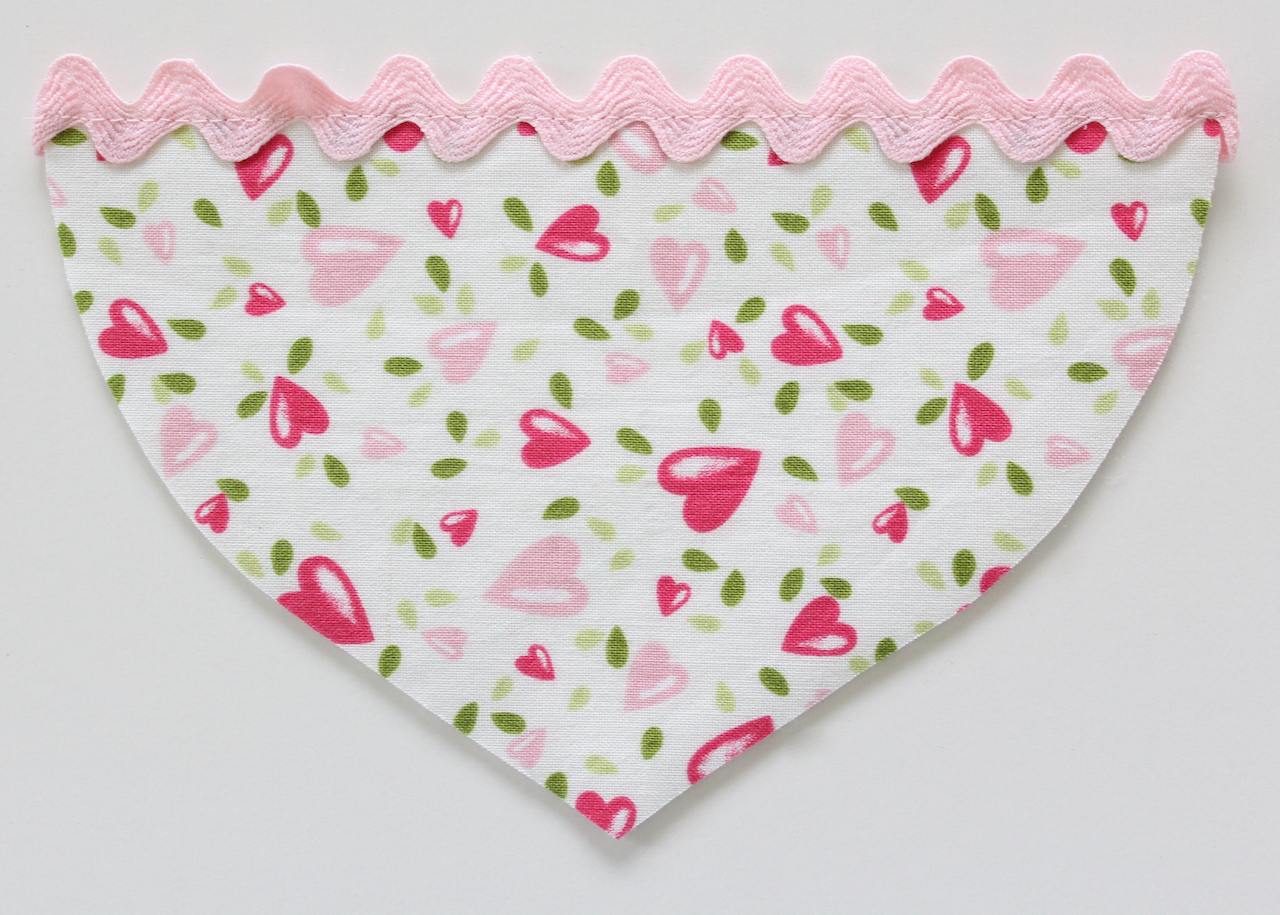 Position the banner fabric on a flat surface with the red floral fabric at the base. Centre the red felt heart on the fabric banner (with the ultra hold side facing the fabric) so that the base of the heart overlaps onto the red floral fabric by 1".
Cover the felt with the pressing paper and then press with the iron to secure in place.
Position the banner fabric on a flat surface with the red floral fabric at the base. Centre the red felt heart on the fabric banner (with the ultra hold side facing the fabric) so that the base of the heart overlaps onto the red floral fabric by 1".
Cover the felt with the pressing paper and then press with the iron to secure in place.
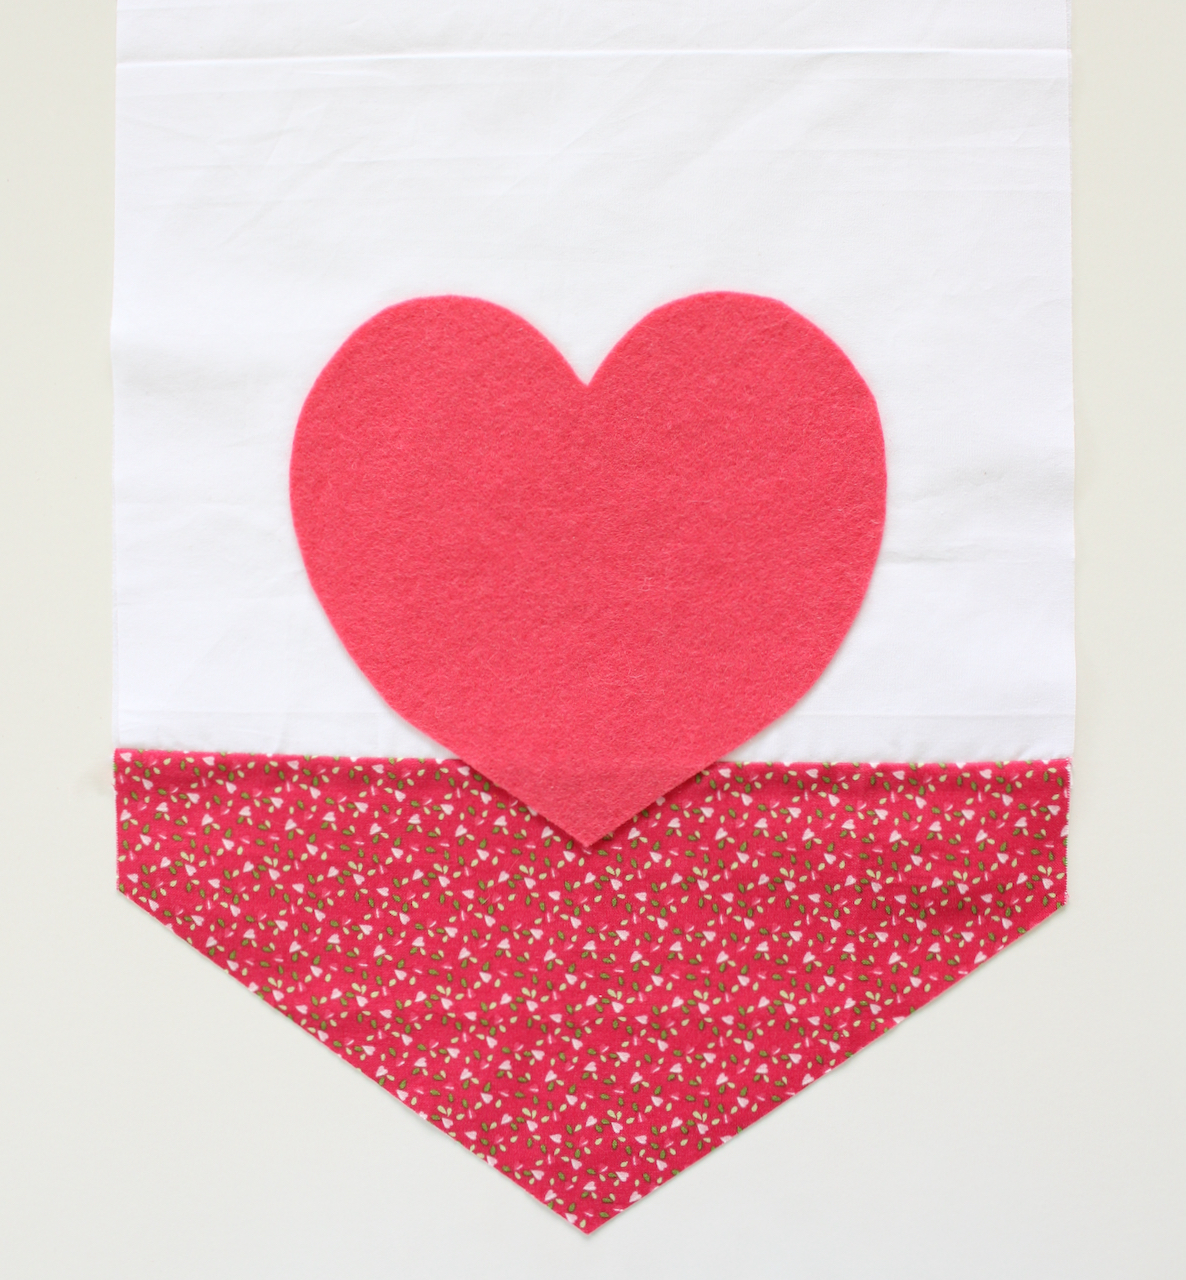 Pin the white floral heart base over the red heart so that the edges all align. Using your favourite machine or hand stitch, sew around the outside edge of the heart to secure the two shapes together. I used a simple blanket or buttonhole stitch on my machine. This now forms a pocket on the heart.
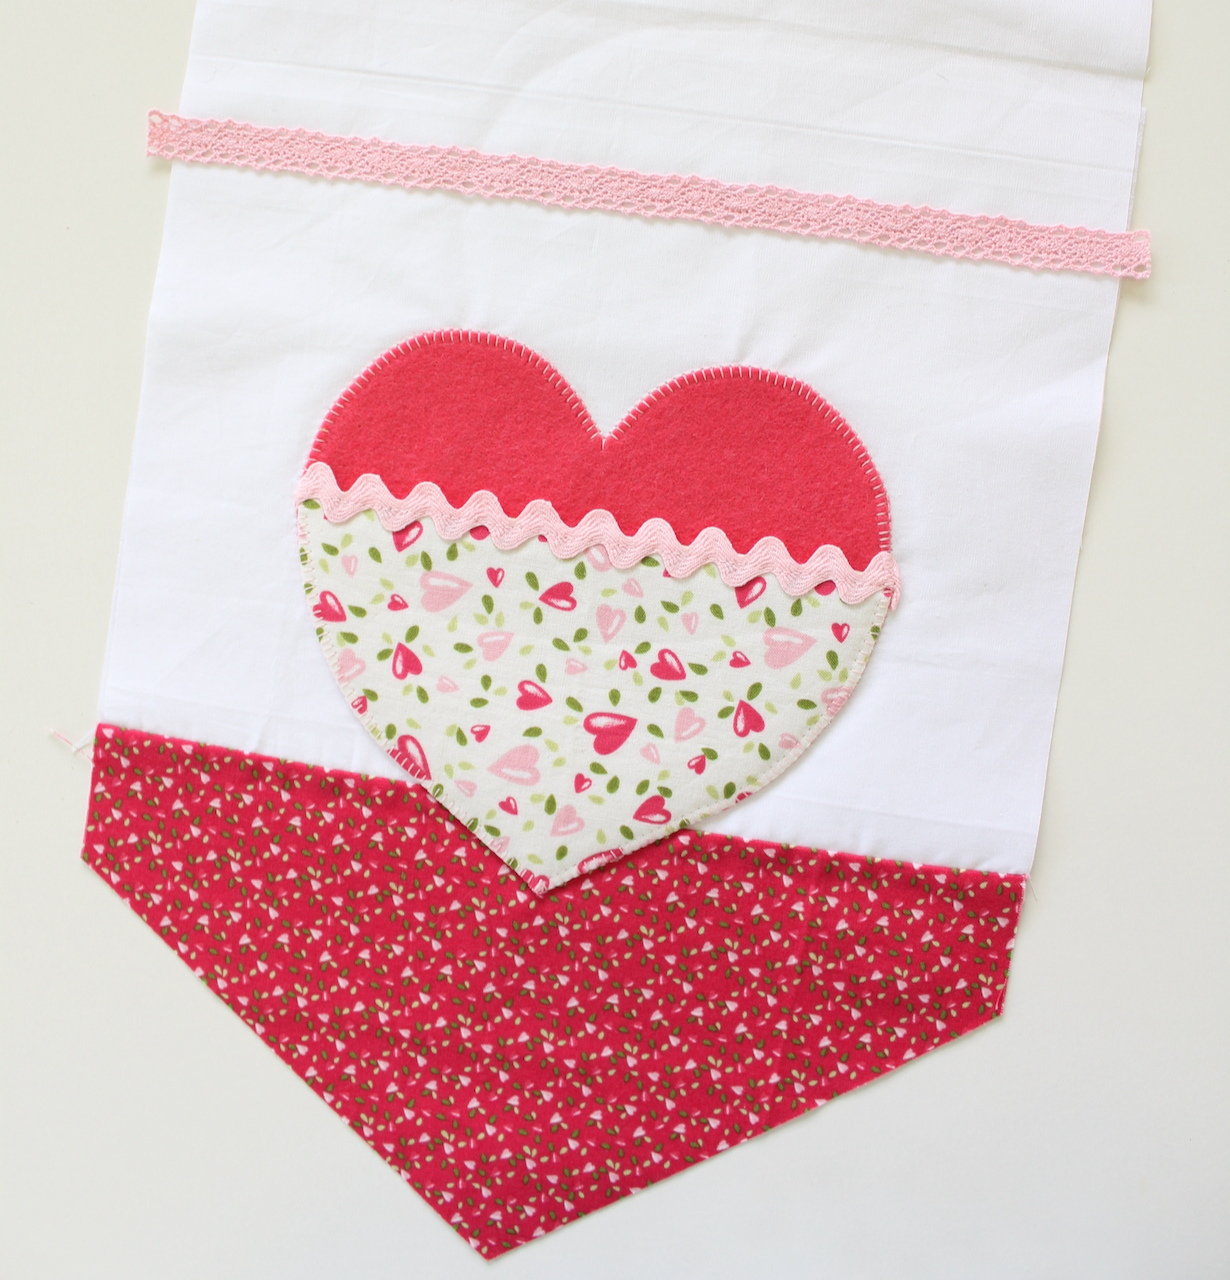
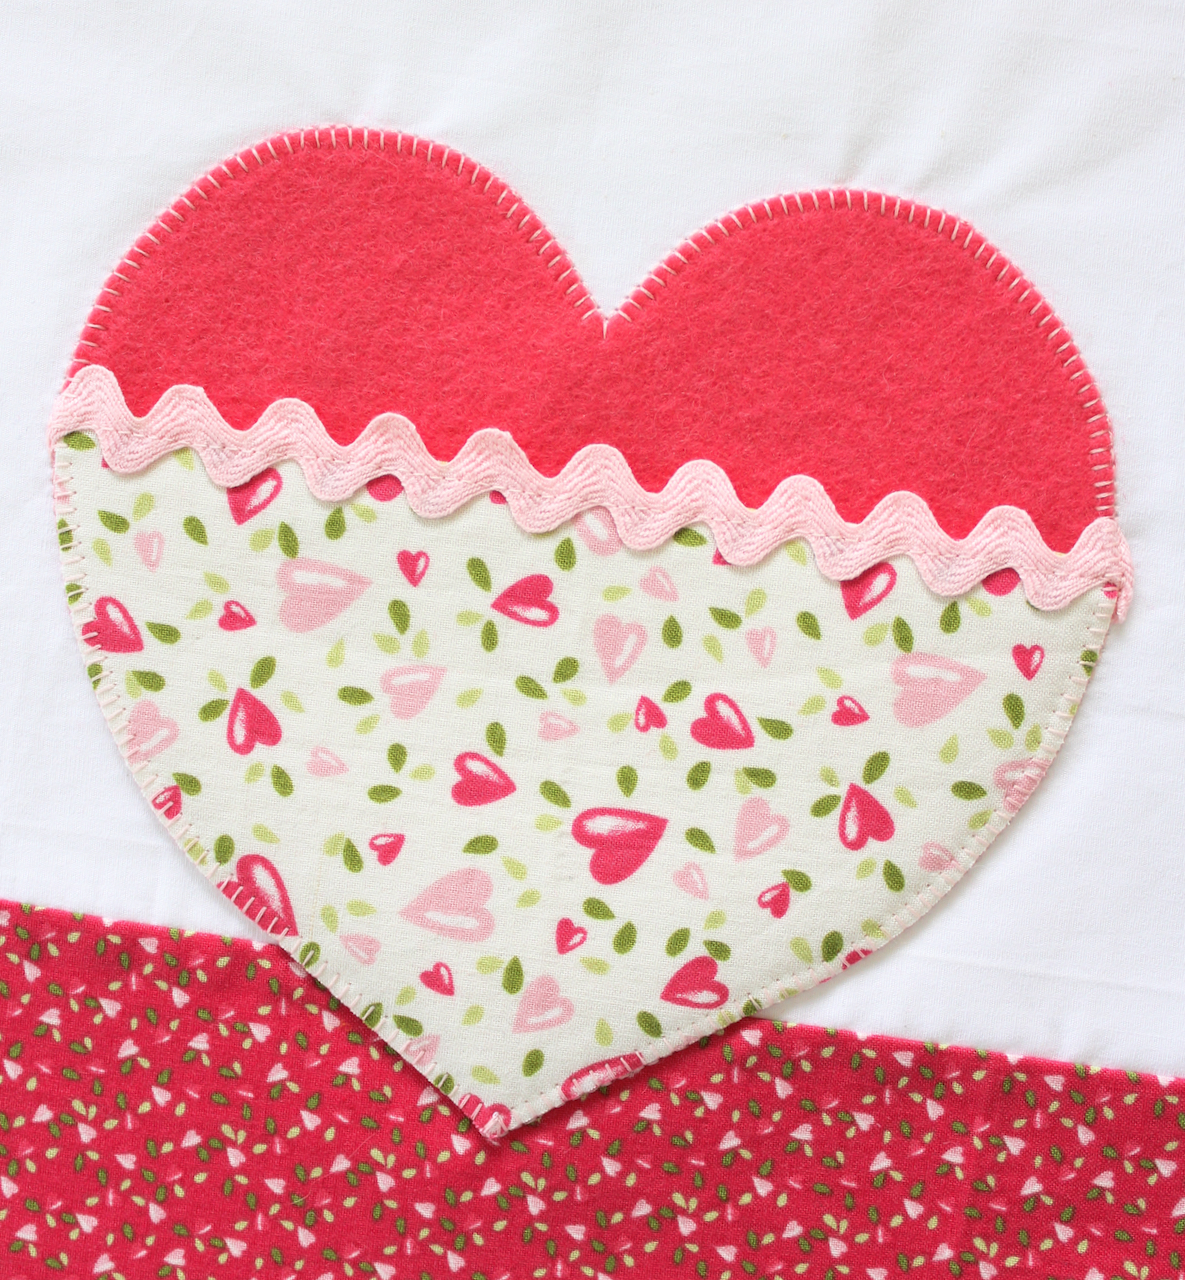 Use an erasable marker to measure and mark a straight line, 3/4" down from the centre fold line. Use fabric fuse glue to secure the 3/8" wide lace trim below the line. Then stitch in place along the top edge. Remove the erasable line if necessary.
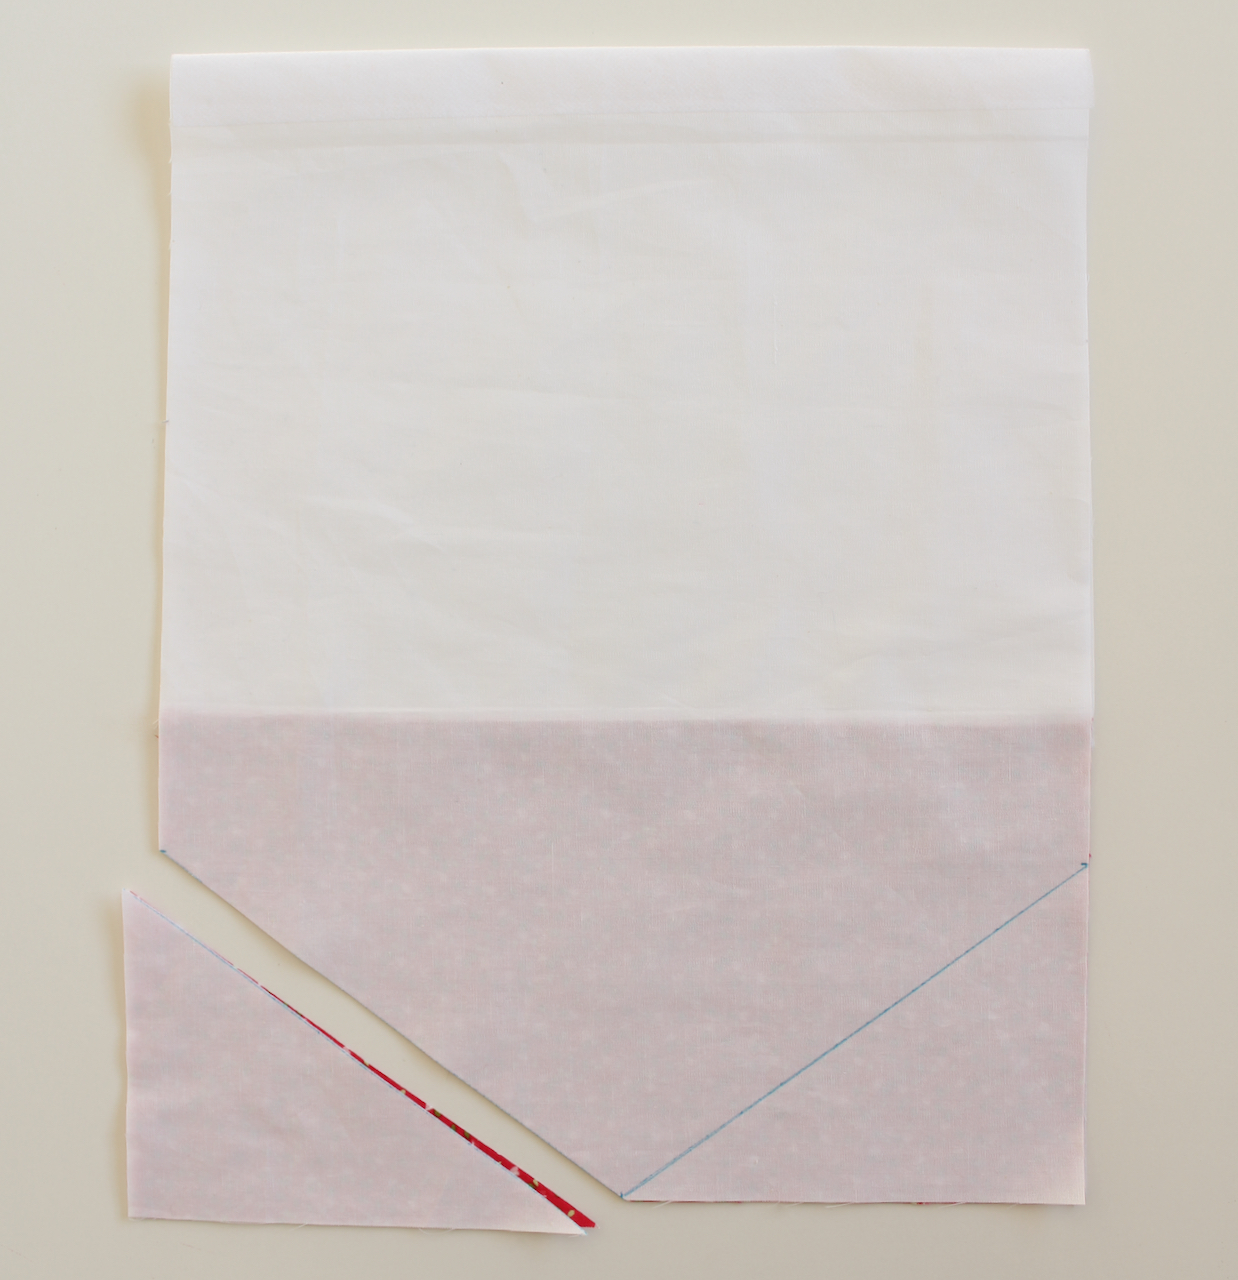
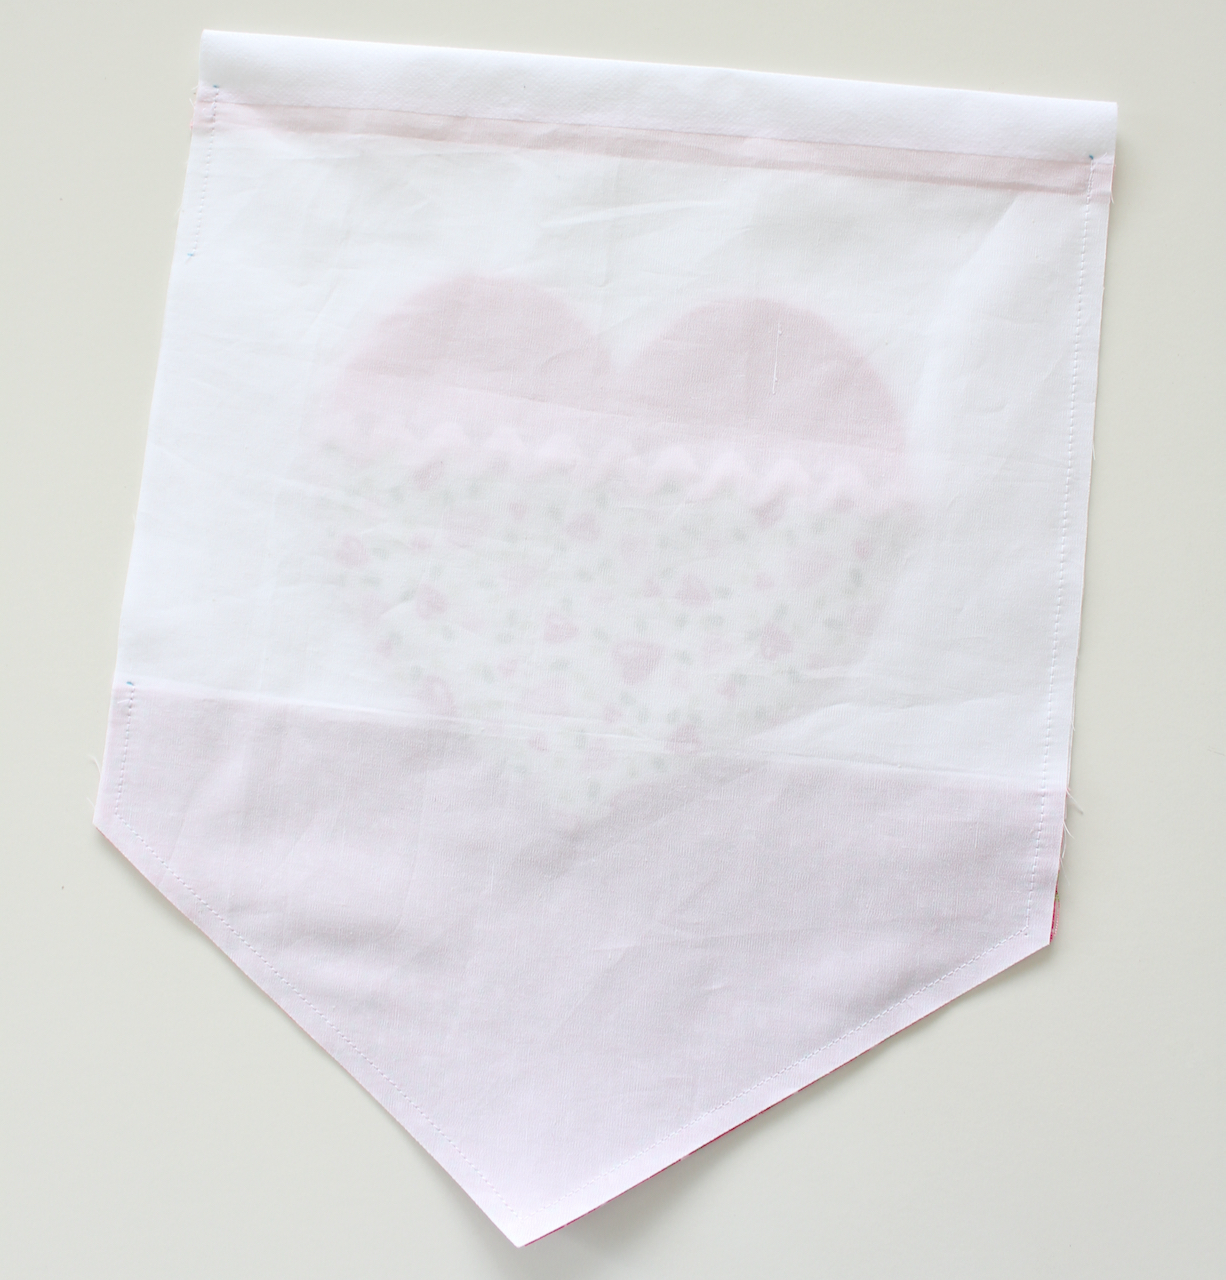 Clip the seam allowance at the point and the sides. Trim the excess lace from the side seams.
Turn the banner right side out through the turning gap. Press flat being careful to tuck in the seam allowance in the turning gap.
Top stitch the banner using a 1/8" seam allowance. Start at the base of one side, stitch up to the top of the lace (not to the top of the banner). Sew along the top of the lace and then back down the other side and around the point (I changed thread colours during this step). The top stitching will sew the turning gap closed, but will leave an opening at the top of the banner to insert a dowel rod.
Clip the seam allowance at the point and the sides. Trim the excess lace from the side seams.
Turn the banner right side out through the turning gap. Press flat being careful to tuck in the seam allowance in the turning gap.
Top stitch the banner using a 1/8" seam allowance. Start at the base of one side, stitch up to the top of the lace (not to the top of the banner). Sew along the top of the lace and then back down the other side and around the point (I changed thread colours during this step). The top stitching will sew the turning gap closed, but will leave an opening at the top of the banner to insert a dowel rod.
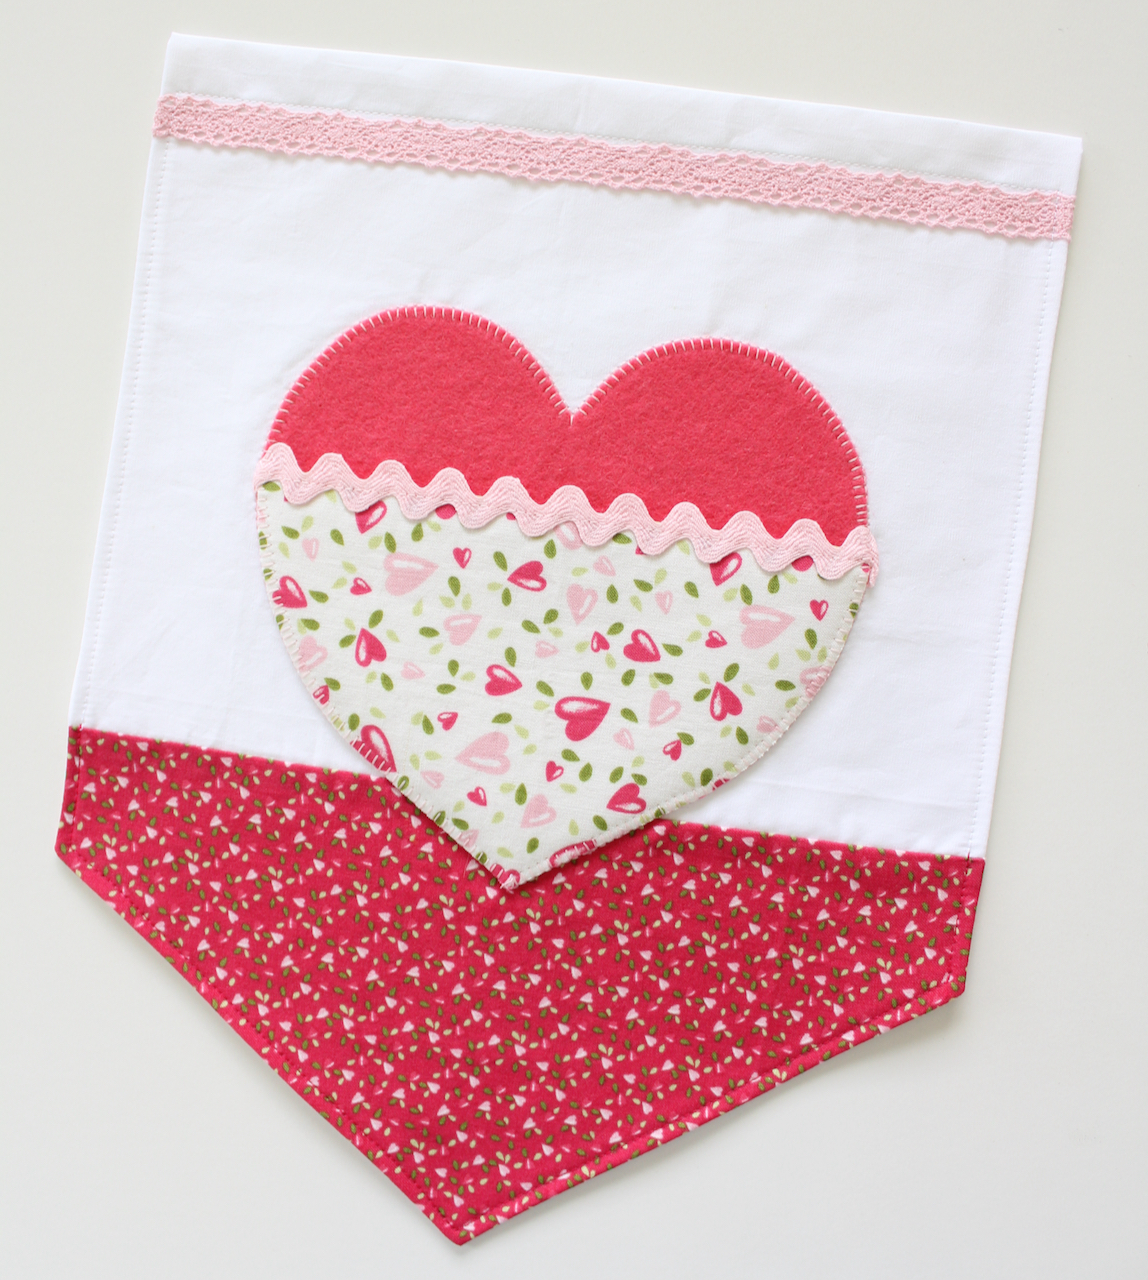 Carefully insert the dowel rod into the space above the pink lace. Tie the white satin ribbon to each end of the dowel, ready for hanging.
TIP: Embellish the banner by adding a sweet little bow, or crochet heart too.
Carefully insert the dowel rod into the space above the pink lace. Tie the white satin ribbon to each end of the dowel, ready for hanging.
TIP: Embellish the banner by adding a sweet little bow, or crochet heart too.
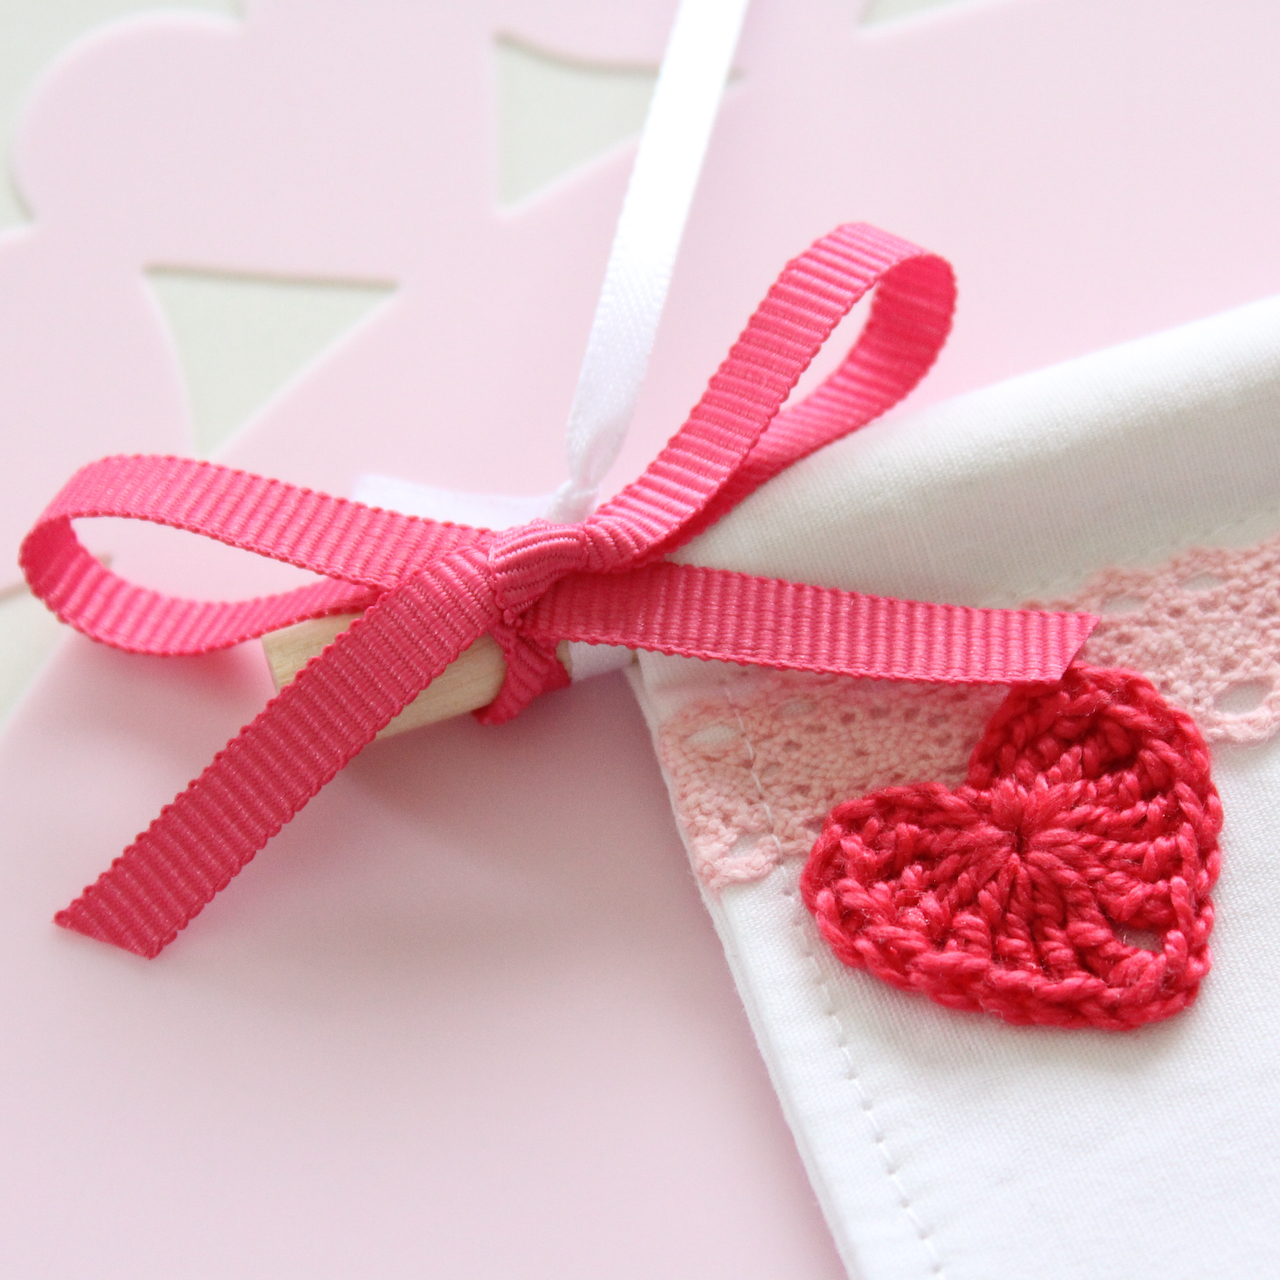 Your banner is all ready for Valentine's Day. You could even make this sweet felt kitty as a little treat for the pocket! See the free tutorial on the Molly and Mama blog HERE.