No Products in the Cart

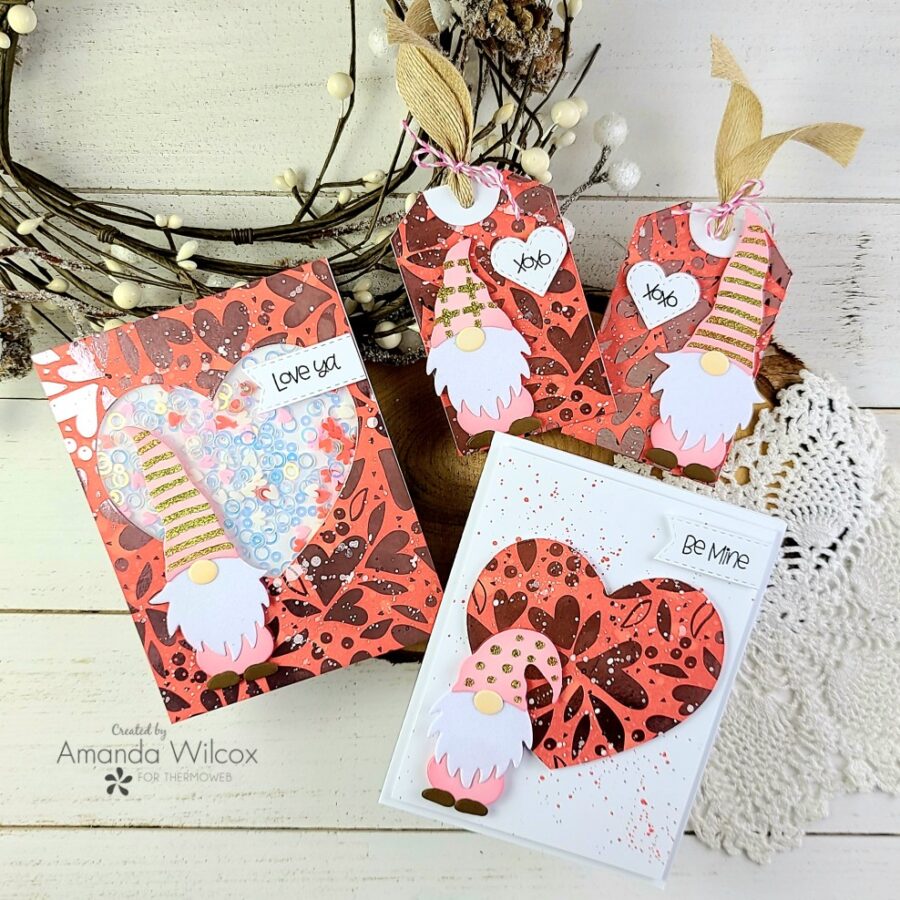
 Welcome crafty friends! This is Amanda from Twiddler's Nook joining you with a fun Valentine-themed project using that awesome Gina K Designs Gnome for the Holidays kit! I have two cards and two coordinating tags to share because I can't ever make just one gnome. It's pretty much impossible because they are so fun!
 Products used:
Gina K Designs Gnome for the Holidays kit
Gina K Designs Glitz Glitter Gel - gold
Love Blooms toner card fronts
Deco Foil - pink quartz
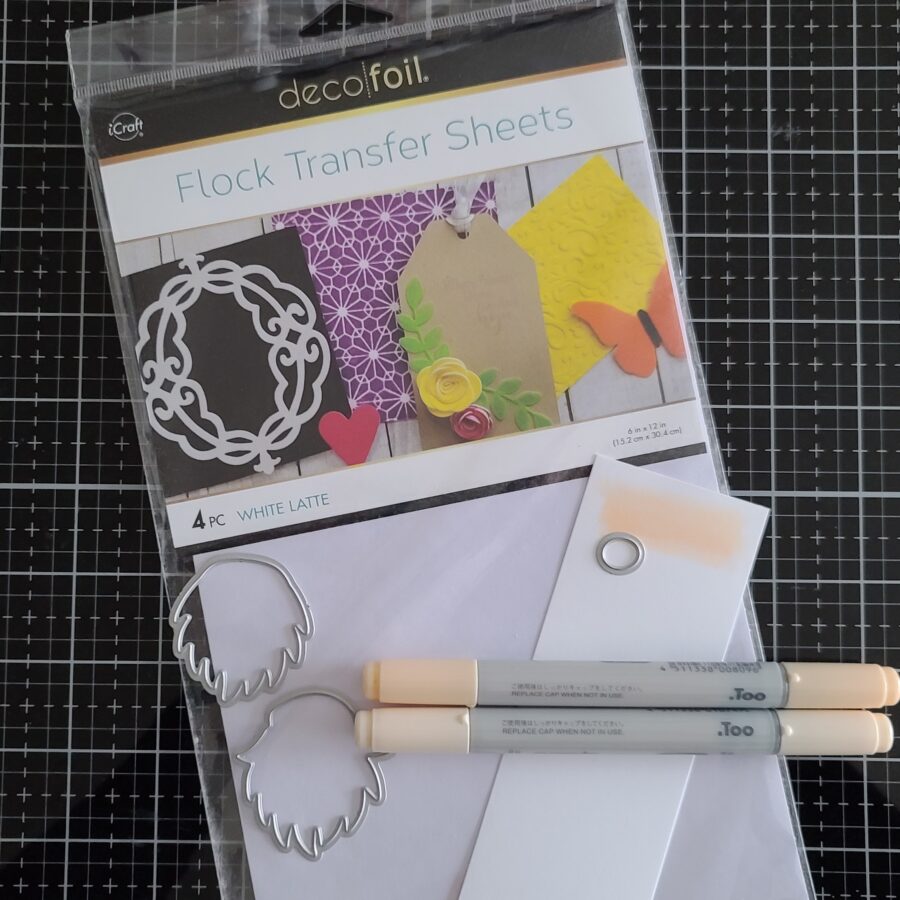
Deco Foil Flock - white latte
Thermoweb 3D foam tape
UltraBond liquid adhesive pen
Distress Oxide Ink - festive berries
Lawn Fawn dye ink - guava
Trinity Stamps Nested Hearts dies
Trinity Stamps Joyful Heart stamps
Trinity Stamps blending buddy brush
Newton's Nook Heart Frames dies
Newton's Nook Fancy Edges Tag dies
Newton's Nook Banner Trio dies
Twiddler's Nook Princess Rings Cinderella embellishments
Twiddler's Nook Sweethearts clay heart embellishments
Twiddler's Nook Paw Embellishment Tray
Twiddler's Nook Pressure Pal
Copic markers - E50, E51
Products used:
Gina K Designs Gnome for the Holidays kit
Gina K Designs Glitz Glitter Gel - gold
Love Blooms toner card fronts
Deco Foil - pink quartz
Deco Foil Flock - white latte
Thermoweb 3D foam tape
UltraBond liquid adhesive pen
Distress Oxide Ink - festive berries
Lawn Fawn dye ink - guava
Trinity Stamps Nested Hearts dies
Trinity Stamps Joyful Heart stamps
Trinity Stamps blending buddy brush
Newton's Nook Heart Frames dies
Newton's Nook Fancy Edges Tag dies
Newton's Nook Banner Trio dies
Twiddler's Nook Princess Rings Cinderella embellishments
Twiddler's Nook Sweethearts clay heart embellishments
Twiddler's Nook Paw Embellishment Tray
Twiddler's Nook Pressure Pal
Copic markers - E50, E51
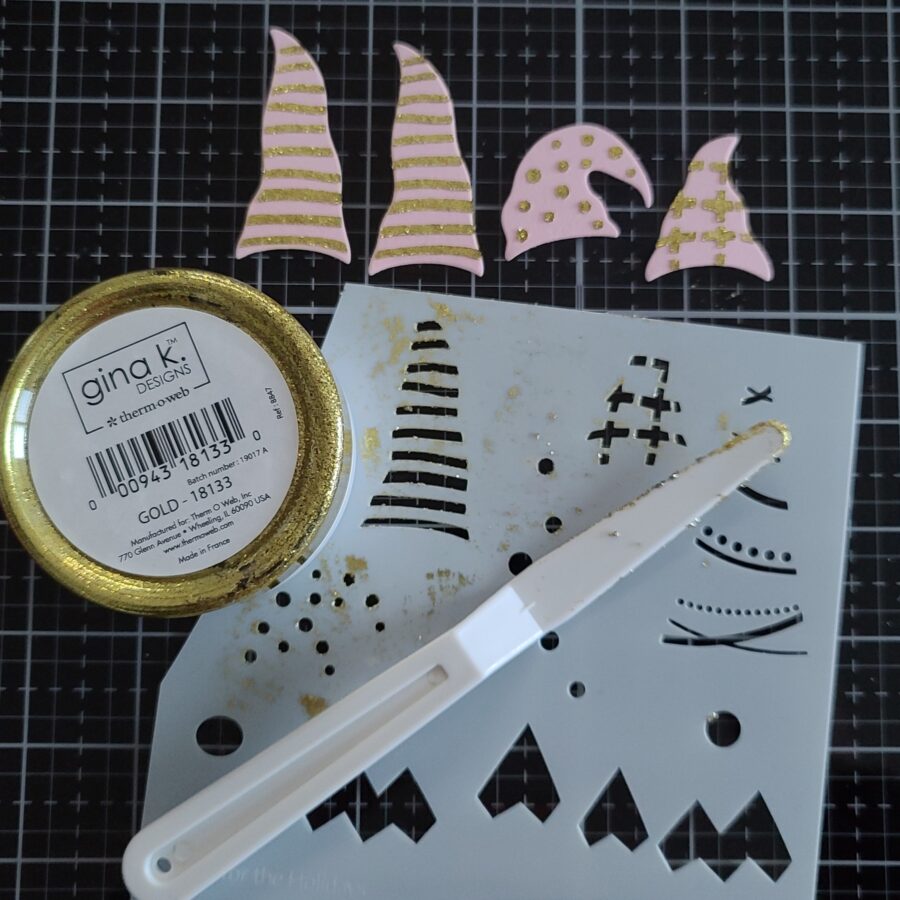 Then I die cut 4 hats and 4 bodies from pink cardstock. I taped the hats to the back of the stencil one at a time and spread gold glitz glitter gel through the stencil with a palette knife.
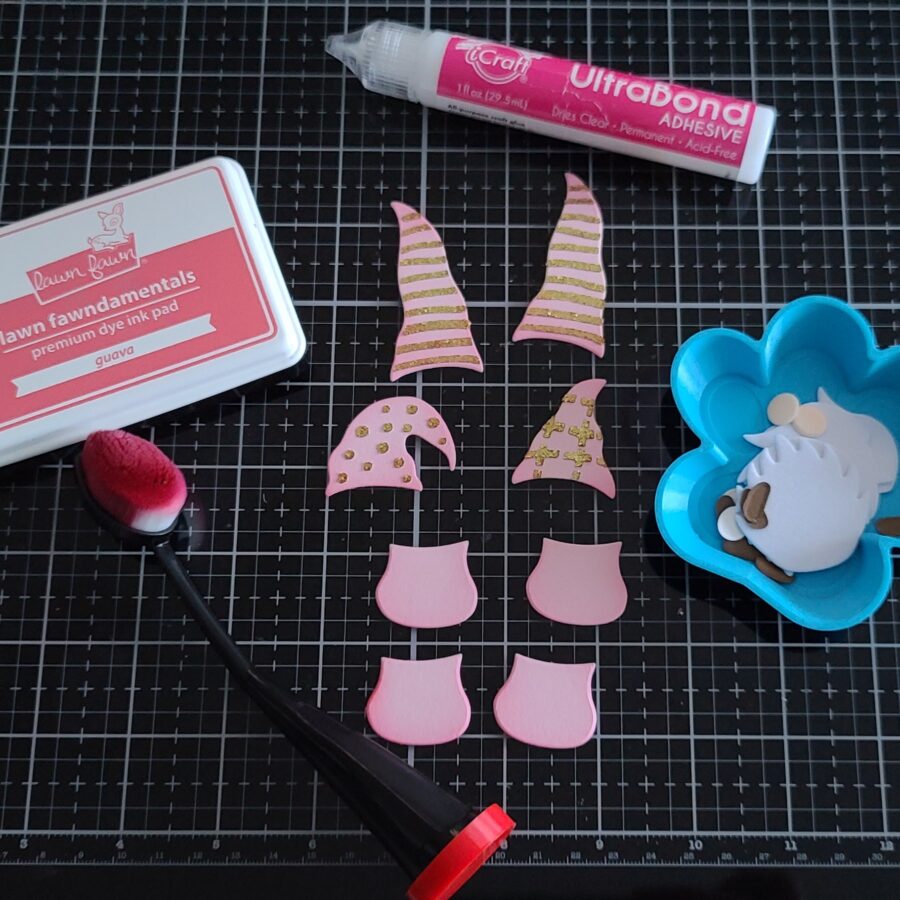 Once they were dry I used a blending brush and some guava ink to ink up the edges of the hats and bodies for dimension and interest. Then I used my UltraBond liquid adhesive pen to adhere all of the gnome pieces together. I love using these embellishment trays to hold all the little pieces until they are assembled so I don't lose them.
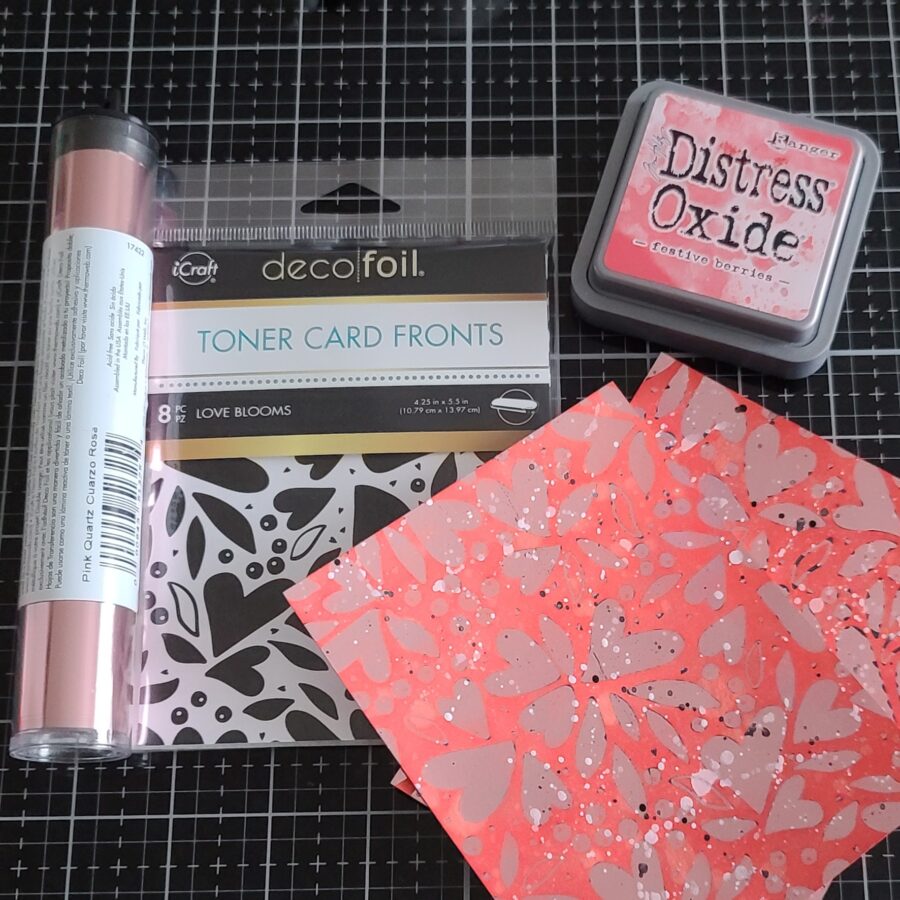 Next, I needed to create my card and tag bases. I pulled out 2 of the Love Blooms toner card fronts and heated up my laminator. I ran them through with pink quartz deco foil. Once they were foiled I inked the panels up with festive berries distress oxide ink and spritzed the panels with water. I blotted that dry and wiped any excess ink off the foiled areas before splattering both panels with white and black acrylic paint.
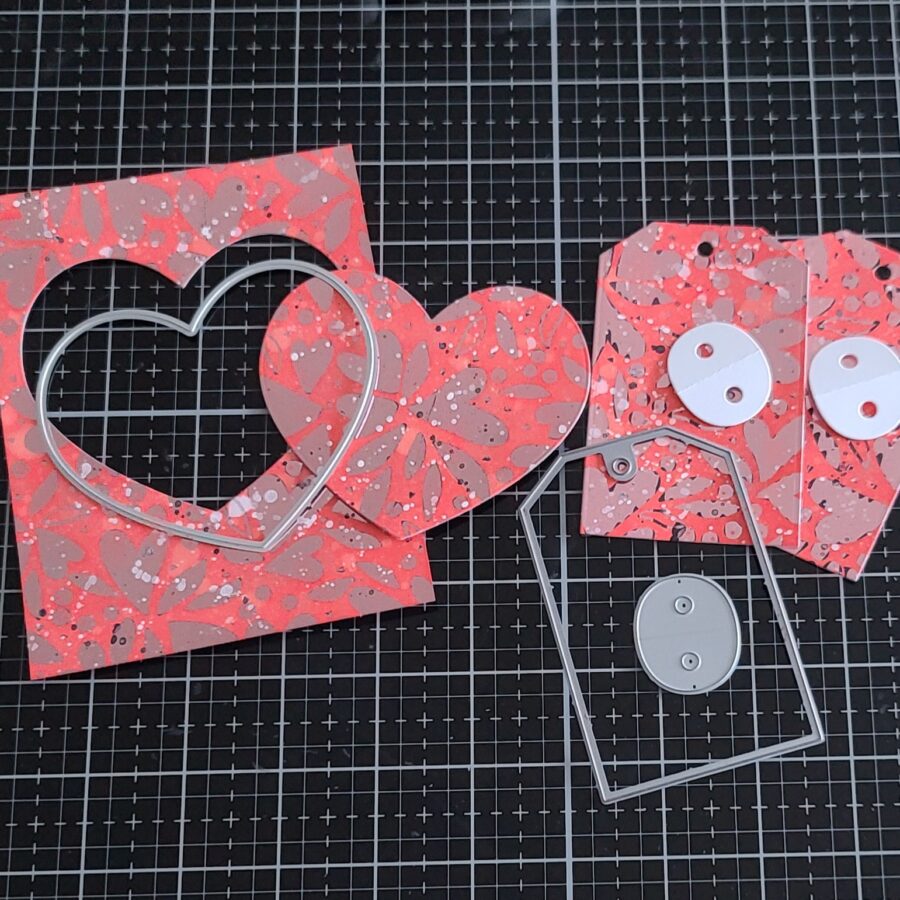 Once those were completely dry, I cut a heart from the center of one panel with a Trinity Stamps Nested Hearts die and cut 2 tags from the other one with the Newton's Nook Fancy Edges Tag dies. I also cut the topper for the tag from white cardstock. Now we're ready to assemble everything.
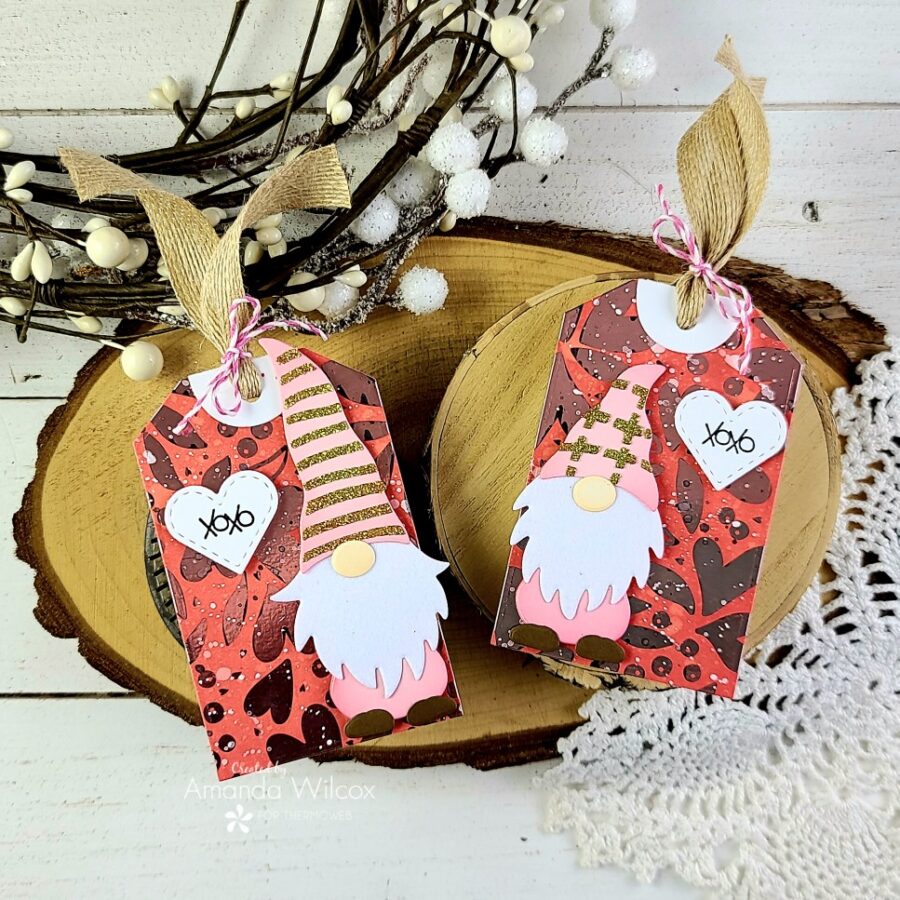 For the tags, I added the gnomes with foam tape. Then, I pulled out the Trinity Stamps Joyful Hearts stamp set and stamped the XOXO sentiment twice. I used the Newton's Nook Heart Frames dies to cut those out with the smallest heart. They were then popped up with a bit of foam tape as well. I threaded some rustic ribbon through the hole and tied it with pink baker's twine to finish these tags off.
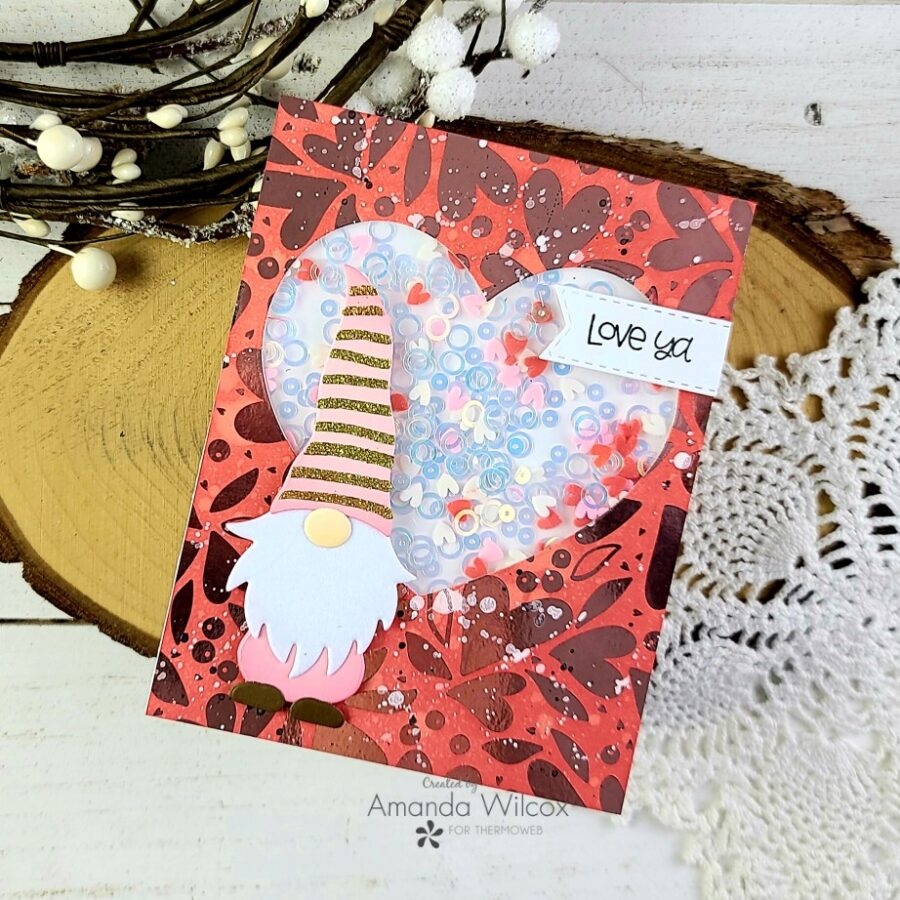
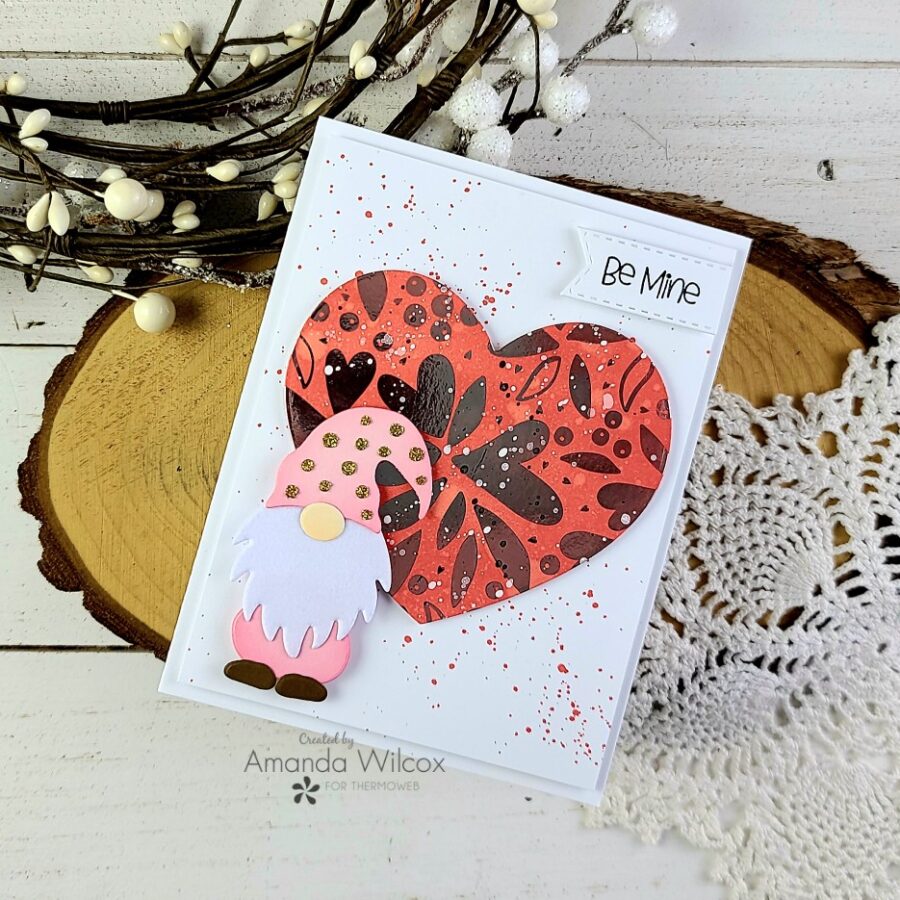 Now for my second card. I cut a white panel down to 4x5.25 inches and splattered festive berries ink across it. I added foam tape to the back and popped that up on a white card base. Next, I popped up the heart with foam tape on that. The gnome has foam tape on half of him to keep him laying flat on the heart. Then I stamped my sentiment on the other half of the banner from the last card and popped it up as well.
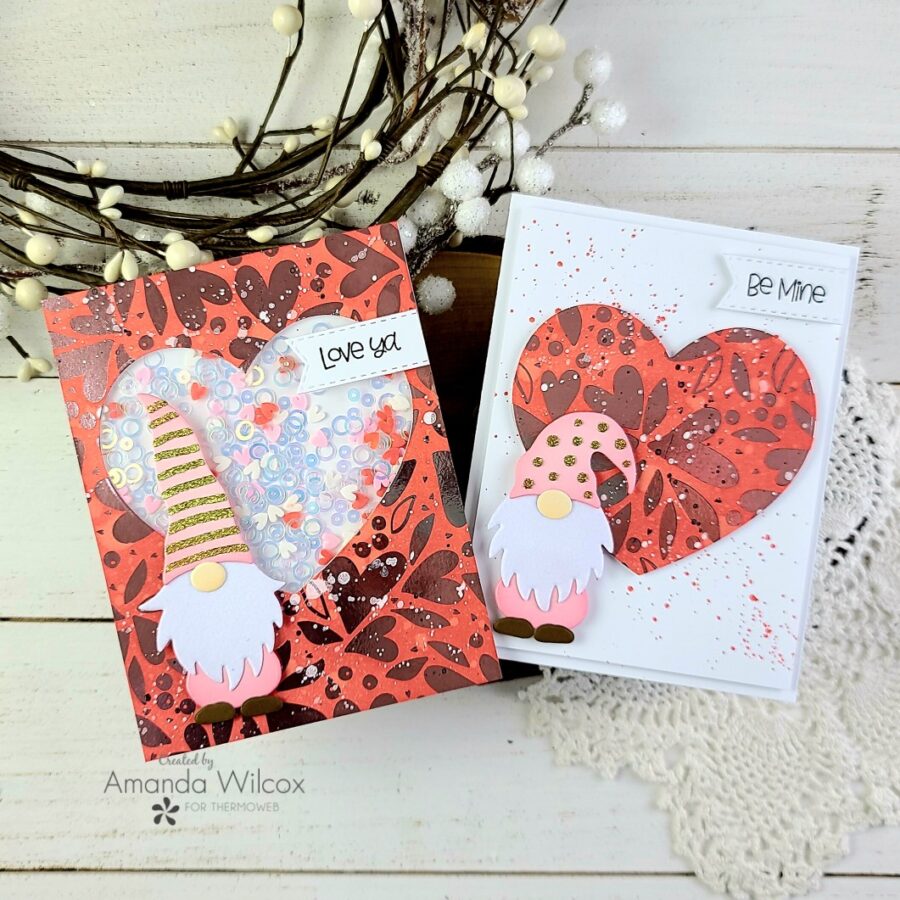 Aren't these cards super cute!?! I'm excited to switch gears from Christmas crafting to all things hearts and love themed!
I hope you enjoyed today's projects and find some inspiration to create something wonderful. I appreciate you sharing your time with me. Have a fabulous day!
Aren't these cards super cute!?! I'm excited to switch gears from Christmas crafting to all things hearts and love themed!
I hope you enjoyed today's projects and find some inspiration to create something wonderful. I appreciate you sharing your time with me. Have a fabulous day!

 Love is in the air! Join Lynnea tomorrow (on Wednesday, December 29th) on the