No Products in the Cart
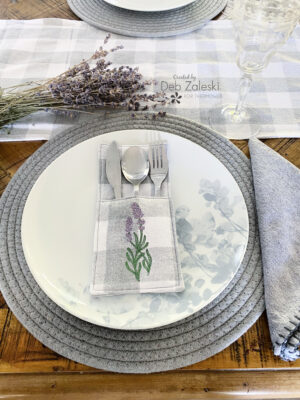
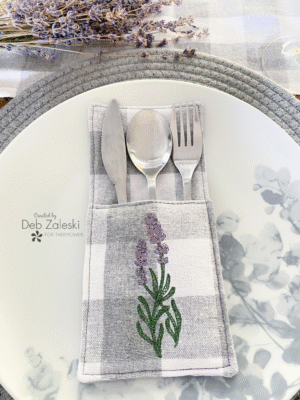
Hi everyone, it's Deb Zaleski today. It's the little details that make a place setting beautiful. I came up with the idea to make utensil holders while shopping at the dollar store when I saw an adorable, inexpensive table runner and knew the colors matched my dishes perfectly. I purchased two of them and started looking for a perfect machine embroidery design.
It’s time to get creative so gather your supplies and tools!
You don't need an embroidery machine for this project. You can hand embroider or appliqué your design.
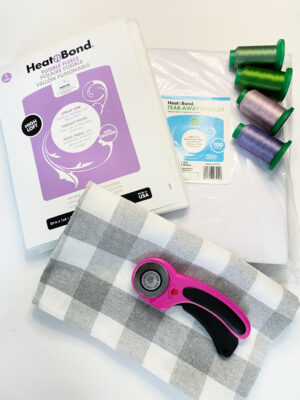
1. Begin by preparing your embroidery hoopwith the Tear Away Stabilizer and fabric. Tip: Choose an embroidery design that is no bigger than 2 inches wide and 3.5 inches high.
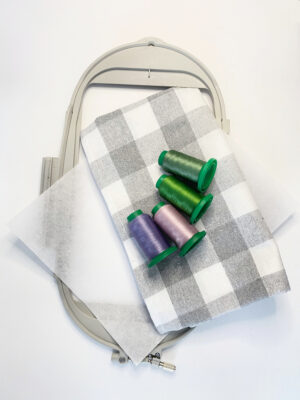
2. Once you've finished embroidering the designs for the front of the pockets, carfully remove the Tear Away stabilizer from the embroidery. Cut the fabric to the required dimensions. For each unit you'll need :
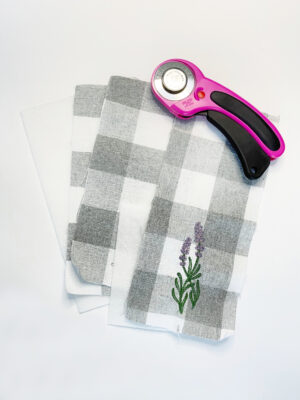
3. Using a hot iron and no steam, apply the fusible fleece to the wrong side of the fabric. For the front of the pocket, position the fusible fleece at the bottom of the rectangle, aligning it with the embroidery design.

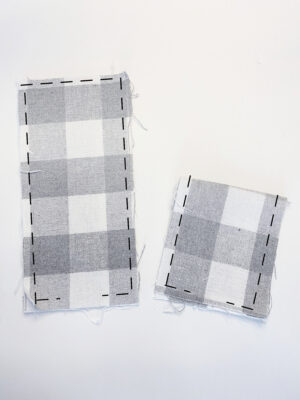
4. Using a 1/4" seam allowance, stitch around the perimeter of the 4.5" x 11" rectangle with the right sides together. Make sure to leave an opening so you can turn your work right side out. Fold the front pocket rectangle in half lengthwise with right sides together. Use a 1/4" seam allowance to stitch as shown in the image.
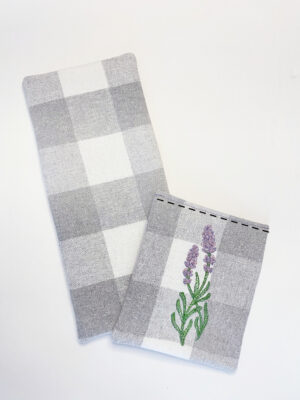
5. Clip the corners, being careful not to cut through the stitching. Turn both pieces right side out, using a turning tool or chopsticks to make the corners square. Press both pieces. Topstitch the top of the pocket 1/8 " from the edge.
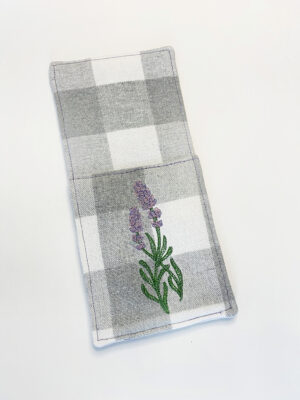
6. With the back of the pocket facing up, place the front pocket on top of it. Align the bottoms and top stitch around the perimeter of the rectangle, staying 1/8" from the edge. Your untensil holder is now complete!
Now all that's left to do is invite family and friends over and set the table!
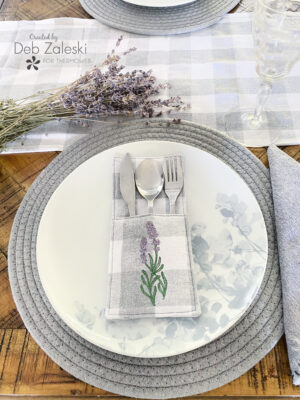
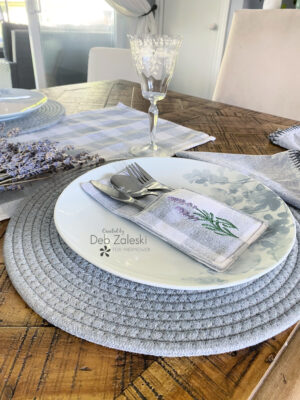
Thanks for joining me and I hope I’ve inspired you to create utensil holders for a pretty table setting for your family and guests. If you liked this project, please let me know by posting a comment. And don’t forget to stop by my Instagram and say HI!
Written by Deb Zaleski