No Products in the Cart
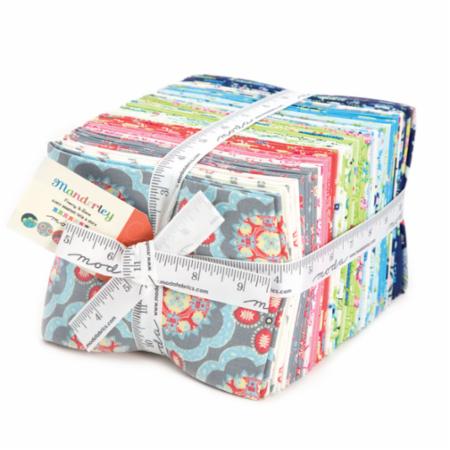
 The Manderlay Fabric by Franny & Jane for Moda Fabrics were the perfect fabrics for a fun "Treading Turtle" broderie perse quilt project!
 Turtle Quilt Materials
For the background of the quilt:
- (54) 2.5" x 16" rectangles - makes nine 12" scrappy trip along blocks
For the Turtle:
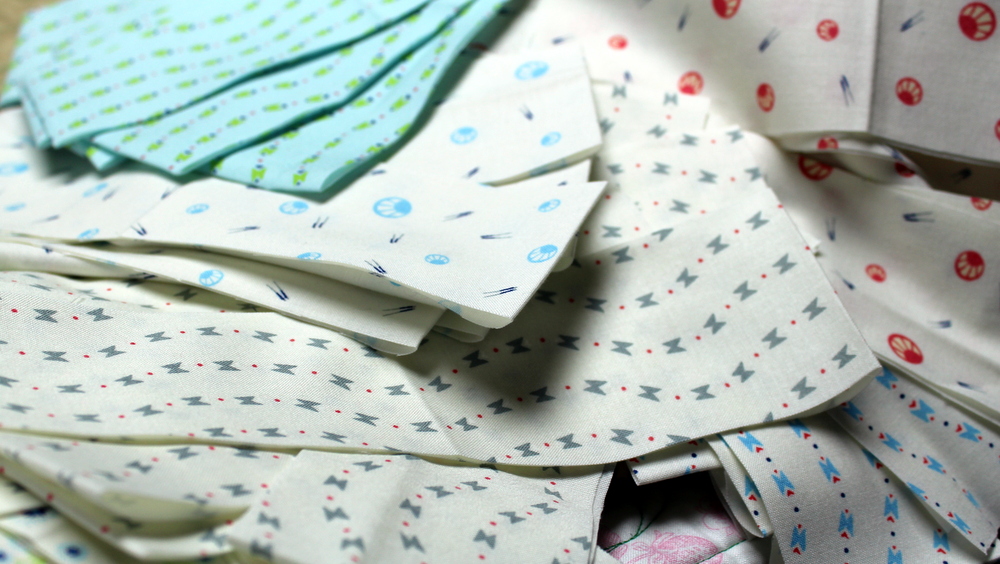
Minimum of (7) fat quarters with designs large enough to fussy cut
Fusible Interfacing - Medium Weight
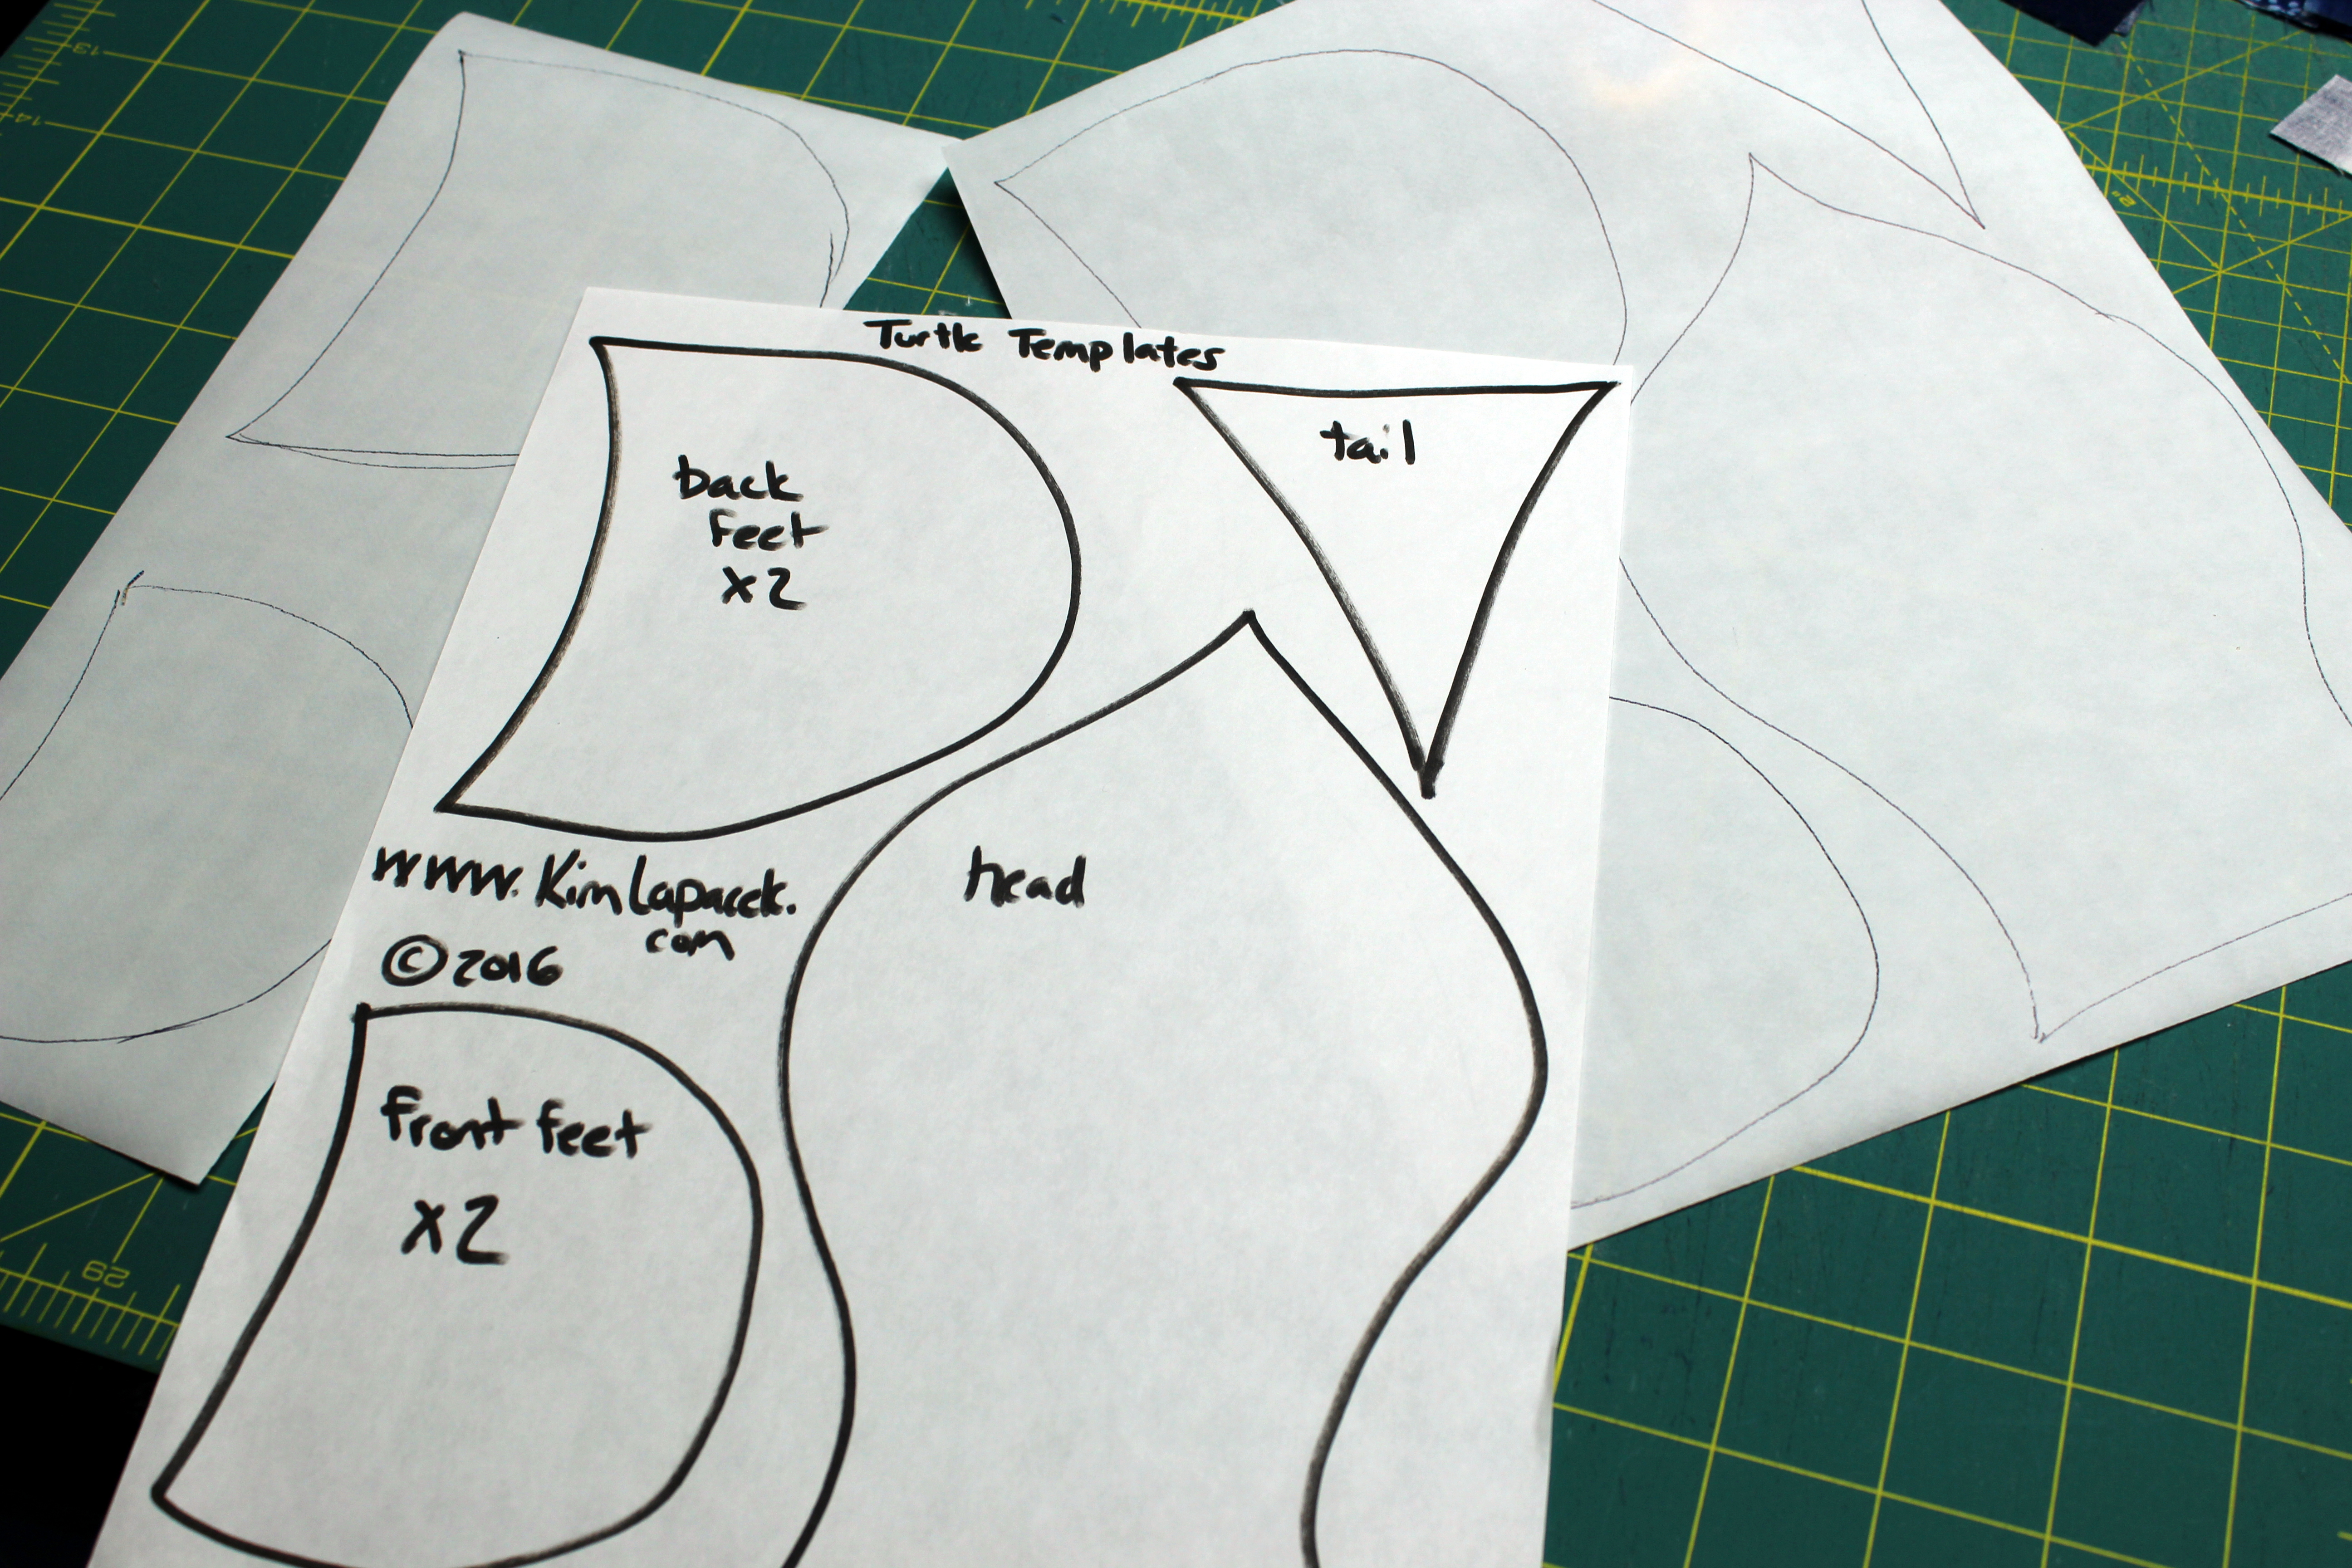
Template for Legs, Arms, Head, and Tail
Quilt Back
1.25 yards
Binding: (choose 2.25" binding OR 2.5" binding)
for 2.25" binding: 9-inches by WOF
for 2.5" binding: 10-inches by WOF
40" x 40" Batting of your choice
SprayNBond Basting Adhesive
HeatnBond® Fusible Interfacing - Medium Weight
Turtle Quilt Materials
For the background of the quilt:
- (54) 2.5" x 16" rectangles - makes nine 12" scrappy trip along blocks
For the Turtle:
Minimum of (7) fat quarters with designs large enough to fussy cut
Fusible Interfacing - Medium Weight
Template for Legs, Arms, Head, and Tail
Quilt Back
1.25 yards
Binding: (choose 2.25" binding OR 2.5" binding)
for 2.25" binding: 9-inches by WOF
for 2.5" binding: 10-inches by WOF
40" x 40" Batting of your choice
SprayNBond Basting Adhesive
HeatnBond® Fusible Interfacing - Medium Weight
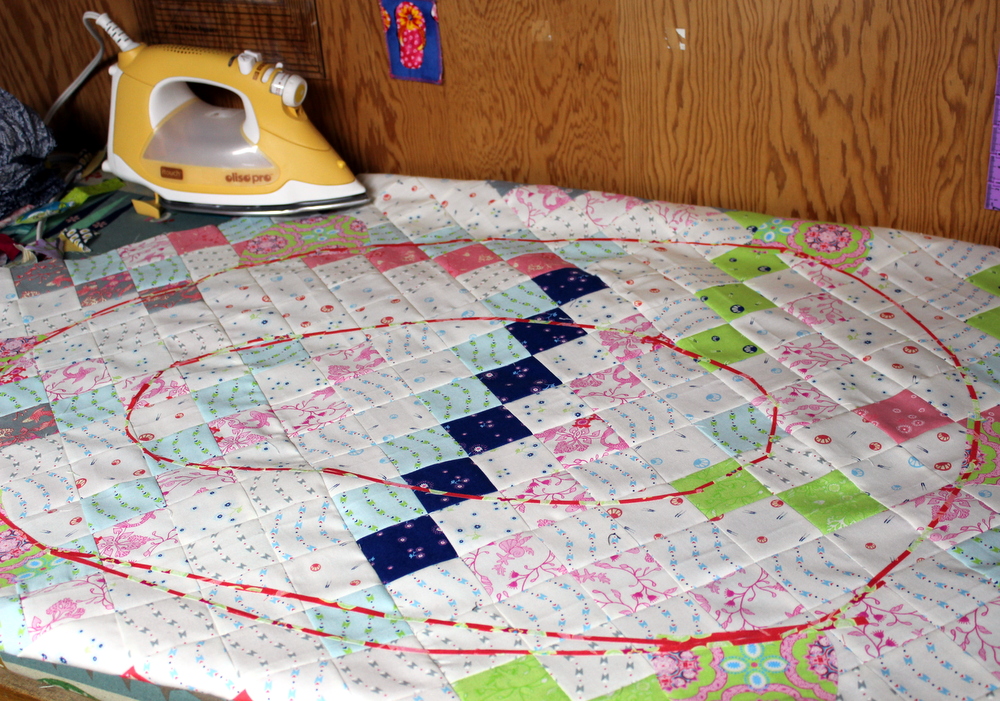
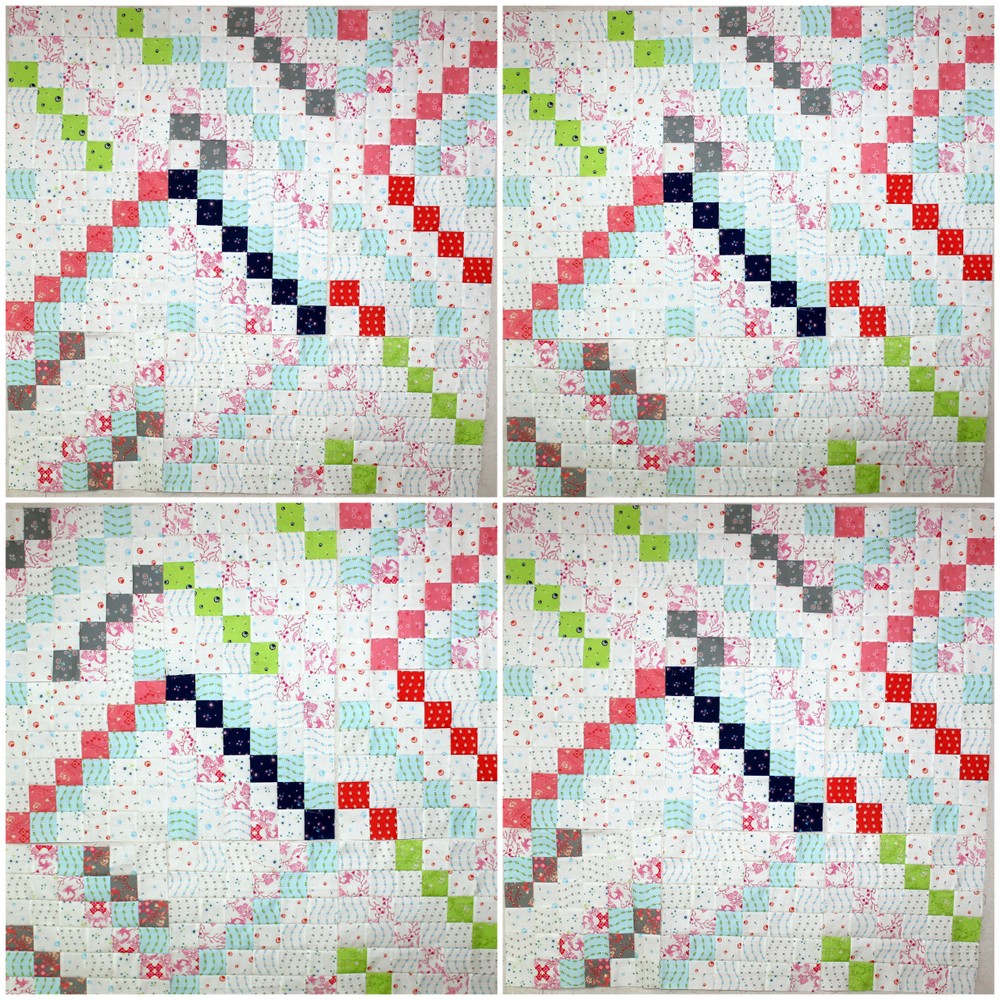 It was fun to play with the different possible layouts for the trip along blocks.
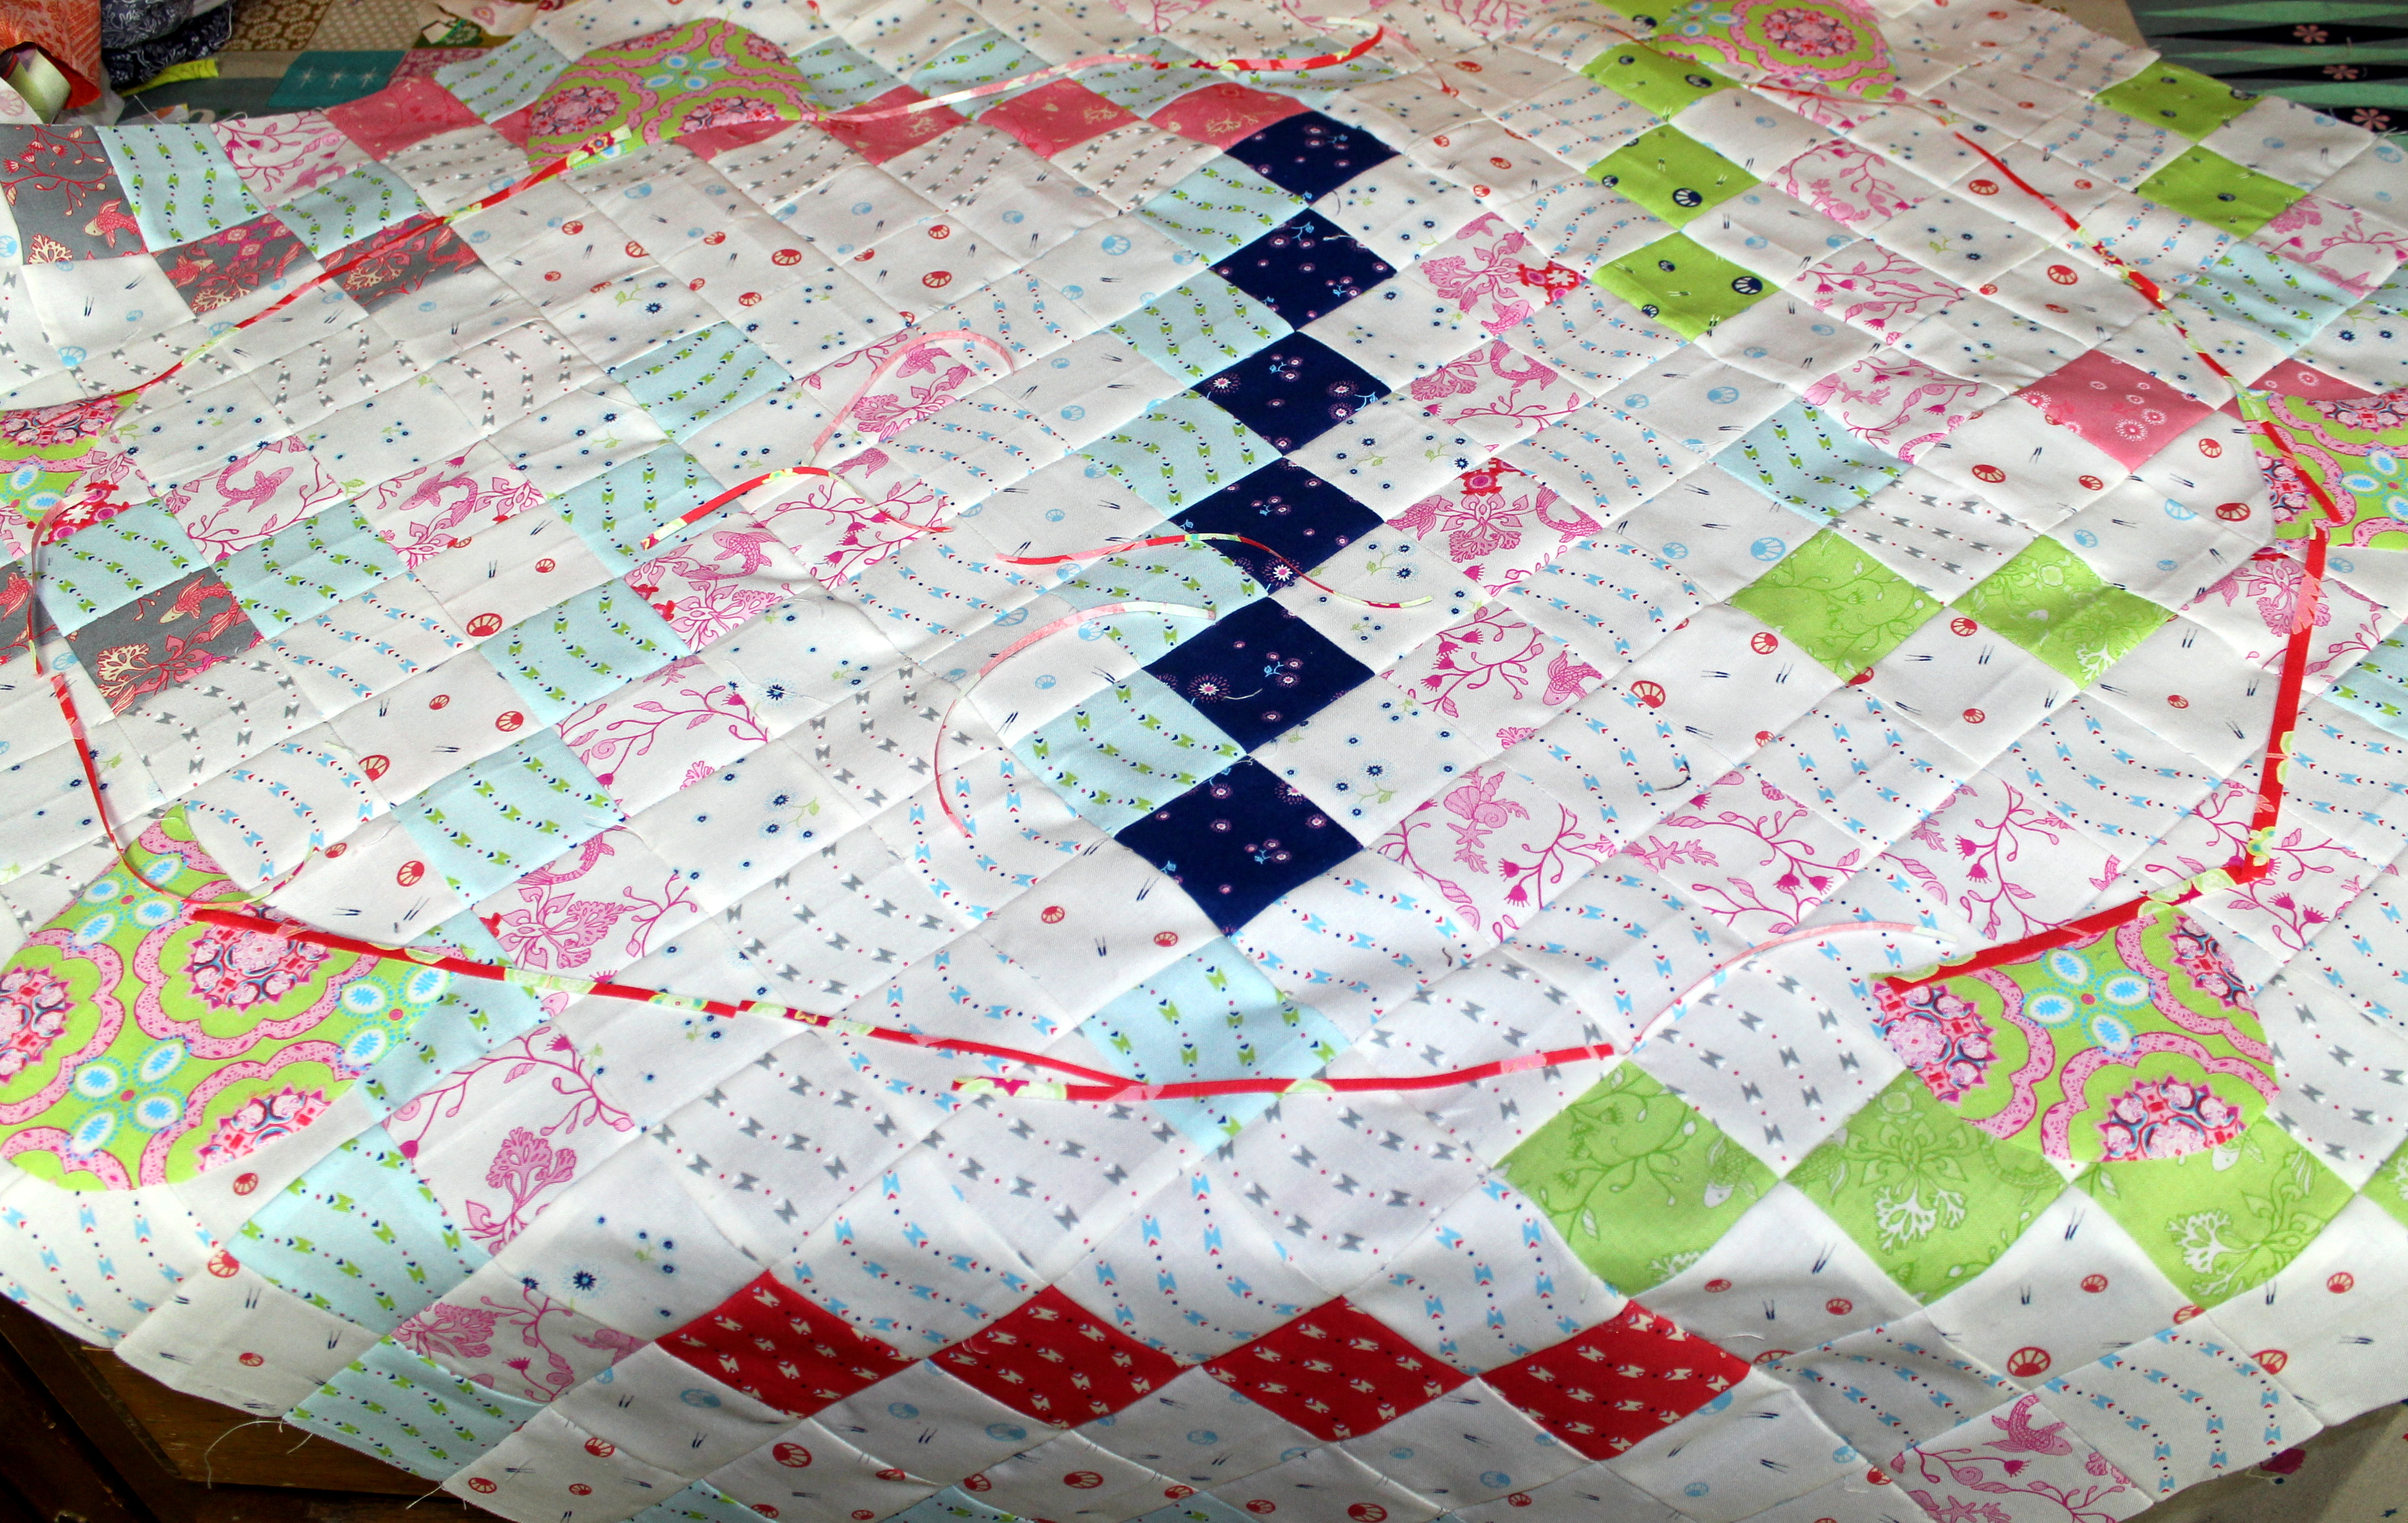 Layout the turtle parts onto the quilt so there is room to add in a shell. Before the extremities are fused into place, take thin strips of fabrics with fusible on one side and create an outline for the turtle shell. This does not have to be perfect as much of it will be covered with the broidery perse.
 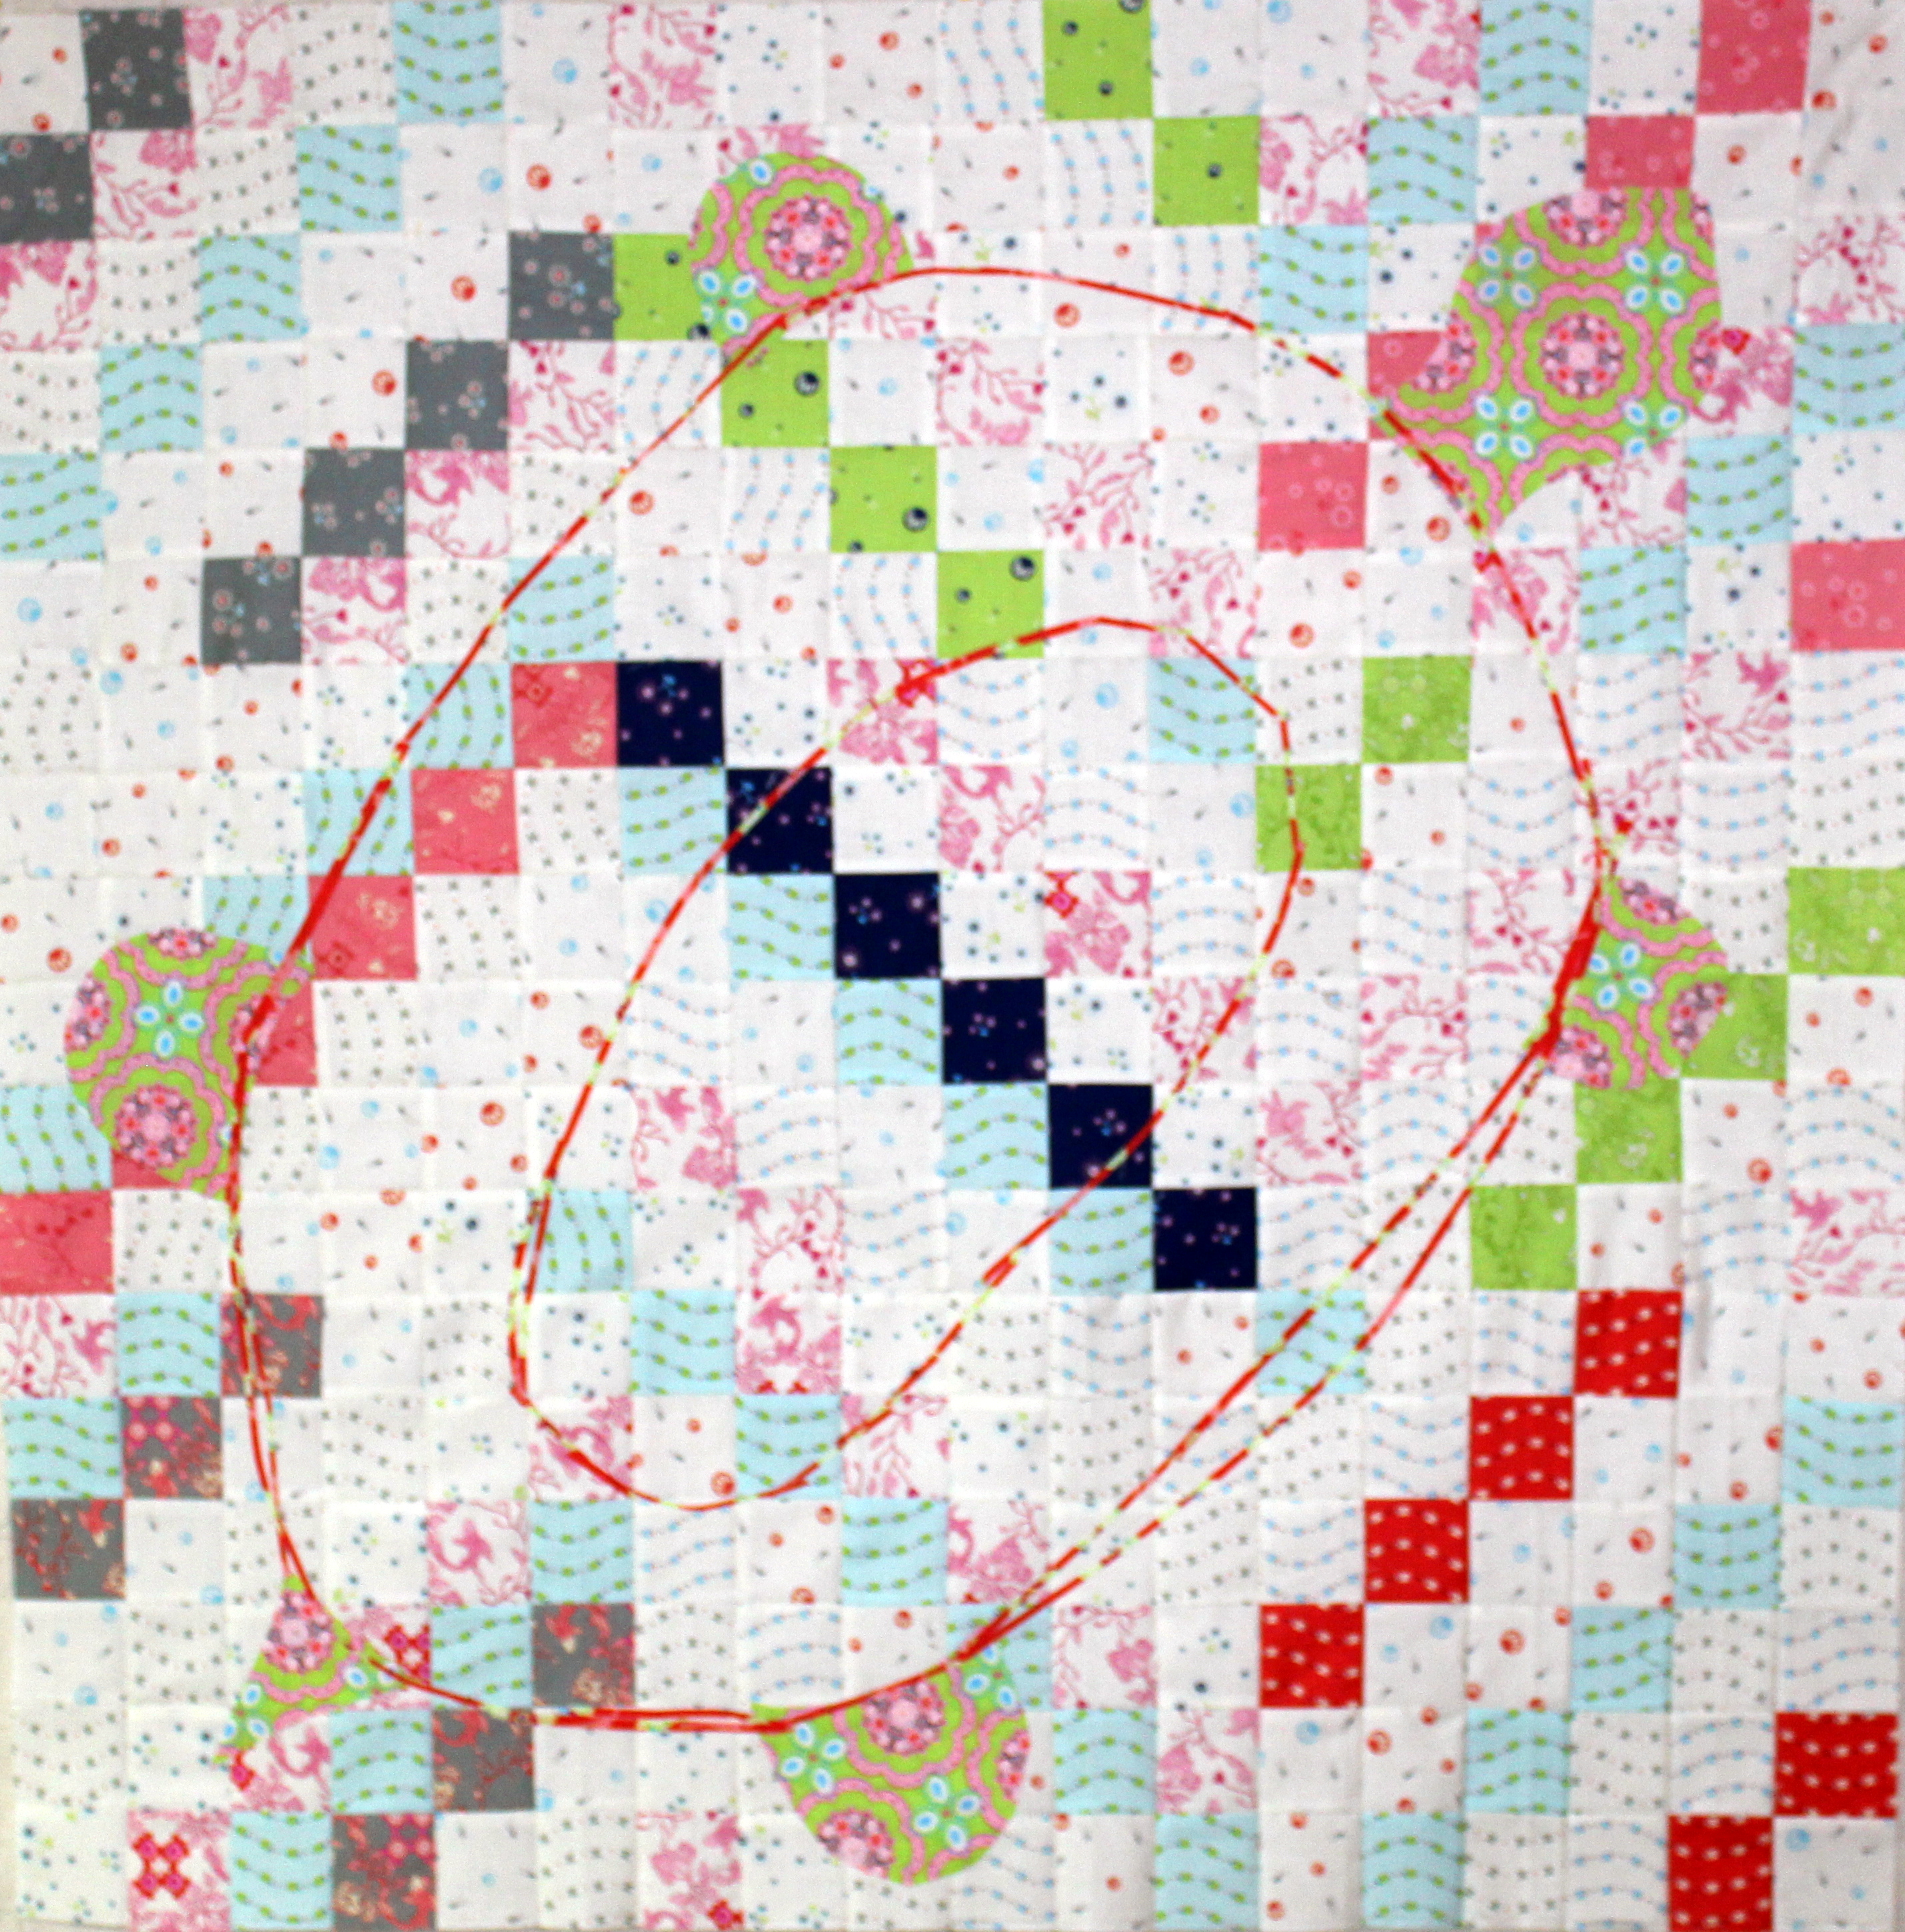 Once everything looks like it's in appropriate places, press into place.
Prepare the large scale shapes for broderie perse on the turtle shell.
Fuse HeatnBond® Fusible Interfacing - Medium Weight to the back of the fabric you want to fussy cut out of.
Once everything looks like it's in appropriate places, press into place.
Prepare the large scale shapes for broderie perse on the turtle shell.
Fuse HeatnBond® Fusible Interfacing - Medium Weight to the back of the fabric you want to fussy cut out of.
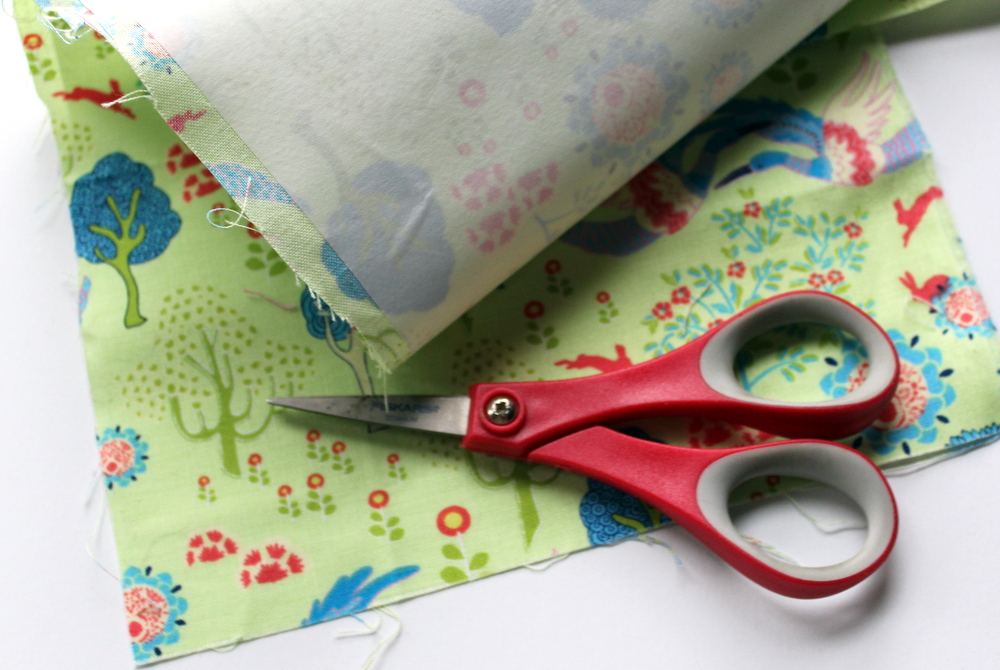 With sharp scissors, cut around objects that are identifiable in the fabric.
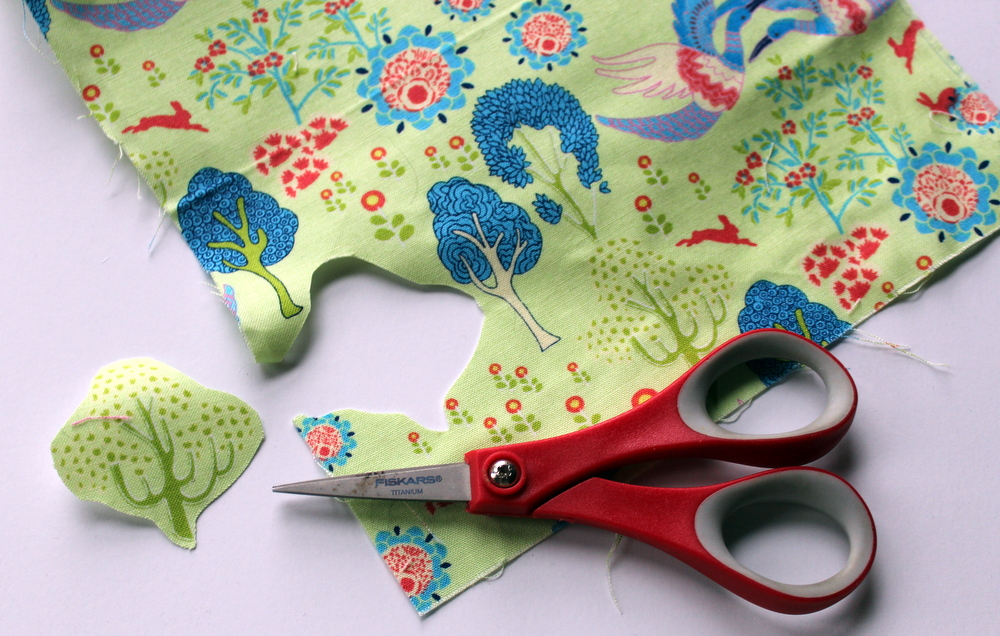 Cut out as many shapes and objects from each fabric as you can. The more variety the better!
Lay out the quilt base on a flat service so the objects can be laid out before they are ironed in place.
Cut out as many shapes and objects from each fabric as you can. The more variety the better!
Lay out the quilt base on a flat service so the objects can be laid out before they are ironed in place.
 With the objects you cut out, peel the fusible paper off the back and lay them out onto the turtle shell. Group them together by color of the background fabric to create a shell-like pattern. Play with the shapes and fit them together the best you can. If all the background fabric isn't covered - don't worry about it! As long as the majority of it is, the effect will still be apparent.
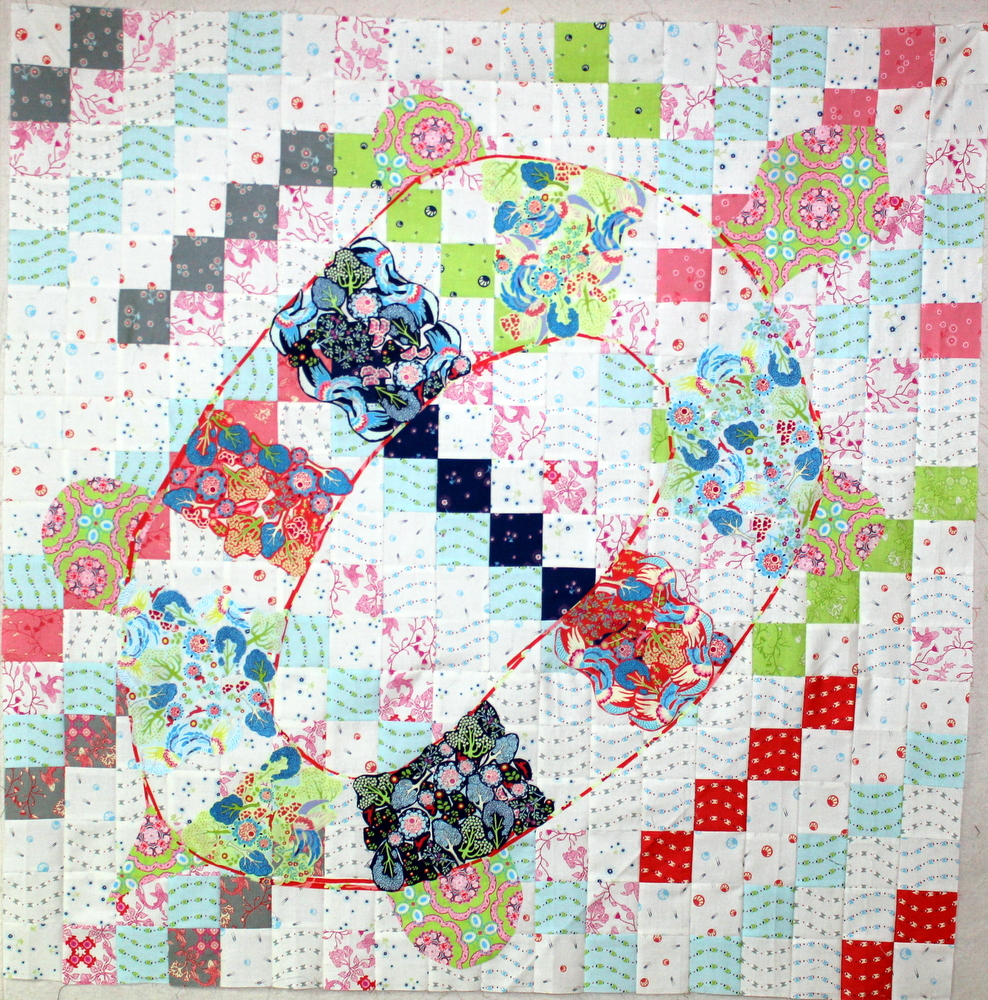 Continue to add shapes in groups of colors to fill the shell.
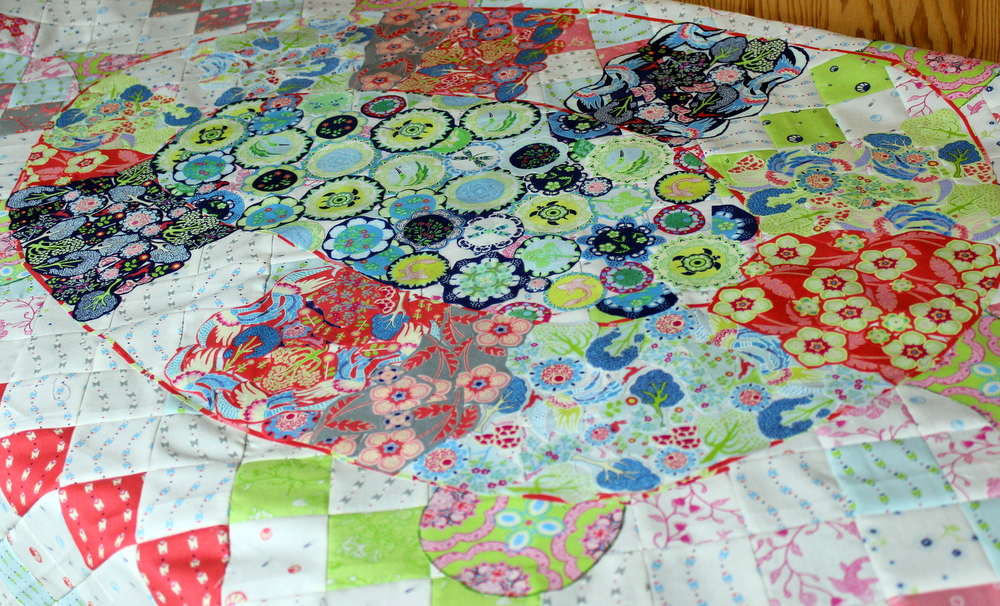 The outline of the shell from the beginning is still visible but helps to define the shell. The fabric for the head, legs, and tail blended into the background. The solution - use a fabric marker to outline the edges and make the turtle "pop" from the background.
  Once the shell is filled to your liking and everything is securely pressed in place it's time to make the quilt sandwich. The top over the batting and then finally the backing.
 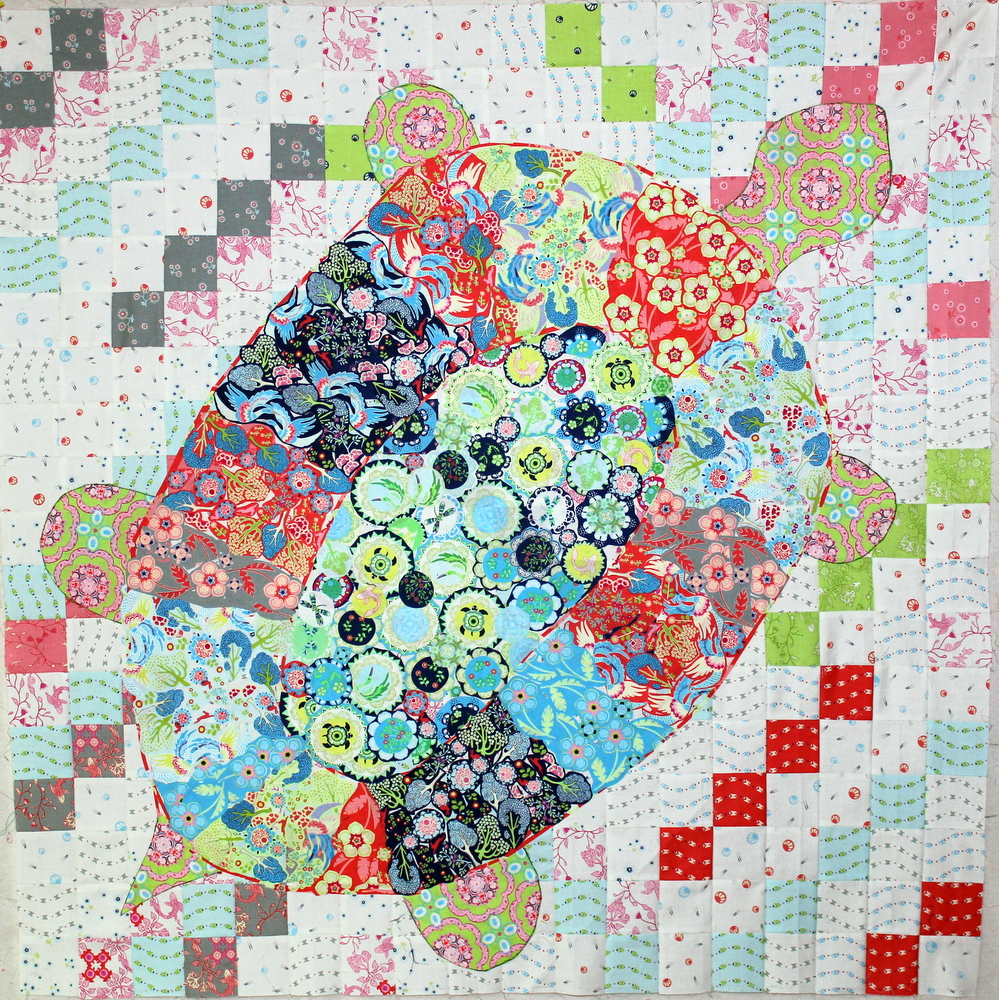 Use SprayNBond® Basting Adhesive to baste the quilt.
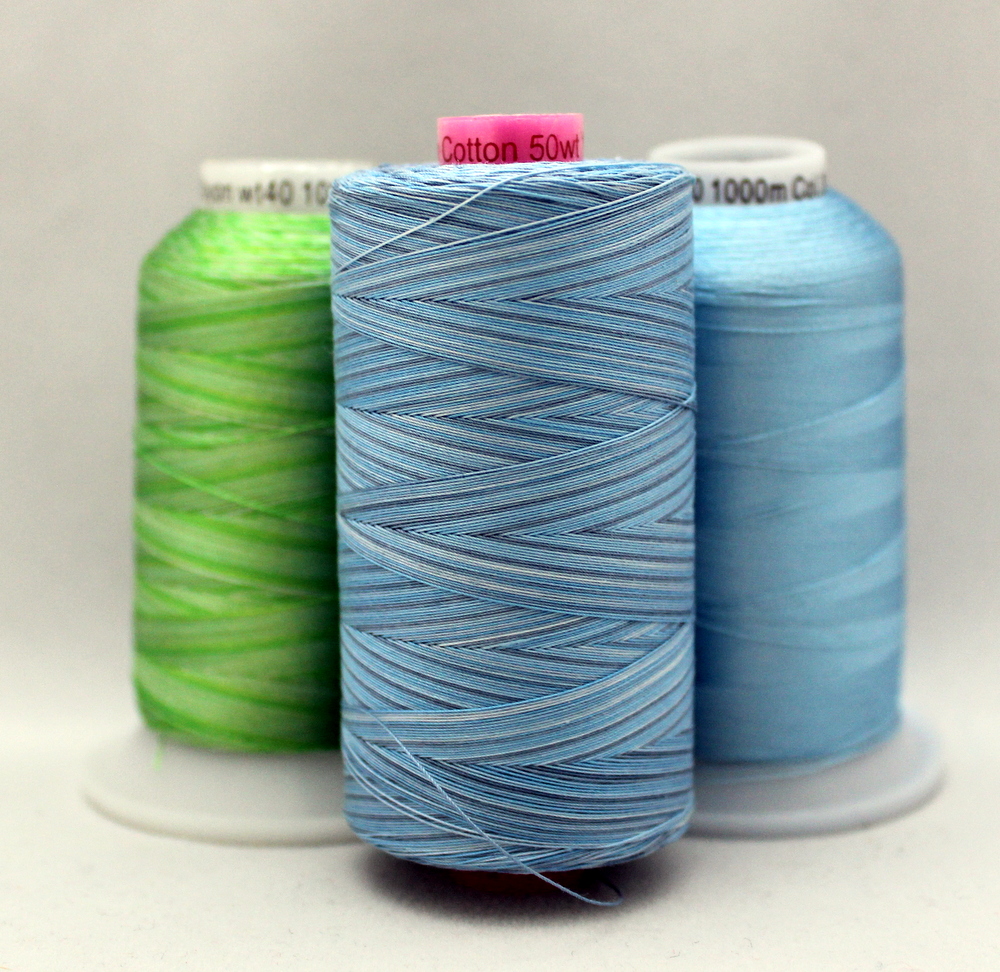 Wonderfil provided some of their amazing thread for the quilting portion of the project! It was like quilting with butter - LOVE it!
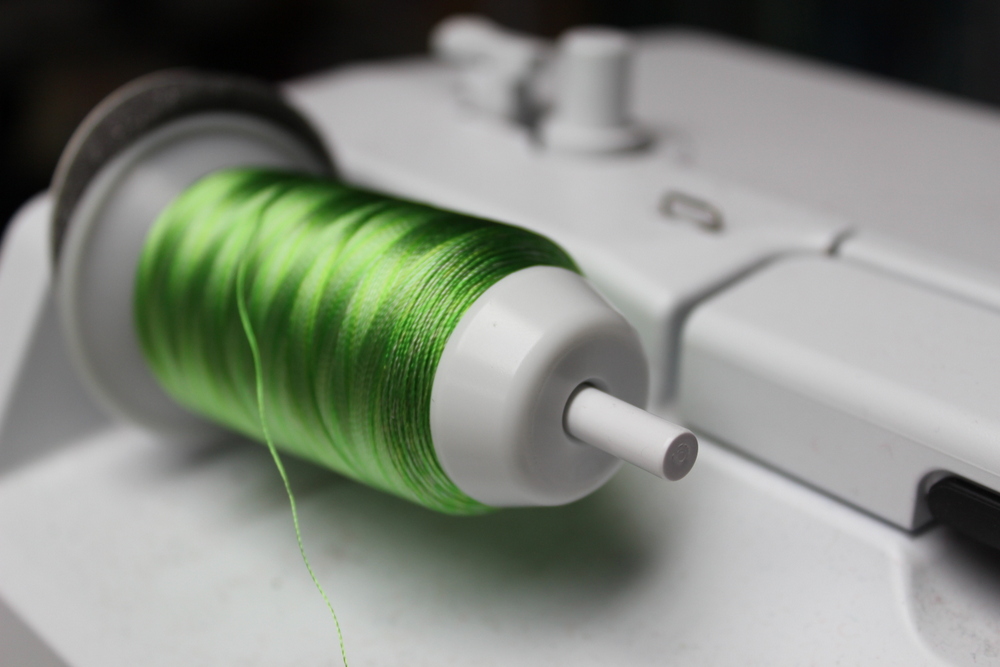 The shell of the turtle was quilting in the green thread and the blues were used for the sea the turtle is swimming in.
 Feel free to quilt however you desire but make sure to securely stitch down all the pieces that were fused onto the fabric so they are secure. The shell in this piece was done in a continuous swirl to the center.
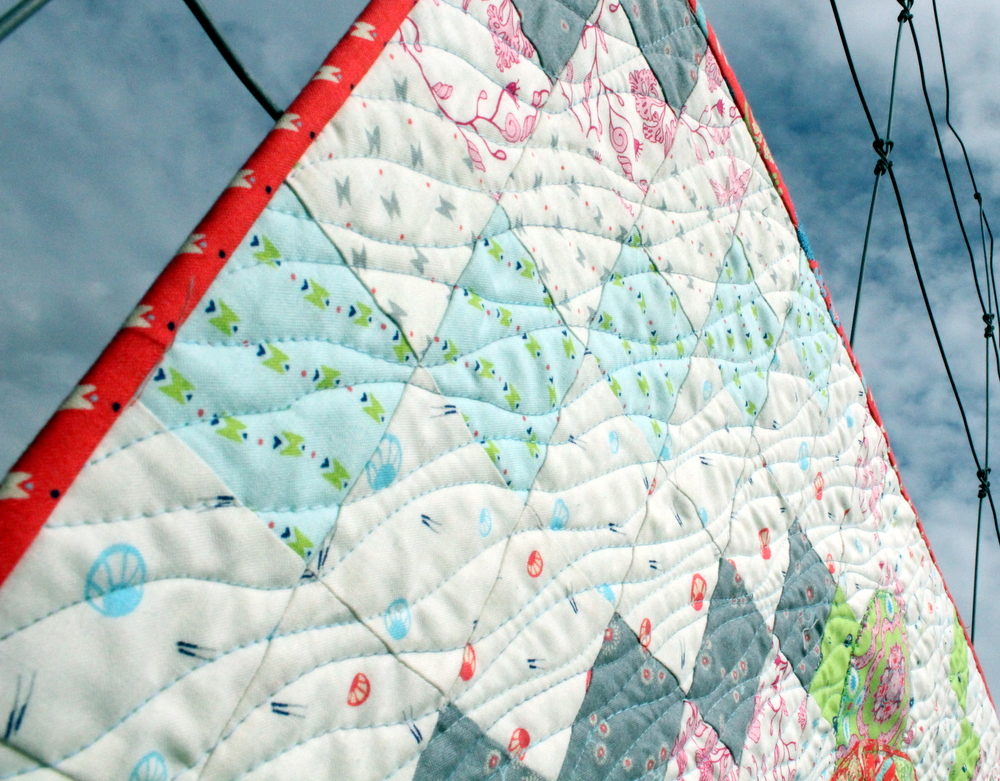 The sea was done with wavy "straight" lines.
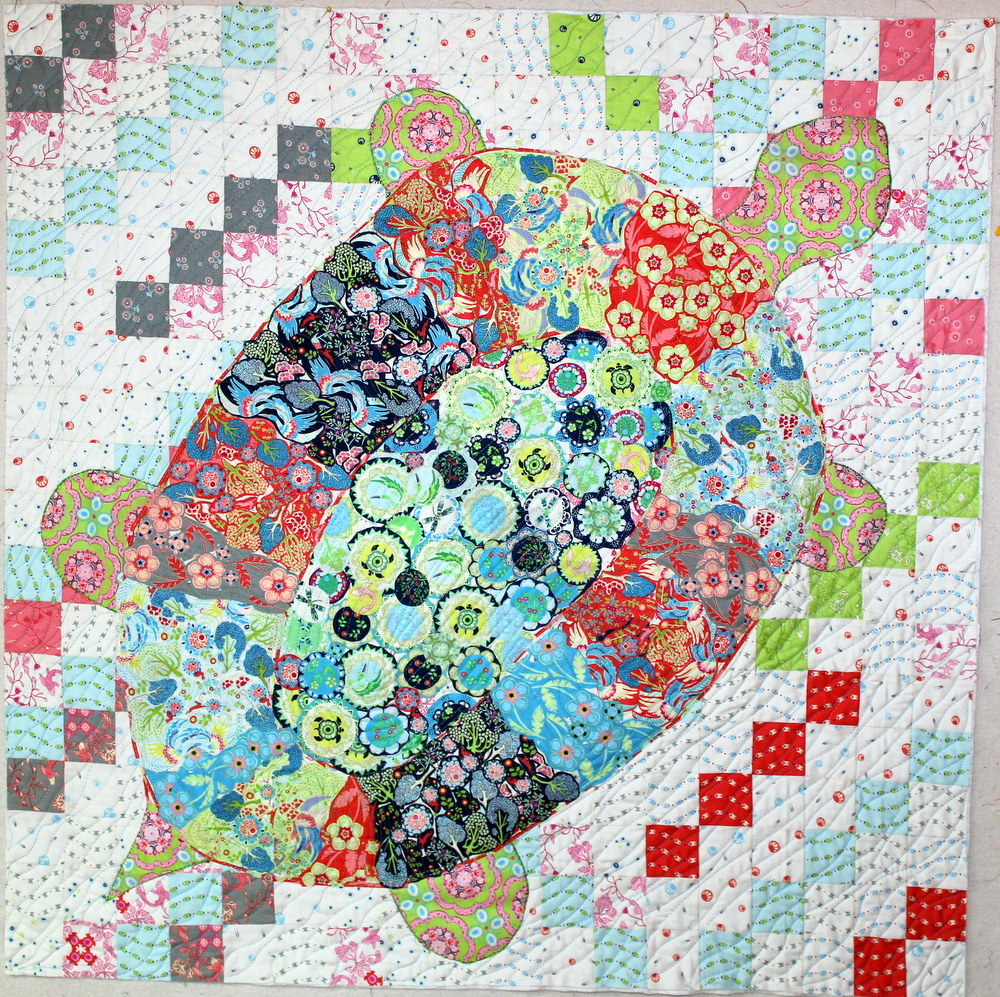 Choose a fabric that you think will compliment your quilt nicely to bind it. In this case reds were chosen.
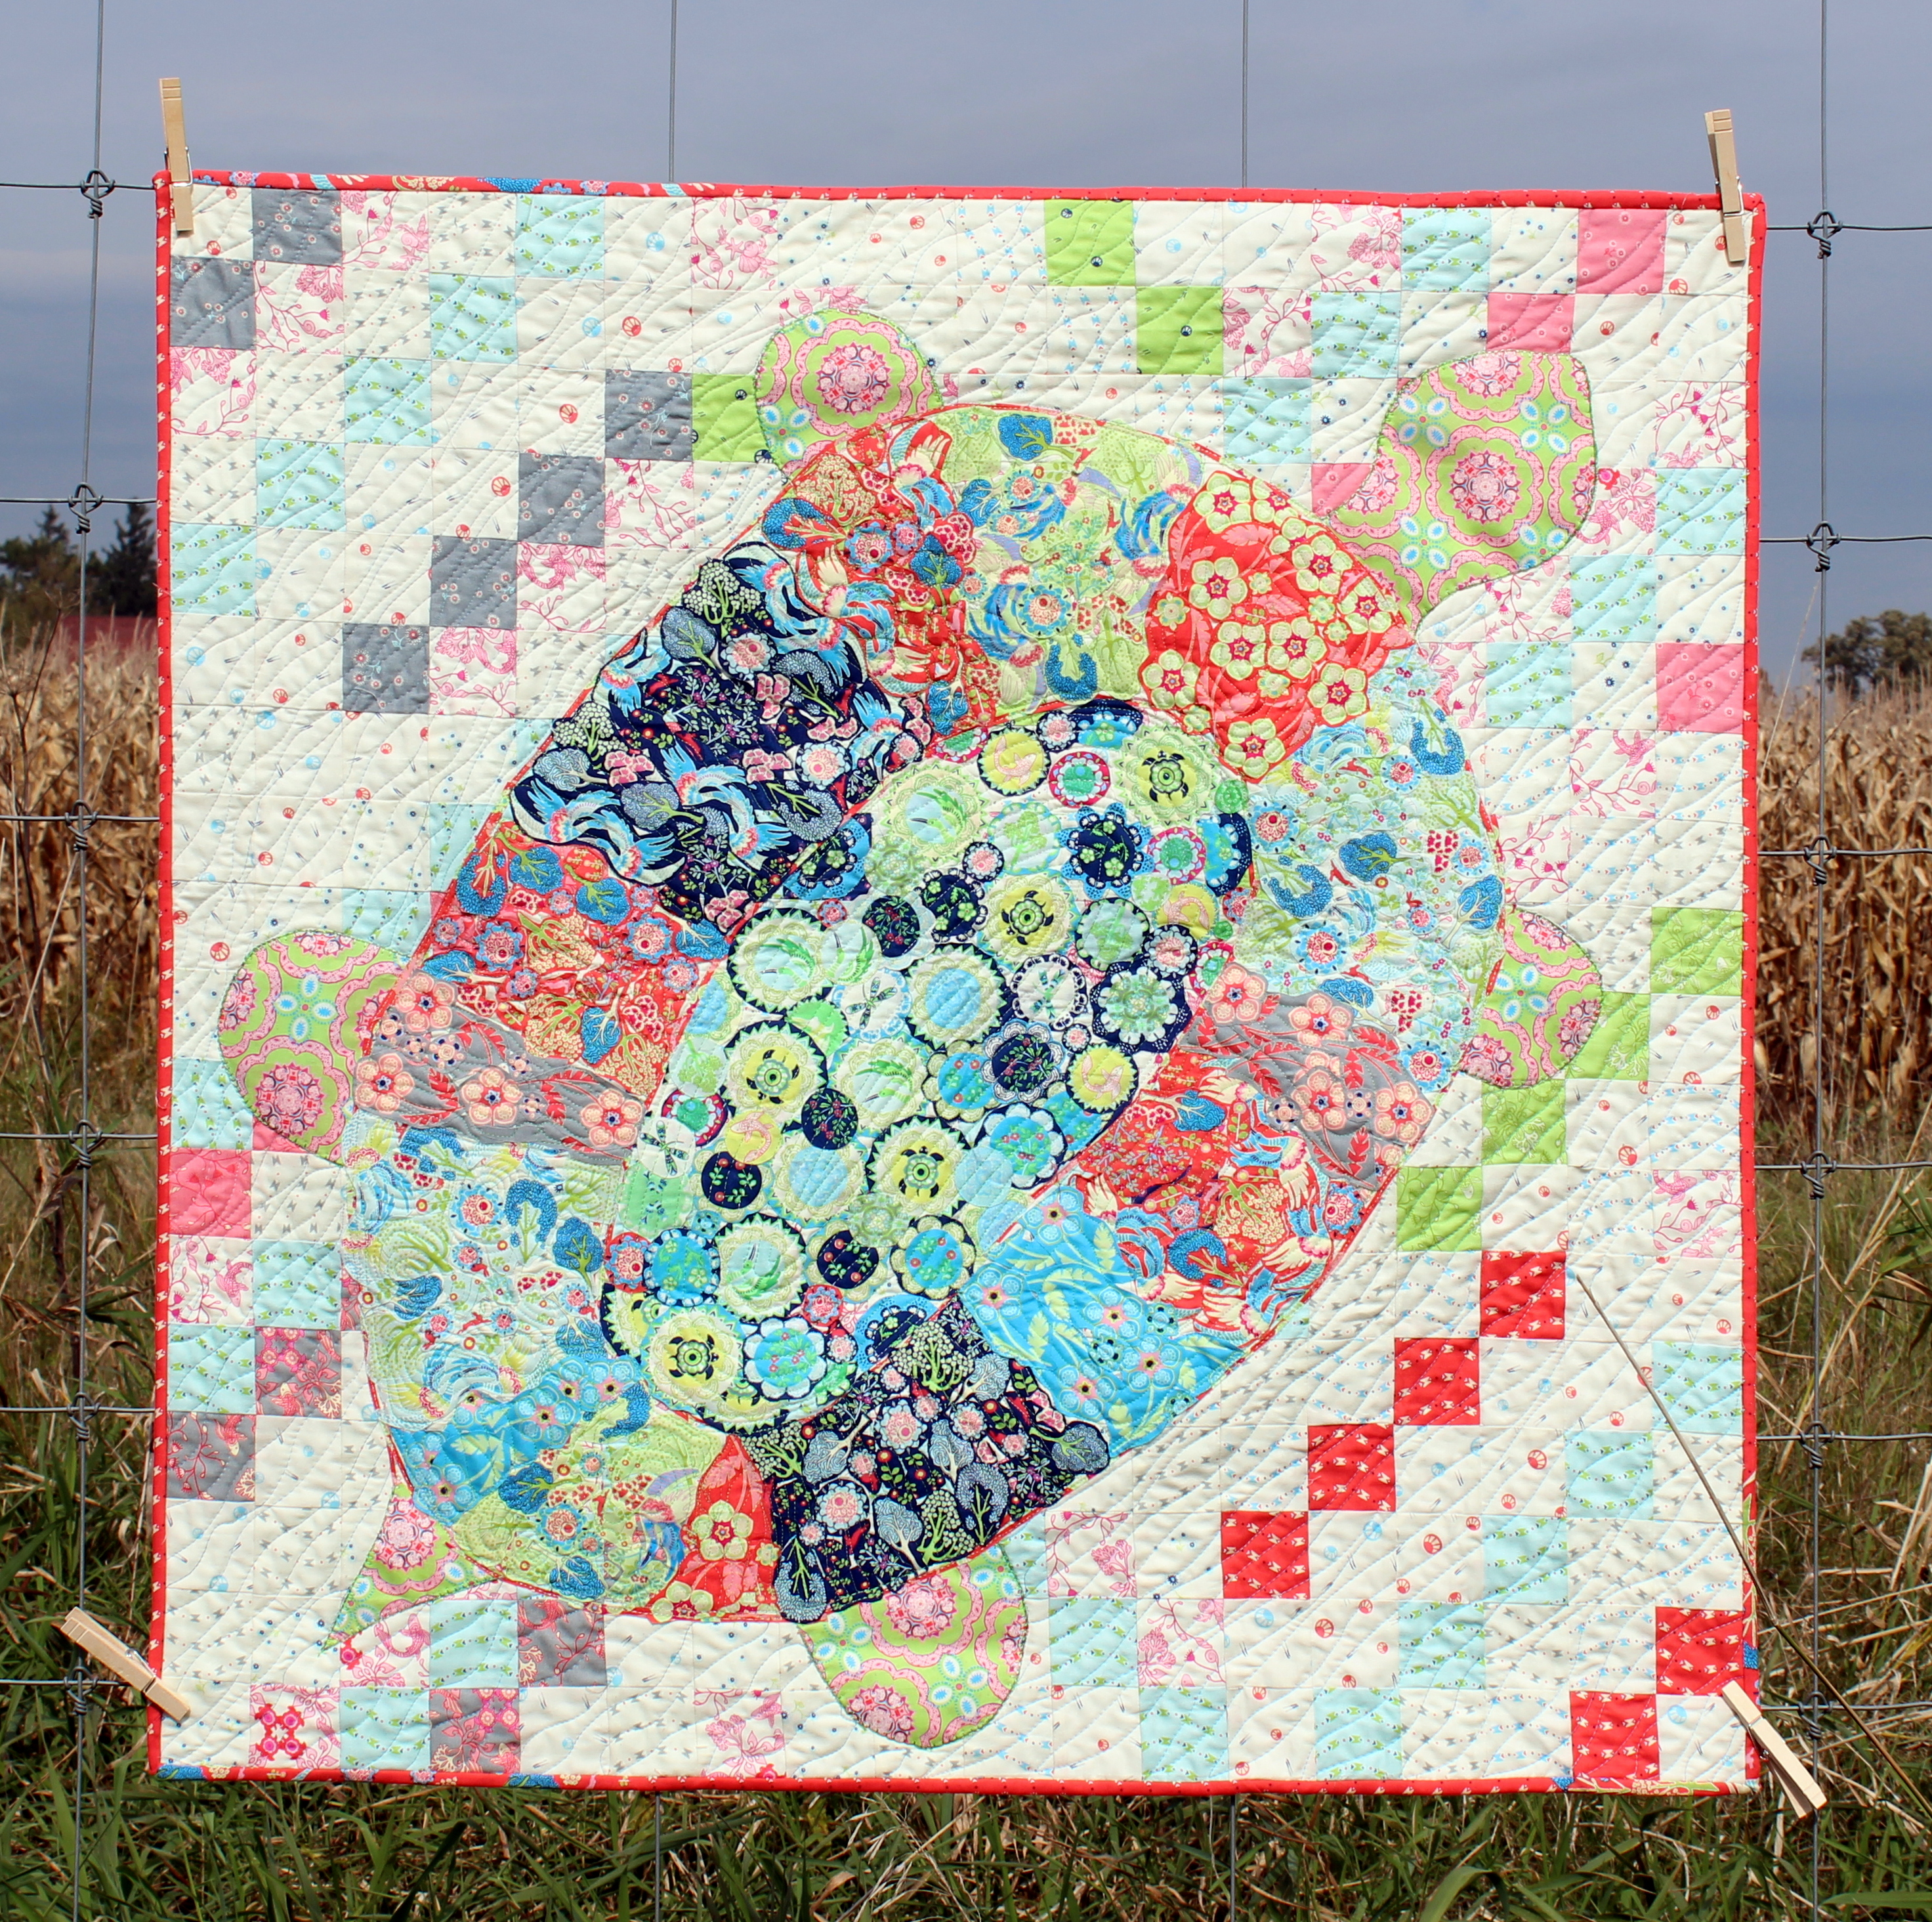 I hope you enjoyed the tutorial! Please remember that i'm sharing with you a method for making a new kind of quilt ... yours will not look like mine nor should it! Play with your own patterns, materials, and color combinations! Don't be afraid to have fun and let go!
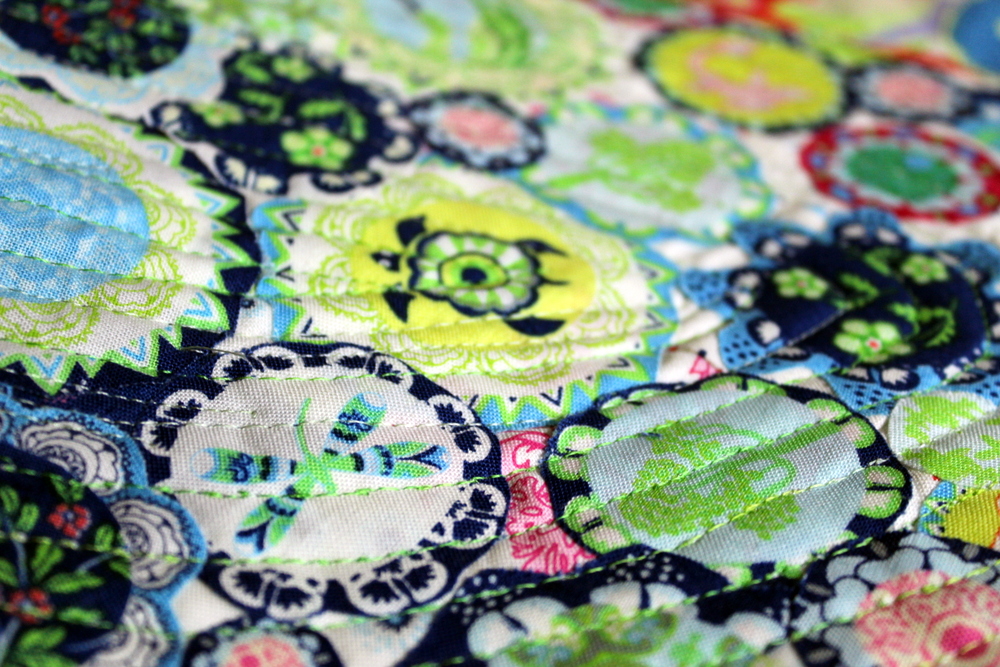
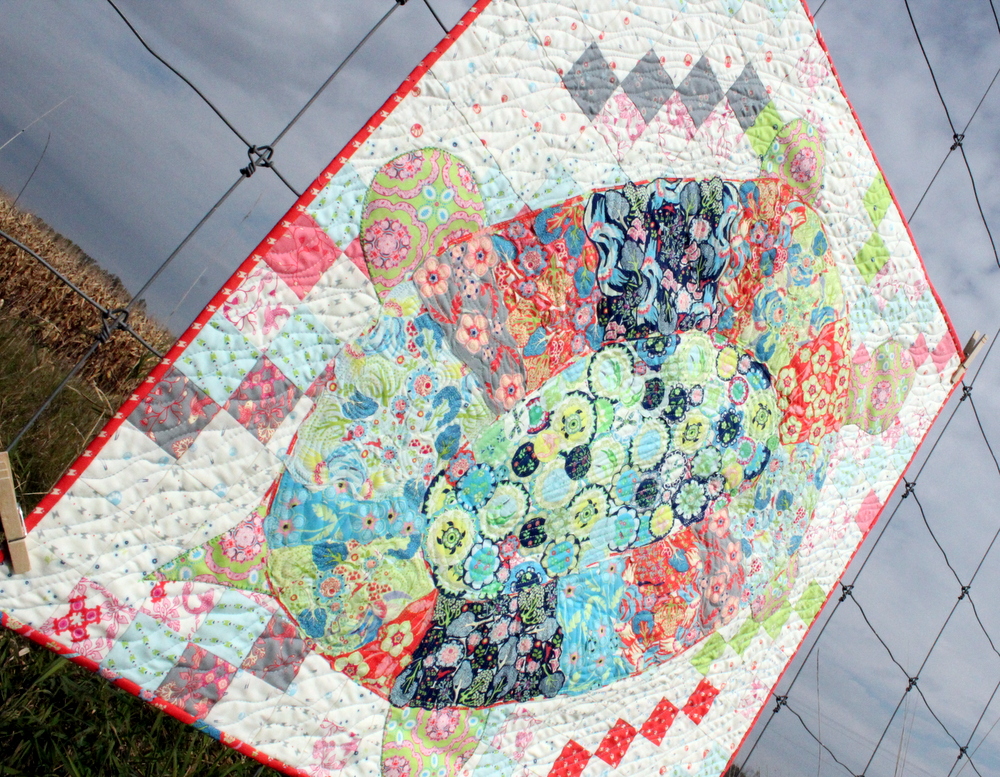 I just love taking a closer look at this piece to see all the fun things hidden in the shell!