No Products in the Cart
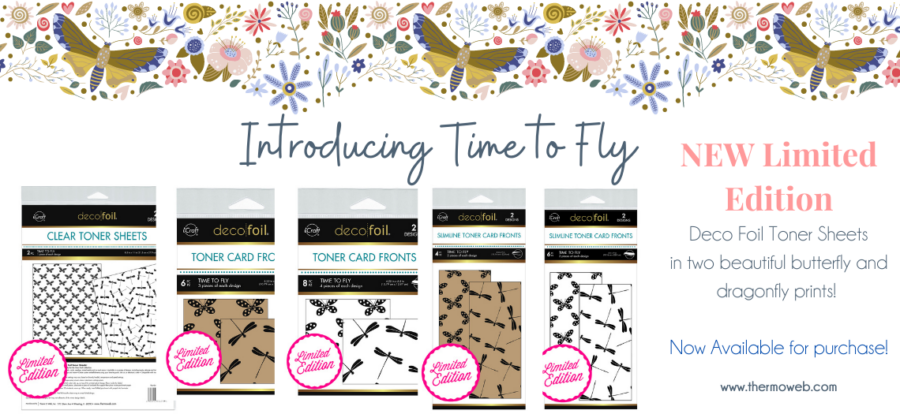 Hey Hey! It's Katrina from Paper, Scissors, Glue and Hybrid Too sharing a layout with the new LIMITED EDITION Toner Sheets for the Time To Fly release. Who can say butterflies and dragonflies?!! I am pretty sure these are my favorite release yet!
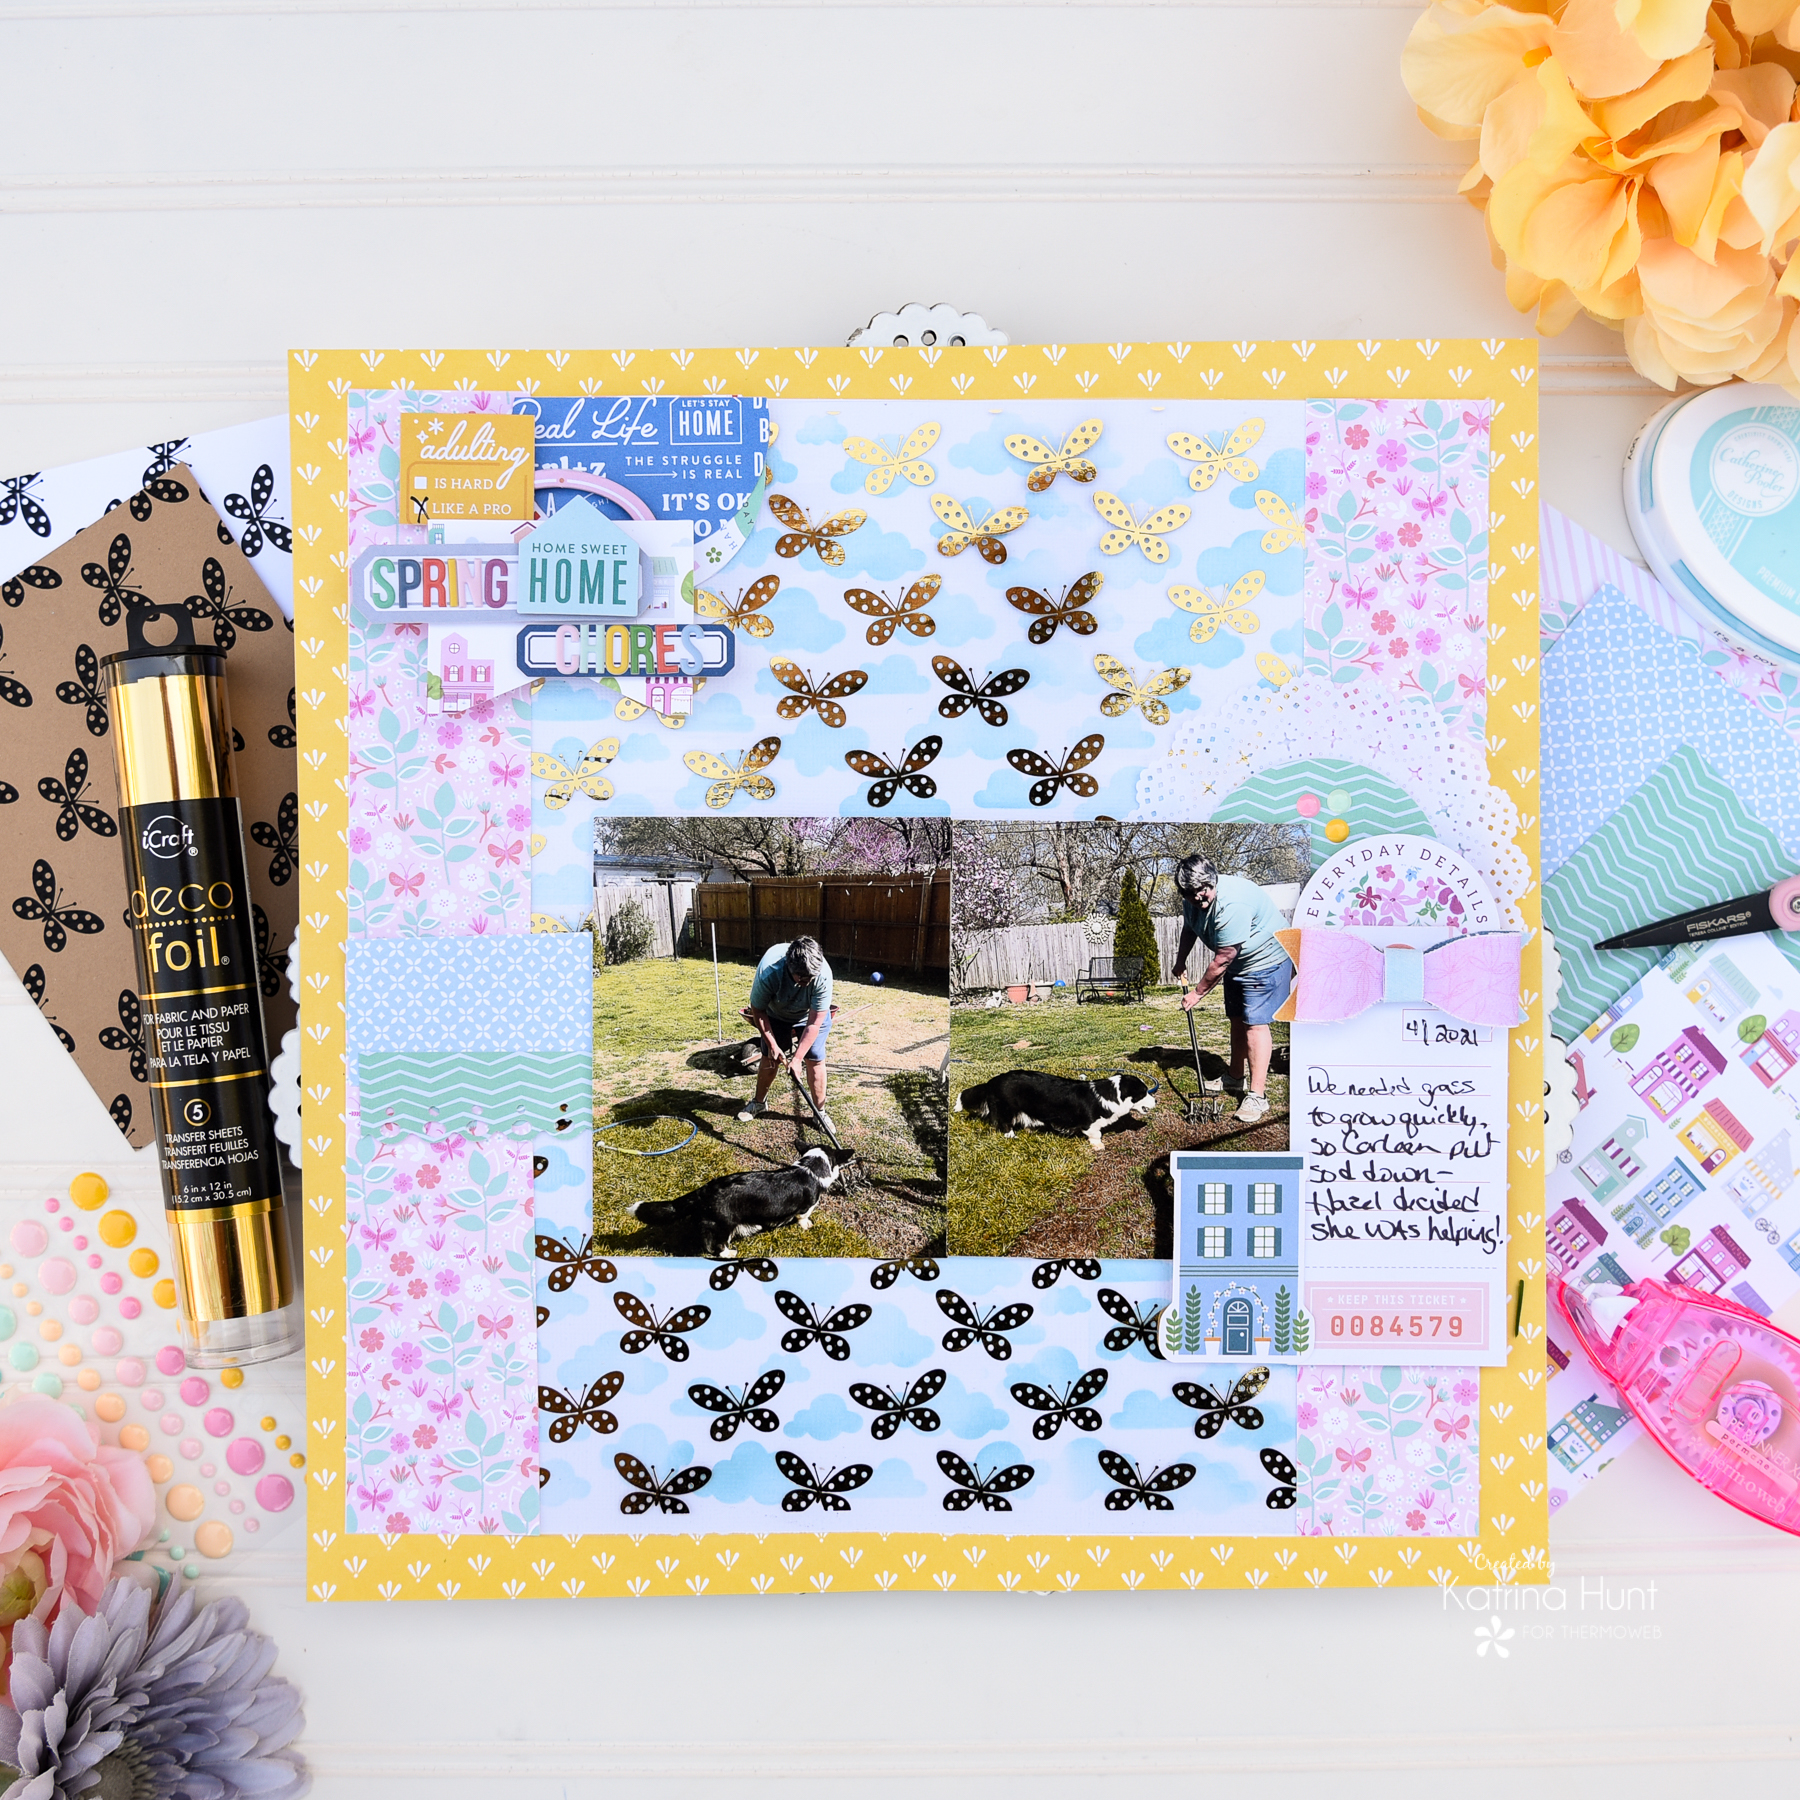
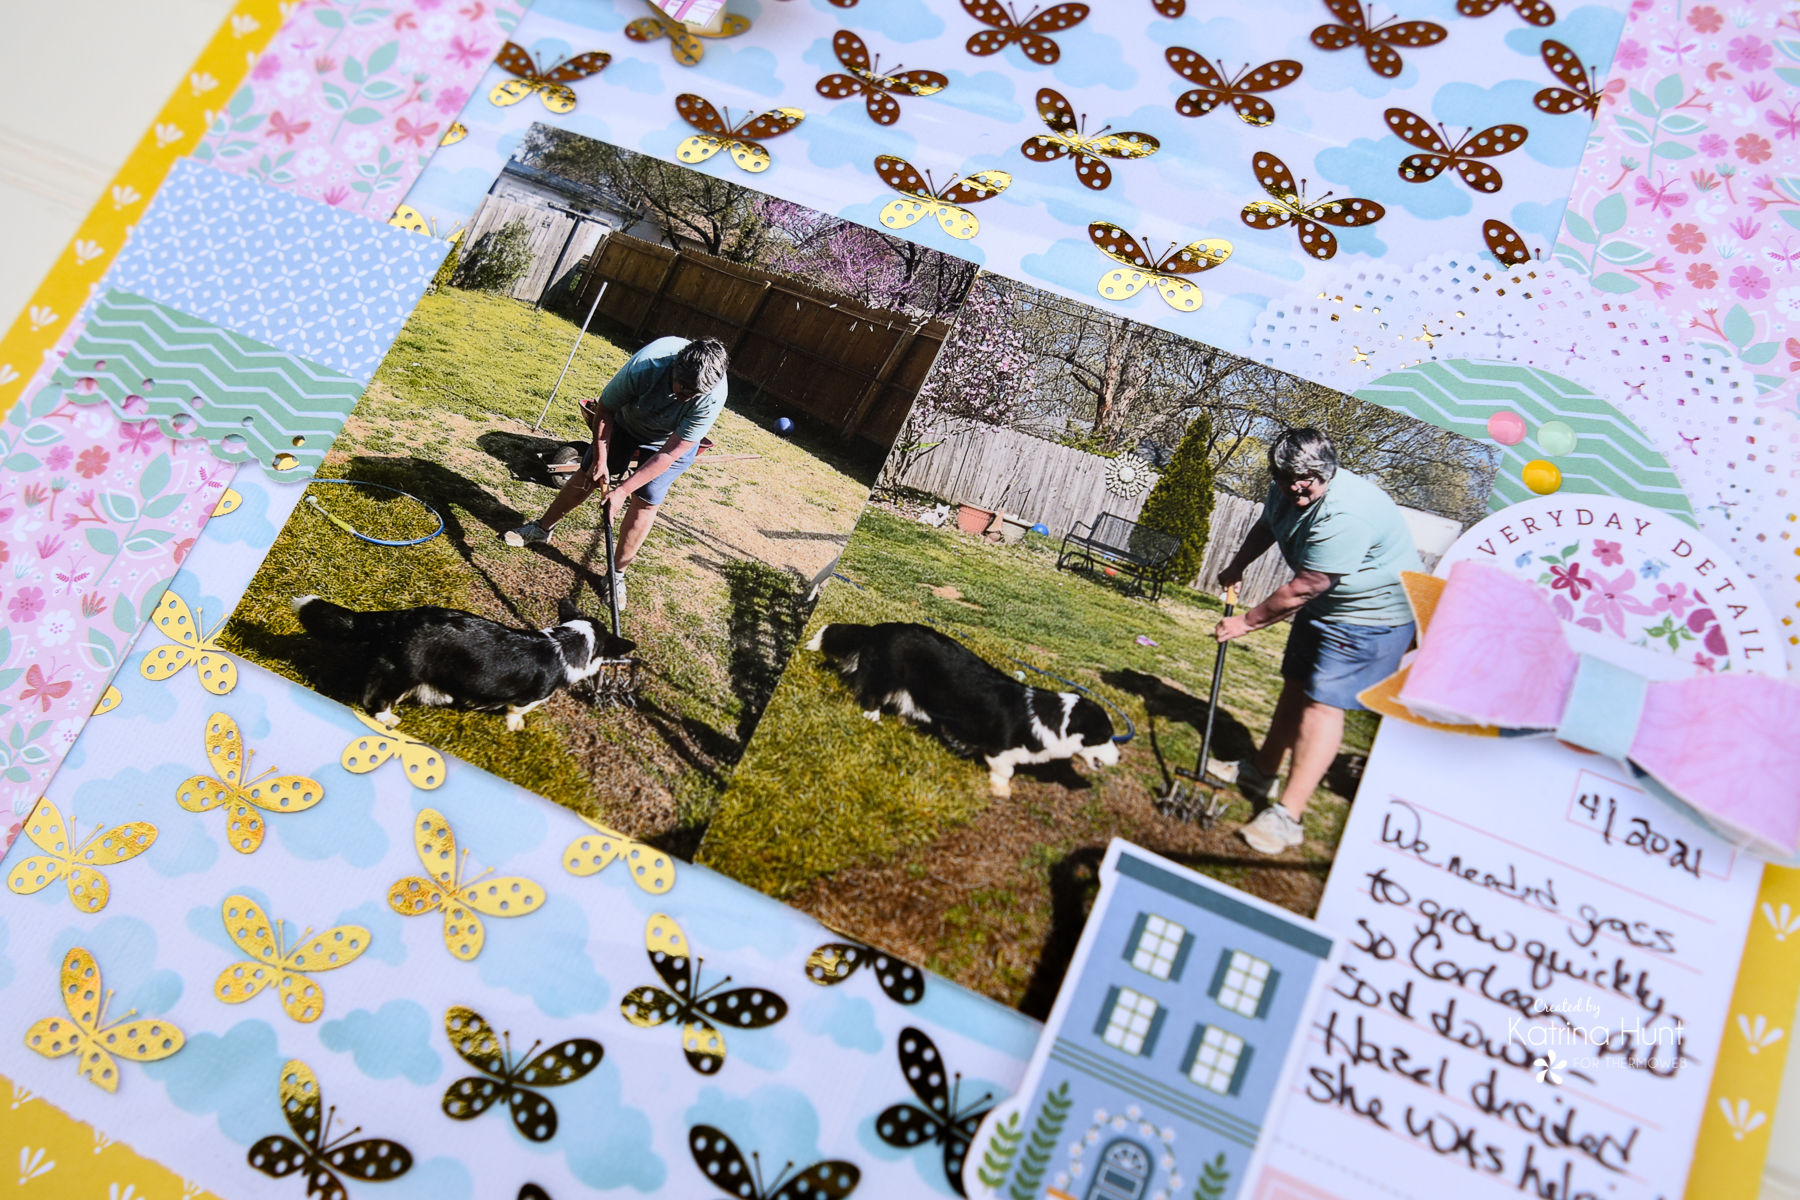
We had to put some sod down in the backyard this year over an area that was turning into a mud pit. I thought it would be fun to document it as a spring chore and the butterflies were perfect to use for it.
Hey Hey! It's Katrina from Paper, Scissors, Glue and Hybrid Too sharing a layout with the new LIMITED EDITION Toner Sheets for the Time To Fly release. Who can say butterflies and dragonflies?!! I am pretty sure these are my favorite release yet!
We had to put some sod down in the backyard this year over an area that was turning into a mud pit. I thought it would be fun to document it as a spring chore and the butterflies were perfect to use for it.
 Therm O Web Supplies Used
ALL NEW Deco Foil TONER SHEETS RELEASE
Memory Runner XL
Memory Runner XL Refill
3D Foam Squares – Combo Pack
Deco Foil Foam Adhesive Sheets-White
Easy Cut Adhesive Sheets
ZOTS Clear Adhesive Dots Small Singles-125 pk
ZOTS Clear Adhesive Dots Small Box-300 pk
Deco Foil Clear Toner Sheets – Time To Fly
Deco Foil Transfer Sheets-Gold 6x12 pack
Deco Foil Transfer Sheets-Gold 25 sheet pack
Easy Tear-Tape 1/2 inch
Purple Tape-1/2 inch
Ultra Bond Liquid Adhesive
Gina K Designs Foam Tape – White
Gina K Designs Foam Squares-White
Other Supplies Used:
Catherine Pooler Ink-It's a Boy
Catherine Pooler Blender Brush 4pk
PinkFresh Keeping It Real Collection
American Crafts White Cardstock
Newton's Nook Cloudy Sky Stencil
Sketch from PageMaps-April 2021
Therm O Web Supplies Used
ALL NEW Deco Foil TONER SHEETS RELEASE
Memory Runner XL
Memory Runner XL Refill
3D Foam Squares – Combo Pack
Deco Foil Foam Adhesive Sheets-White
Easy Cut Adhesive Sheets
ZOTS Clear Adhesive Dots Small Singles-125 pk
ZOTS Clear Adhesive Dots Small Box-300 pk
Deco Foil Clear Toner Sheets – Time To Fly
Deco Foil Transfer Sheets-Gold 6x12 pack
Deco Foil Transfer Sheets-Gold 25 sheet pack
Easy Tear-Tape 1/2 inch
Purple Tape-1/2 inch
Ultra Bond Liquid Adhesive
Gina K Designs Foam Tape – White
Gina K Designs Foam Squares-White
Other Supplies Used:
Catherine Pooler Ink-It's a Boy
Catherine Pooler Blender Brush 4pk
PinkFresh Keeping It Real Collection
American Crafts White Cardstock
Newton's Nook Cloudy Sky Stencil
Sketch from PageMaps-April 2021
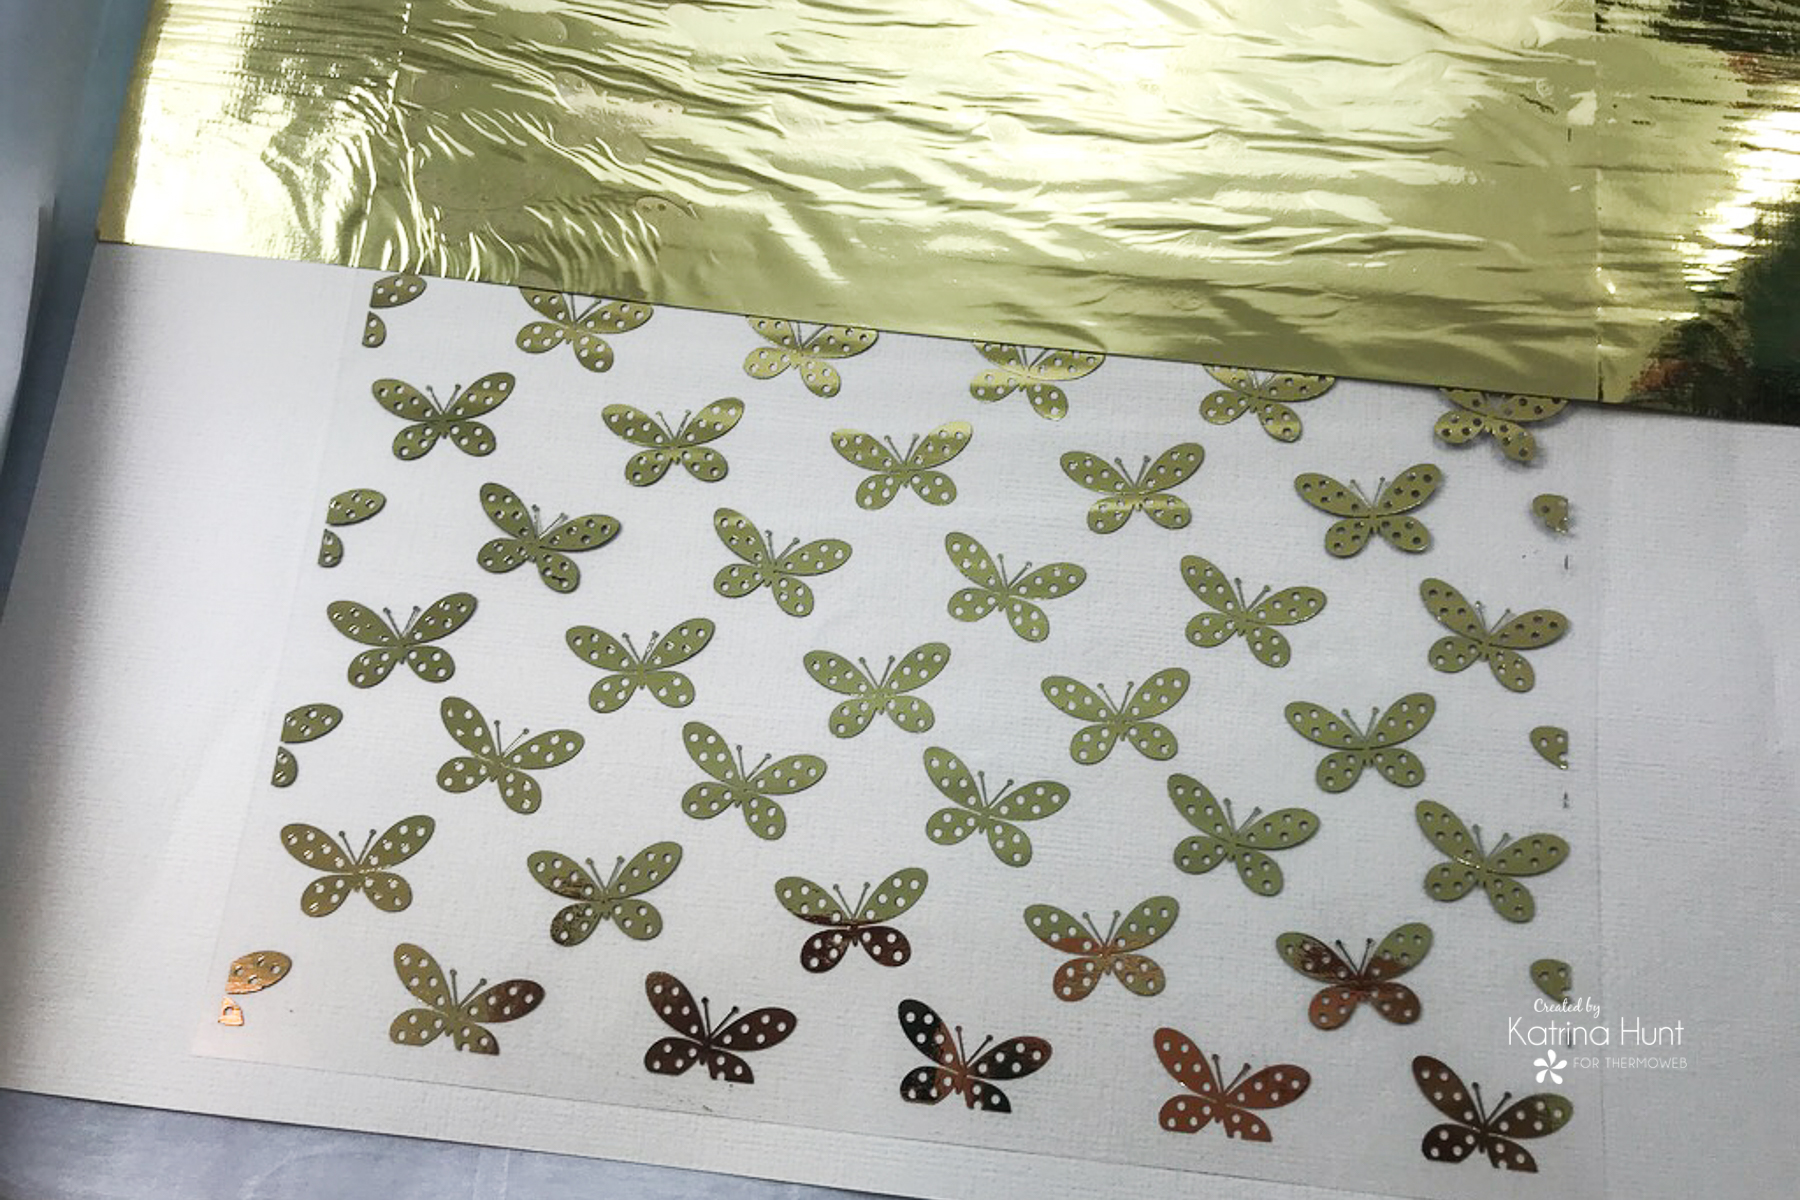
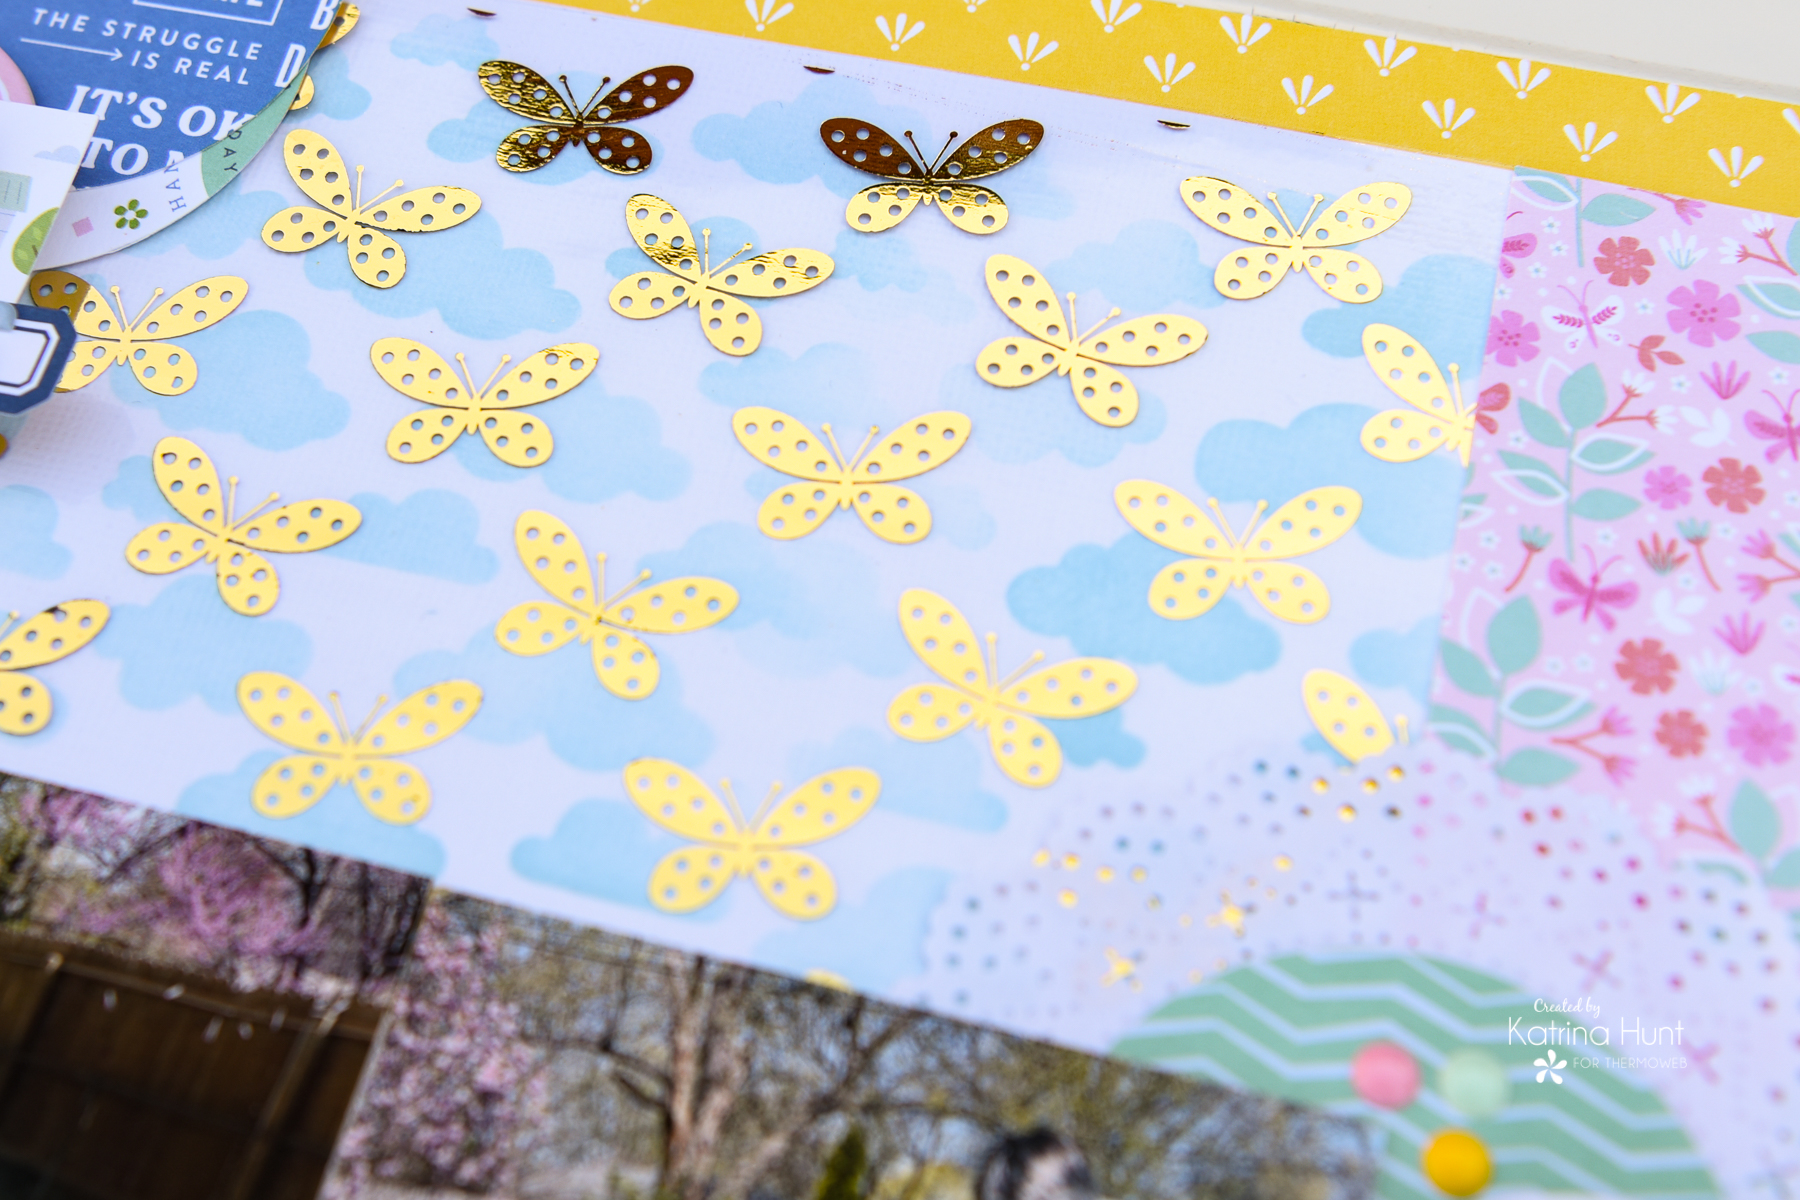
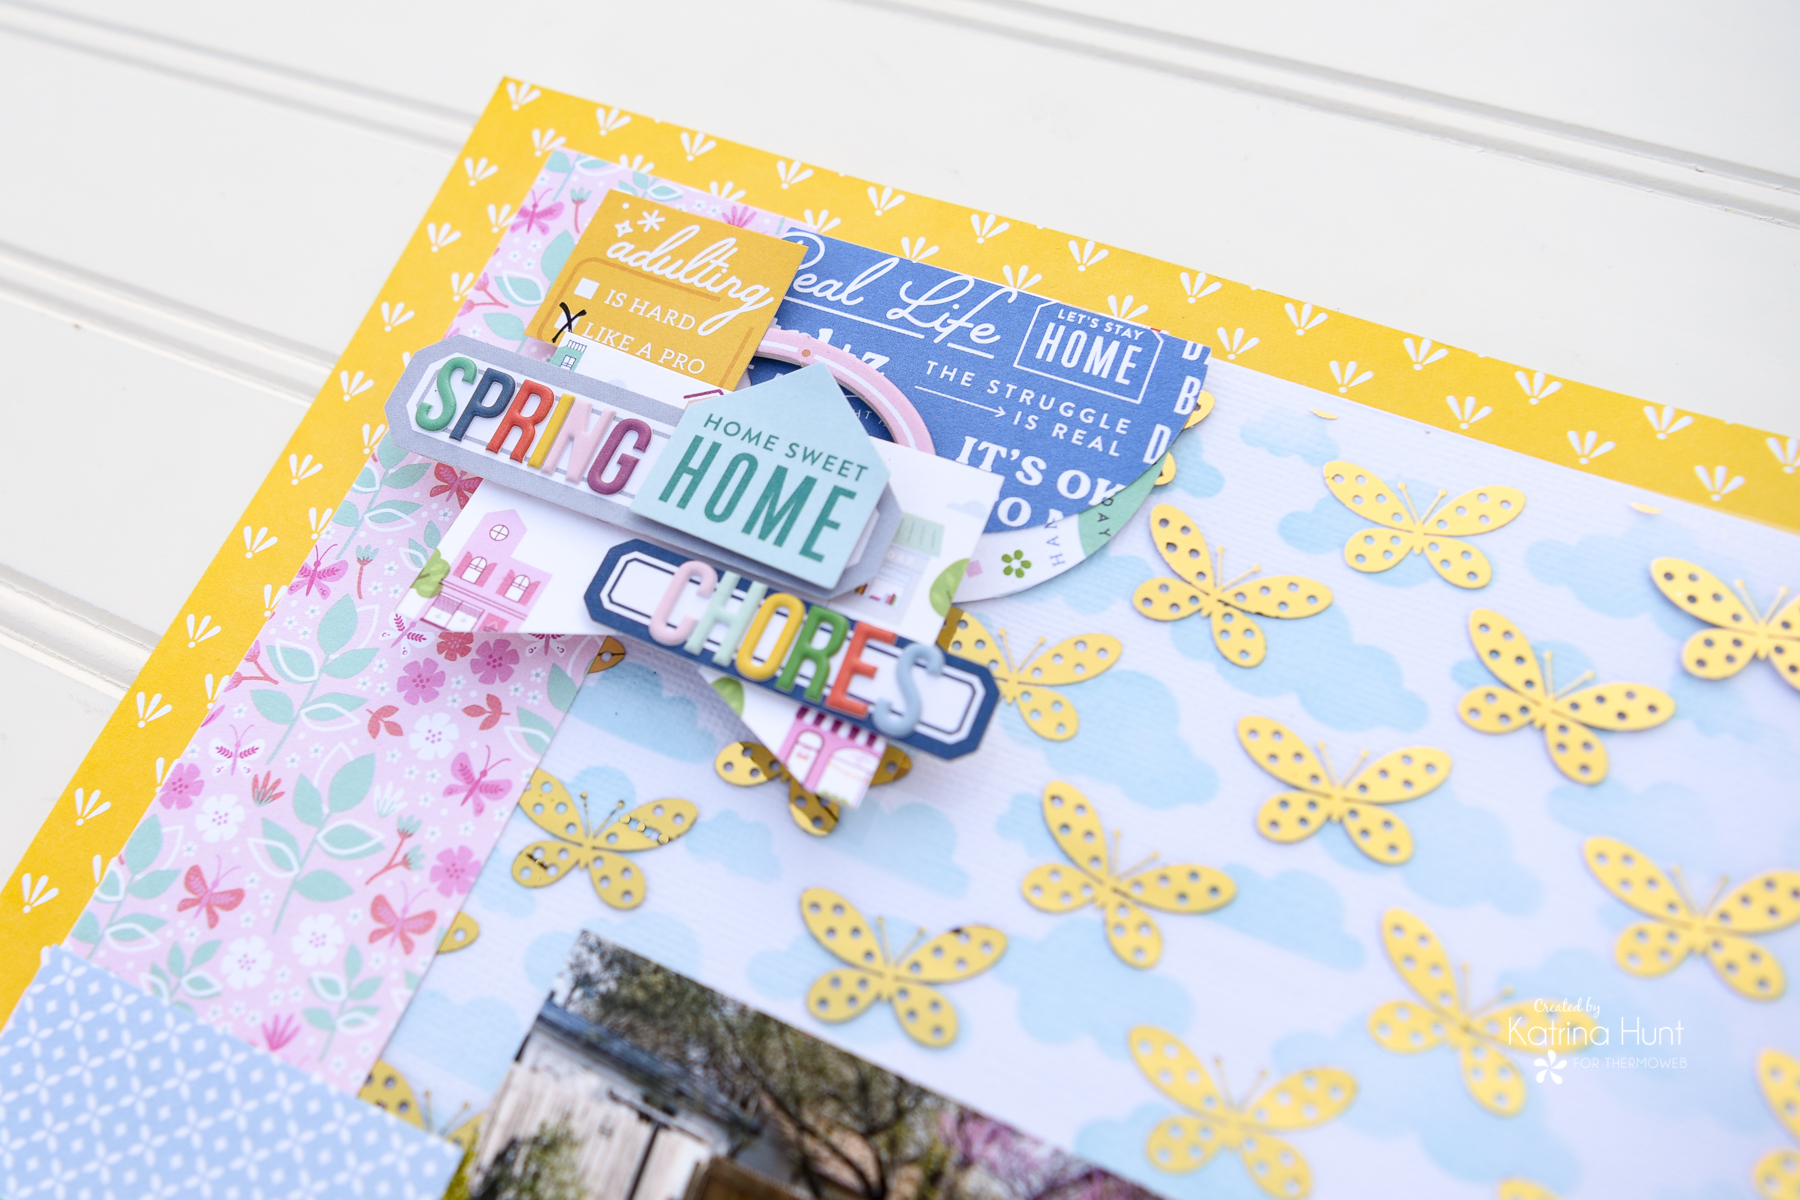
 Begin the layout by cutting the white cardstock down to 11x11 inches. Foil the clear toner sheet with the Deco Foil color of your choice. I chose Gold, but these would be fun with all different colors of butterflies!
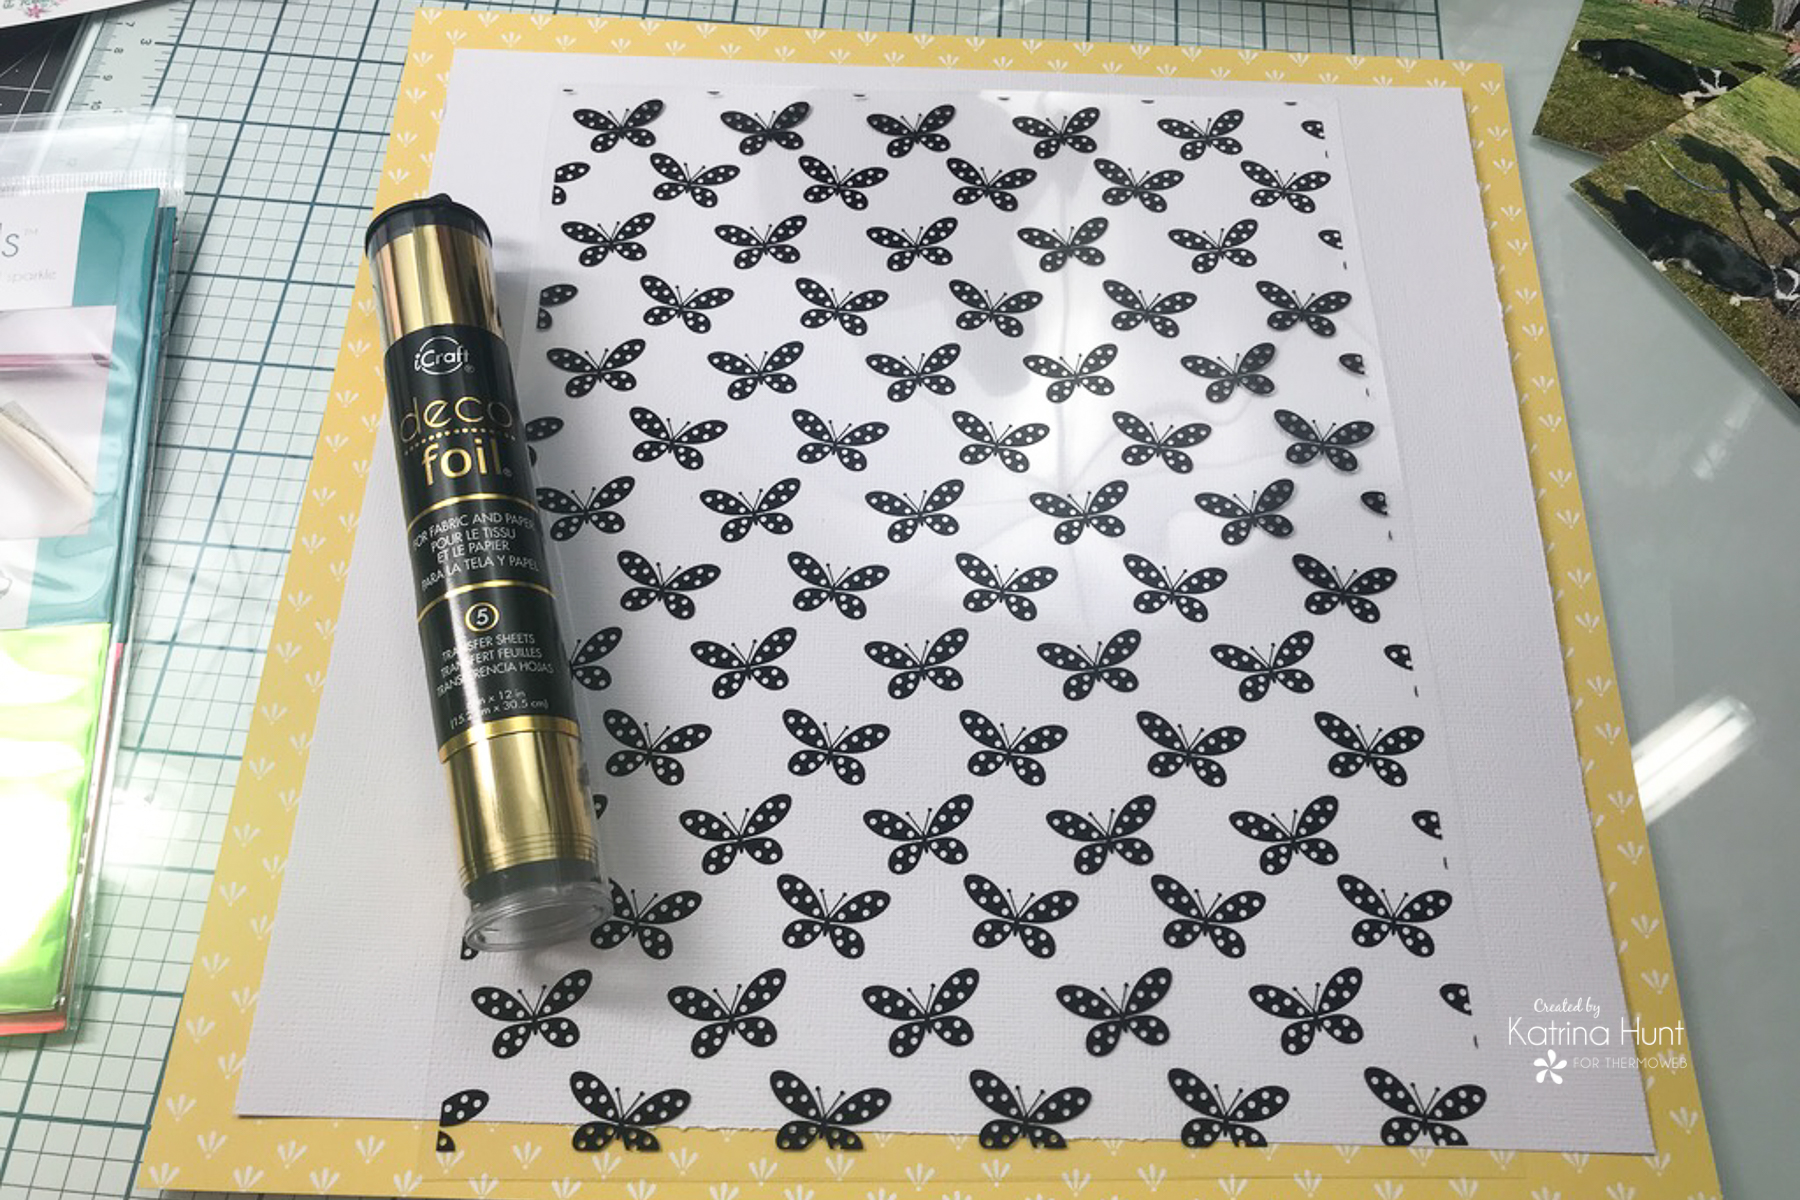 To foil the full sheet use 2 of the 6x12 transfer sheets to cover the entire toner sheet and run thru your laminator.
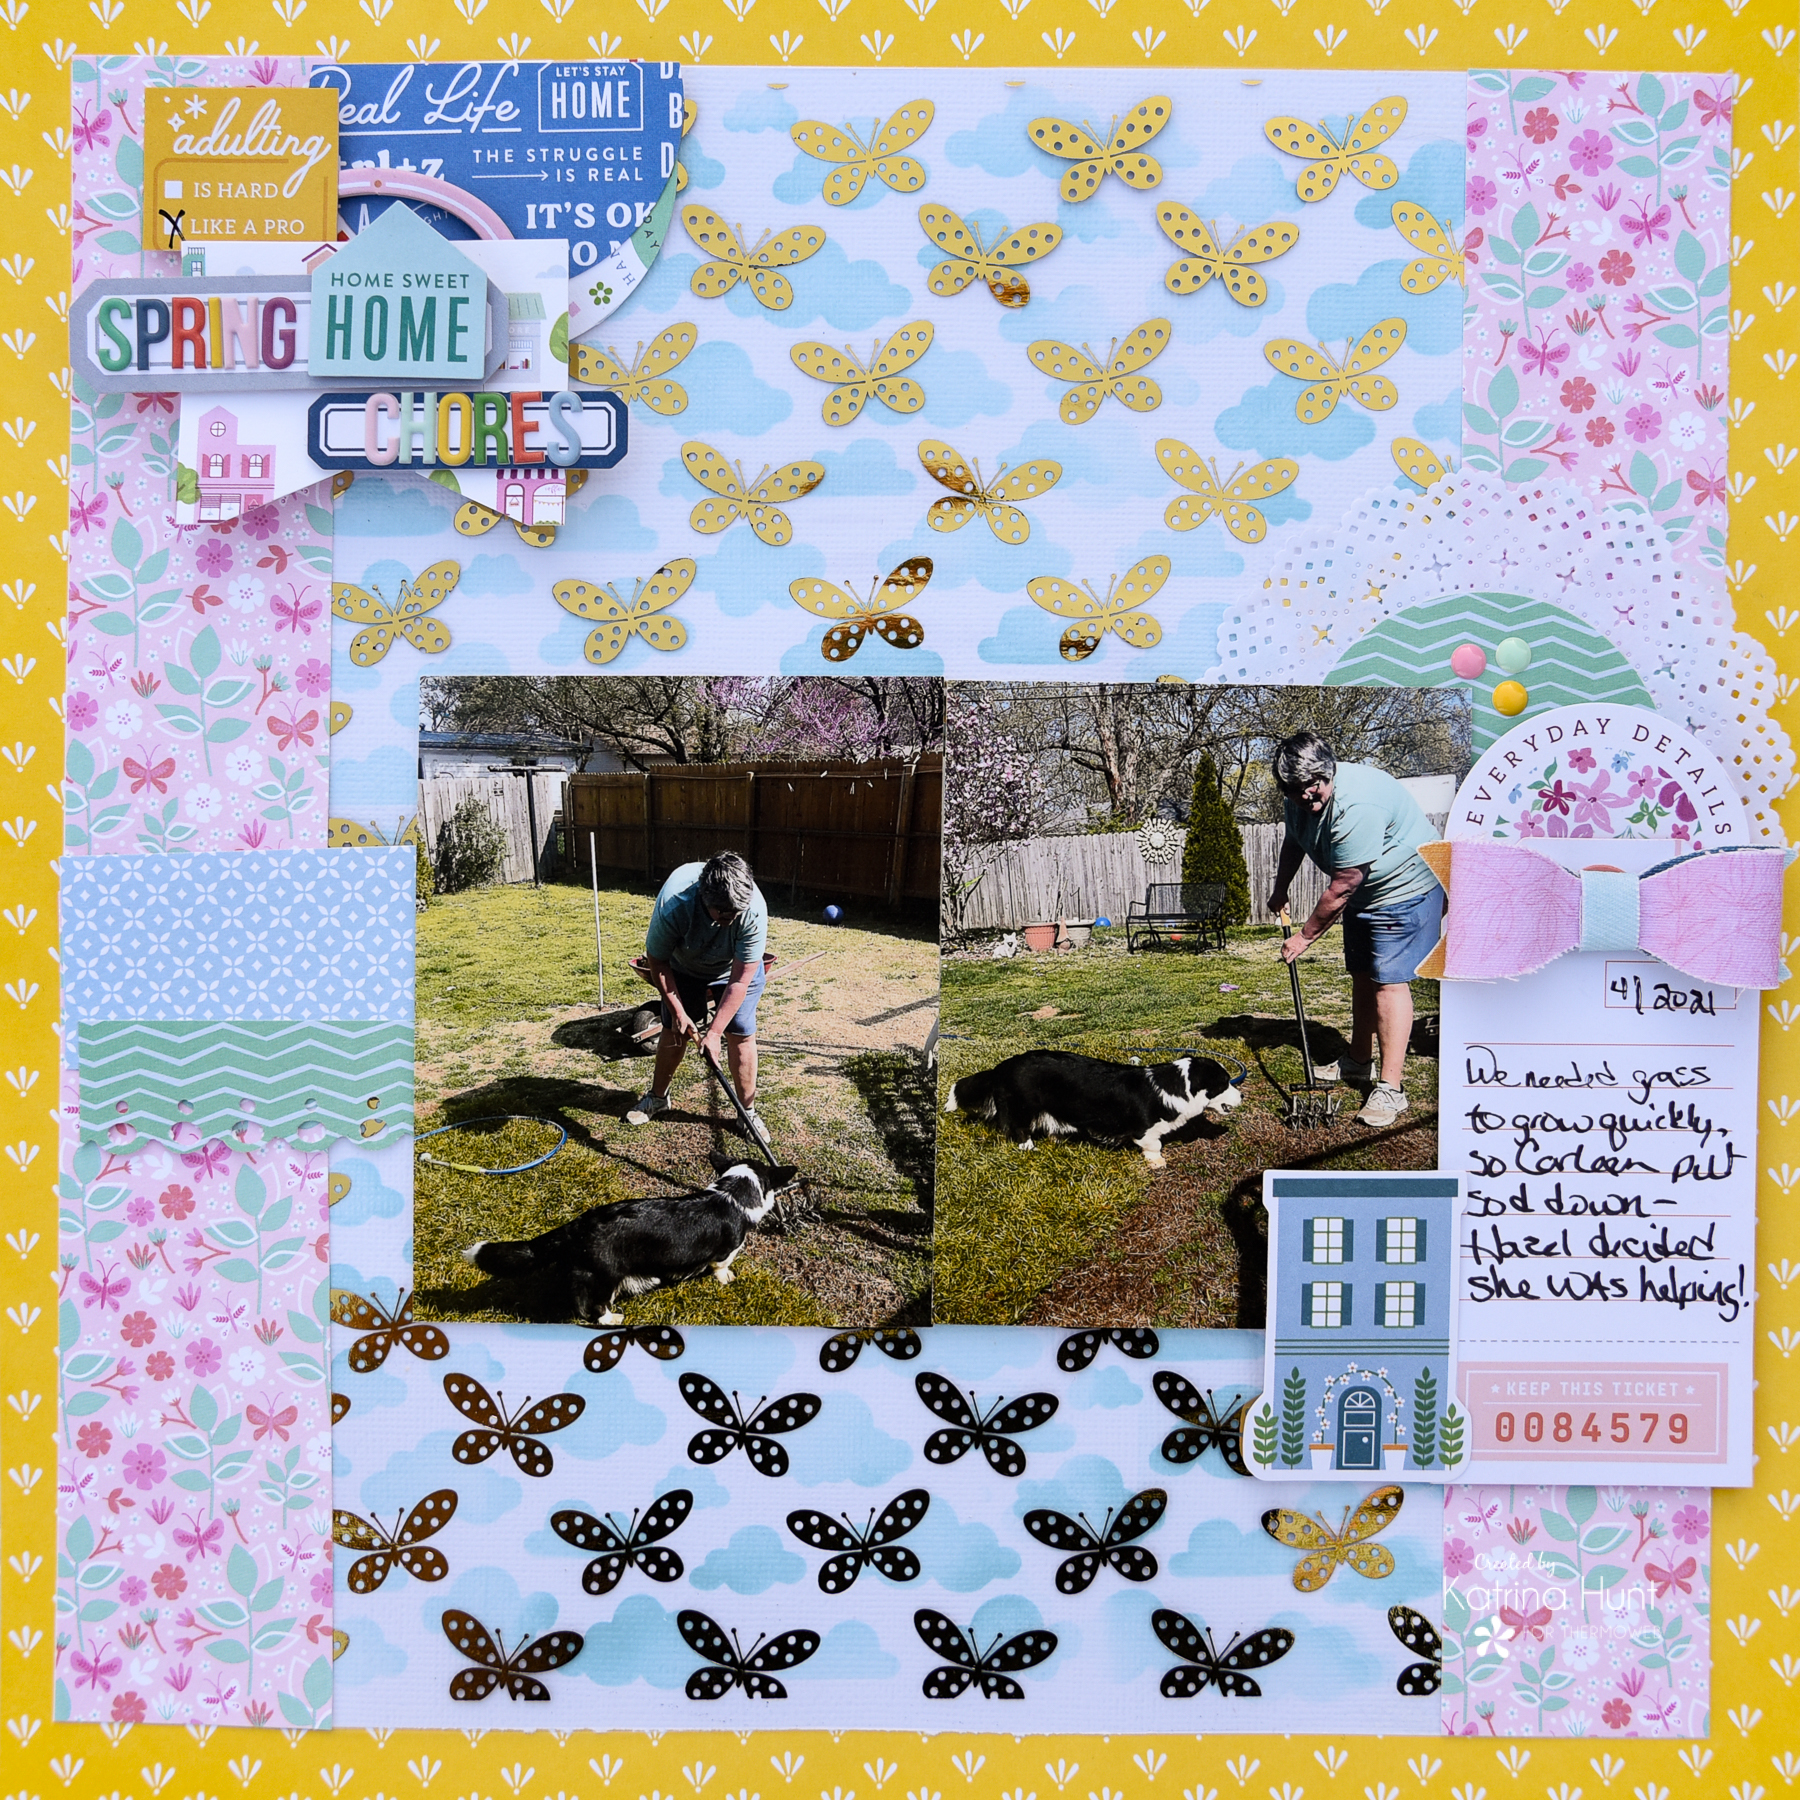
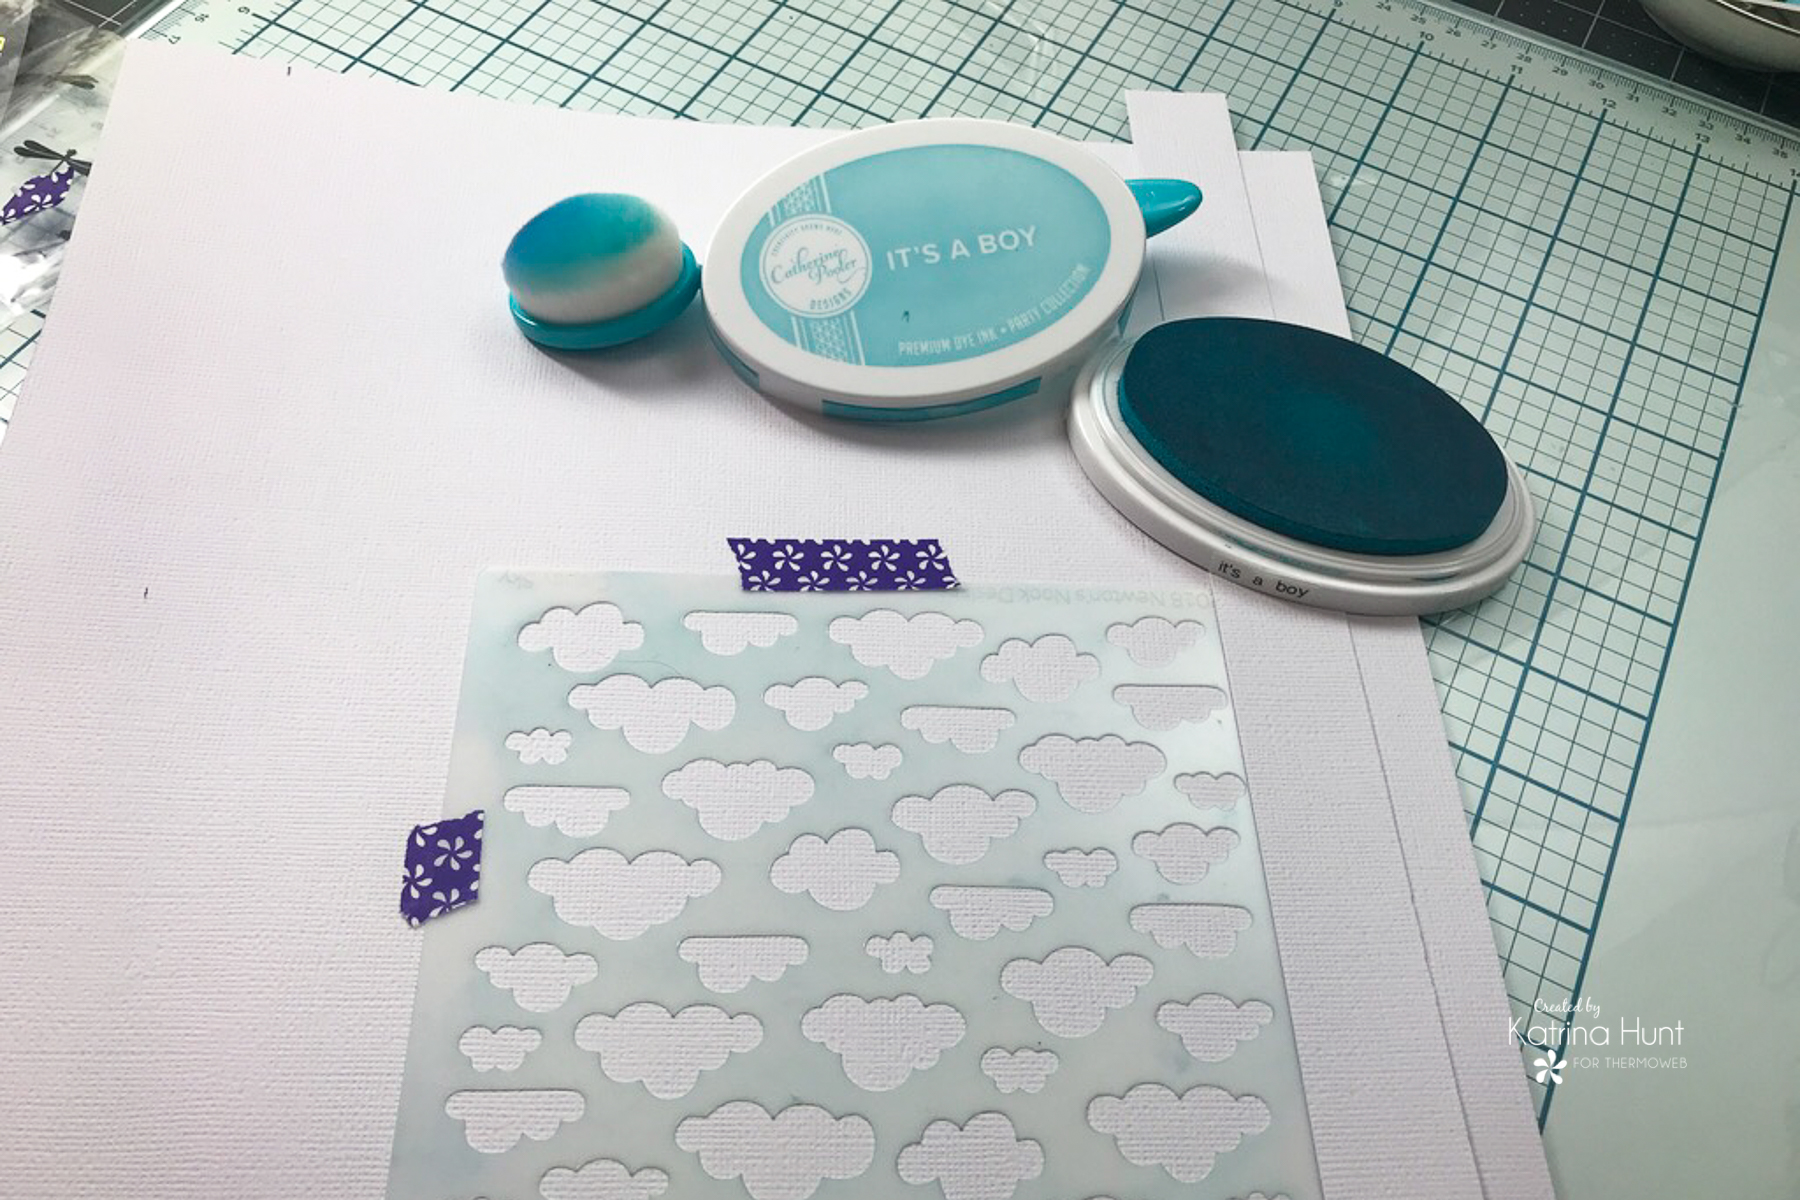
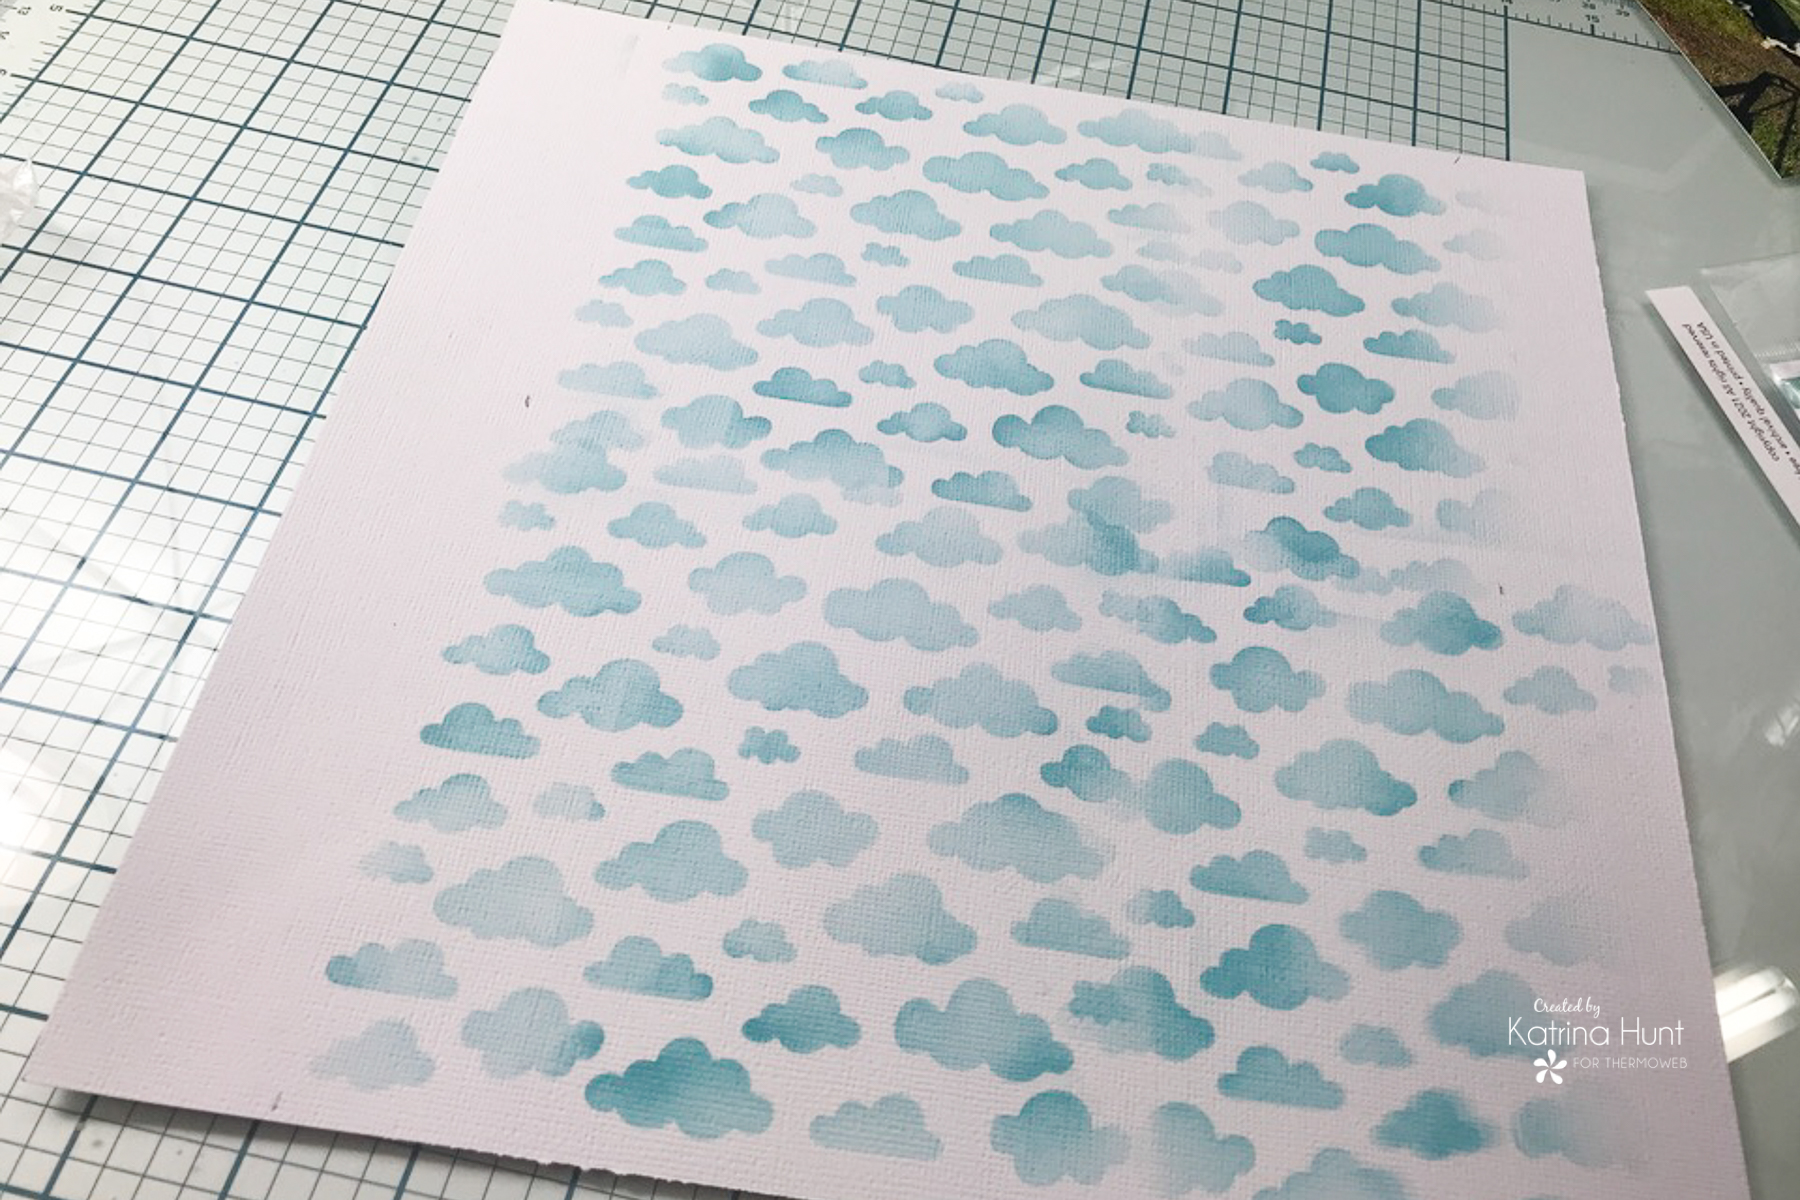
 After foiling the toner sheet, I decided I wanted to stencil some clouds on the white cardstock that would show thru the clear sheet. I used Purple Tape to hold my stencil in place. Using a blender brush and light blue ink, I blended the clouds. The stencil was 6x6, so I just moved it around and overlapped it until I got the area that the clear toner sheet would cover stenciled with clouds.
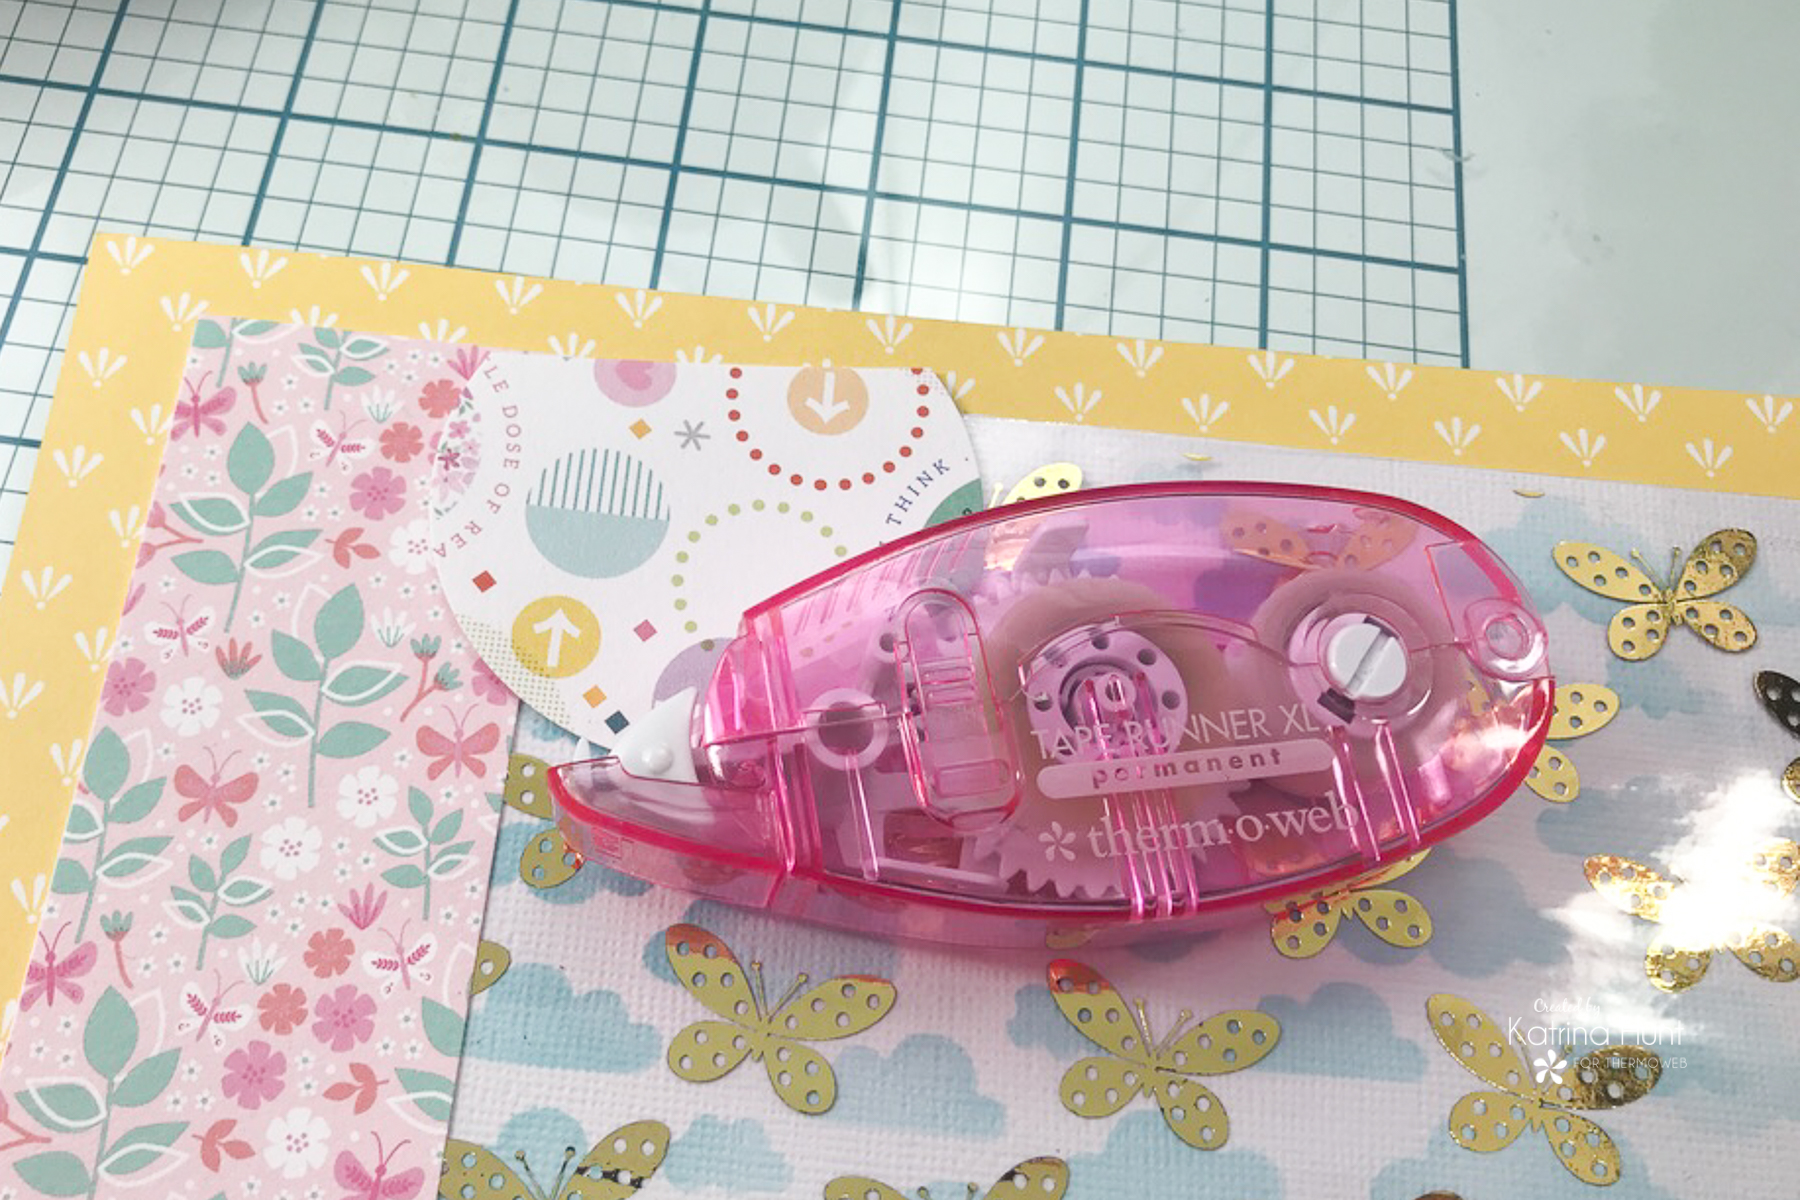
 Once I had the clouds stenciled, I attached the clear toner sheet with a little bit of the Memory Runner XL adhesive. This adhesive is perfect for these clear sheets because it doesn't really show thru, as long as you use smaller areas of it.
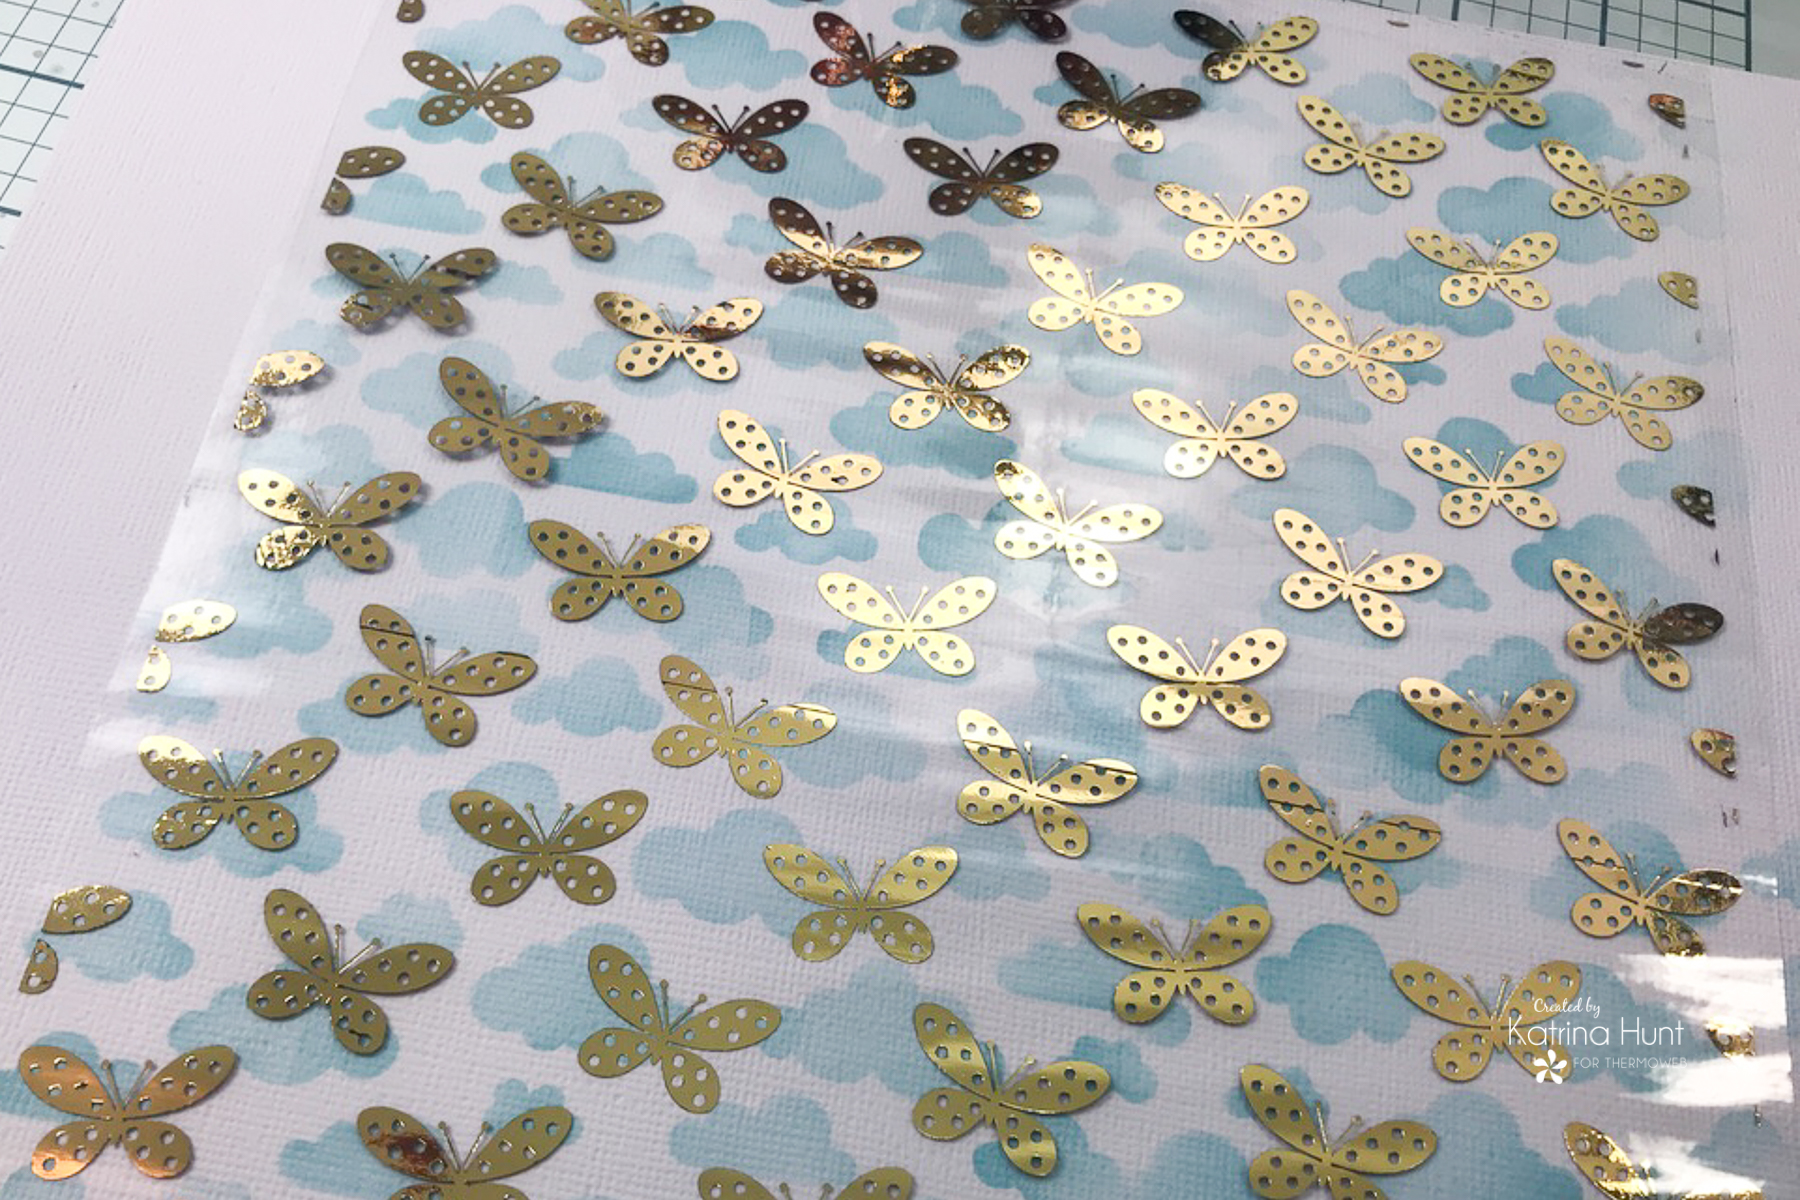 I just love how those clouds have a faraway look since the clear toner sheet is covering them!
 Once I had that center area done, I started piecing the rest of the layout together using the Memory Runner XL. I actually used 6x6 papers for the pink edges trimmed down on the sides. I just covered the seam area, with the middle of my layout!
 HAHA!!! Hazel was going to help one way or another! I wish you could have heard her "herding" and telling Carleen how to put that sod down just right!
 Next, I created two main cluster areas on the layout that was on the sketch. To piece and hold the bow together, I used ZOTS.
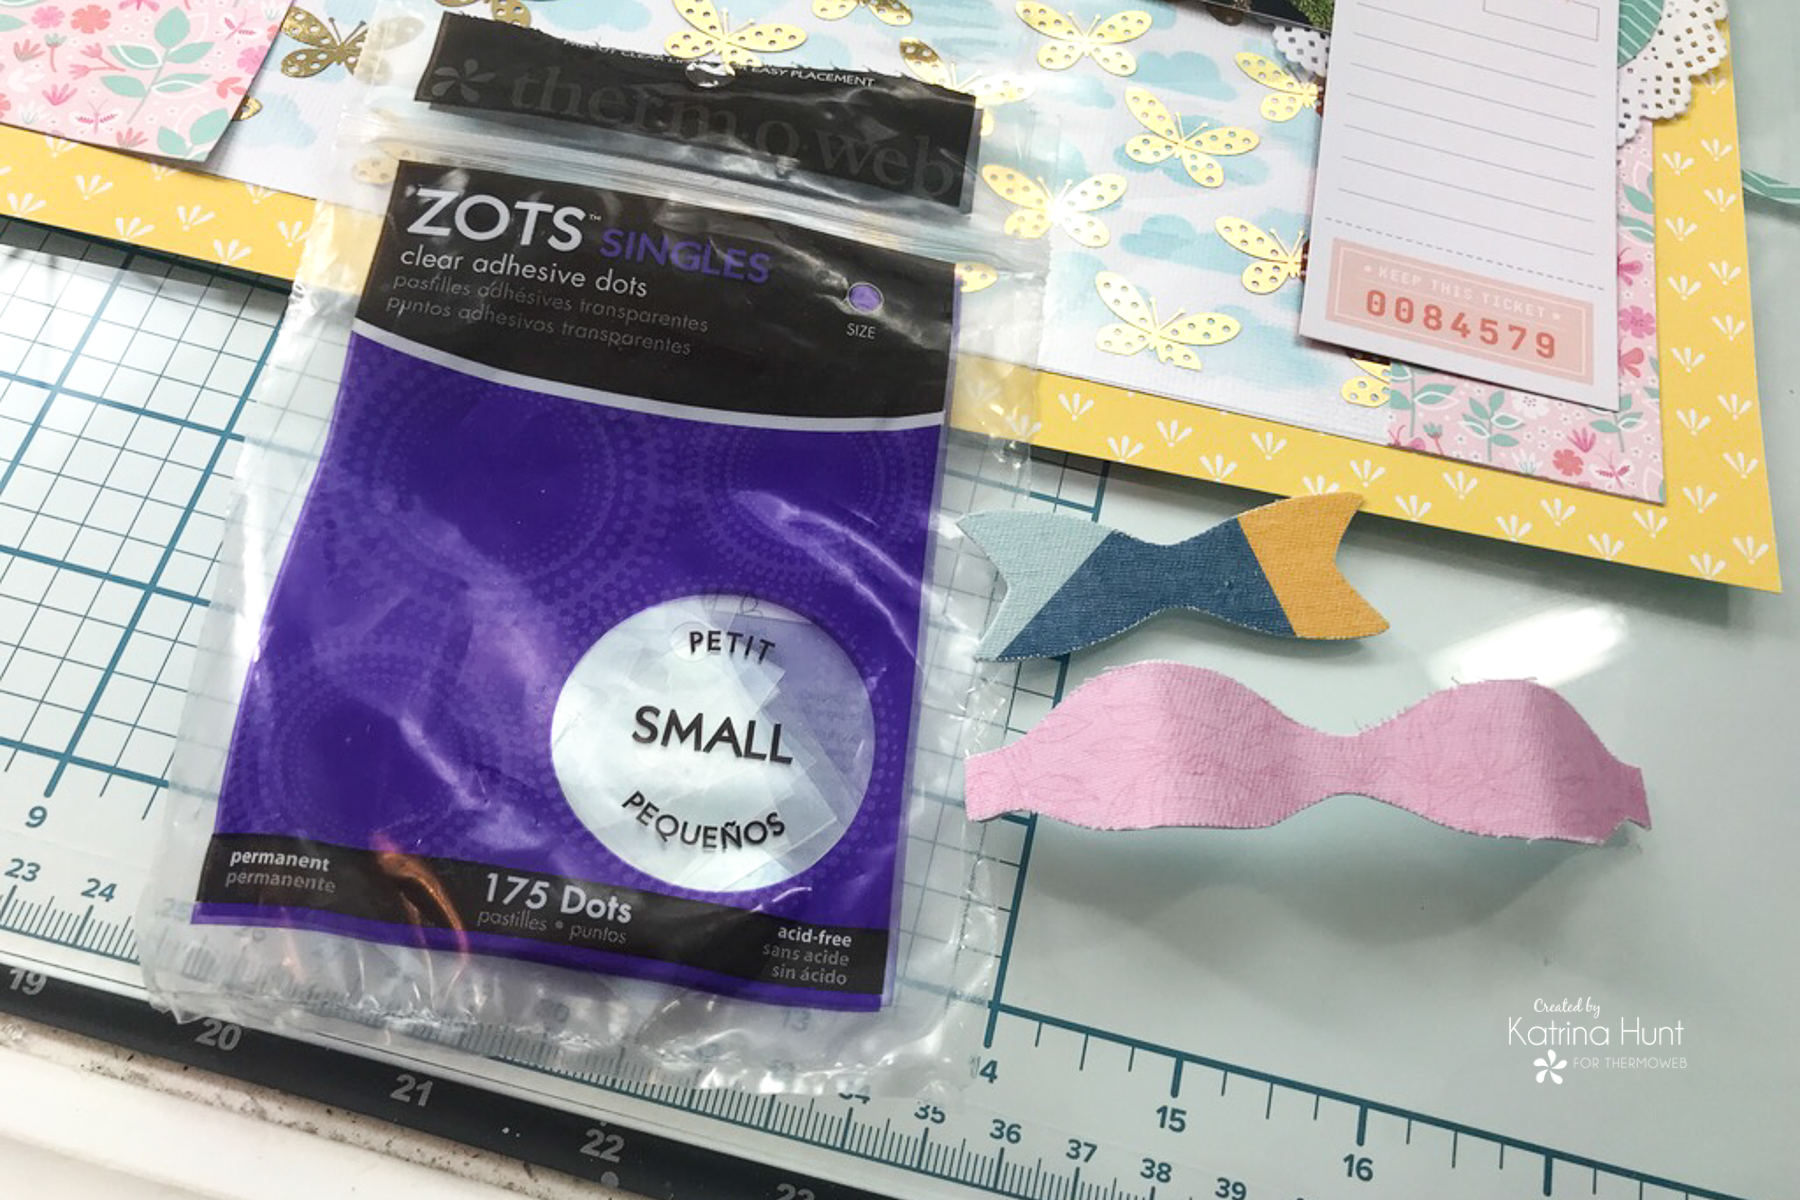 After doing the bow, I included it in my first cluster with my journaling tag. Also, I used a lot of foam adhesive to give my clusters dimension. That bow and tag combo turned out super cute!
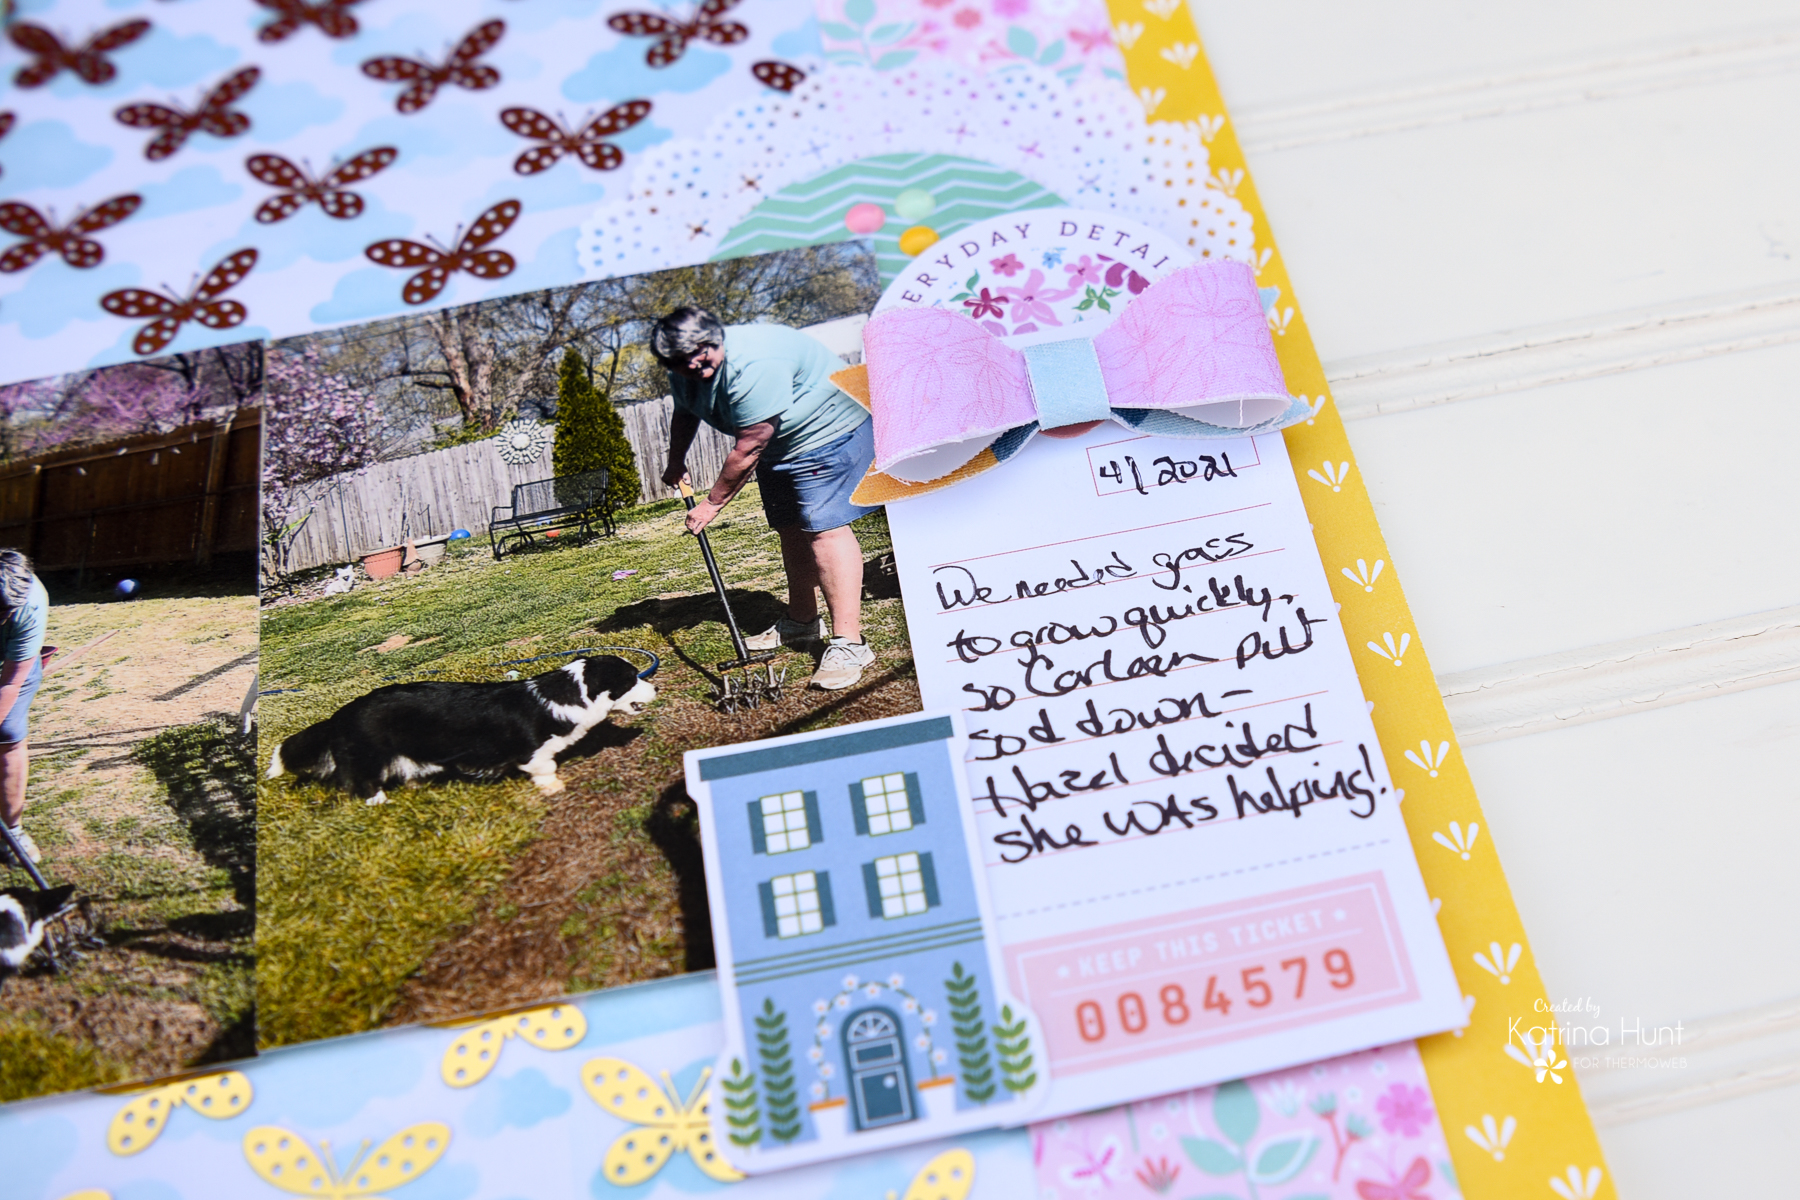 My last cluster is at the top left part of the page and it's also where my title is. I haven't ever really put a title in that area before, but I kind of like it and will have to do it again!
 I hope you enjoy and grab this LIMITED EDITION toner sheet release. Once it's gone, it's gone! It also comes in card fronts, both A2 and Slimline! So be sure to grab one of each for your stash!
Thanks for stopping by the blog today!!! Have a wonderful week! Be sure to use hashtags #decofoil and #thermoweb so we can find your projects!
This post contains affiliate links. For more information, see our disclosure HERE.
I hope you enjoy and grab this LIMITED EDITION toner sheet release. Once it's gone, it's gone! It also comes in card fronts, both A2 and Slimline! So be sure to grab one of each for your stash!
Thanks for stopping by the blog today!!! Have a wonderful week! Be sure to use hashtags #decofoil and #thermoweb so we can find your projects!
This post contains affiliate links. For more information, see our disclosure HERE.

 Now don't miss a chance to enter to win a $25 Gift Card to shop with us! You can pick up more of our Toner Sheets, some of our Deco Foil, Tape Runners, Foam Squares, Liquid Adhesive and much more. But you've got to enter to win! Join us each day this week as we celebrate our Time to Fly Release with more ideas and inspiration!