No Products in the Cart
 Therm O Web Supplies Used:
Shop Therm O Web
Shop Gina K Designs
Memory Runner XL
Rina K Designs Glitter Glitz - Lovely Lavendar, Hello Yellow, Orange Glow, Popping Pink
Rina K Designs Neon Inks -All Colors - Coming soon!
Rina K Designs StampnStencil - Sweet Stuff - Coming soon!
Rina K Designs Electro-Pop Flock Sheets-Screaming Green, Popping Pink, Hello Yellow - Coming Soon!
Gina K Designs Premium Cardstock - Luxury White
Gina K Designs Premium Cardstock - Black Onyx
iCraft Ultra Bond Liquid Adhesive
Therm O Web 3D Foam Squares - 1/2 inch
Therm O Web 3D Foam Squares - 1/4 inch
iCraft Deco Foil Foam Adhesive
iCraft Pixie Spray
Other Supplies: Pattern Paper and Sticker Collection - Echo Park; Letters - American Crafts; Gems - Ink Road Stamps
Let's get started!!
Therm O Web Supplies Used:
Shop Therm O Web
Shop Gina K Designs
Memory Runner XL
Rina K Designs Glitter Glitz - Lovely Lavendar, Hello Yellow, Orange Glow, Popping Pink
Rina K Designs Neon Inks -All Colors - Coming soon!
Rina K Designs StampnStencil - Sweet Stuff - Coming soon!
Rina K Designs Electro-Pop Flock Sheets-Screaming Green, Popping Pink, Hello Yellow - Coming Soon!
Gina K Designs Premium Cardstock - Luxury White
Gina K Designs Premium Cardstock - Black Onyx
iCraft Ultra Bond Liquid Adhesive
Therm O Web 3D Foam Squares - 1/2 inch
Therm O Web 3D Foam Squares - 1/4 inch
iCraft Deco Foil Foam Adhesive
iCraft Pixie Spray
Other Supplies: Pattern Paper and Sticker Collection - Echo Park; Letters - American Crafts; Gems - Ink Road Stamps
Let's get started!!
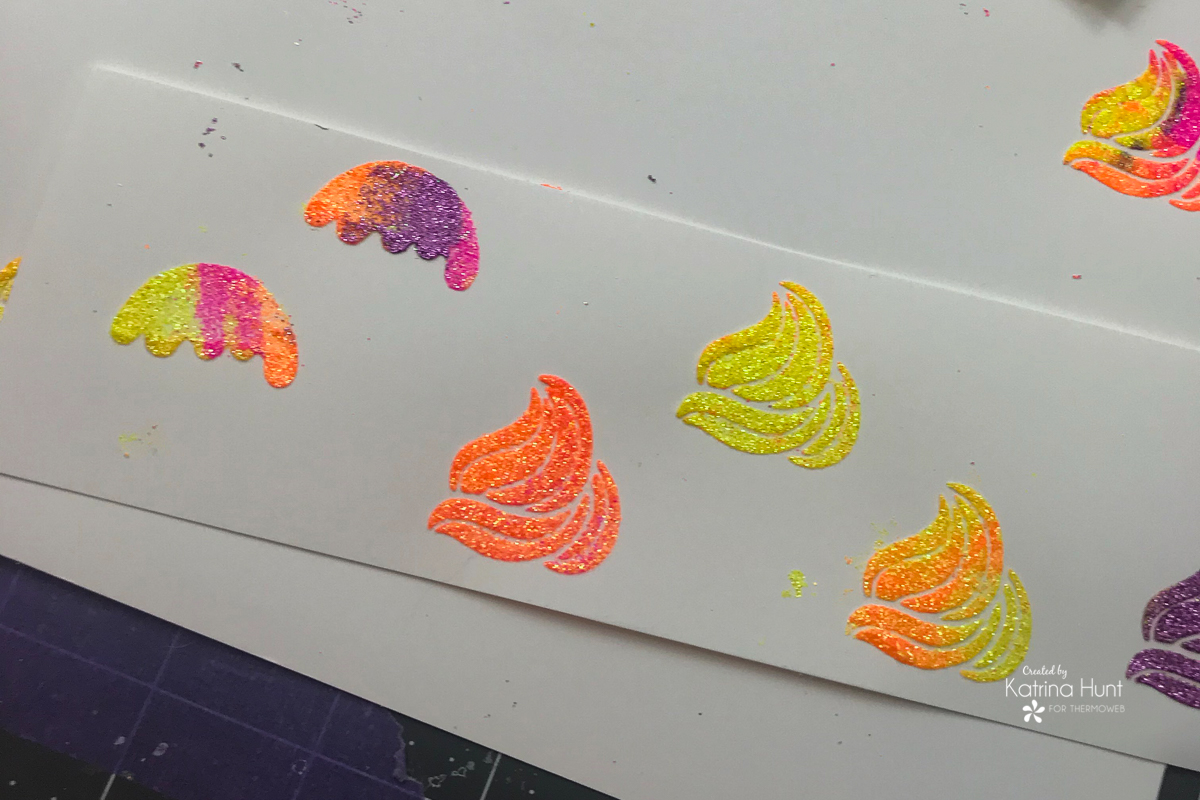 In addition, you can mix the gel colors for some fun swirls for your ice cream cones as I did above. (I really want a snow-cone right now!). These will take about 1/2 hour to an hour to dry.
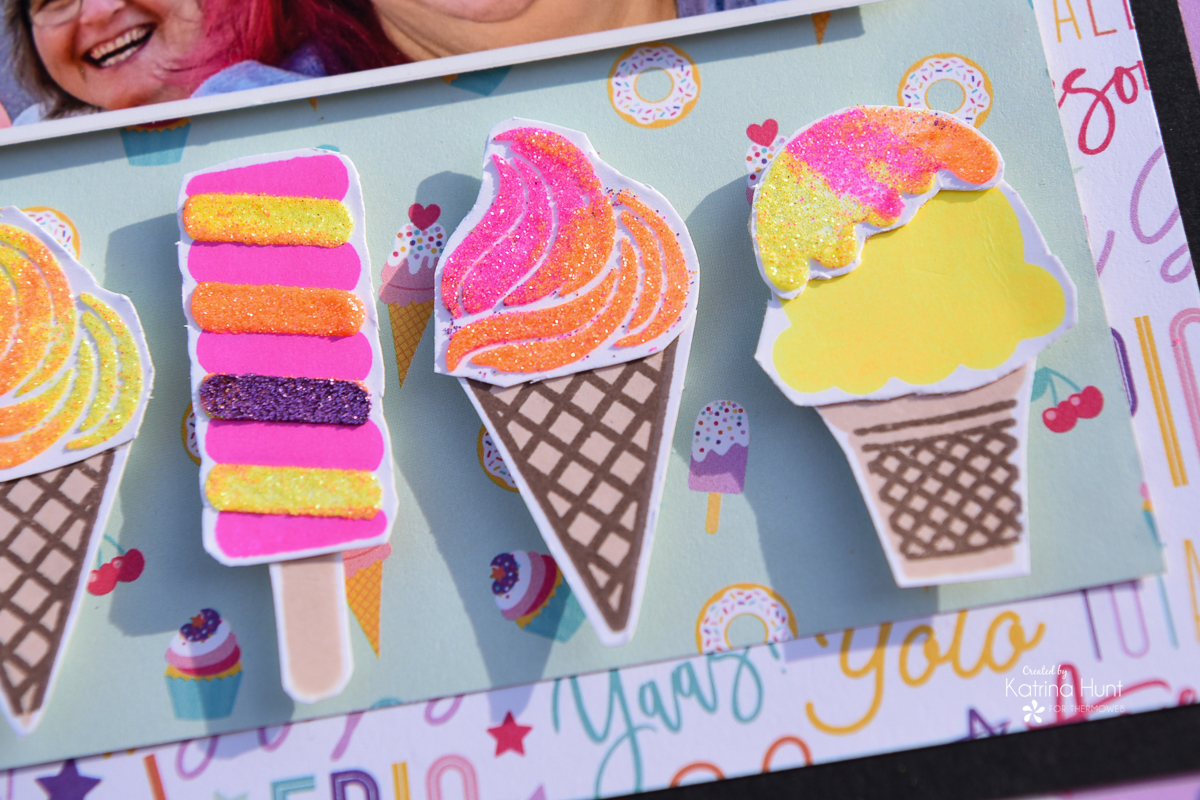
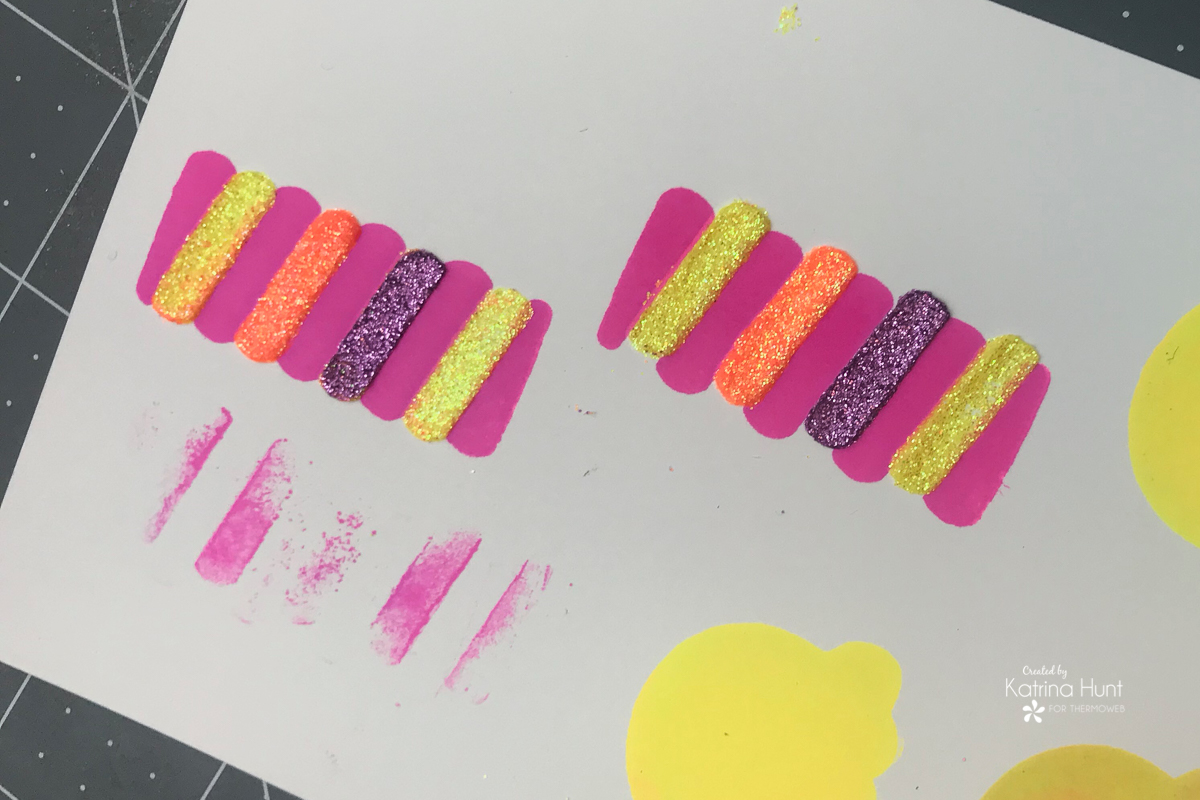 As you can see above, I used separate colors of the gel on the popsicle. I will give you a tip, don't stamp too closely together, or it will be a little tricky to use the stencil! For these I had to hold the stencil, bending it a little so it wouldn't touch the other popsicle! Next, you will die cut out your images. Look at all that fun!!!
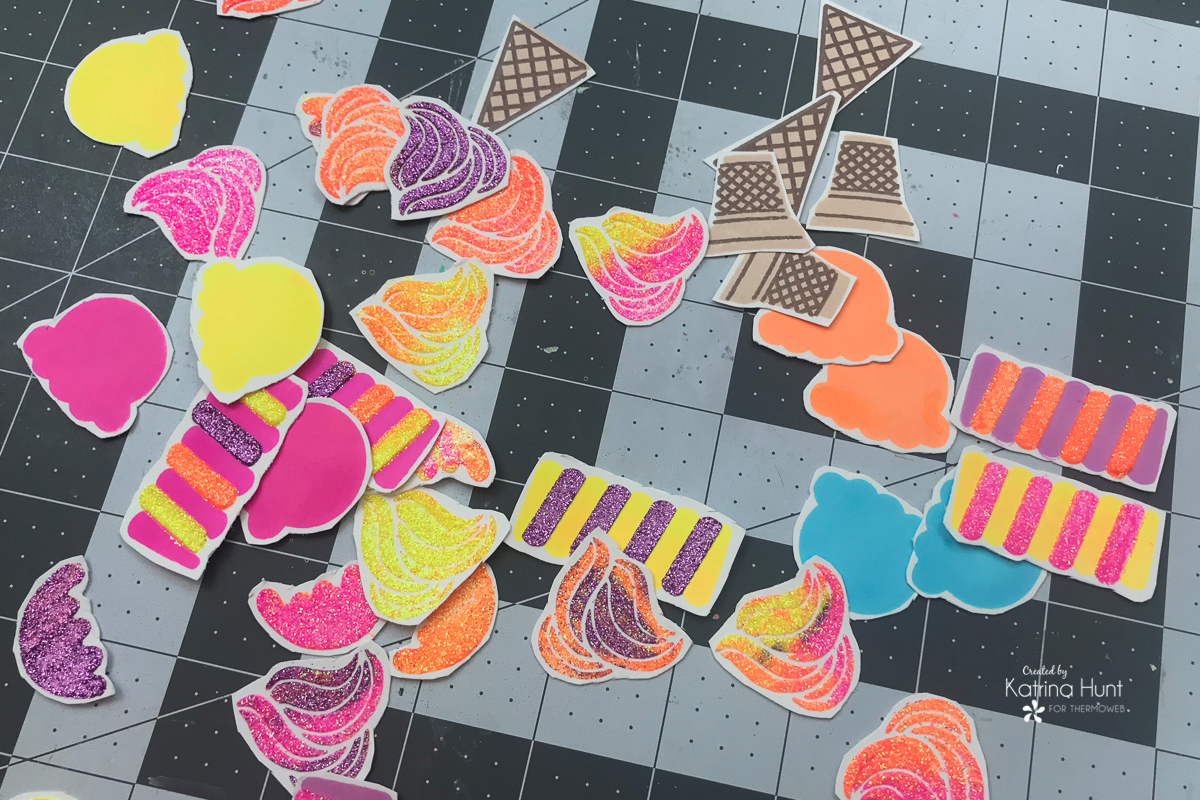 As you can see below, these look fun lined up on a layout.
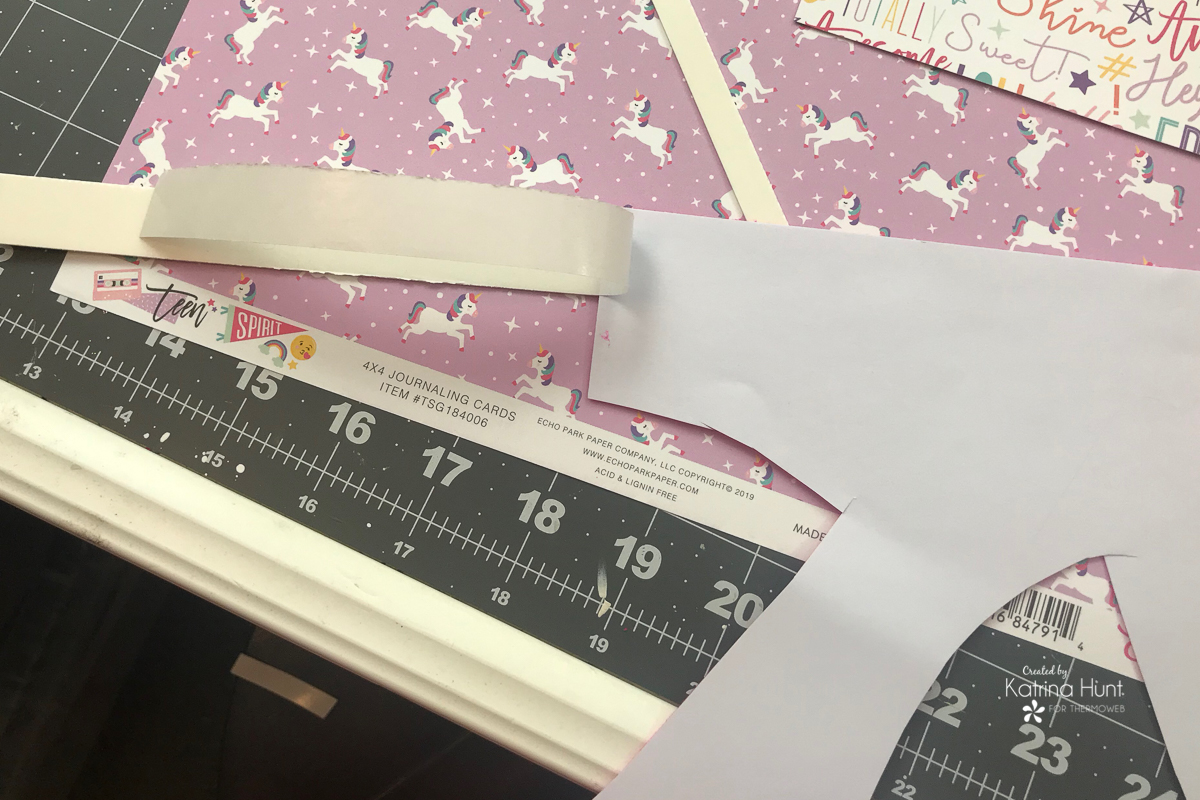
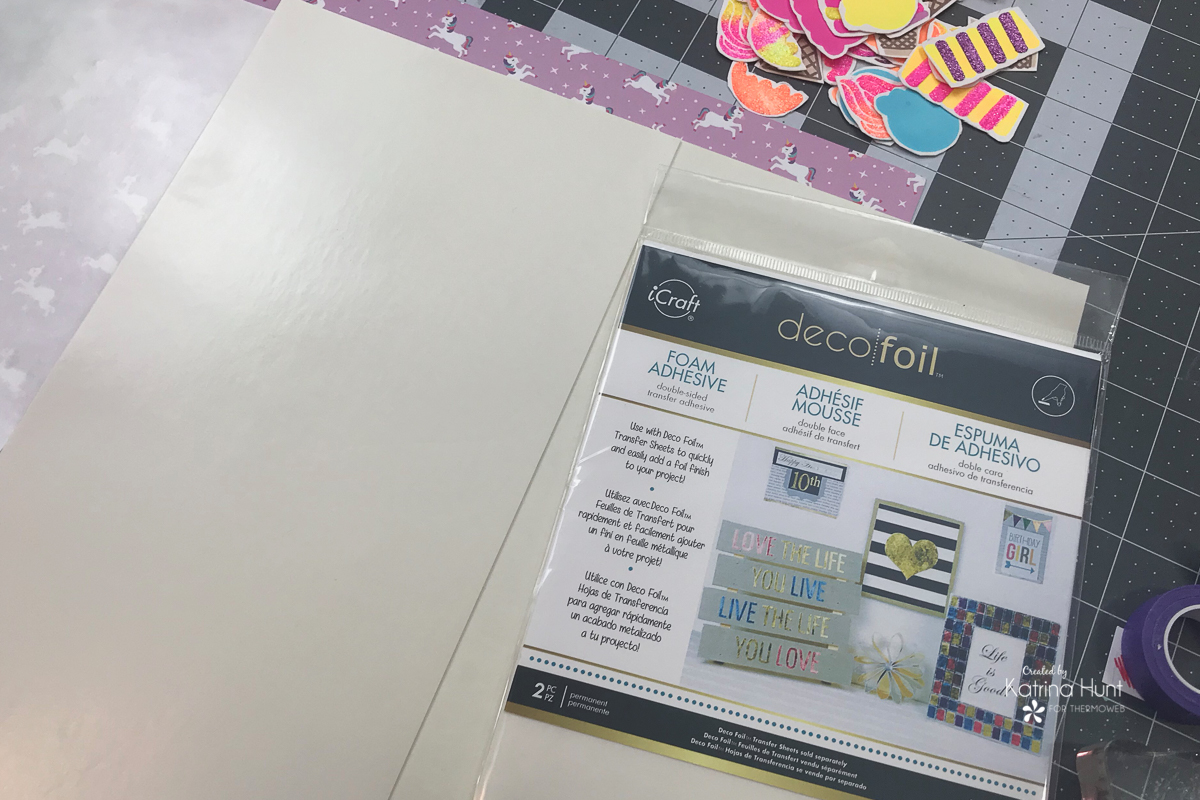 Once you have your strips cut, carefully peel back the protective covering on the foam adhesive to just a little past the length of your flock sheet (which is 6x6 for a sheet). To begin the process to transfer your flock, place your flock sheet face down on the exposed foam adhesive and press it really well to the adhesive. Before putting through my manual die cutting machine, I laid the protective covering for the foam adhesive back over the backside of the flock. I don't know that you have to, I just did!
 In order to transfer the flock, run the flock with the foam attached through your die cutting machine and carefully peel the flocked sheet away from the foam. Subsequently, you will repeat the process for the remaining part of the strip. Once you have completed this step, you will have a full 12 inch flocked piece and you cannot tell where the seam is for the two sections.
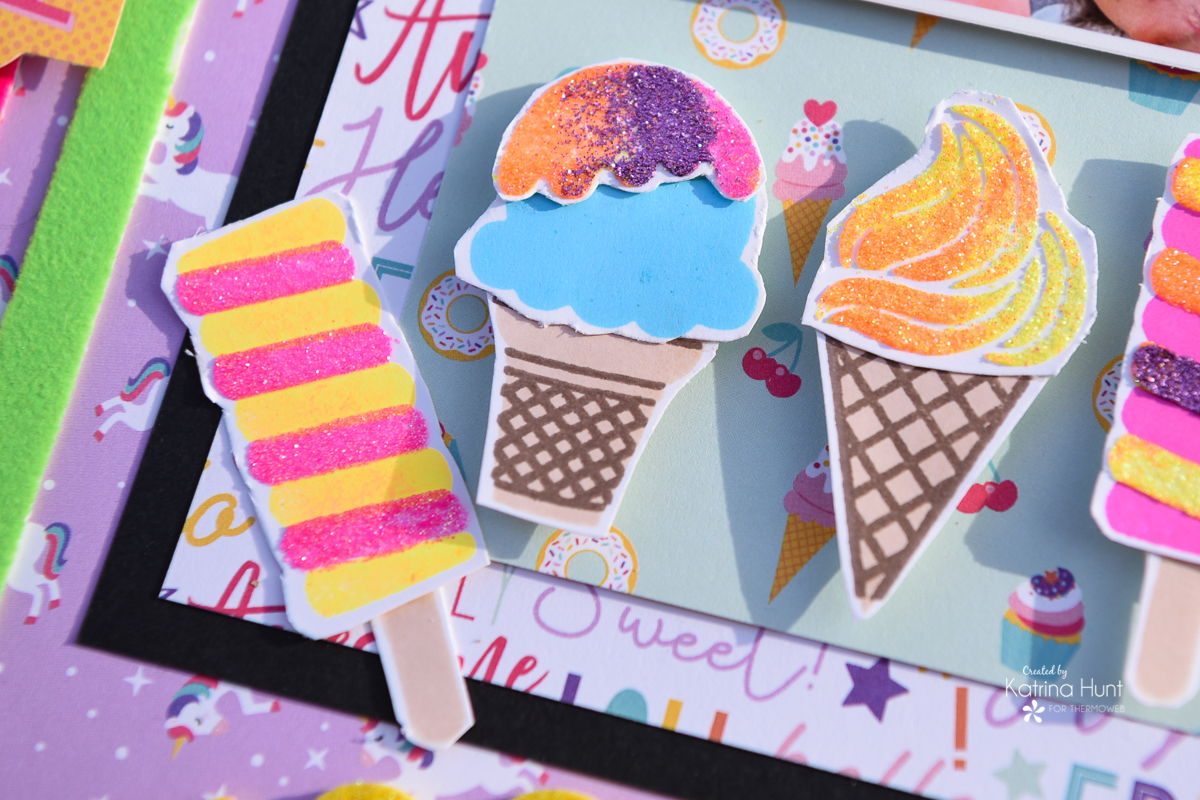
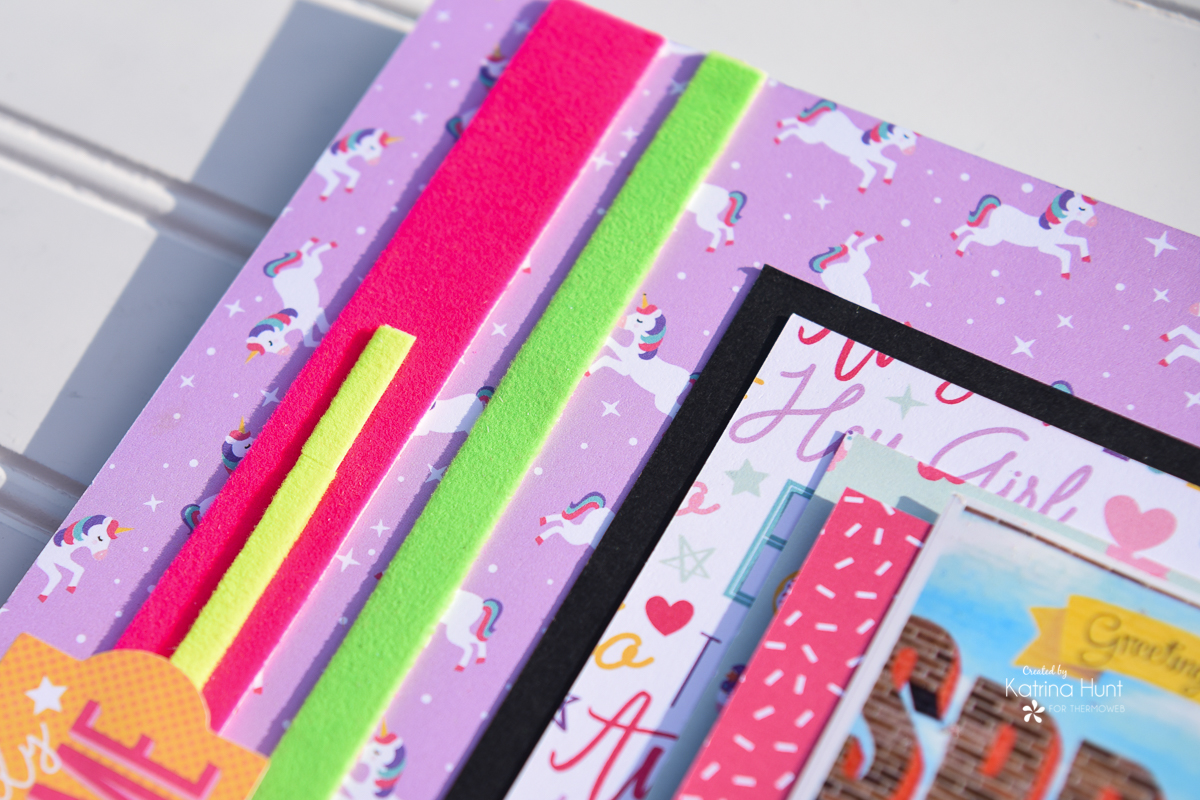 In detail, you can see the strips above do not show the seams! Besides, using flock gives such a fun texture to your projects and the sheets make it so easy to incorporate without a mess!
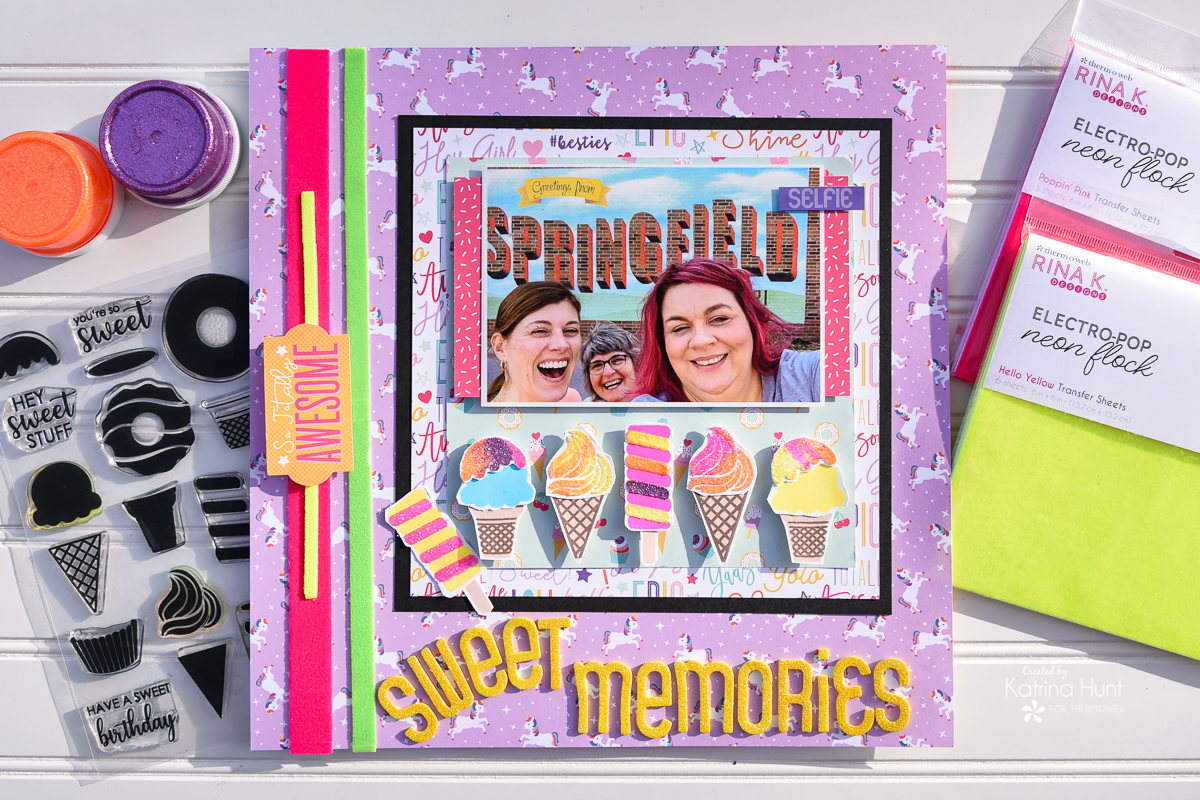
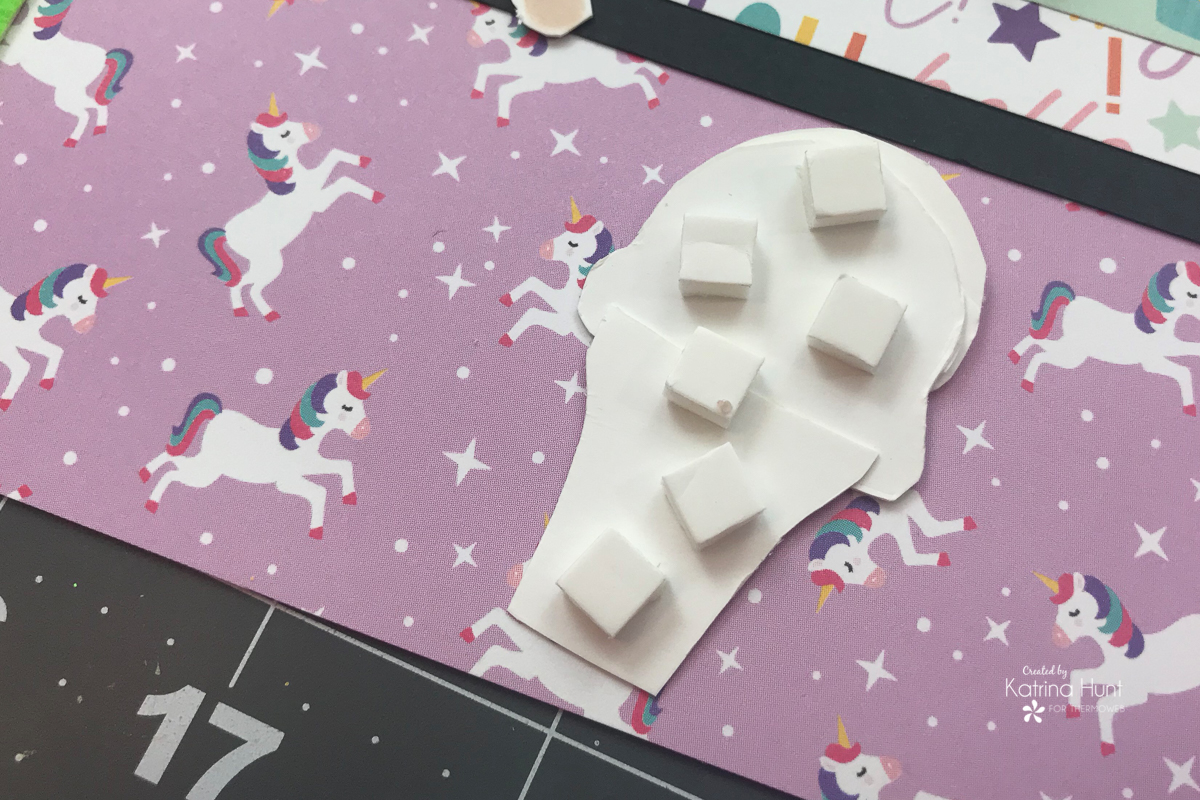
To finish up your project, cut layers of varying sizes for your picture focal point. Leave room below your picture to line up your ice cream cones! And you are done!!
In detail, you can see the strips above do not show the seams! Besides, using flock gives such a fun texture to your projects and the sheets make it so easy to incorporate without a mess!
To finish up your project, cut layers of varying sizes for your picture focal point. Leave room below your picture to line up your ice cream cones! And you are done!!
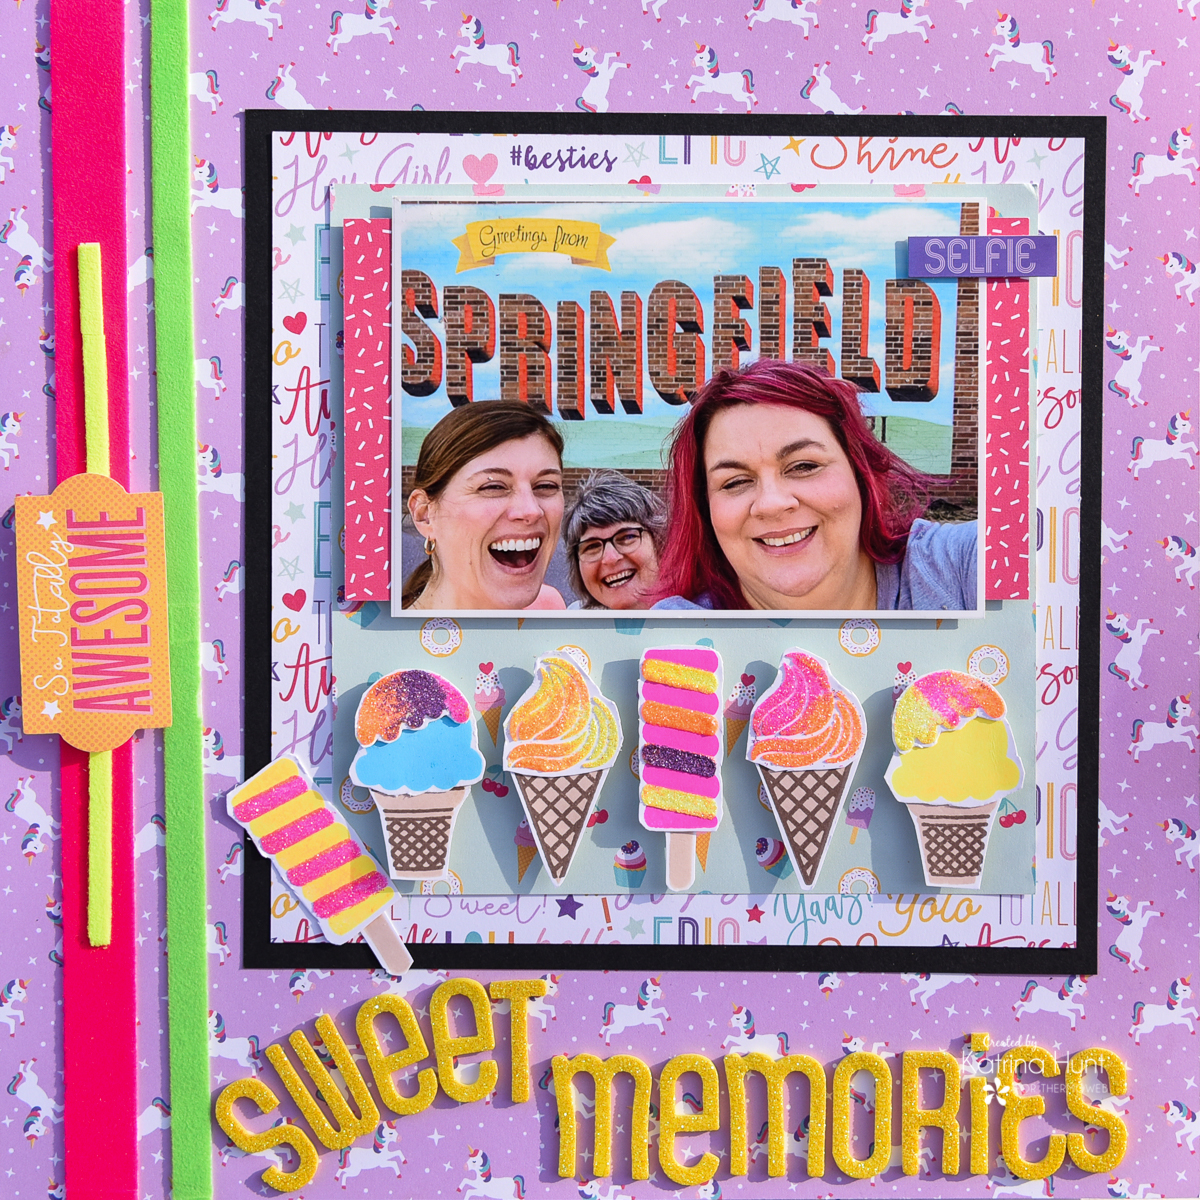
 So in conclusion, I am just going to drop this picture of the other ice cream cones and thank you for stopping by the blog today!