No Products in the Cart
 Therm O Web Supplies:
Deco Foil™ Toner Sheets
Deco Foil™ Transfer Sheets Value Pack • Gold
Deco Foil™ Clear Toner Sheets • Doodles
Deco Foil™ White Foam Adhesive
Gina K. Designs StampnFoil™ Foil-Mates Detail Sheet • Time To Celebrate
Gina K. Designs StampnFoil™ Die Set • Time To Celebrate
Gina K. Designs (3) Nested Circle Dies • Double Stitch Design • Small Set
Gina K. Designs Sheer Satin Fancy Ribbon 5/8" x 10 yd • White/Gold
Sticky Dot Mini Runner
Memory Tape Runner XL™
SuperTape™ Roll • 1/2 in
iCraft Mixed Media Adhesive 2.1 fl oz
Purple Tape
Zots™ Roll • 3D
Foil Laminator • 12 inch
Other Supplies:
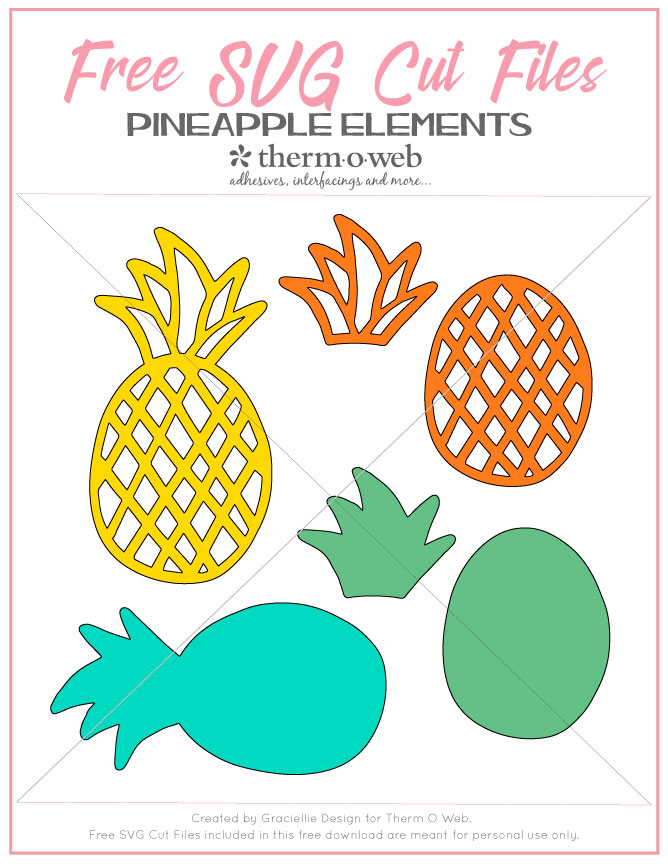
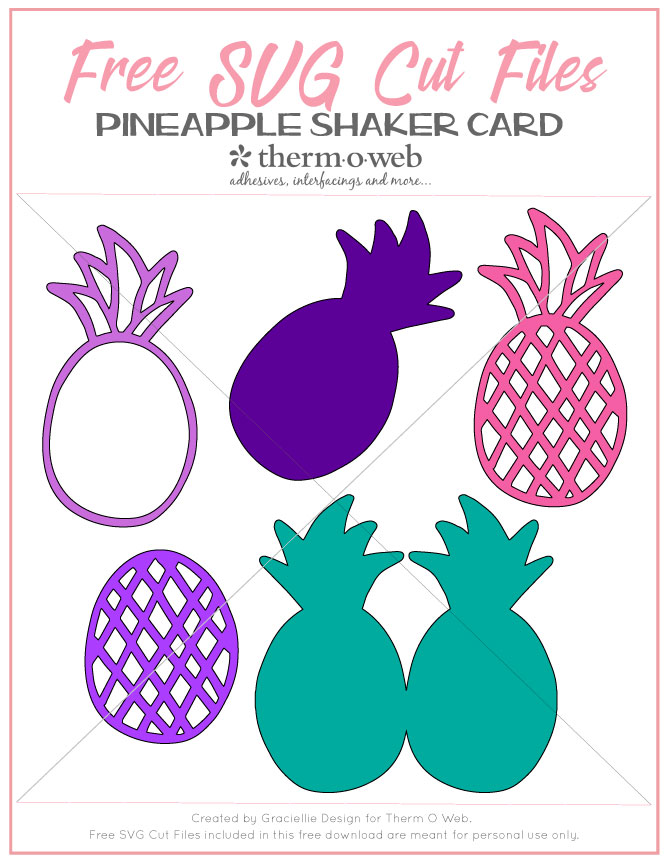
Free Pineapple Card and Shaker Card SVG pack (click to download)
Free Pineapple Elements SVG pack (click to download)
Carta Bella Summer Splash Paper Collection
Simple Stories Hello Summer Paper Collection
Die Cutting Machine
Electronic Cutting Machine
Paper Trimmer
Scissors
Halo Medium Gold Glitter
Sequins
Therm O Web Supplies:
Deco Foil™ Toner Sheets
Deco Foil™ Transfer Sheets Value Pack • Gold
Deco Foil™ Clear Toner Sheets • Doodles
Deco Foil™ White Foam Adhesive
Gina K. Designs StampnFoil™ Foil-Mates Detail Sheet • Time To Celebrate
Gina K. Designs StampnFoil™ Die Set • Time To Celebrate
Gina K. Designs (3) Nested Circle Dies • Double Stitch Design • Small Set
Gina K. Designs Sheer Satin Fancy Ribbon 5/8" x 10 yd • White/Gold
Sticky Dot Mini Runner
Memory Tape Runner XL™
SuperTape™ Roll • 1/2 in
iCraft Mixed Media Adhesive 2.1 fl oz
Purple Tape
Zots™ Roll • 3D
Foil Laminator • 12 inch
Other Supplies:
Free Pineapple Card and Shaker Card SVG pack (click to download)
Free Pineapple Elements SVG pack (click to download)
Carta Bella Summer Splash Paper Collection
Simple Stories Hello Summer Paper Collection
Die Cutting Machine
Electronic Cutting Machine
Paper Trimmer
Scissors
Halo Medium Gold Glitter
Sequins
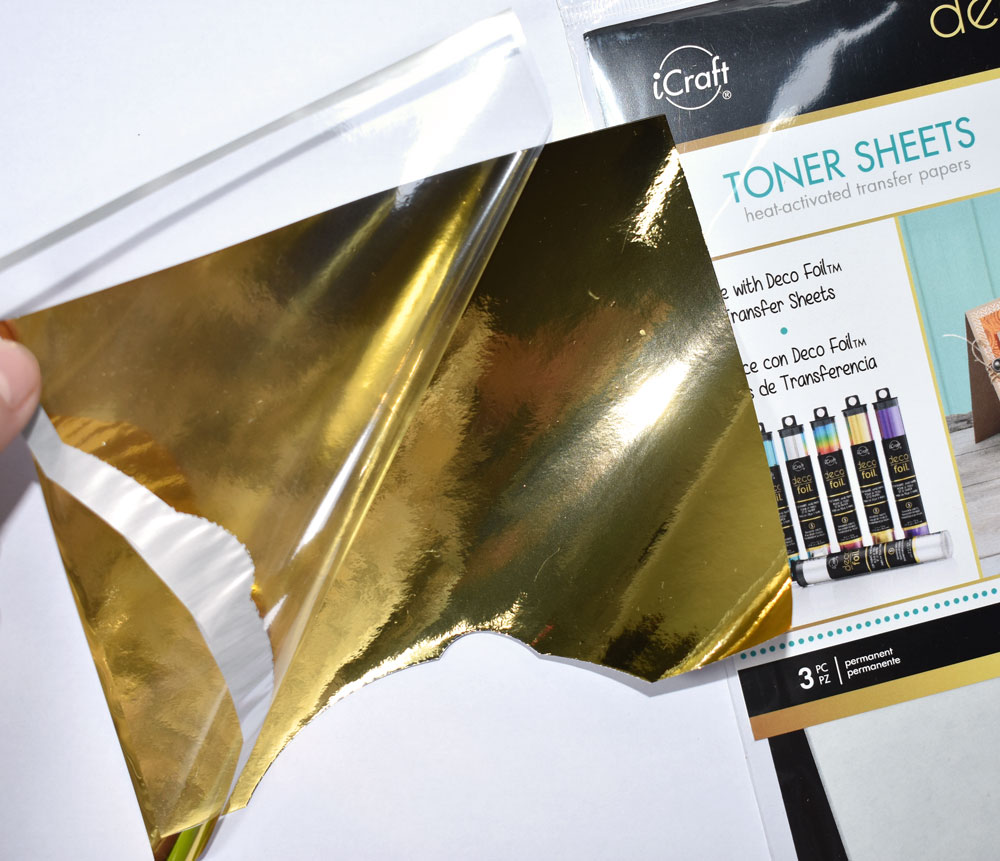
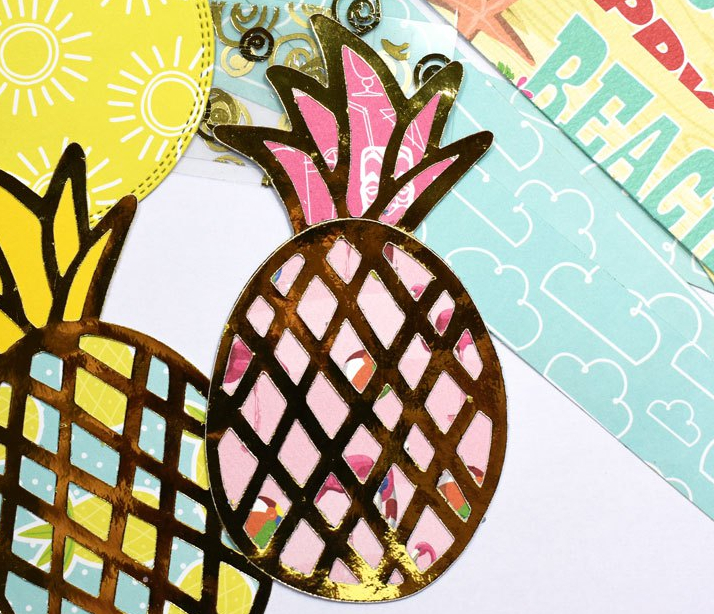
 Step 2. Cover a Toner Sheet and a Doodles Clear Toner Sheet with Gold Deco Foil Transfer Sheets, cover them with a folded piece of Parchment Paper and run them through a Laminator. This will make the black toner shine in gold and it will then be ready to be cut through your electronic cutting machine.
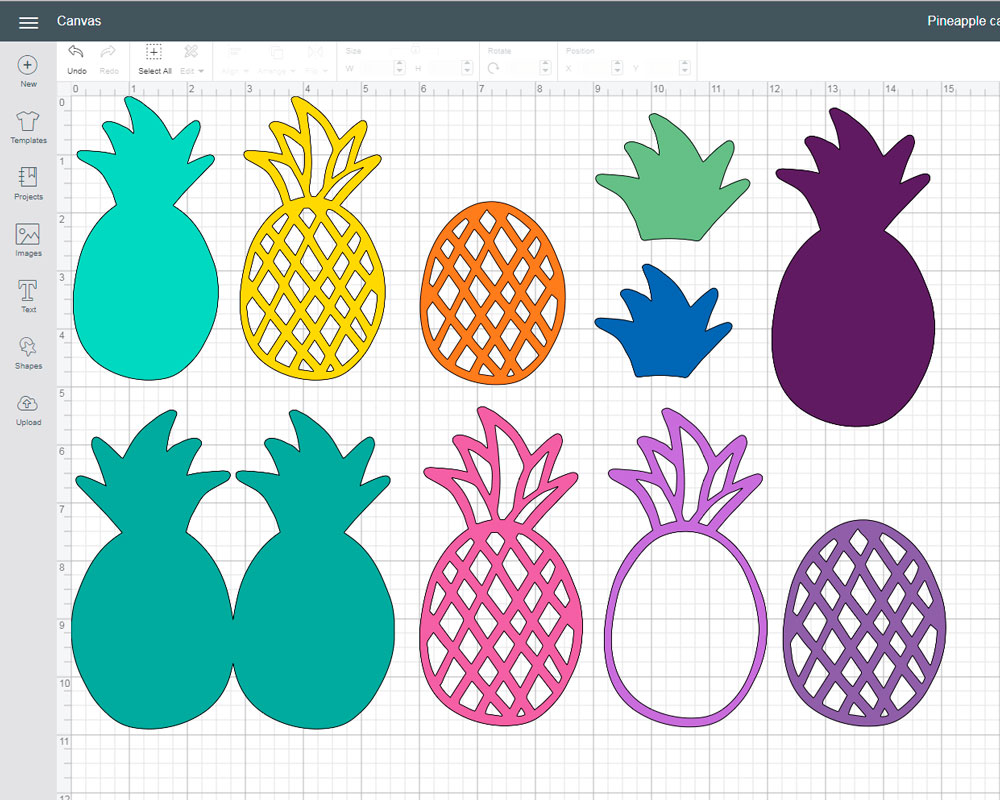
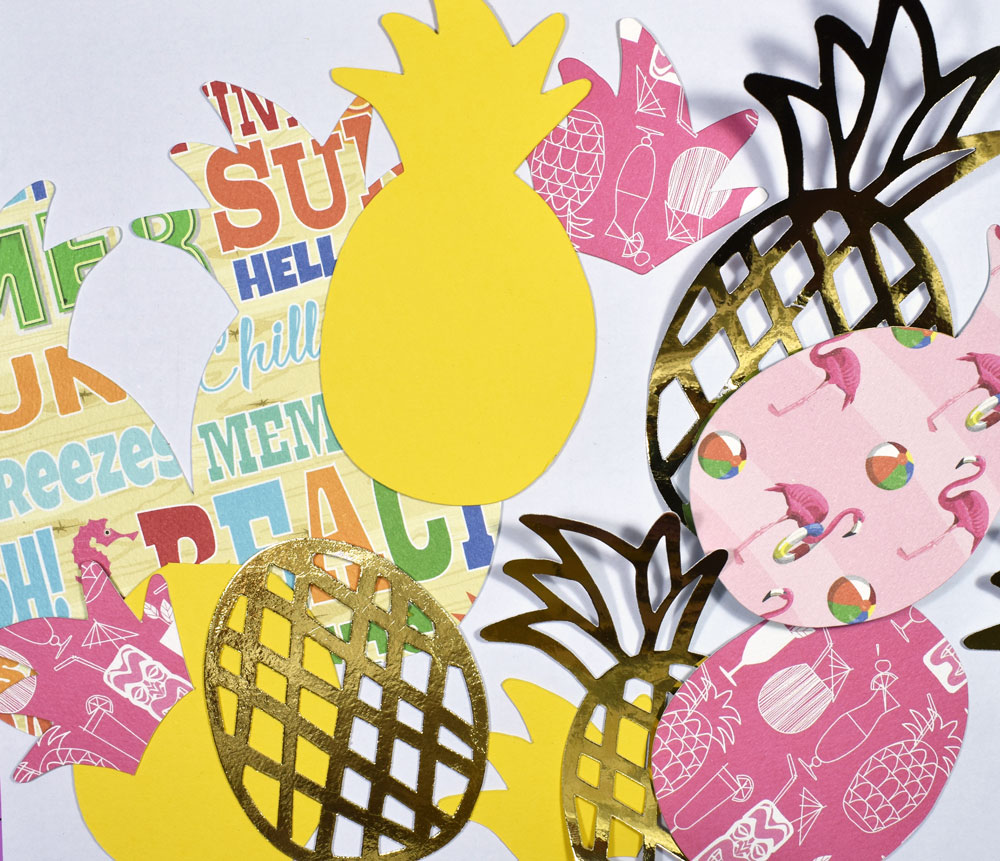
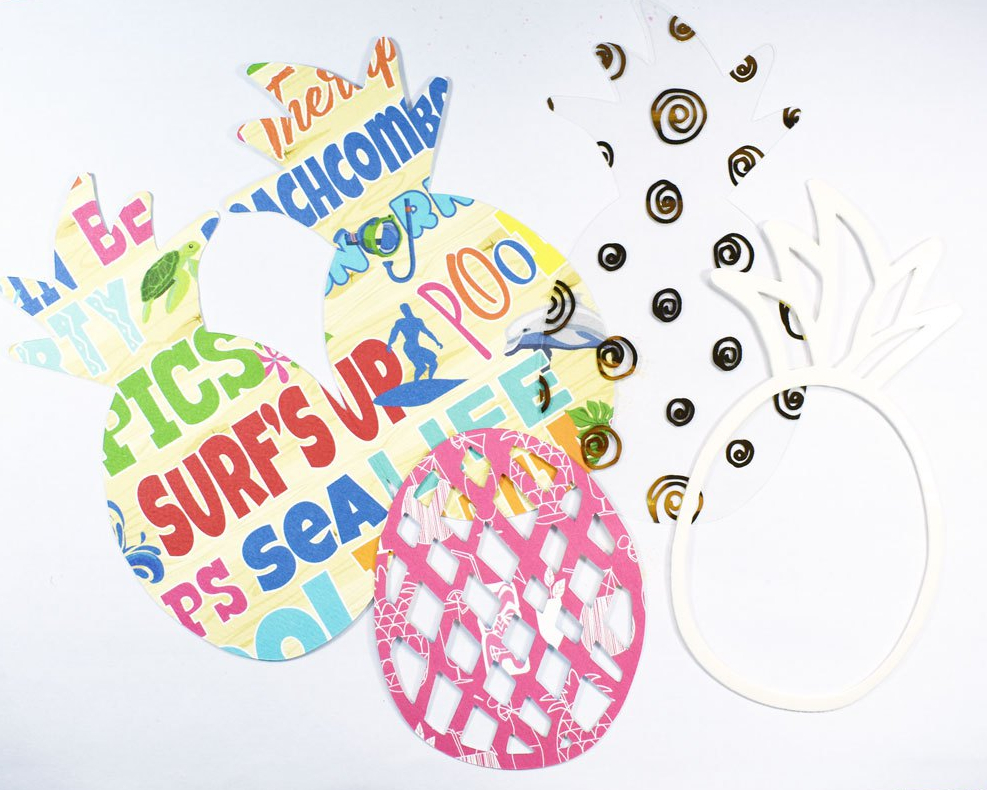
 Step 3. Attach the foiled Toner Sheets on your cutting mat and cut all the pineapple elements you'd like to be foiled.
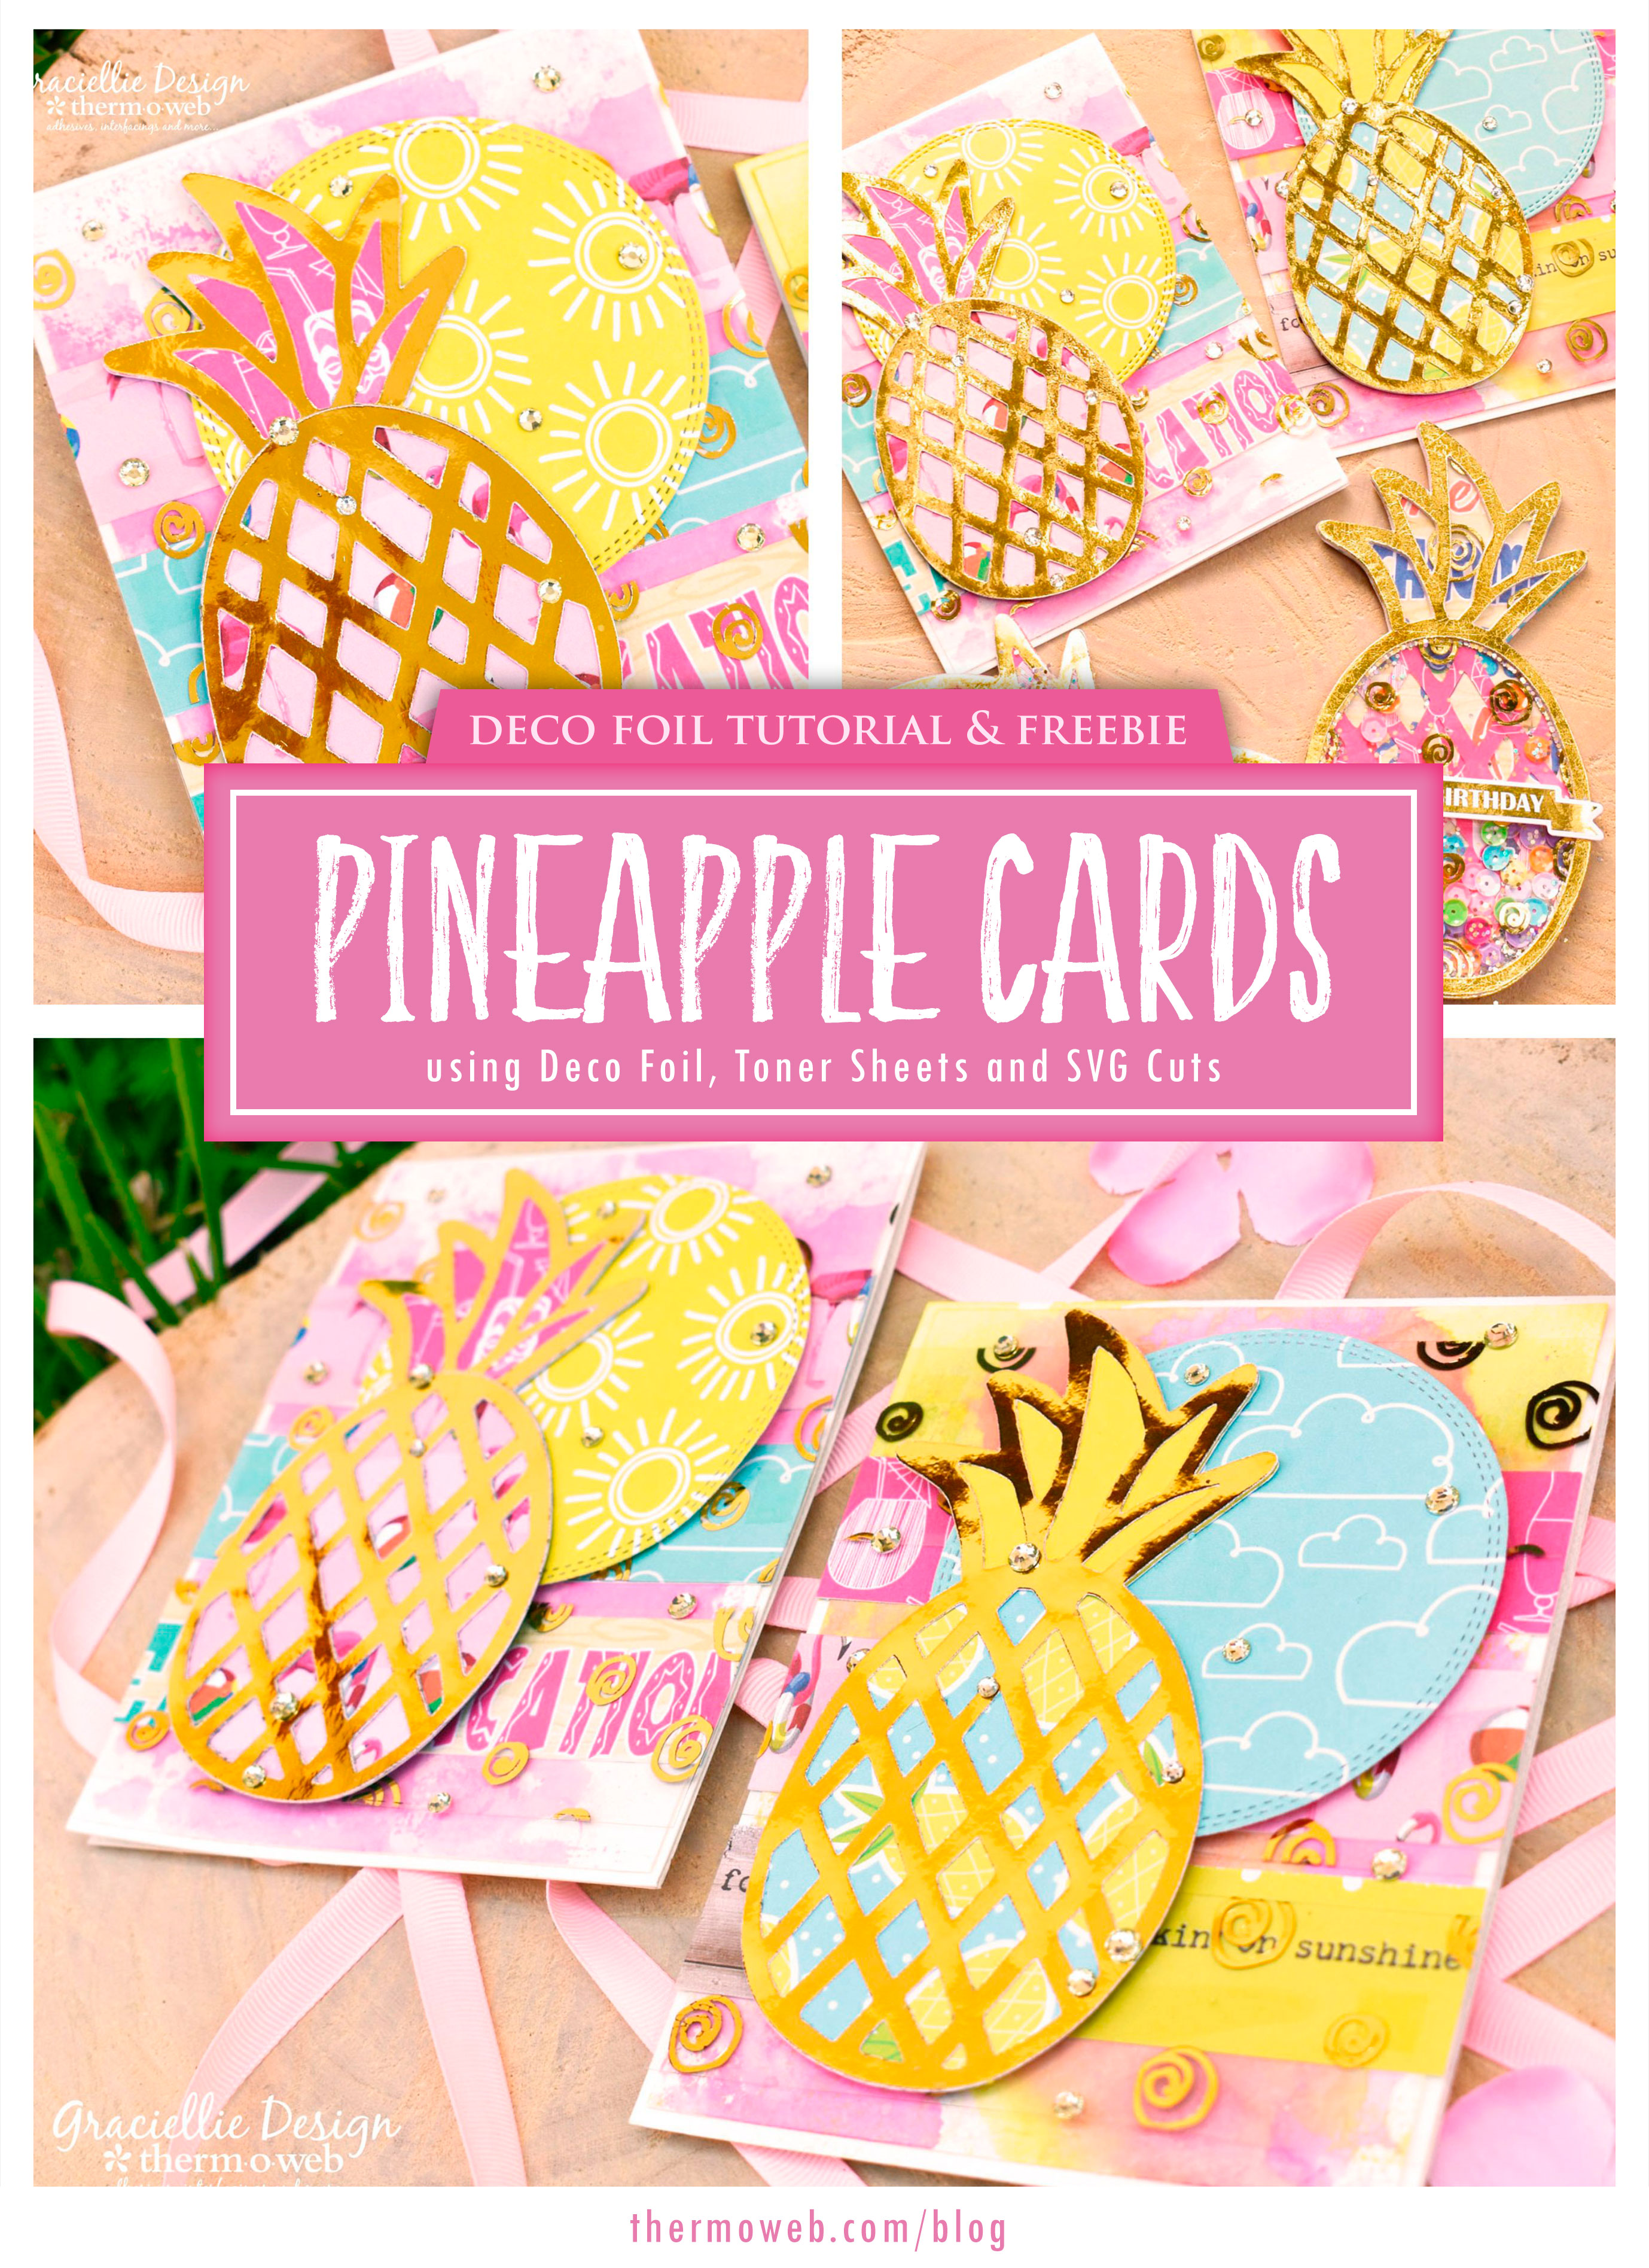
 You can mix and match elements with the variety of files that are included in this freebie. That means some of these cuts can be made using cardstock or patterned papers and any other materials you'd like to use. This pack will allow you to create pineapple shaped cards, shaker cards, tags, cupcake toppers and much more!
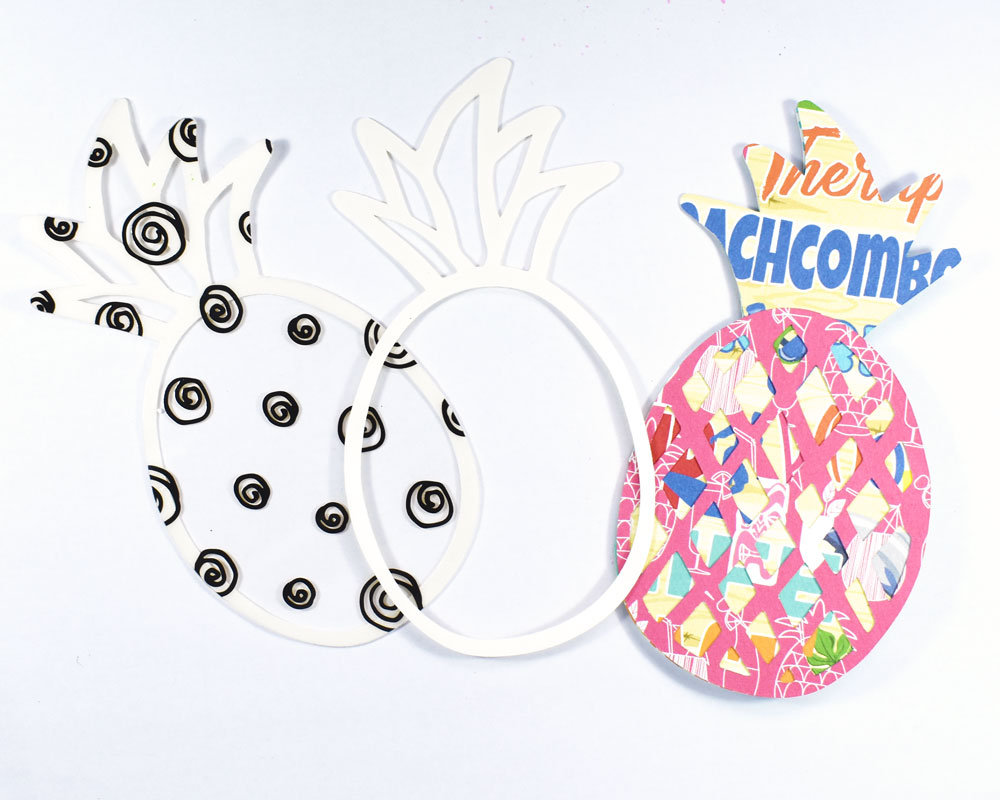
 Step 4. For the pineapple elements, I put together the pieces using a Sticky Dot Mini Runner or Mixed Media Adhesive, using small dots behind the foiled layer.
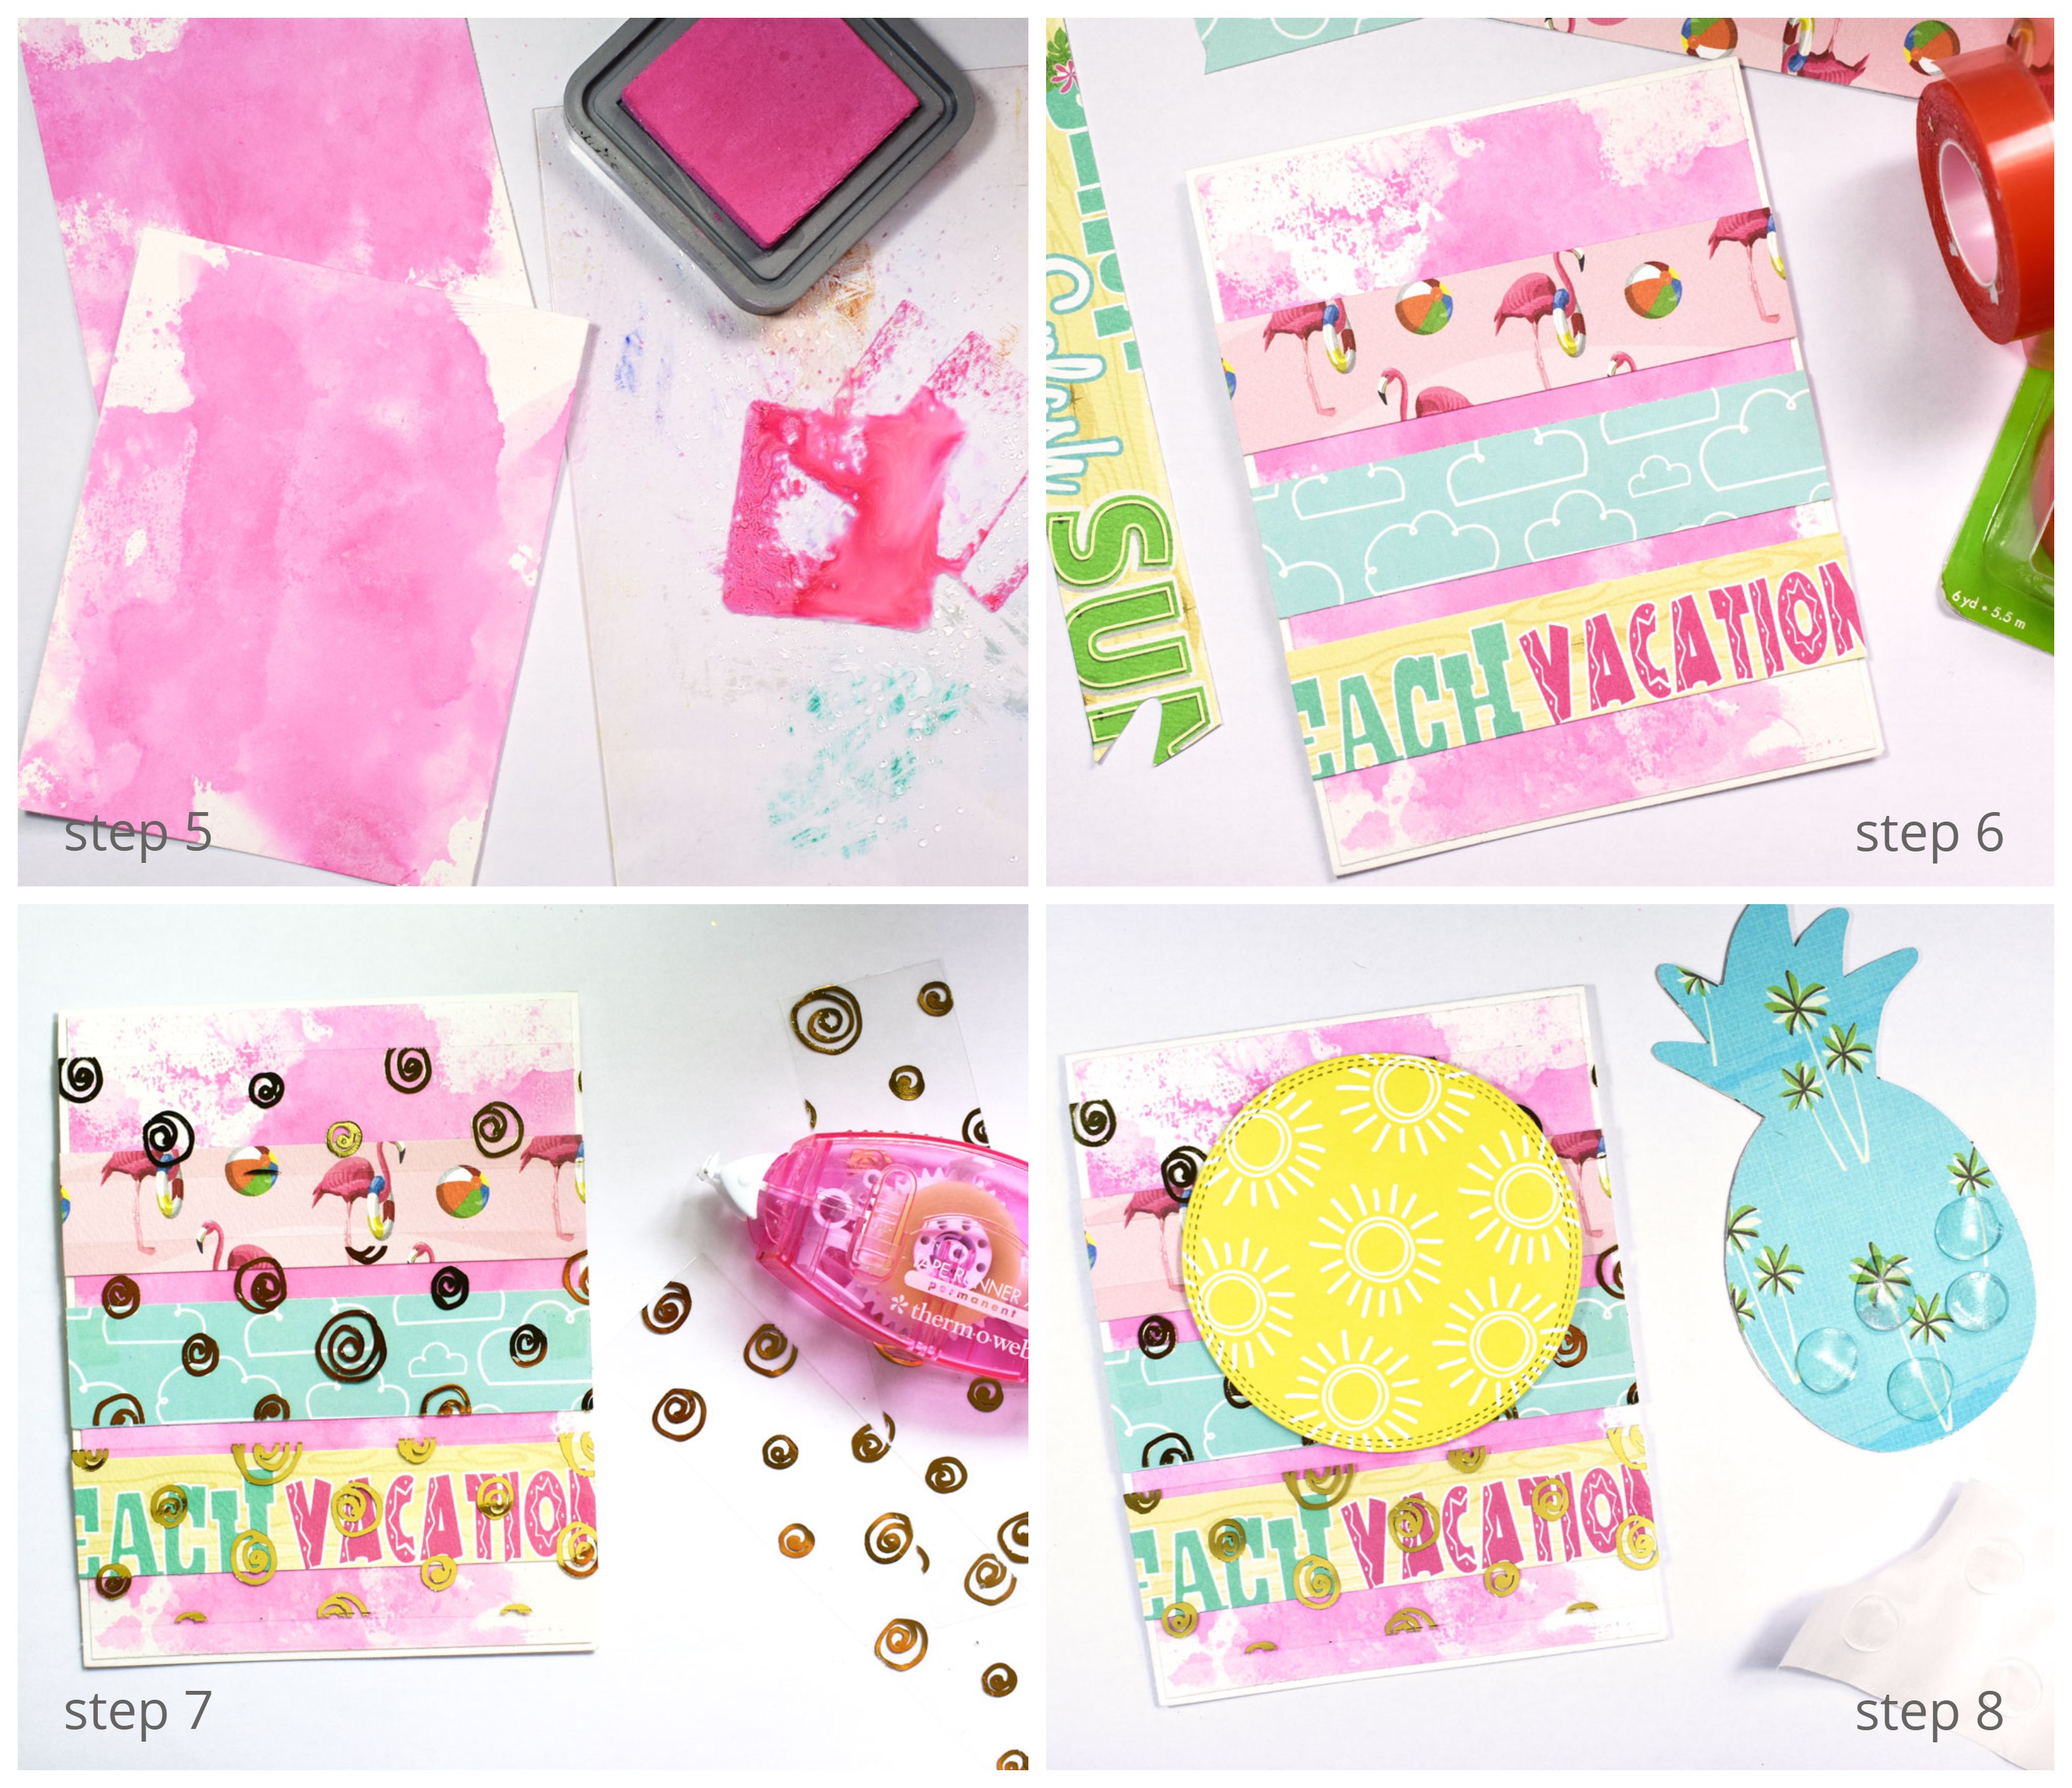
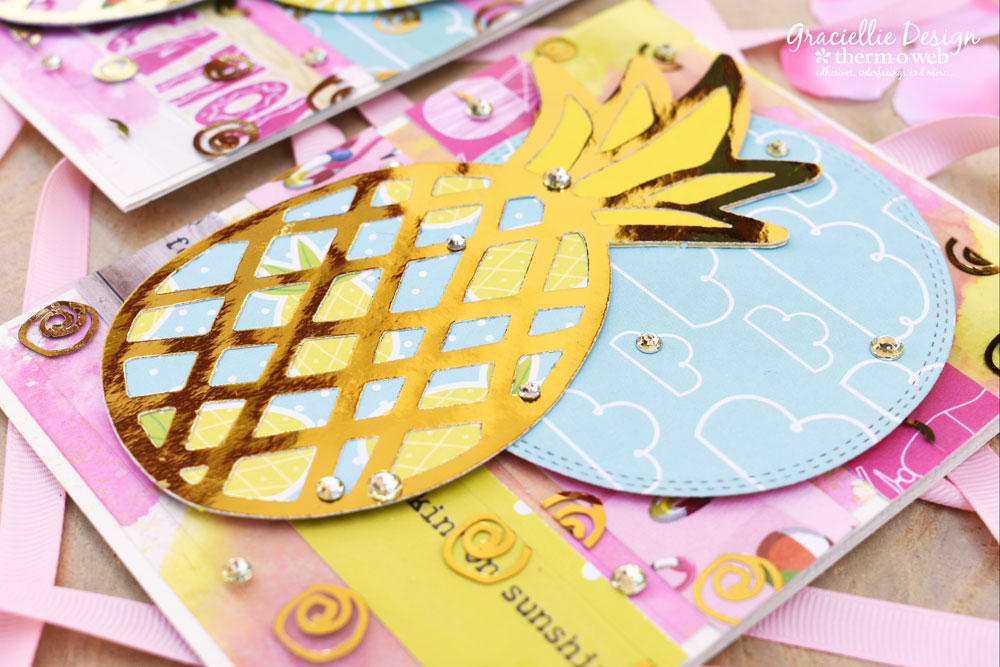
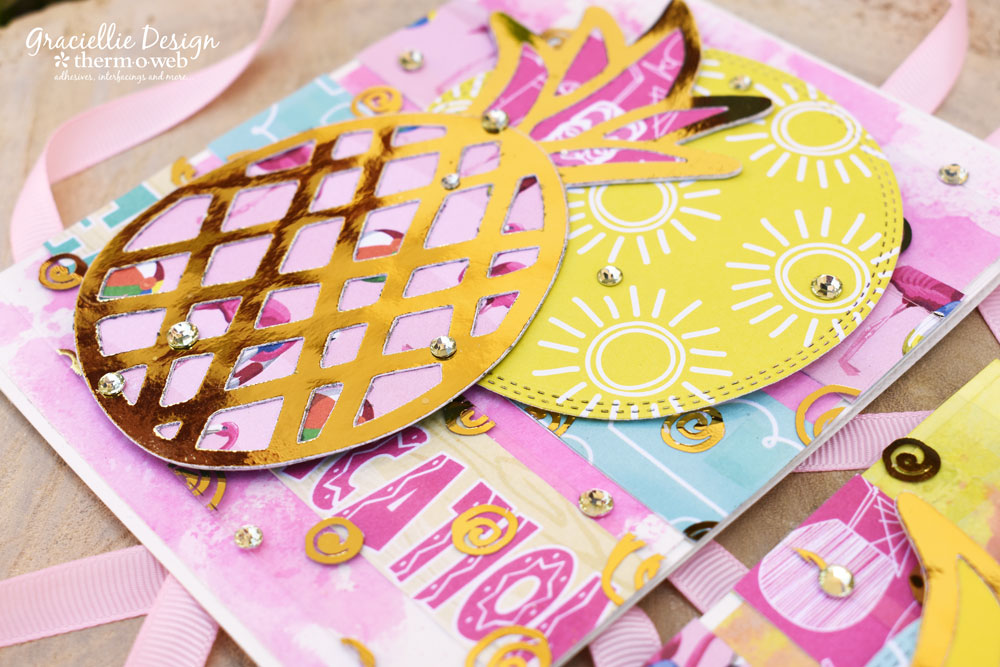
 Step 5. Cut two 4.25" by 5.5" white card backgrounds and color them using the ink smooshing technique, with some ink, water and a piece of acetate or a monoprinting plate, pressing on watered down ink onto the white cardstock.
Step 6. Once the backgrounds are dry, adhere 1" strips of patterned papers across them, using Super Tape.
Step 7. Next, adhere strips of Clear Toner Sheets -foiled in Gold Deco Foil- layering them across the background and partially covering the patterned paper strips adhered previously.
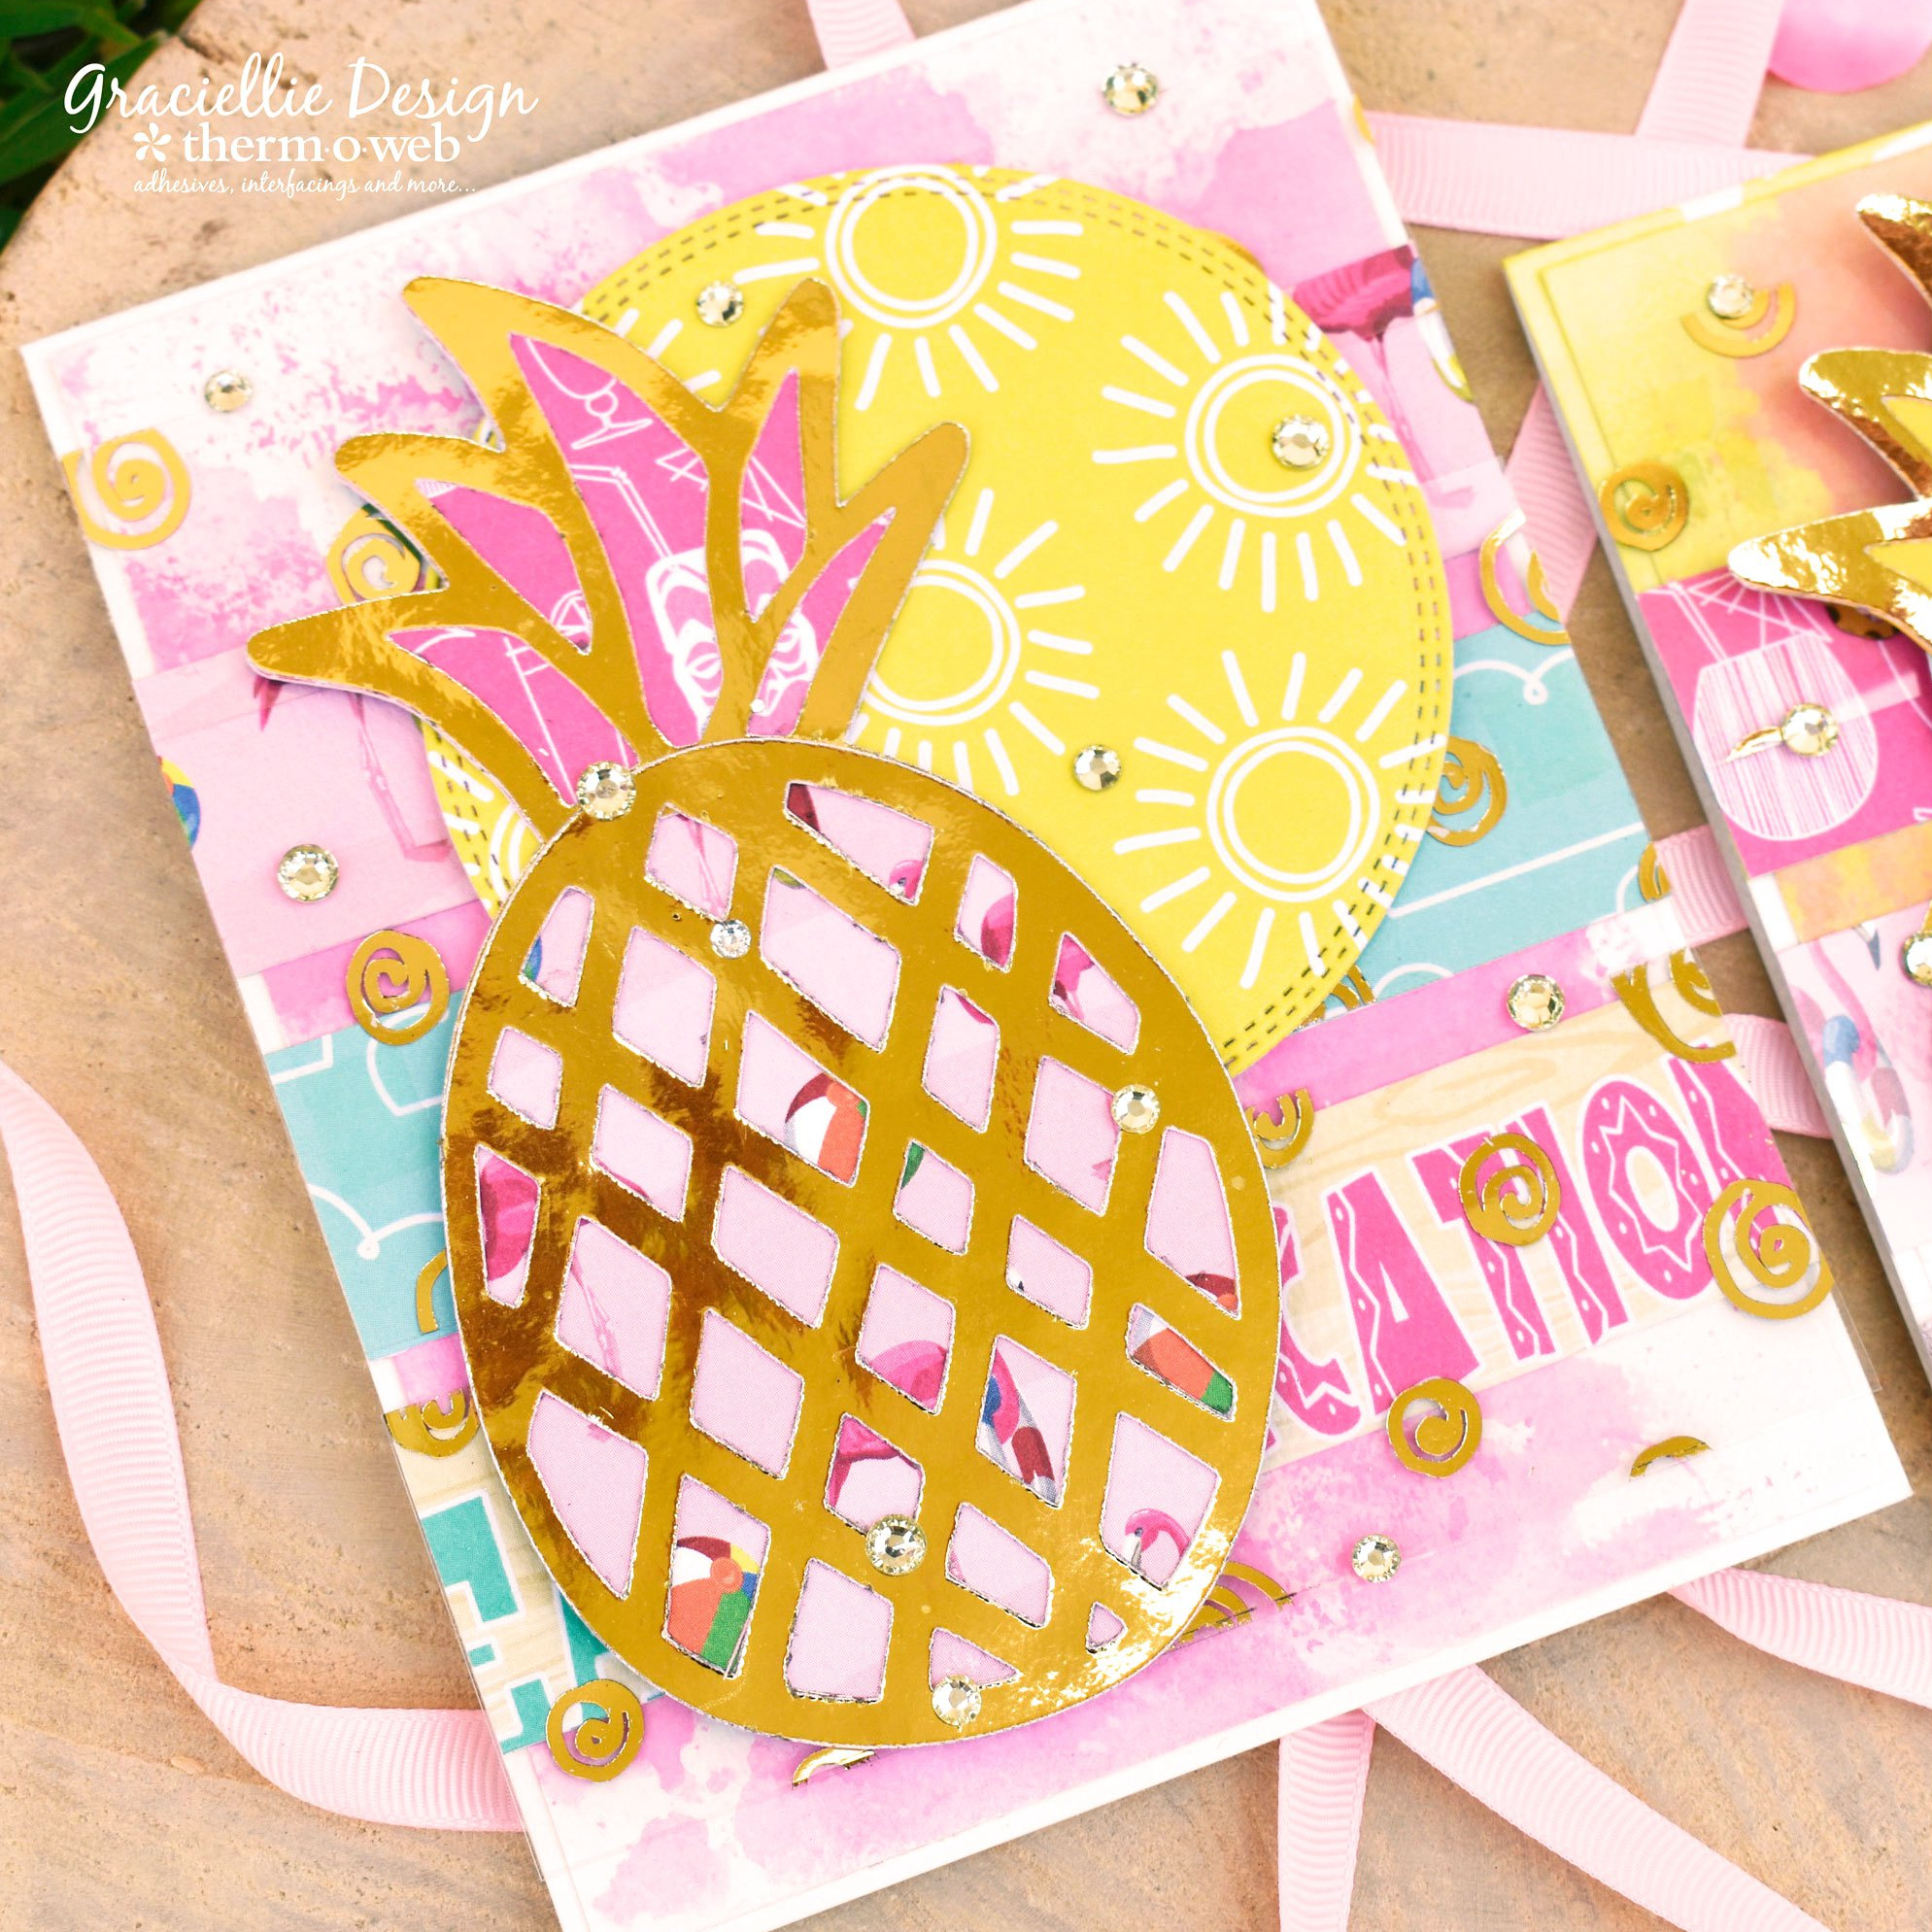
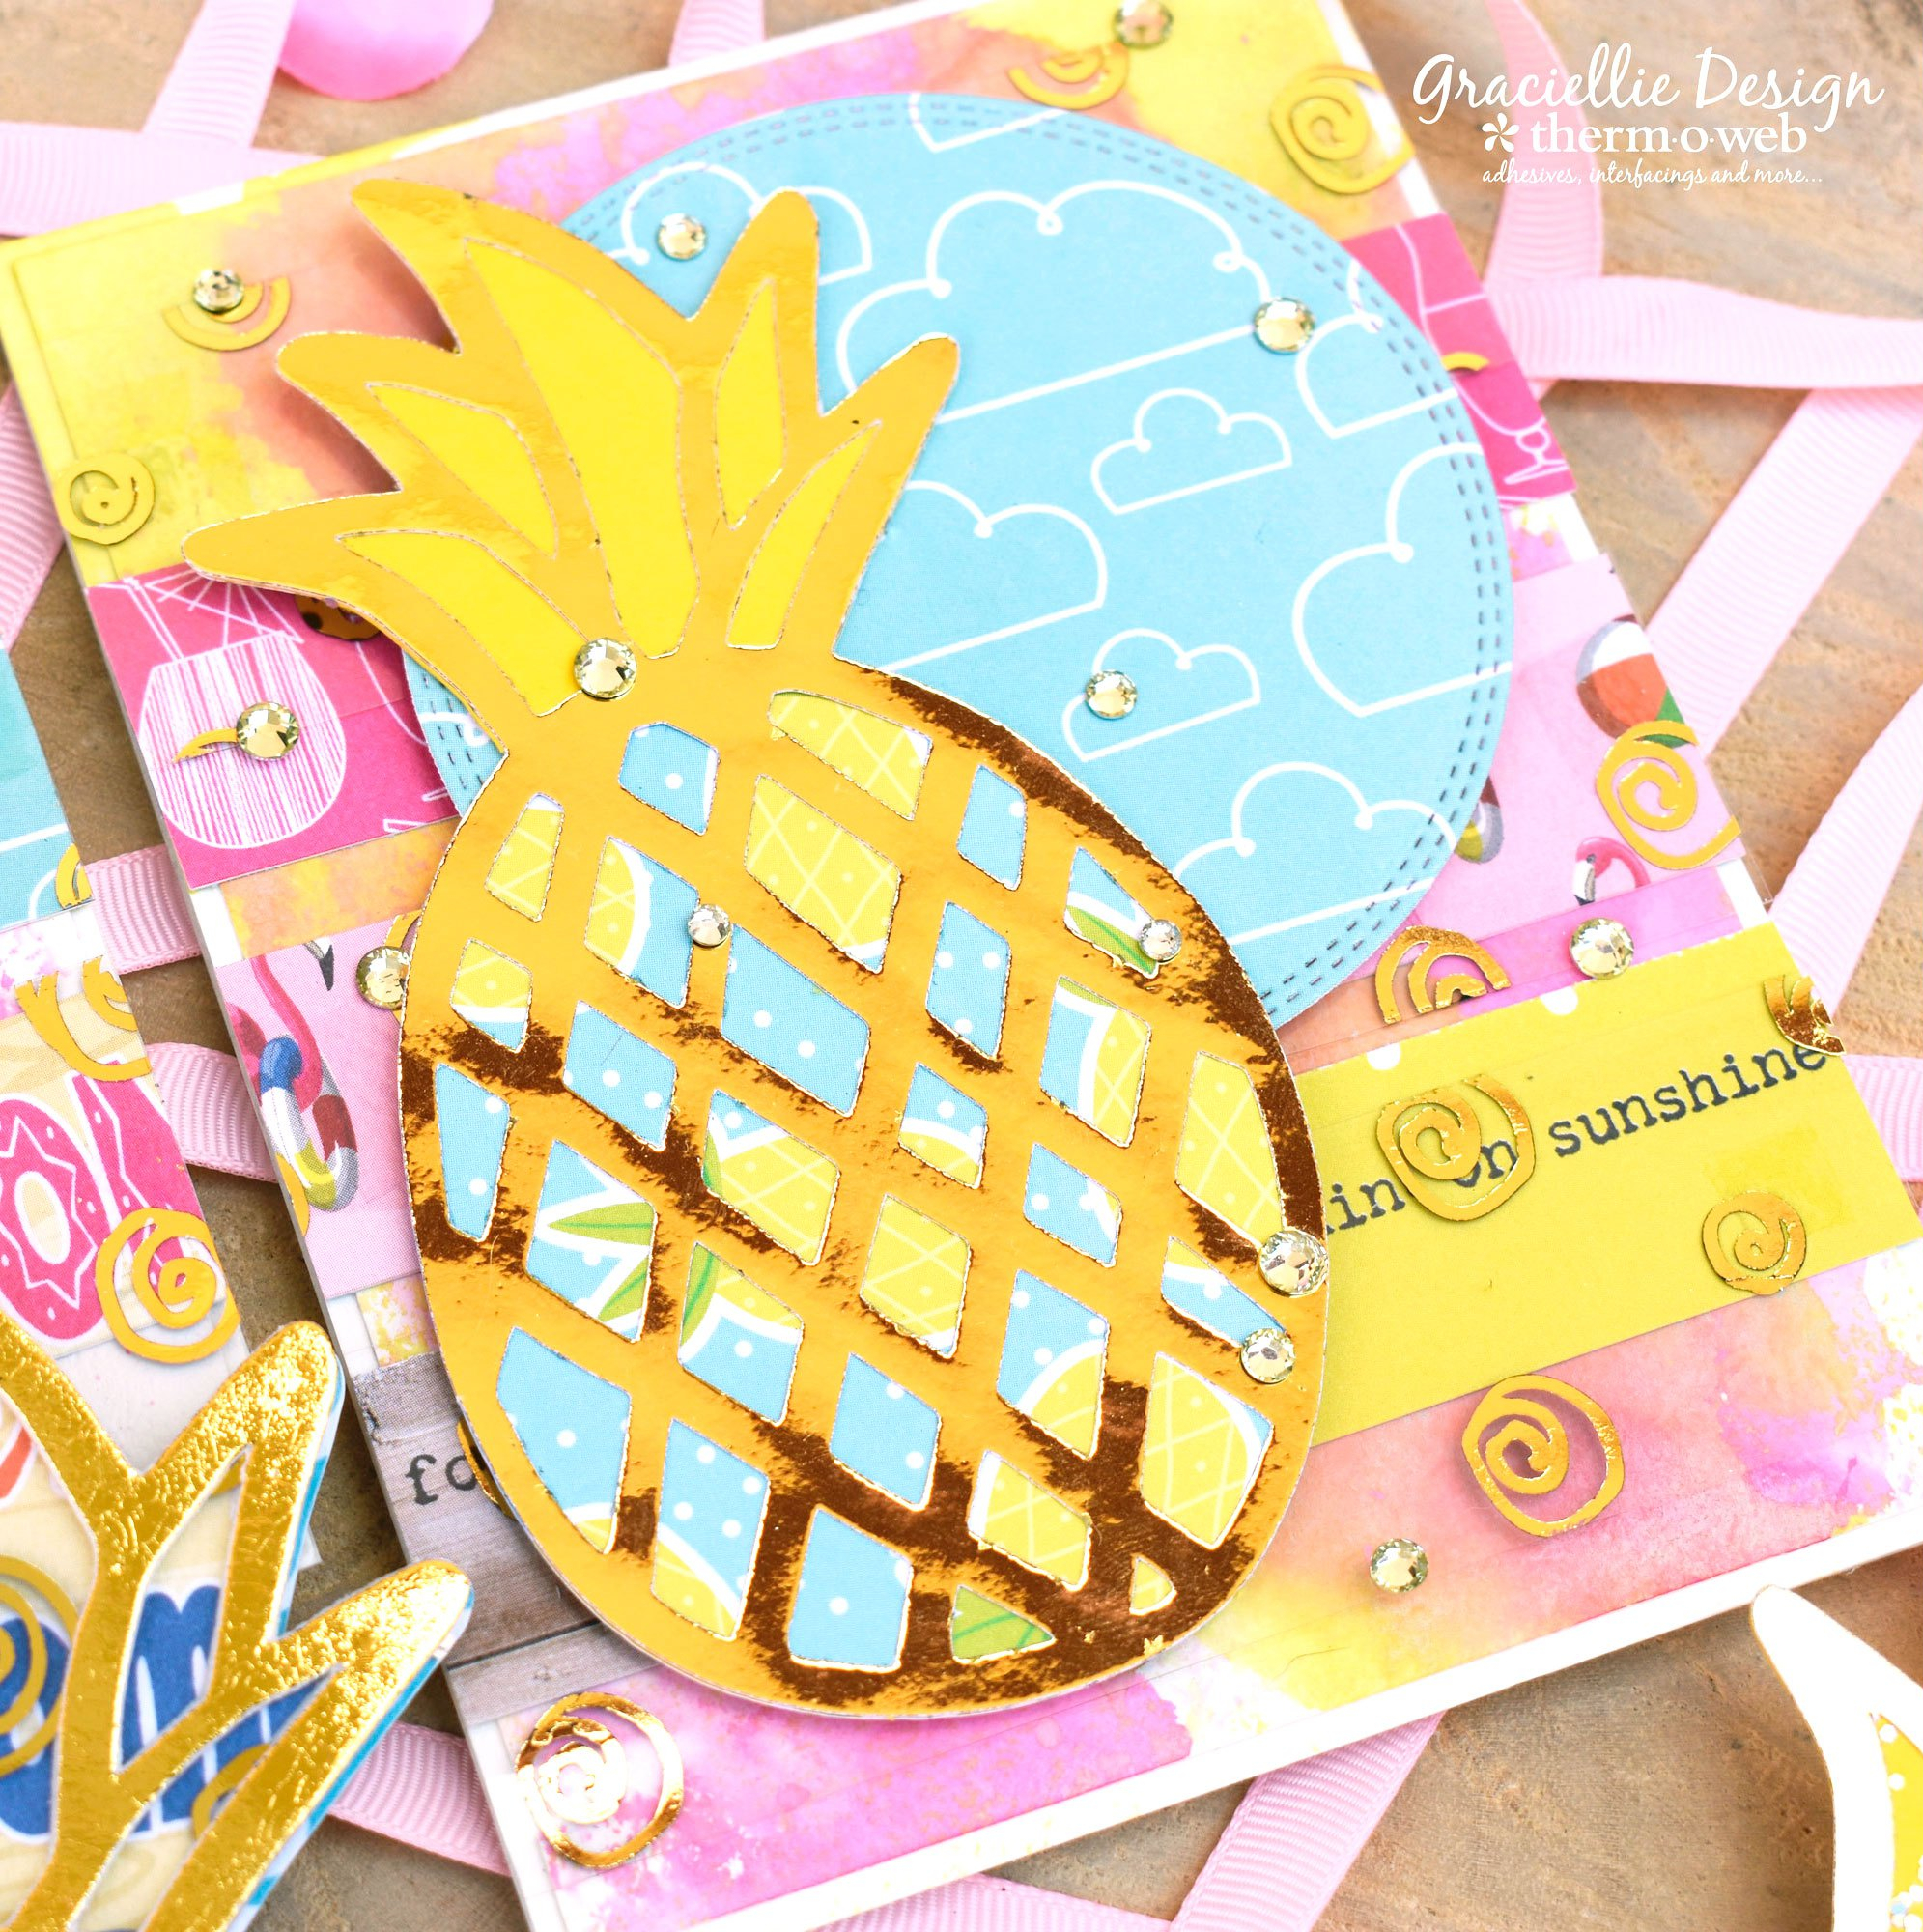
Step 8. Attach a Double Stitch Design Circle die cut and a layered pineapple svg cut to the background with 3D Zots.
Step 5. Cut two 4.25" by 5.5" white card backgrounds and color them using the ink smooshing technique, with some ink, water and a piece of acetate or a monoprinting plate, pressing on watered down ink onto the white cardstock.
Step 6. Once the backgrounds are dry, adhere 1" strips of patterned papers across them, using Super Tape.
Step 7. Next, adhere strips of Clear Toner Sheets -foiled in Gold Deco Foil- layering them across the background and partially covering the patterned paper strips adhered previously.
Step 8. Attach a Double Stitch Design Circle die cut and a layered pineapple svg cut to the background with 3D Zots.
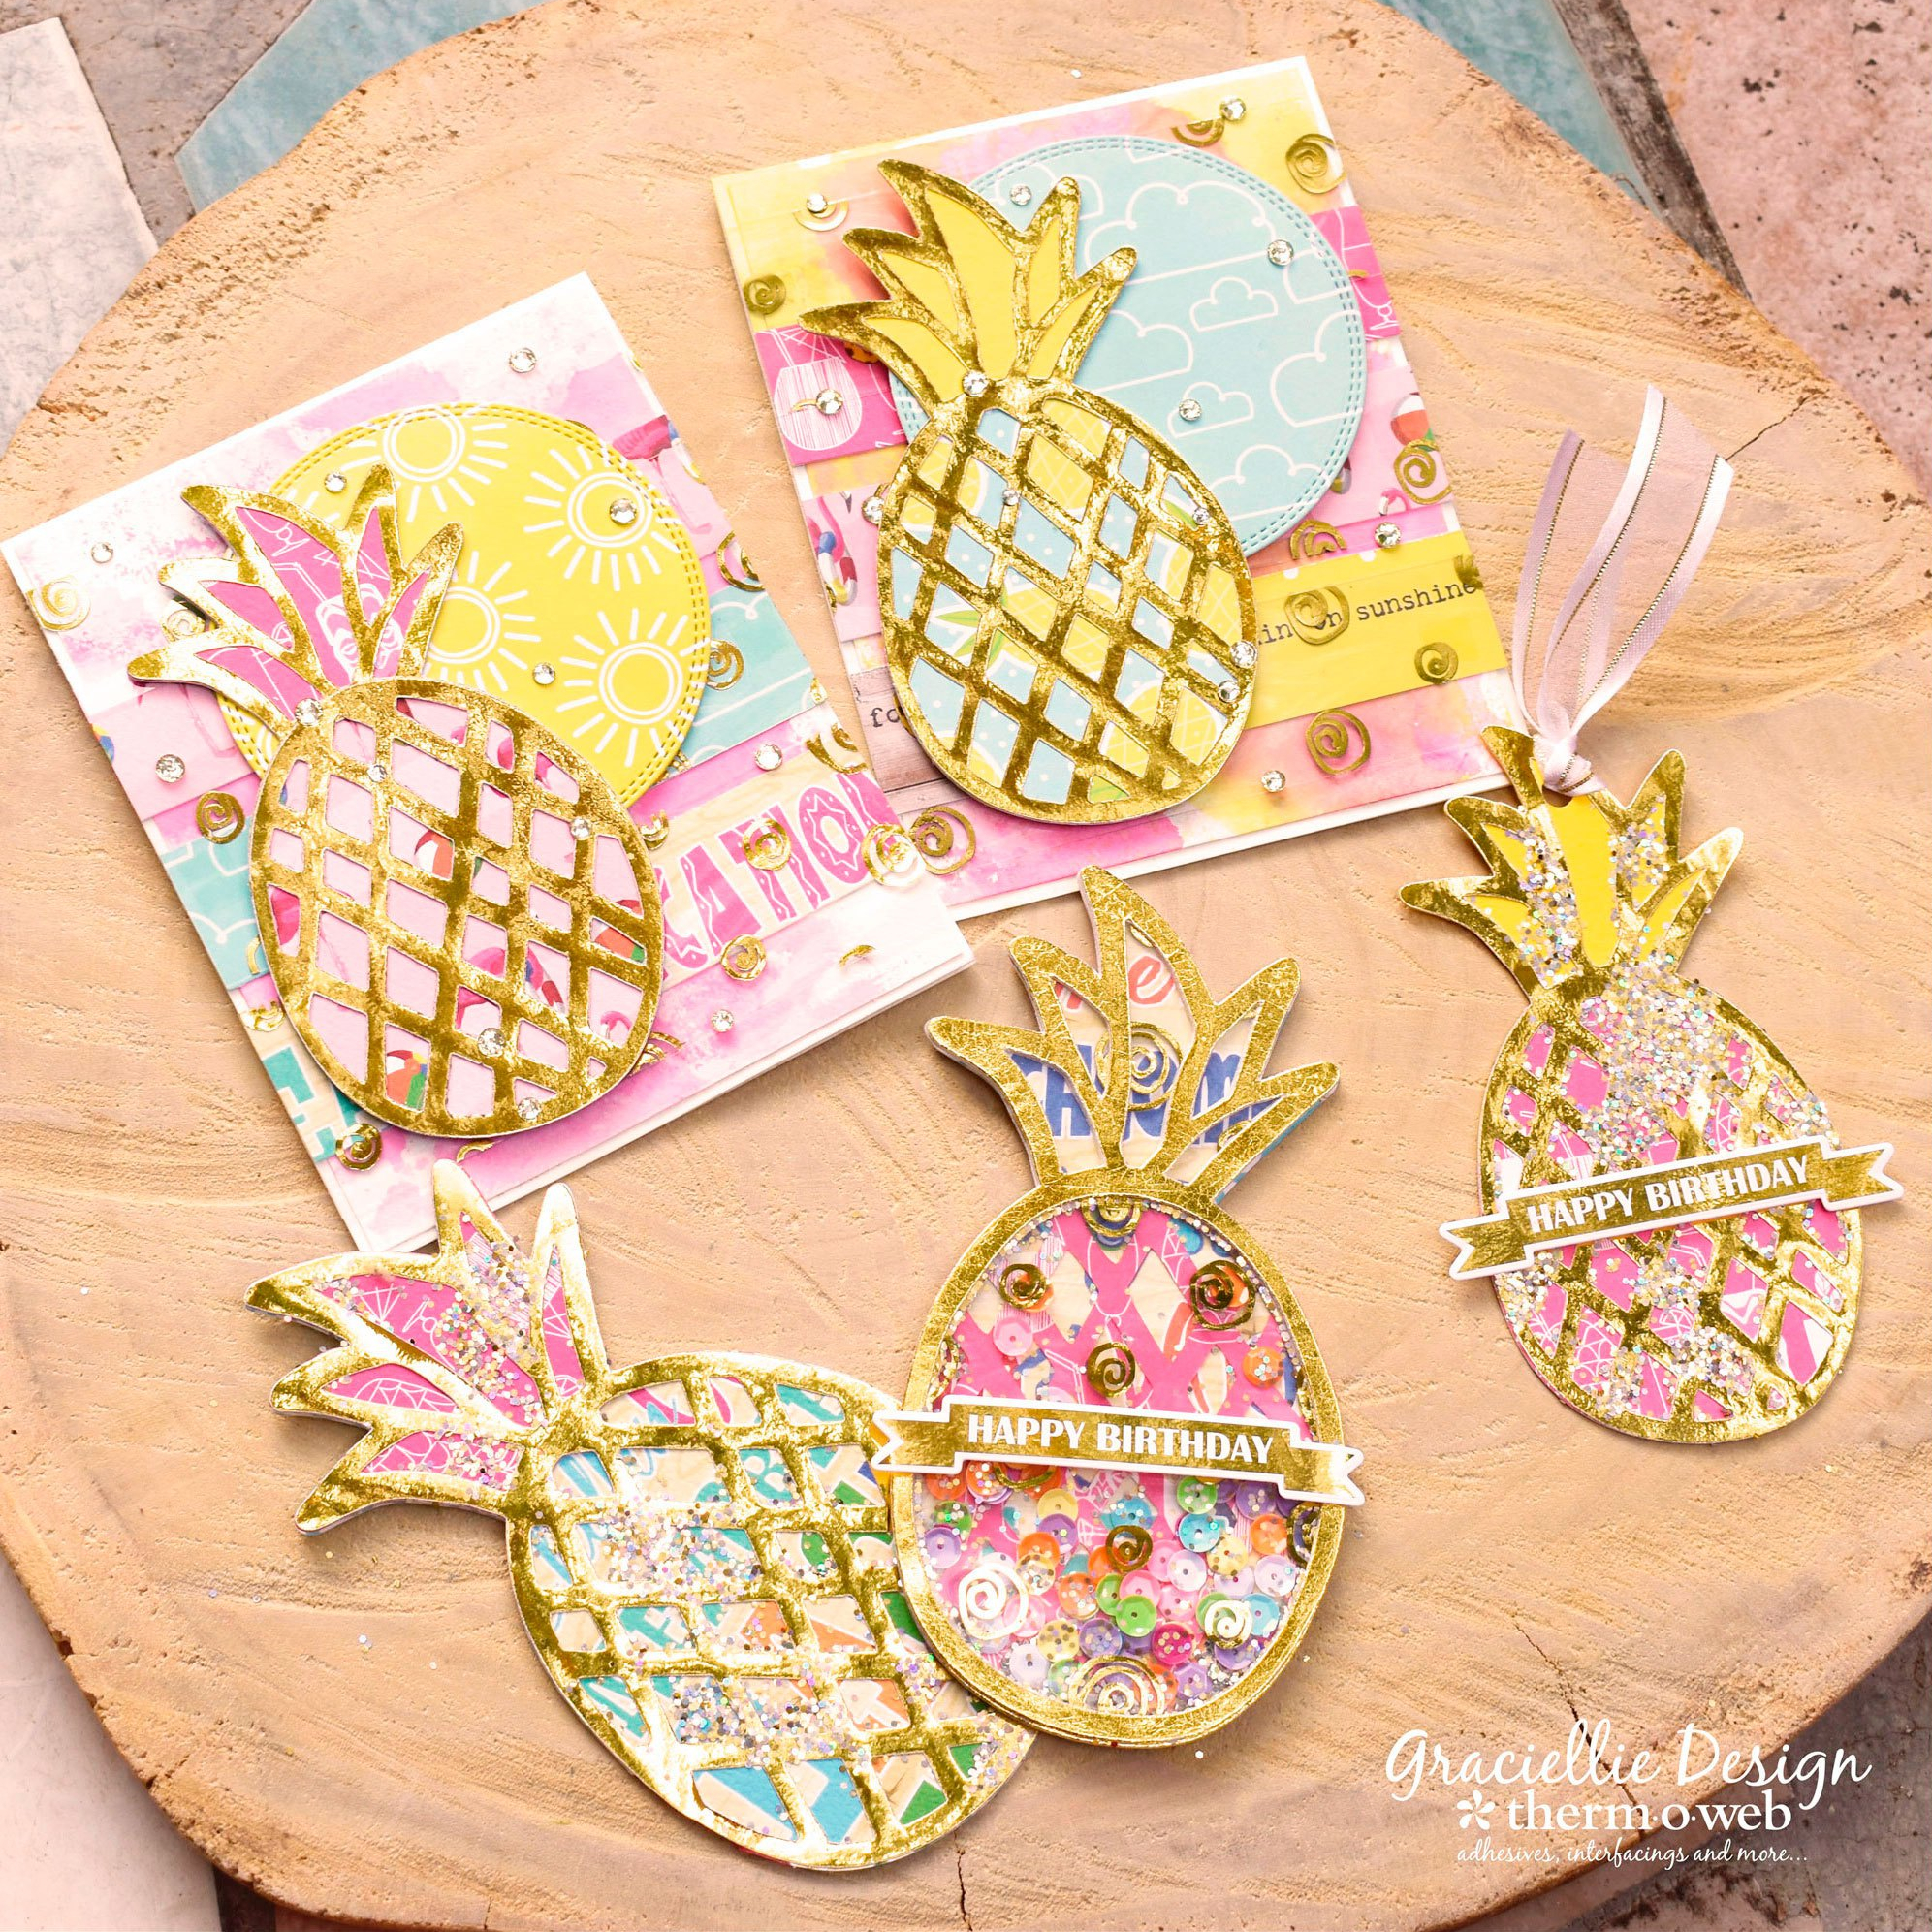
 Mix and match patterned papers to give your card a different finish and embellish it with rhinestone stickers or sequins for a sparkly look!
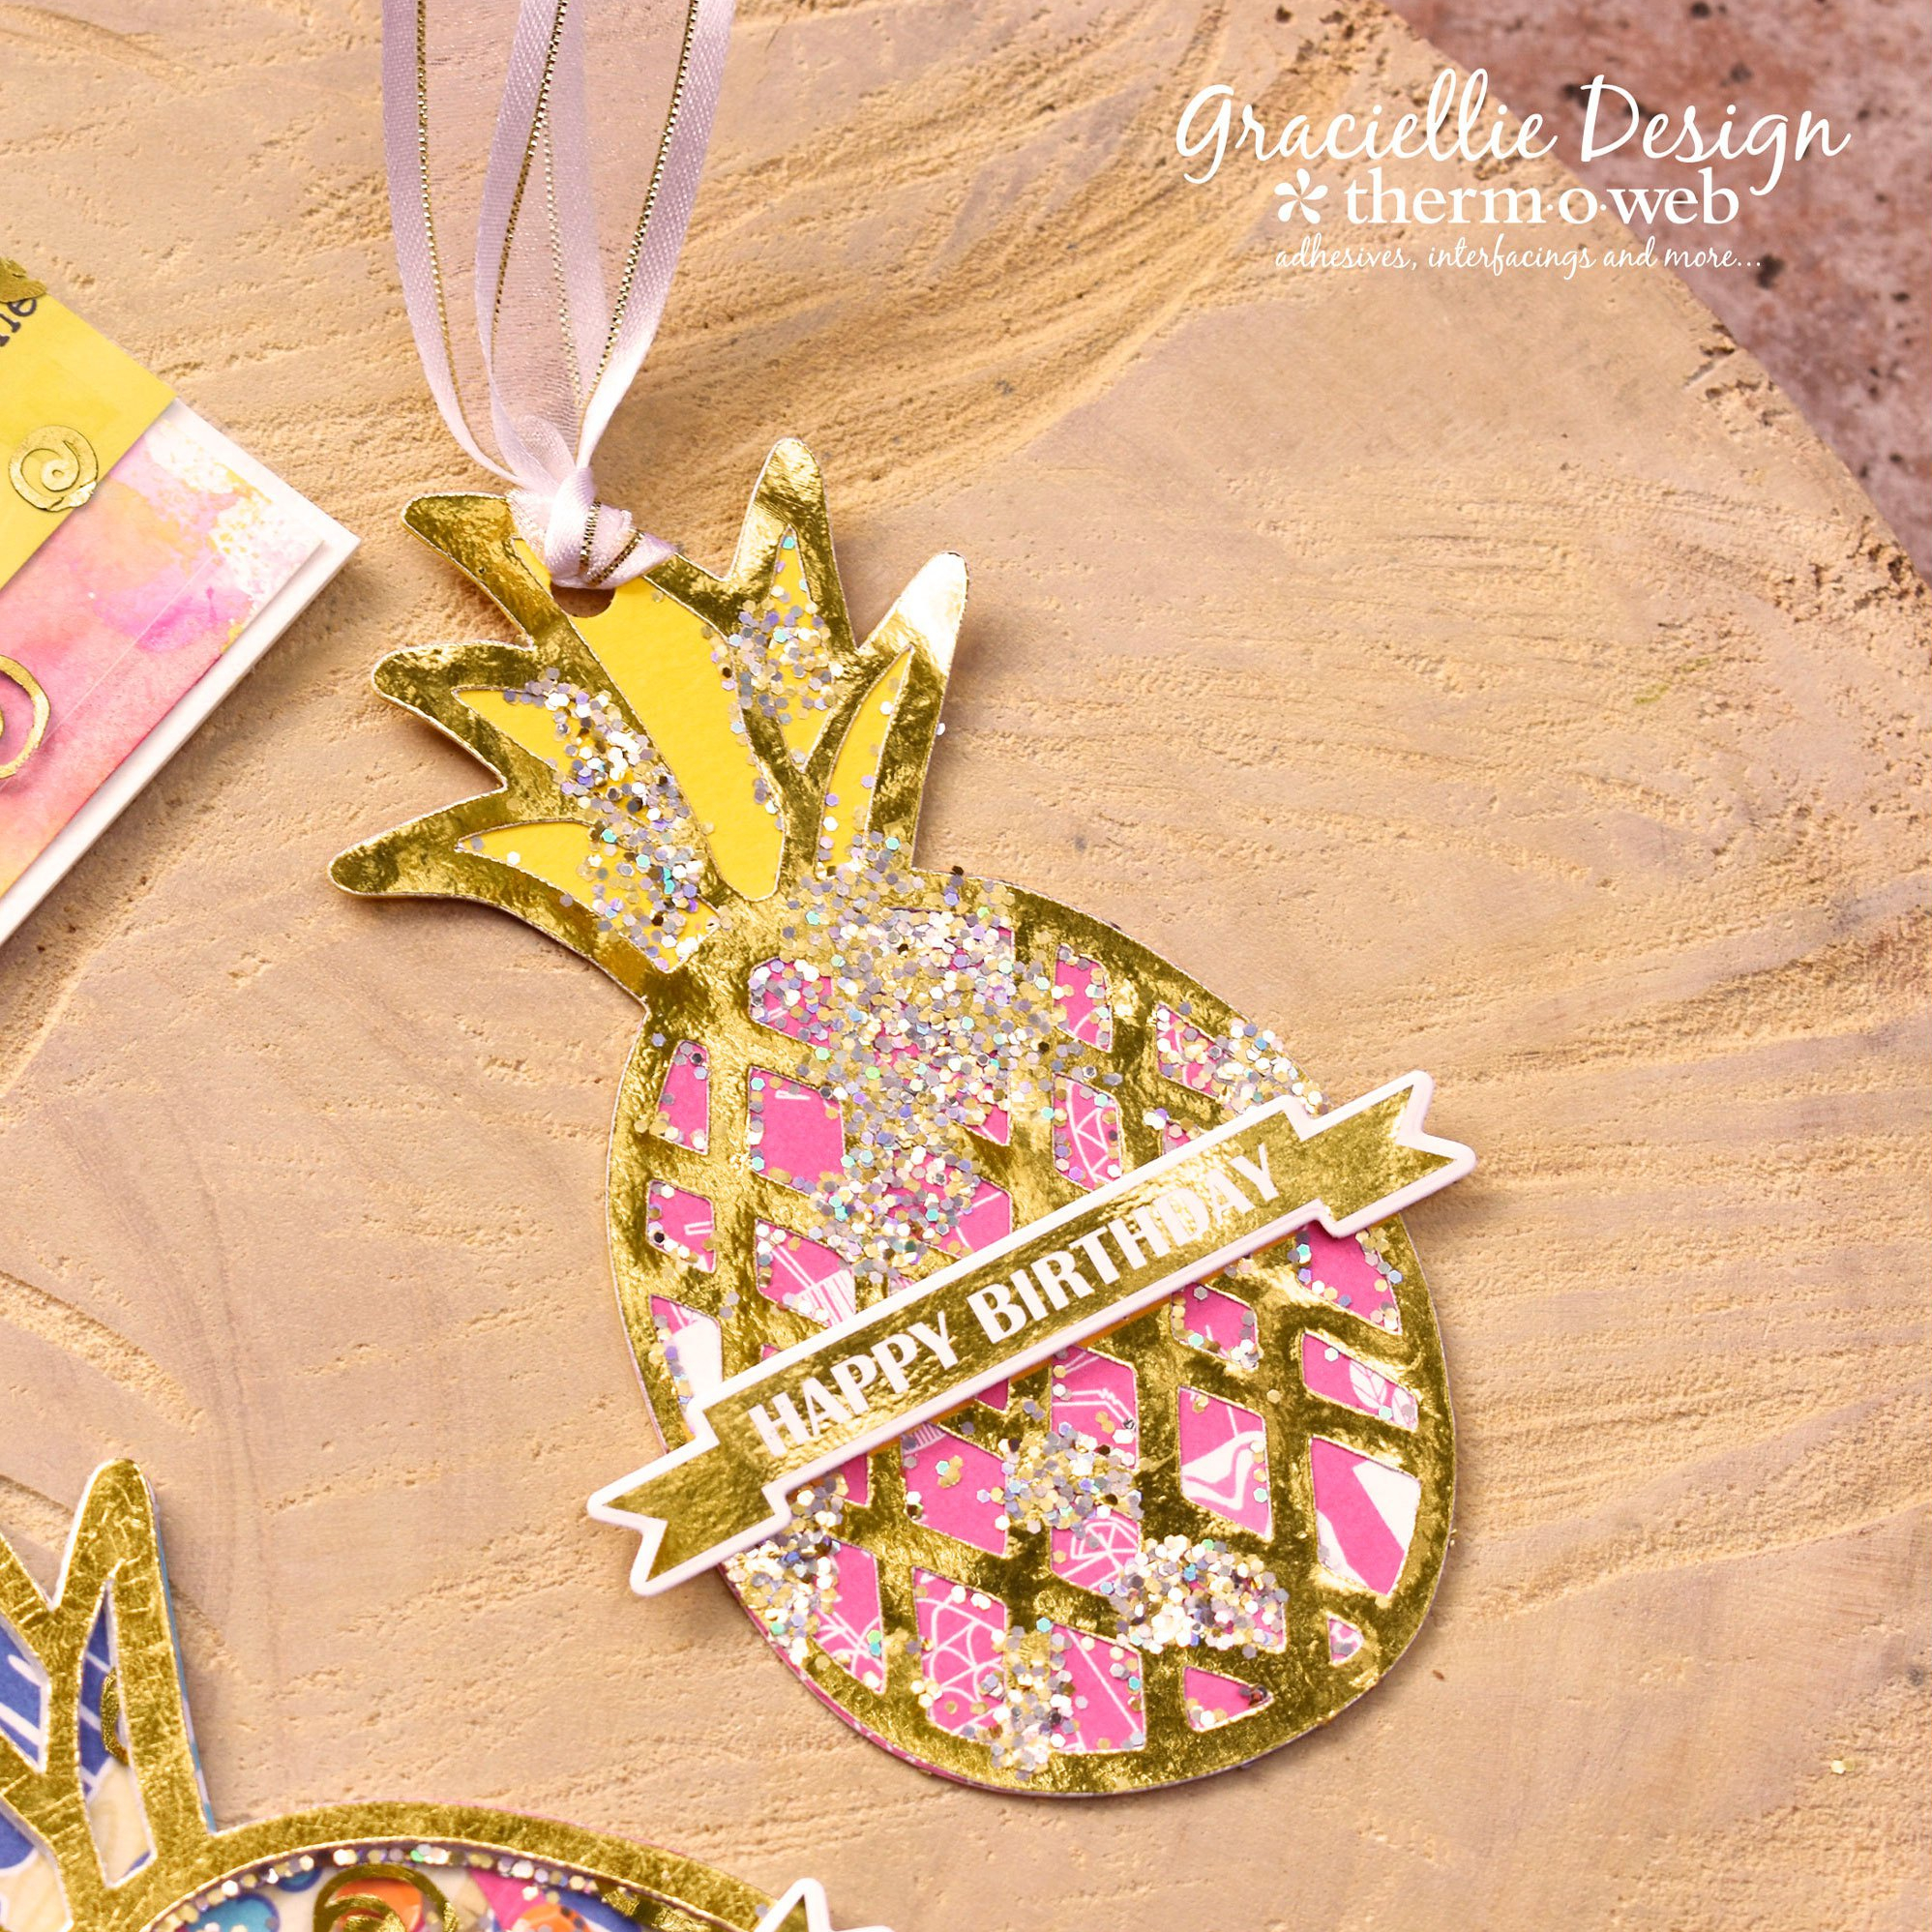
 Step 2. Decorate the tag with glitter, using Mixed Media Adhesive on a few areas and then covering with glitter.
 Step 3. Next, punch a hole on the top edge of the pineapple leaf and add a piece of White Sheer Satin Ribbon to complete the pineapple-shaped tag.
Step 4. Finally, embellish the pineapple tag with a banner sentiment from the Time to Celebrate StampnFoil Foil-Mates set, using a laminator to foil it in gold and the coordinating die set to cut the banner out. Attach it to the card using 3D Zots cut in half.
Step 3. Next, punch a hole on the top edge of the pineapple leaf and add a piece of White Sheer Satin Ribbon to complete the pineapple-shaped tag.
Step 4. Finally, embellish the pineapple tag with a banner sentiment from the Time to Celebrate StampnFoil Foil-Mates set, using a laminator to foil it in gold and the coordinating die set to cut the banner out. Attach it to the card using 3D Zots cut in half.
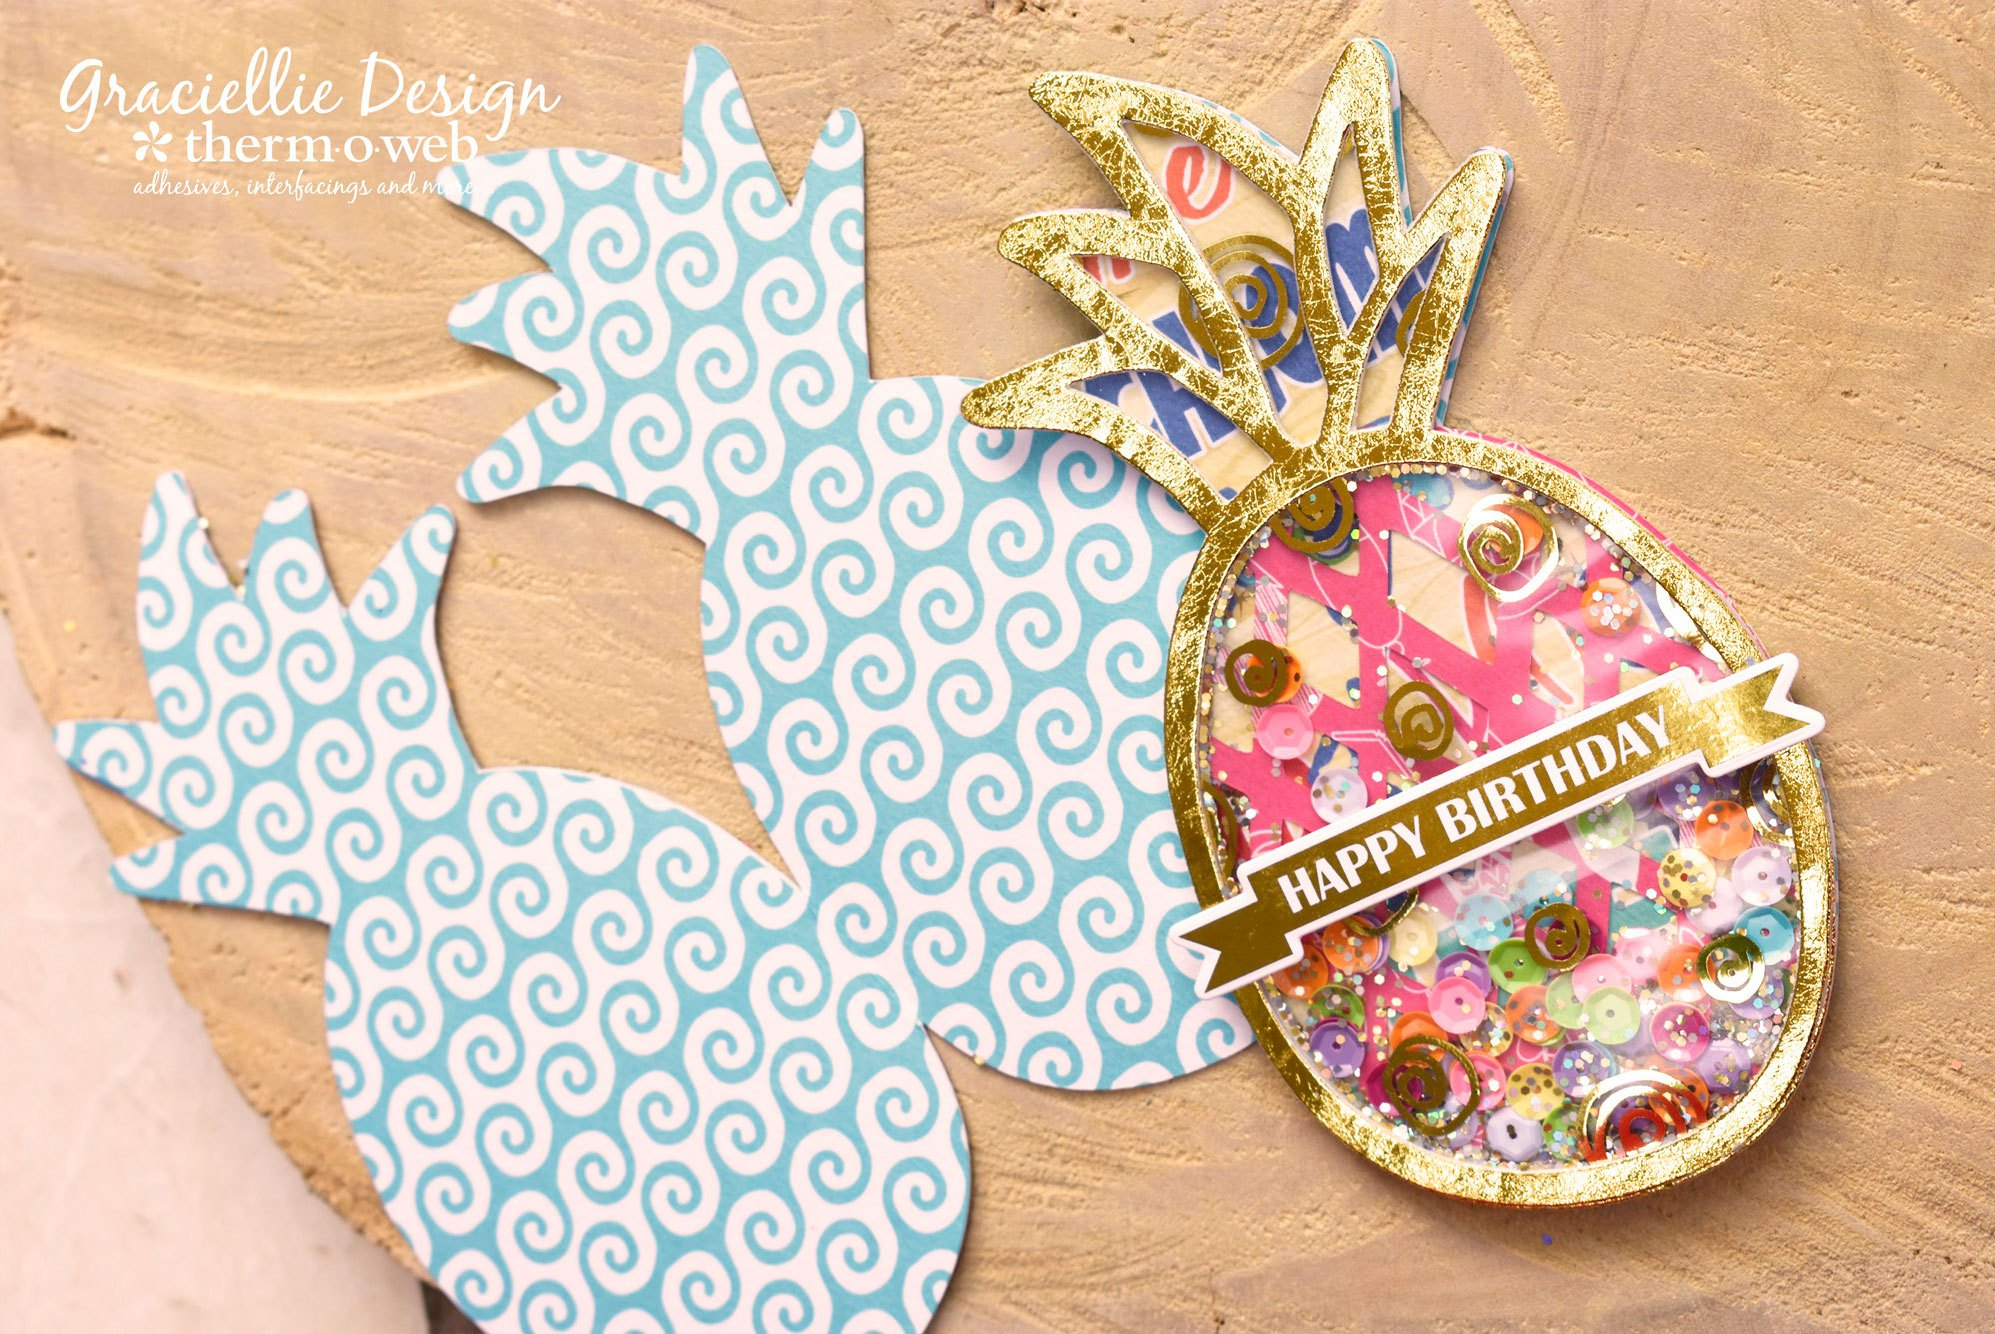
 Step 2. Score and fold the pineapple card base piece.
Step 3. Attach the pink detailed pineapple piece to the center to the pineapple card base.
Step 4. Next, peel the backing sheet from the foam adhesive pineapples and adhere them to the front and the back of the Clear Toner pineapple piece. You can double layer the foam adhesive outline on the back of the Clear Toner sheet to allow more sequins and elements to fit inside the shaker.
Step 2. Score and fold the pineapple card base piece.
Step 3. Attach the pink detailed pineapple piece to the center to the pineapple card base.
Step 4. Next, peel the backing sheet from the foam adhesive pineapples and adhere them to the front and the back of the Clear Toner pineapple piece. You can double layer the foam adhesive outline on the back of the Clear Toner sheet to allow more sequins and elements to fit inside the shaker.
 Step 5. Add your shaker elements (sequins and glitter) to the center of the card and attach the Clear Toner pineapple aligning it carefully to the card base.
Step 6. Peel off the backing sheet from the front foam adhesive pineapple outline and cover it with a piece of Gold Deco Foil transfer sheet. Burnish the foil with your finger and peel off the sheet to reveal the gold detail outlining the front of your shaker card.
Step 7. Finally, embellish the shaker card with a banner sentiment just as you did for the pineapple tag.
Step 5. Add your shaker elements (sequins and glitter) to the center of the card and attach the Clear Toner pineapple aligning it carefully to the card base.
Step 6. Peel off the backing sheet from the front foam adhesive pineapple outline and cover it with a piece of Gold Deco Foil transfer sheet. Burnish the foil with your finger and peel off the sheet to reveal the gold detail outlining the front of your shaker card.
Step 7. Finally, embellish the shaker card with a banner sentiment just as you did for the pineapple tag.
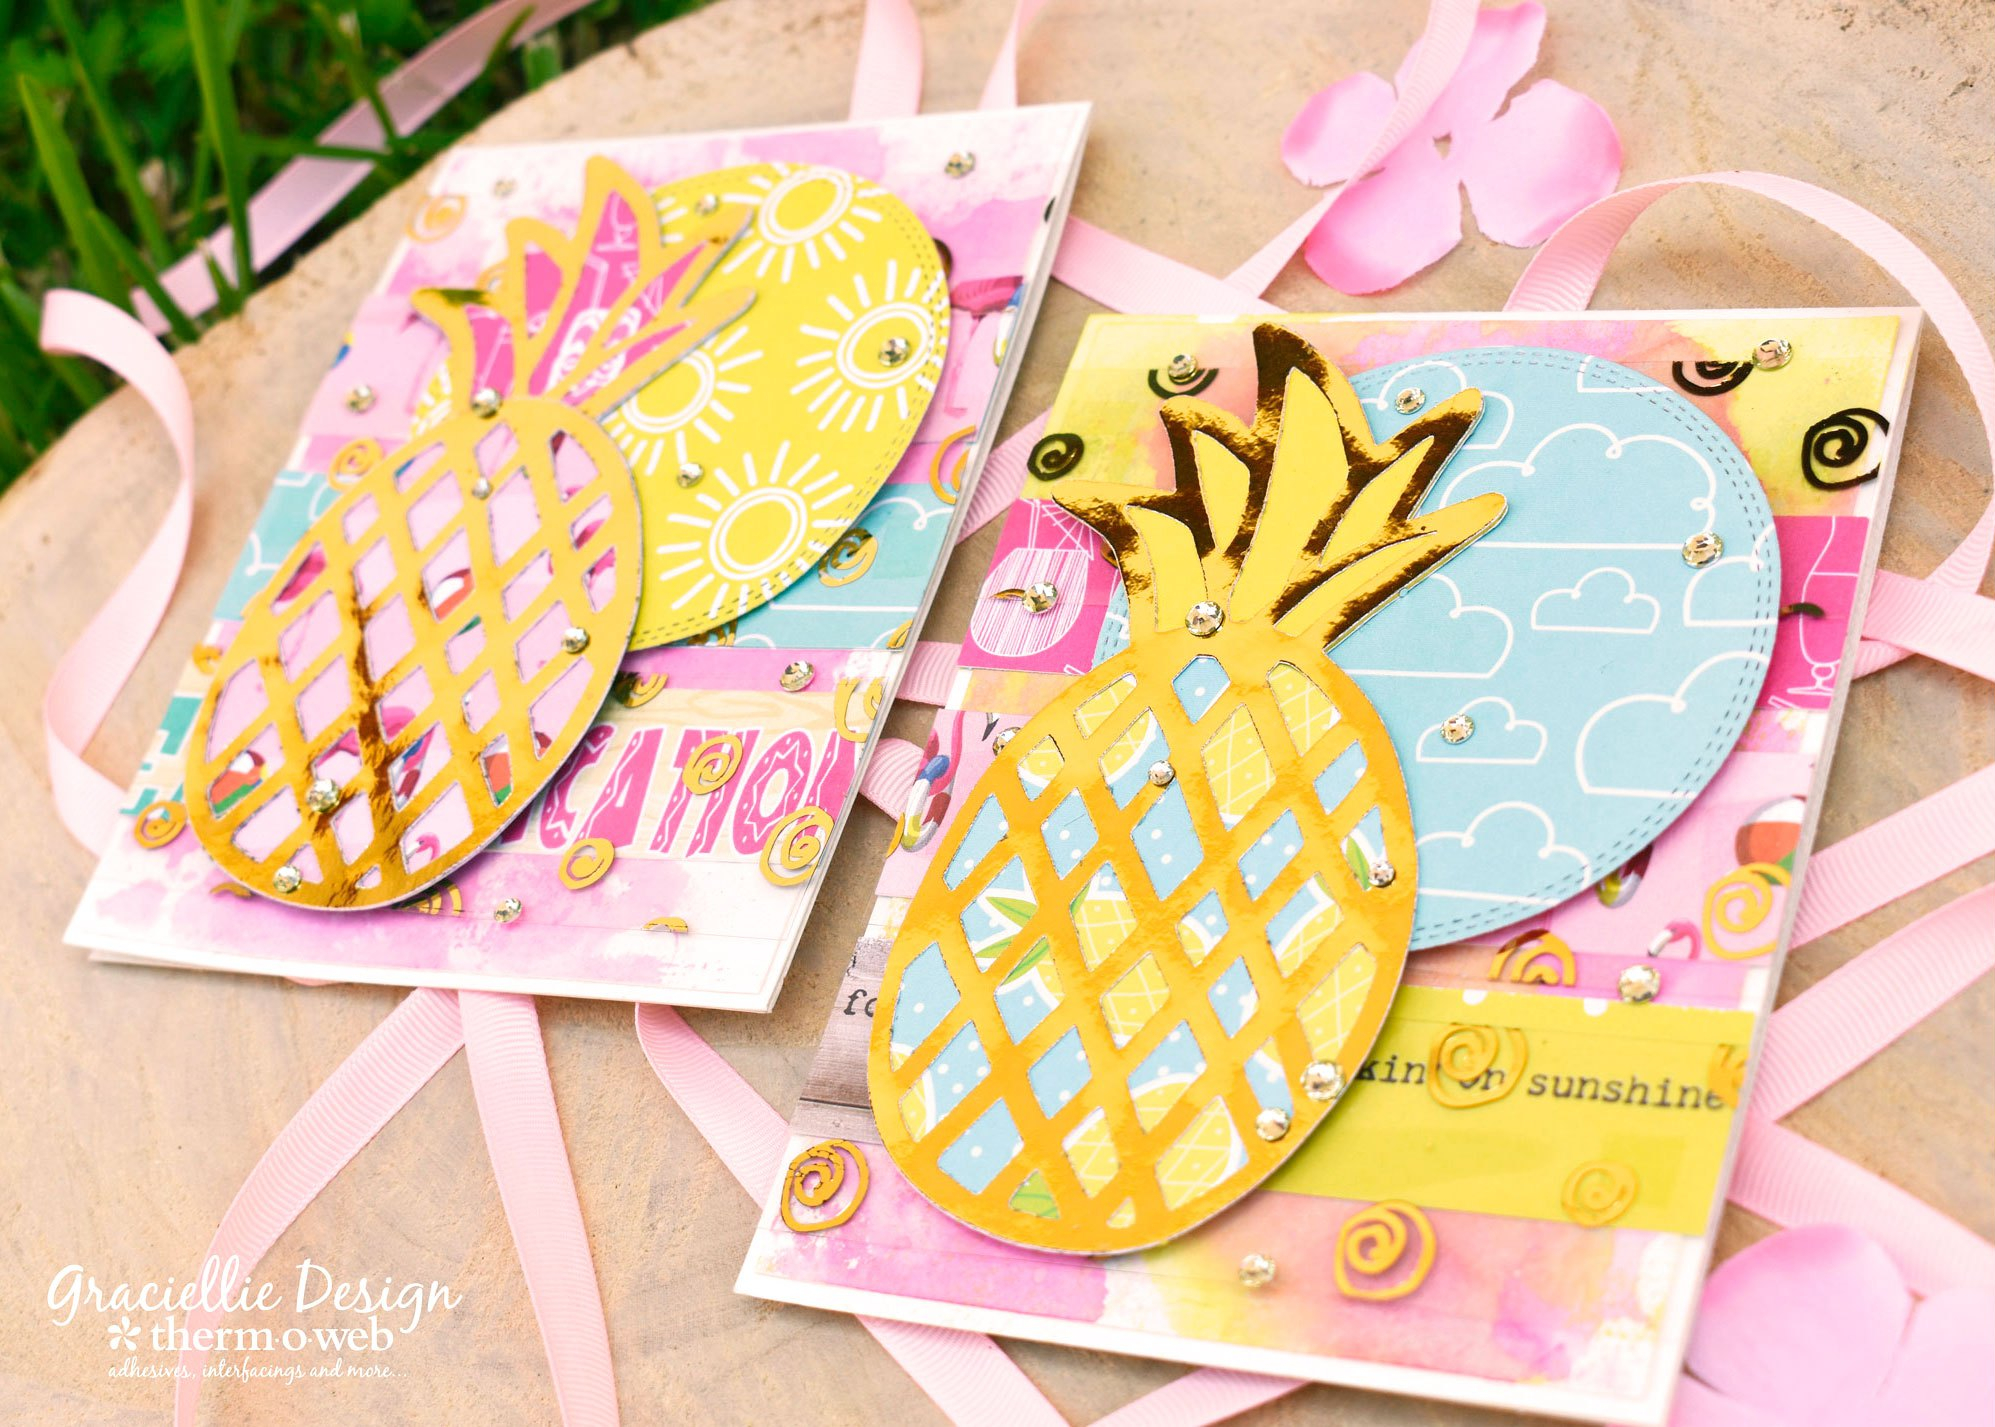
 The pineapple card SVG pack will also let you create non-shaker cards and those are easy to layer and put together too! The pineapple elements are super fun to play with and I can imagine using them for Summer party decorations and much more! These files were hand-drawn and designed by yours truly so I hope you enjoy working with them as much as I did!
 That's all for today. I hope you enjoyed. As always, I invite you to subscribe to the blog for many more tutorials using Deco Foil! Share this post with your friends and family so everyone can try out these fun pineapple themed project ideas and come back soon for more creative inspiration!