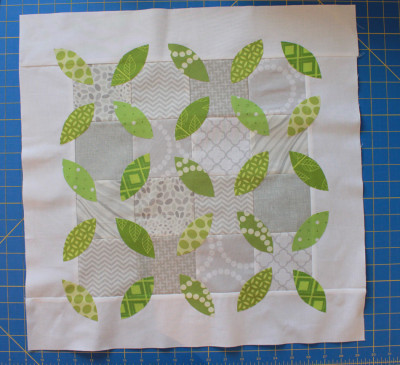
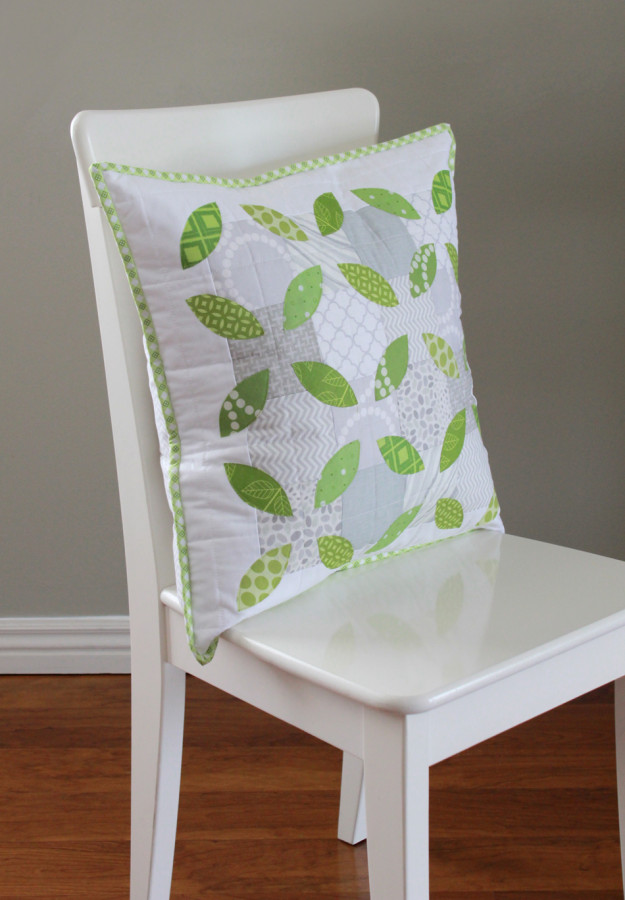
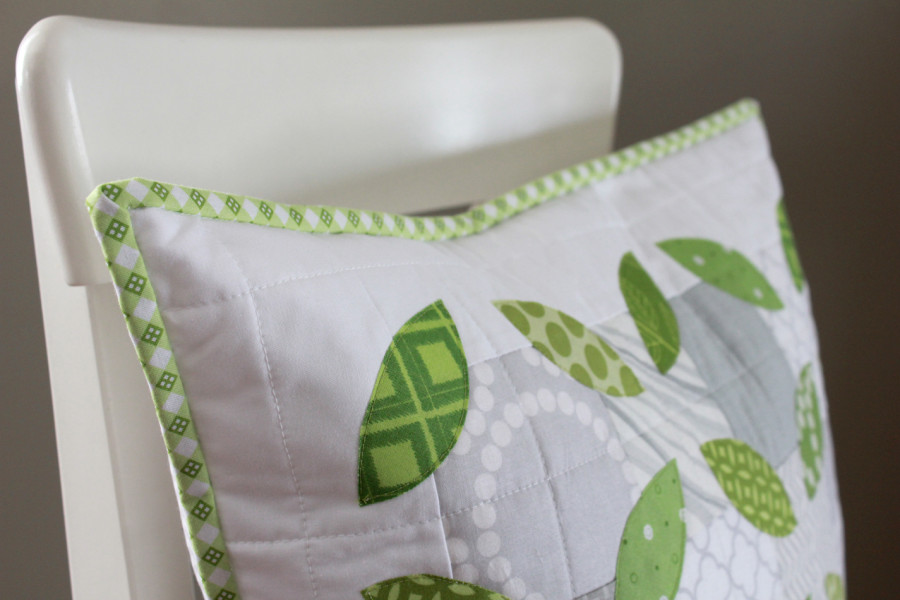
Hi everyone! It's Andy here, visiting from A Bright Corner. Well, it's official! Spring is here! Now we're just (somewhat patiently) waiting for the leaves to return to the trees. To help speed things along I created this Summer Leaves pillow.
The finished pillow measures 20" x 20" and I love that it's made with scraps. I think this would be great in fall leaf colors too!
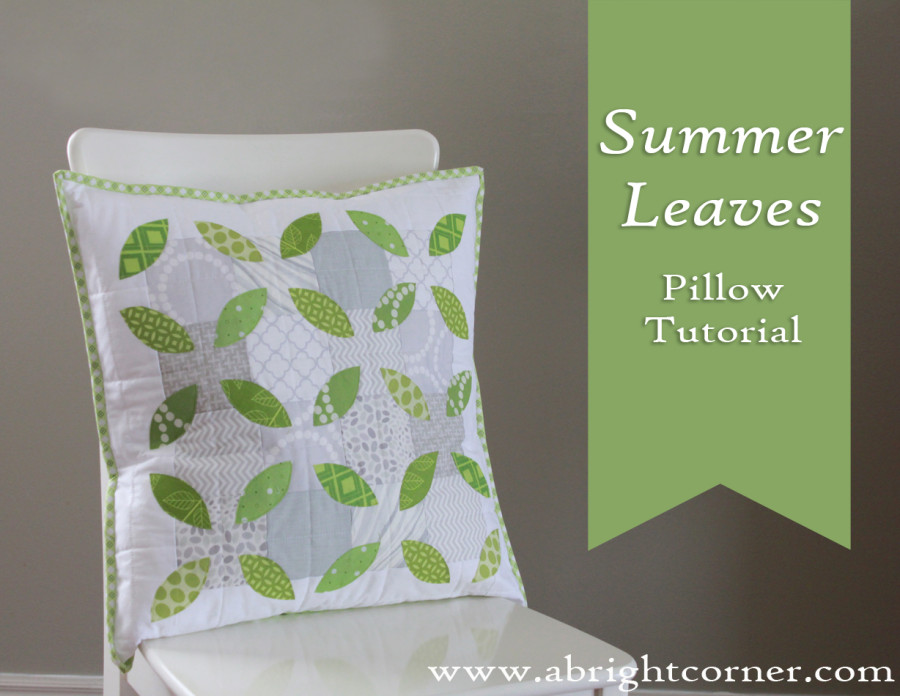
Summer Leaves Pillow
To make one of your own you'll need:
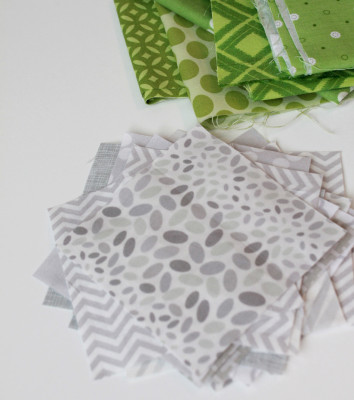
First, cut your gray fabrics into 4" squares. You'll need a total of 16 squares.
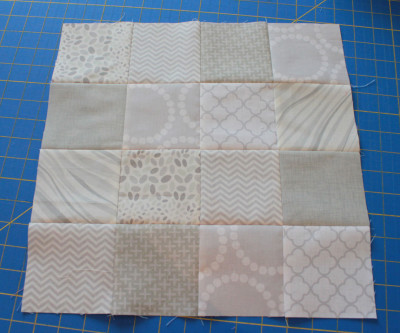
Using a scant 1/4" seam, sew squares together into 4 rows with 4 squares each. Press seams and then sew rows together, matching seams. Press well.
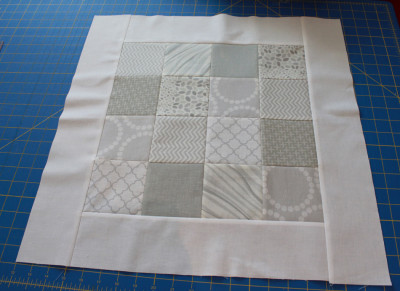
From the white fabric cut two strips that measure 3.5" x 14.5" and two that are 3.5" x 20.5"
Sew the two shorter strips to the sides of the pillow center section. Press seams to the outside.
Sew the two longer strips to the top and bottom of the pillow center section. Press seams to the outside.
Using the leaf template (download
Leaf Template), trace 25 leaves onto the HeatnBond Lite.
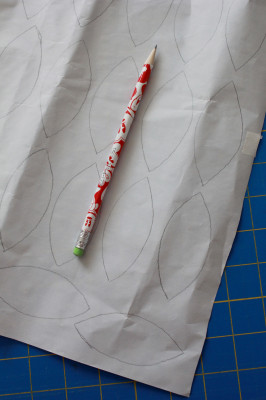
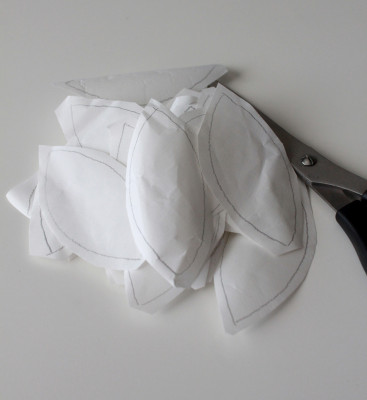
Cut out each leaf, leaving about 1/4" space around each one.
Iron each leaf onto the wrong side of your green fabric scraps.
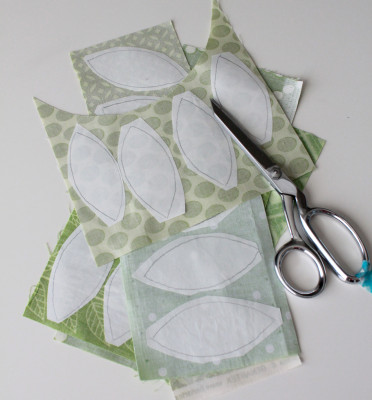
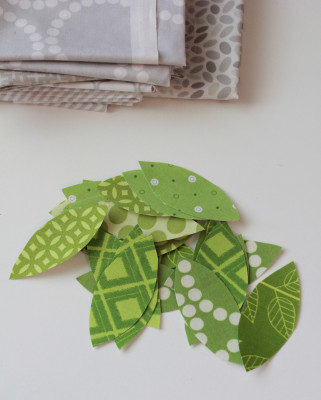
Then cut out each leaf, right on the traced lines. Remove the papers from the back. Sometimes it helps to crease the leaf a bit on the tip to get the paper to start to peel.
Arrange the leaves on the pillow top as shown. Press in place.
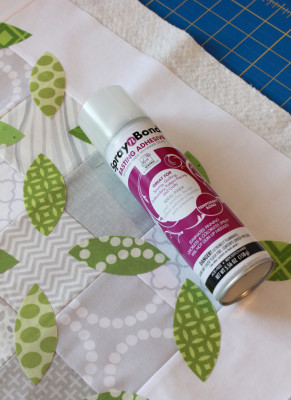
Cut a piece of thin batting to be about 23" x 23". Spray baste the batting to the back of the pillow top using SpraynBond basting adhesive spray. This will help hold the batting in place while you do the quilting.
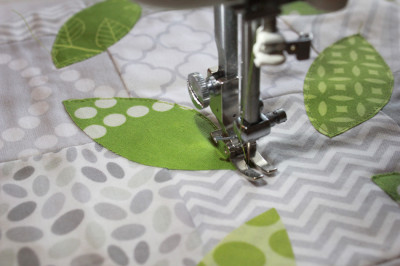
Using coordinating thread and a straight stitch, sew around each leaf.
You can add additional quilting lines if desired. I added six vertical lines and six horizontal ones.
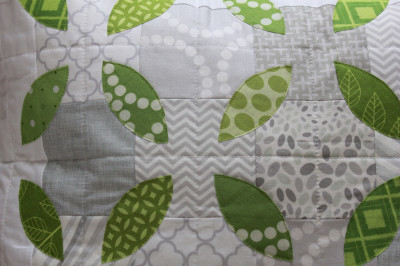
Trim the pillow top to cut off excess batting.
Next we'll make the pillow back. From the backing fabric, cut two pieces that are 13" x 20.5"
Hem one long side of each backing piece by turning under 1/4" and pressing then turning under another 1/2" and pressing again. Topstitch along that folded edge to secure it and give it a nice, finished look. Repeat with the other backing piece.
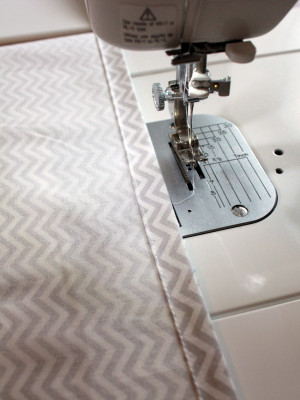
Layer pillow top and two backing pieces with
wrong sides together. Line up raw edges. The two backing pieces will overlap one another by several inches. Pin in place around the outside edge of the pillow.
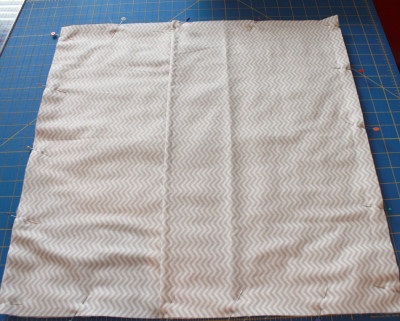
Sew a basting stitch around the edge of the pillow using an 1/8 seam. This stitching will help to hold everything in place while the binding is added and will not show when the pillow is finished.
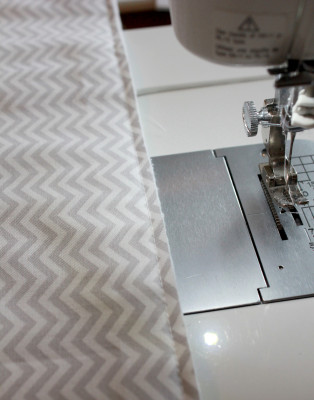
To finish your pillow, add binding to the edge as you would for a quilt.
Thanks for following along with my Summer Leaves pillow tutorial. If you do make your own Summer Leaves pillow I'd love to see it! You can add it to the
Sewing With A Bright Corner Flickr group or share it on my
Facebook page. Have a great week!
Written by Andy Knowlton



