No Products in the Cart



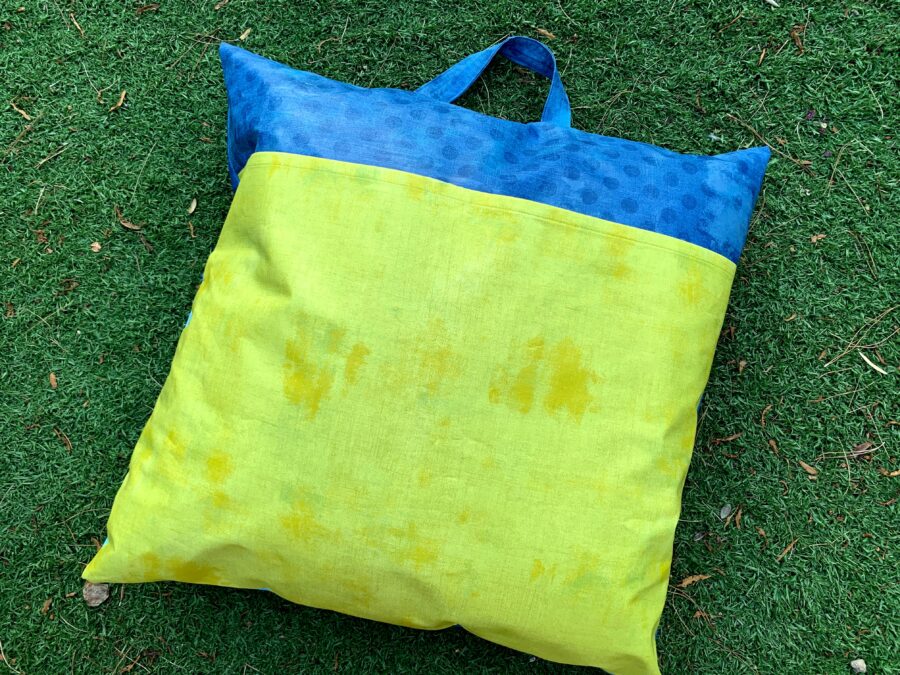
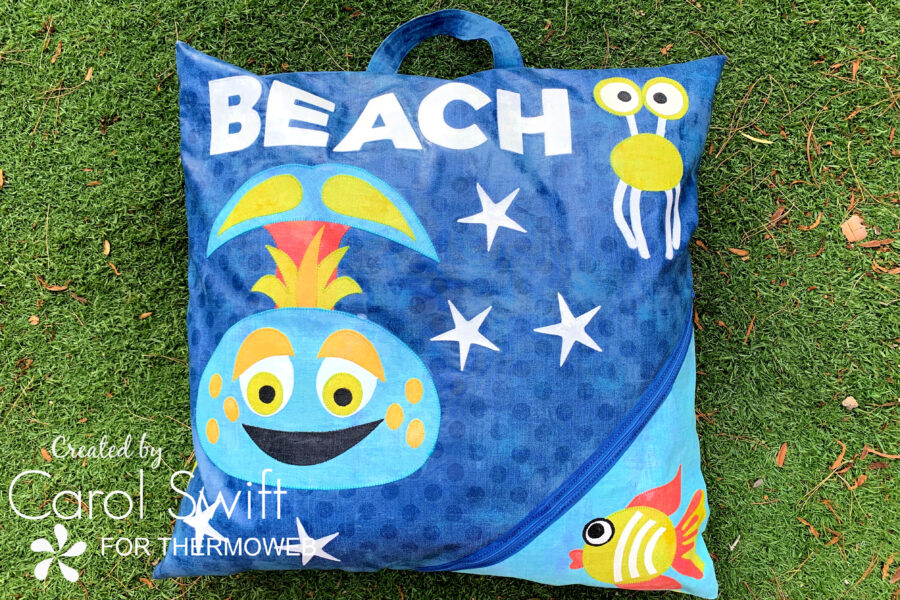 A handle, a zipper pocket on the front, and an open pocket in the back make this pillow ready for almost anything. It's a great way to carry a few extra things, plus have a place to lay your head and enjoy the sounds of the waves from the beach.
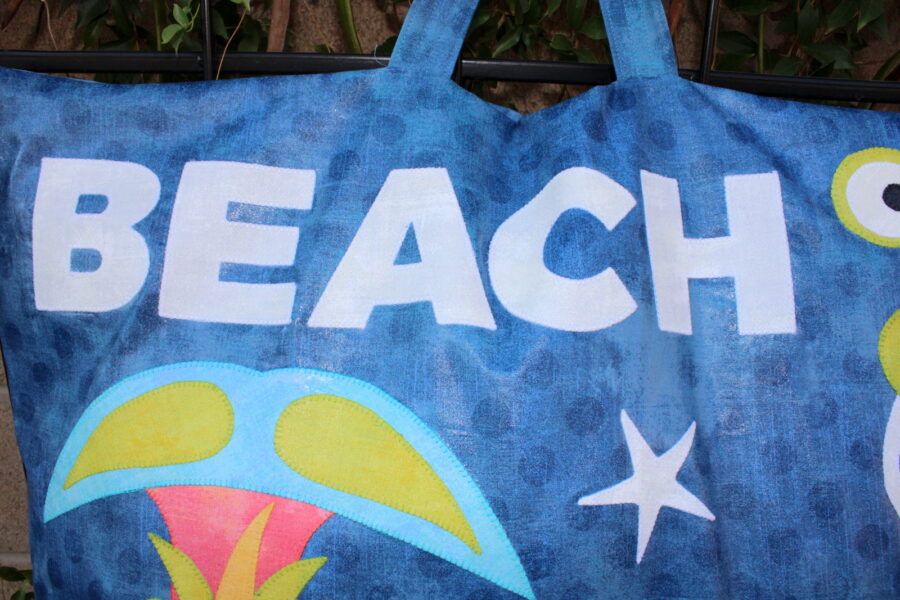
The pillow is water-resistant thanks to HeatnBond Liquid Vinyl. It is amazing! What’s really fun about HeatnBond Liquid Vinyl is how easy it is to use. It even can be painted over applique designs like this one.
A handle, a zipper pocket on the front, and an open pocket in the back make this pillow ready for almost anything. It's a great way to carry a few extra things, plus have a place to lay your head and enjoy the sounds of the waves from the beach.
The pillow is water-resistant thanks to HeatnBond Liquid Vinyl. It is amazing! What’s really fun about HeatnBond Liquid Vinyl is how easy it is to use. It even can be painted over applique designs like this one.
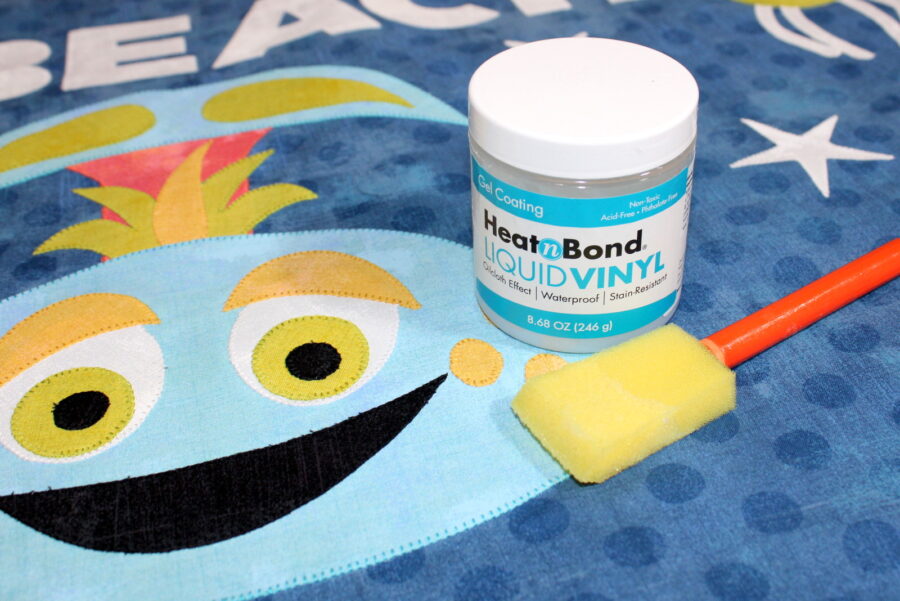 There are three ways to use the HeatnBond Liquid Vinyl gel coating:
One coat: Fabric is water and stain-resistant
Two coats: Fabric is waterproof and stain-resistant
Three coats: Waterproof and stain-resistant with a semi-gloss oilcloth finish
There are three ways to use the HeatnBond Liquid Vinyl gel coating:
One coat: Fabric is water and stain-resistant
Two coats: Fabric is waterproof and stain-resistant
Three coats: Waterproof and stain-resistant with a semi-gloss oilcloth finish
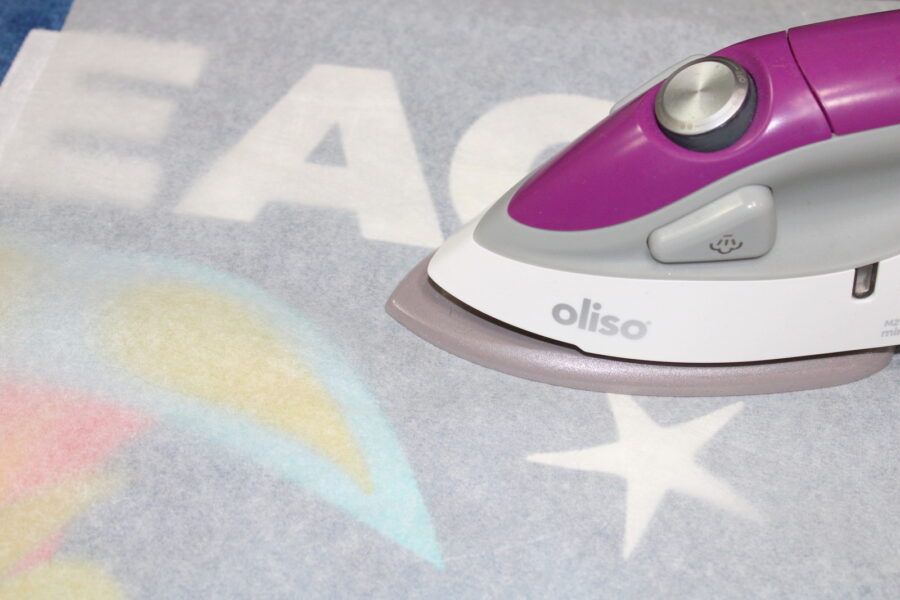 The Beach Pillow used several wonderful ThermOWeb products:
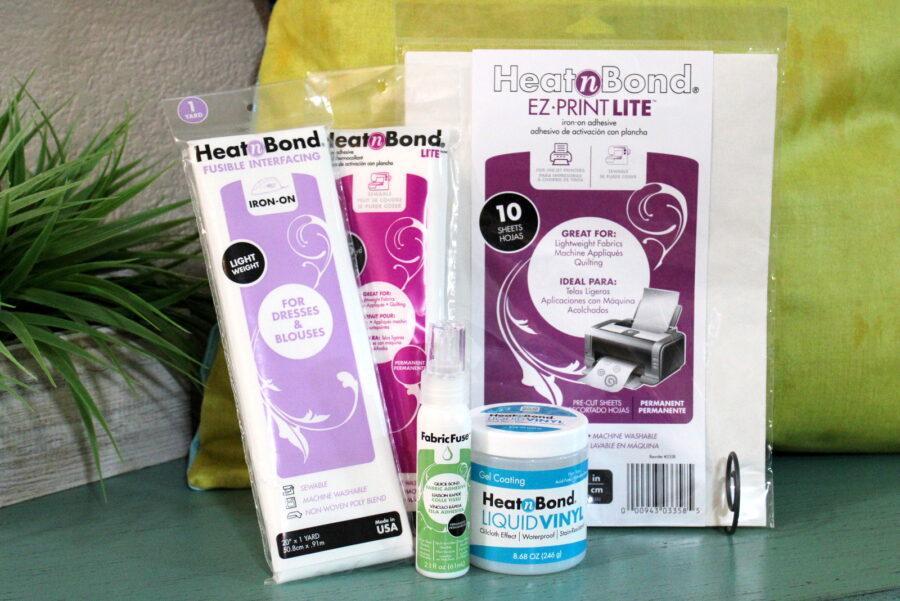 Heat n Bond Lite Iron-on Adhesive or Heat n Bond Lite EZ Print Sheets
HeatnBond Liquid Vinyl
Optional: Heat n Bond Light Weight Non-Woven Interfacing
Fabric Fuse Liquid Adhesive
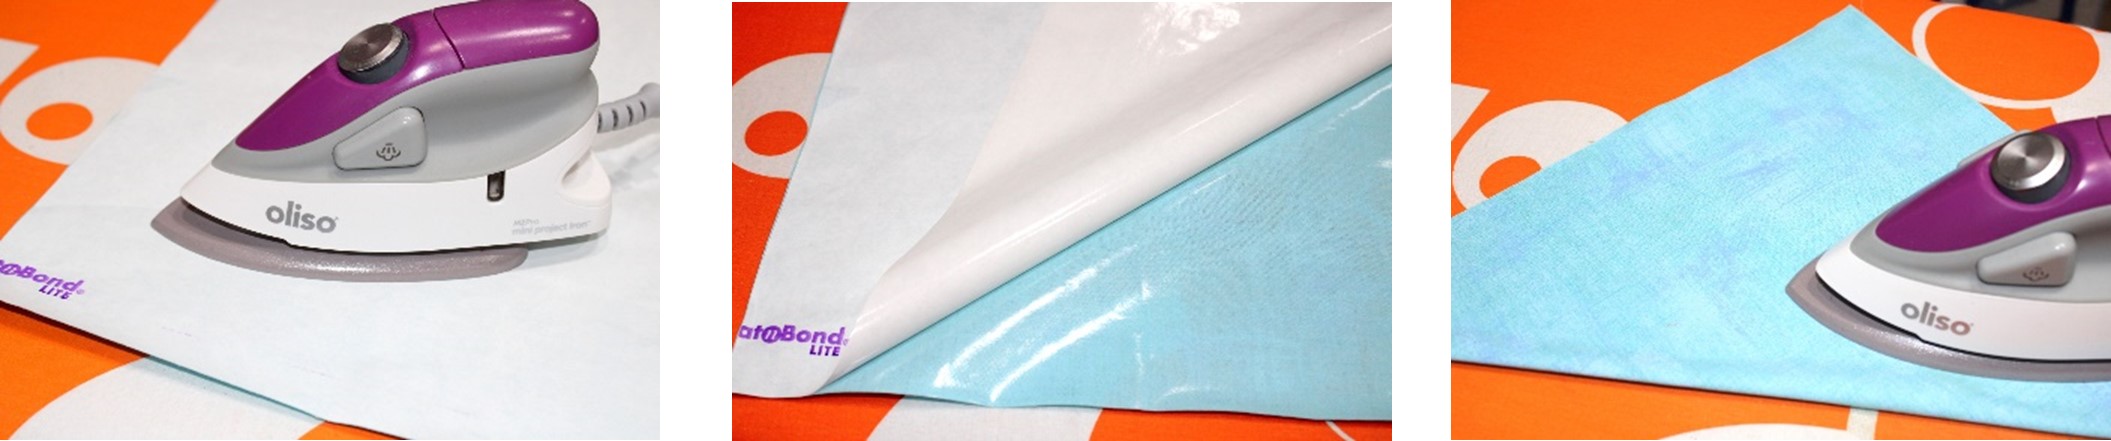
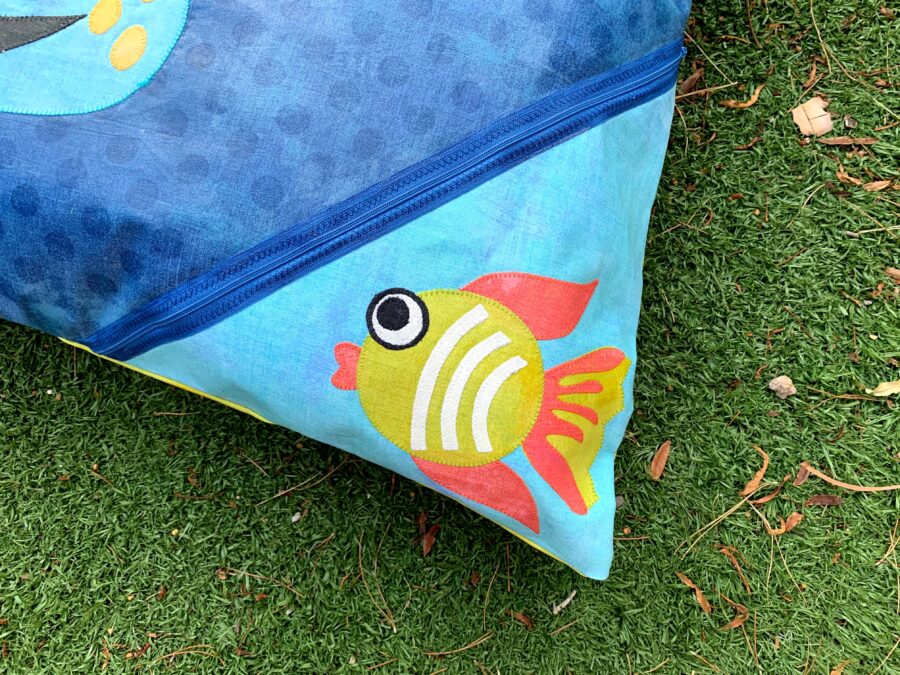
Zipper Pocket - The zipper pocket on the front of the pillow was so easy to make. Following package directions, iron the 14” x 14” square of Heat n Bond Lite Iron-on Adhesive to the wrong side of the 14" x 14" fabric. Remove protective paper and fold square diagonally into a triangle, matching edges. Press.
Using the Heat n Bond Lite Iron-on Adhesive between fabric layers gives it a sturdy feeling and makes adding the zipper much easier.
Heat n Bond Lite Iron-on Adhesive or Heat n Bond Lite EZ Print Sheets
HeatnBond Liquid Vinyl
Optional: Heat n Bond Light Weight Non-Woven Interfacing
Fabric Fuse Liquid Adhesive
Zipper Pocket - The zipper pocket on the front of the pillow was so easy to make. Following package directions, iron the 14” x 14” square of Heat n Bond Lite Iron-on Adhesive to the wrong side of the 14" x 14" fabric. Remove protective paper and fold square diagonally into a triangle, matching edges. Press.
Using the Heat n Bond Lite Iron-on Adhesive between fabric layers gives it a sturdy feeling and makes adding the zipper much easier.
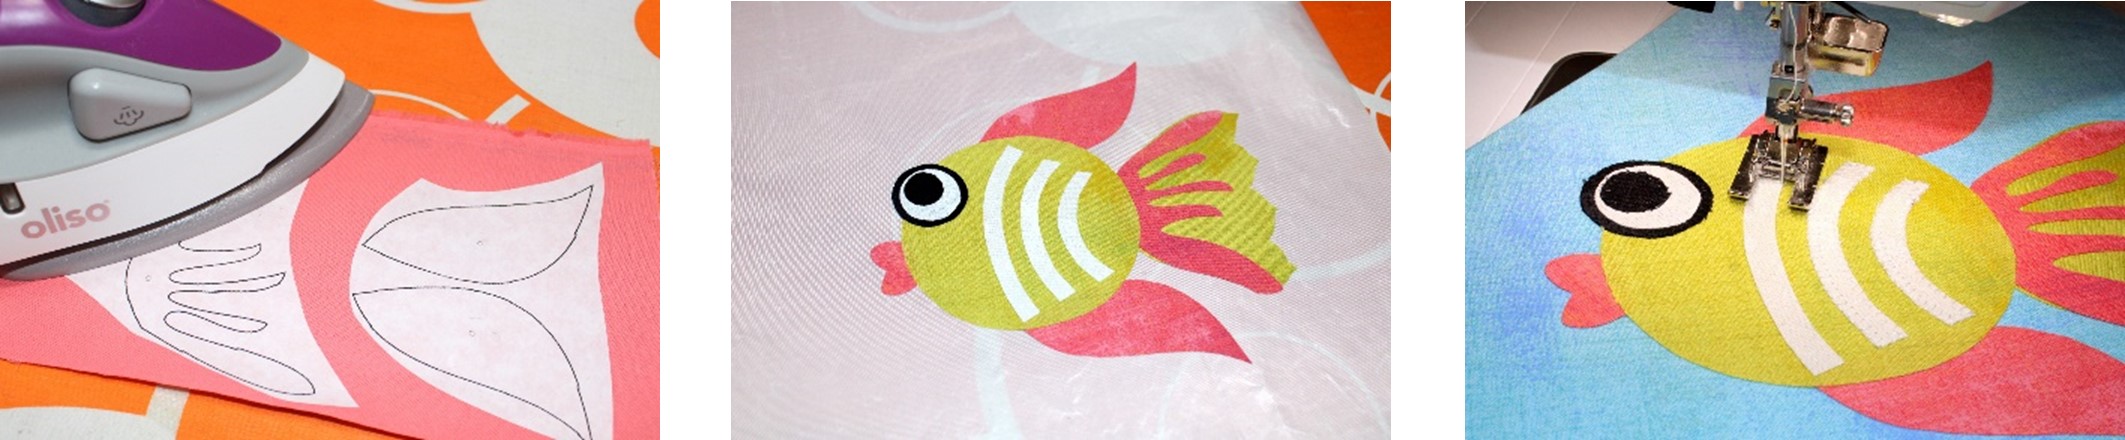
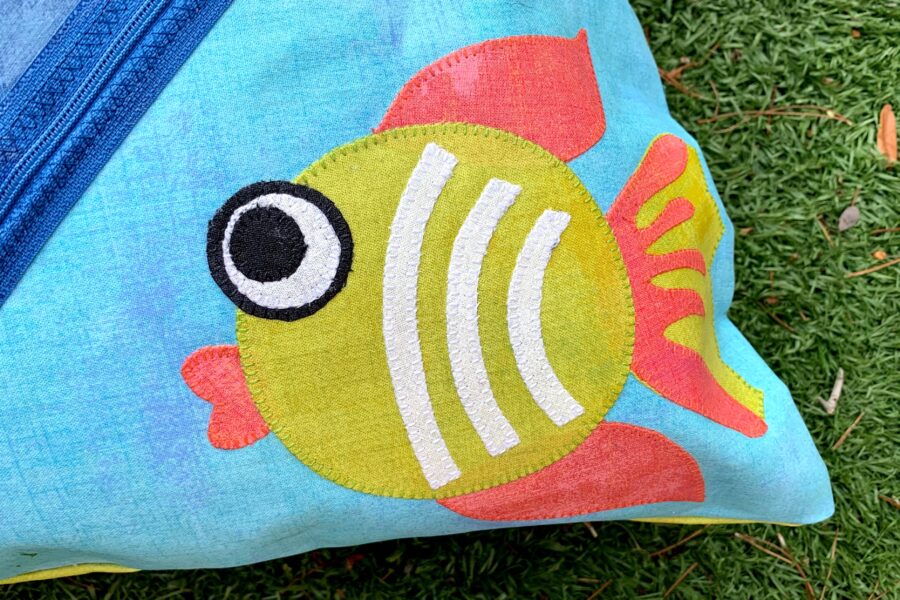
 Fish applique - Following the package directions, prepare the applique patterns using Heat n Bond Lite Iron-on Adhesive or Heat n Bond Lite EZ Print Sheets.
Using Heat n Bond Lite EZ Print Sheets means no tracing. Just run your designs through an inkjet printer and they are ready to iron on fabrics. Quick and easy!
Iron adhesive pieces to wrong side of applique fabrics. Cut out applique pieces.Peel off paper liner from the backs of fish applique pieces. Place applique, adhesive side down, on right side of zipper pocket. Press according to package directions until entire piece is bonded. Let cool. Sew around edges using a straight, zig-zag, or blanket stitch.
Fish applique - Following the package directions, prepare the applique patterns using Heat n Bond Lite Iron-on Adhesive or Heat n Bond Lite EZ Print Sheets.
Using Heat n Bond Lite EZ Print Sheets means no tracing. Just run your designs through an inkjet printer and they are ready to iron on fabrics. Quick and easy!
Iron adhesive pieces to wrong side of applique fabrics. Cut out applique pieces.Peel off paper liner from the backs of fish applique pieces. Place applique, adhesive side down, on right side of zipper pocket. Press according to package directions until entire piece is bonded. Let cool. Sew around edges using a straight, zig-zag, or blanket stitch.
 Apply HeatnBond Liquid Vinyl to zipper pocket on both sides. Having it water proofed on both sides makes it a perfect spot to stow anything that's liquid, like sunscreen.
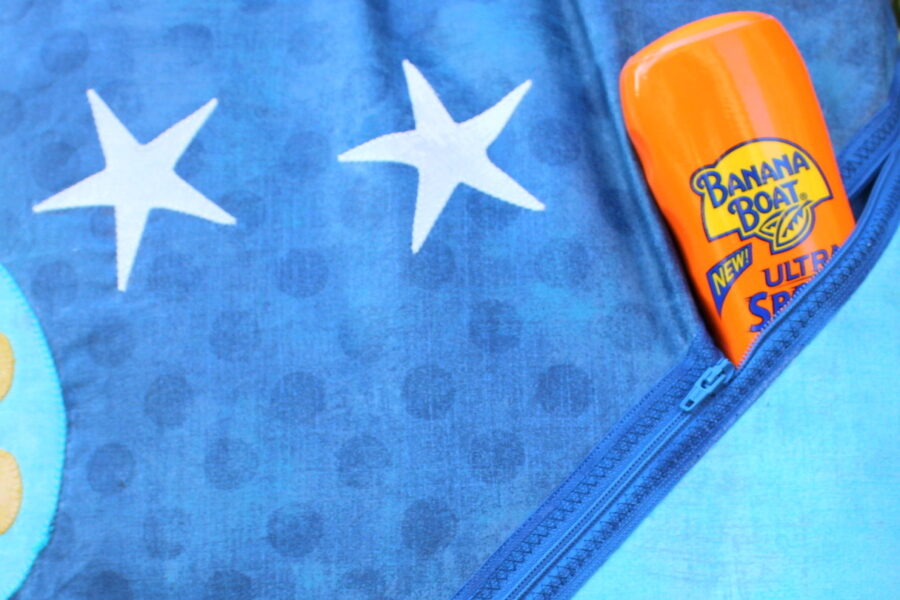 Apply a thin line of Fabric Fuse Liquid Adhesive along folded edge of pocket. Lay edge of zipper along adhesive and finger press in place. Allow to dry. Stitch close to zipper edge on front side of pocket using a straight or decorative stitch. Slide zipper open near edge to enable sewing if needed.
 Line up pocket with raw edges along bottom and sides of pillow front with zipper pointed towards pillow center. Pin/clip zipper pocket to secure in place. Apply thin line of adhesive to other zipper edge and finger press in place. Allow to dry. Sew along top edge of zipper to secure it to pillow. Baste around pocket’s raw edges to secure in place. Trim off excess zipper – make sure zipper pull is not cut off!
 That's it! The pocket is finished and ready for the rest of the pillow to be assembled.
The Whale
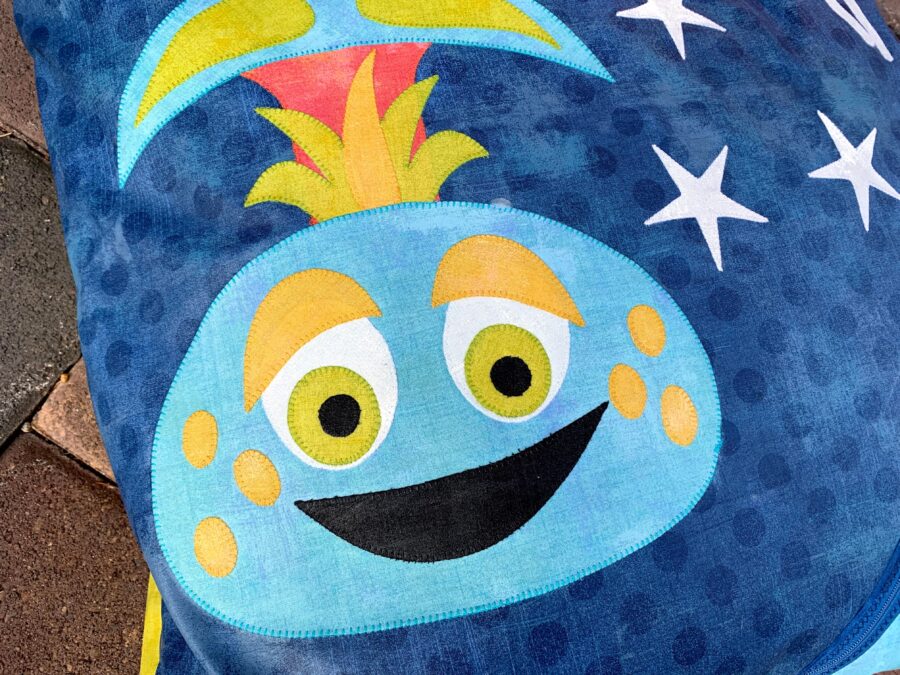
The Fish
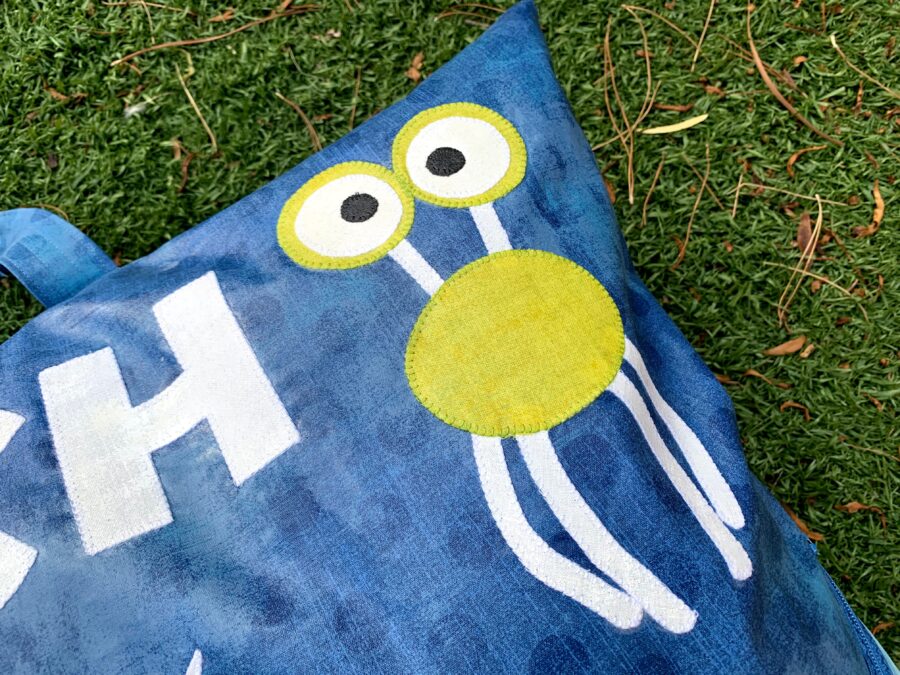
The Jellyfish
The back pocket
And the nice little zipper pocket!
 It is about 24" x 24" when finished and has a preformed 24" x 24" pillow inside.
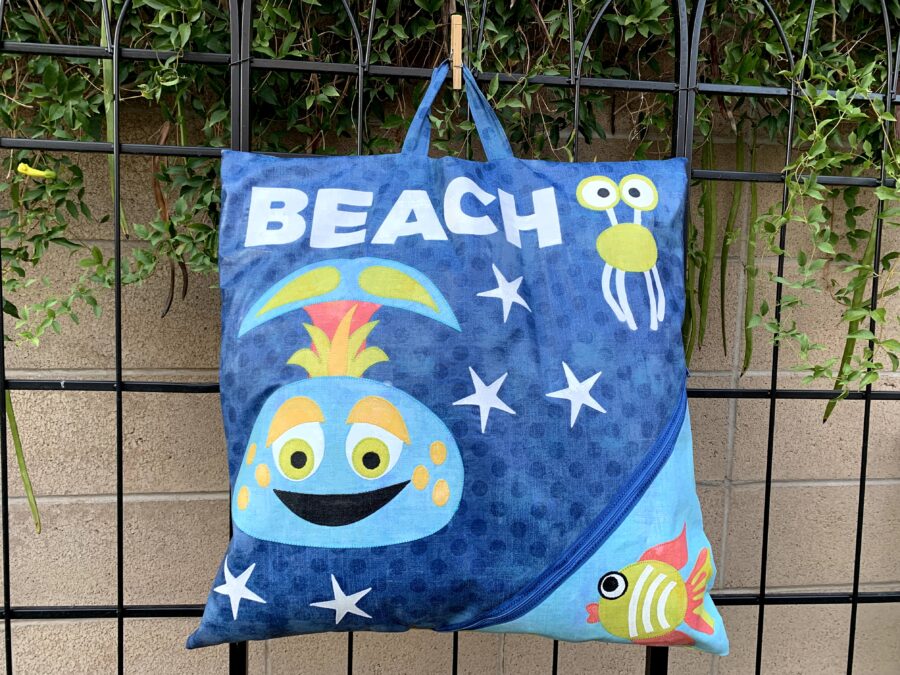 Are you ready to make a pillow for the beach? You can find the complete instructions for the Beach Pillow in a PDF pattern HERE.
Grab your flip flops, swimsuit, towel, and especially the sunscreen, and go have some fun at the beach!
Are you ready to make a pillow for the beach? You can find the complete instructions for the Beach Pillow in a PDF pattern HERE.
Grab your flip flops, swimsuit, towel, and especially the sunscreen, and go have some fun at the beach!
Written by Carol Swift
