No Products in the Cart
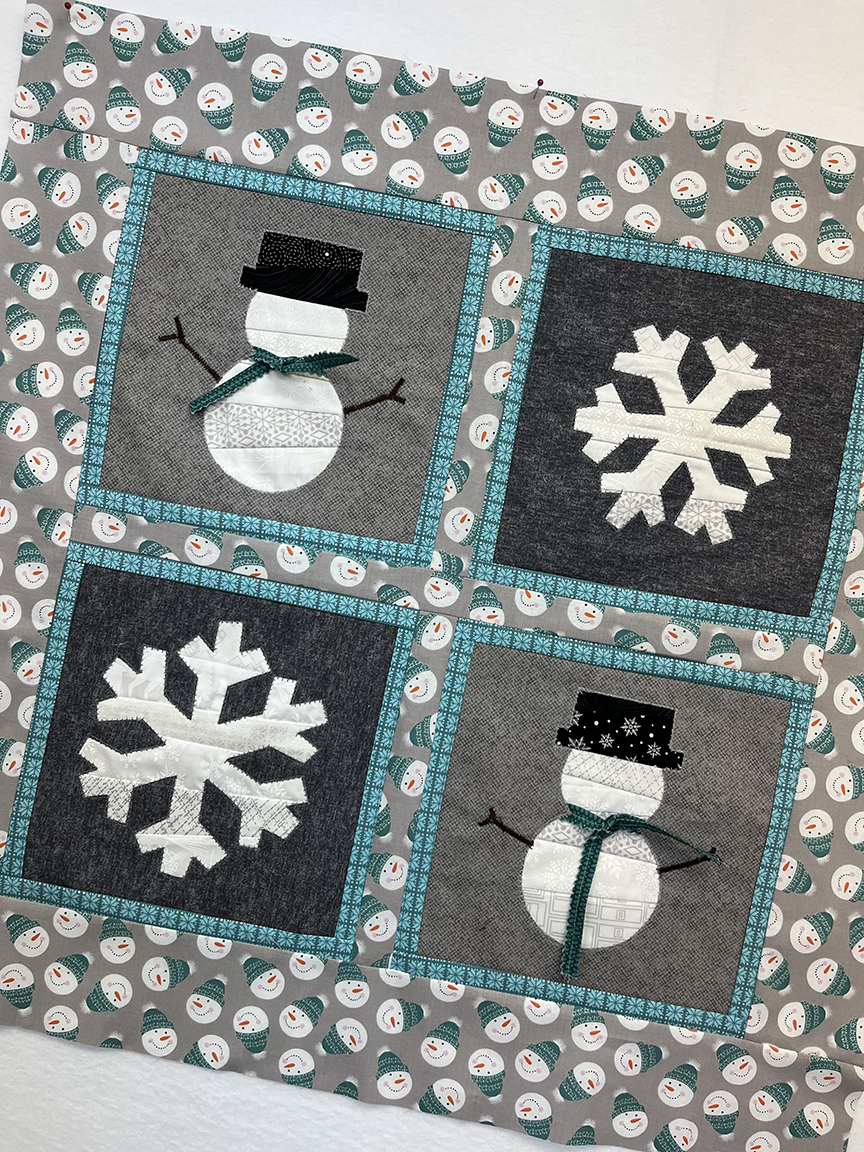
 Snowmen and snowflakes with a themed border. I like this version because I can display it all winter long! (as soon as I machine quilt it!)
 Single blocks like this snowglobe are great for throw pillows.
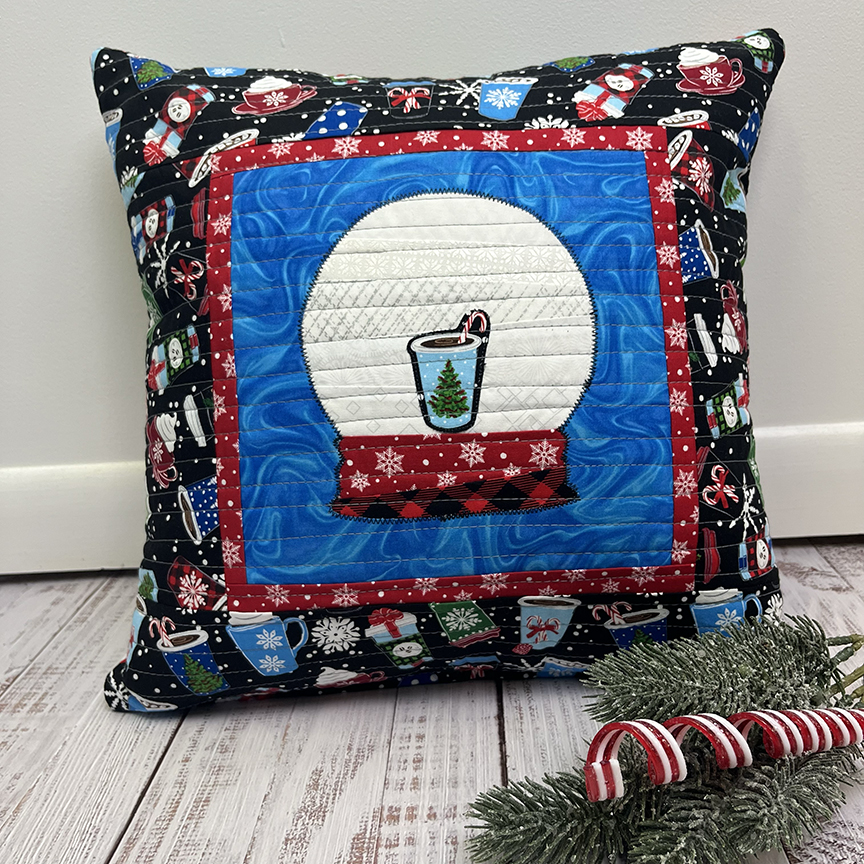 A Christmas-y finish using two blocks. I chose the blocks (and fabric colors) based on the border print.
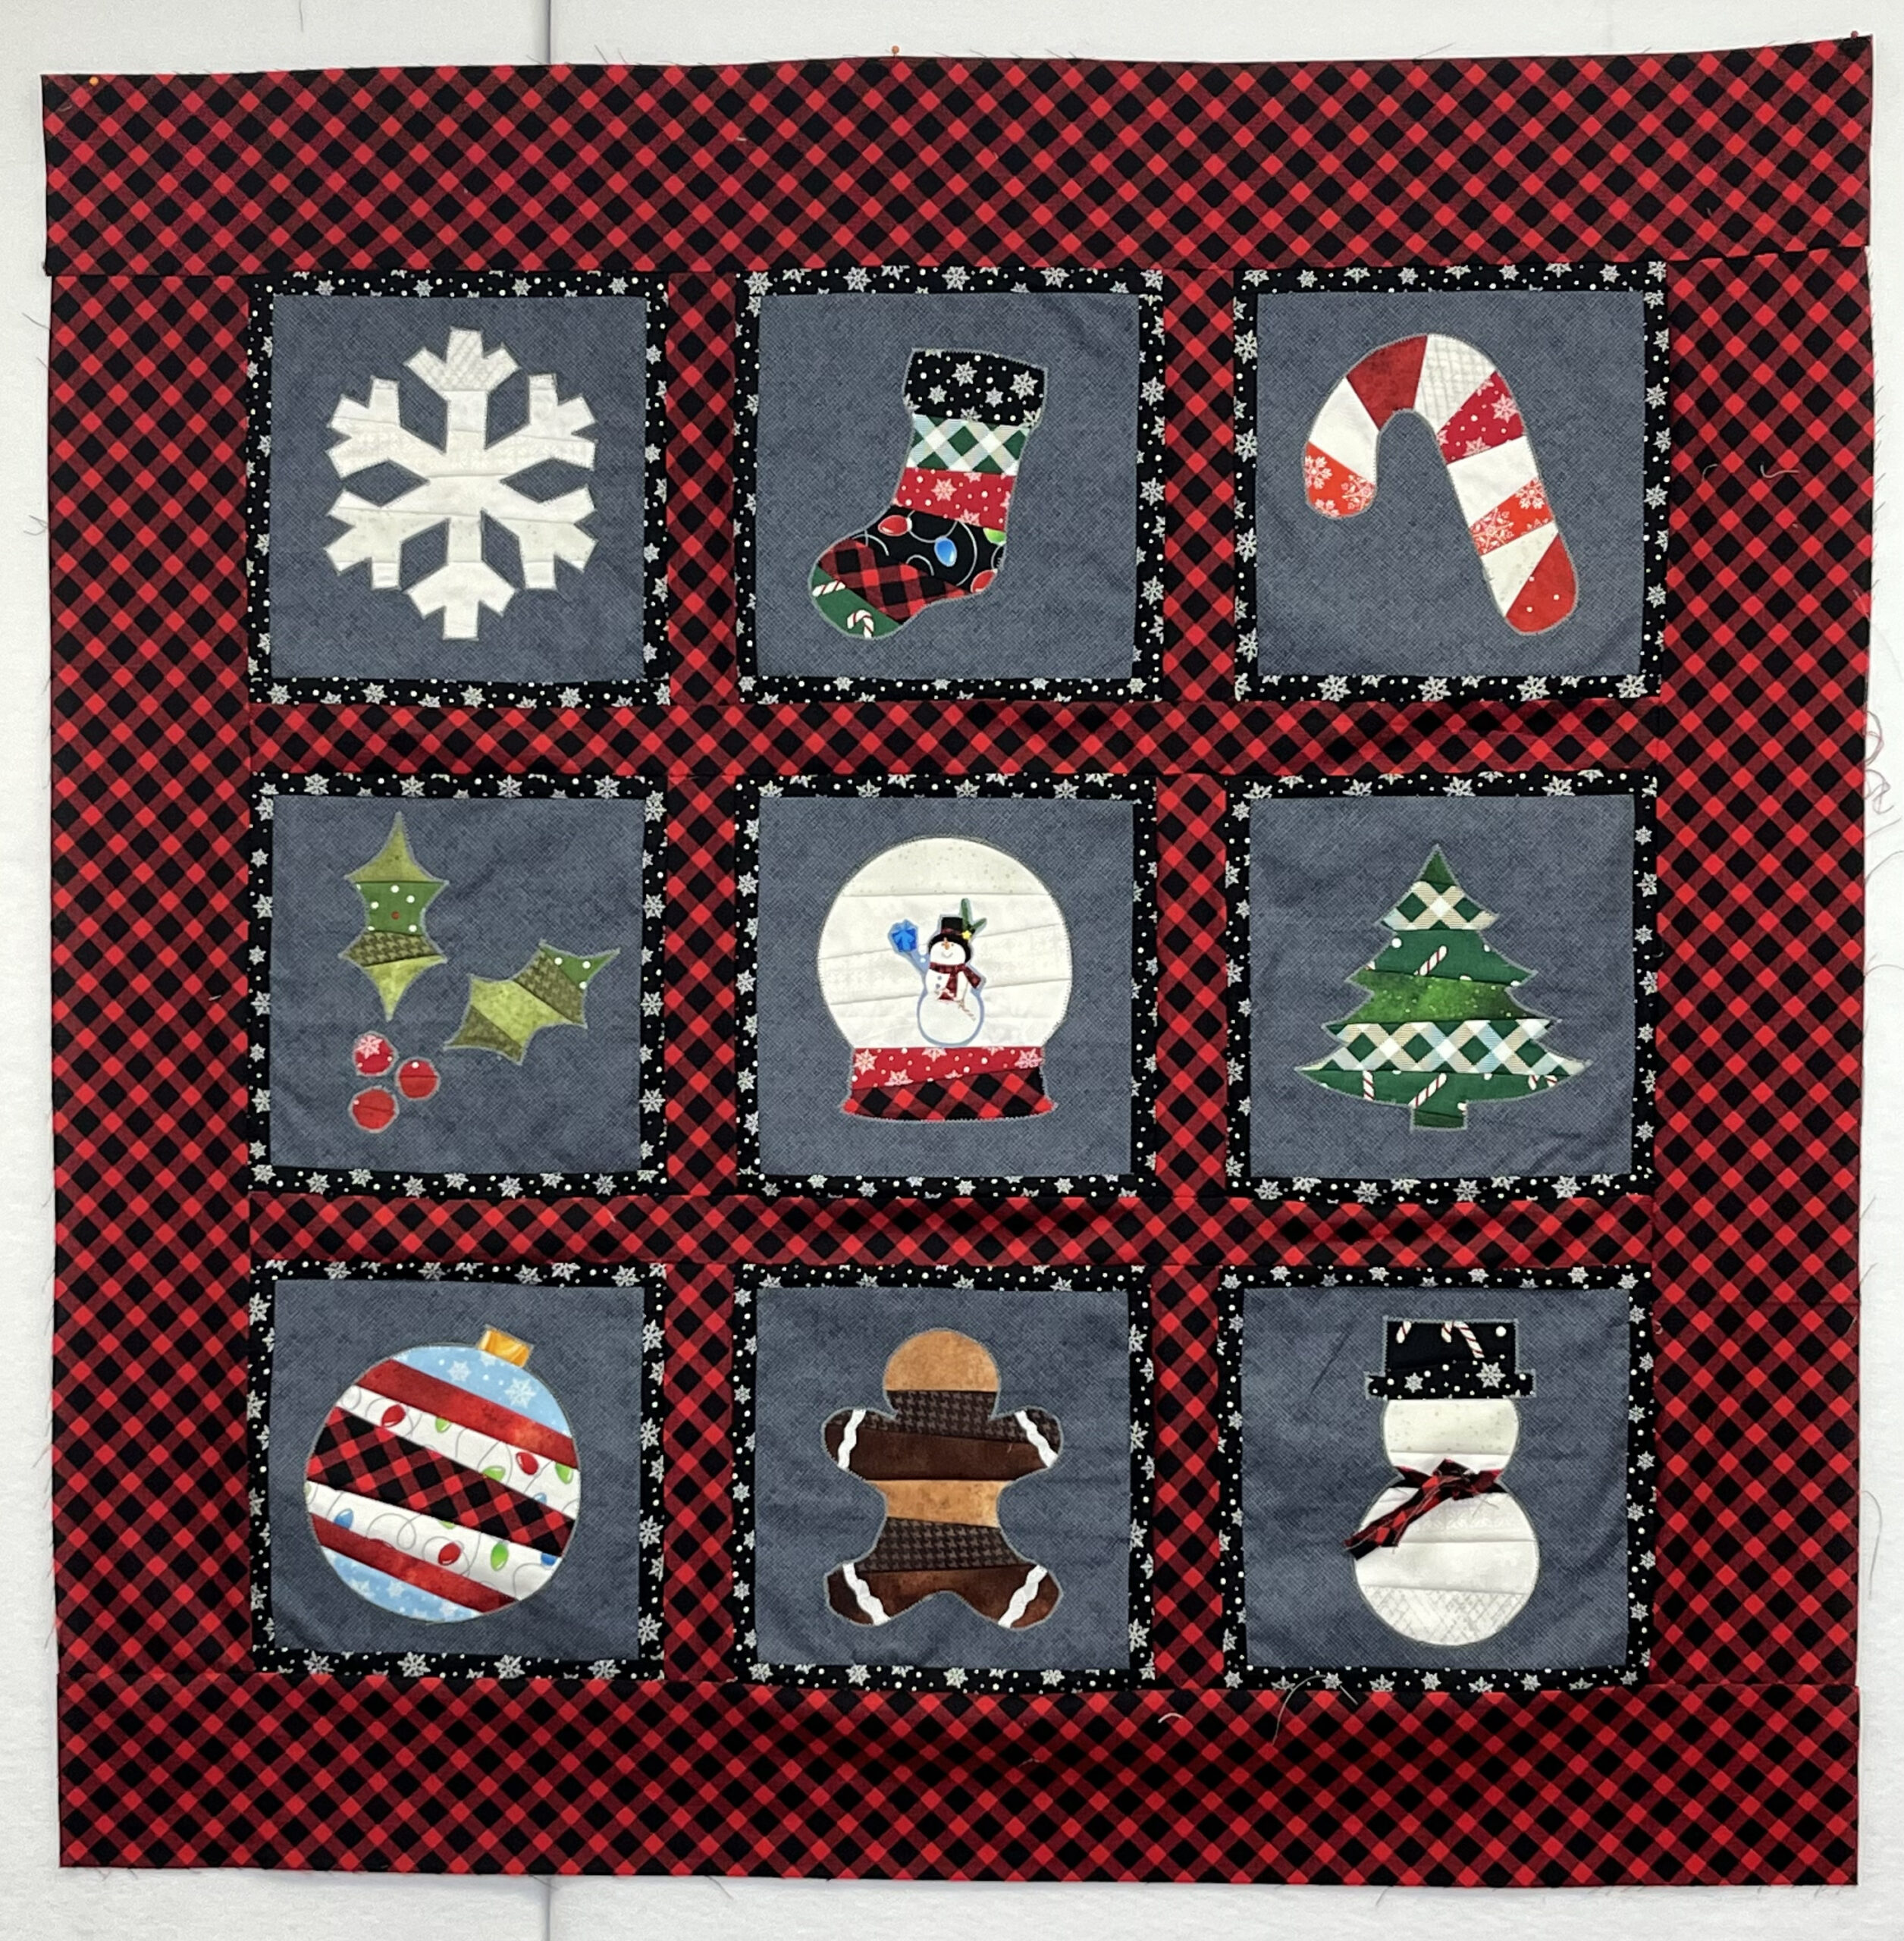
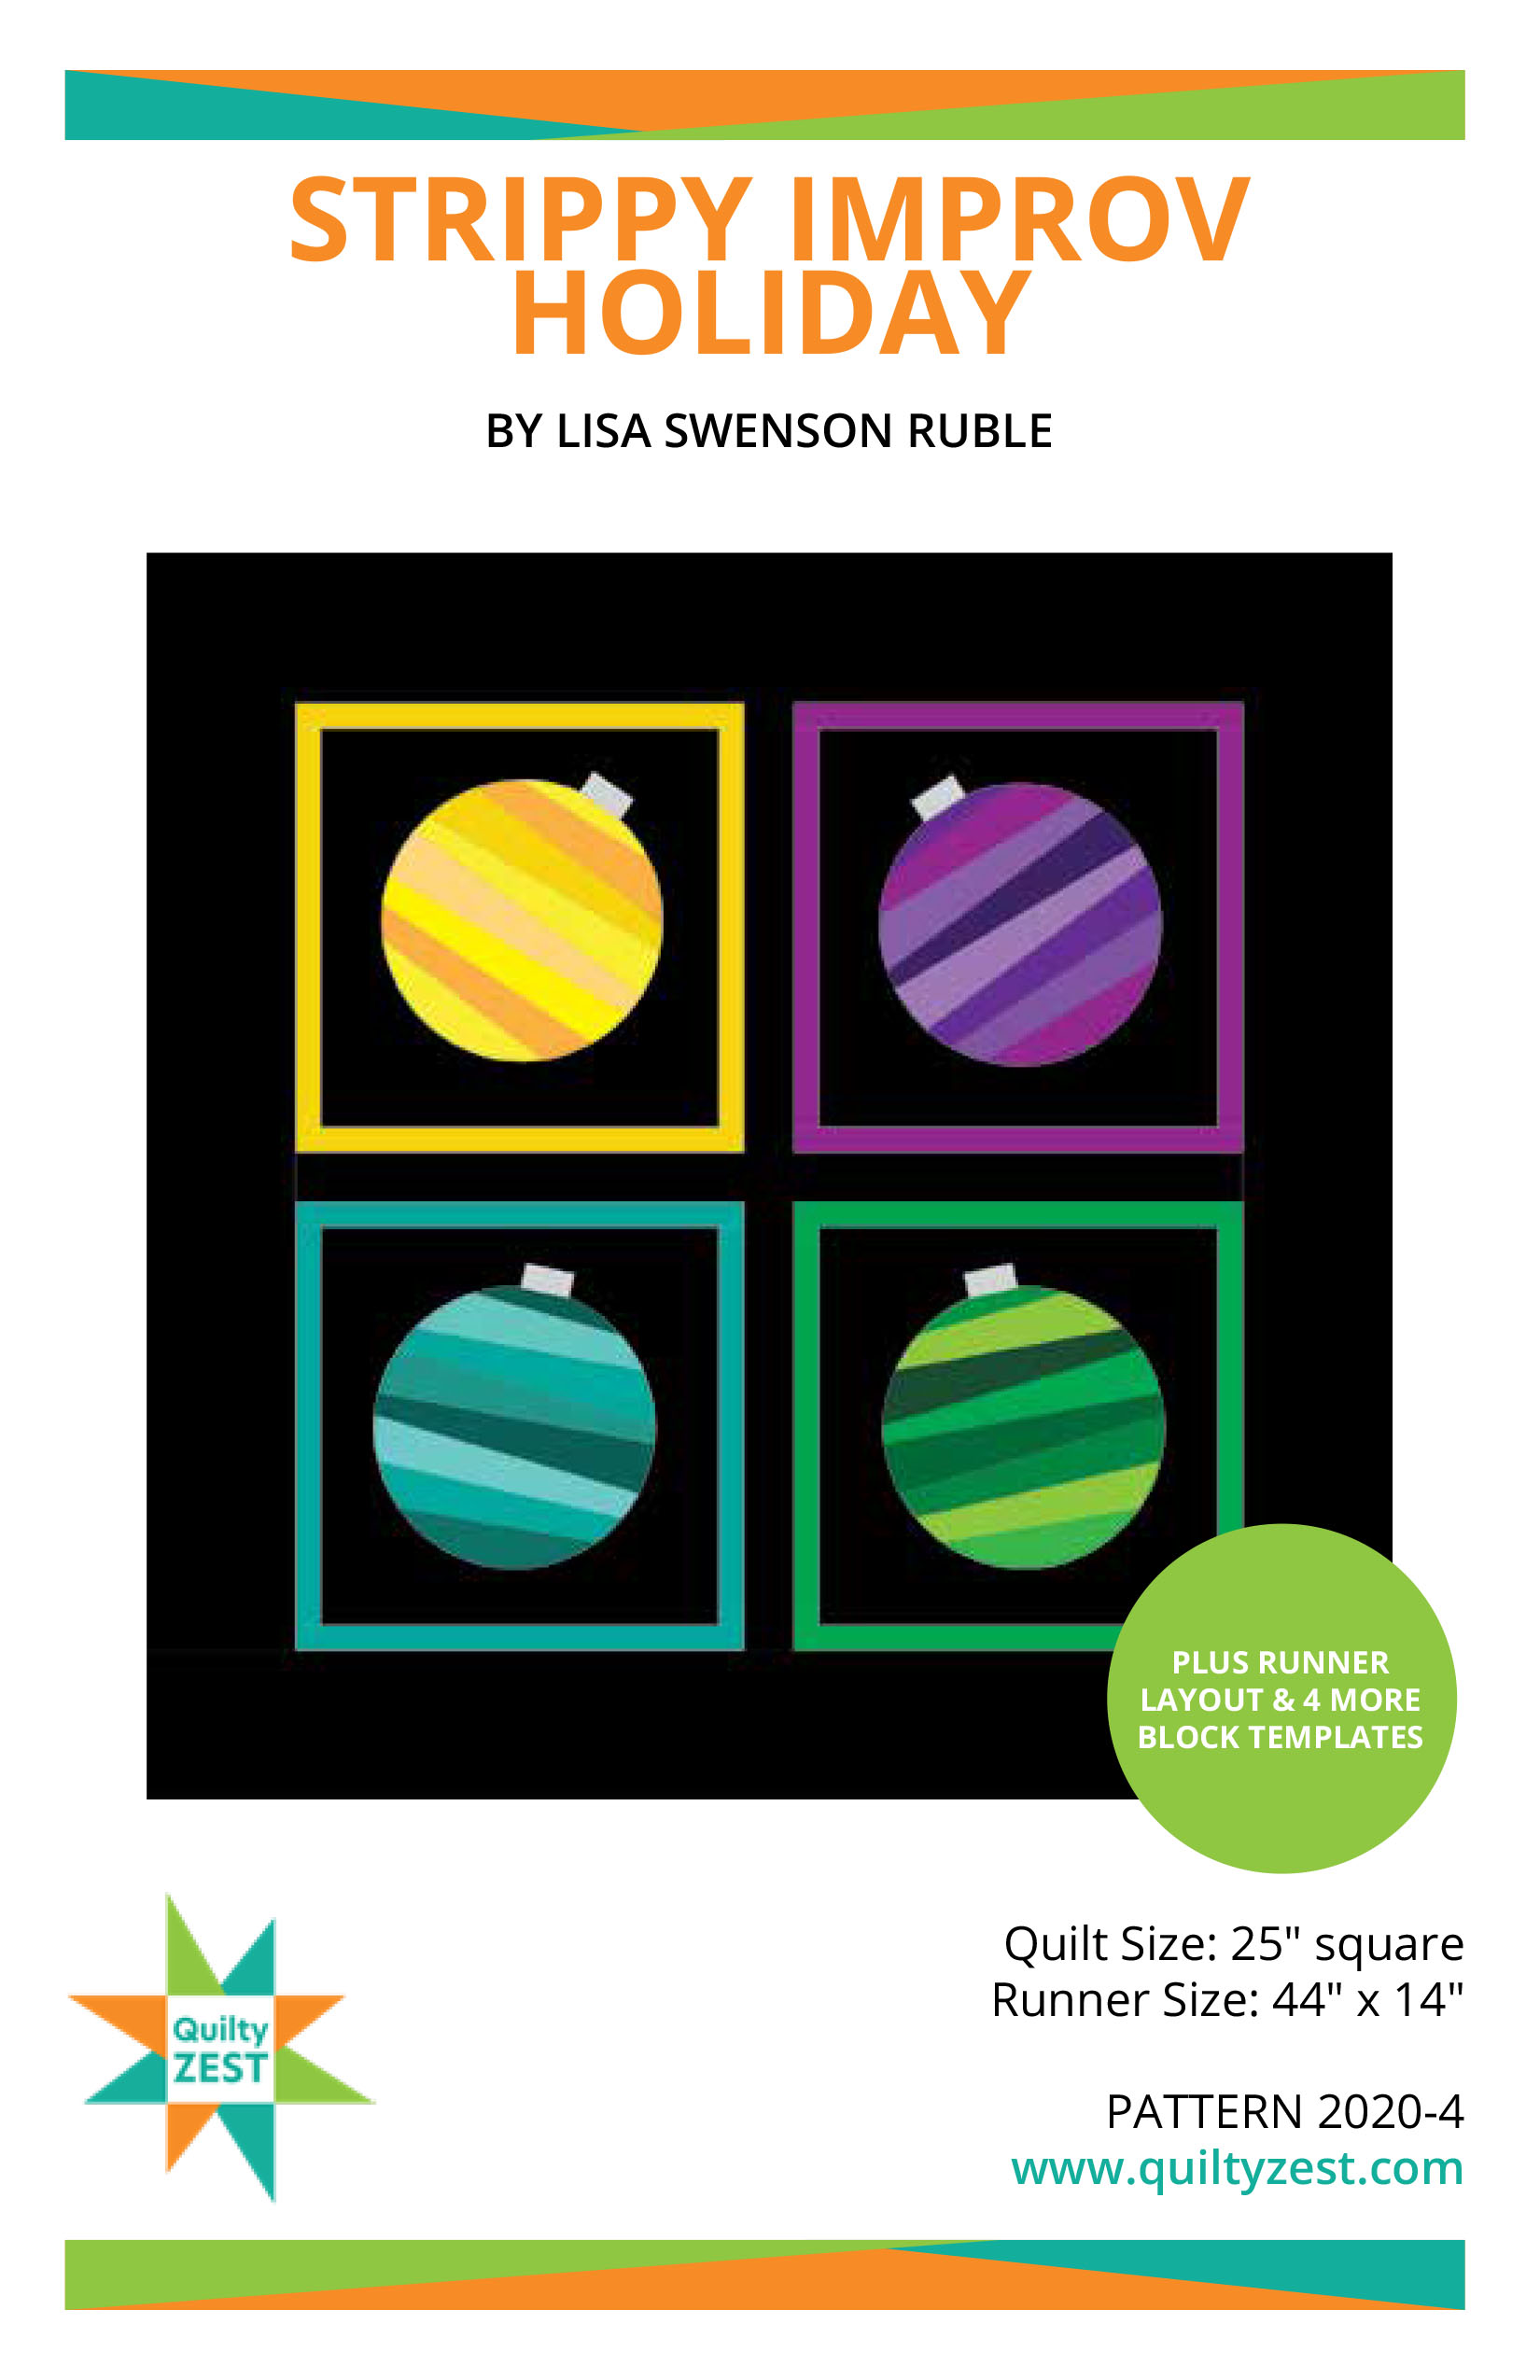
 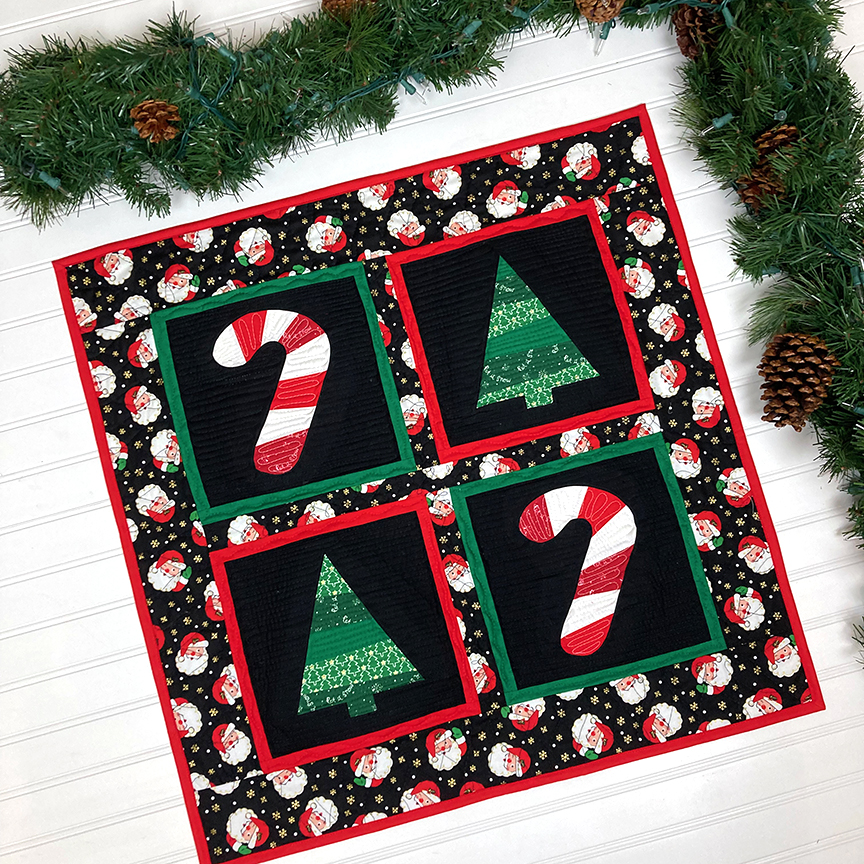 The Strippy Improv Holiday pattern includes templates for 11 different blocks plus step by step instructions and diagrams for making the blocks and two different assembly options. You can purchase the pattern here.
 Ready for some tips?!
1. After tracing the template shape onto HeatnBond Lite, cut out approximately 1” beyond the drawn lines. You need enough to adhere to the strip piecing, but you don’t need to cover all the way to the edges of the background fabric.
Ready for some tips?!
1. After tracing the template shape onto HeatnBond Lite, cut out approximately 1” beyond the drawn lines. You need enough to adhere to the strip piecing, but you don’t need to cover all the way to the edges of the background fabric. 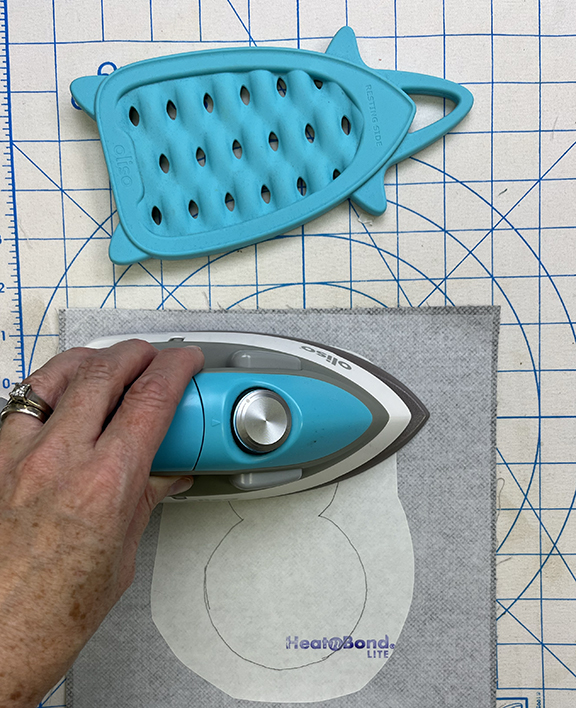 2. If you’re doing a multi-color block (like this snowman), move the cut out reverse applique piece around until the strip piecing shows through the shape like you want it to (for example, so the black fabric is aligned with the edge of the cut out hat shape).
 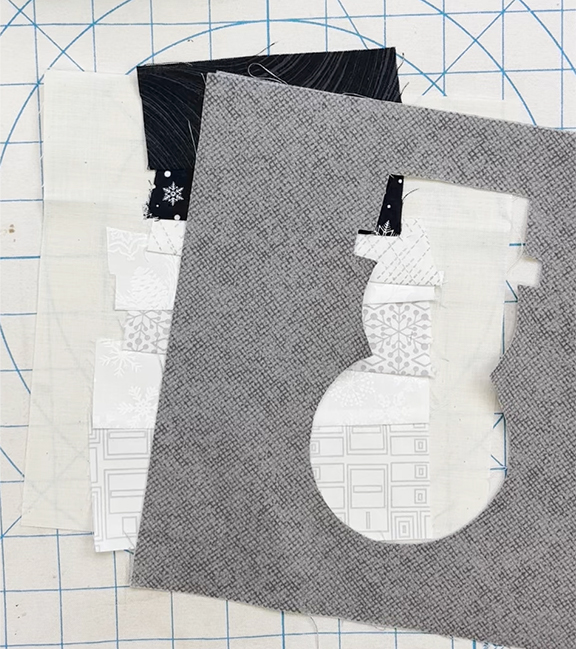 3. I recommend a darker background fabric for these blocks. If you choose a medium fabric, consider adding a layer of Lightweight Fusible Interfacing to the background fabric before adding the templated trace on HeatnBond Lite. This will prevent any darker strip pieced fabric from showing through.
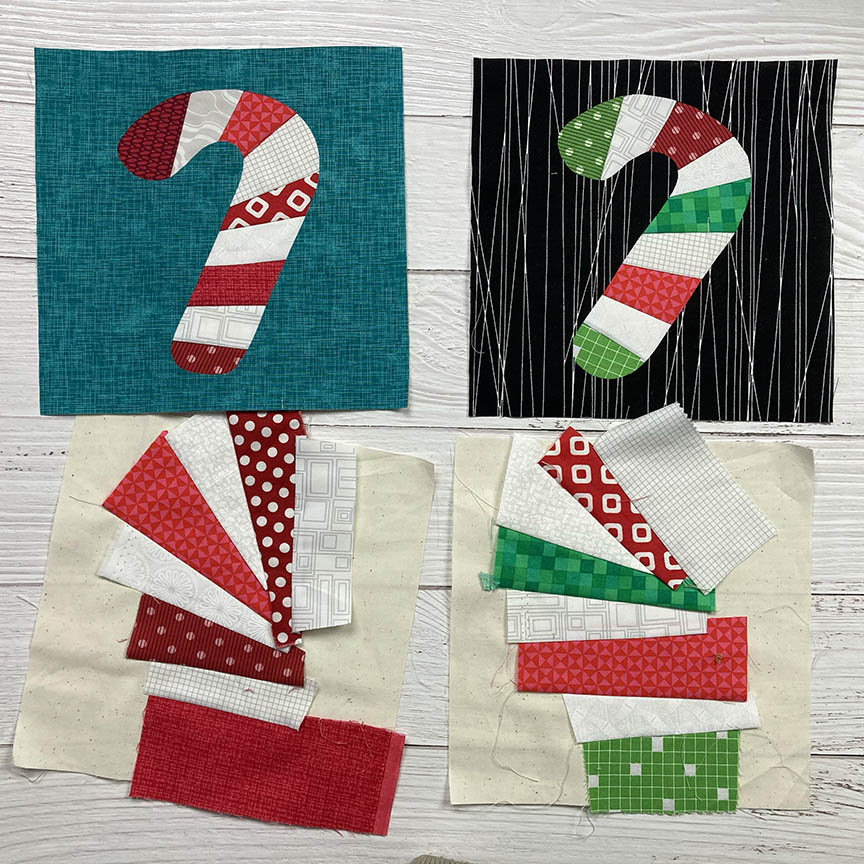
 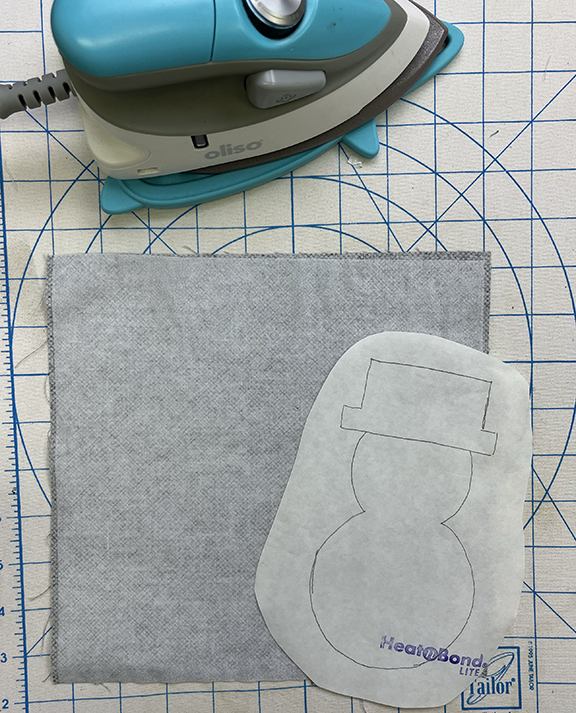 4. For directional shapes (like the candy cane!) don’t forget to trace the opposite direction shape onto your muslin base. The bottom two blocks in progress in my photos are “oops” blocks where I forgot to reverse the shape.
 Want to find out more about Strippy Improv Holiday? Head over to my blog for weekly Quilt Along posts, or visit my YouTube channel for some how-to videos. You can also see more finished Strippy Improv quilts here.
Lisa
Want to find out more about Strippy Improv Holiday? Head over to my blog for weekly Quilt Along posts, or visit my YouTube channel for some how-to videos. You can also see more finished Strippy Improv quilts here.
Lisa