No Products in the Cart
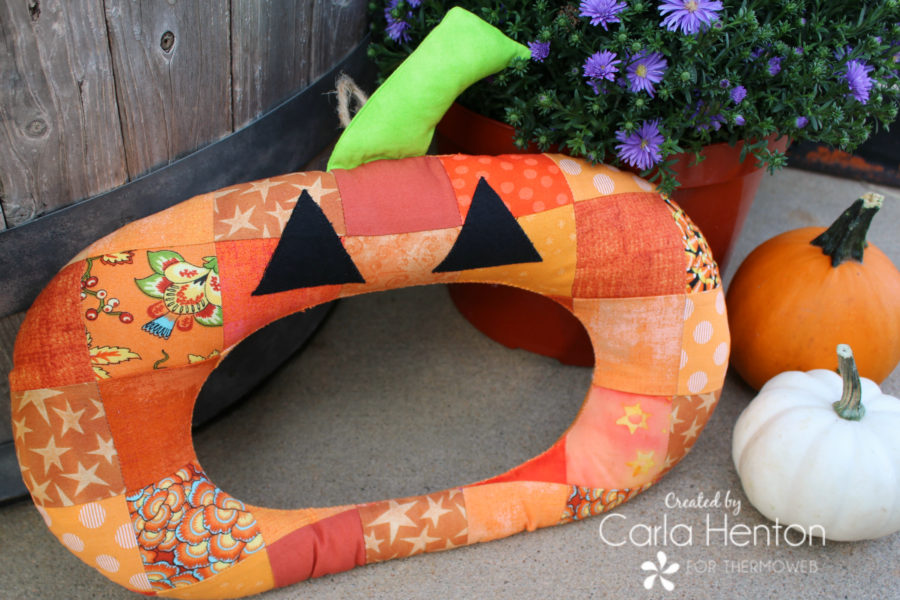 I just love making Halloween decor projects. It's the one time of year that you can just go wild with decorations. Here is one of my favorites. I've made this wreath without the eyes for fall, but it's just a hoot to add the eyes with HeatNBond Lite to make a patchwork pumpkin Jack-O-Lantern. Let me show you how.
 CLICK HERE for the Patchwork Jack Pumpkin Wreath Pattern by Carla at Creatin in the Sticks for Thermoweb
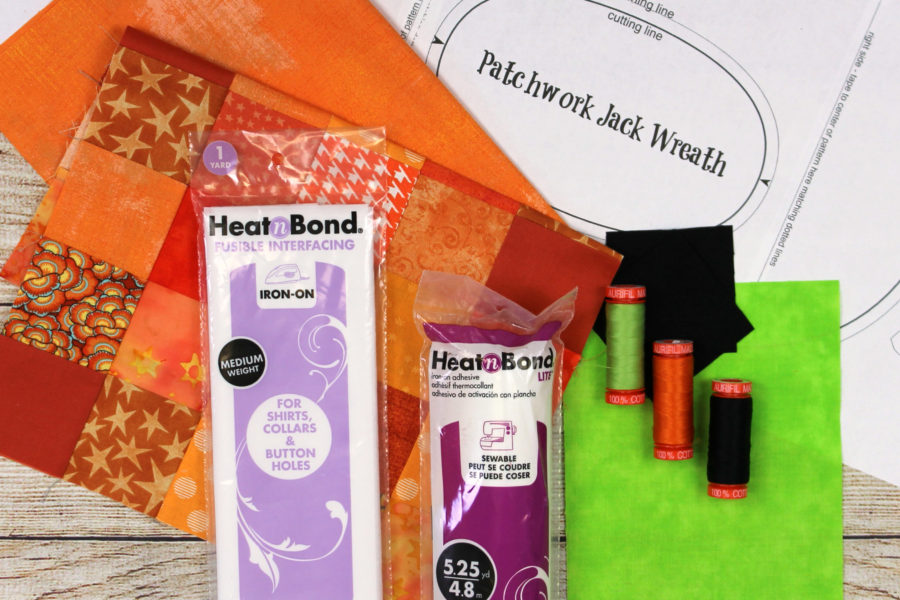
HeatNBond® Medium weight Non-Woven Interfacing
HEATNBond® Lite iron-on adhesive
35 assorted 2 ½” squares of orange cotton fabric
1 – 14 ½” x 10 ½” orange cotton fabric (backing)
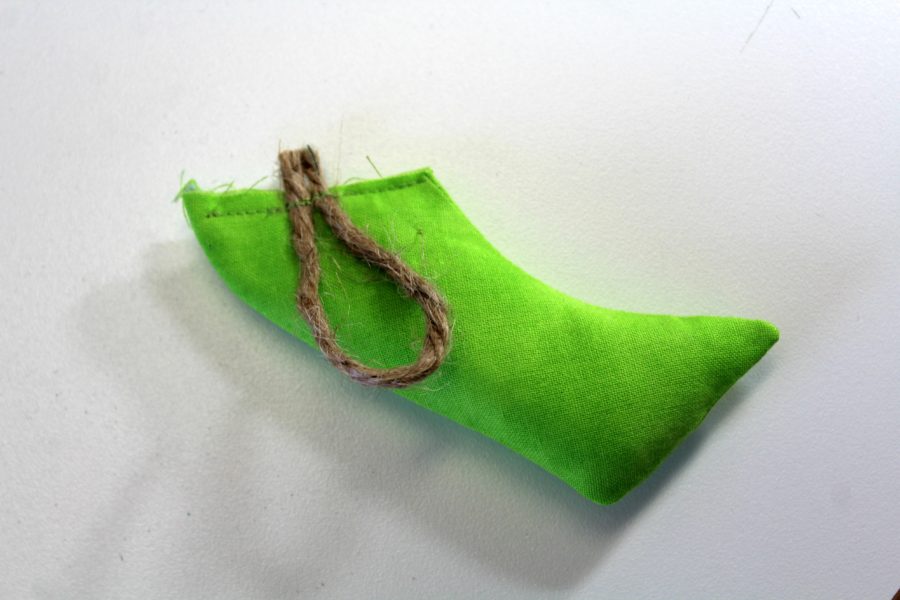
1 – 5 ½” x 9” green cotton fabric (stem)
2 – 2 ½” scraps of black cotton fabric (eyes)
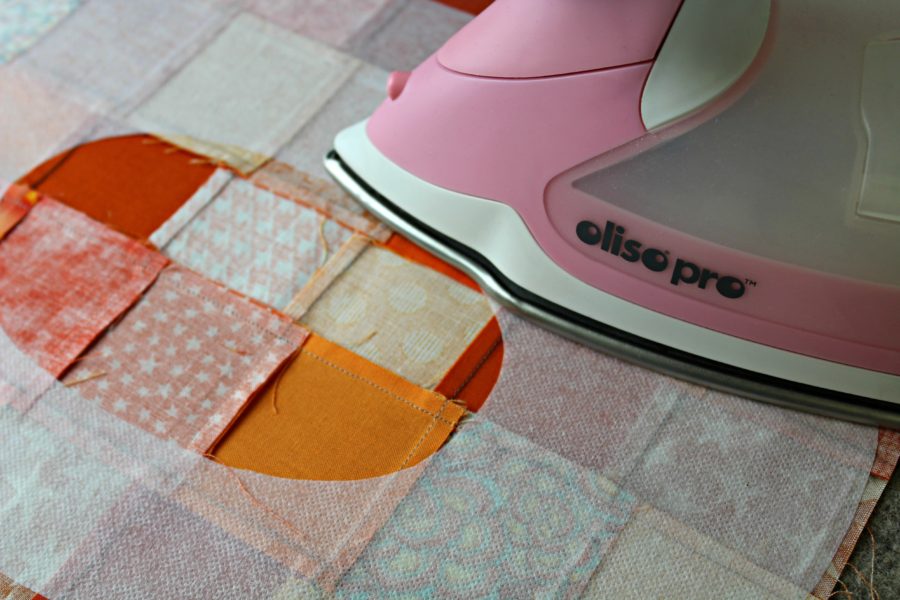
Aurifil Thread 50 wt. thread #2150, #2882, and #2692, Iron (I love my pink Oliso) and ironing surface, erasable fabric pen, Fiberfill for stuffing, chopstick, sewing machine, 5” piece of narrow ribbon or jute for hanging, and general sewing supplies: rotary cutter, cutting mat, scissors, pins, etc.
Please read through the complete instructions before beginning your project.
CLICK HERE for the Patchwork Jack Pumpkin Wreath Pattern by Carla at Creatin in the Sticks for Thermoweb
HeatNBond® Medium weight Non-Woven Interfacing
HEATNBond® Lite iron-on adhesive
35 assorted 2 ½” squares of orange cotton fabric
1 – 14 ½” x 10 ½” orange cotton fabric (backing)
1 – 5 ½” x 9” green cotton fabric (stem)
2 – 2 ½” scraps of black cotton fabric (eyes)
Aurifil Thread 50 wt. thread #2150, #2882, and #2692, Iron (I love my pink Oliso) and ironing surface, erasable fabric pen, Fiberfill for stuffing, chopstick, sewing machine, 5” piece of narrow ribbon or jute for hanging, and general sewing supplies: rotary cutter, cutting mat, scissors, pins, etc.
Please read through the complete instructions before beginning your project.
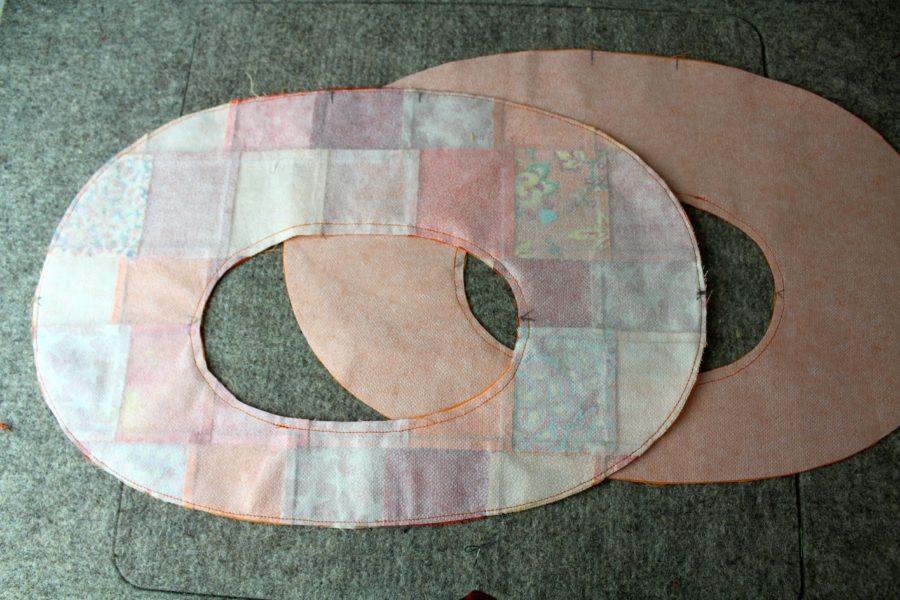
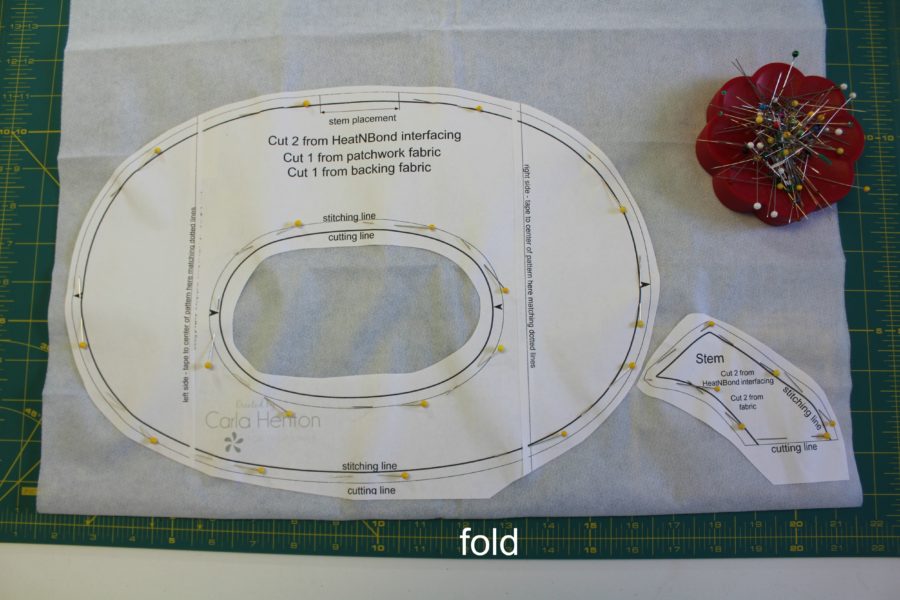 Firstly, cut through the paper and 2 layers of interfacing on the solid outside line that is marked cutting line of the wreath and stem. Secondly, cut the middle out of the wreath on the marked cutting line.

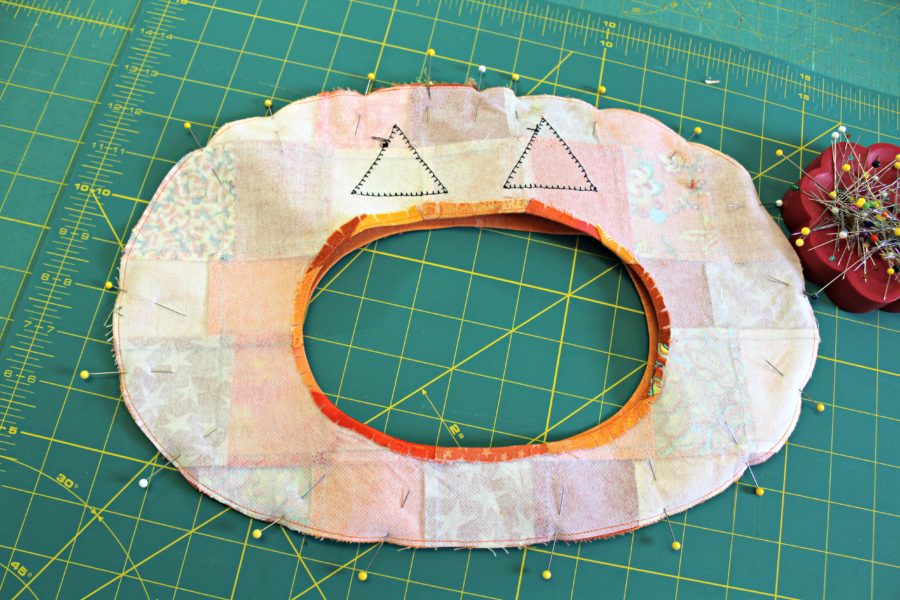
 After the fabric pieces are cut out, stitch around the middle ovals ¼” from the edge of both wreath pieces. Stitch around the outside of the patchwork wreath 1/8” from the edge. Transfer the markings from the pattern to the fabric pieces.
 Trace the eye patterns on the paper side of the HeatNBond Lite adhesive.
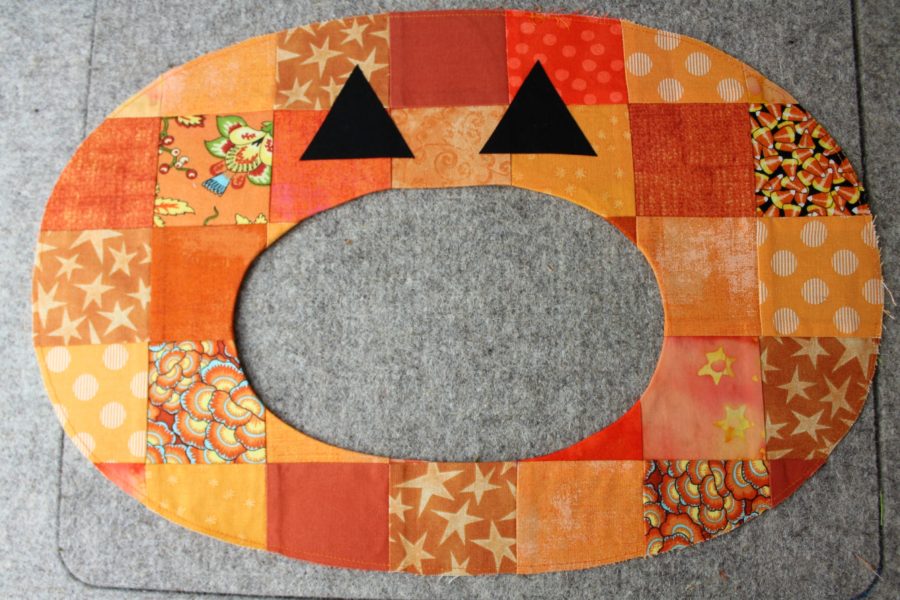
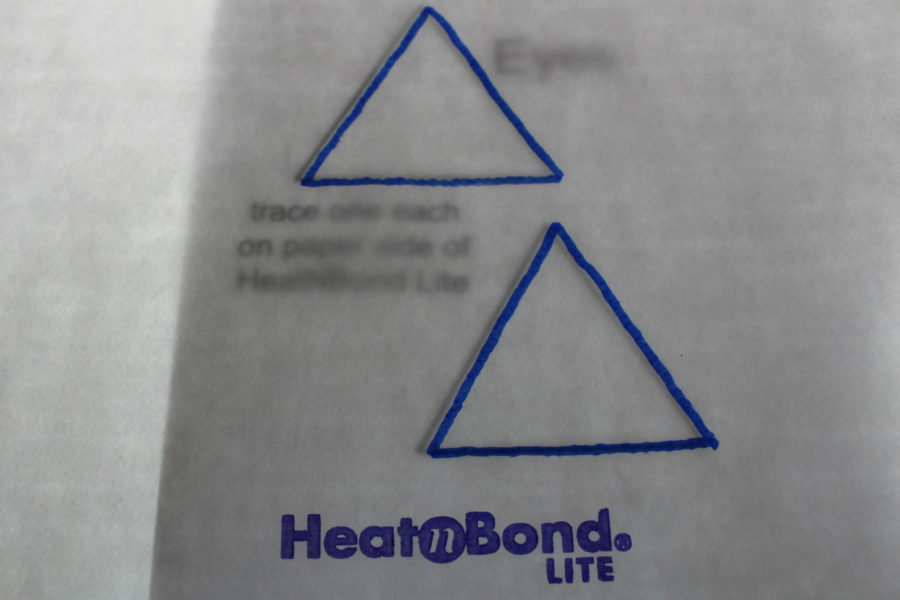 Follow the package instructions for tracing the patterns and bonding to the wrong side of fabrics Cut out the eye applique pieces on the solid black lines, peel off the backing paper, and place the eye appliques with the adhesive side down on the right side of the patchwork wreath according to the picture.
Following the package instructions to bond the eye appliques to the patchwork wreath.
Follow the package instructions for tracing the patterns and bonding to the wrong side of fabrics Cut out the eye applique pieces on the solid black lines, peel off the backing paper, and place the eye appliques with the adhesive side down on the right side of the patchwork wreath according to the picture.
Following the package instructions to bond the eye appliques to the patchwork wreath.
 Use a straight, zigzag, or blanket stitch with black thread to stitch around each applique eye.
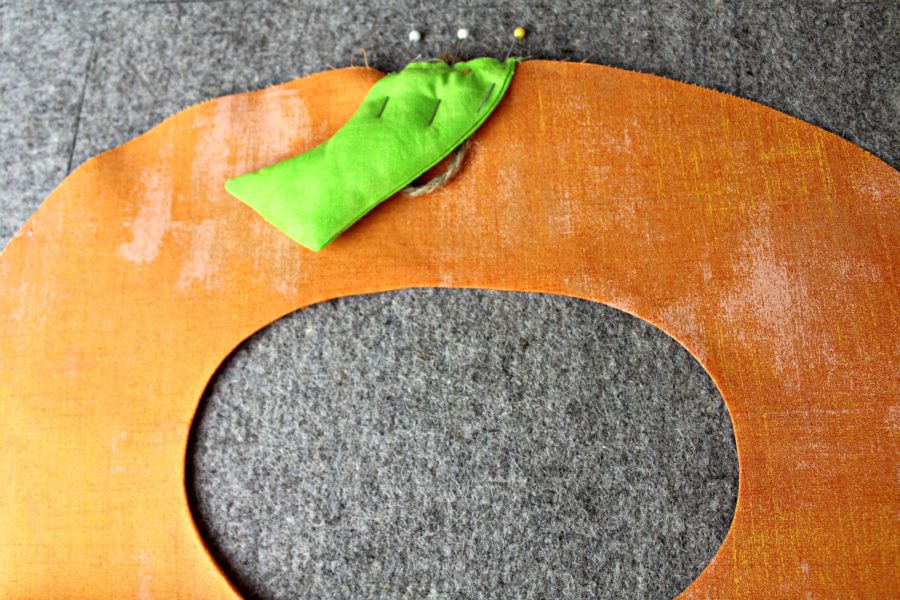 Stitch across the stem 1/8” from the edge to hold it in place.
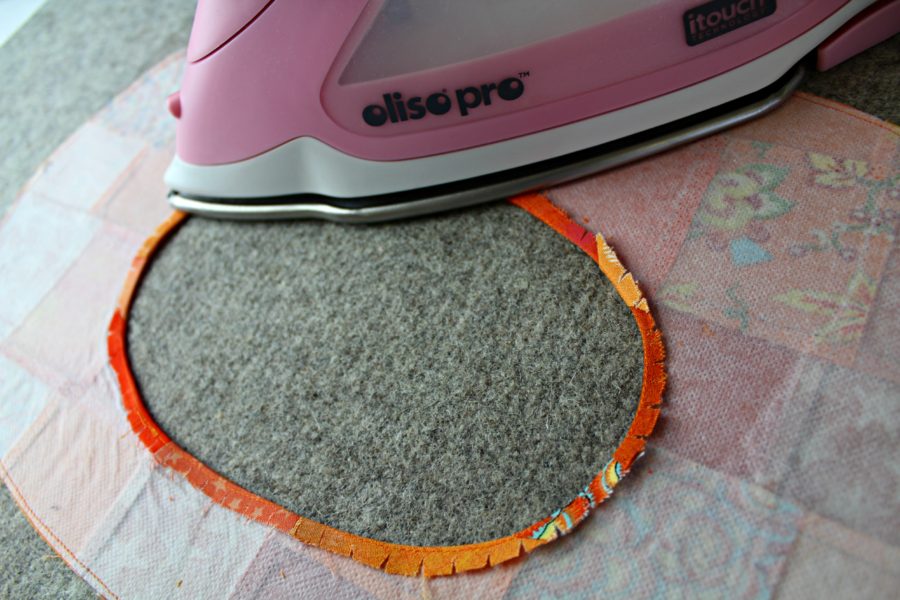
 Stitch around the outside of the wreath with a ¼” seam, clip the curves, and turn the wreath right side out through the center. Pin the bottom half of the center circle wrong sides together and whip stitch the around the bottom half of the center.
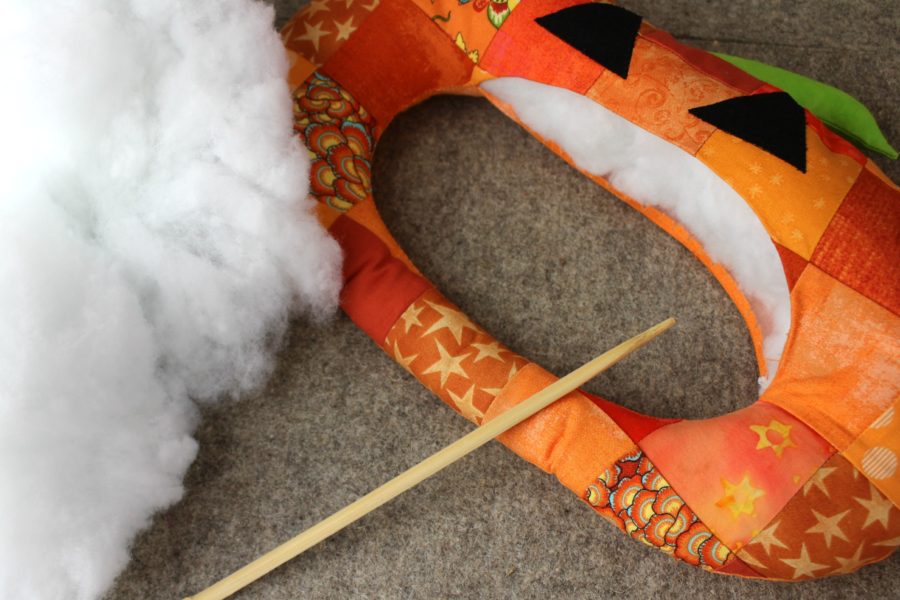
After it is stitched, stuff the bottom with fiberfill using the chopstick to help distribute the stuffing. Continue hand stitching and stuffing the wreath until the center is stitched and the wreath is stuffed with fiberfill.
Stitch around the outside of the wreath with a ¼” seam, clip the curves, and turn the wreath right side out through the center. Pin the bottom half of the center circle wrong sides together and whip stitch the around the bottom half of the center.
After it is stitched, stuff the bottom with fiberfill using the chopstick to help distribute the stuffing. Continue hand stitching and stuffing the wreath until the center is stitched and the wreath is stuffed with fiberfill.