No Products in the Cart
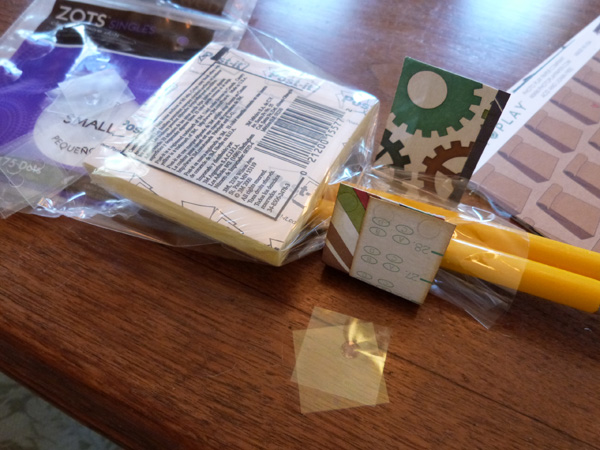
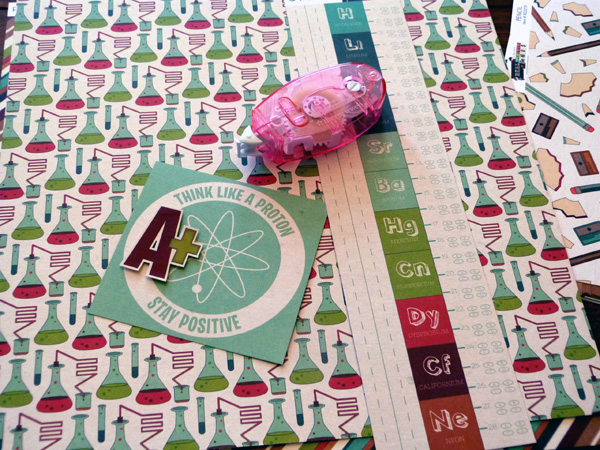 To begin, gather your supplies. I used a variety of papers and stickers from the Real Genius line, some basic tag dies, and natural jute twine. And for adhesive, my must-haves for every paper project.... the XL Memory Tape runner, 3D foam squares, and Zots dots.
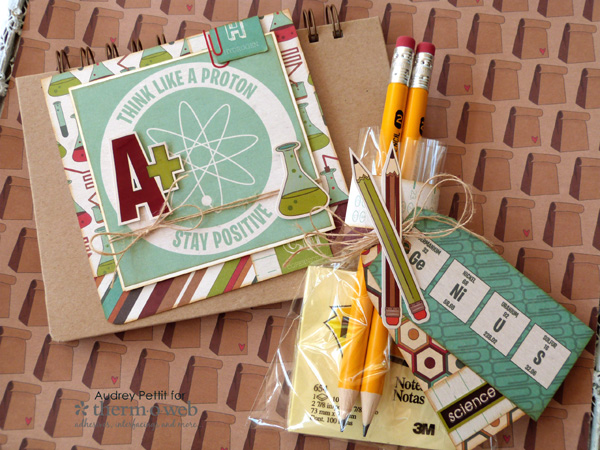
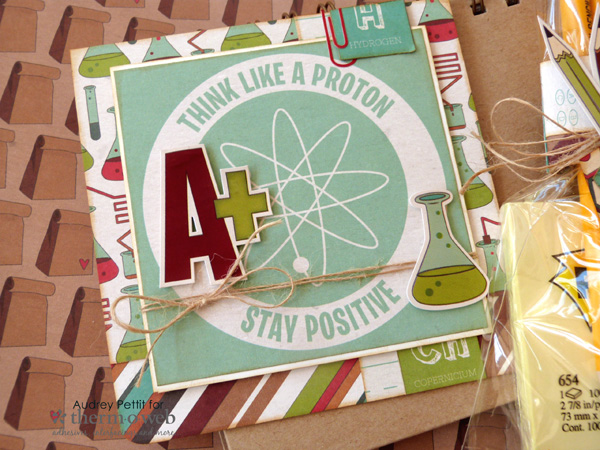
 Create a 5" square card base from Therm O Web Gina K Designs Premium White Cardstock. The 120 lb weight of this cardstock makes it the absolutely perfect base for all your card-making needs. Turn the card base so that the opening is to the bottom, and then adhere patterned papers to the card using memory tape runner.
[tooltip text="TooltipText"]*Note: I edged all my paper pieces with brown ink to add to give them a slight look of age.[/tooltip]
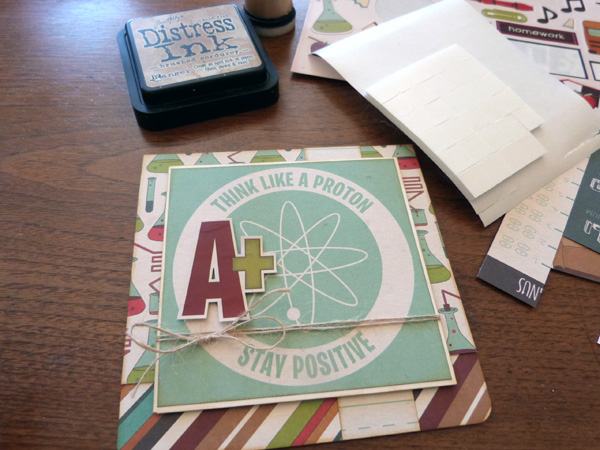
Cut out a square journaling card, and layer it onto a slightly larger cardstock square. Wrap twine around the bottom, tying into a bow on the left side. Place 3D Adhesive Squares onto the back of the panel, and adhere it to the center of the card. Add additional pieces of foam adhesive onto the backside of a cardstock sticker, and adhere the sticker to the journaling card.
Create a 5" square card base from Therm O Web Gina K Designs Premium White Cardstock. The 120 lb weight of this cardstock makes it the absolutely perfect base for all your card-making needs. Turn the card base so that the opening is to the bottom, and then adhere patterned papers to the card using memory tape runner.
[tooltip text="TooltipText"]*Note: I edged all my paper pieces with brown ink to add to give them a slight look of age.[/tooltip]
Cut out a square journaling card, and layer it onto a slightly larger cardstock square. Wrap twine around the bottom, tying into a bow on the left side. Place 3D Adhesive Squares onto the back of the panel, and adhere it to the center of the card. Add additional pieces of foam adhesive onto the backside of a cardstock sticker, and adhere the sticker to the journaling card.
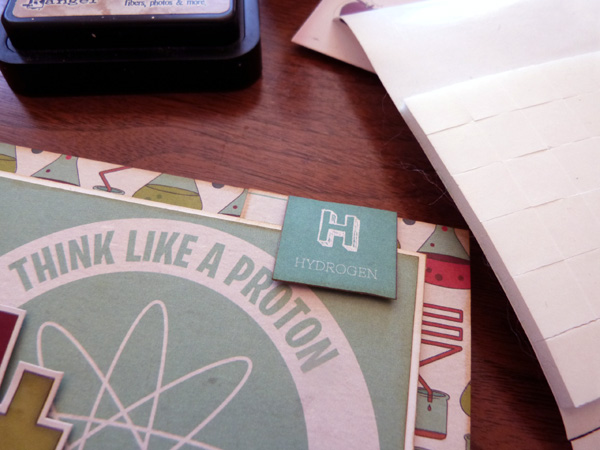 Continue to add details to the card with cut out paper icons and cardstock stickers. Use foam adhesive for extra dimension, or adhere your accents using super strong Zots dots.
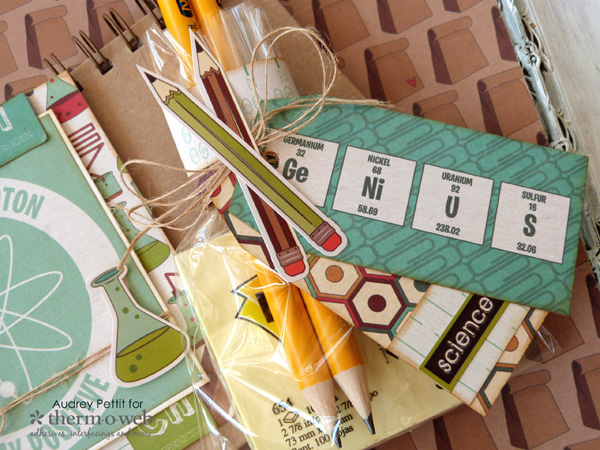
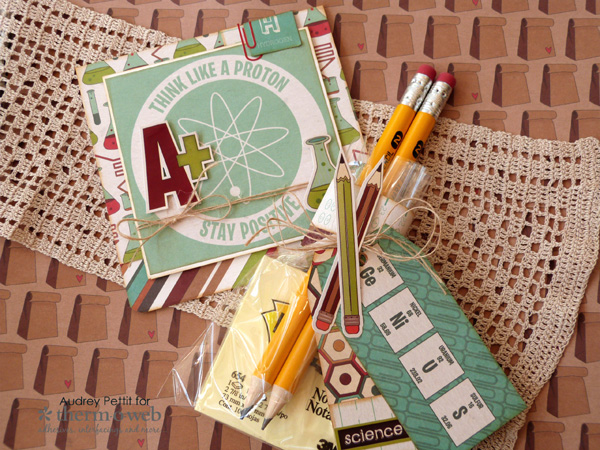 Wrap twine around the paper band, and tie together with die cut tags. Top with a pair of pencil cardstock stickers. Instant easy treat set! Enjoy!