No Products in the Cart

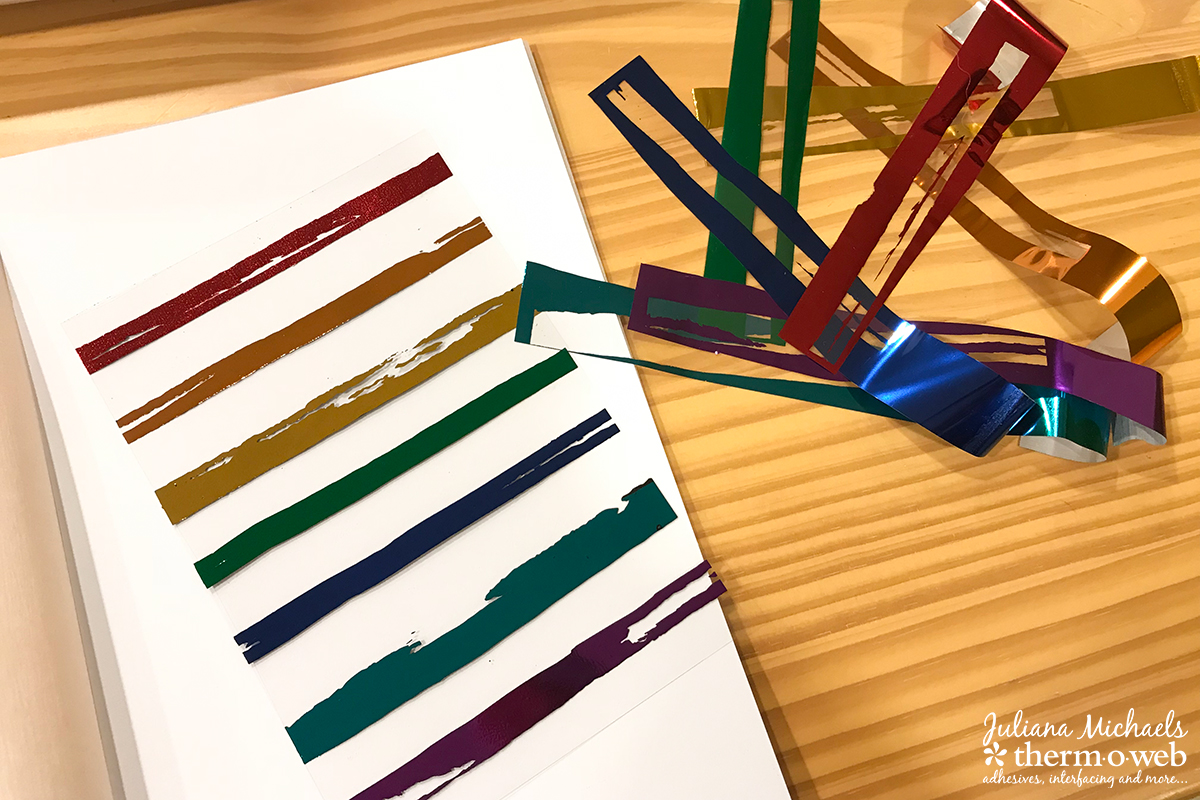
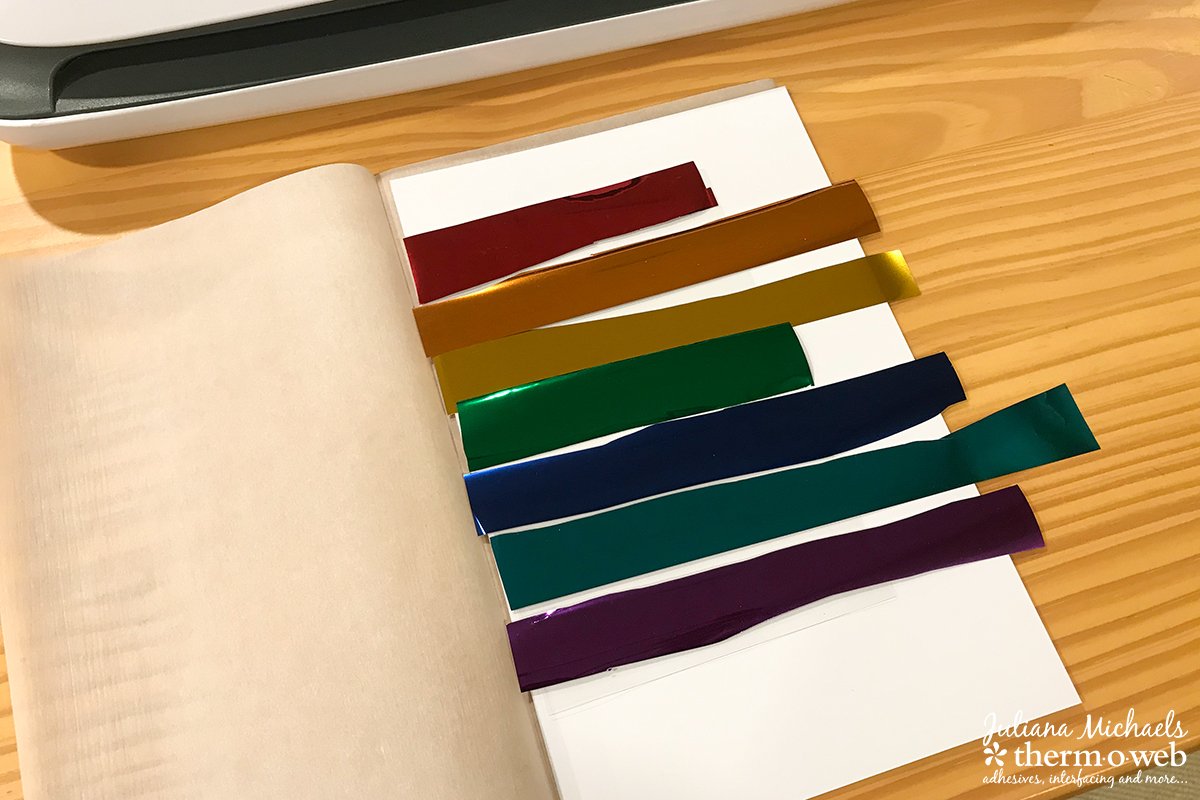 Place the Toner Sheet covered with the Deco Foil inside a piece of folded parchment paper. For added stability, place a piece of cardstock inside the parchment paper as well. Run the entire piece through a preheated Laminator. Once the piece comes out of the laminator, remove the transfer sheets to reveal the foiled design. Don't you love how it looks like a rainbow?
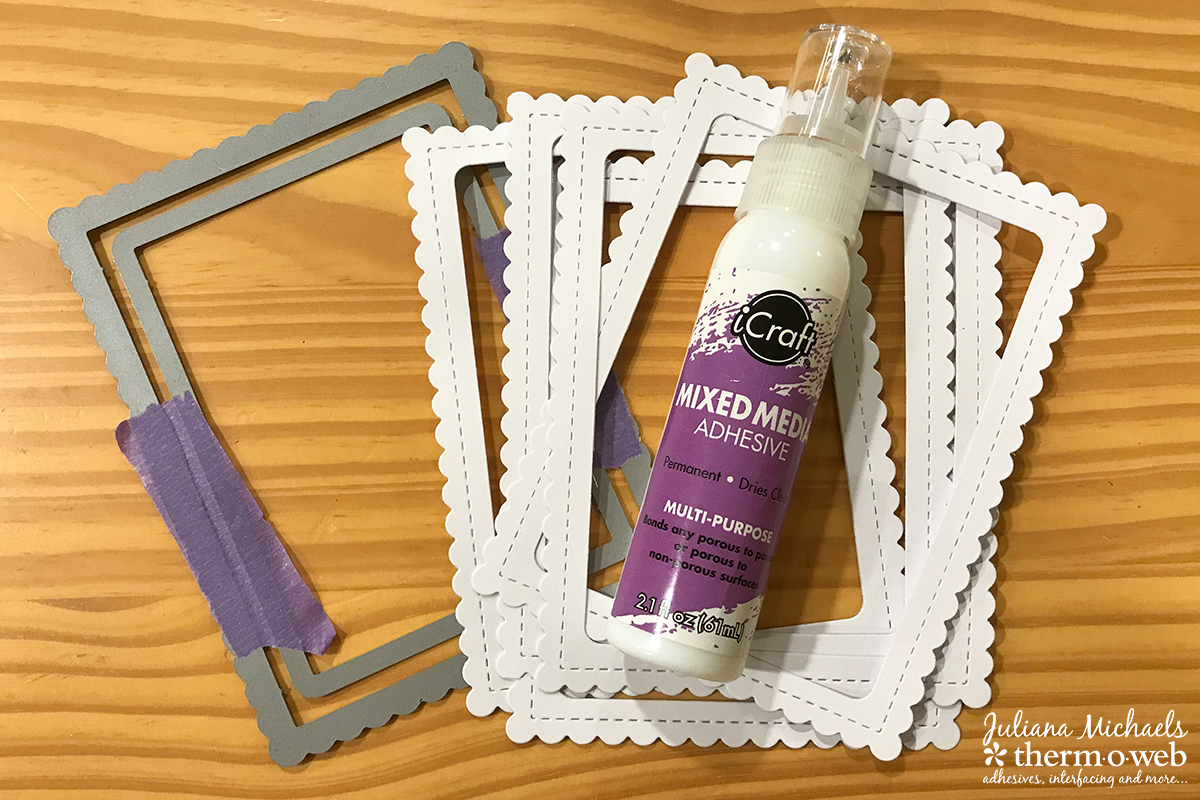
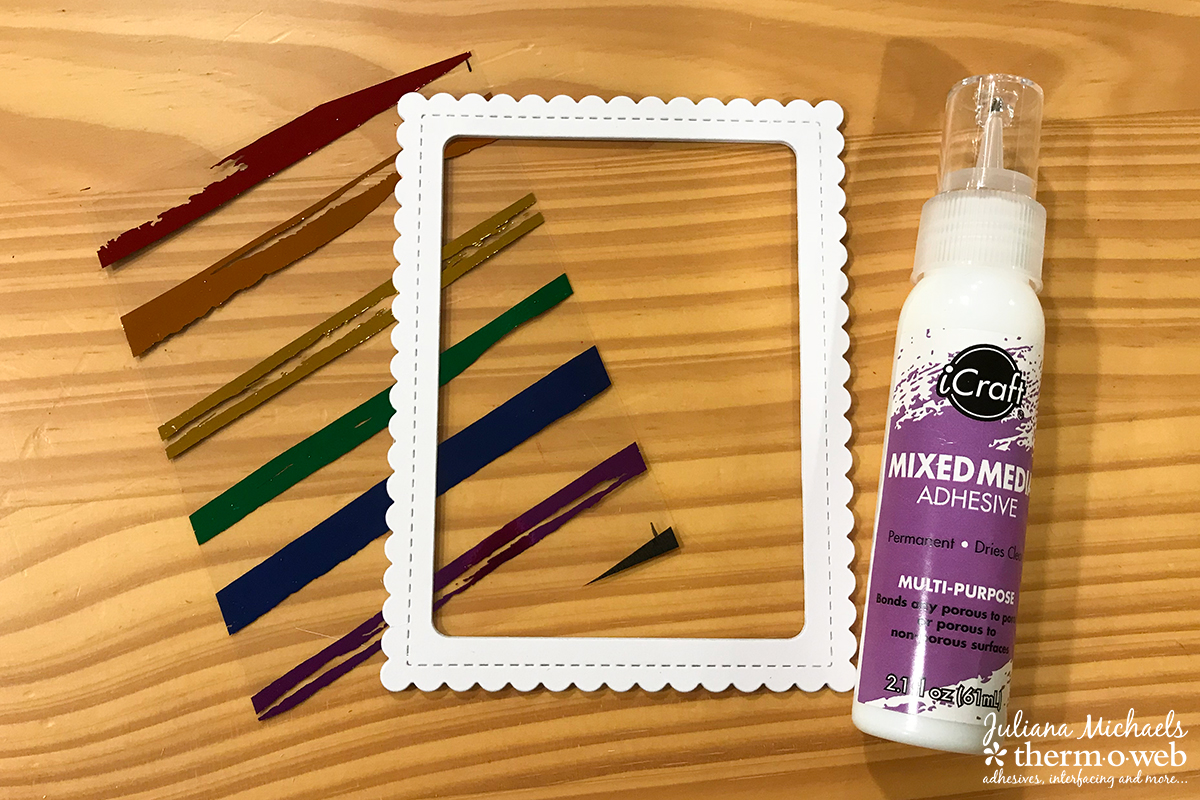
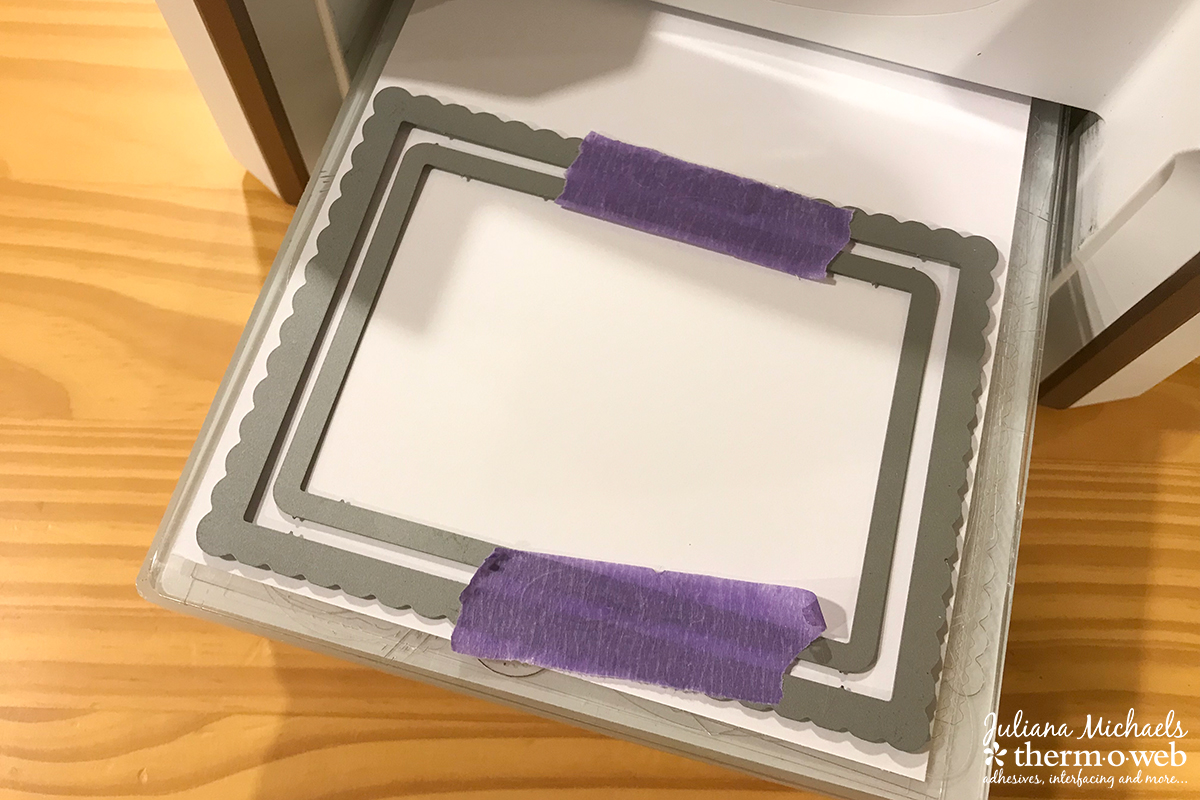 Glue the 5 white cardstock frames together using iCraft Mixed Media Liquid Adhesive to create your shaker box.
 The next step is to adhere the rainbow foiled Designer Toner Sheet to the back side of the shaker box. Once again, use the iCraft Mixed Media Adhesive to do this.
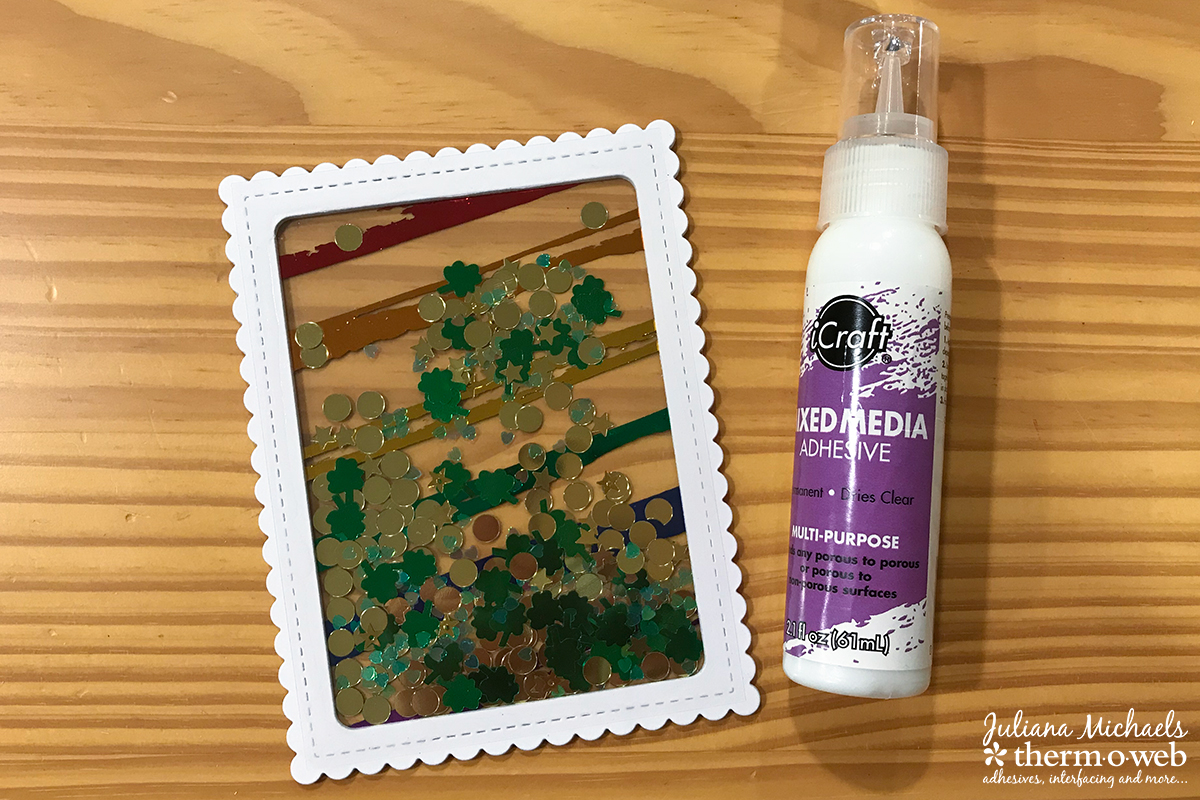
 Fill the frame with your choice of sequins, beads or confetti. Cut a piece of a Designer Toner Sheet in Clear to the size of the frame and glue it on top to cover the shaker box and help hold the sequins inside.
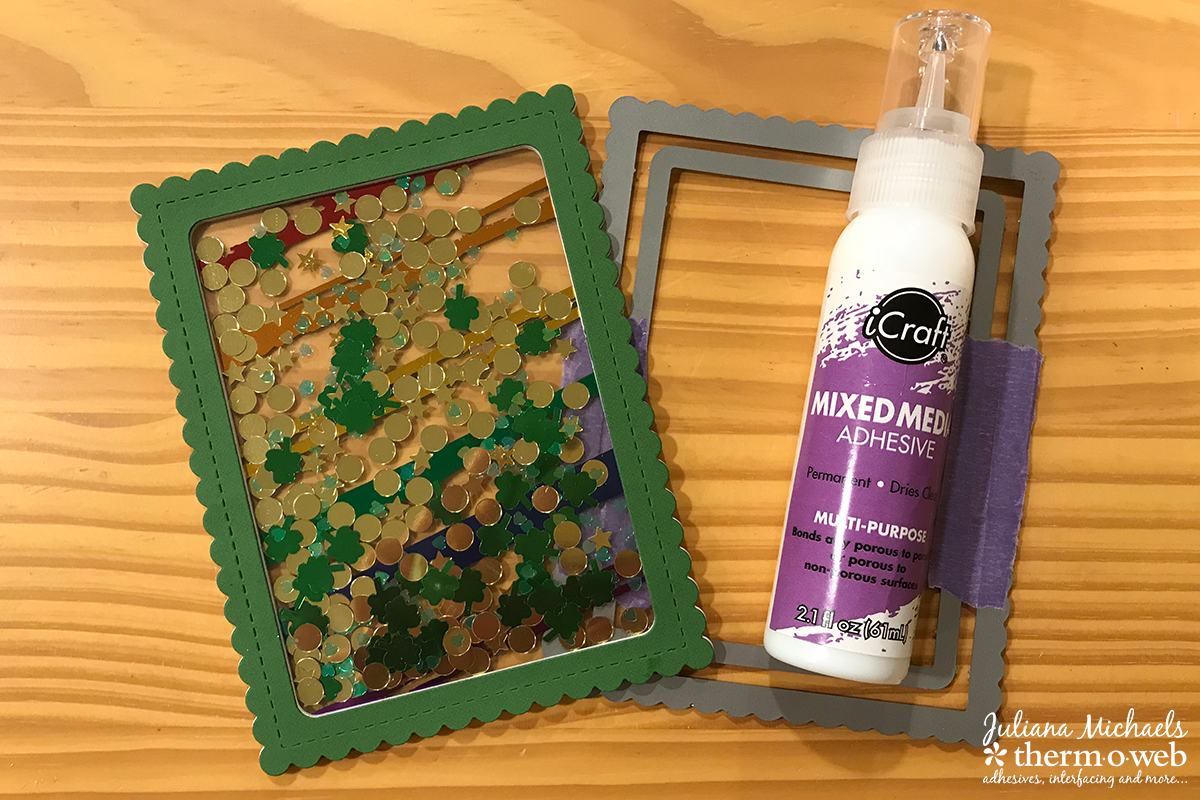
 Die cut one more frame from green cardstock and adhere to the top of the shaker box.
 To complete the card design, stamp the image from the Newton's Nook Designs Pot of Gold Stamp Set and color it using your choice of markers or pencils. Fussy cut the image and set it to the side. Die cut a piece of black cardstock using a flag die from the Newton's Nook Designs Frames & Flags Die Set. Stamp the sentiment onto the flag and heat emboss it with white embossing powder.
 Use a Memory Tape Runner to adhere the shaker box to an A2 size card base and then adhere the sentiment to the front of the shaker. For the final step adhere the stamped image using 3D Foam Squares to pop it up from the card front.
 Thanks for stopping by today and I hope you enjoyed learning how to create a St. Patrick's Day Rainbow Shaker Card!