Spring Tulips Made with Heat n Bond

by Designer on March 30, 2016

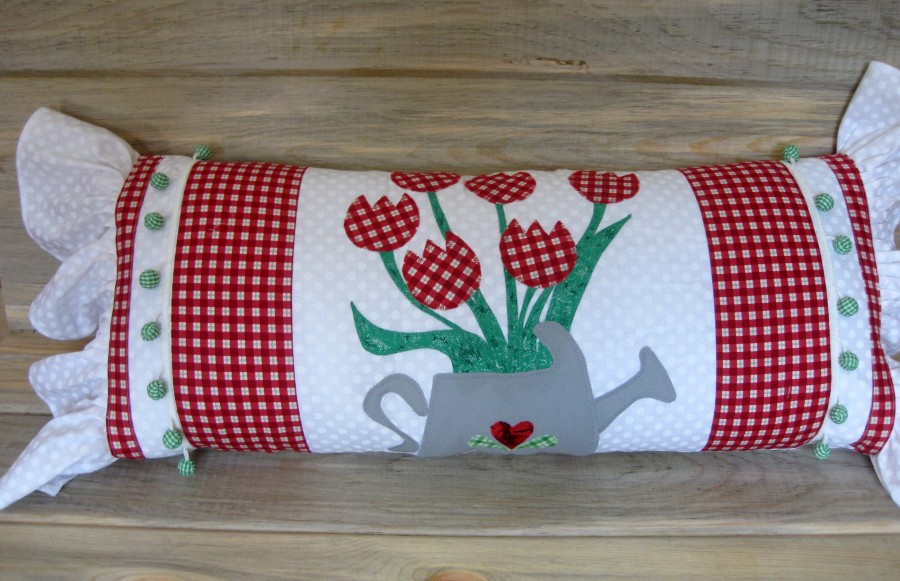
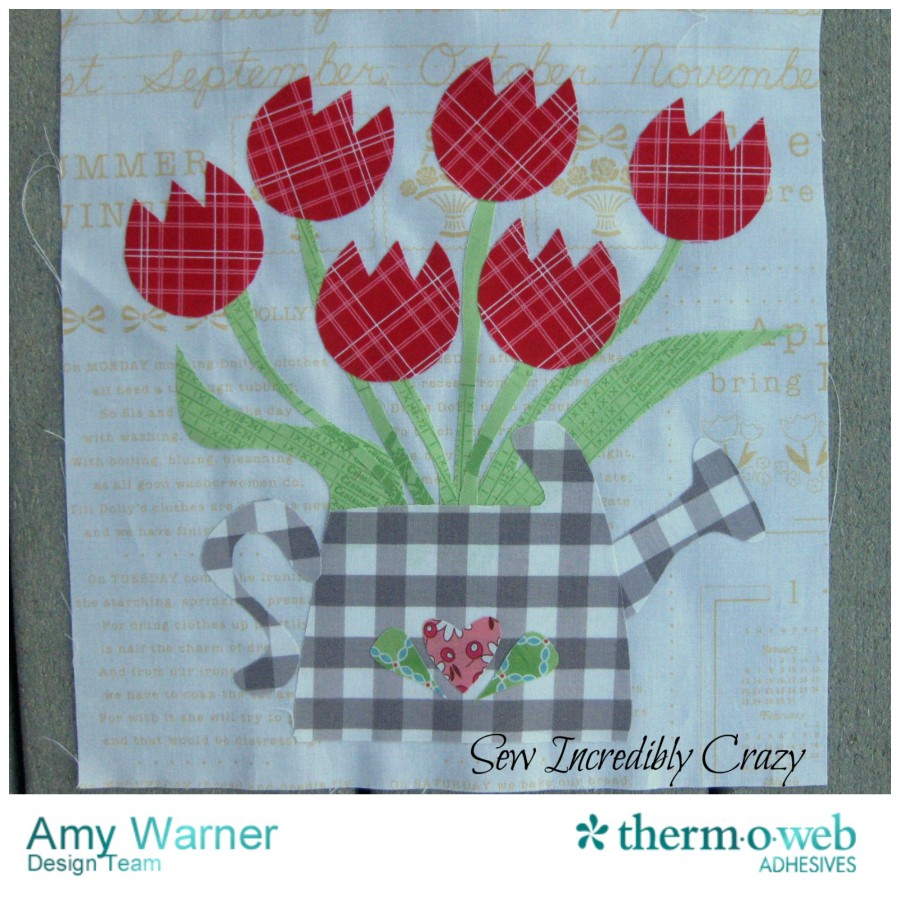
Happy Spring!! Well, where I live I am still patiently waiting for Old Man Winter to leave, but that doesn't mean that I can't sew up a cute design that put me in the mood of daffodils, tulips, and a soft rain pitter pattering against my window.

Spring Tuplips header
Project Supplies: Heat N Bond® EZ Print Lite, 8.5” x 11” Oliso Iron Directions are given using fabrics from above. Replace pattern designs and colors with your choice of fabrics. Download the PDF instructions, flower patterns, and bunny patterns HERE.
Heat n Bond lite tulips
Applique: Using an inkjet printer, print out pattern pieces using Heat N Bond® EZ Print Lite sheets. Follow the manufacturer’s directions to iron adhesive to wrong sides of desired fabrics. Let cool.
In our garden tulips iron

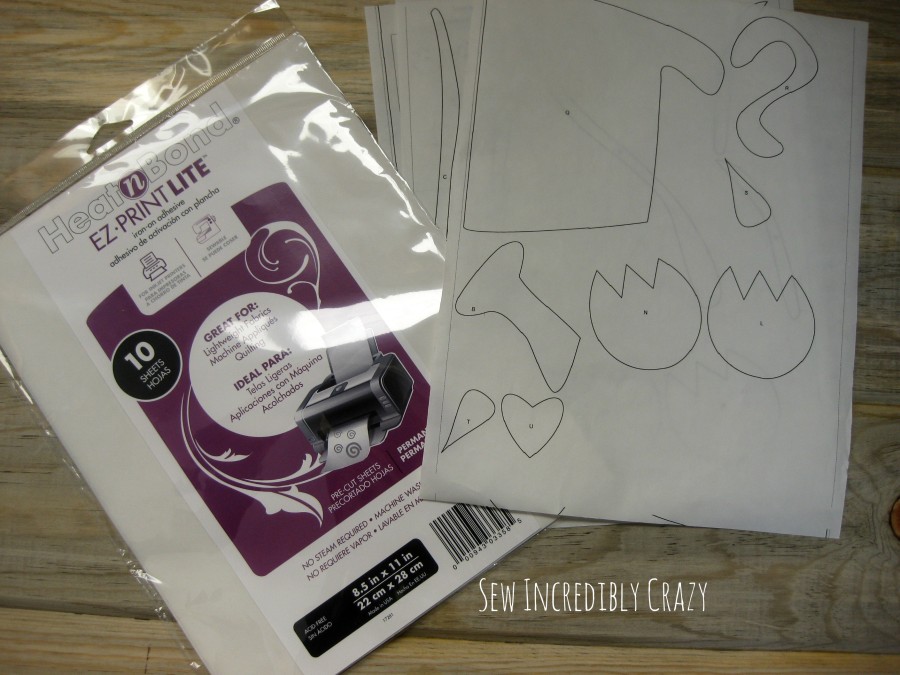
Remove backing from cut out pattern pieces and place them in their location.
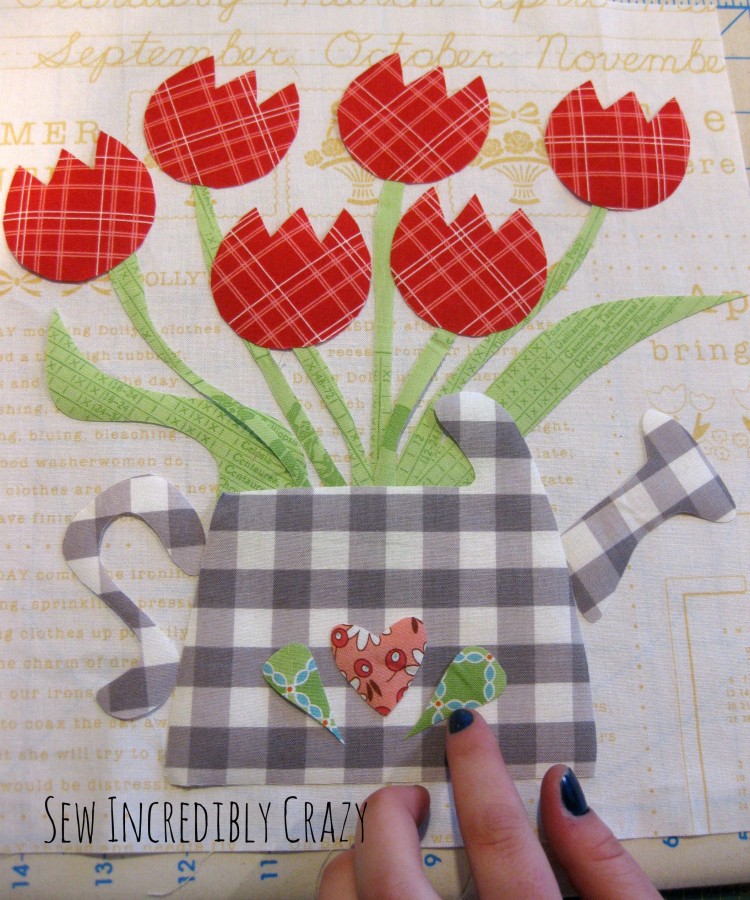
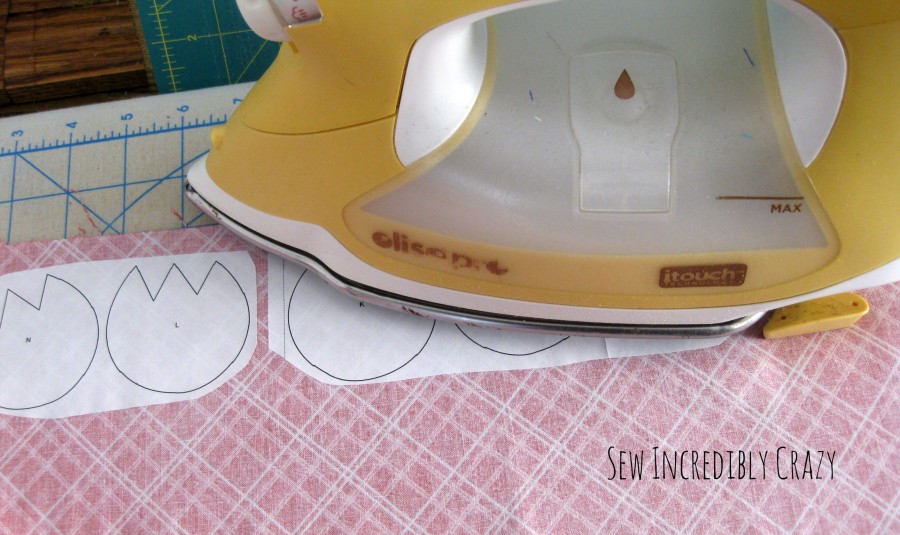
In Our Garden Tulip placement

Iron them in place.

Iron in place

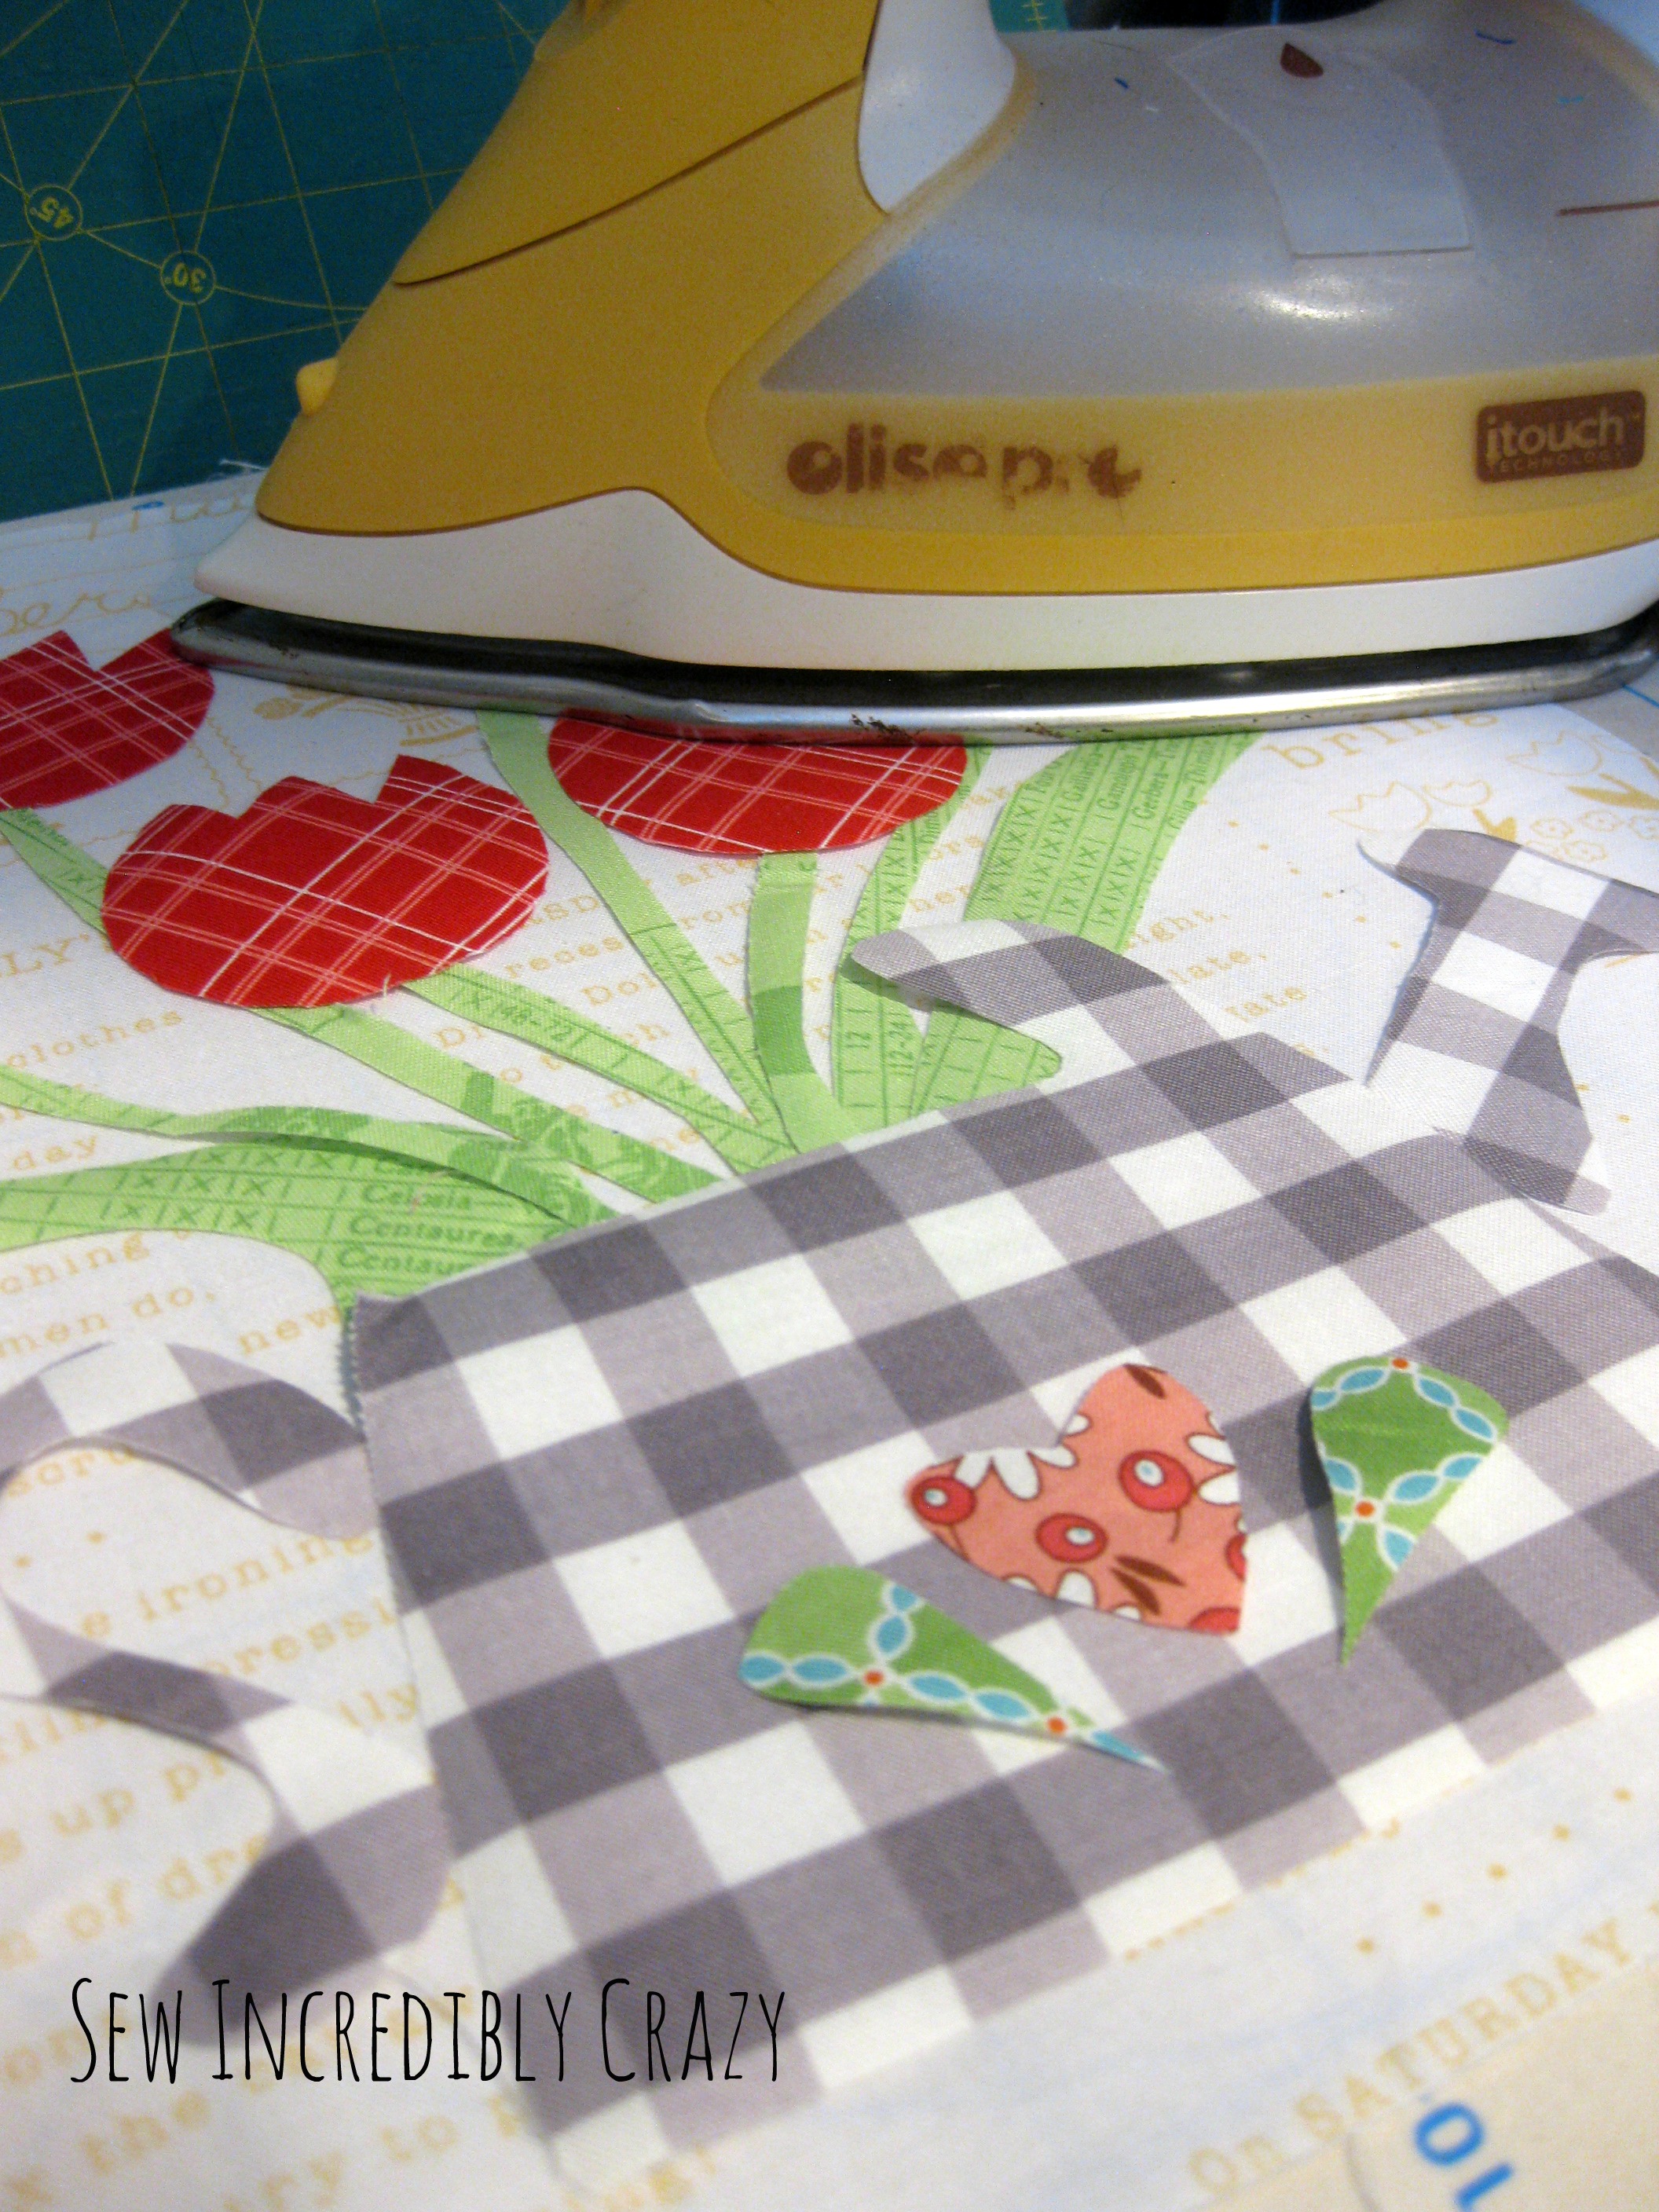
Stitch around your applique pieces and there you have a quilt block.

Tulip can

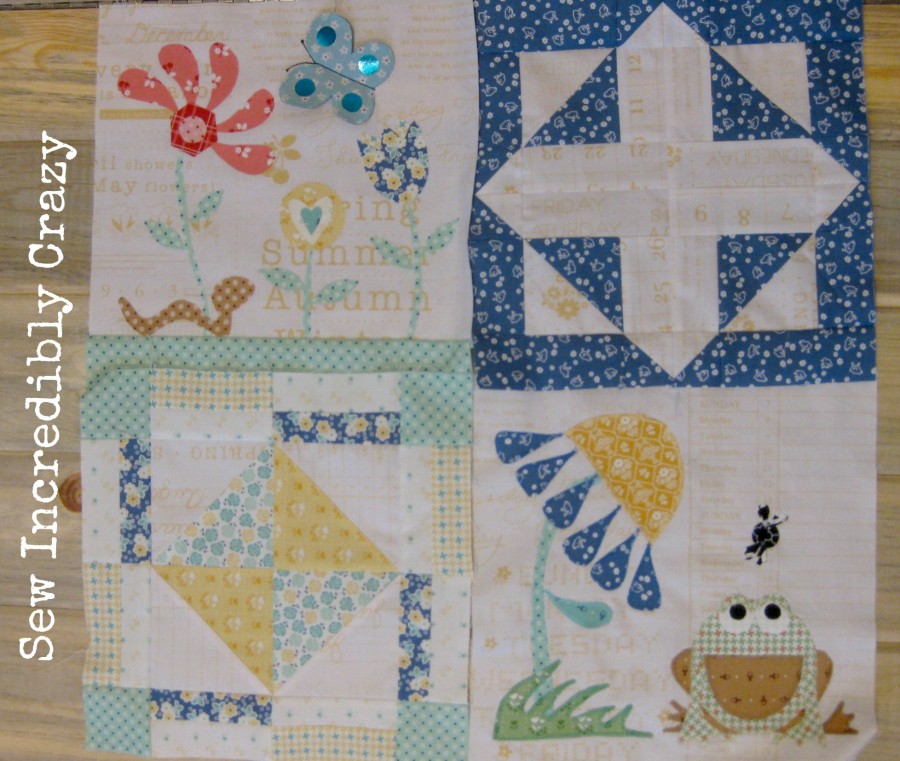
It would look simply adorable with the other blocks of the In Our Garden Block of the Month, which you can find Here.

Block 1 thru 4 part 2

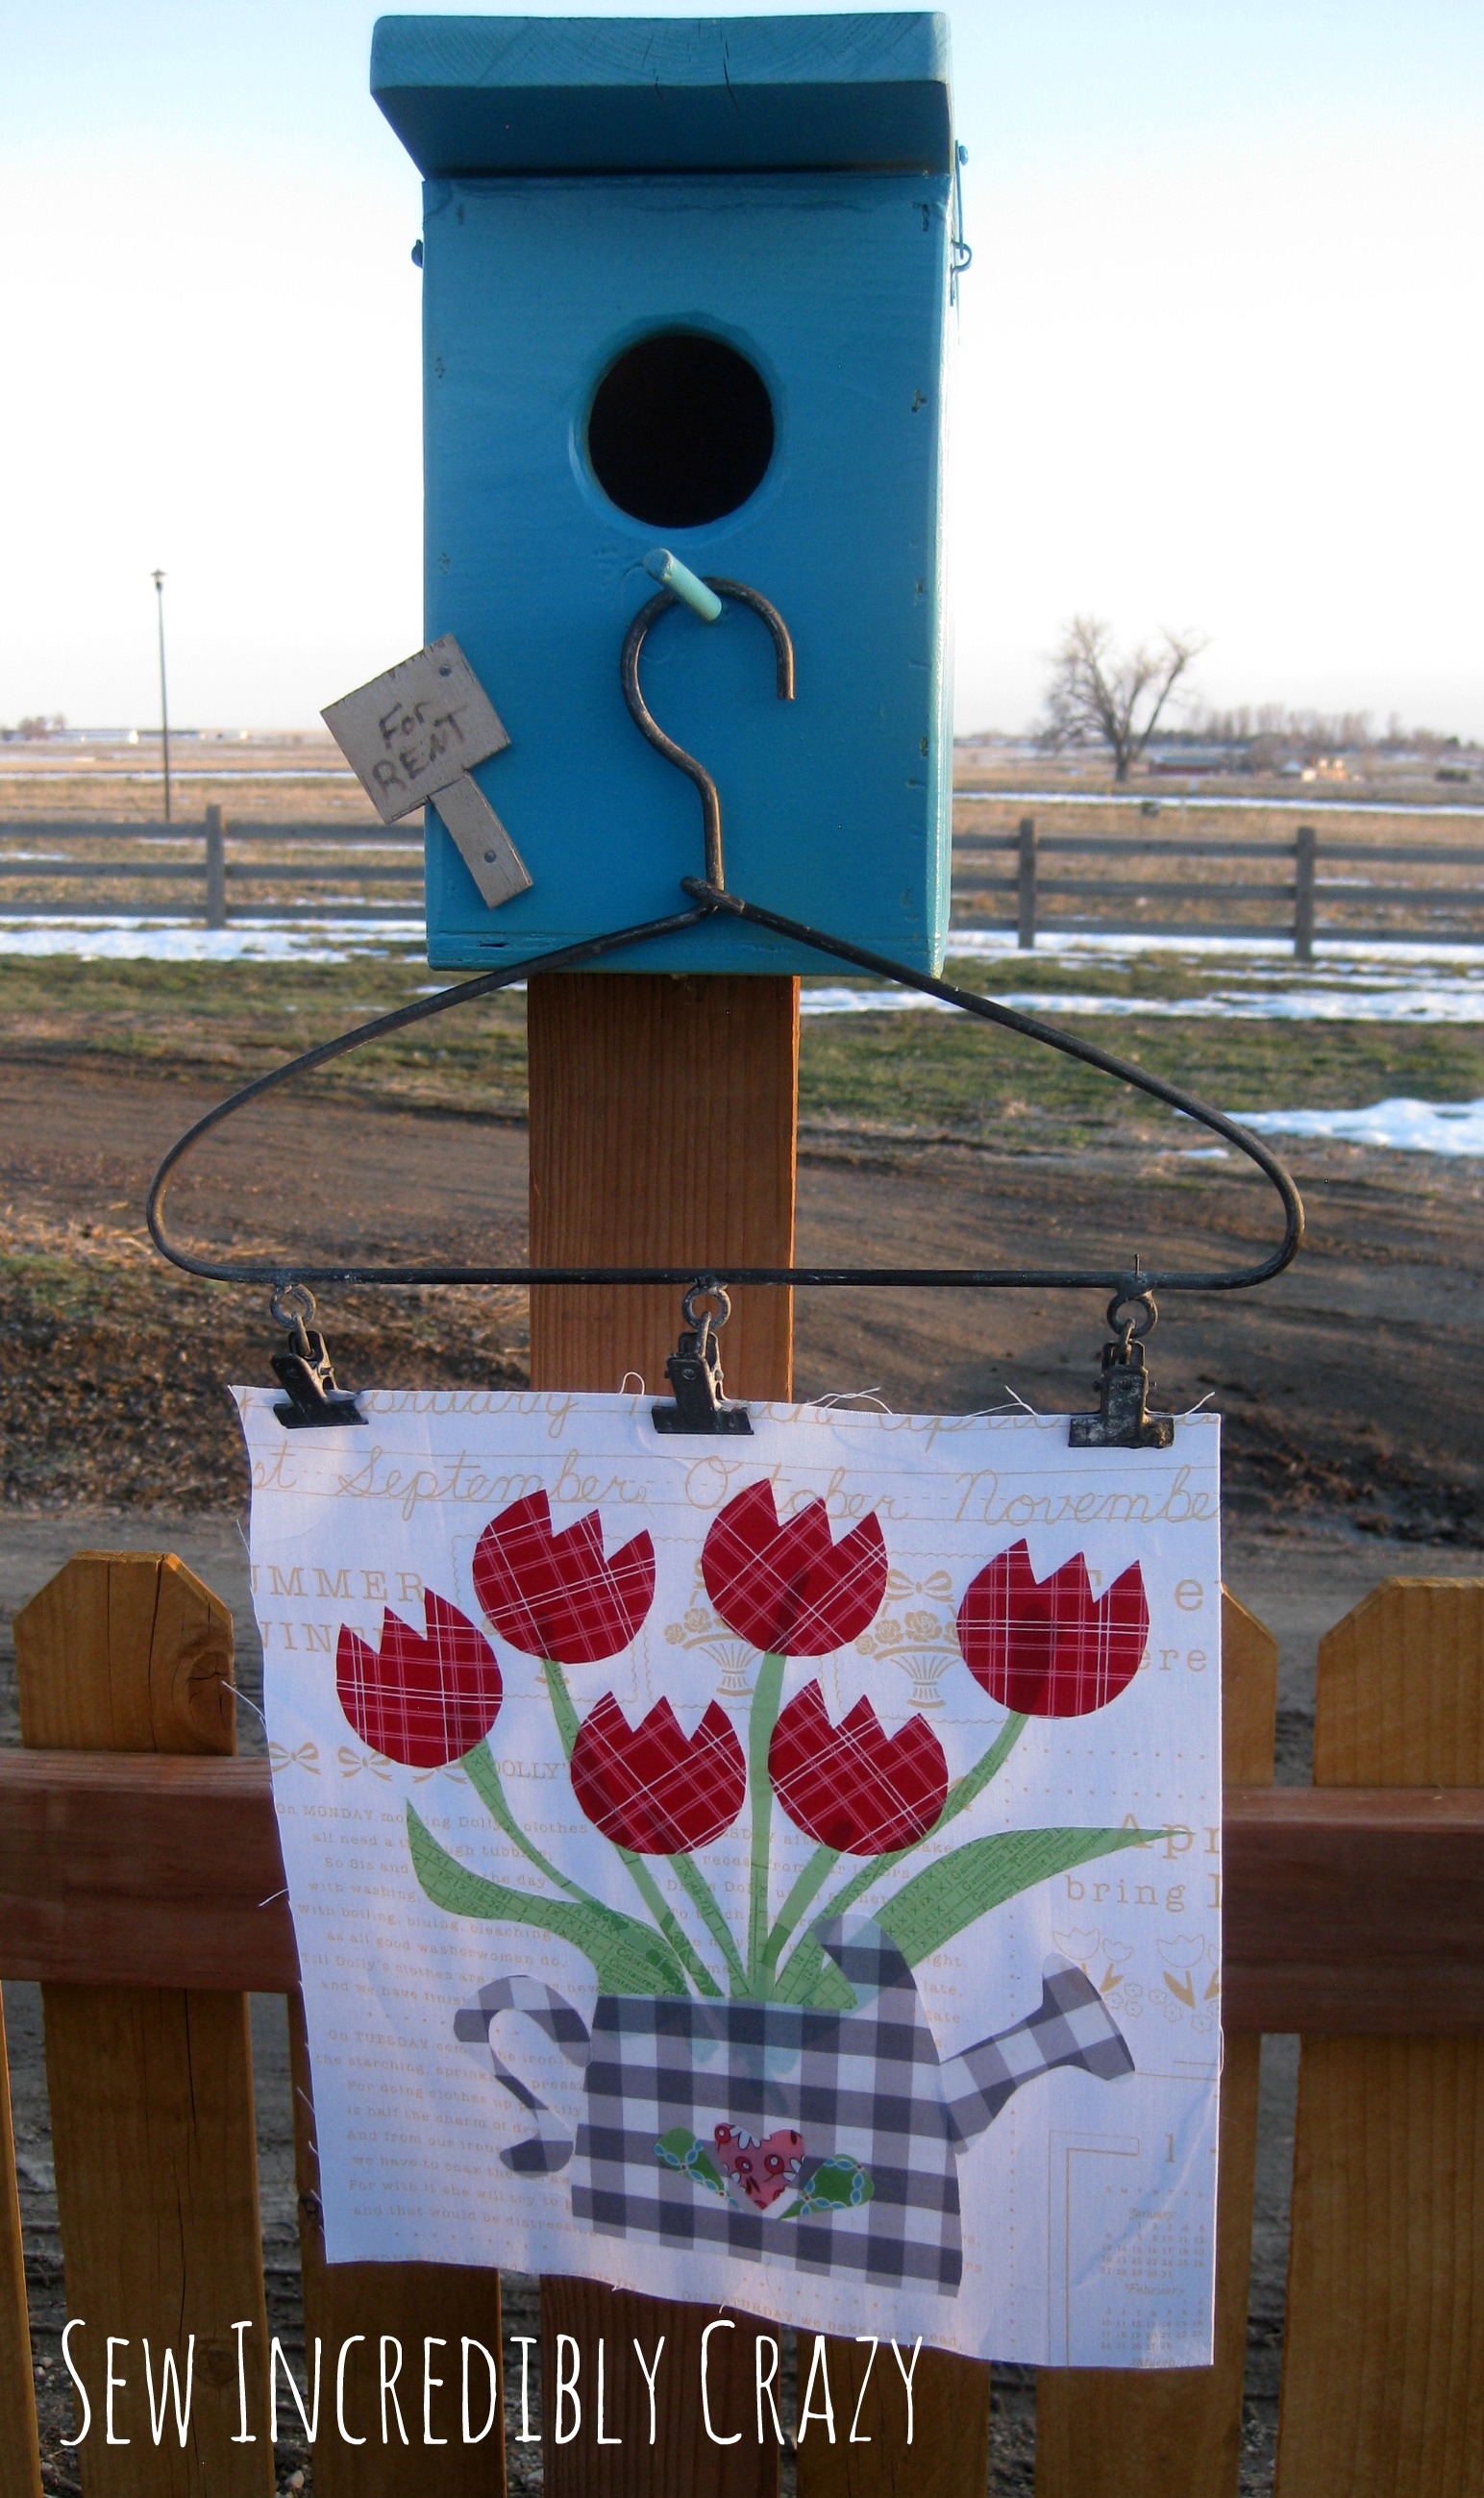
If quilting is not your thing, you can turn that block

Perfect Pick Pillow 1


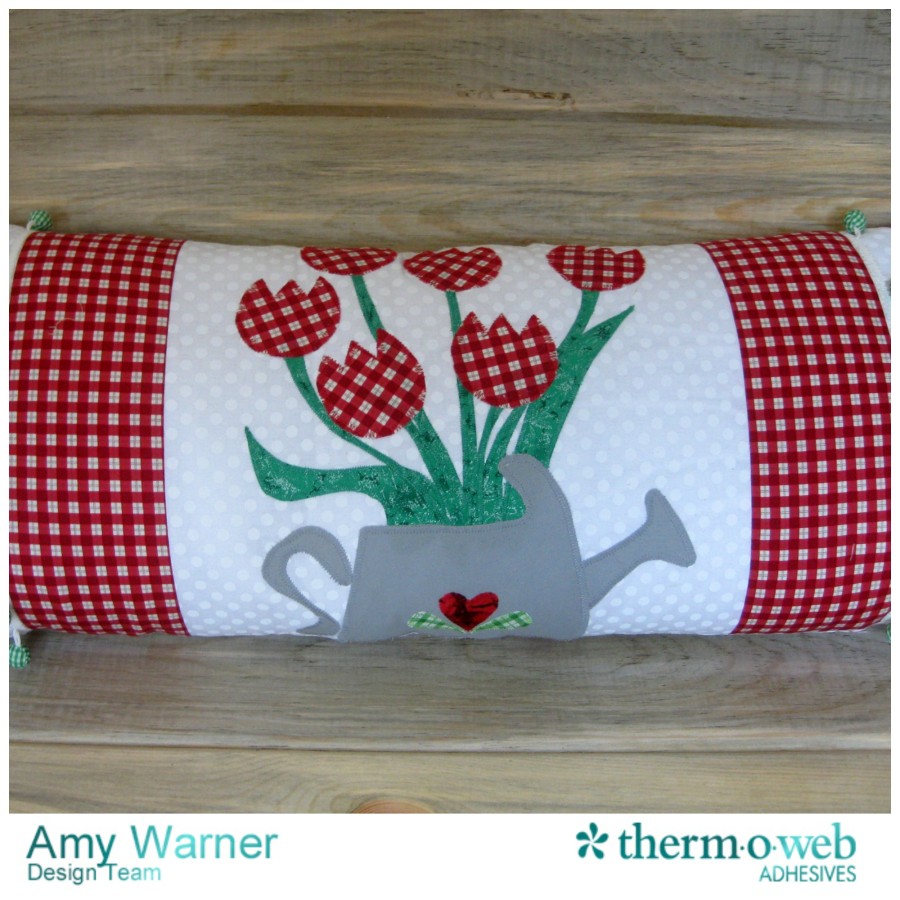
Into a springtime pillow to adorn any room in your home.

Perfect Pick Pillow
   
LEAVE A COMMENT

Please note, comments must be approved before they are published


BACK TO TOP