No Products in the Cart
 The fun thing about printing your own seed packets at home is that you can customize them to match your gift packaging. And why not jazz them up a bit with our fabulous iCraft® Deco Foil™ transfer sheets? I'll show you how.
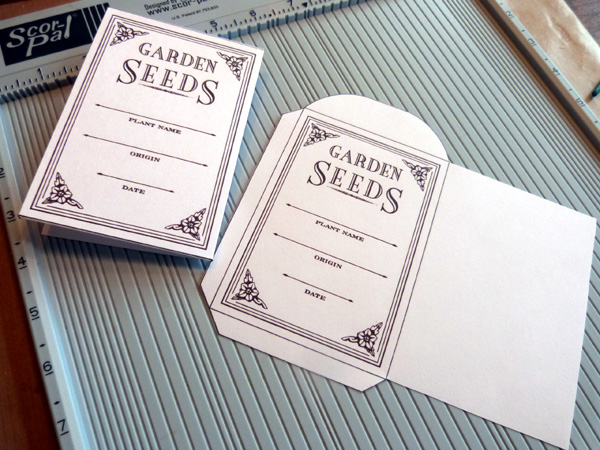 To begin, download and print a blank seed pocket onto white cardstock. A simple search for seed packets in Google will bring up lots of options. Cut out the pockets along the outline, and score across the guidelines using a bone folder or scoring board.
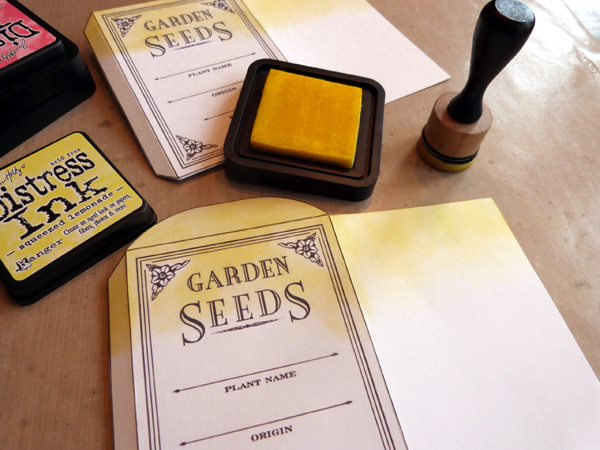 You can print the seed envelopes onto colored cardstock, if you wish. I created an ink blended background onto mine using Distress Inks and a mini ink blending tool. For my project, I began with Squeezed Lemonade ink applied to the top of the packets.
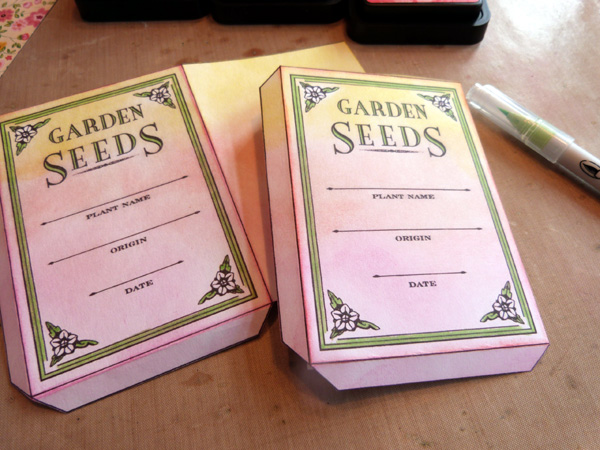 And I applies two colors of pink Distress Ink to the bottom of the envelopes. Then color in the frame and flower images with markers.
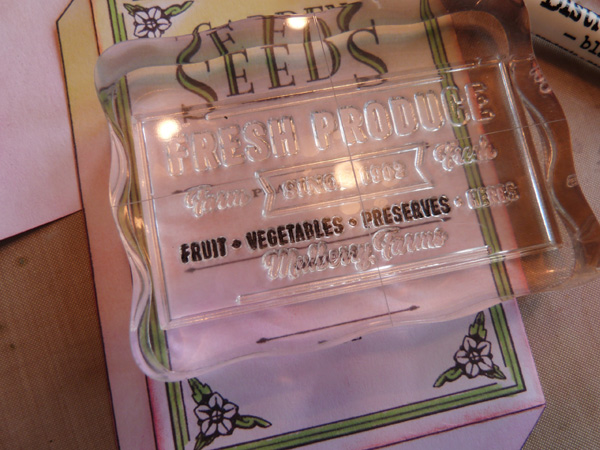 You can even add a bit of stamping or handwriting to the packets for personalization.
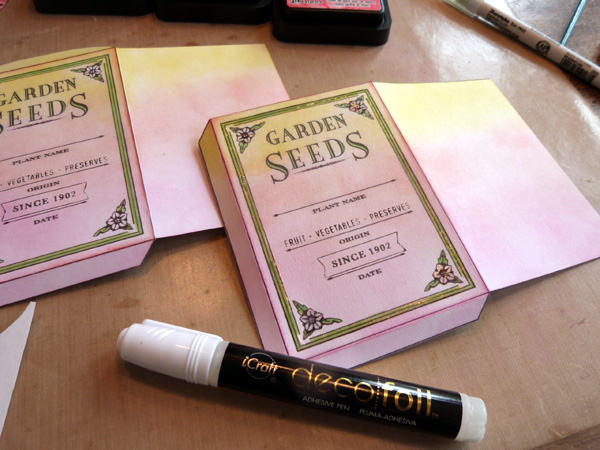 To add Deco Foil to the seed packets, draw over the outline of the frame and the petals of the flowers using the Deco Foil™ Adhesive Pen. Allow the adhesive to dry for about ten minutes, or until the adhesive is dry and tacky to the touch.
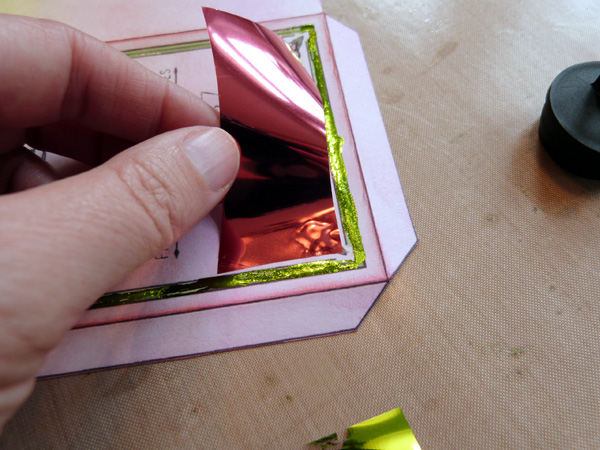 Cut small pieces of Deco Foil™ Transfer Sheets. Place the foil on top of the adhesive, with the colored side up and the shiny silver side down. Rub over the foil with the tip of your finger. Then peel up the transfer sheet to reveal your foiled design.
 To assemble the seed envelopes, place 1/4" SuperTape adhesive onto the bottom and side flaps of the envelope. Peel up the top protective liner, and fold the front of the envelope over onto the flaps to seal.
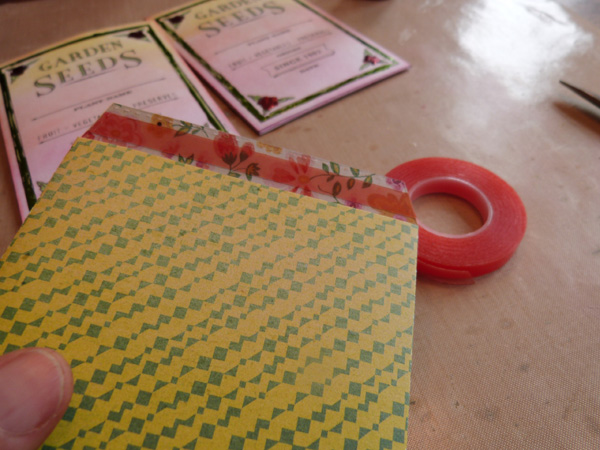 Die cut treat pockets from patterned paper, and assemble the pockets the same way you did the seed envelopes.
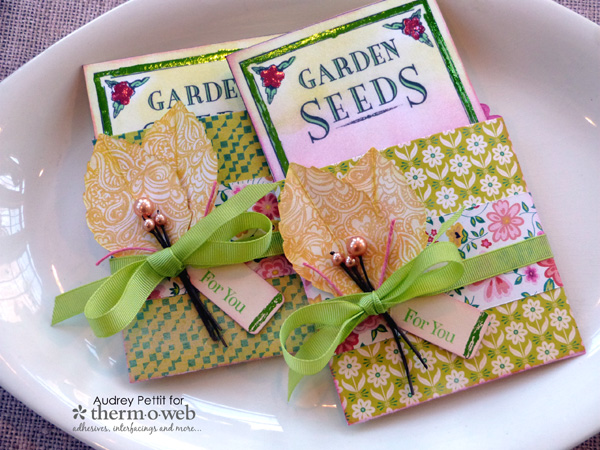
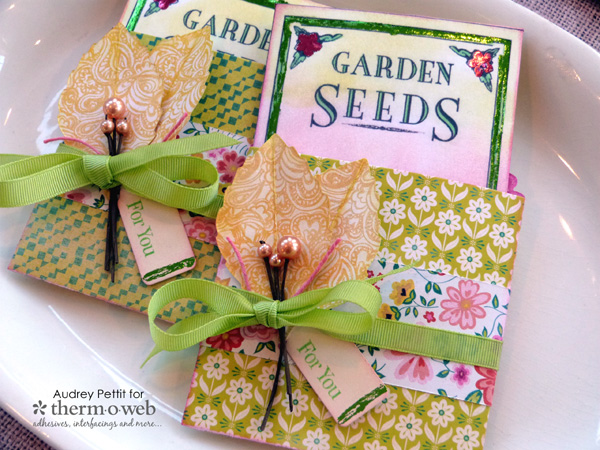
 Adhere a strip of contrasting patterned paper around the treat pockets, and tie them with ribbon.
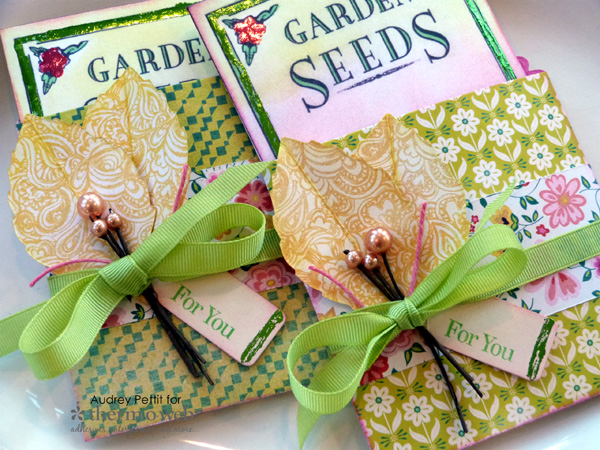
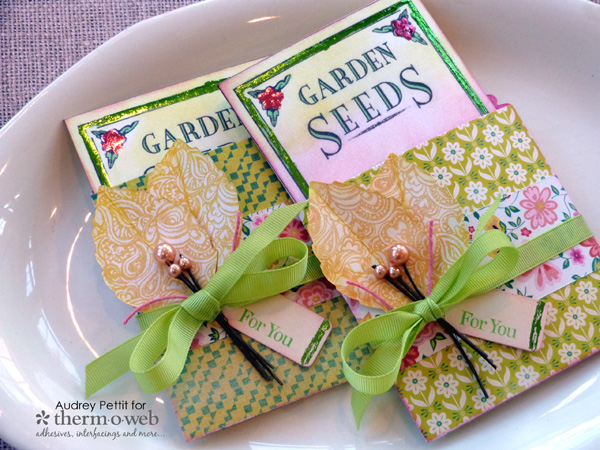 Embellish the treat pockets with a few additional embellishments, like die cut leaves and berry clusters tied with twine. Add a For You stamped sentiment onto small die cut tags. Draw a line of adhesive across the bottom of the tags using the Adhesive Pen, and embellish with Deco Foil to pull the whole look together.
Enjoy!
Embellish the treat pockets with a few additional embellishments, like die cut leaves and berry clusters tied with twine. Add a For You stamped sentiment onto small die cut tags. Draw a line of adhesive across the bottom of the tags using the Adhesive Pen, and embellish with Deco Foil to pull the whole look together.
Enjoy!