No Products in the Cart



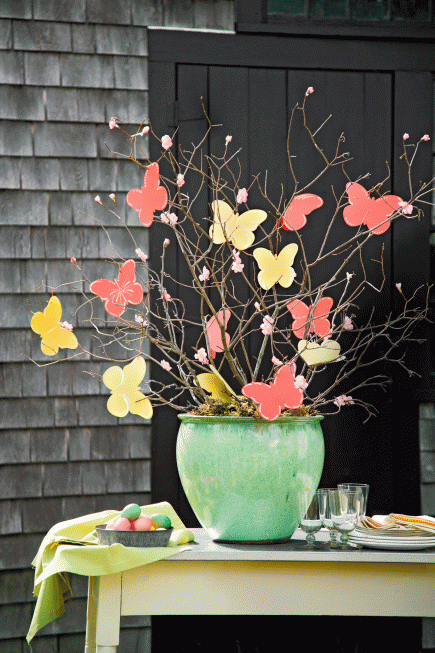
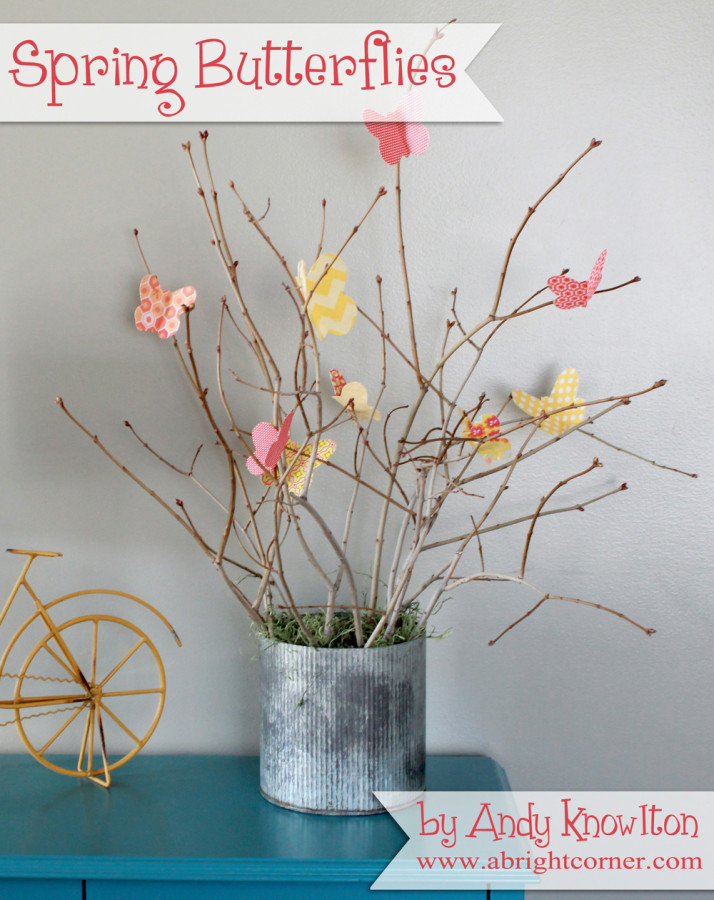 Hi everyone! Andy here from A Bright Corner. It's been warmer than usual here this week and I have a bad case of spring fever! The good news is that spring is just around the corner - just a couple of short weeks away! Today I'm bringing you a quick no-sew project that's sure to bring a breath of fresh, spring air to your home. I used this image from Pinterest as my inspiration:
 For this tutorial, the sweet spring butterflies are made using your favorite fabric scraps and some HeatnBond® Ultrahold. I decided to re-purpose a cute metal pot and I grabbed a few branches from a bush in my front yard. There's a piece of foam in the bottom of the pot to secure the branches a bit. Then I covered that with some moss to hide the foam. Voila!
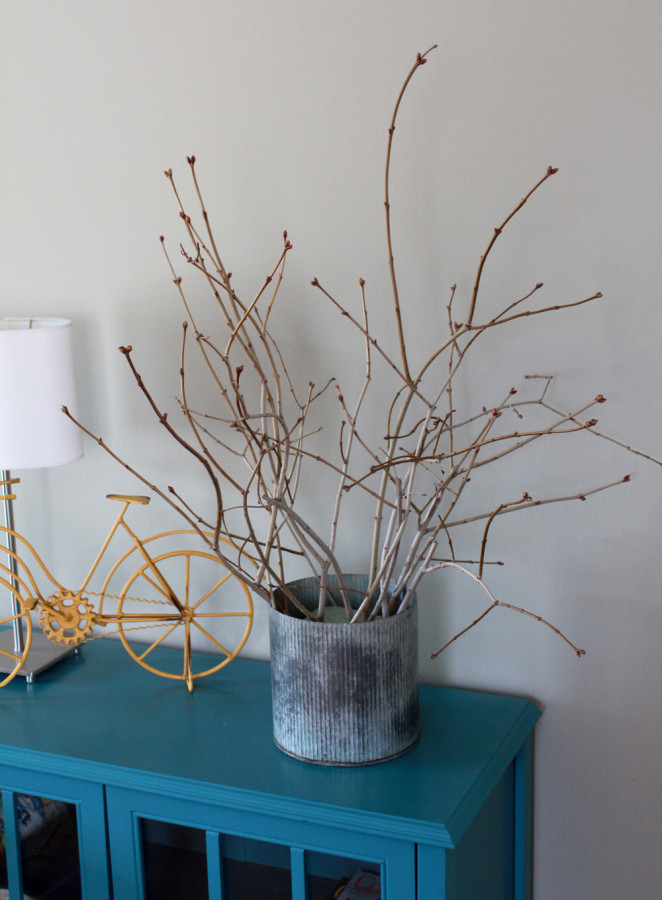 Now let's get started on those butterflies!
Supplies:
Now let's get started on those butterflies!
Supplies:
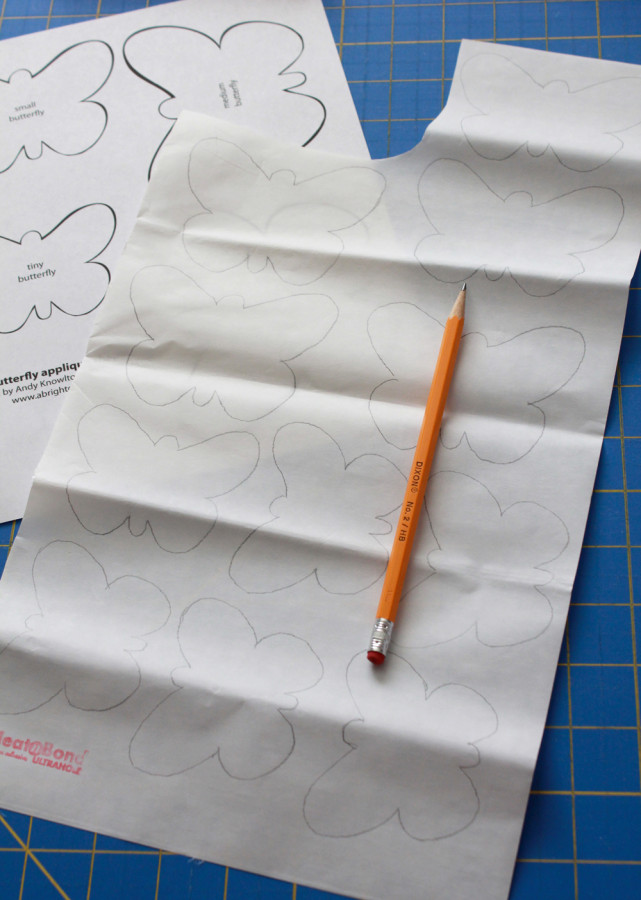 Step 2: Cut around each butterfly roughly, leaving about 1/4" of space.
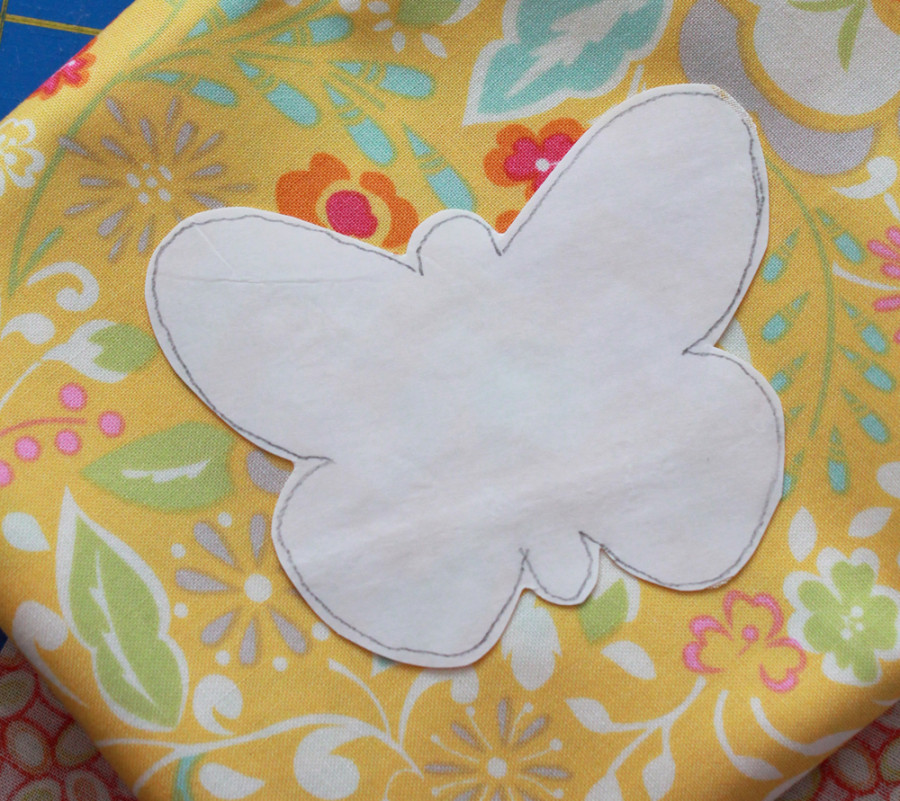
Step 3: Iron each butterfly shape to the wrong side of a scrap of fabric. Cut out butterflies, just a bit outside of the lines. You can see in this photo that I stayed close to the lines, but cut just outside of them:
Step 2: Cut around each butterfly roughly, leaving about 1/4" of space.
Step 3: Iron each butterfly shape to the wrong side of a scrap of fabric. Cut out butterflies, just a bit outside of the lines. You can see in this photo that I stayed close to the lines, but cut just outside of them:
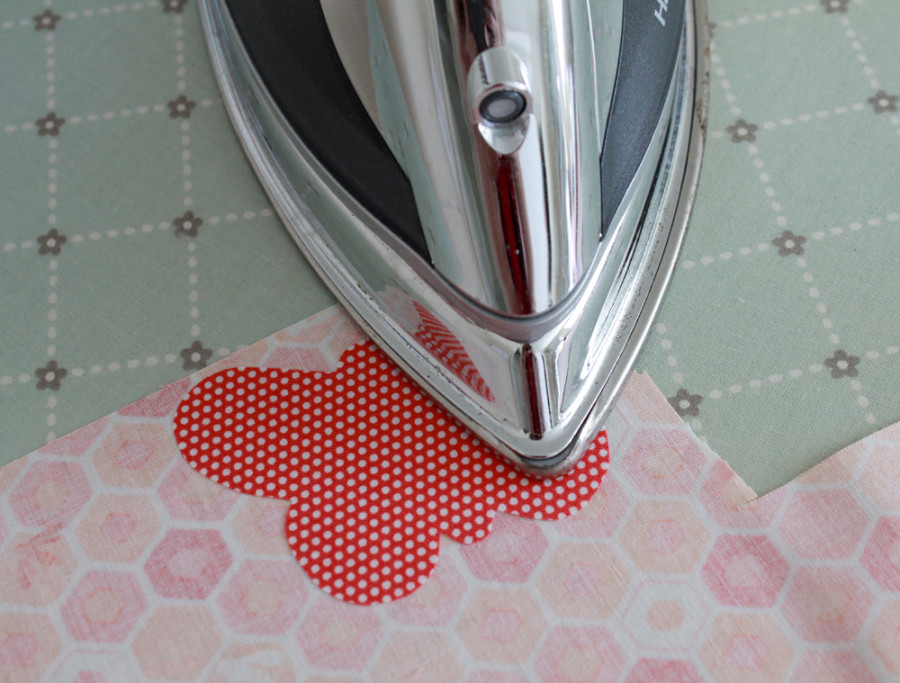
 Step 4: Peel off paper backings and then iron butterflies to the wrong side of another scrap of fabric. This is where you can have some fun mixing and matching fabrics!
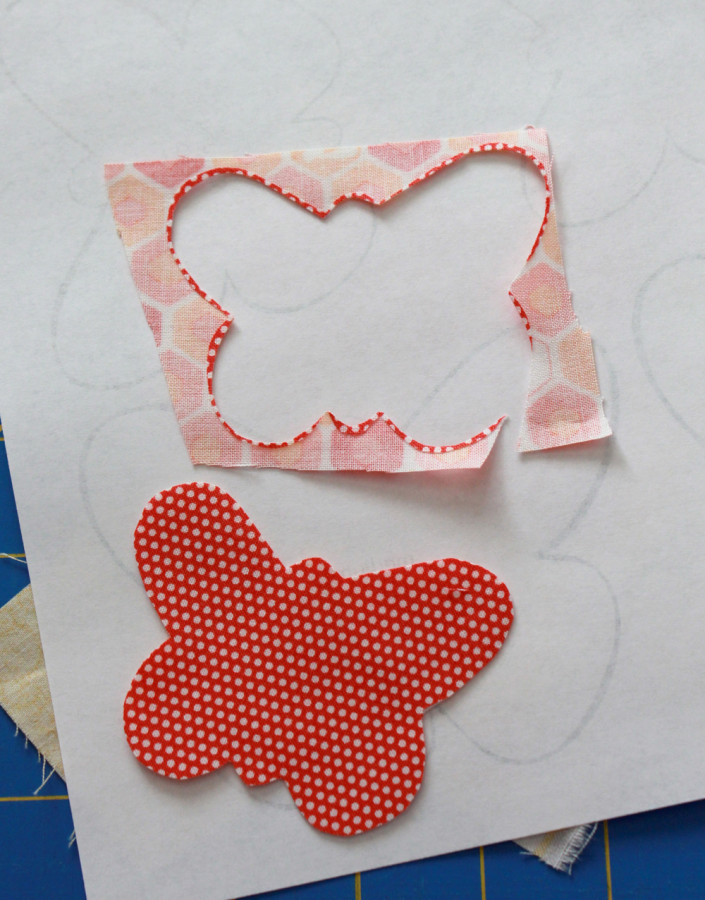
 Step 5: Carefully cut around the butterfly shape, just a bit inside of the first butterfly shape. Nice, sharp scissors will be helpful here. You now have a two-sided butterfly!
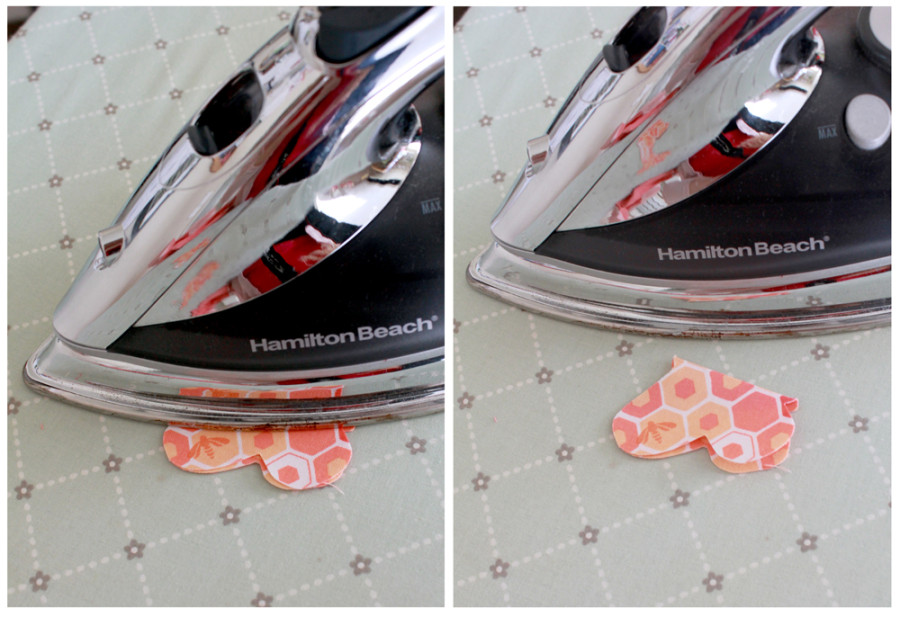
 Step 6: Fold each butterfly in half and press for 5 to 7 seconds to create a crease. Unfold slightly and let cool.
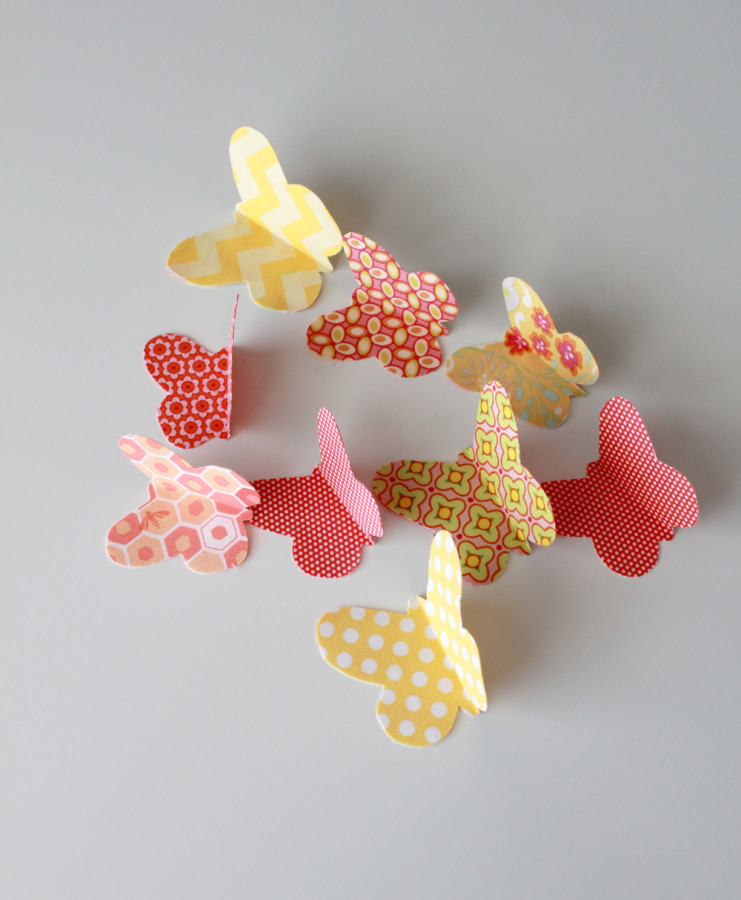 Your lovely butterflies are now ready to adhere to the branches. I used a dab of hot glue, and held the butterfly in place until it set.
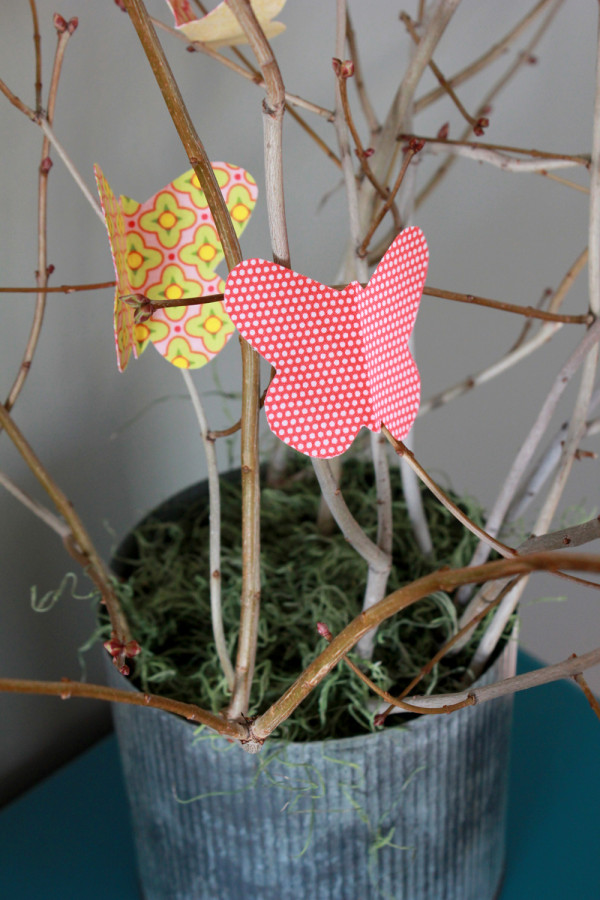
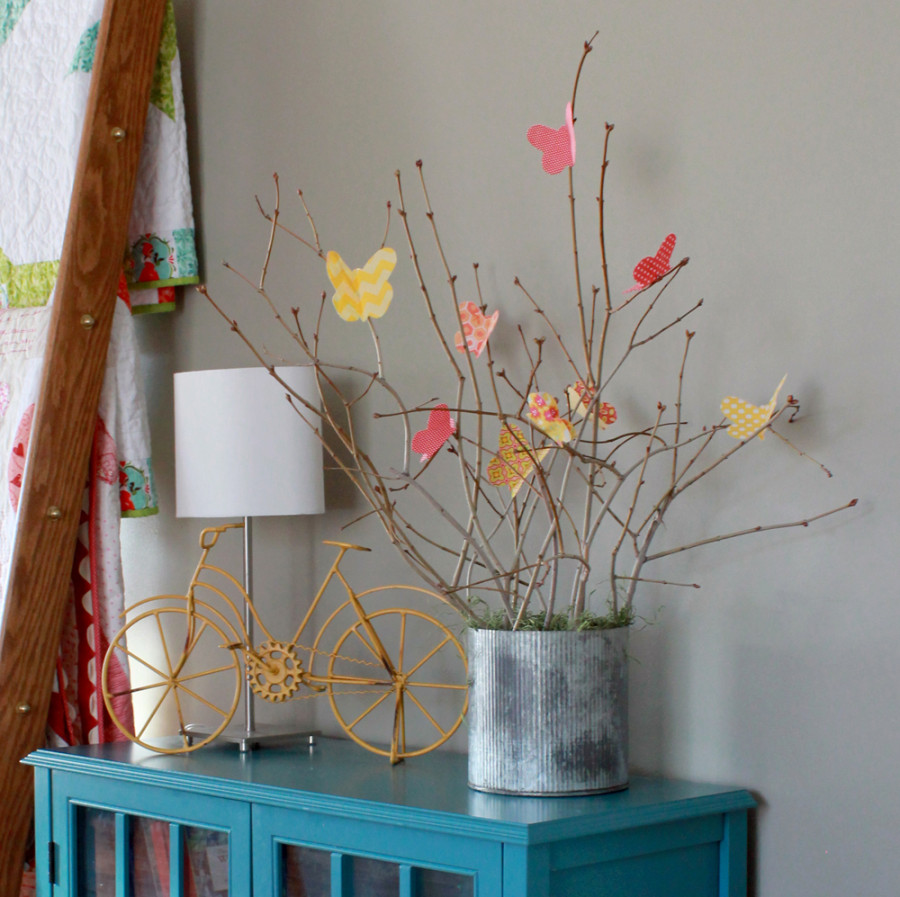 Want to see what else you can do with these fabric butterflies? I made some of the larger sizes and had fun finding new ways to use them around the house. Hop on over to my blog to see more ideas!
Written by Andy Knowlton
