No Products in the Cart
 Hello friends! This is Jennifer Long from Bee Sew Inspired and I am excited to share my not-so-spooky Halloween Quilt pattern with you.
 The inspiration for this quilt pattern came from a Halloween Bag fabric panel (Art Gallery Fabrics - Spooky and Sweeter) but the beauty of this pattern, is it can be made with any large-scale fabric prints you already have at home.
 I love the opportunity to fussy-cut cute prints and you can really get creative with the applique placement.
 Are you ready to get started? Let's have some fun and whipping up this fun quilt this weekend!
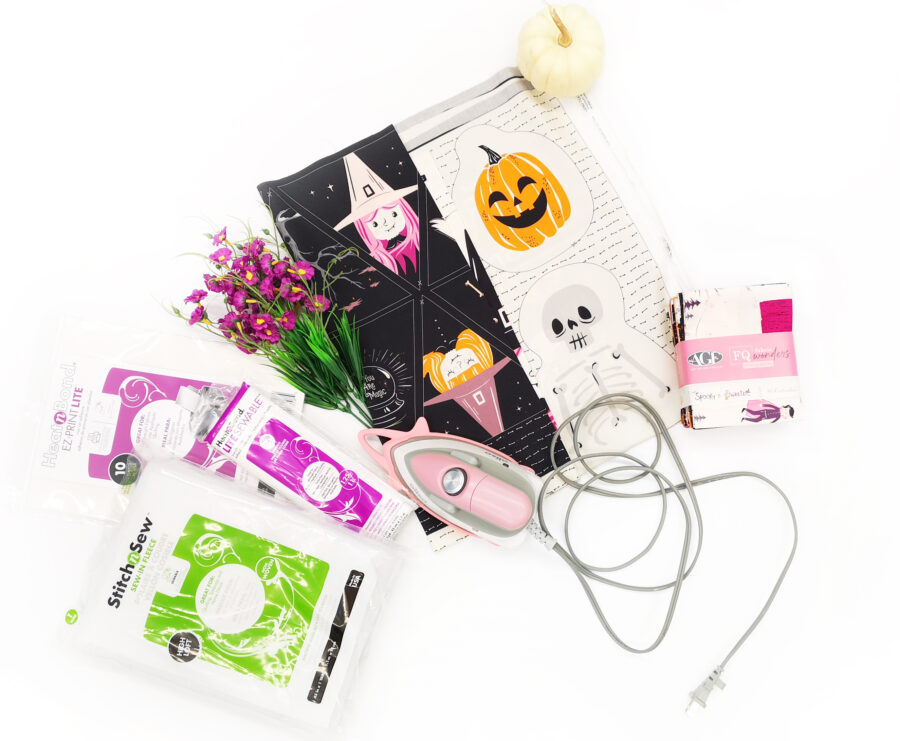
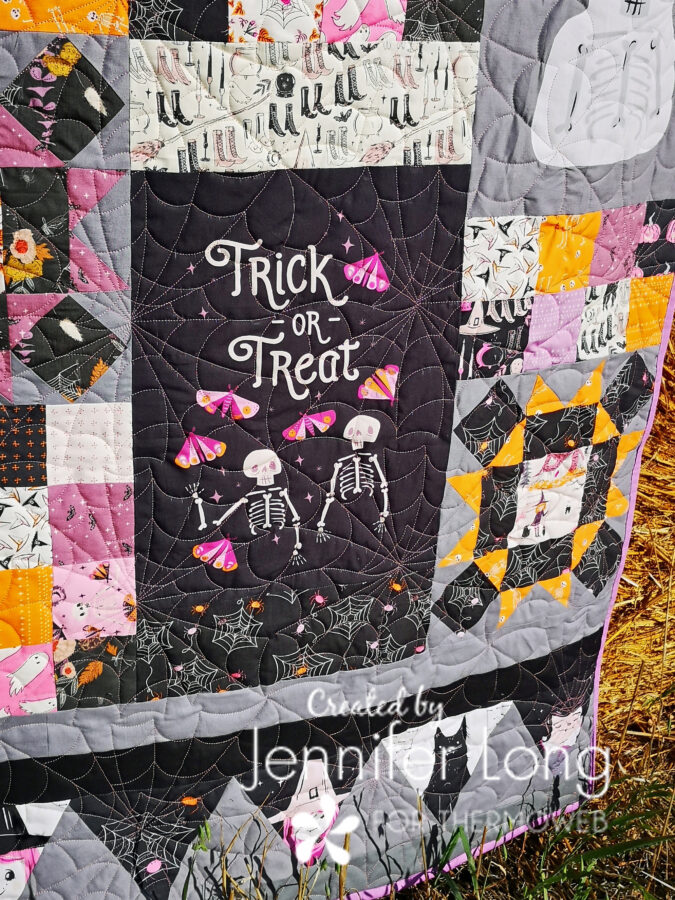
 From the panel, cut (2) large panel images, referencing the quilt photo for panel orientation.
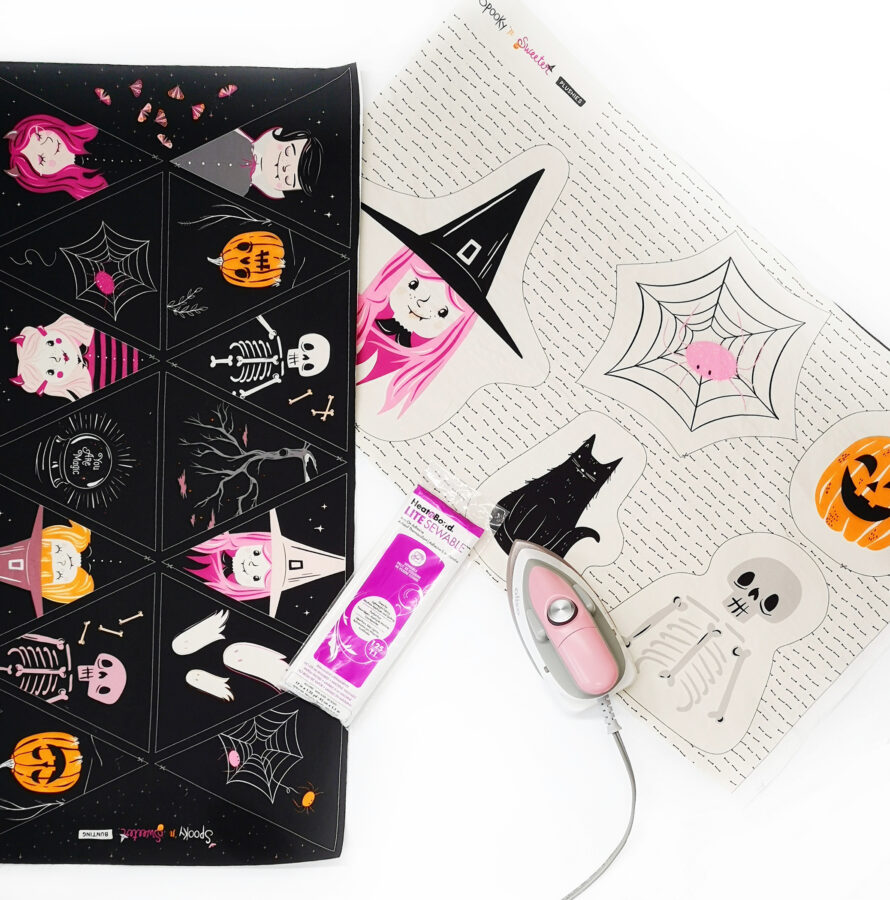
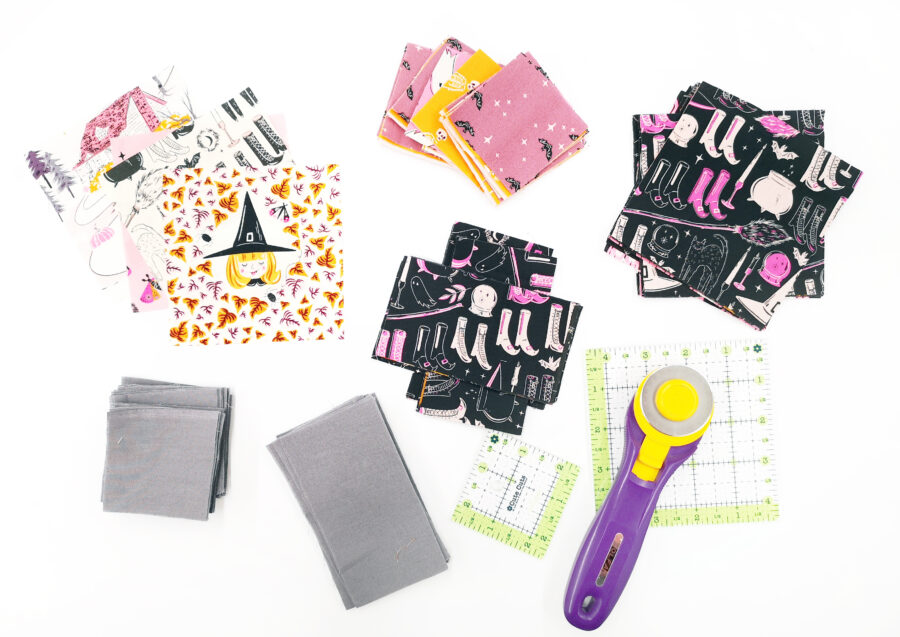
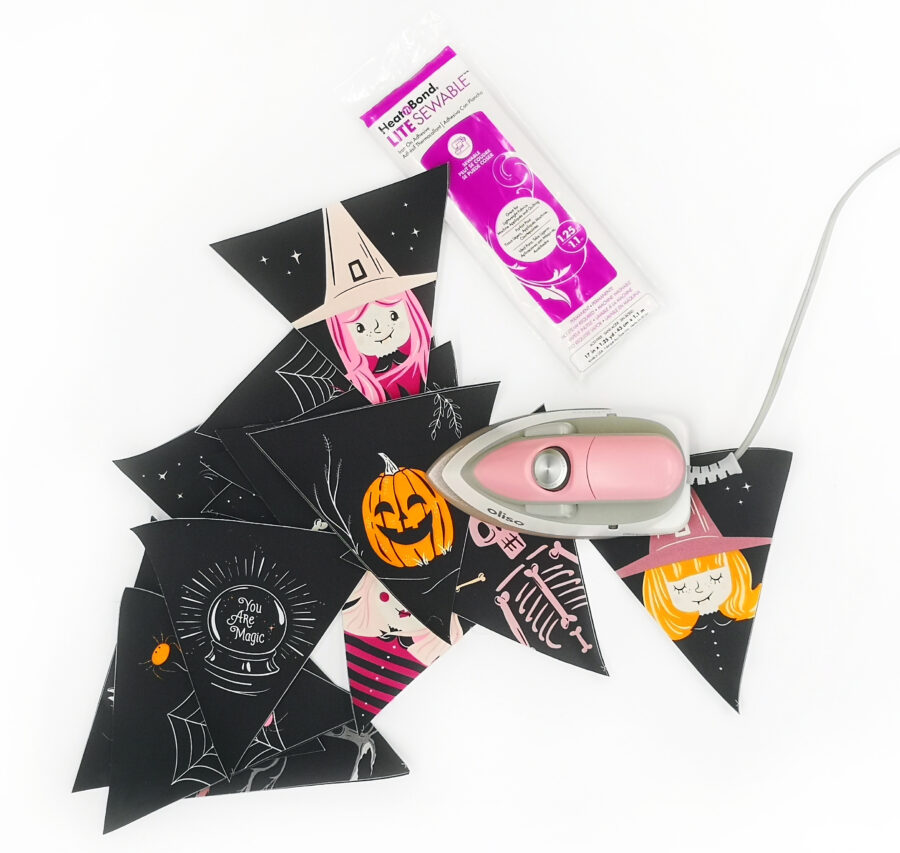 Use the Triangle Template provided to fussy cut (21) panel or print images from the triangle portion of the Spooky n’ Sweeter Panel and (21) background fabric triangles
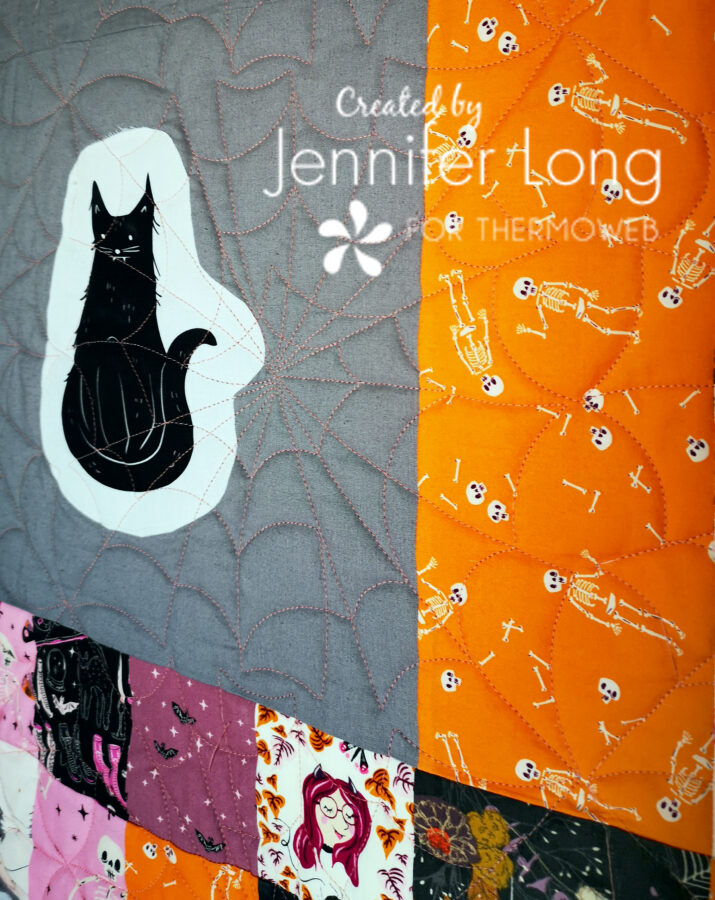
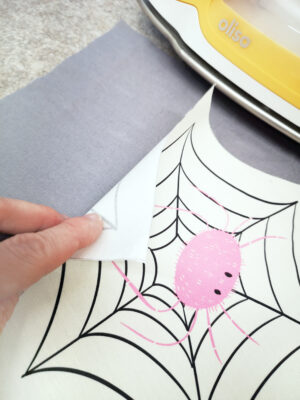
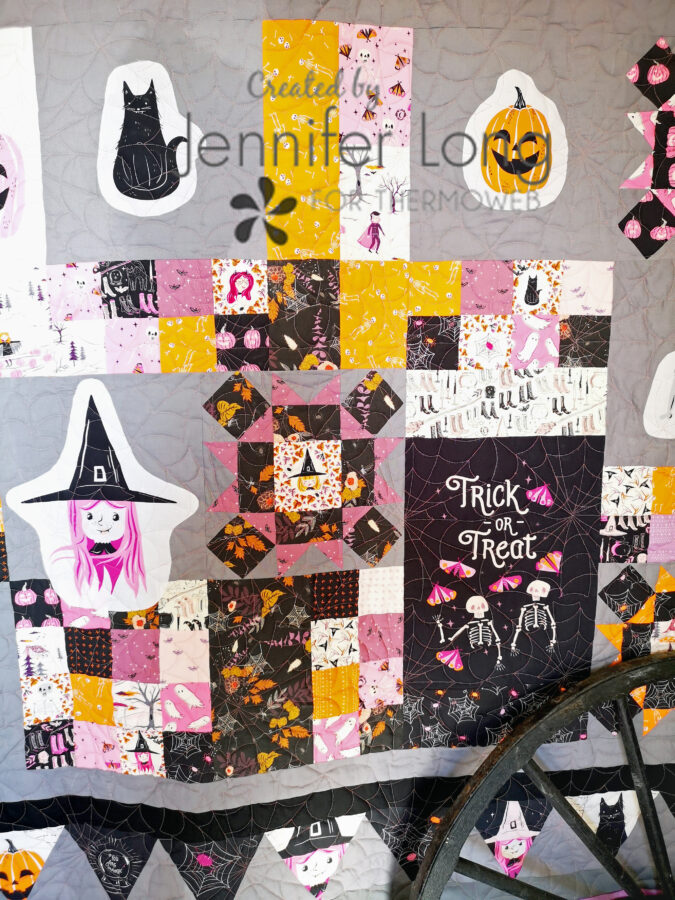
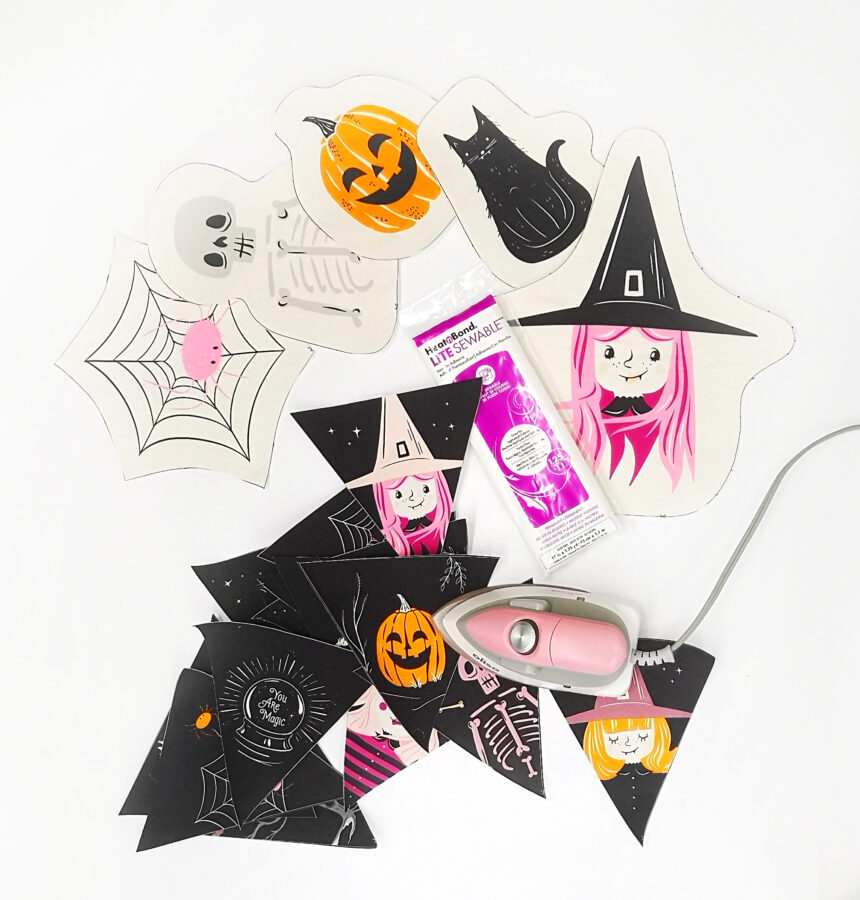 Trim up the remaining section of the panel featuring small motifs (witch, cat, spider web, skeleton, pumpkin). On the wrong side of the left-over panel piece, fuse a piece of Heat ‘n Bond LITE Sewable Iron-On Adhesive trimmed to the size of that panel piece. Cut out each of the (5) individual small motifs along the printed lines on the panel for raw edge applique. Set aside for Applique Blocks.
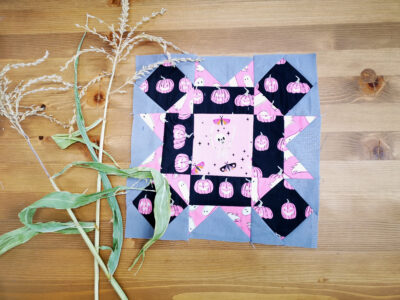
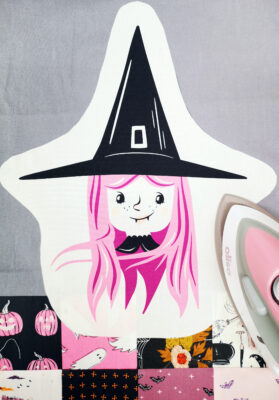 Gather (5) 12 ½” background squares and (5) applique motifs prepared with Heat n Bond LITE sewable Iron-On Adhesive during the cutting instructions. The applique motifs should already be trimmed to the finished size.
 Remove the paper from the glue side of each applique motif. Place each applique motif onto the right side of (1) 12 ½” background square. Fuse each applique motif in place with your warm iron.
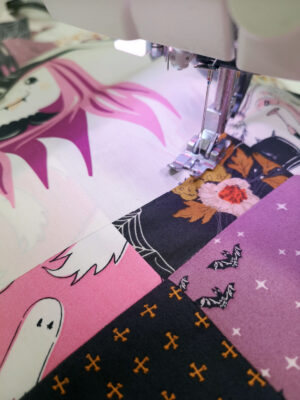 Finish the raw edges of each applique motif with a coordinating thread color by hand or with your sewing machine using the decorative stitch of your choice.
There should be (5) Applique Blocks, each measuring 12 ½” x 12 ½” unfinished.
Finish the raw edges of each applique motif with a coordinating thread color by hand or with your sewing machine using the decorative stitch of your choice.
There should be (5) Applique Blocks, each measuring 12 ½” x 12 ½” unfinished.
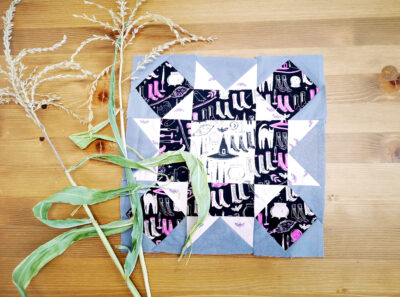
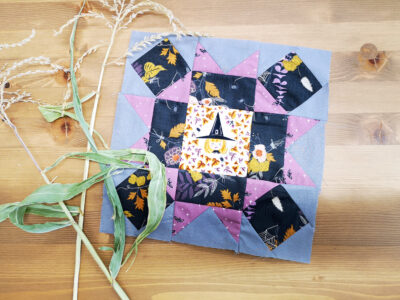
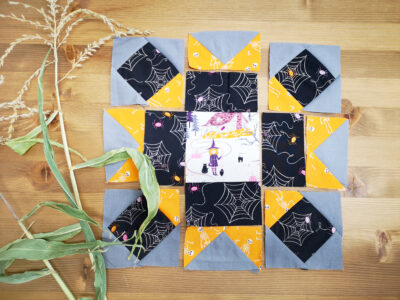 Following the cutting and assembly directions in the Halloween Applique Quilt Pattern, make (4) Star blocks. The blocks should measure 12 1/2" x 12 1/2" square.
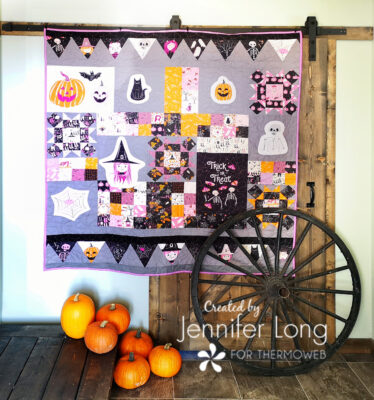
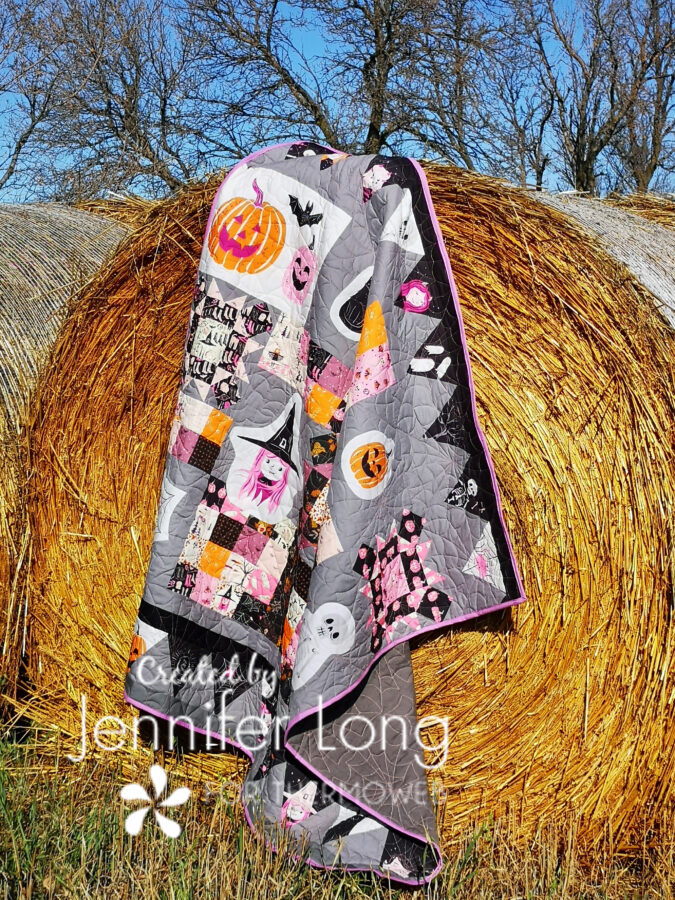
 Assemble the whole quilt top center according to the cutting and layout instructions in the downloadable PDF pattern.
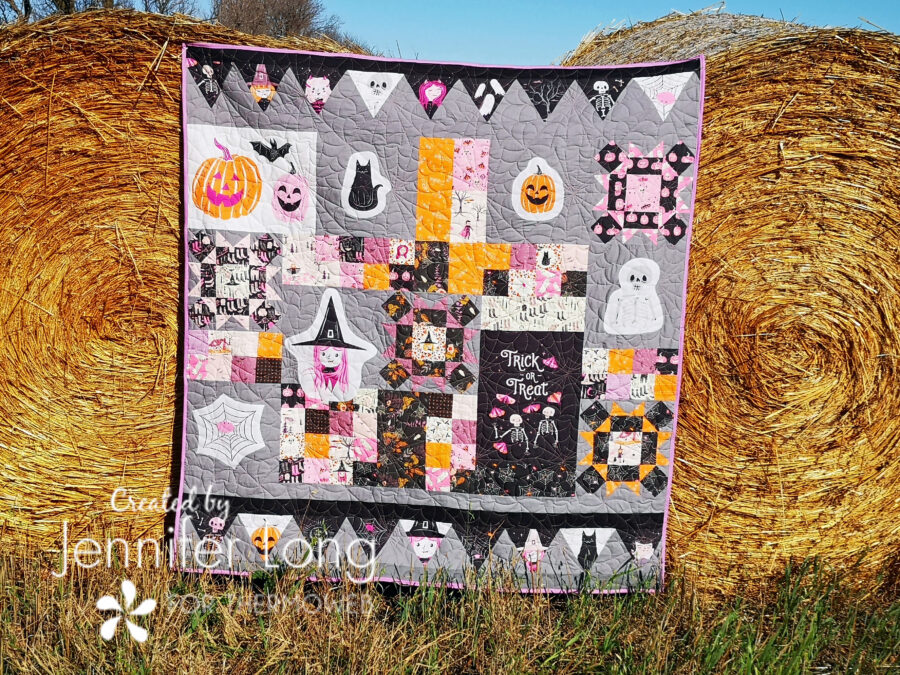 Your Quilt Top is complete!
Layer your backing, StitchnSew Sew-in Fleece and quilt top. Quilt as desired.
Your Quilt Top is complete!
Layer your backing, StitchnSew Sew-in Fleece and quilt top. Quilt as desired.
 Bind the edges with your favorite binding method.
For added fun, embellish your quilt with long stitch hand quilting, embroidery or buttons.
Bind the edges with your favorite binding method.
For added fun, embellish your quilt with long stitch hand quilting, embroidery or buttons.
 Thank you for joining me today on the Thermoweb Blog. If you liked this project, I would love it if you followed me at Bee Sew Inspired on Instagram. Please remember to tag me @beesewinspired if you make this quilt so I can like, share and tag you back!
 Happy Halloween friends and keep sewing spooky!