No Products in the Cart
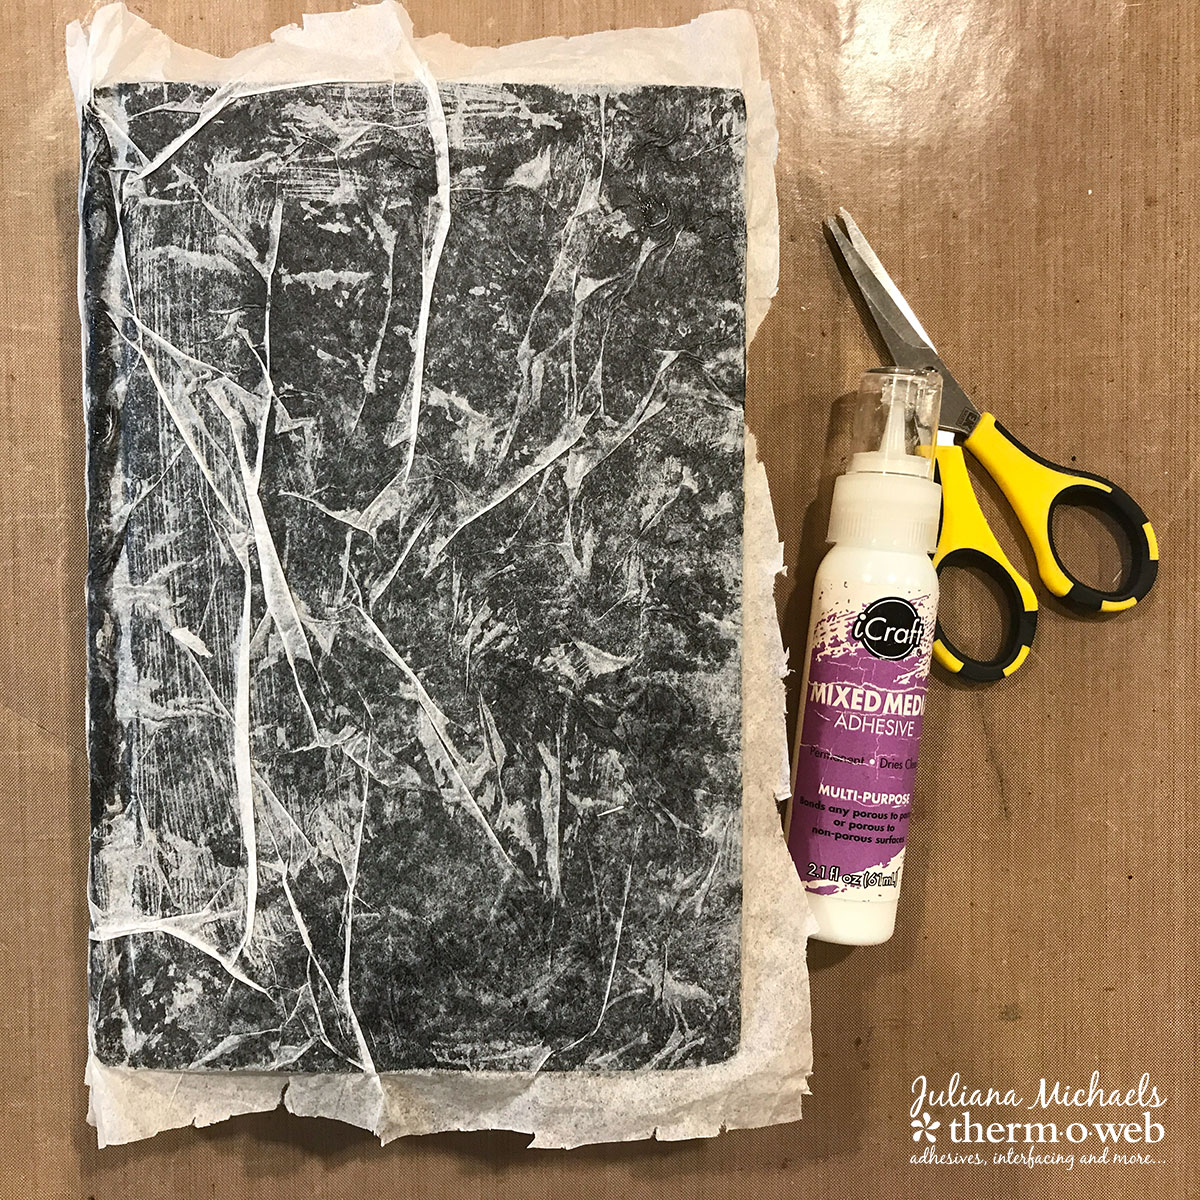
 Trim off the excess leaving a small border. Fold the excess over the edge of the book cover and adhere in place using Mixed Media Adhesive.
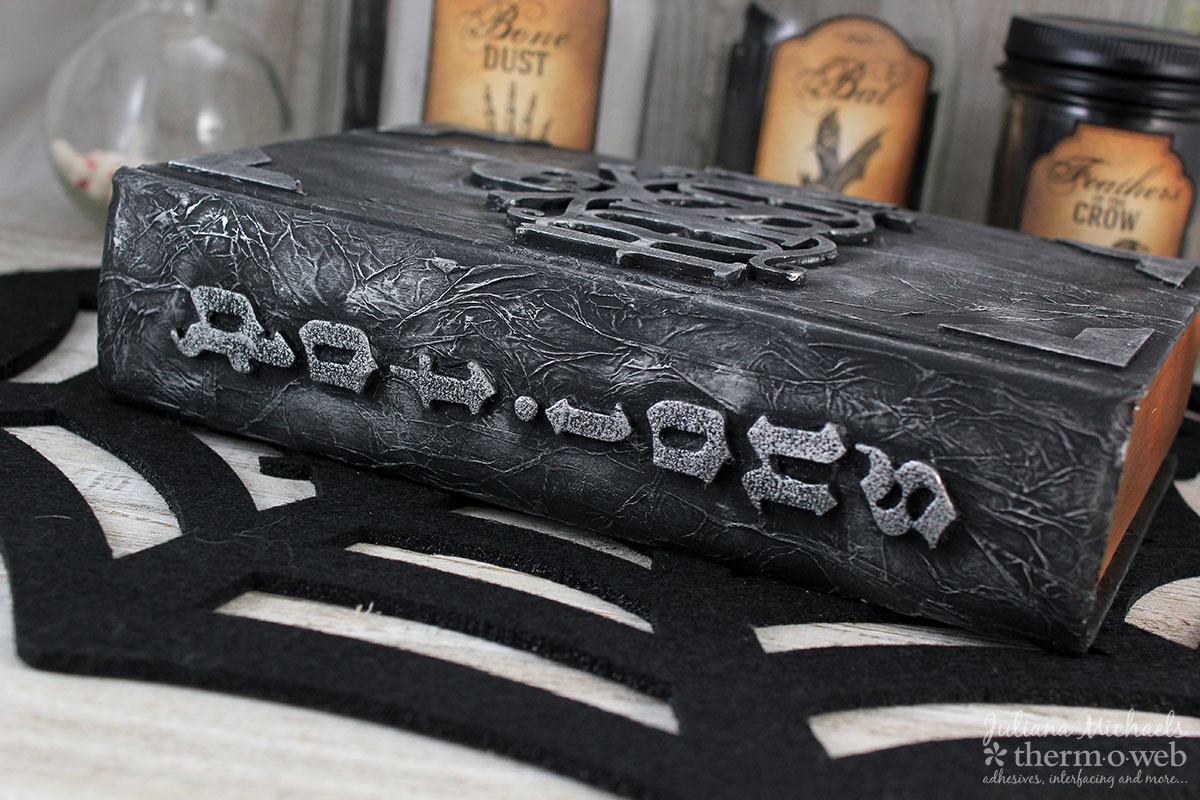
 Once this is dry, spell out the title of your book along the spine using alphabet stickers or chipboard letters. If you are using chipboard letters, you can adhere them using the Mixed Media Adhesive.
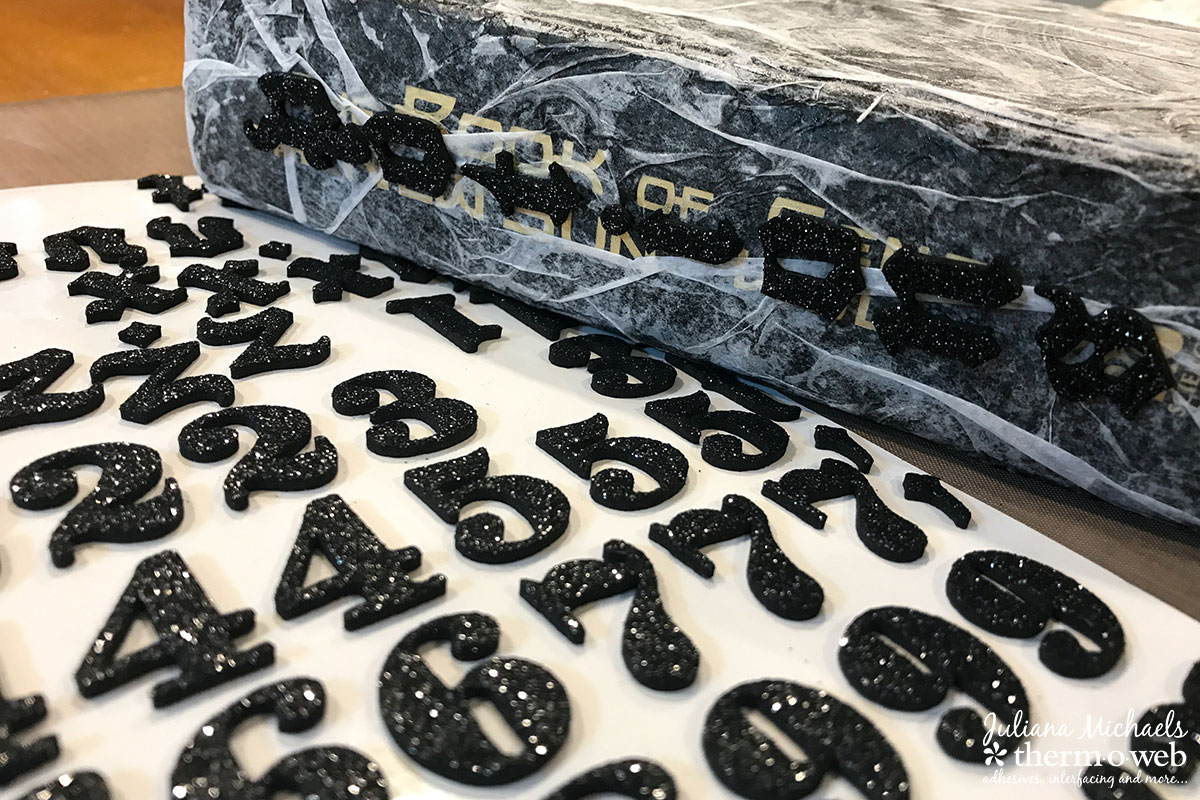
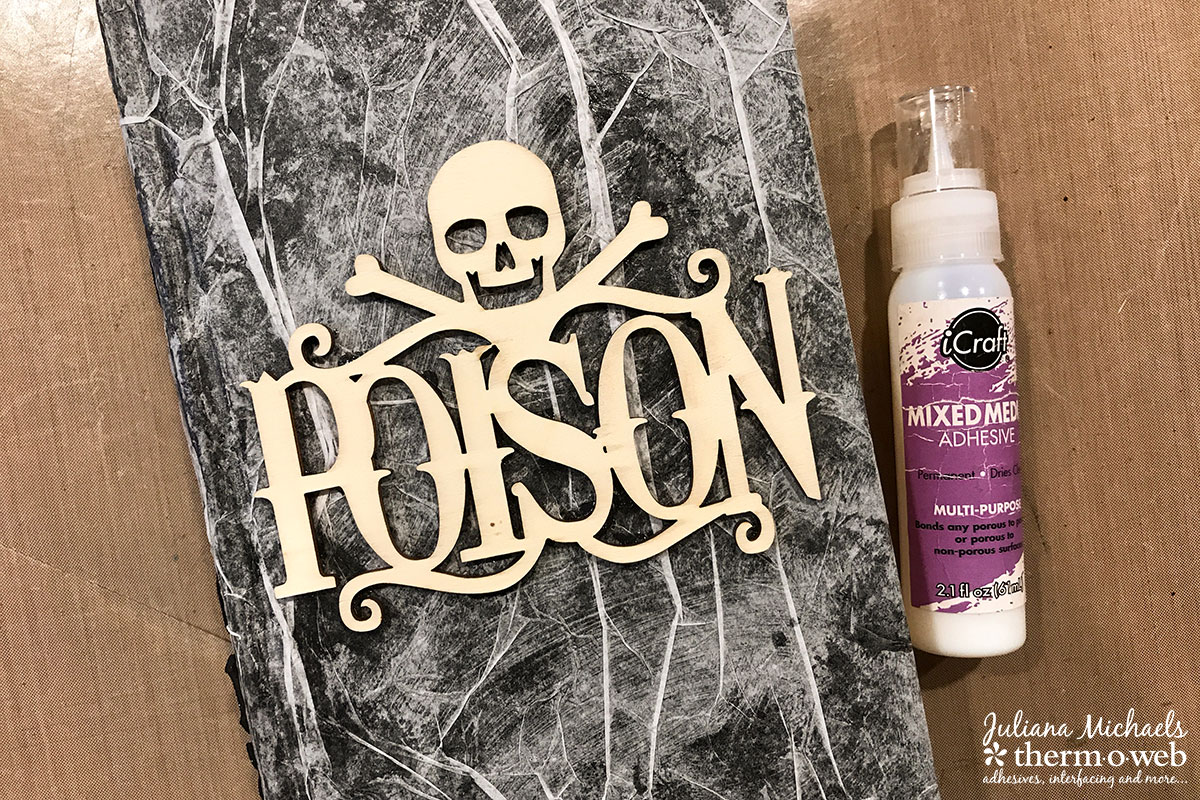
 Mixed Media Adhesive works perfectly to adhere either of these types of items. Place some heavy books on top of this while it is drying to make sure dries with good contact.
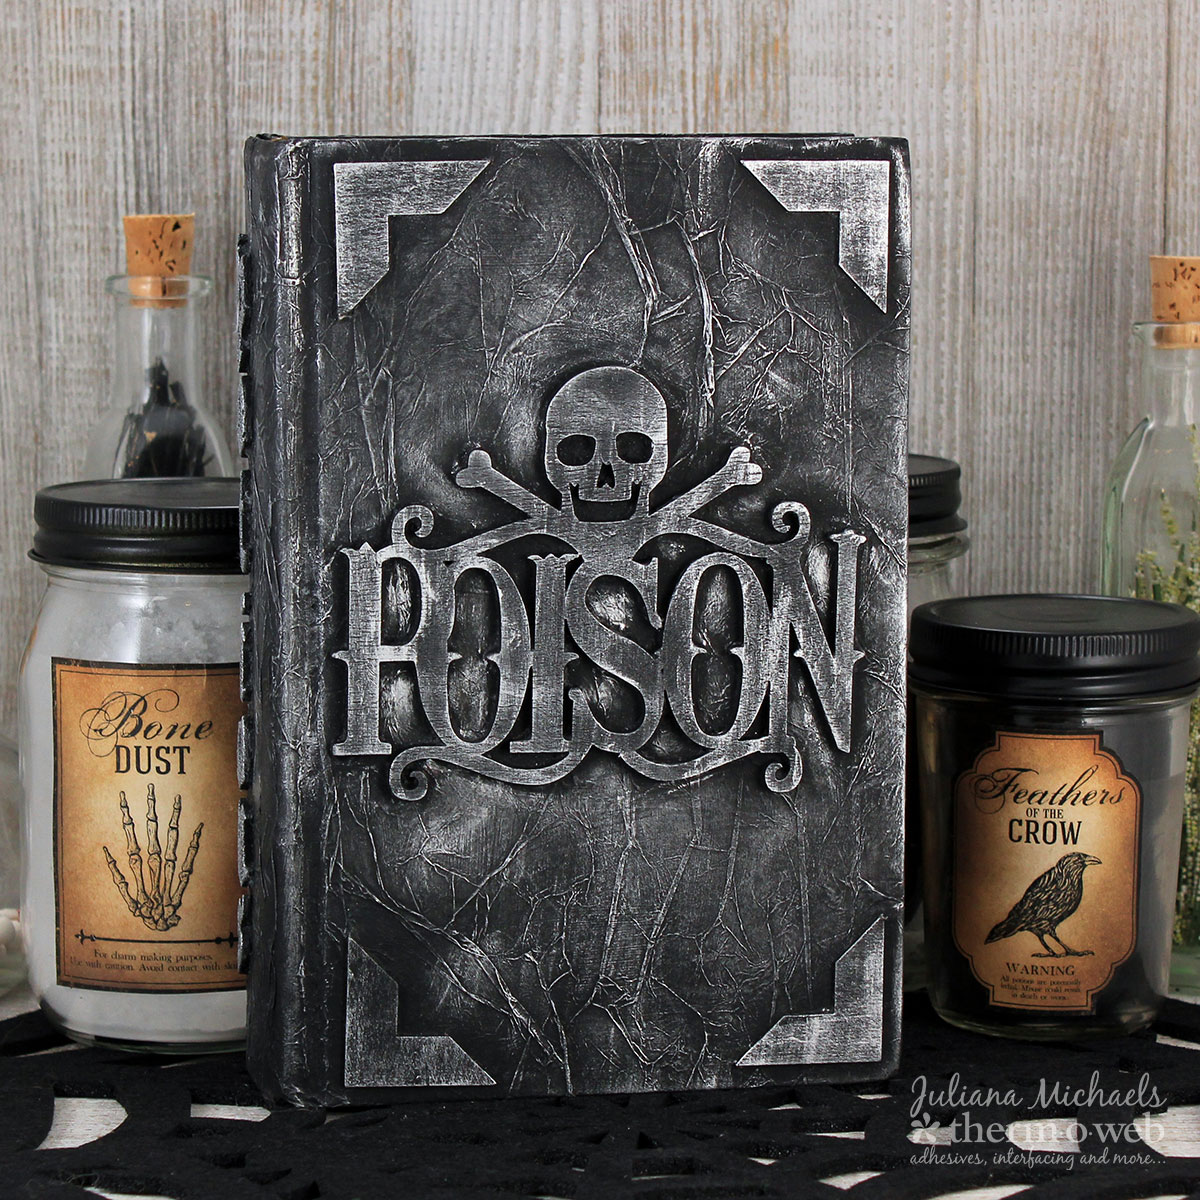
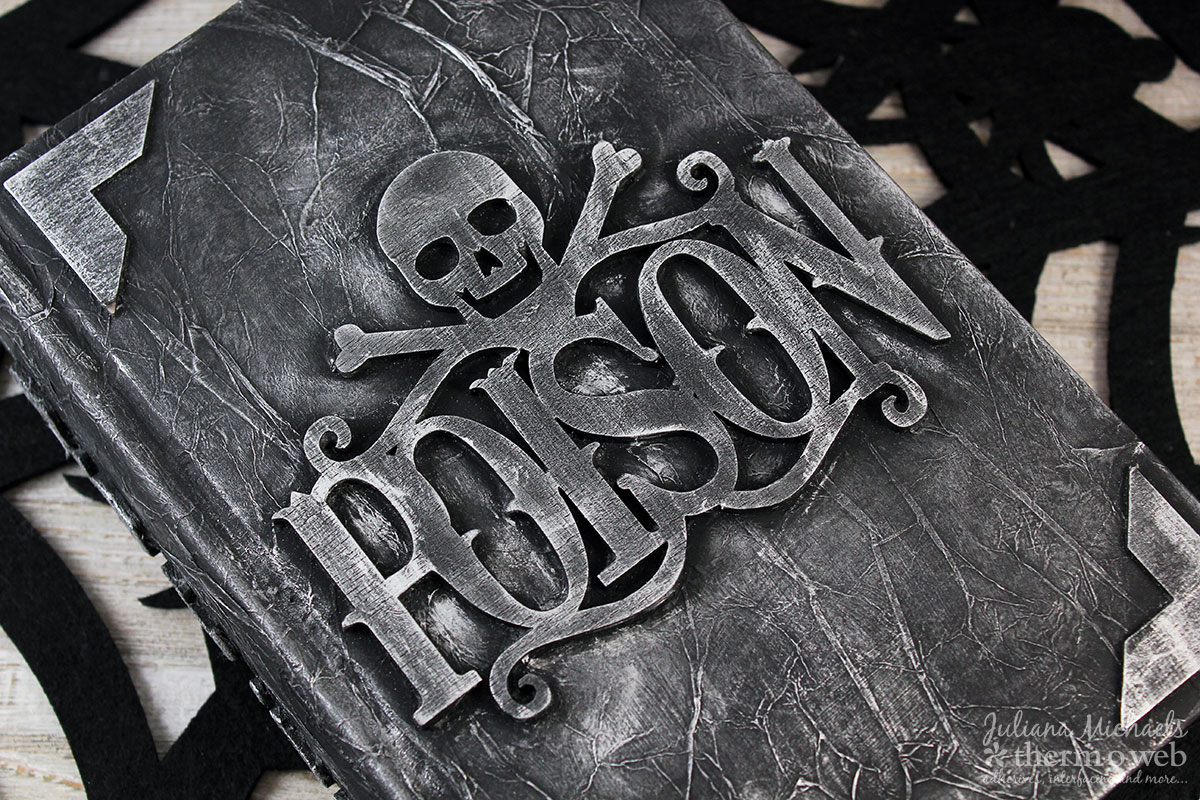
 Once the adhesive is completely dry, paint everything with black acrylic paint making sure to get into all the nooks and crannies. After the black paint is dry, dry brush on the silver paint. Make sure to wipe off any excess paint and that your brush barely has any paint on it. This will allow the black paint to show through while the silver highlights all the texture from the tissue paper and items that you glued to the cover.
 The final touch is to age the edges of the pages with Distress Ink in Vintage Photo and Walnut Stain using a foam blender.
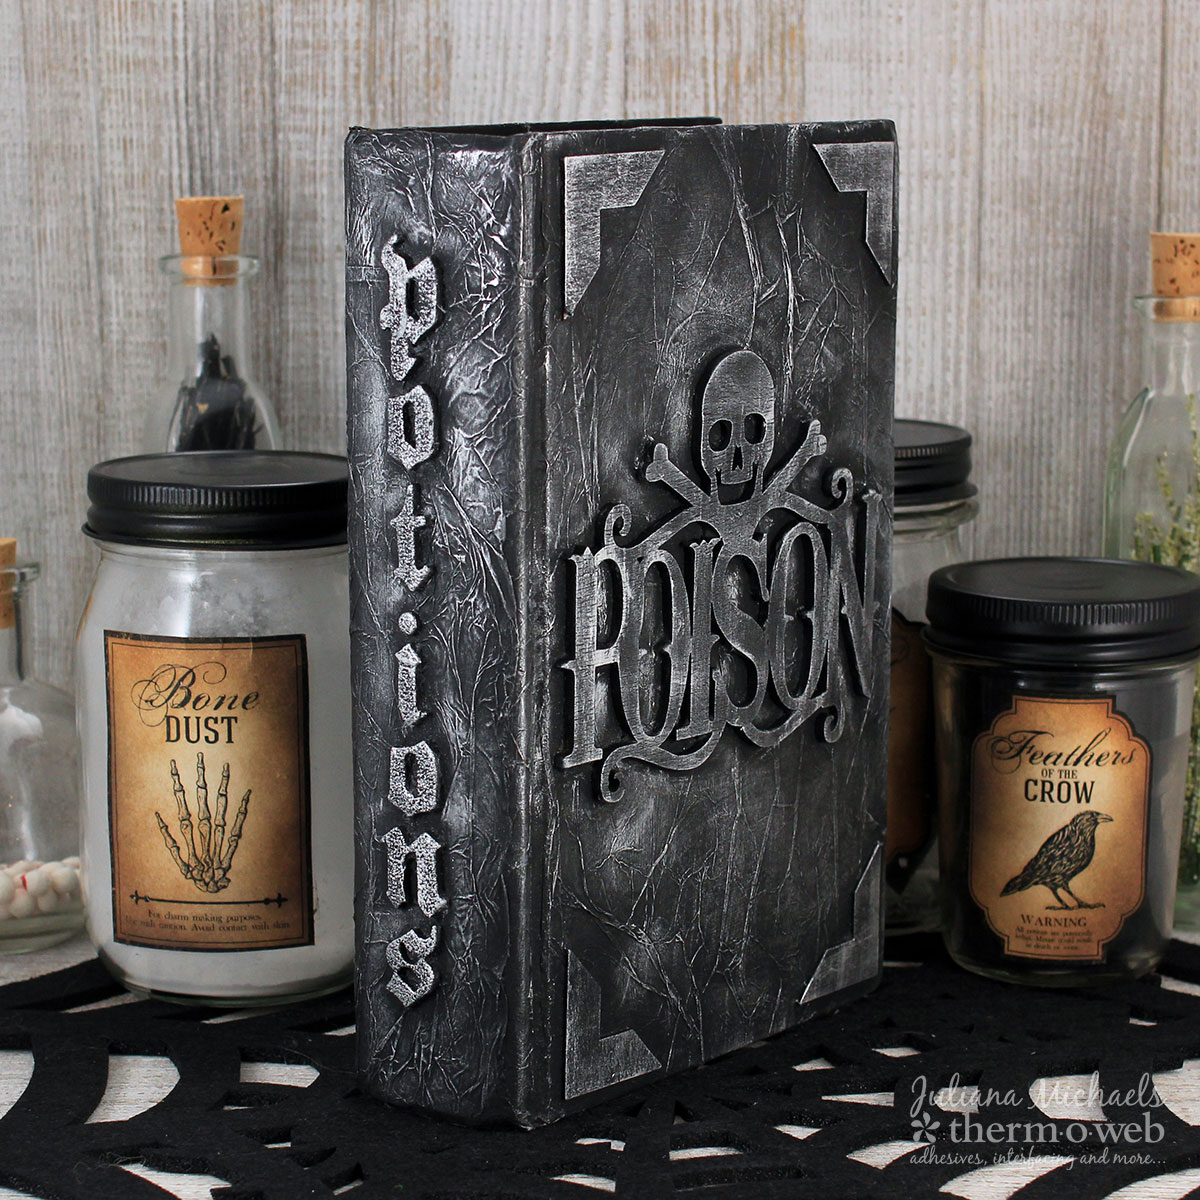 You may have noticed the Halloween props in these photos. If you are interested in creating your own Halloween Apothecary Bottles, check out this post to download the free printable. You can also see some other examples of Altered Halloween Potions and Spell Books. I hope you enjoyed learning how to create your own Altered Halloween Potions Book using Therm O Web's awesome products!