No Products in the Cart
 Hello my lovelies, it's Daryl here from Patchouli Moon Studio with another project for you. Independence Day is almost here, so this is a quick and easy Patriotic project for you to sew up using Patriotic fabrics.
I needed a bag to hold my little scanner and I thought the Salty Sailor Mini Ditty Bag by Needle & Anchor would be the perfect bag. I have made a few of these bags before and really like them, however, my scanner was too long to fit into one I already had made.
Hello my lovelies, it's Daryl here from Patchouli Moon Studio with another project for you. Independence Day is almost here, so this is a quick and easy Patriotic project for you to sew up using Patriotic fabrics.
I needed a bag to hold my little scanner and I thought the Salty Sailor Mini Ditty Bag by Needle & Anchor would be the perfect bag. I have made a few of these bags before and really like them, however, my scanner was too long to fit into one I already had made.
 Well, that didn't stop me from making one and adding a couple of inches to the bag, so that's what I did and the scanner fits perfectly! And it was perfect timing with Therm-o-Web's Sparkle it Up USA theme week because I used a USA fabric print of fireworks that actually has sparkly glitter on the fabric.
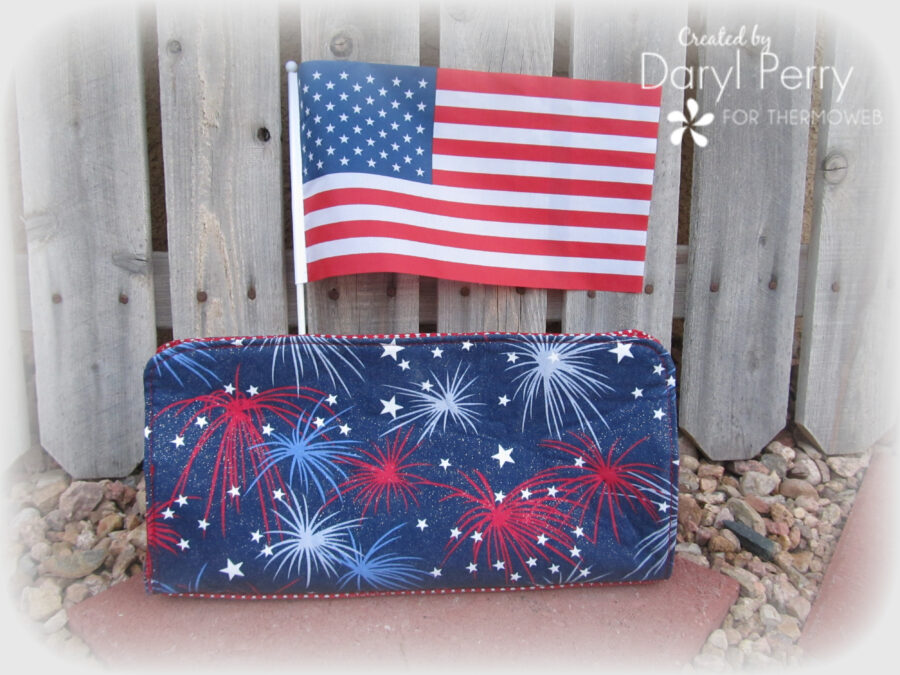 Salty Sailor Mini Ditty Bag measures 9 1/4"W x 6 3/8"H x 3 3/8"D. I added 2 inches to mine, but you will follow the pattern to make the size in the pattern.[/caption]
This is an easy and quick project and it uses snaps to close the bag, so if you have a phobia over sewing a zipper, no worries making this bag!
[caption id="attachment_78083" align="aligncenter" width="400"]
Salty Sailor Mini Ditty Bag measures 9 1/4"W x 6 3/8"H x 3 3/8"D. I added 2 inches to mine, but you will follow the pattern to make the size in the pattern.[/caption]
This is an easy and quick project and it uses snaps to close the bag, so if you have a phobia over sewing a zipper, no worries making this bag!
[caption id="attachment_78083" align="aligncenter" width="400"]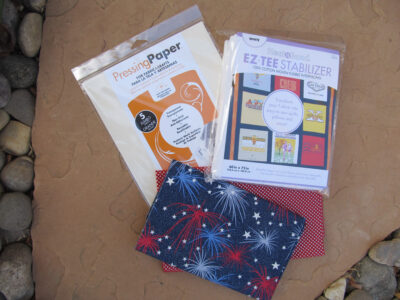 I LOVE using EZ Tee Stabilizer for my bag-making! It's great![/caption]
The Supply List:
I LOVE using EZ Tee Stabilizer for my bag-making! It's great![/caption]
The Supply List:
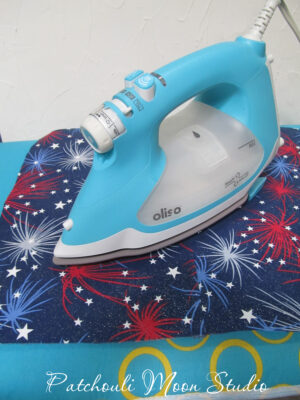 Press your fabric pieces well before cutting.
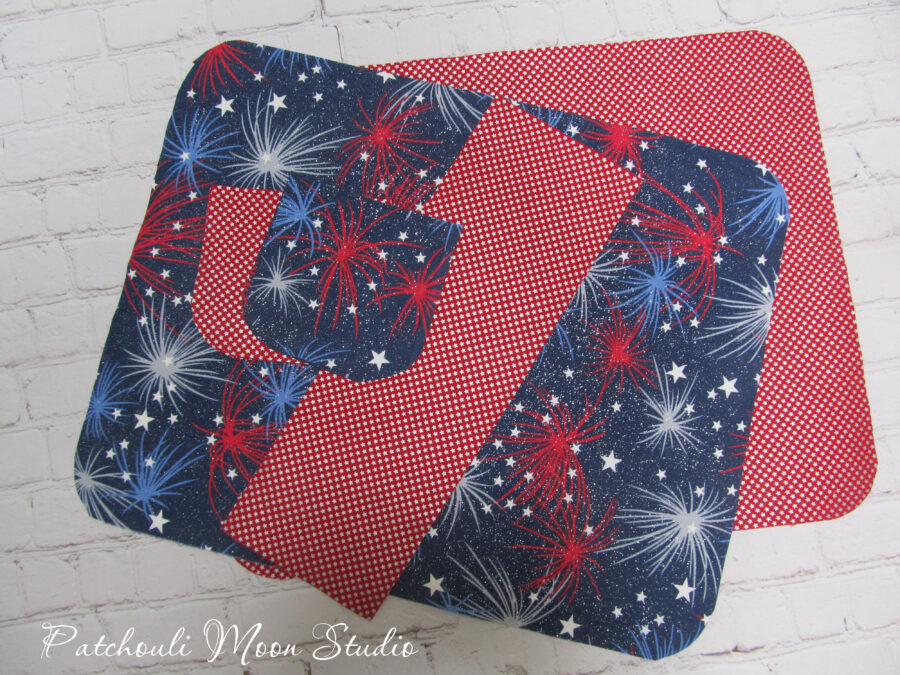 Cut out your pieces according to the directions in the pattern. Fuse your interfacings where directed in the pattern instructions. Tip: Place the StitchnSew Non-Woven Craft Sew-in Firm Interfacing on the bottom piece, and then place the StitchnSew Non-Woven Craft Sew-in Firm Interfacing over it, and press in place, using a Pressing Paper on top. The interfacing will hold the firm interfacing in place by fusing like this.
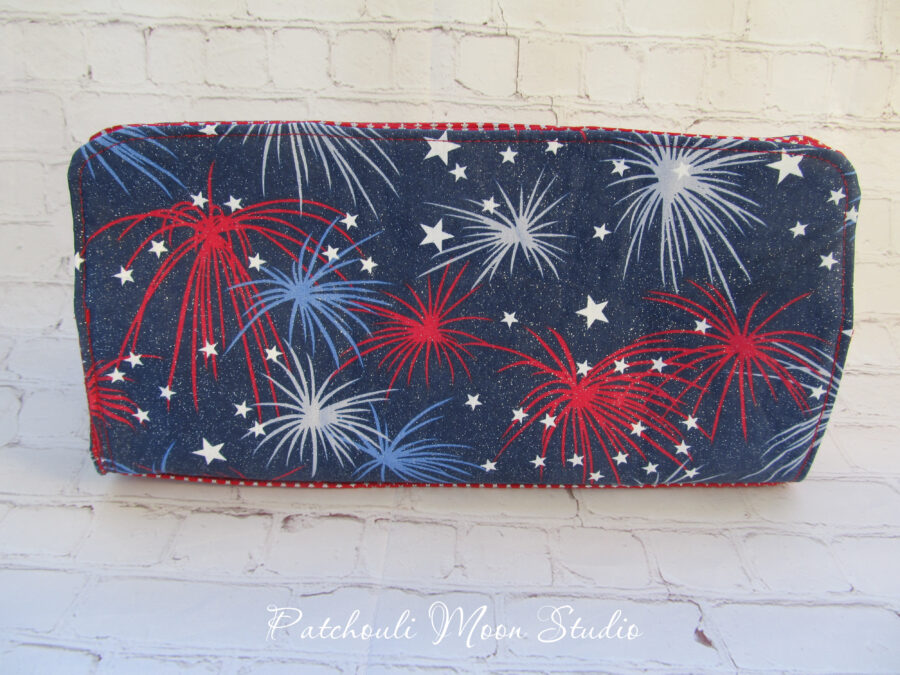 The finished Salty Sailor Mini Ditty bag in my Sparkle fireworks print.
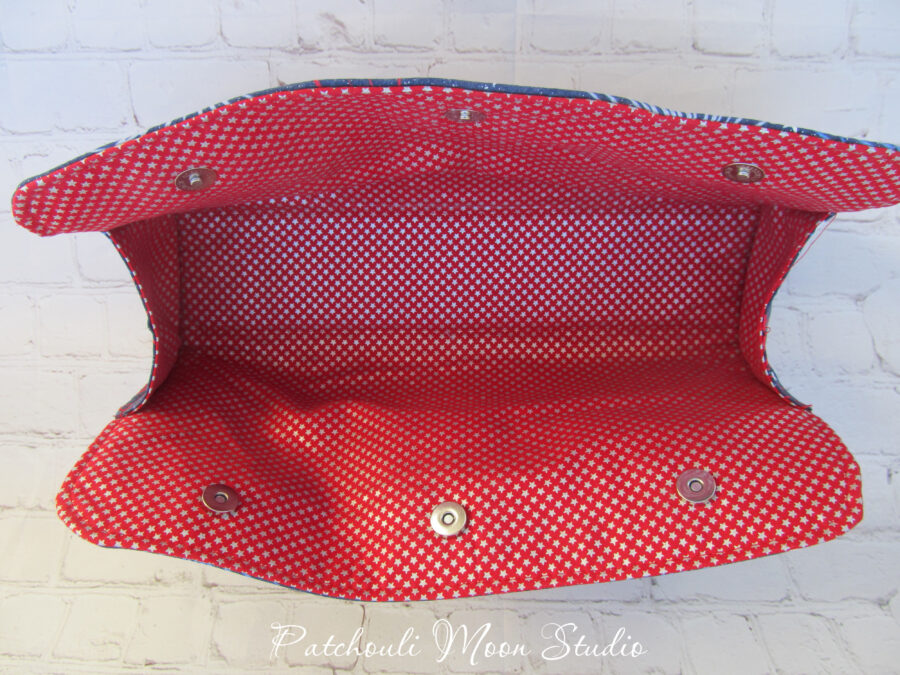 I used a red fabric with silver stars for the lining and bottom of the bag. Remember I made my bag a couple of inches longer, so I added another magnetic snap to mine, but you will follow the instructions for adding 2 snaps.
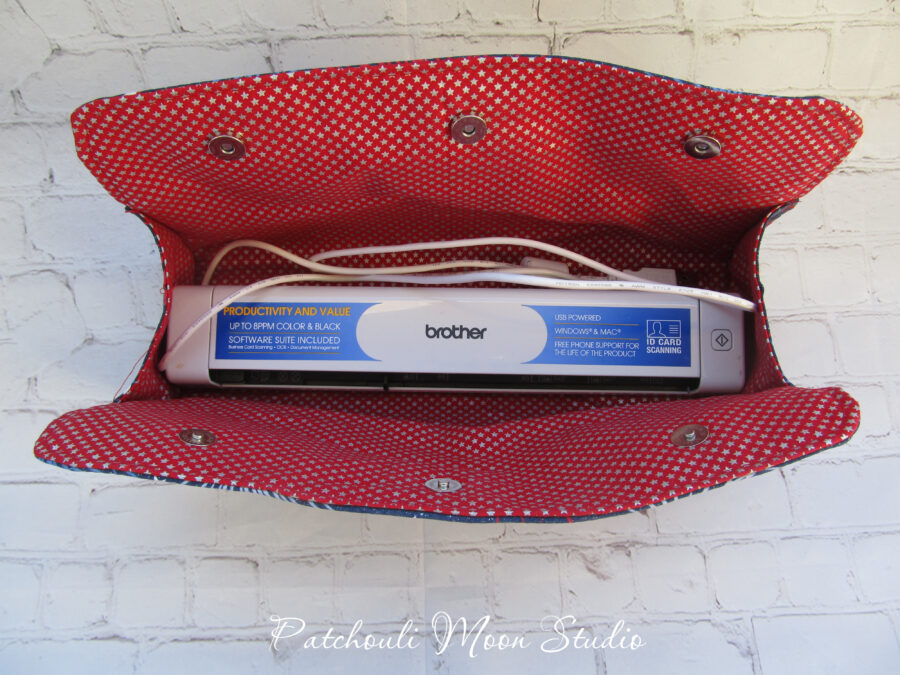 And inside my bag now lives my little scanner with cord. It's a perfect fit!
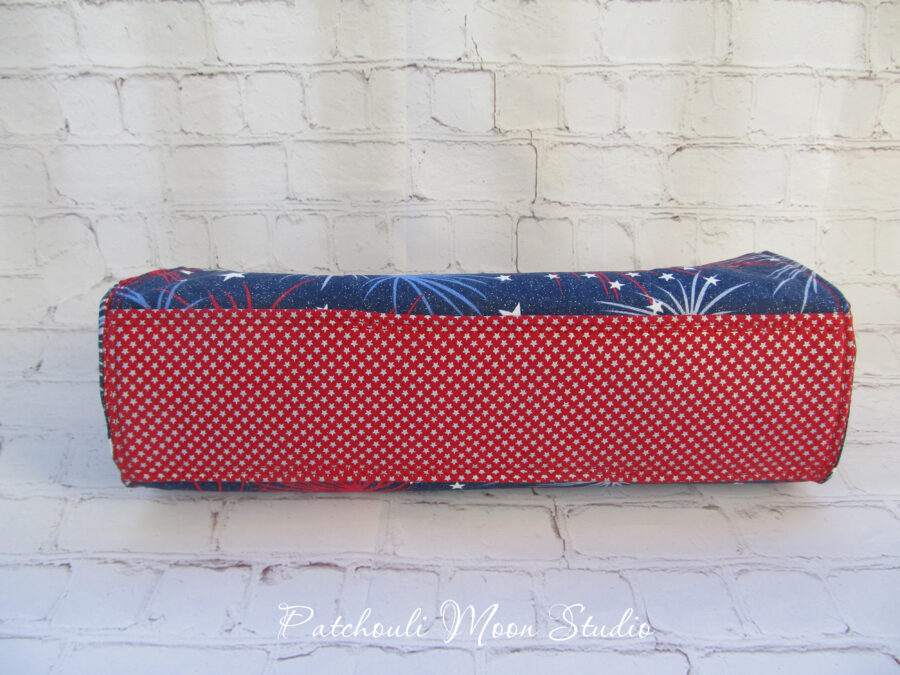 The bottom of the bag is the same fabric as the lining.
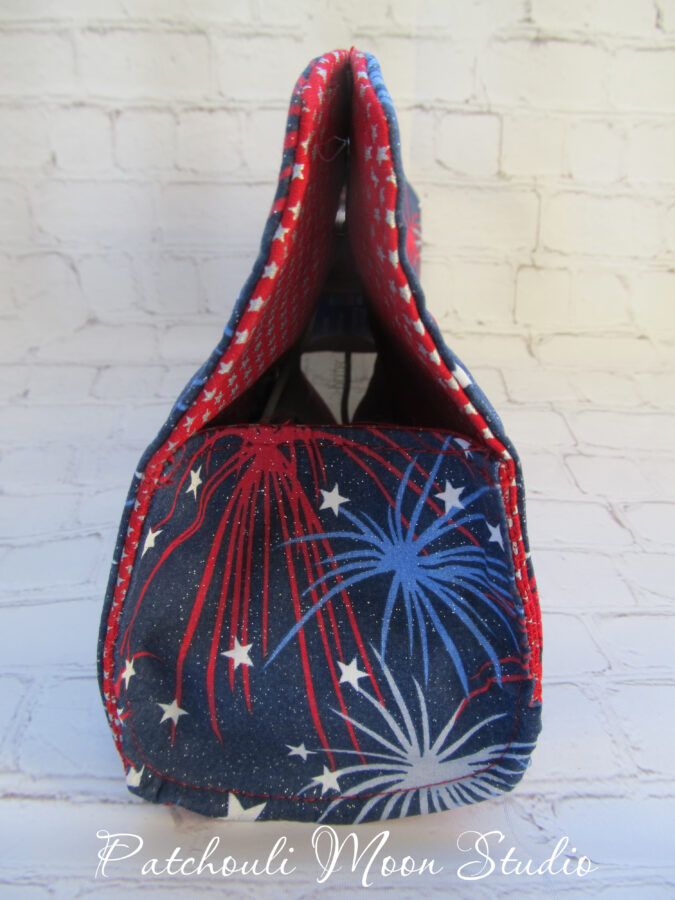 The side view of the bag.
Tip: When sewing the sides of the bag, the fabric does get thick here, so I clip the sides to the bag and then hand sew it together first. That way I don't have clips or pins in the way when I machine sew around it next, which I find makes it easier to sew the sides.
Now that was pretty easy to make, don't you think? And it is a great shape and size for holding all kinds of things, such as pencils/pens, makeup, men's shaving stuff, craft supplies, knitting needles, first aid kit, sewing stuff like clips or rotary cutters and more, stamp pads and small stamps, etc...
Happy sewing, ~Daryl
The side view of the bag.
Tip: When sewing the sides of the bag, the fabric does get thick here, so I clip the sides to the bag and then hand sew it together first. That way I don't have clips or pins in the way when I machine sew around it next, which I find makes it easier to sew the sides.
Now that was pretty easy to make, don't you think? And it is a great shape and size for holding all kinds of things, such as pencils/pens, makeup, men's shaving stuff, craft supplies, knitting needles, first aid kit, sewing stuff like clips or rotary cutters and more, stamp pads and small stamps, etc...
Happy sewing, ~Daryl