No Products in the Cart
 Hey guys! I’m Lisa from StubbornlyCrafty.com and I’m so excited to be joining the Therm-o-Web team! I’m a simple pattern designer and today I’ve got a sweet snowman plushie design to share with you. Let’s get started!
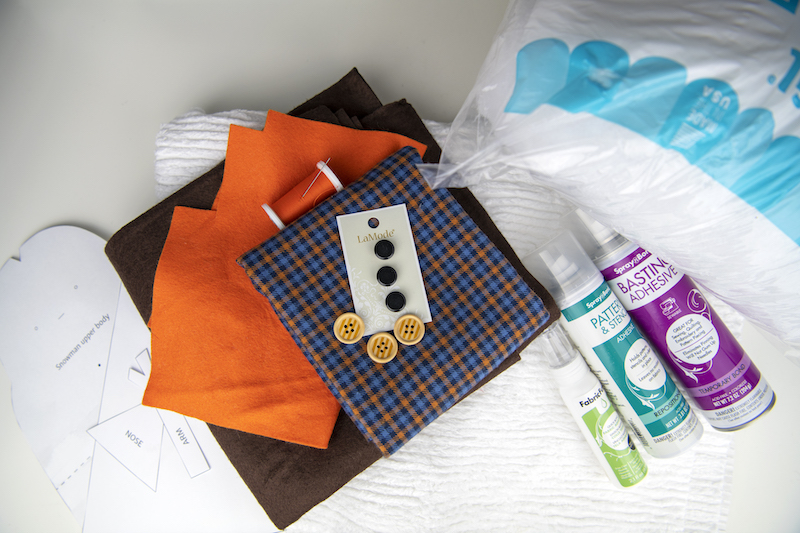 Supplies:
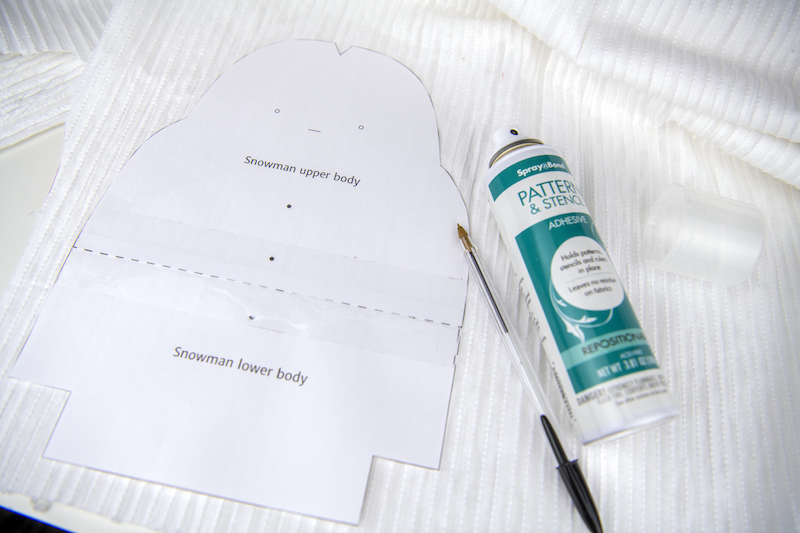
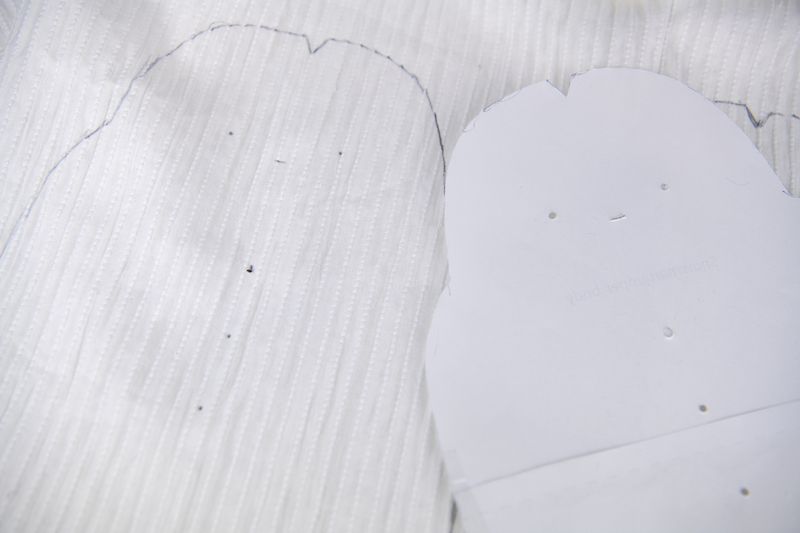 On one main body piece, transfer your eye, nose, and button placement markings. I like to poke a hole through my paper on the markings with a pen then use those holes to make small marks on my fabric.
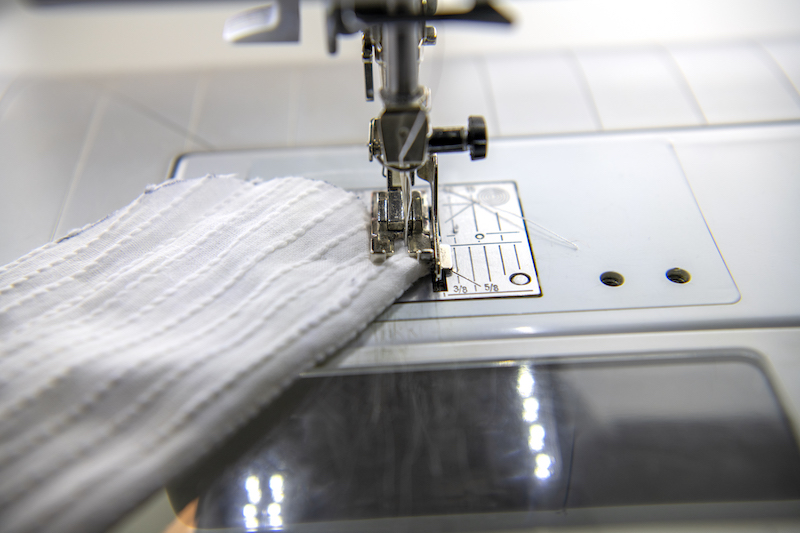 We will start by sewing the dart at the top of our snowman’s head. This helps to give his head some dimension. Fold the snowman’s body in half so the two sides of your dart meet. Sew using a ¼” seam allowance. Repeat on the second body piece.
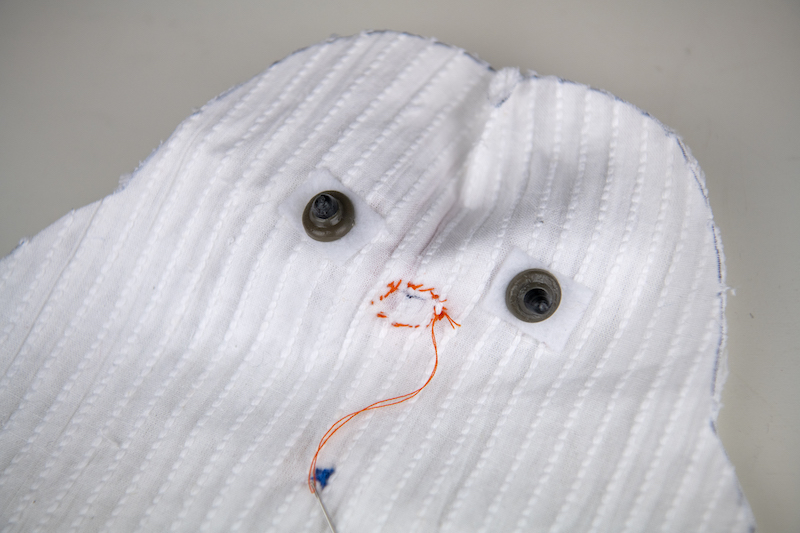
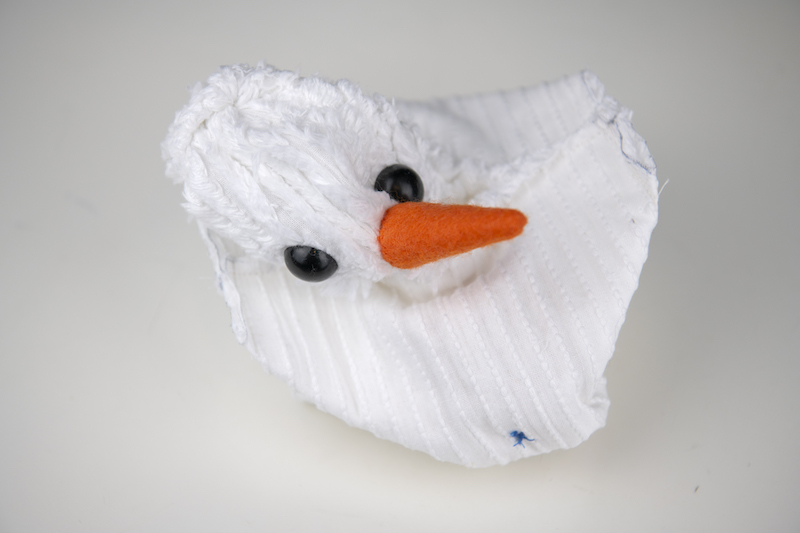
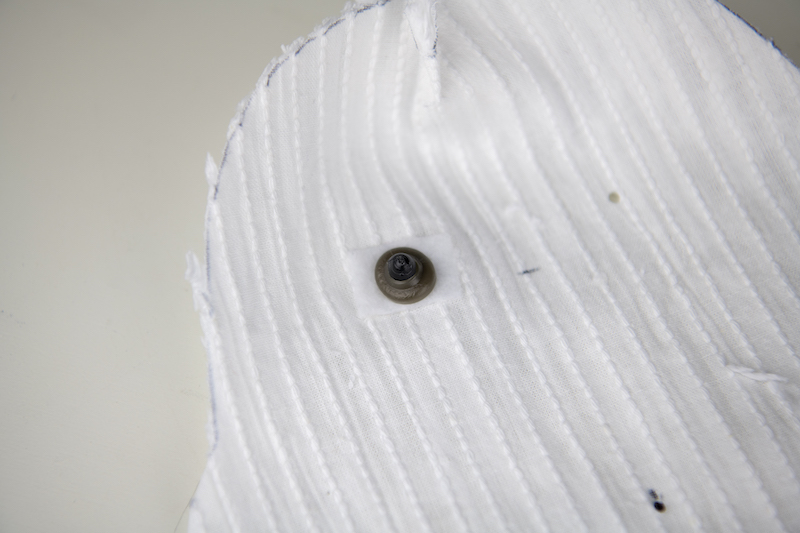 Set your back body piece aside. Now that our dart is done, sew on the eyes. If you are choosing to use safety eyes, I recommend using a small square of stabilizer in the back to reinforce before doing so. If you don’t have a stabilizer, some white felt will work, too.
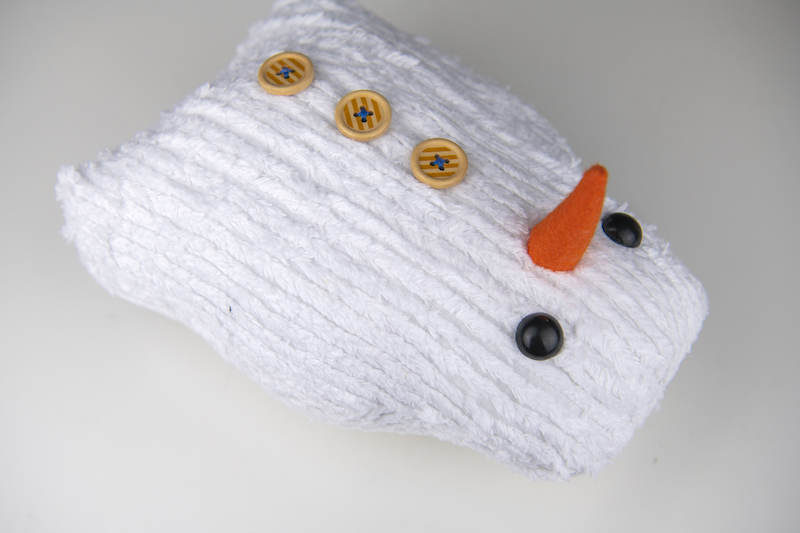
 Sew on your three buttons down the front of your snowman.
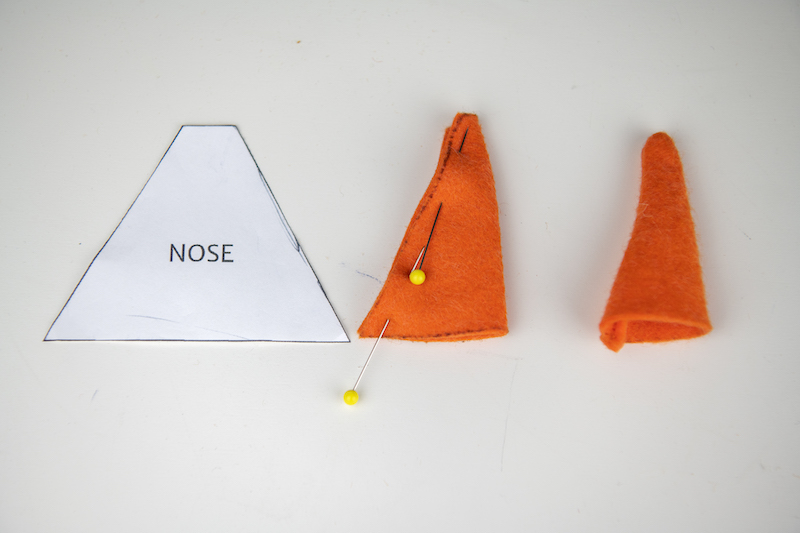
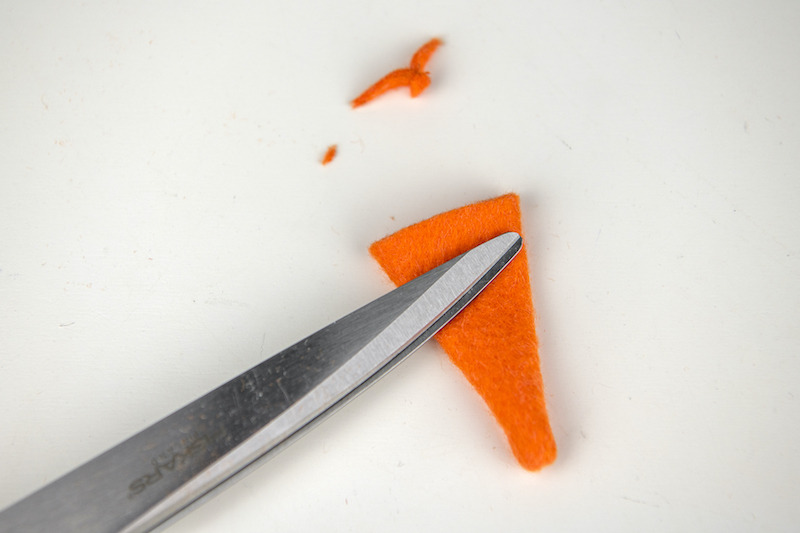 Now trim up the un-sewn side of your carrot nose so that it’s a straight edge.
 With a hand needle and thread, do a running stitch all around the raw edge of your carrot nose. Fill the middle of your nose with a bit of fiberfill then pull your thread so the edges meet, then tie off.
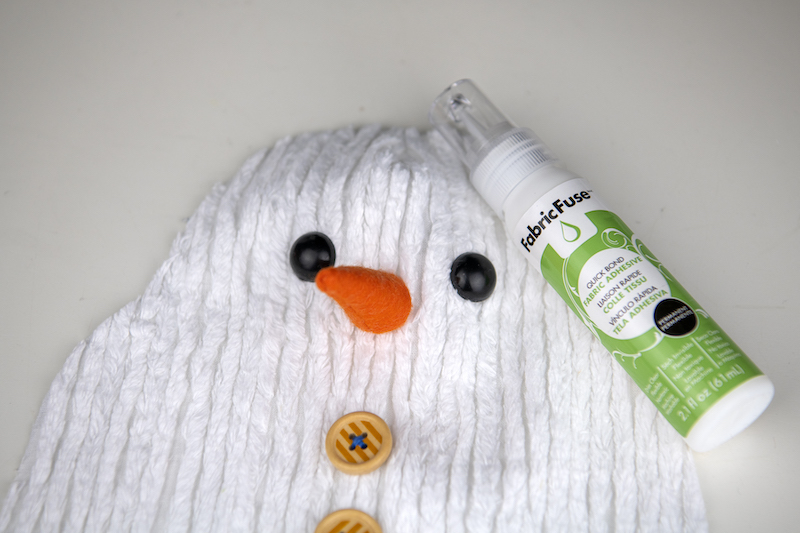
 I like to wait for the glue to dry then do a few hand stitches around the outside edge to make it extra secure. My kids love to play with my handmade items and I want to make sure they can do so without any issues.
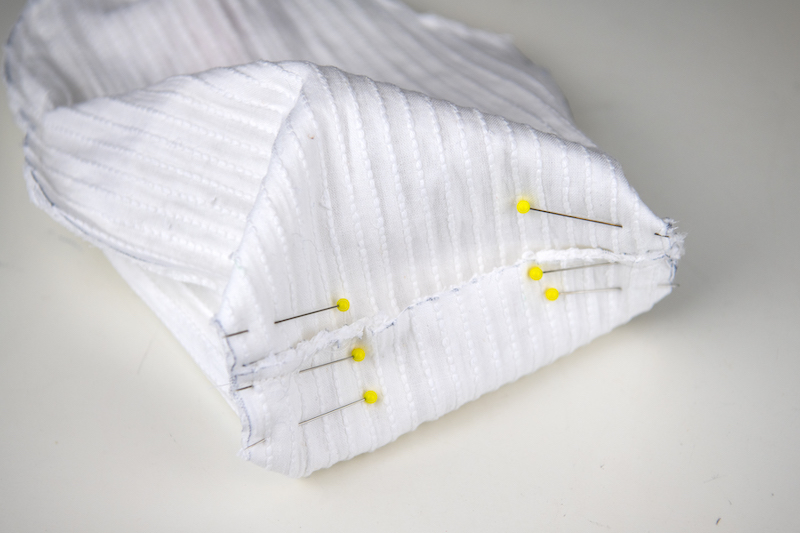
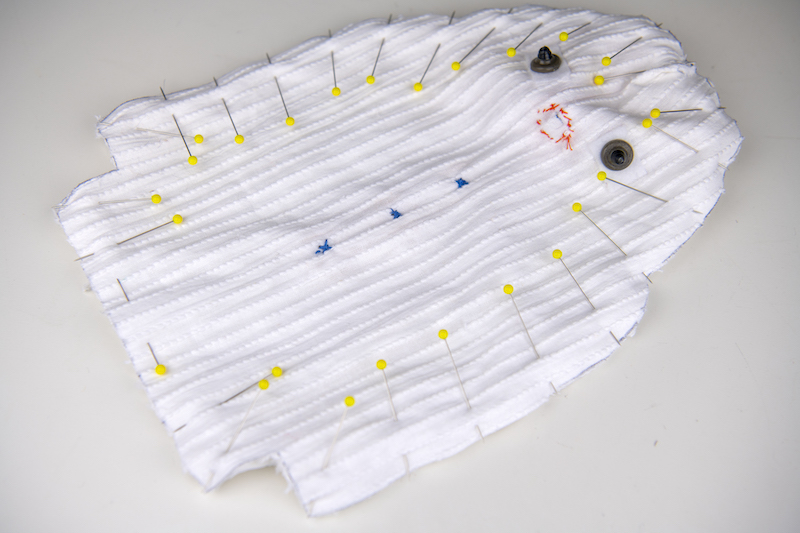 Grab your snowman’s back and pin the front to the back, right sides together. Pin from one end up around the head to the other end. Also, pin the bottom straight edge leaving a 2-3” opening for turning. Sew around the perimeter, but do NOT pin or sew the notched corners on the bottom yet.
 Through the opening, turn your snowman right side out.
 Once turned, stuff your snowman with polyfill and hand-sew the opening closed.
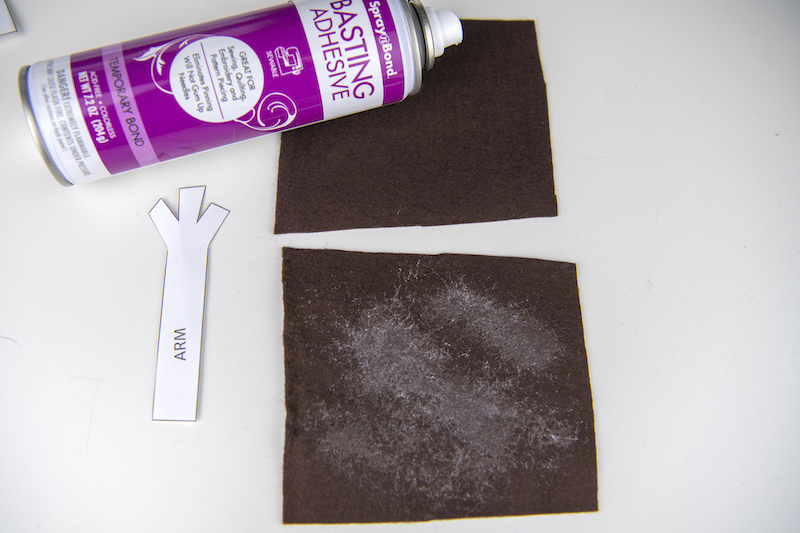
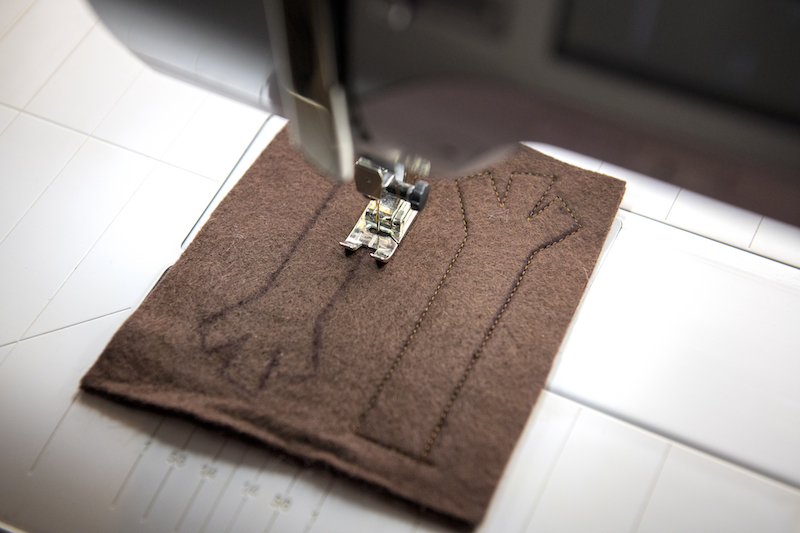 Take your pattern and trace one arm, flip the pattern over, and trace a second an inch or two away. Take to your sewing machine and sew all the way around each arm on the line.
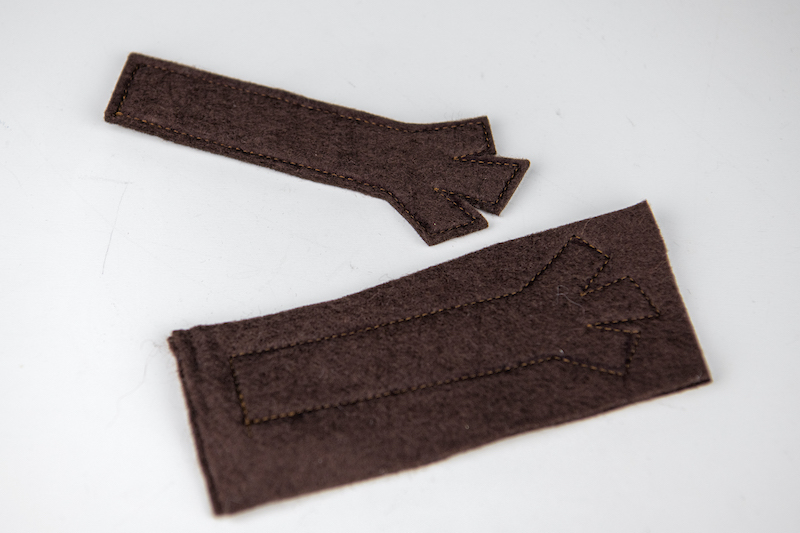 Once you’ve finished sewing around your arms, cut them out, leaving approximately a ⅛” seam.
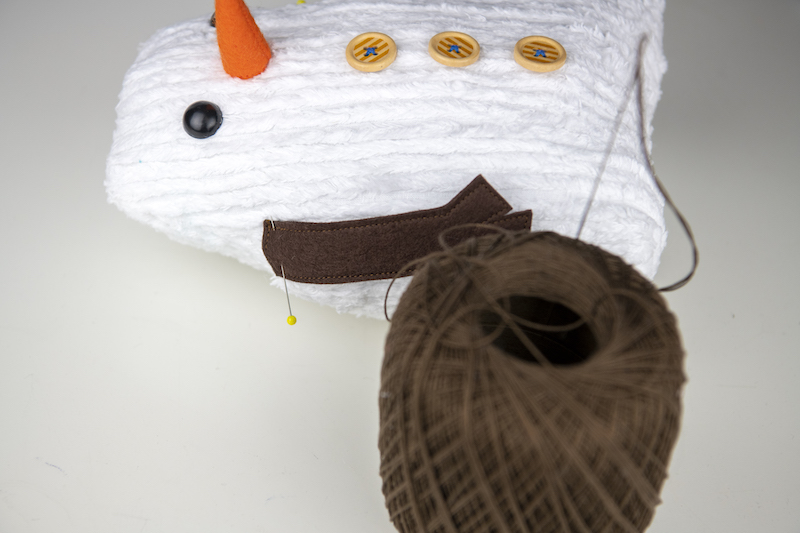
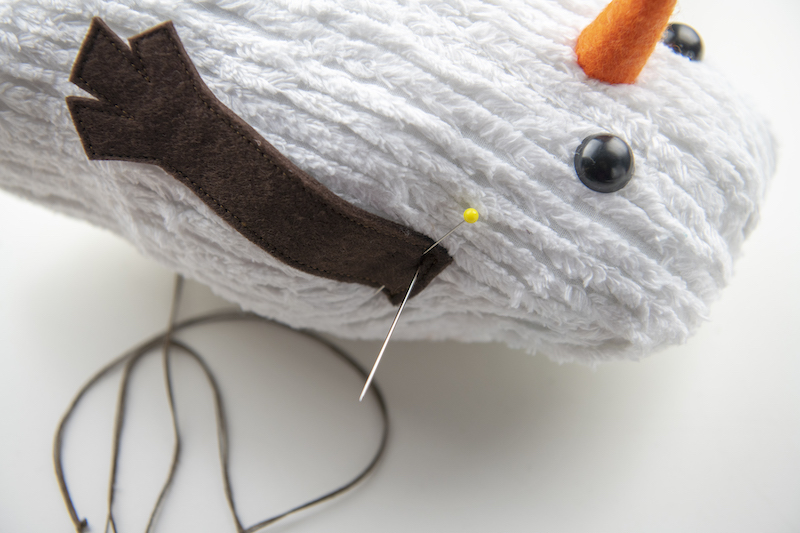
 Start by sticking your needle in underneath one arm up by the top edge. This will help you hide the knot. Take your needle through the body of your snowman to the other arm.
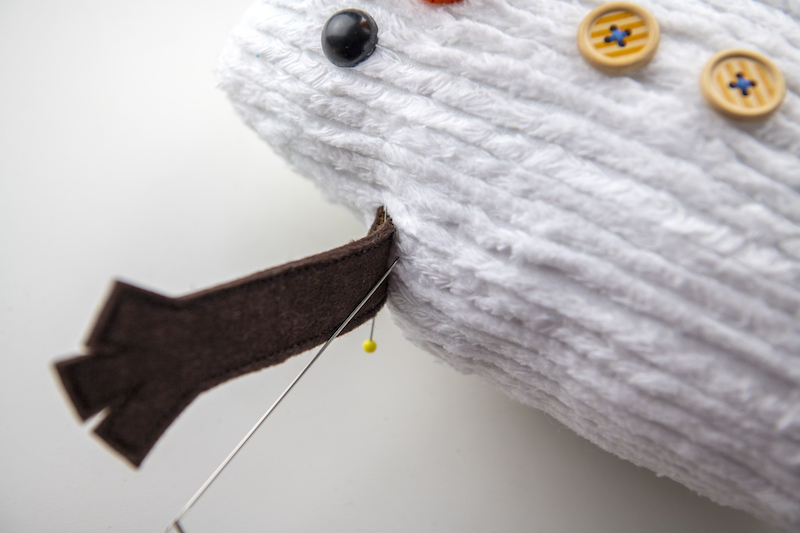
 Pull your thread all the way through and then put your needle back in and back across to the other arm.
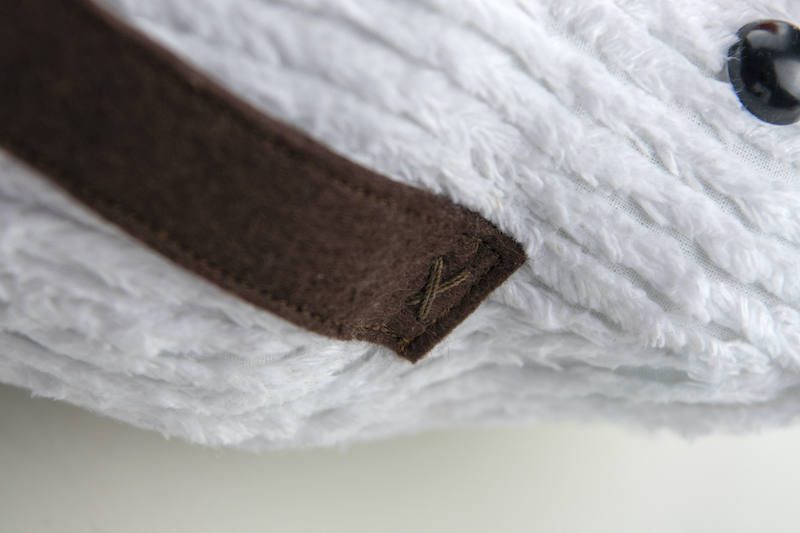 Continue back and forth making an X and then tie off under one of the arms.
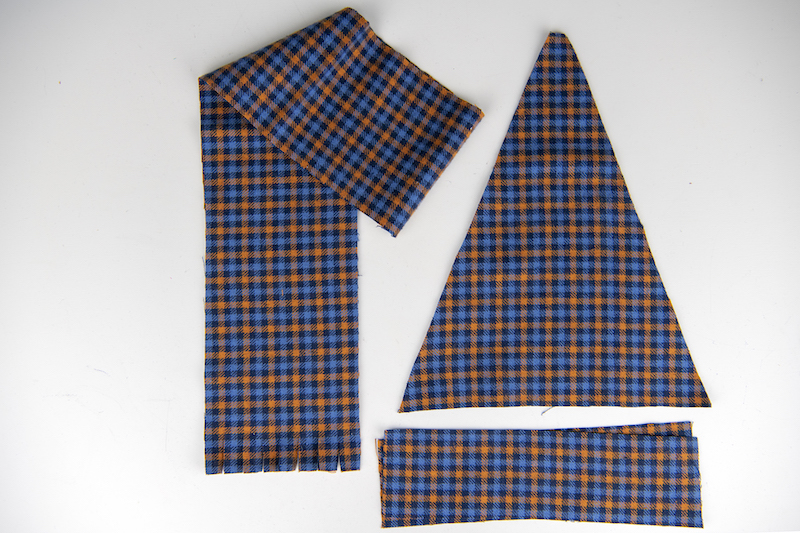
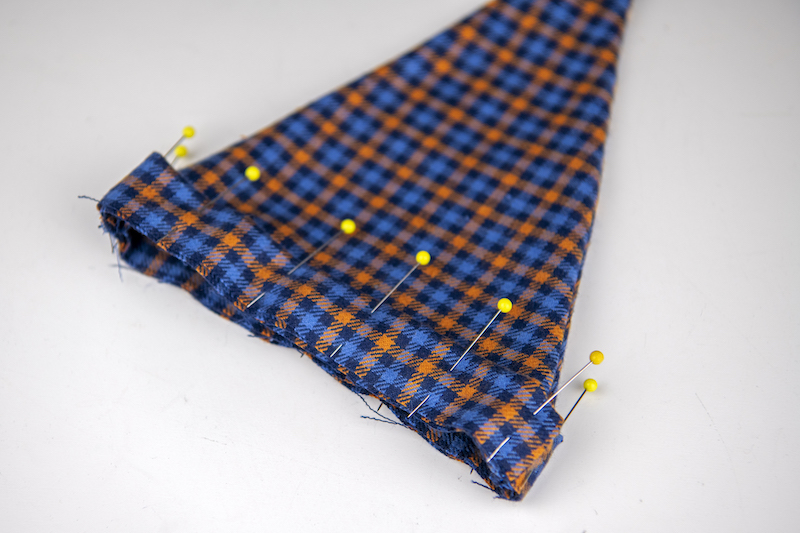
 To sew your hat, leave the two traced hat pieces together and sew from the bottom corner up the triangle to the other side leaving the shorter bottom edge un-sewn. If you’re using a fabric that will fray, you can use pinking shears to trim the seam allowance if preferred. Turn right side out and press. Pin the two shorter edges of your hat’s brim, then sew.
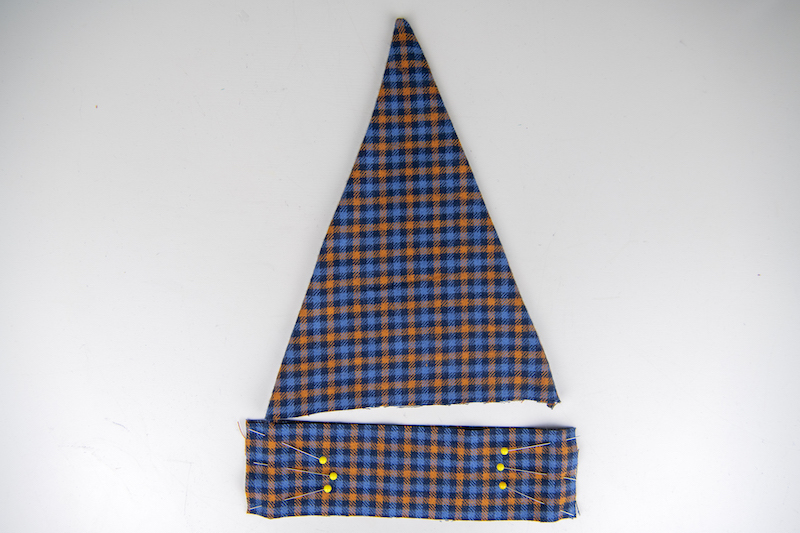
 Fold your brim in half lengthwise so your side seams are on the inside. Place the top of your hat inside and pin the two together so all the raw edges are on the bottom lined up.
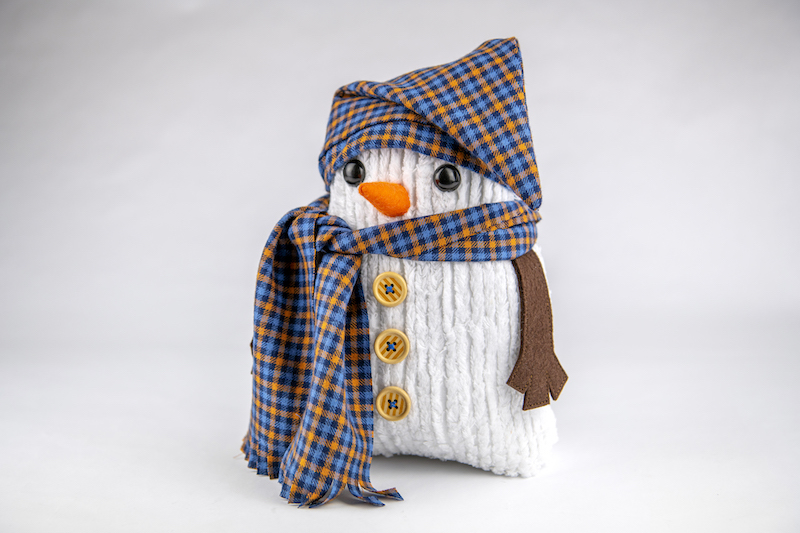
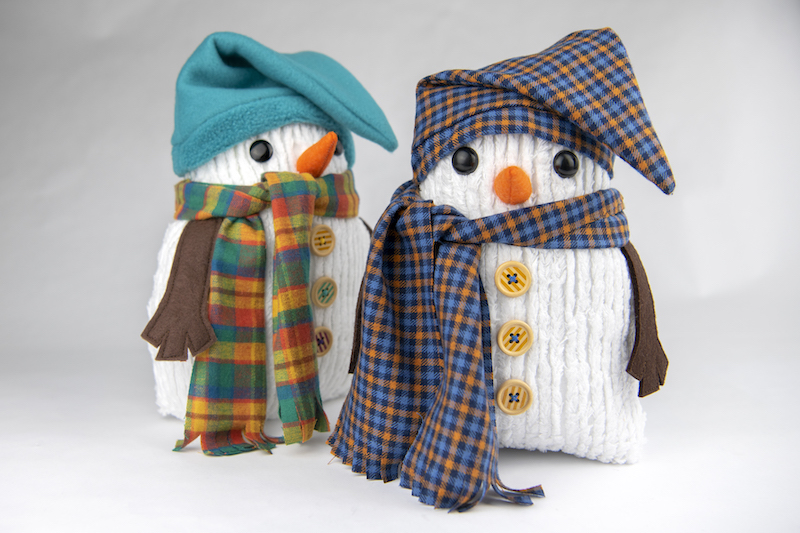
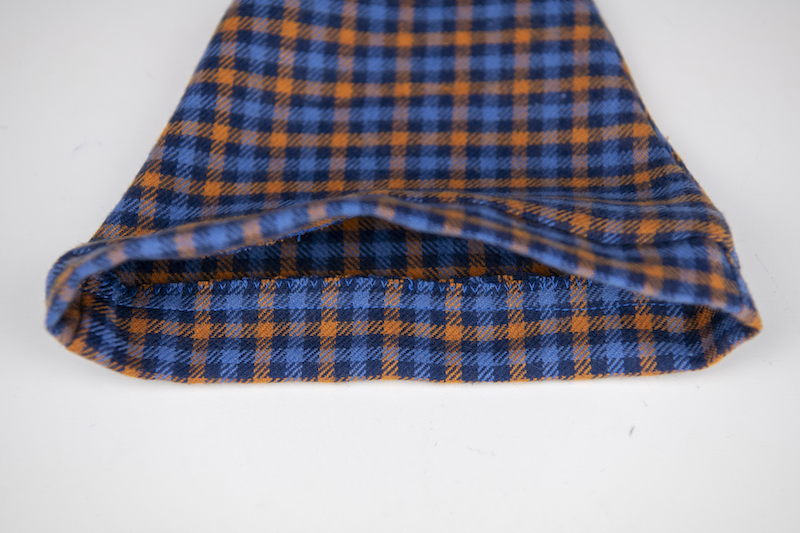 Sew all the way around. Use a zigzag stitch to finish off your seam. You can always add a fun pompom or button, too. Add your hat and scarf to your snowman and you are finished. Hooray! I hope you love your new snowman friend!