No Products in the Cart
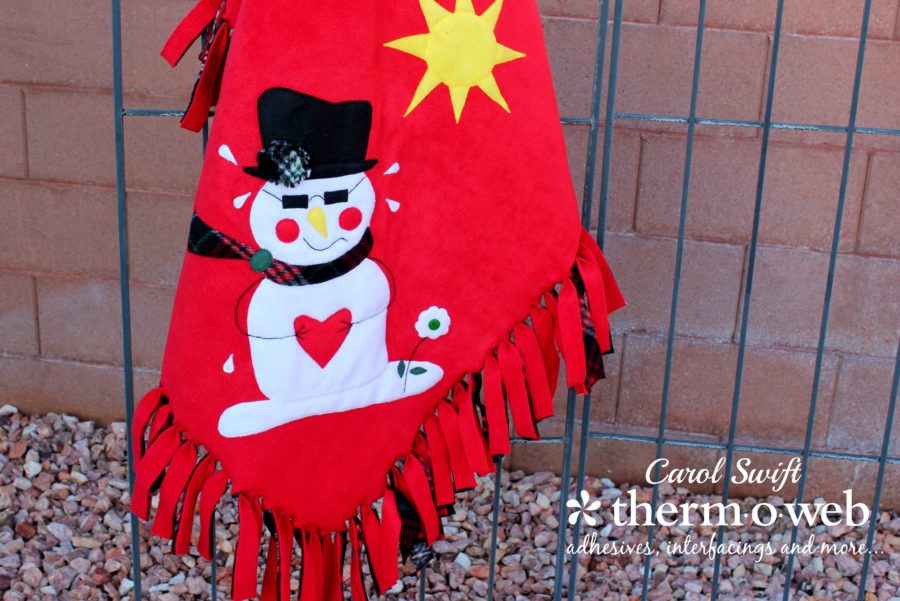
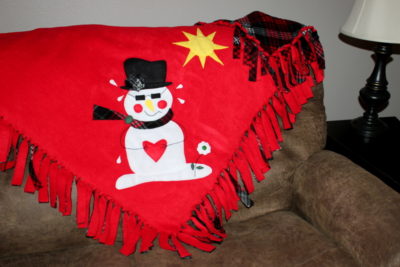
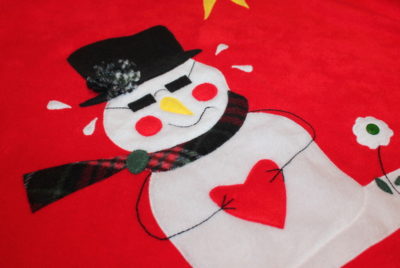 This appliqued fleece blanket would make a wonderful Christmas gift that’s easy and quick to make. Getting children to help with the fringe around the edges would be a great way to involve them in the joy of gift giving.
Baby, It’s Hot Outside! by Carol Swift, Just Let Me Quilt
This appliqued fleece blanket would make a wonderful Christmas gift that’s easy and quick to make. Getting children to help with the fringe around the edges would be a great way to involve them in the joy of gift giving.
Baby, It’s Hot Outside! by Carol Swift, Just Let Me Quilt
 *When ironing on fleece, it is important to cover it with a pressing cloth before ironing to avoid melting fabrics or leaving marks from iron. Be careful to not let the iron touch the fleece when applying applique designs.
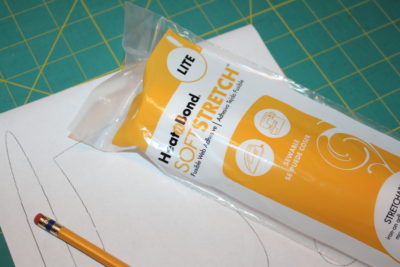
Step 1: Trace applique designs on smooth side of Therm O Web Heat n Bond Soft Stretch. *Tape applique piece #A together at arrows.
*When ironing on fleece, it is important to cover it with a pressing cloth before ironing to avoid melting fabrics or leaving marks from iron. Be careful to not let the iron touch the fleece when applying applique designs.
Step 1: Trace applique designs on smooth side of Therm O Web Heat n Bond Soft Stretch. *Tape applique piece #A together at arrows.
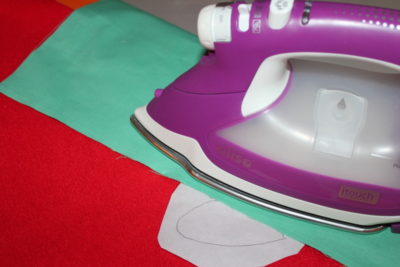
 Step 2: Preheat iron to high heat, no steam. Place web adhesive on the wrong side of the fabric to be bonded (paper liner should face up.) Cover with pressing cloth. Place and lightly hold the iron on the pressing cloth for 5 seconds. Repeat until entire surface is bonded. Allow to cool.
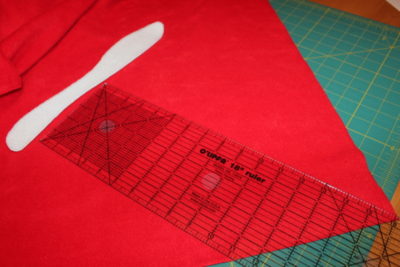
 Step 3: Fold fabric in half diagonally and finger press on the fold to create a slight crease. Measure up 15½” from diagonal corner and place a pin or mark with washable pen. Cut out applique pieces. Peel off paper liners before placing on fleece. Center pattern piece A on fleece at the 15½” centered mark. Place pieces, web adhesive side down, on top of fabric.
 Step 4: Place the rest of the applique pieces in their correct position on fleece.
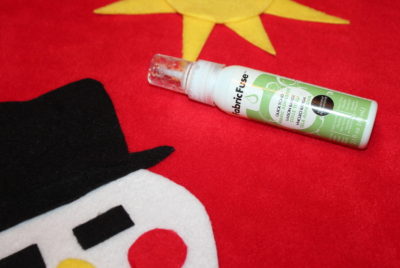
Step 5: Cover fleece applique with pressing cloth. With steam, press and hold iron for 20 seconds on each section until entire piece is bonded. Machine or hand sew around applique pieces using a straight, zig-zag, or blanket stitch. *If you notice some layered or small applique pieces coming loose on the fleece when you twist the fabric while stitching in place, press again or use Fabric Fuse to hold them in place, if needed.
Step 4: Place the rest of the applique pieces in their correct position on fleece.
Step 5: Cover fleece applique with pressing cloth. With steam, press and hold iron for 20 seconds on each section until entire piece is bonded. Machine or hand sew around applique pieces using a straight, zig-zag, or blanket stitch. *If you notice some layered or small applique pieces coming loose on the fleece when you twist the fabric while stitching in place, press again or use Fabric Fuse to hold them in place, if needed.
 Step 6: Embroider by machine or hand: mouth, arms/hands, and flower stem. Sew button on the flower.
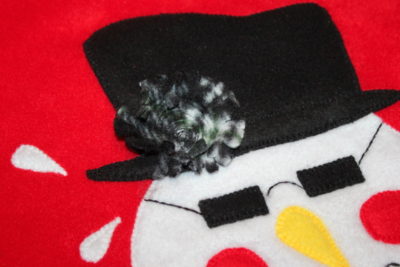
Step 7: Cut 2 ½” circle of fleece for the flower on snowman’s hat. Clip 1/4” slits around the circle. Sew center of fleece flower to hold in place.
Step 6: Embroider by machine or hand: mouth, arms/hands, and flower stem. Sew button on the flower.
Step 7: Cut 2 ½” circle of fleece for the flower on snowman’s hat. Clip 1/4” slits around the circle. Sew center of fleece flower to hold in place.
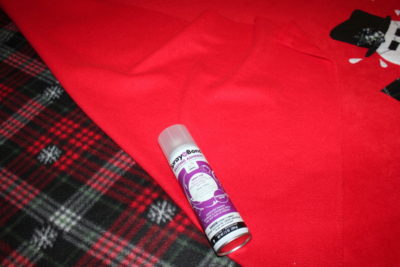
 Step 8: Lay both 56” x 56” fleece sections with wrong sides together. Smooth fleece and match edges. Trim to even out if needed. If desired, lightly spray with Therm O Web Spray n Bond Basting Adhesive to hold the wrong sides of fleece together or place safety pins in several places.
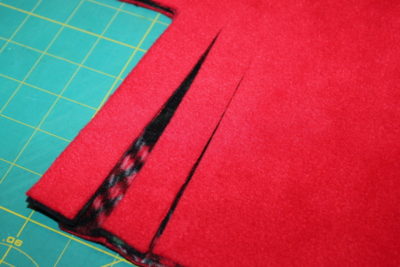
 Step 9: Cut out a 6” x 6” square from each fleece corner. Discard squares.
Step 10: Cut 1” x 6” strips around all fleece edges to create the fringe.
Step 9: Cut out a 6” x 6” square from each fleece corner. Discard squares.
Step 10: Cut 1” x 6” strips around all fleece edges to create the fringe.
 *Tip: Cut a piece of lightweight cardboard 1” x 6” to use as a template when cutting strips.
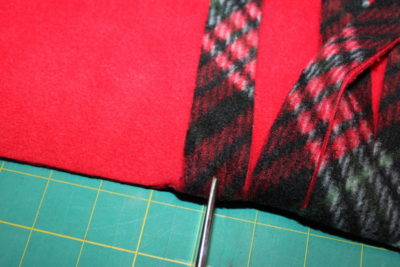
 Step 11: Fold cut strips up toward the center of the blanket. Cut a small slit on the fold of each folded-up strip. Not too big! About 1/4” is good so that it’s about 1/2" when the strip is opened. The slit is to push the cut strips through to create fringe.
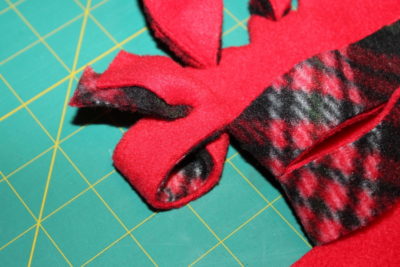
 Step 12: Pull the strip up and through the slit. Slightly pull to make it tight. Done!
 You can find the complete PDF pattern for “Baby, It’s Hot Outside” blanket at my Etsy store HERE.
Written by Carol Swift