No Products in the Cart



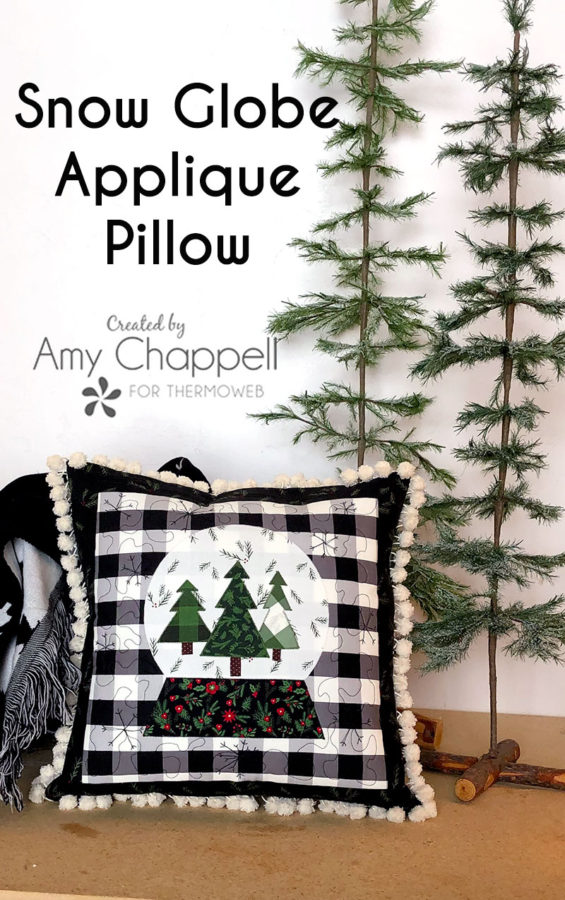 It's that quiet time of year, right after the holidays. When you clear out all the holiday decorations and clutter, organize all the things and resolve to be all things amazing. But, what do you do with your decor? Do you jump right to Valentine's day? I have decided to create some winter decorations that will fit with all of my Christmas decorations, but also transition through January and the rest of winter (which in Wyoming, USA lasts sometimes until June! ;) ) This allows me to let January be a bit quiet in the decor area, which is welcome respite from the chaos of the holiday season.
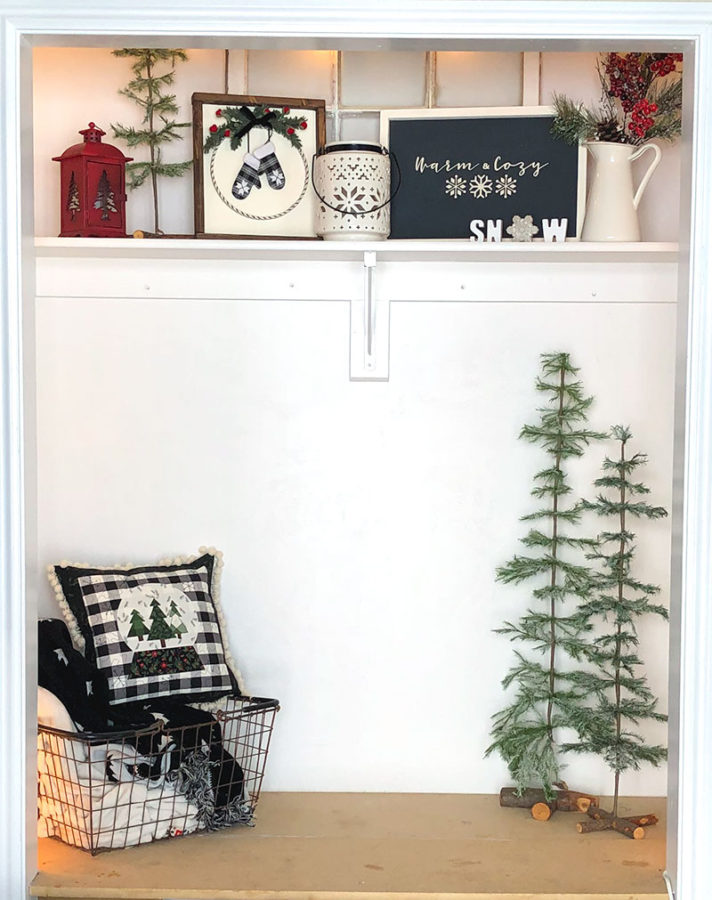 This Snow Globe Applique pillow is a fun winter decoration you can use the whole season. Pair it with your mitten hoop and you have a delightful combination for anywhere in your home. This fun pillow finishes at 16" and is a beginner-friendly project.
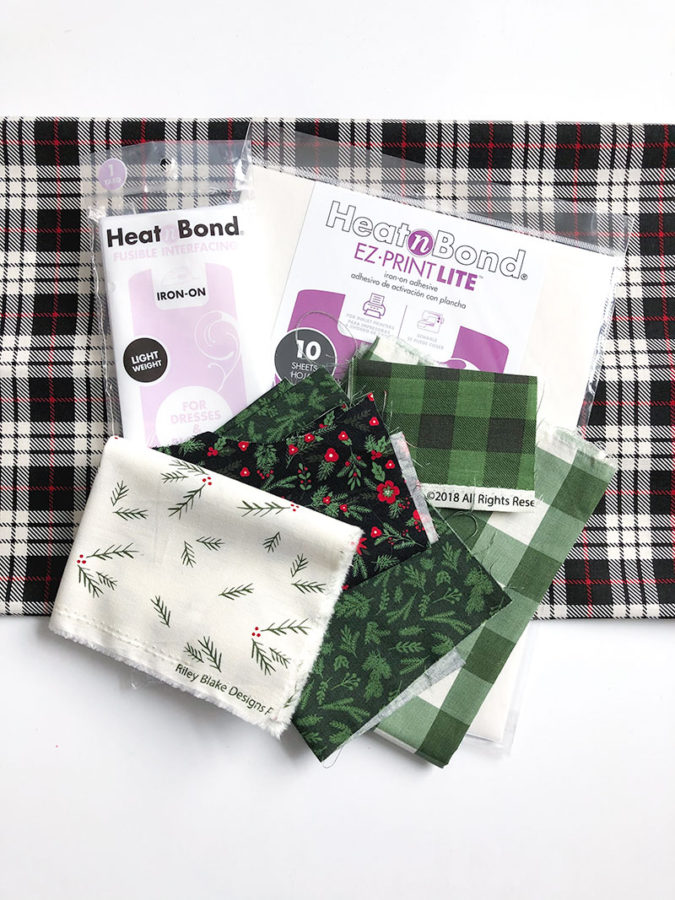
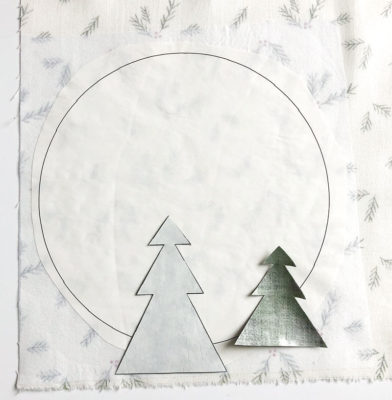 Print off your pattern onto the sheets of EZ print lite. Cut out the pattern pieces leaving a slight margin around each piece. Next, cut a square of the Heat n Bond fusible interfacing just larger than the circle for the snow globe. Fuse the interfacing onto the wrong side of the fabric for the globe. Fuse the EZ print lite onto the back of the interfacing. Fuse the remaining pattern pieces onto the wrong side of the fabrics for each element. Cut out the pattern pieces along the printed line. Remove the paper backing from the applique pieces.
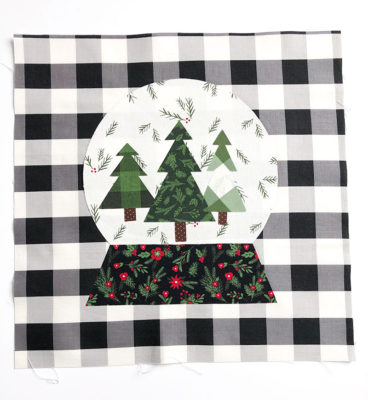 Cut a piece of the background fabric that measures 12 1/2" X 12 1/2". Position the snow globe applique pieces in the center of your background fabric and fuse into place. Use a narrow zig-zag stitch to sew down each of the applique pieces.
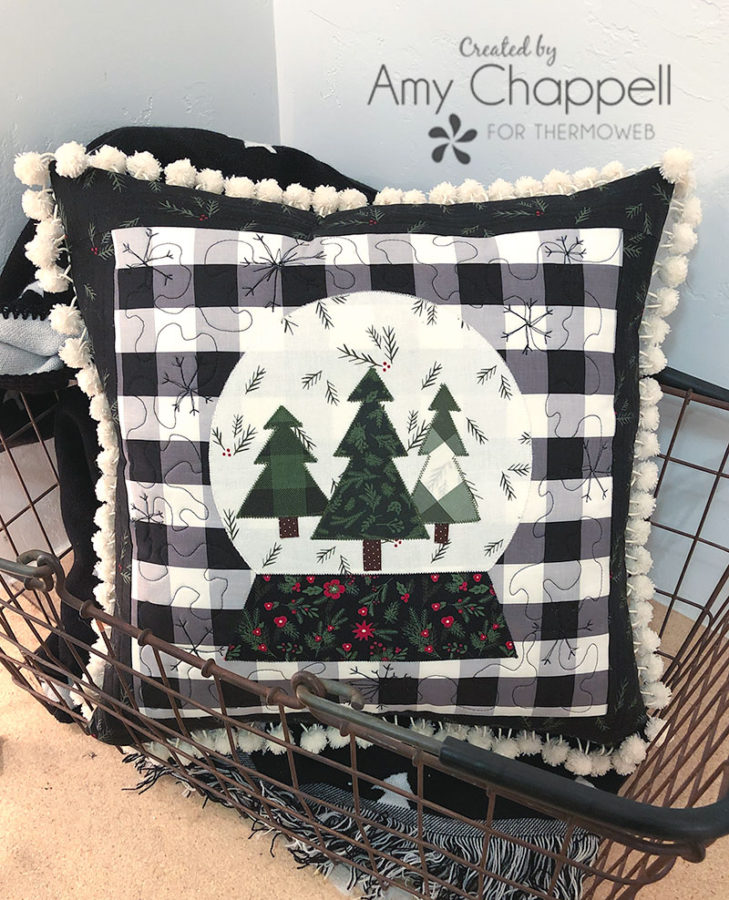 To finish your pillow you will create a back using your favorite method. I love using a hidden zipper, you can find the tutorial on my blog. Before sewing the pillow back to the front, baste your pom trim in place if desired. Sew the pillow front and pillow back right sides together using a 1/2" seam allowance. If using a zippered pillow back, be sure to open the zipper before attaching the back to the front. Turn your pillow cover right side out and press the side seams.
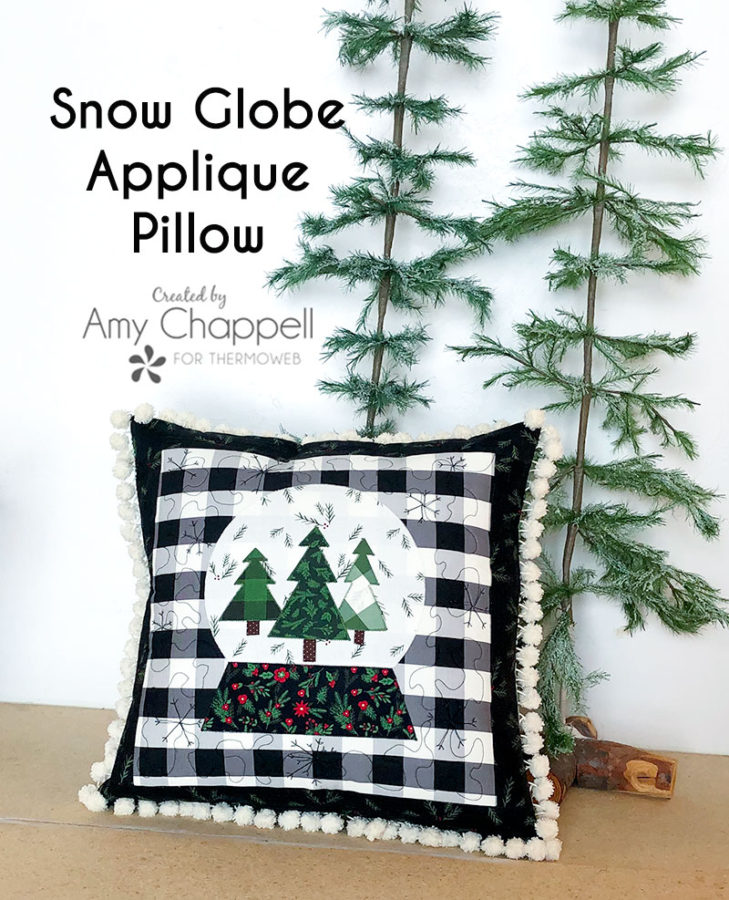 I absolutely adore this pillow and I hope you will too! If you sew one up, I would love to see it! Tag me on Facebook or Instagram @AmeroonieDesigns! Happy Winter Sewing my friends! xoxo, Amy
