No Products in the Cart
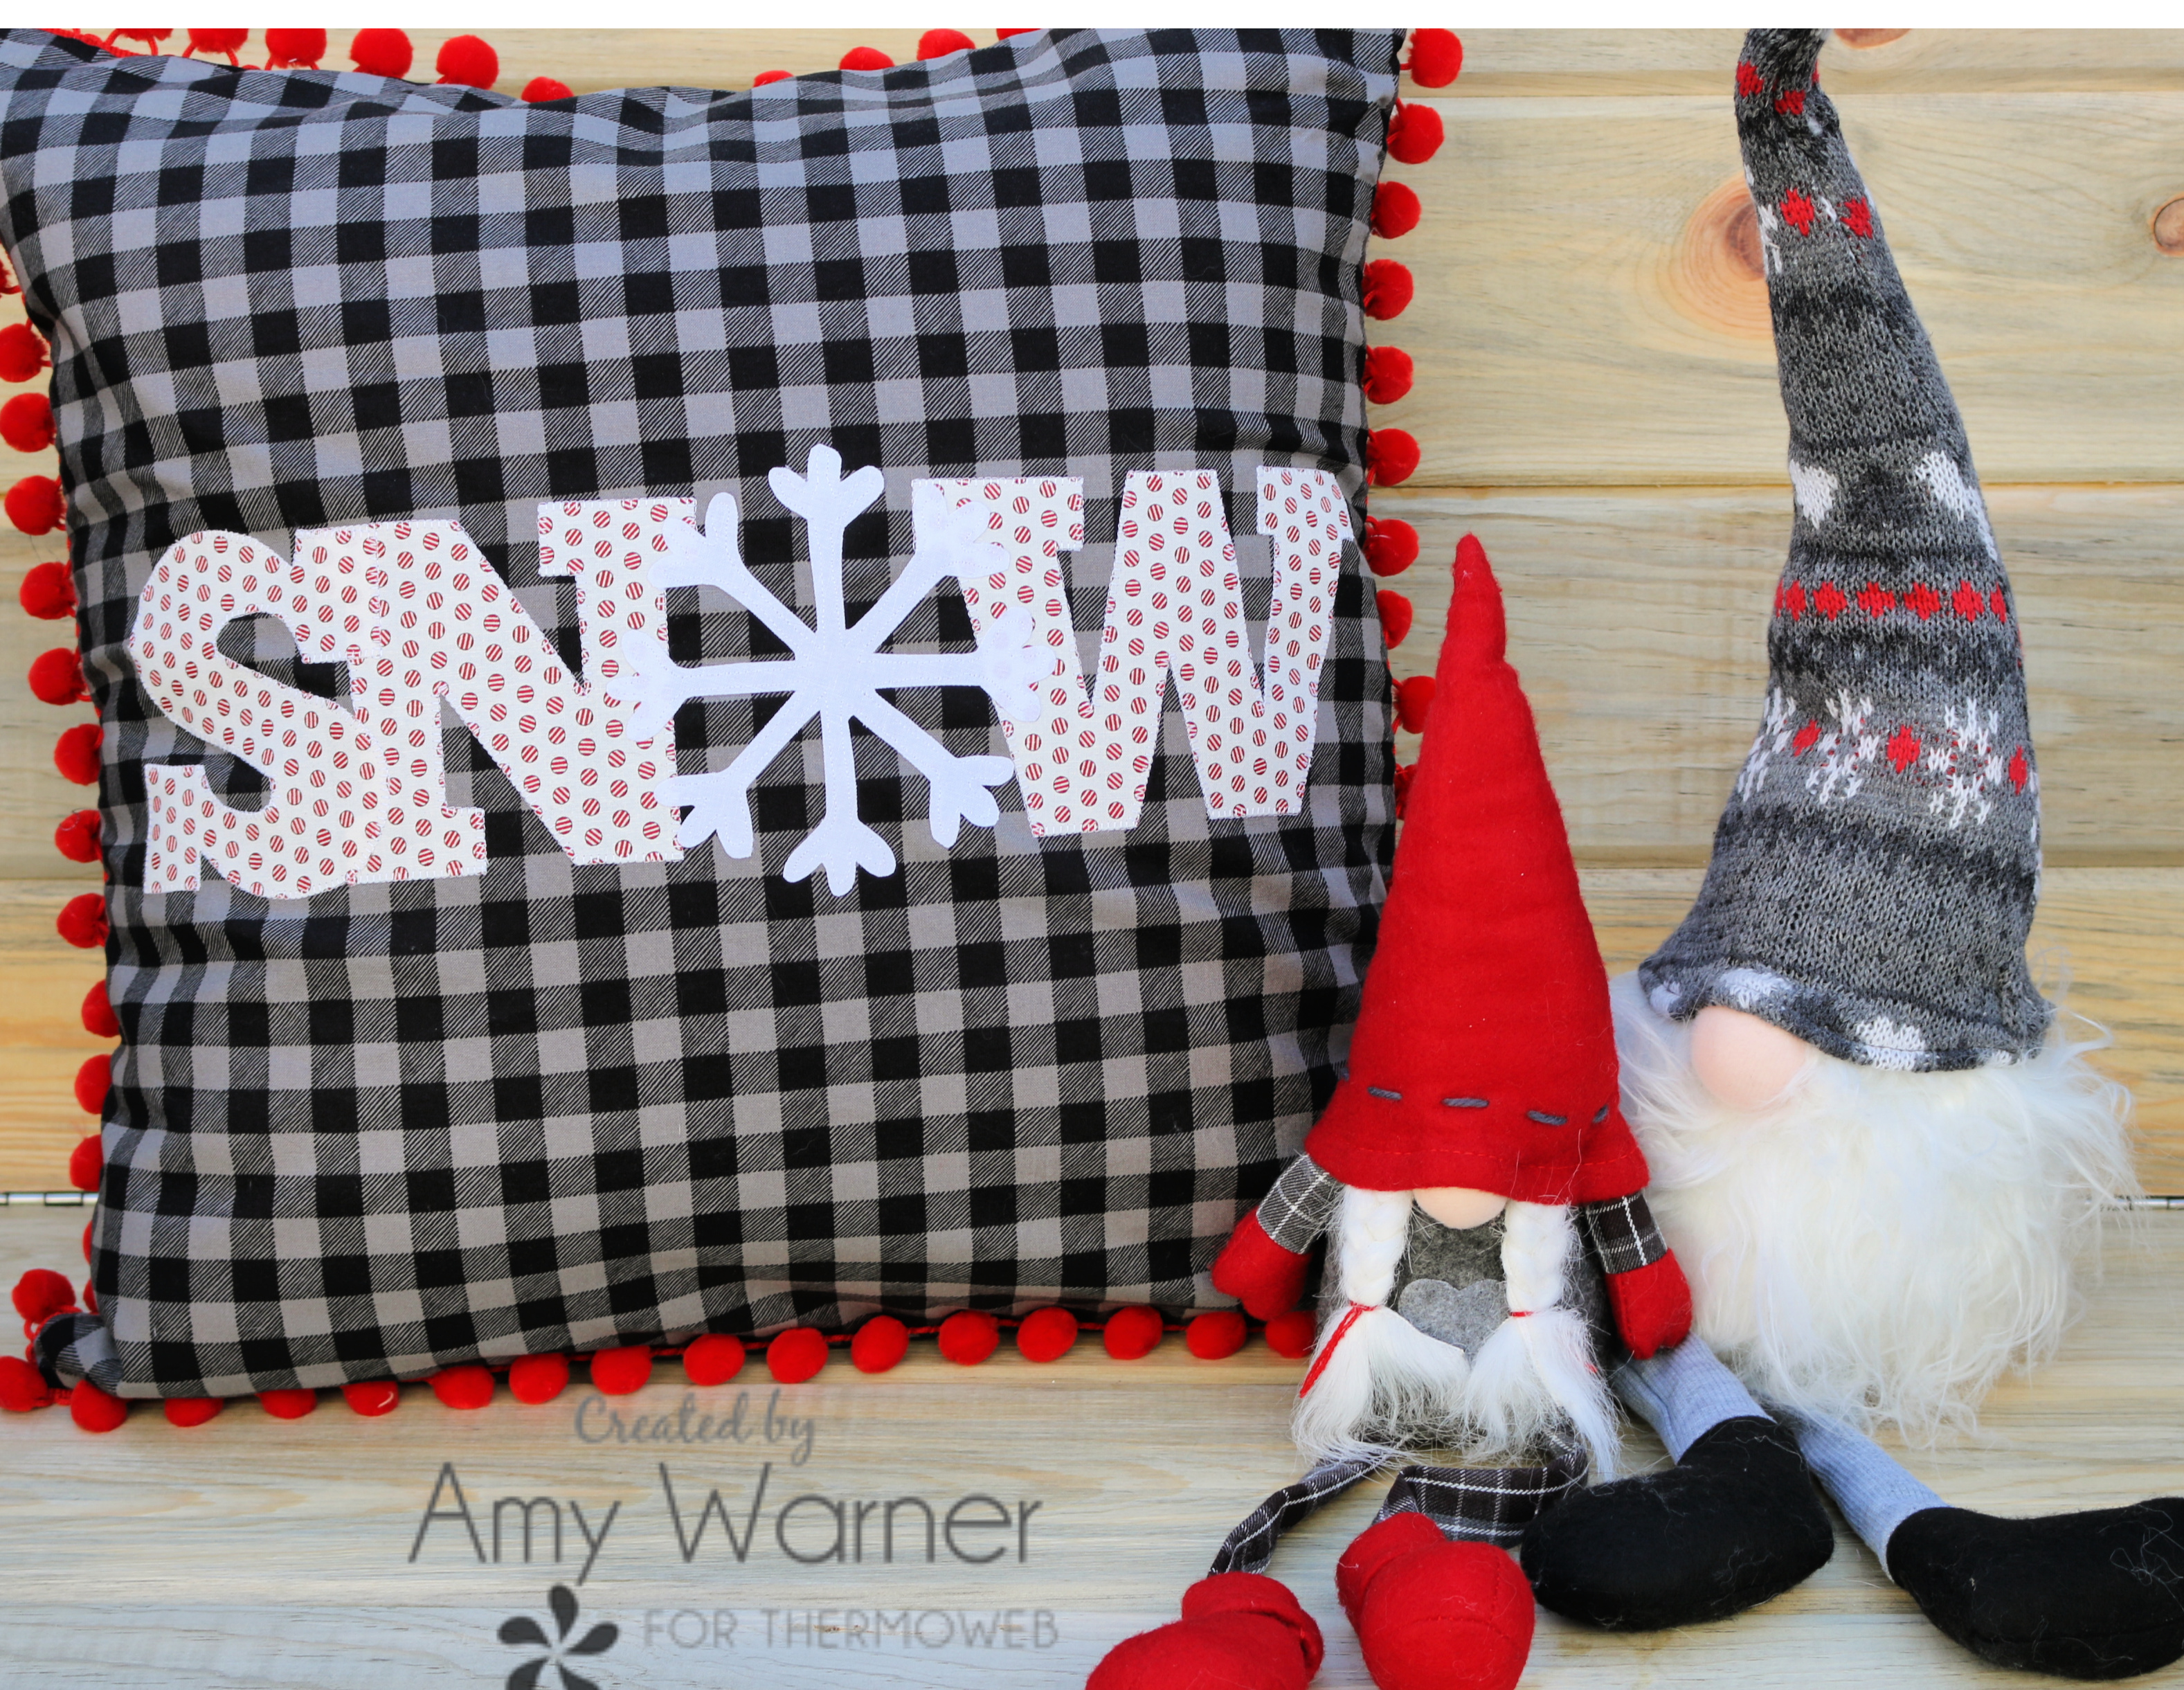 I am a sucker for a quick and cute project that can be easily completed in a few hours or less. It is cold and snowy here where I live, so a Snow pillow is an addition that can be used for almost ½ of the year. Amy here from Sew Incredibly Crazy to show you just how to create your very own.
 Snow Day Pillow Pattern
EZ Print HeatNBond Lite Sheets
¾ yard Background fabric
1 Fat Quarter for the Letters - small print
1 Fat Quarter of White for the Snowflake
Aurifil Thread
Oliso Iron
2 1/2 yards of pom poms (optional)
18" Pillow Form
Snow Day Pillow Pattern
EZ Print HeatNBond Lite Sheets
¾ yard Background fabric
1 Fat Quarter for the Letters - small print
1 Fat Quarter of White for the Snowflake
Aurifil Thread
Oliso Iron
2 1/2 yards of pom poms (optional)
18" Pillow Form
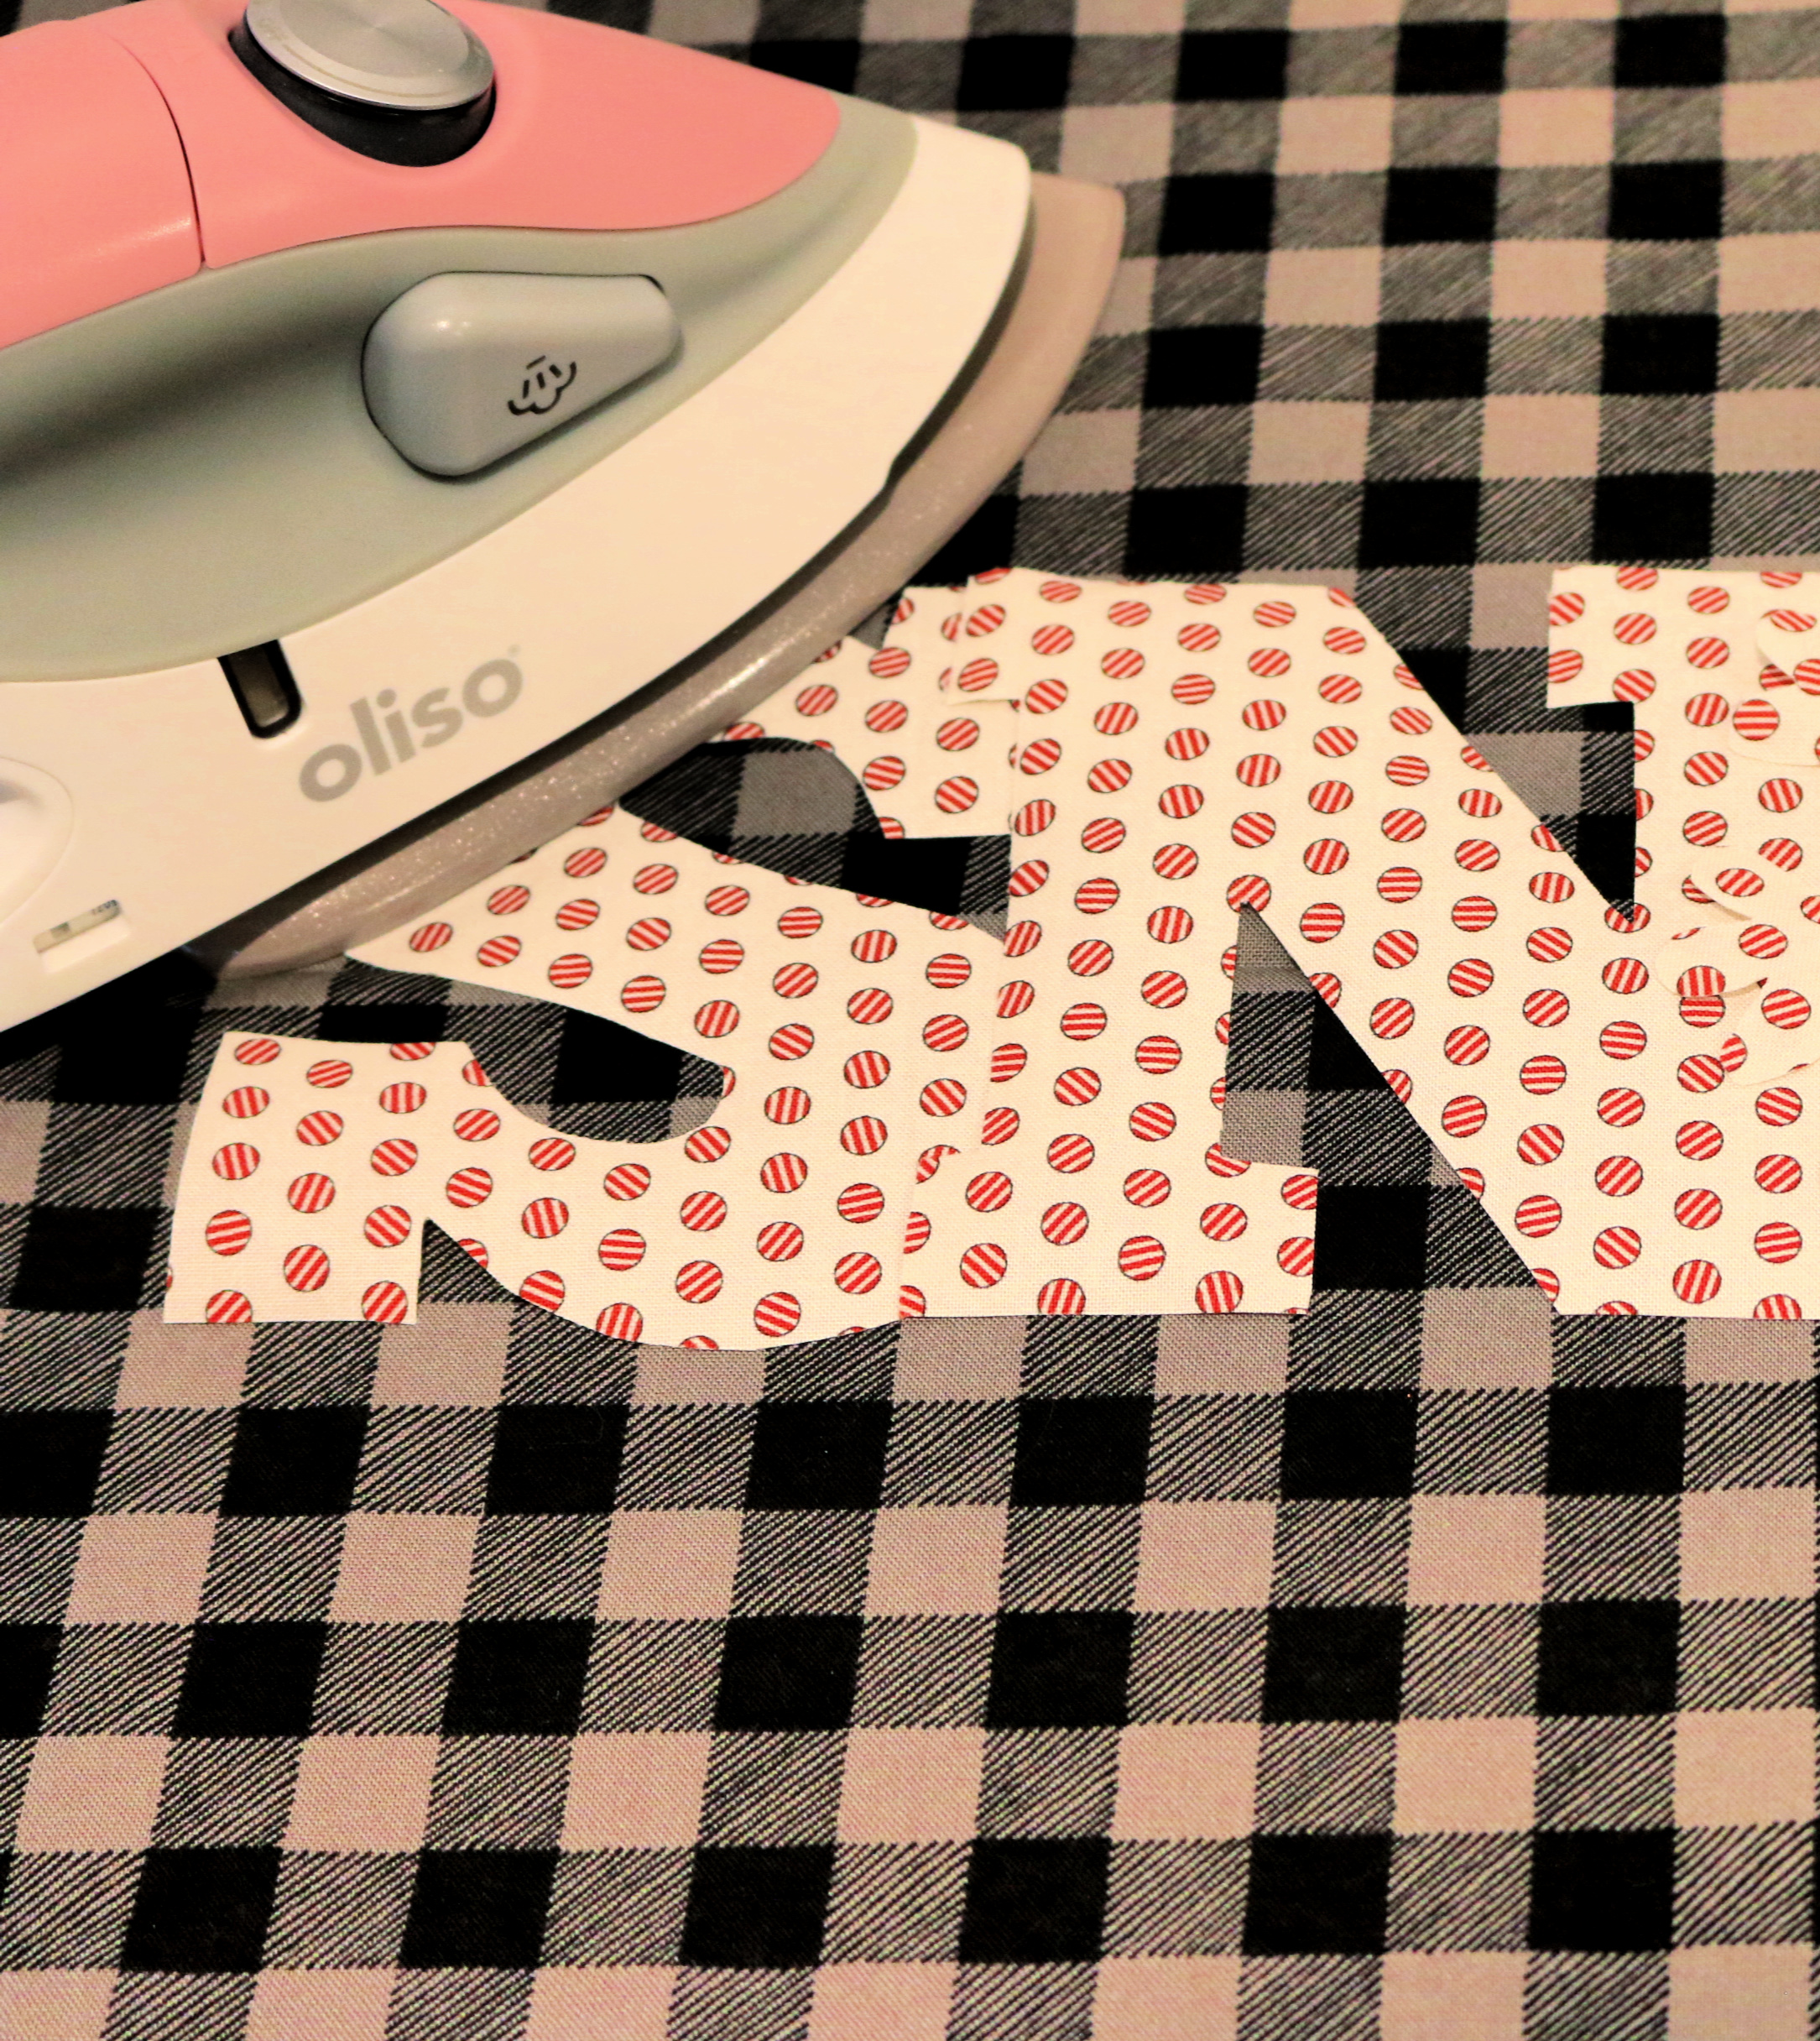 Step 8: Iron the letters in place and then stitch around them using an applique stitch.
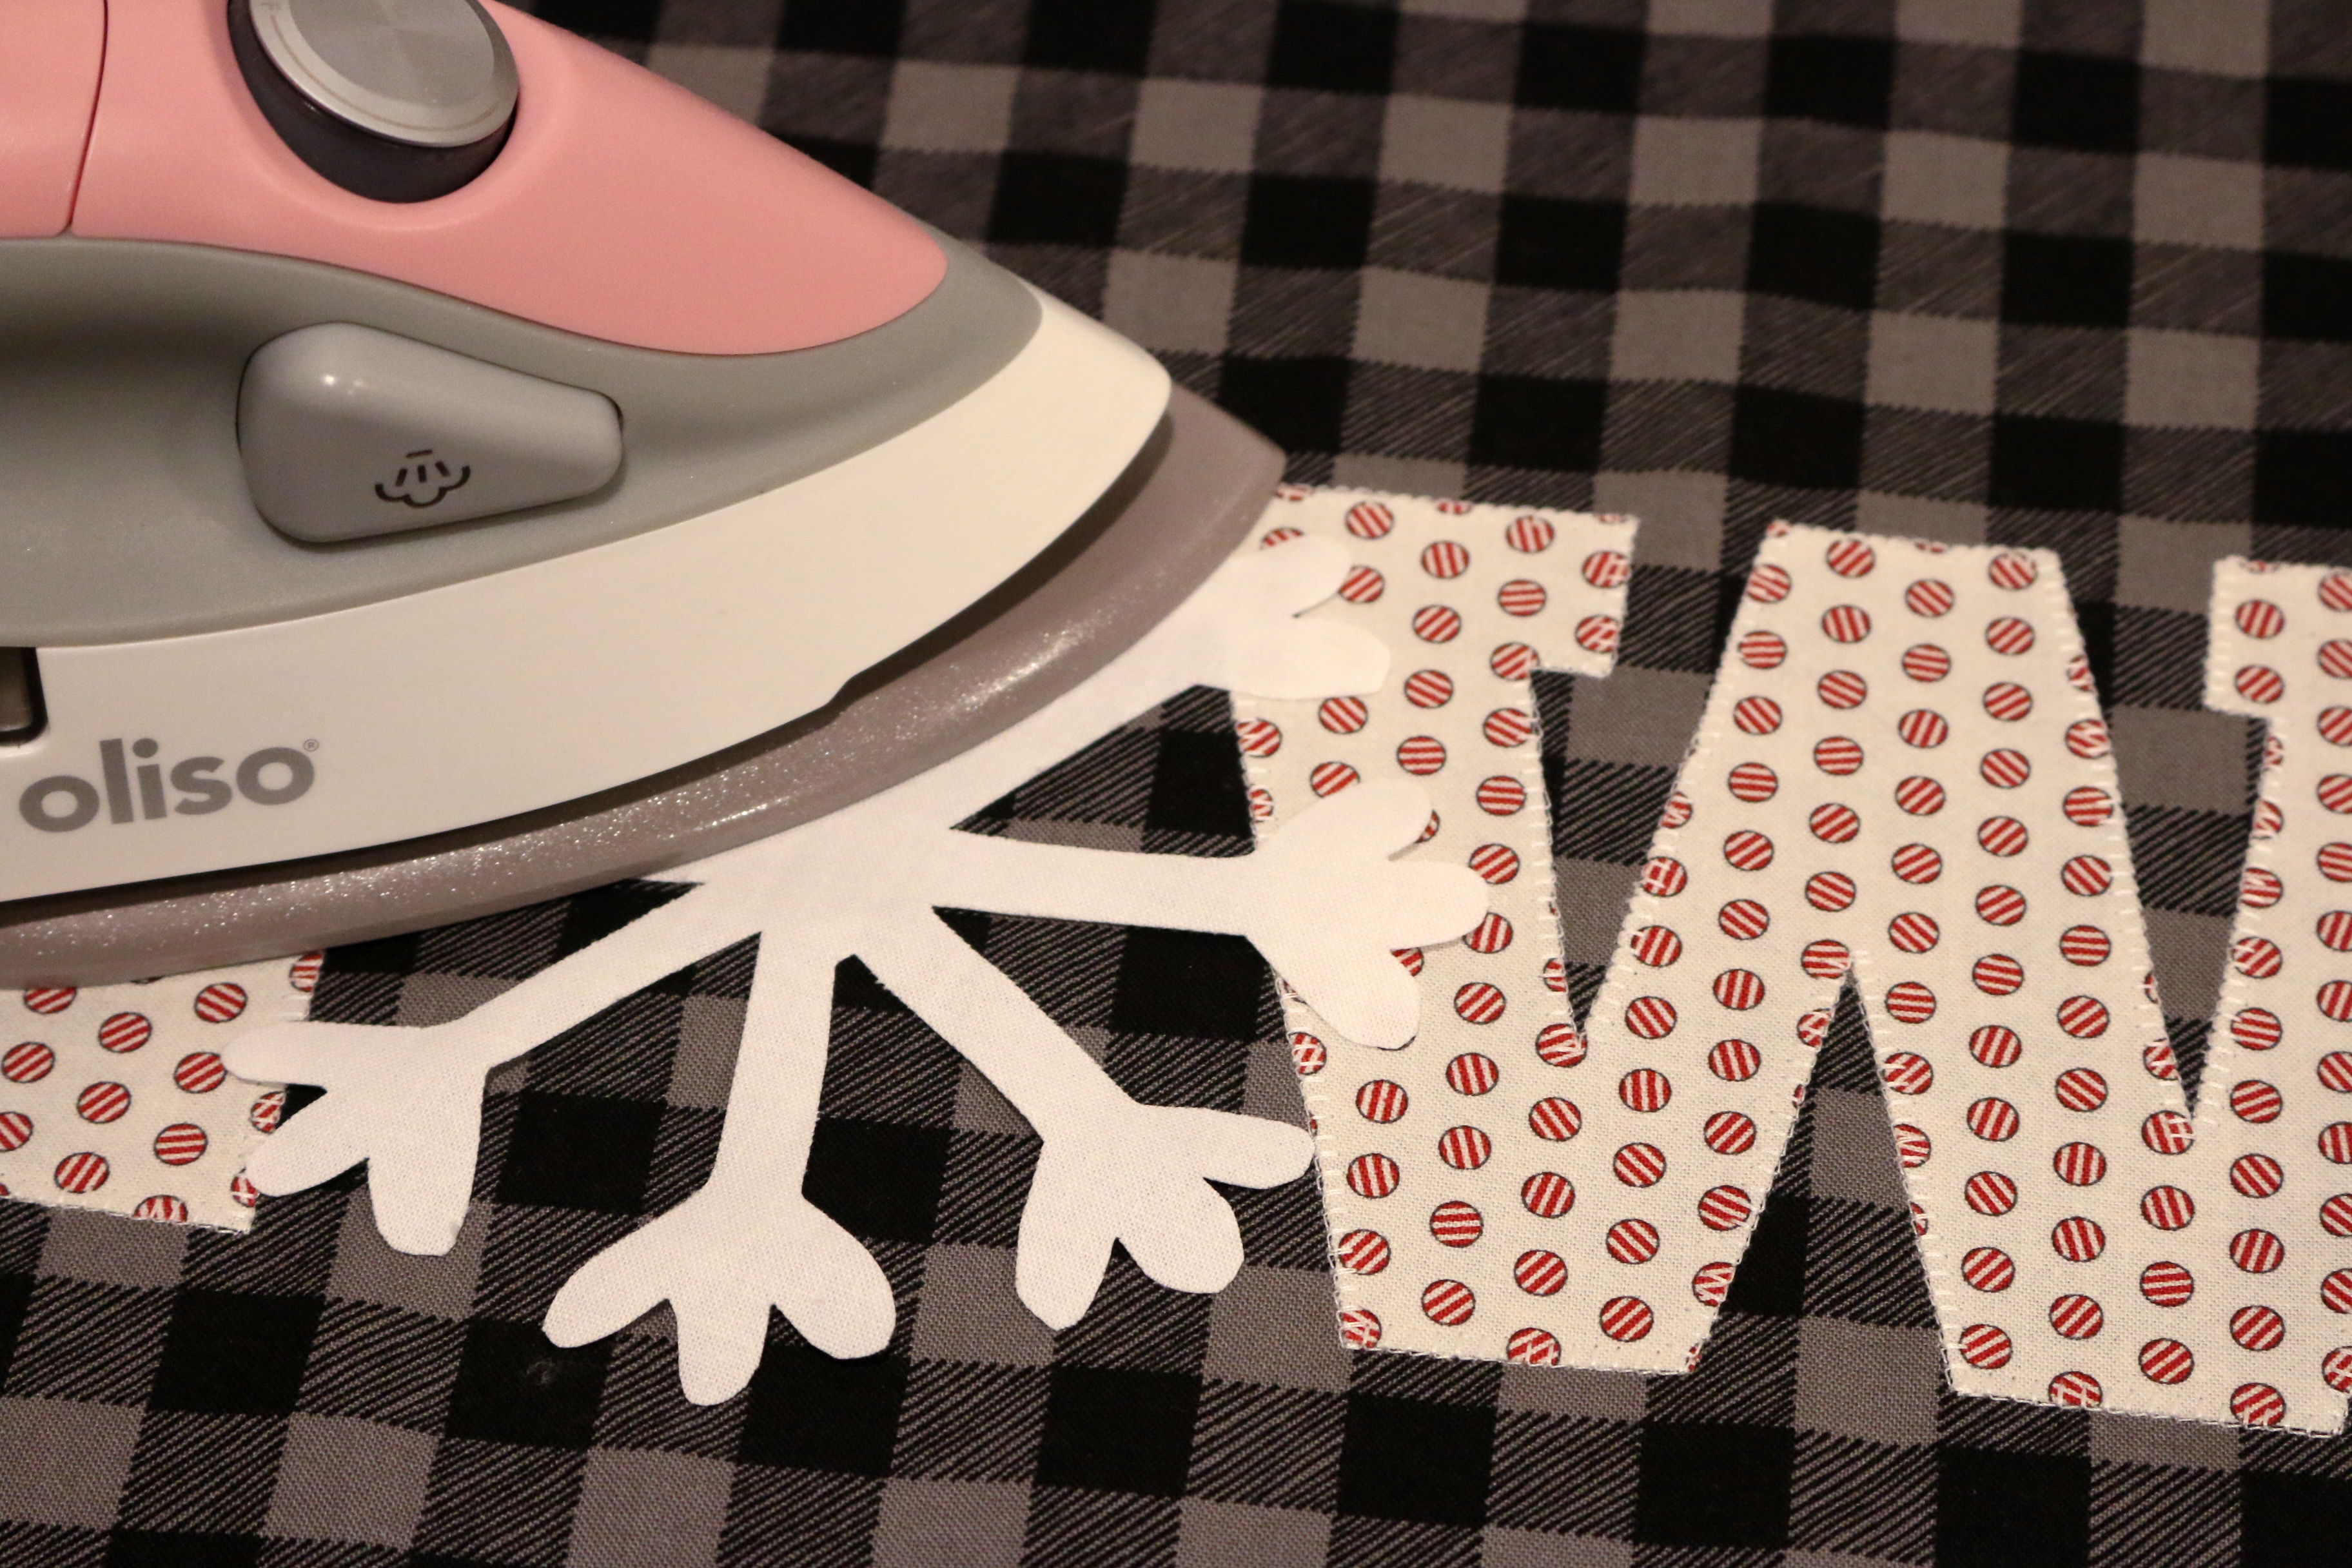 Step 9: Iron the Snowflake on top of the N and W. It will overlap both letters. Stitch around the Snowflake.
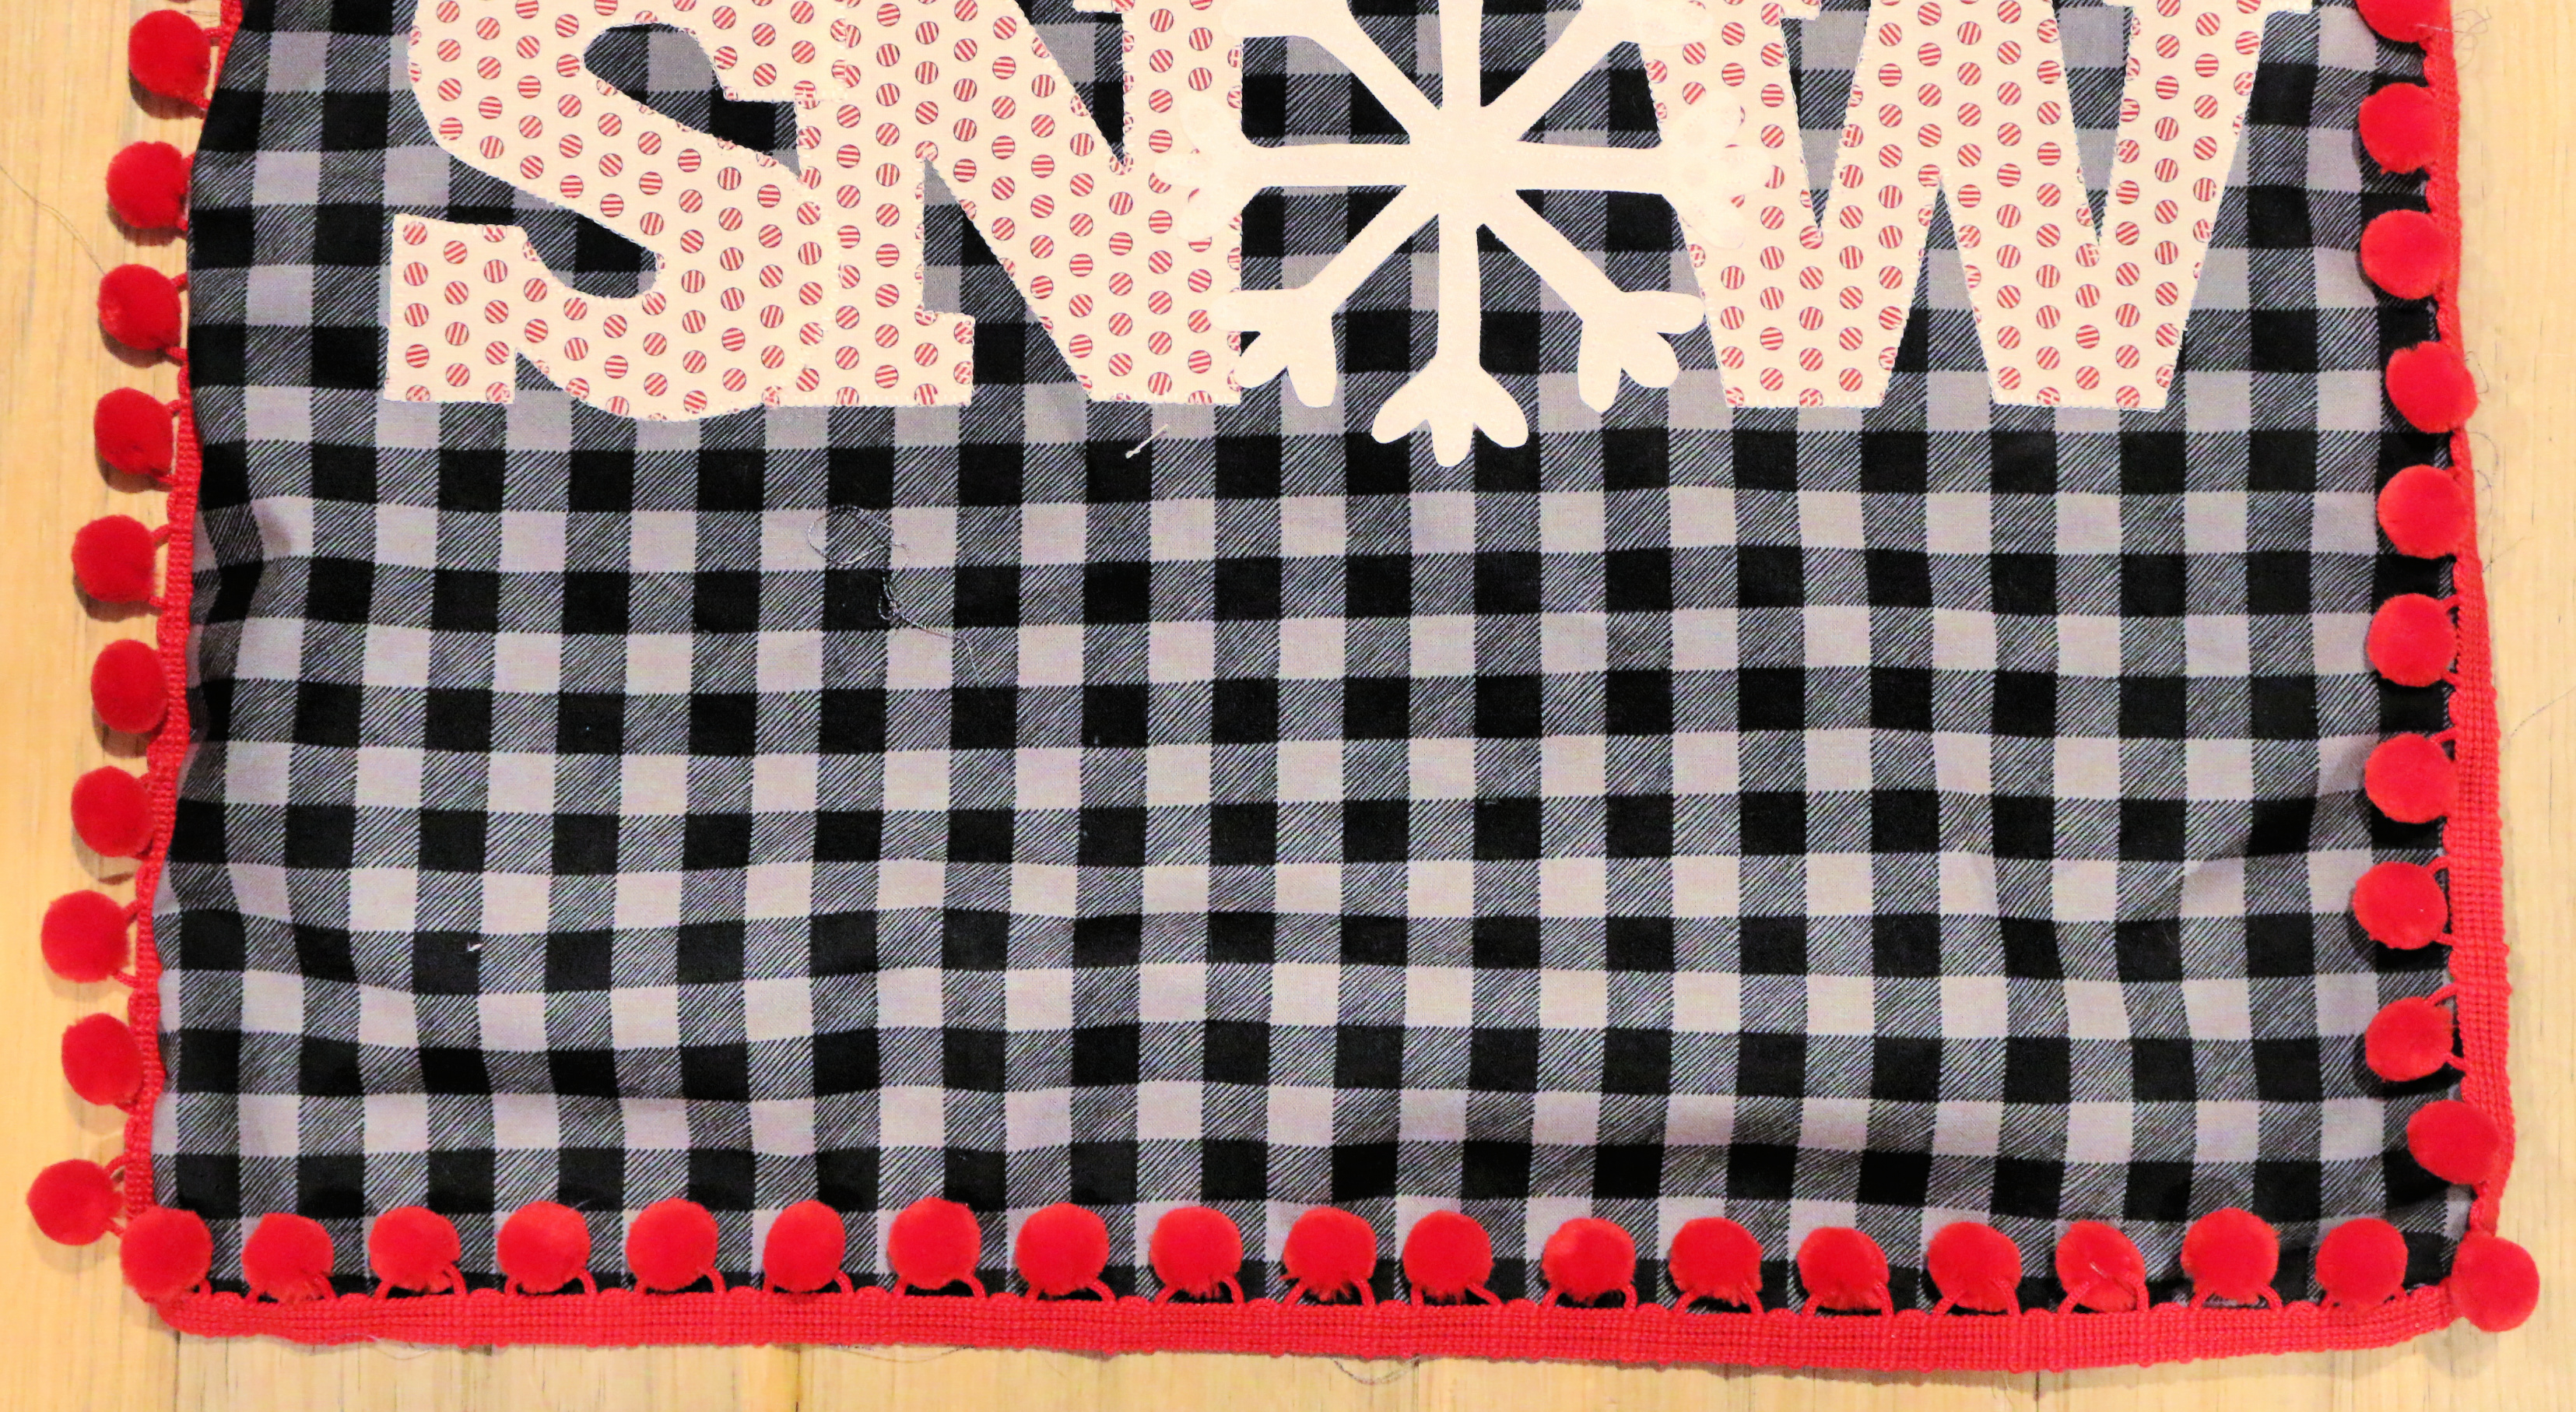 Step 10: Take the Pompom Trim and baste it to the edge of the pillow top.
Step 11: Create the back to the pillow.
Step 12: With the right sides together, stitch the front and back of the pillow cover together.
ENJOY!!!
Step 10: Take the Pompom Trim and baste it to the edge of the pillow top.
Step 11: Create the back to the pillow.
Step 12: With the right sides together, stitch the front and back of the pillow cover together.
ENJOY!!!