No Products in the Cart



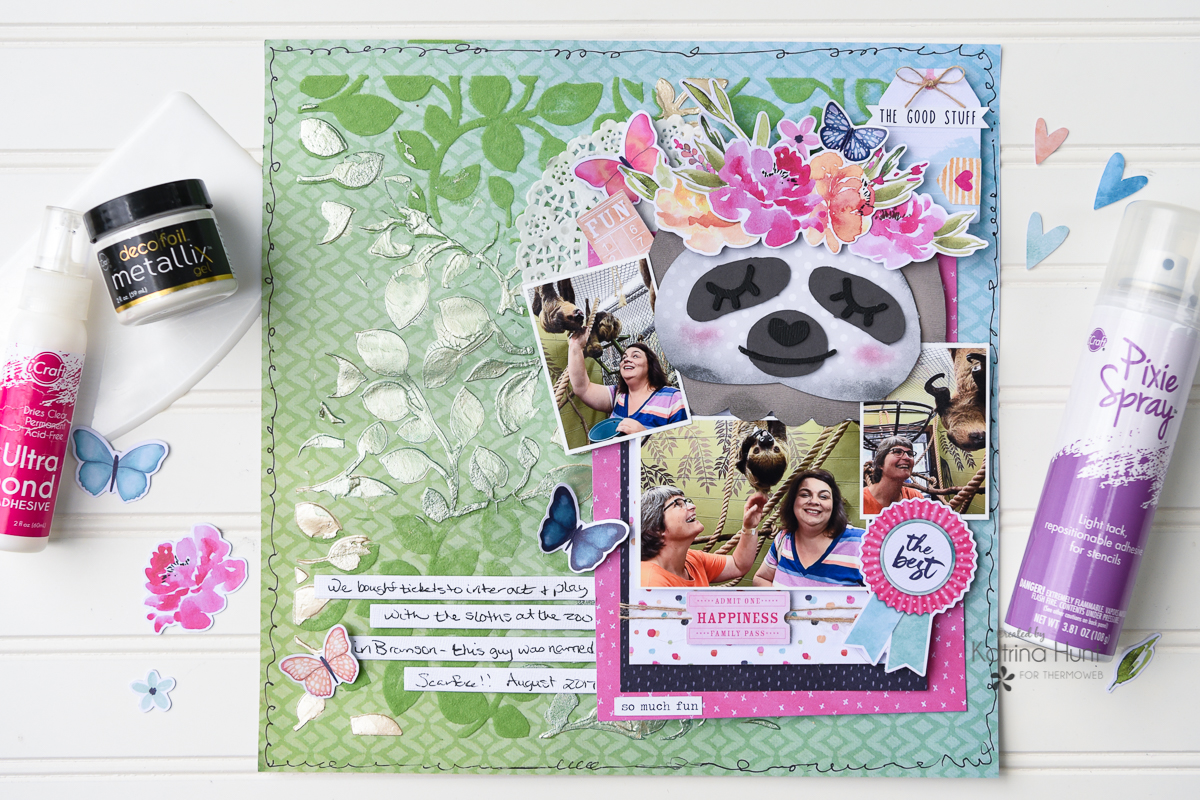 Therm O Web Supplies Used:
Deco Foil Foam Adhesive Sheets
Therm O Web Memory Runner XL
Therm O Web 3D Foam Squares-1/2 inch
iCraft Deco Foil Metallix – Champange
Deco Foil Flock Transfer Sheets-Green Envy
Deco Foil Transfer Gel
Deco Foil Stencil Pal
iCraft Purple Tape -1.5 inch
iCraft Ultra Bond Liquid Adhesive
Therm O Web Adhesive Pick Up Square
Therm O Web Zots – Medium
Therm O Web Pixie Spray
Laminator
Other Supplies Used: Paper and Die Cut Collection-Cocoa Vanilla Studio; Cardstock-American Crafts; Ink-Catherine Pooler; Twine-May Arts; Pen-Sharpie Fine Tip; Silhouette Cameo with cutting file; Doily-Doodlebug Design; Liquid Watercolor-Taylored Expressions; Stencil-Kaisercraft
Therm O Web Supplies Used:
Deco Foil Foam Adhesive Sheets
Therm O Web Memory Runner XL
Therm O Web 3D Foam Squares-1/2 inch
iCraft Deco Foil Metallix – Champange
Deco Foil Flock Transfer Sheets-Green Envy
Deco Foil Transfer Gel
Deco Foil Stencil Pal
iCraft Purple Tape -1.5 inch
iCraft Ultra Bond Liquid Adhesive
Therm O Web Adhesive Pick Up Square
Therm O Web Zots – Medium
Therm O Web Pixie Spray
Laminator
Other Supplies Used: Paper and Die Cut Collection-Cocoa Vanilla Studio; Cardstock-American Crafts; Ink-Catherine Pooler; Twine-May Arts; Pen-Sharpie Fine Tip; Silhouette Cameo with cutting file; Doily-Doodlebug Design; Liquid Watercolor-Taylored Expressions; Stencil-Kaisercraft
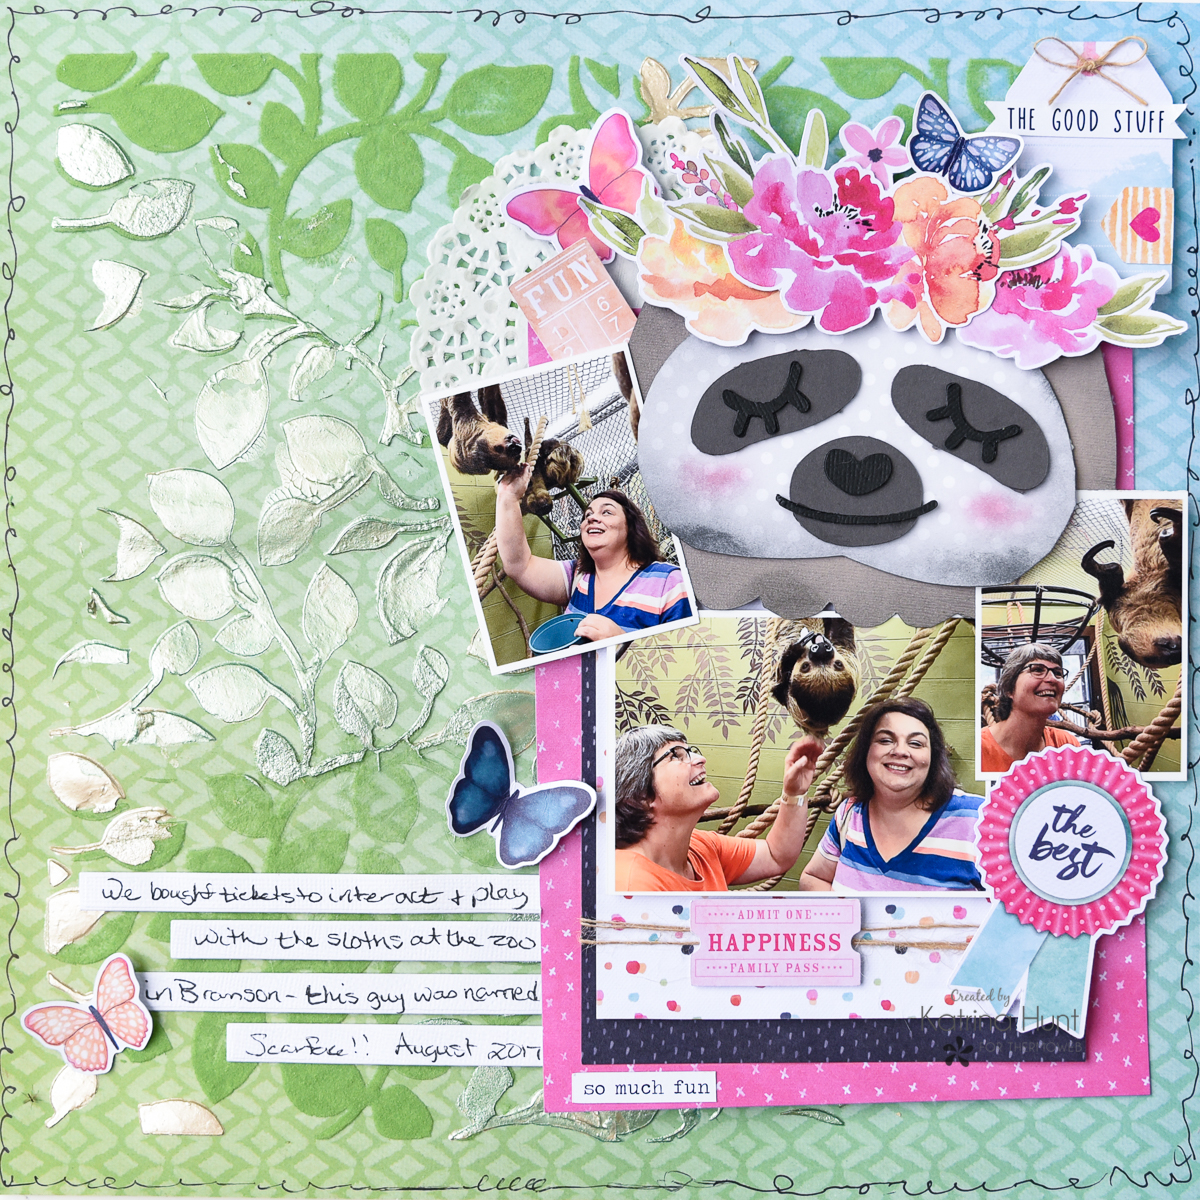 How fun is this?! Let's get started on how to create that fun background.
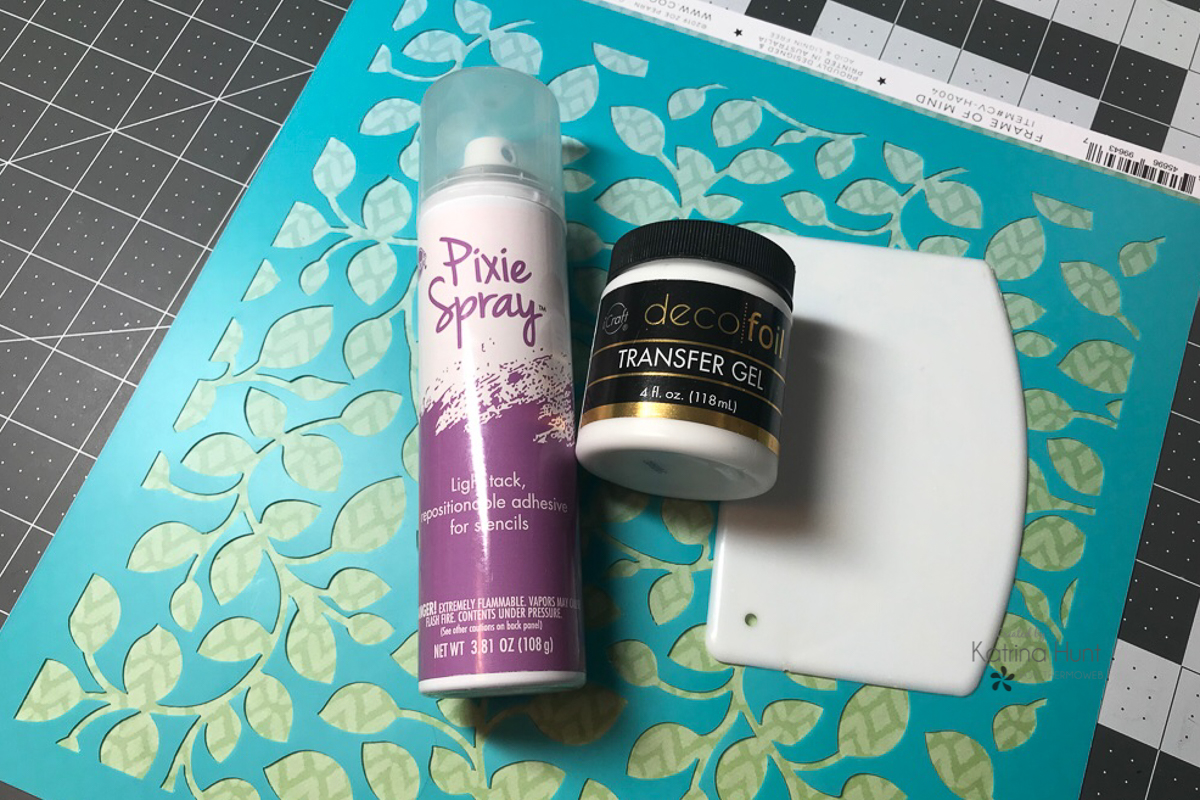 First, find a stencil that will work well with your background. As you can see above, I used a leaf stencil that measured 12x12 inches to tie in with the nature theme. Next prepare the back of your stencil by applying the Pixie Spray in an even coating. As you can probably tell, this stencil has a lot of coverage, but also open areas. The Pixie Spray will help keep those open areas adhered to the paper, so that you can work with your mediums and have a clean look to your stenciling.
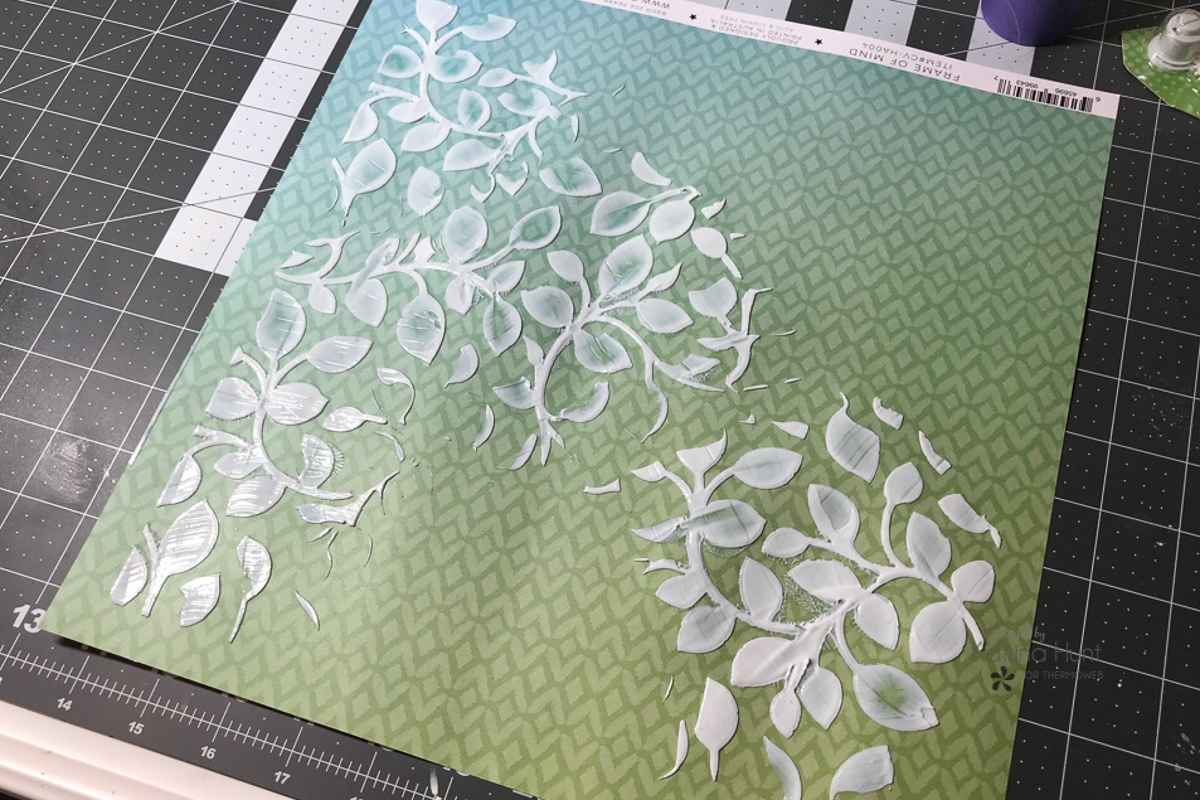 After you apply the Pixie Spray, let it dry for about a minute. By doing this, the spray will form a light and tacky adhesive film on the back of the stencil. This film will allow the stencil to be repositioned and you will also be able to reuse the stencil without reapplying if you are doing several projects. Once the spray is dry and tacky, then position your stencil on your background paper and apply the Transfer Gel with the Stencil Pal. Because we are going to mix the Flock and Metallix, leave parts of the stencil open and not covered with the transfer gel. Now, let the transfer gel dry until clear and tacky. It took mine about two hours, but it was a little humid in the house.
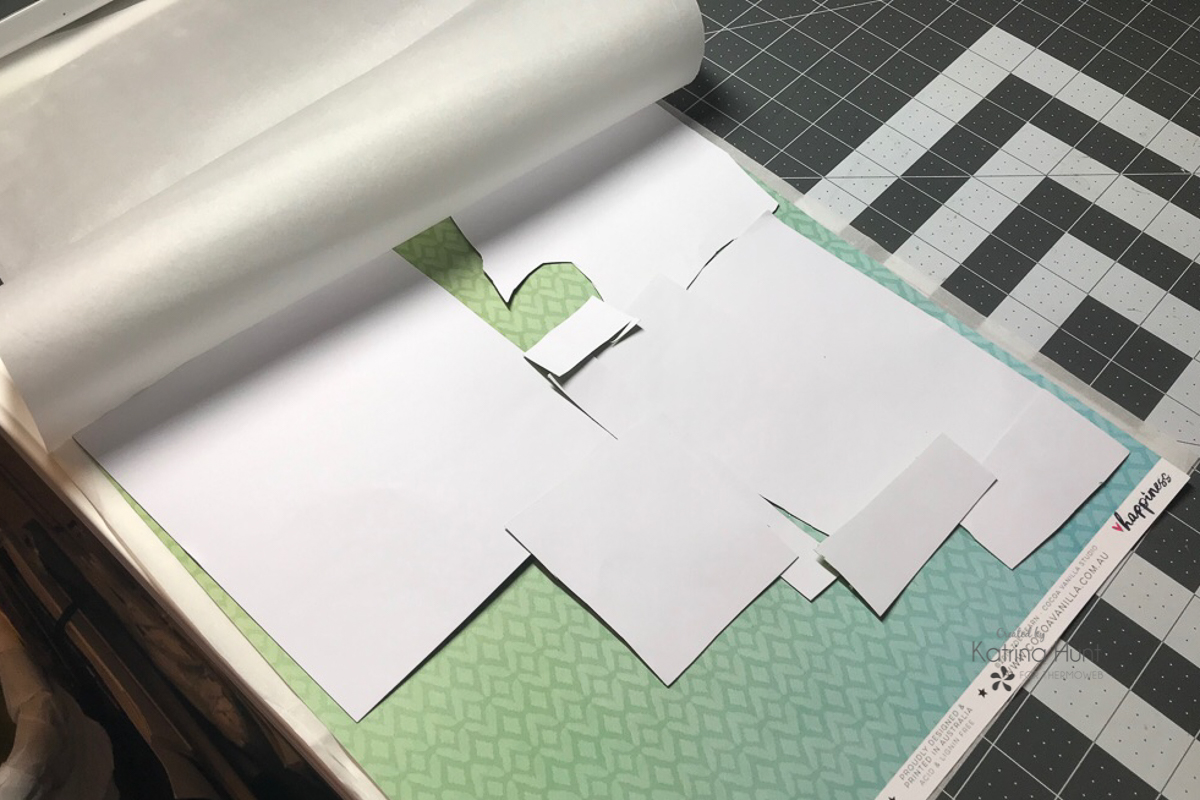 In addition, you will want to heat your laminator for about 20 minutes on the highest setting, for the next step. Begin by cutting pieces of the Flock Transfer Sheet into sizes that will fit over your transfer gel areas. You can layer the flock, as seen above, without it hurting anything. Once all areas are covered, make a sandwich of parchment paper, background paper, flock transfer sheet and parchment paper again. NOTE: The laminator that Therm O Web sells HERE, will easily fit a 12x12 sized piece of paper thru it without any problems.
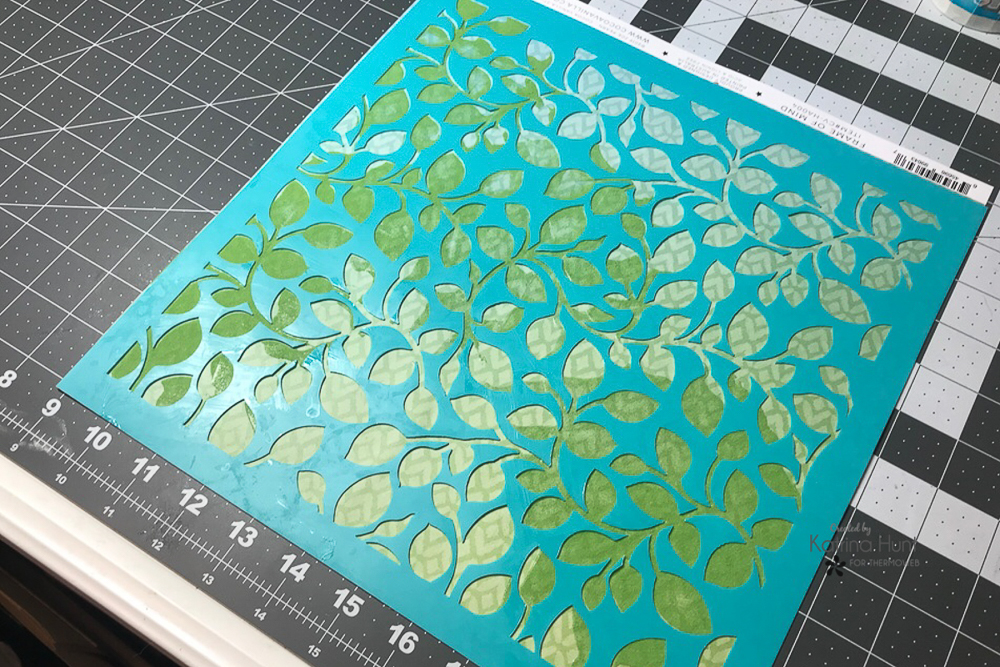
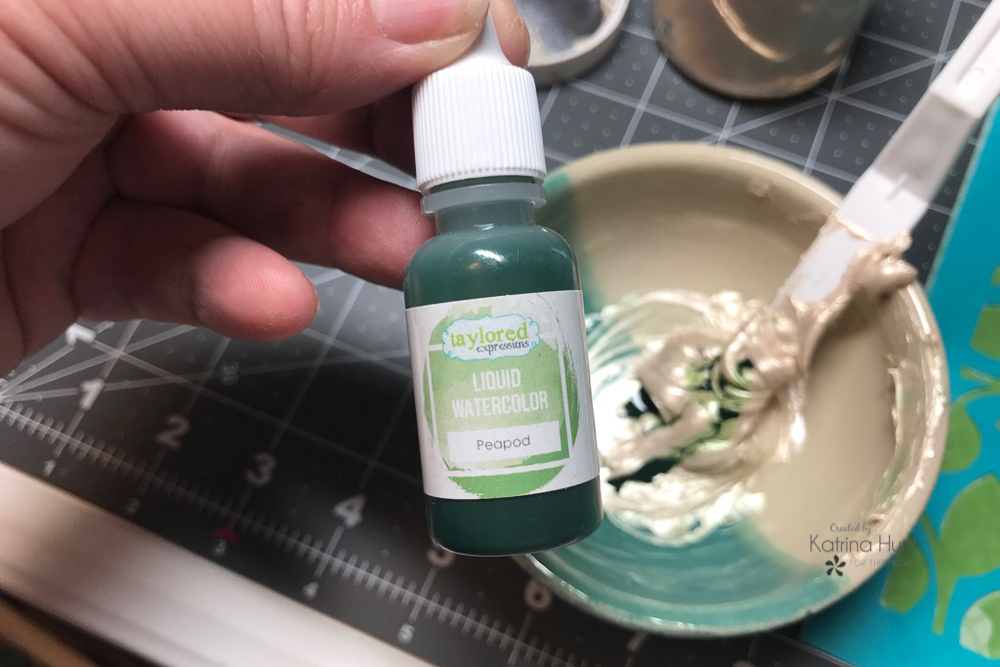 Also, you want to match and reposition your stencil back over your flocked areas. You may need to spray with Pixie Spray again if you happened to clean your mat really well....like I did! Once the mat is correctly aligned, you can begin applying the colored Metallix in the areas you want it. In addition, I also used the Champagne color just the way it was for some variation in the leaves. Love that green color that I mixed paired with the Champagne color! Equally, you can let a little of the Metallix get onto the previous flocked areas for some different textures.
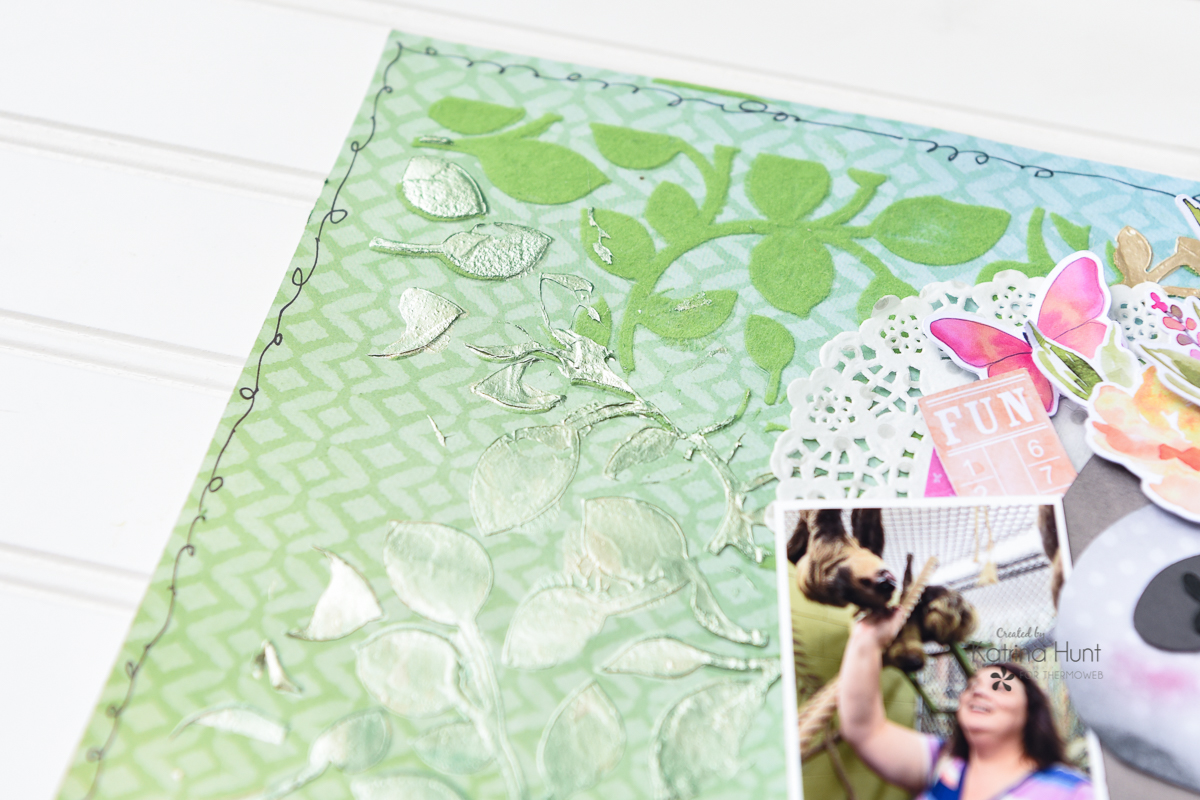 Simultaneously, while the Metallix is drying, work on the cut file for the face. The Ultra Bond Liquid Adhesive is a great addition for paper piecing. All of the layers were one layer, except for the eyelashes, nose and mouth. If you want those to stand out a little, cut three times and then glue the layers together with the Ultra Bond adhesive. It dries clear and fast, so it's perfect!
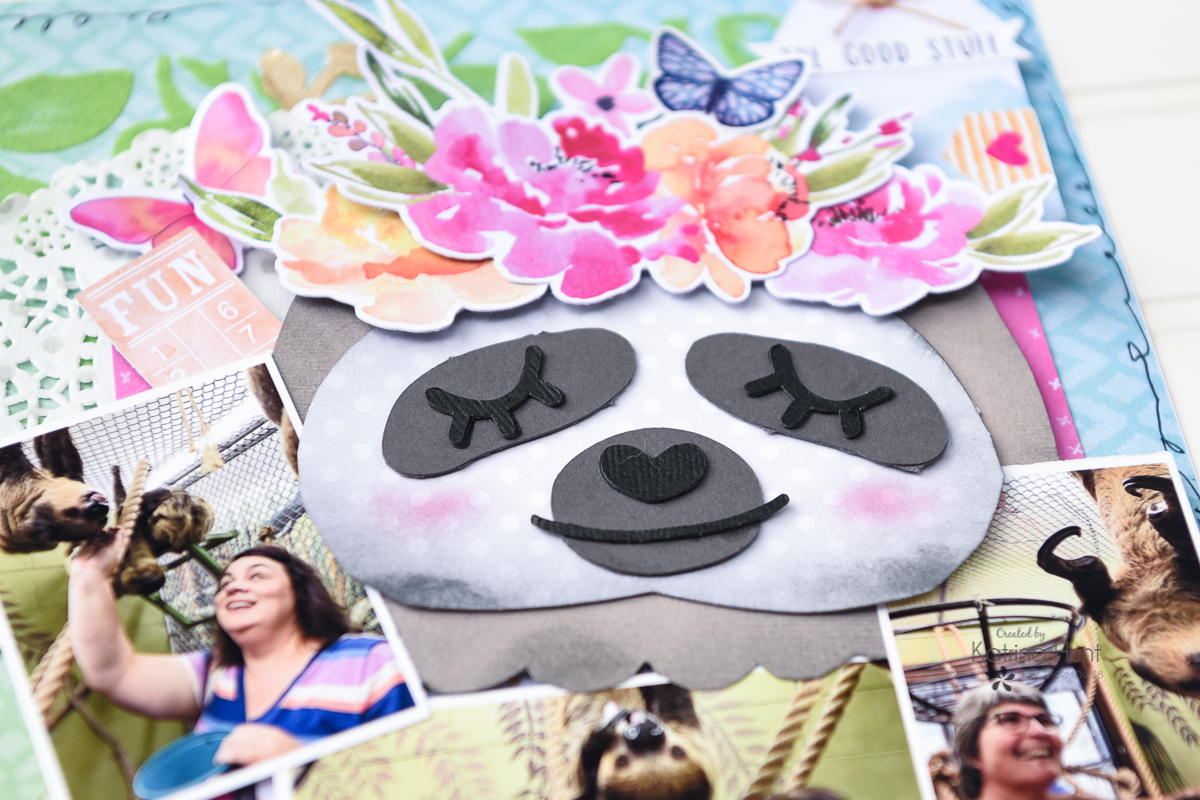 Once the Metallix is dry, start putting your layout together using a combo of adhesive. Primarily, my usual suspects in layout making are Memory Runner XL, 3D Foam Squares/Strips, Zots and the Deco Foil Foam Adhesive sheets.
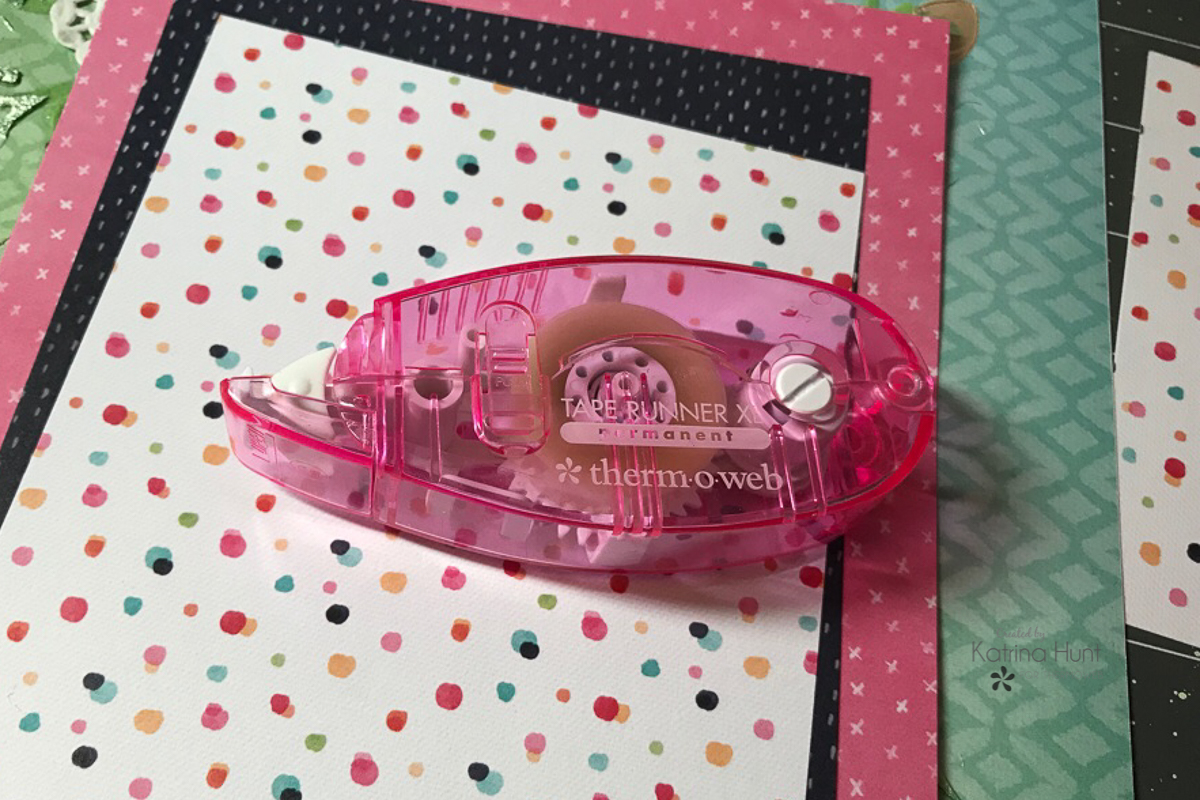
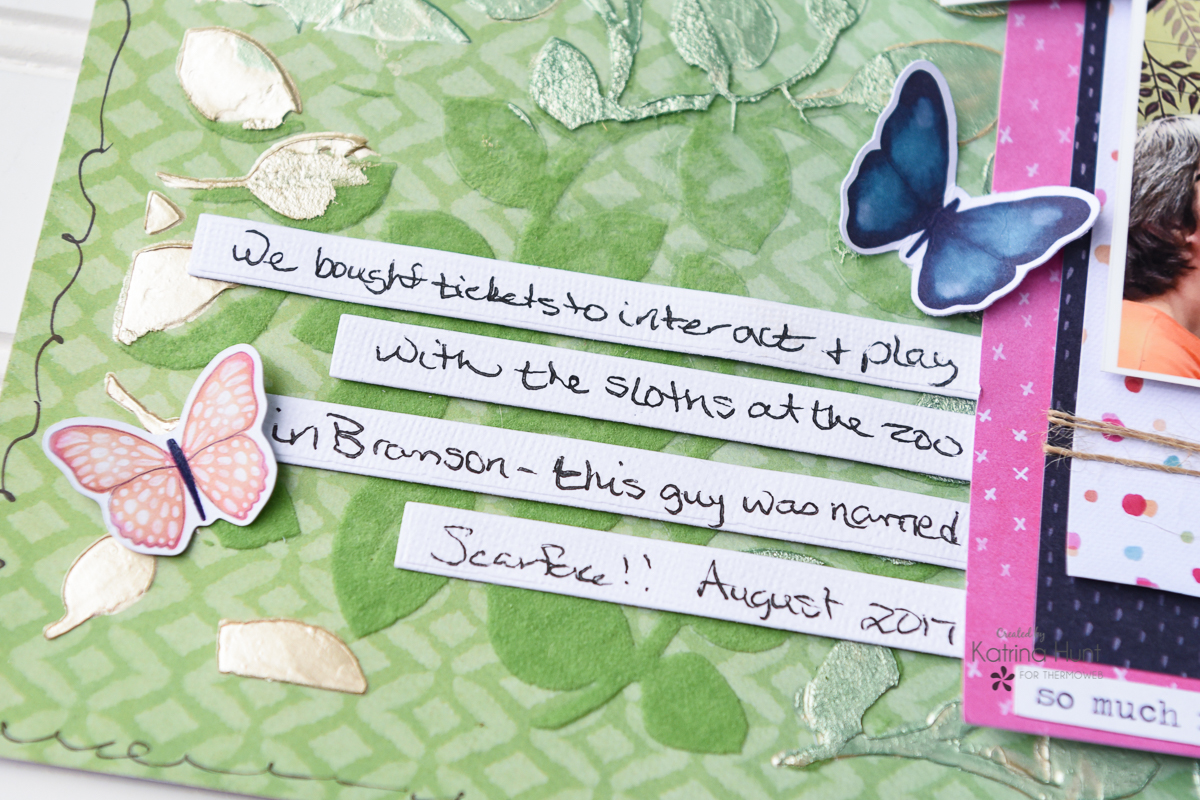
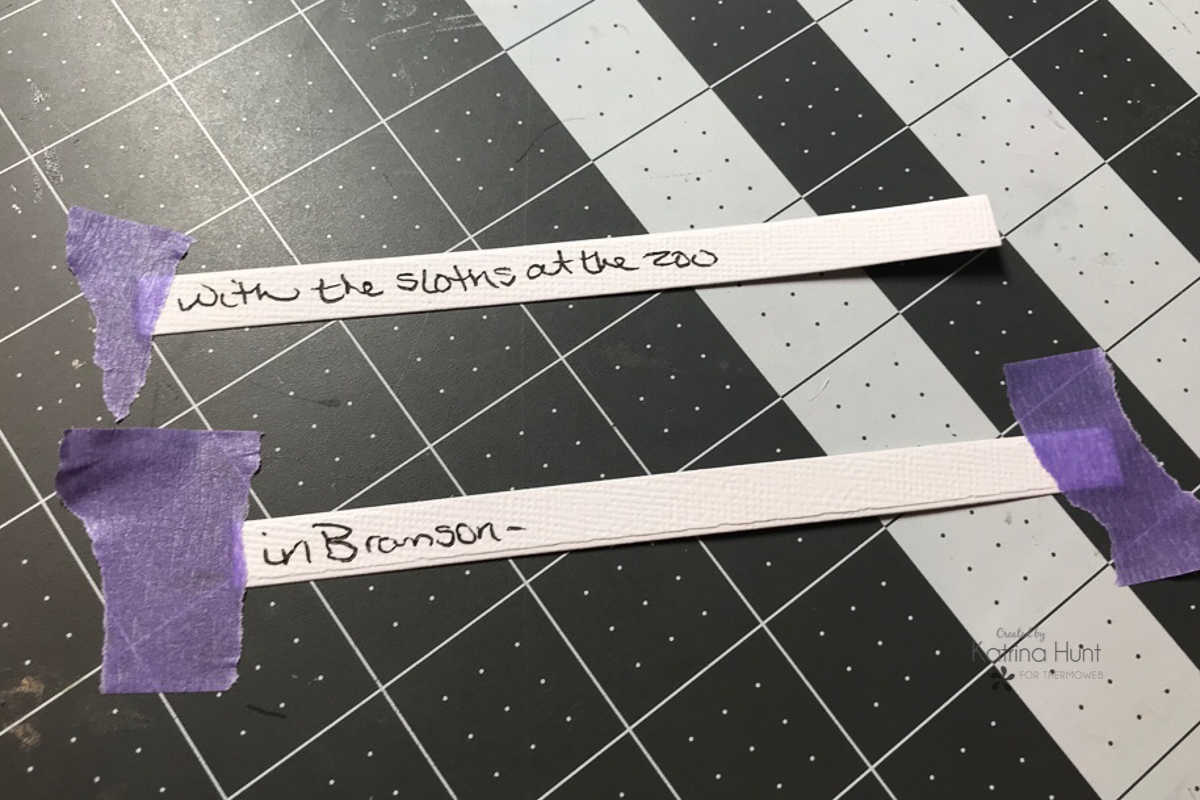 By using the iCraft Purple Tape to hold the ends down, it makes them a breeze to write on. In addition, on my last project, I had used some Heffy Doodle dies to cut out my journaling strips and I love to pop those strips up a little, but hate cutting the adhesive to fit. While making this layout, it dawned on me that the dies came in different widths. So, what's a girl (or guy) to do? Cut out the strip you are going to write on in cardstock and then take the small width die and cut Deco Foil Foam Adhesive out of it! The result is an instant pop up adhesive in the perfect size you need!
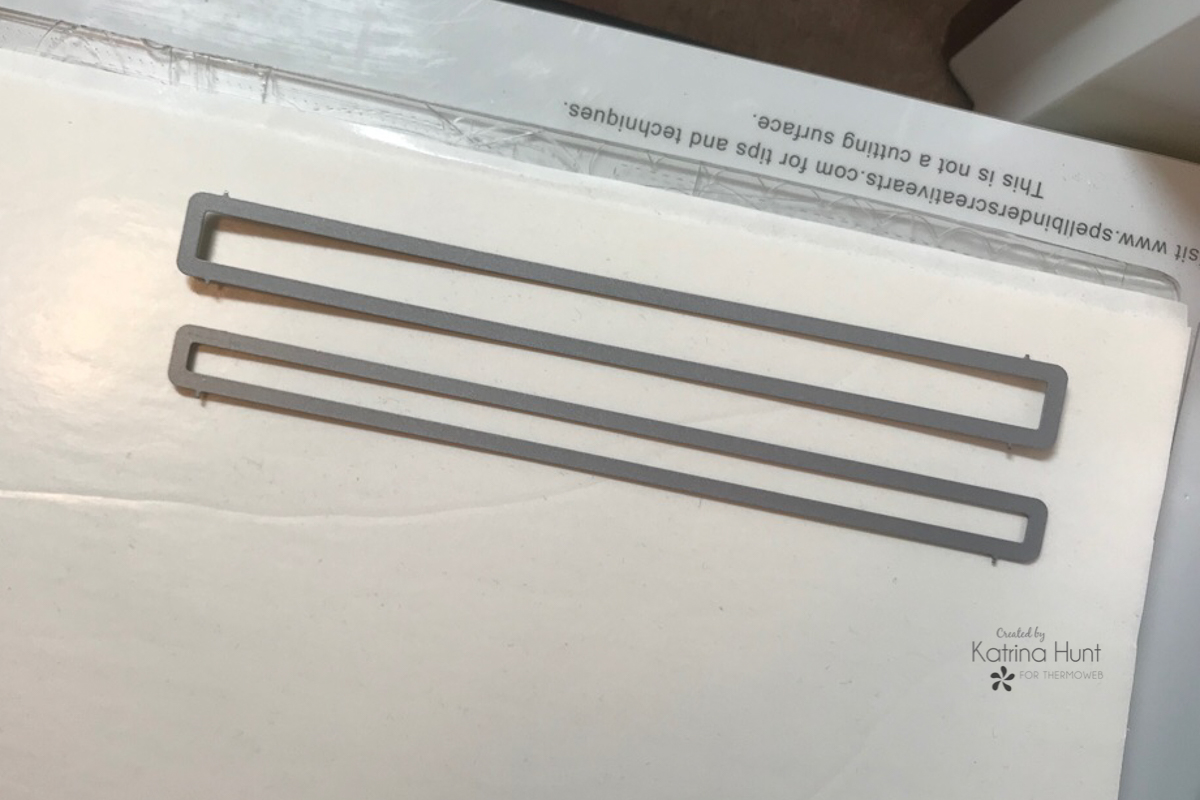
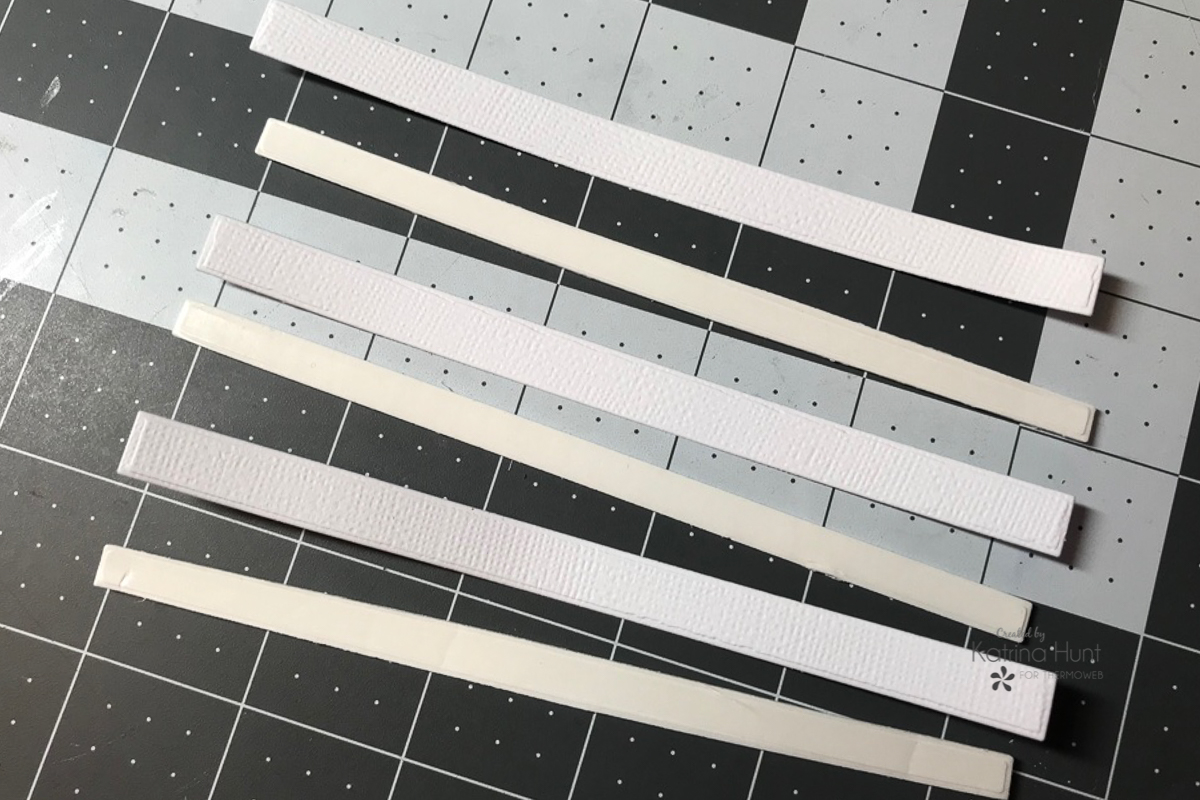 I will say, I was pretty happy with myself when I figured this out, so I thought ti would pass the idea along and maybe help someone else out! Below are the journaling strips up close and in action.
 We hope you are enjoying all the fun animal themed projects this week. Try combining the Flock, Metallix and Foil products, you just might create a project that you love!! Thanks for stopping by and be sure to share your projects on social media with us!!
