No Products in the Cart



 We hope you're enjoying this week! We loved teaming up with our fun friends at Newton's Nook for another fabulous Inspiration Week with our two design teams.
This means for you FIVE days of non-stop inspiration and fun and that's not all. It also means a chance for you to enter to win on BOTH of our blogs for some fun prizes!
So be sure to join us here every day and then visit the Newton's Nook blog too!
To kick things off this afternoon... Katrina Hunt has some holiday Deco Foil cards to share! I mean aren't sloths the cutest?!
We hope you're enjoying this week! We loved teaming up with our fun friends at Newton's Nook for another fabulous Inspiration Week with our two design teams.
This means for you FIVE days of non-stop inspiration and fun and that's not all. It also means a chance for you to enter to win on BOTH of our blogs for some fun prizes!
So be sure to join us here every day and then visit the Newton's Nook blog too!
To kick things off this afternoon... Katrina Hunt has some holiday Deco Foil cards to share! I mean aren't sloths the cutest?!
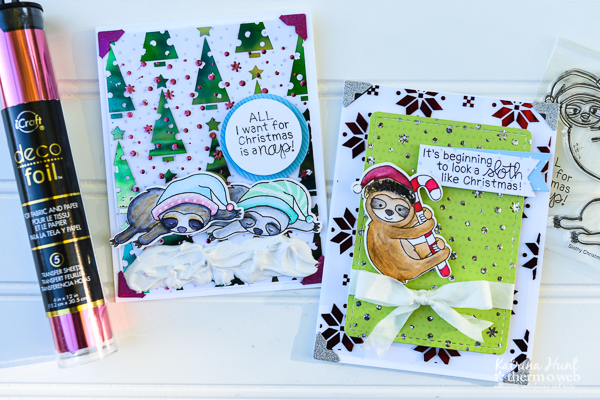 Hi there! It's Katrina from Paper, Scissors and Glue today to share a couple of fun Christmas cards. Now, I am a sloth lover, so these stamps and dies I HAD to work with! I also used the new Holiday Deco Foil Clear Toner Sheets, Deco Foil Transfer Gel, and brought back an oldie, our Glitter Dust Photo Corners!
Now, I was having so much fun creating, I forgot to take a few step out photos that I thought I had! So, you can find one of my older posts on how to work with the transfer gel HERE.
Hi there! It's Katrina from Paper, Scissors and Glue today to share a couple of fun Christmas cards. Now, I am a sloth lover, so these stamps and dies I HAD to work with! I also used the new Holiday Deco Foil Clear Toner Sheets, Deco Foil Transfer Gel, and brought back an oldie, our Glitter Dust Photo Corners!
Now, I was having so much fun creating, I forgot to take a few step out photos that I thought I had! So, you can find one of my older posts on how to work with the transfer gel HERE.
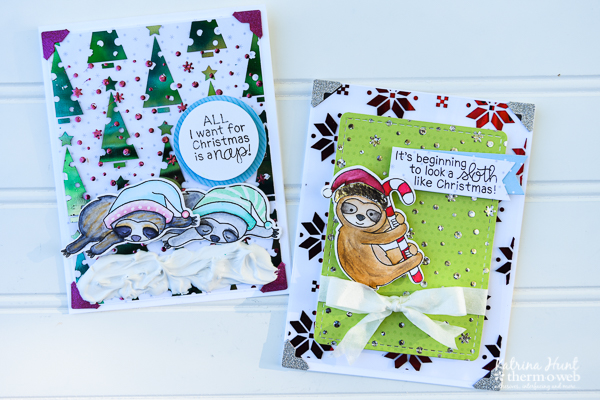 Therm O Web Supplies Used:
Therm O Web 3D Foam Squares– 1/2 inch
Glitter Dust Photo Corners-Pink
Glitter Dust Photo Corners-Silver
Deco Foil Transfer Sheets – Silver Value Pack
Deco Foil Transfer Sheets-Pink Melon
Deco Foil Transfer Sheets-Red
Deco Foil Transfer Sheets-Emerald Watercolor
Deco Foil Transfer Sheets-Silver Stars
Deco Foil Clear Toner Sheets-Prim Poinsetta
Deco Foil Clear Toner Sheets- O' Christmas Tree
Deco Foil Transfer Gel
Therm O Web Deco Foil Foam Adhesive
iCraft Ultra Bond Liquid Adhesive
Laminator
ThermOWeb iCraft Purple Tape
Gina K Designs Premium Cardstock-Luxury White
Gina K Designs Amalgam Ink-Black
Other Supplies: Newton's Nook Stamps, Dies and Stencil; Modeling Paste, Ribbon; Zig Clean Color Real Brush Markers; Gelly Roll White Pen
Turn laminator on to warm up for at least 20 minutes on 5 mil setting.
Stamp images and color in using your color medium of choice. Once images are colored, hold dies in place with Purple Tape and die cut images. Set to side.
Therm O Web Supplies Used:
Therm O Web 3D Foam Squares– 1/2 inch
Glitter Dust Photo Corners-Pink
Glitter Dust Photo Corners-Silver
Deco Foil Transfer Sheets – Silver Value Pack
Deco Foil Transfer Sheets-Pink Melon
Deco Foil Transfer Sheets-Red
Deco Foil Transfer Sheets-Emerald Watercolor
Deco Foil Transfer Sheets-Silver Stars
Deco Foil Clear Toner Sheets-Prim Poinsetta
Deco Foil Clear Toner Sheets- O' Christmas Tree
Deco Foil Transfer Gel
Therm O Web Deco Foil Foam Adhesive
iCraft Ultra Bond Liquid Adhesive
Laminator
ThermOWeb iCraft Purple Tape
Gina K Designs Premium Cardstock-Luxury White
Gina K Designs Amalgam Ink-Black
Other Supplies: Newton's Nook Stamps, Dies and Stencil; Modeling Paste, Ribbon; Zig Clean Color Real Brush Markers; Gelly Roll White Pen
Turn laminator on to warm up for at least 20 minutes on 5 mil setting.
Stamp images and color in using your color medium of choice. Once images are colored, hold dies in place with Purple Tape and die cut images. Set to side.
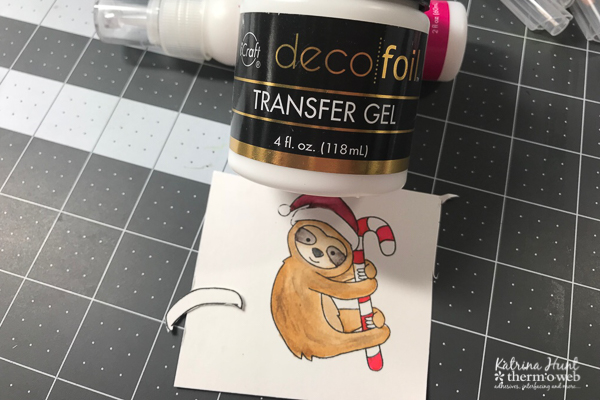
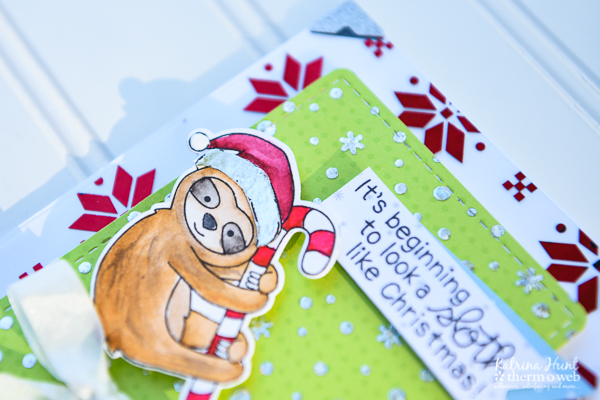
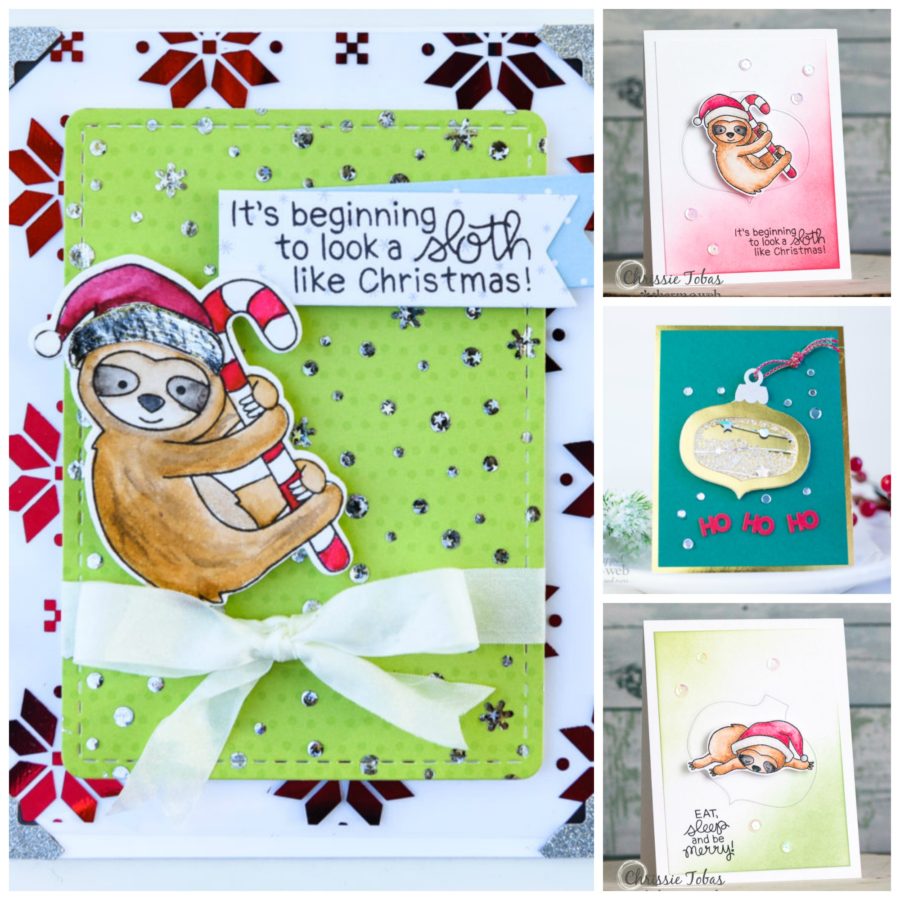
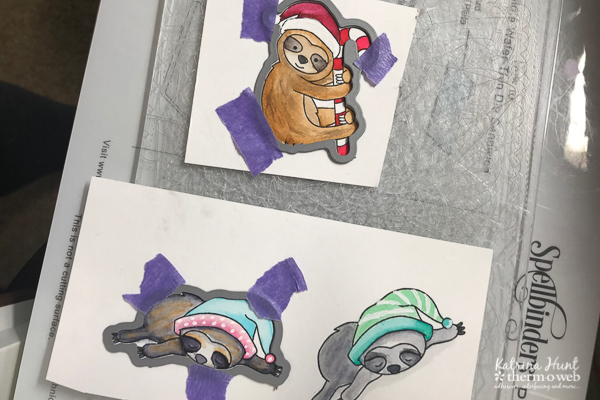 Stamp another image of the candy cane holding sloth and cut out the fur part of the hat. Use a paint brush and brush on the Deco Foil Transfer gel. Once gel dries, apply you choice of colored foil over the cut out part and run thru laminator, then glue onto colored die cut using the Ultra Bond Liquid Adhesive.
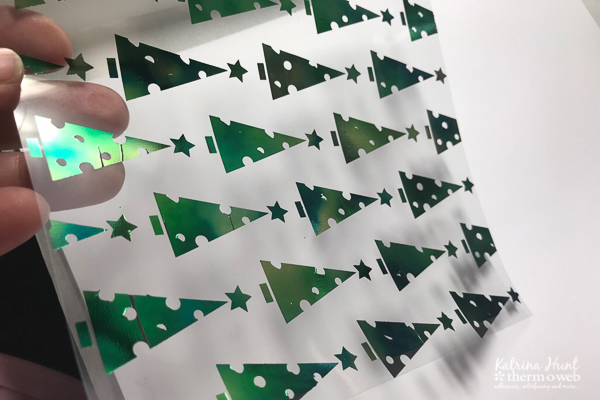
 Cut 8.5 x 11 inch piece of the Gina K cardstock in half down the longer width, to create two top folding A2 card bases. Fold in half and set to side. Use the transfer gel with a snow/star stencil and cover a piece of pattern paper. Let transfer gel dry. While the gel is drying, foil the Clear Designer Toner Sheets. Trim to fit card front. Once toner sheet is foiled, then use the star/snow stencil and transfer gel over the top of the tree toner sheet that has been foiled. Let dry until clear. Once all transfer gel is dry, then run pieces thru the laminator with foil choices.
 In the picture below, you can see the foiled "fur" on the hat and then the stenciled background on the pattern paper that has been foiled also.
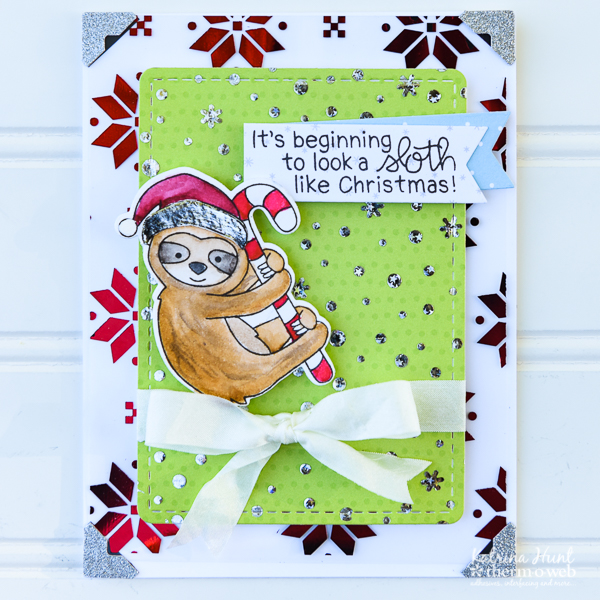 Hold Clear Toner Sheets in place with the Glitter Dust Photo Corners. For the card above, I trimmed the long black part off, so that you could not see it thru the toner sheet. Adhere corners to the corners of your card and then slip the clear toner sheet in. You may have to trim it slightly so that it doesn't buckle.
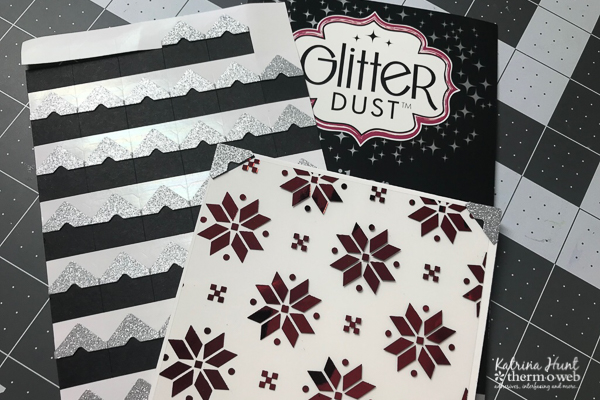
 For the other card, I used the photo corners to hold the pattern paper backing in place, along with the Clear Toner sheet. You can see in the photo below, how fun that pink foiled snow is!
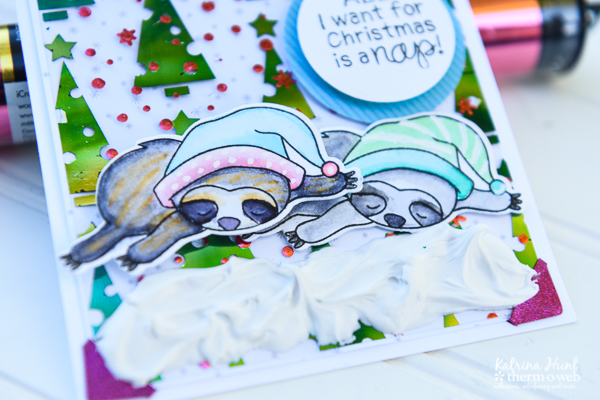
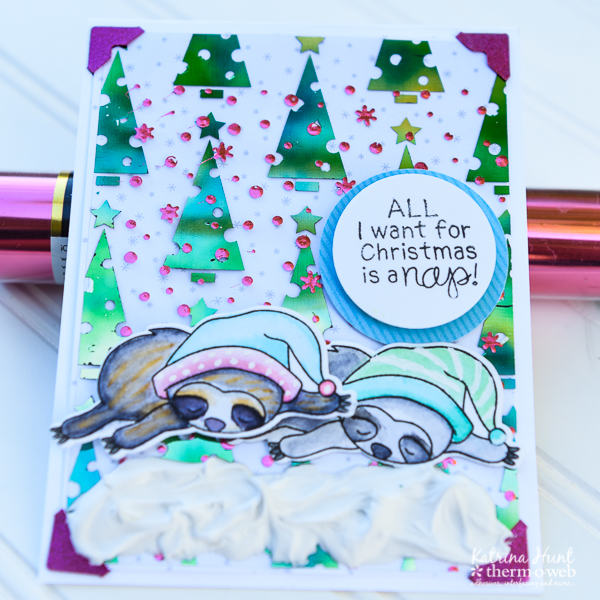 Add modeling paste to the front, giving it texture to make it look like a snow bank that the sloths are sleeping on. I also covered the photo corners slightly with the modeling paste, which give it a little fun and also keeps that toner sheet really secure! LOL
 And that is all from me today! I hope you enjoyed my cards and have a wonderful week! Thanks for stopping by the blog today!
 Be sure to take time to go visit our friends at Newton's Nook and see what their team has created! Before you go...please take a moment to get yourself entered to win a $25 Gift Card to shop with us!
a Rafflecopter giveaway
Be sure to take time to go visit our friends at Newton's Nook and see what their team has created! Before you go...please take a moment to get yourself entered to win a $25 Gift Card to shop with us!
a Rafflecopter giveaway
