No Products in the Cart
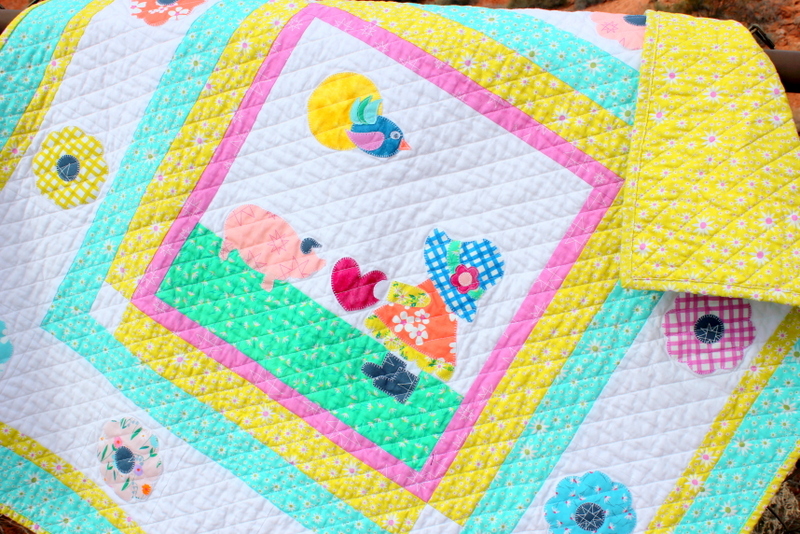
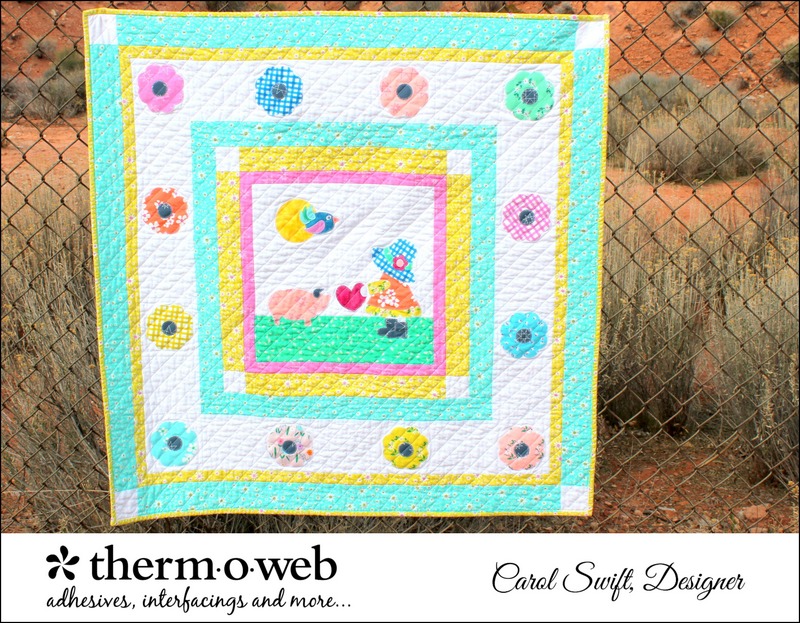 Everybody needs a little love and Sunbonnet Sue is making sure this little pig is getting some special attention. The applique designs and quilt are made with Windham’s Daisy Chain fabric by Annabel Wrigley. I love the bright colors and think it is perfect for any version of Sunbonnet Sue!
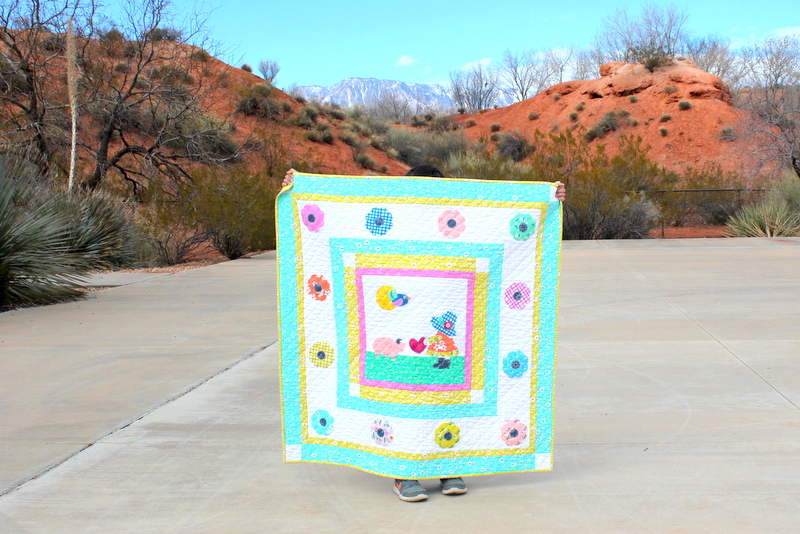
 "Share the Love" Baby Quilt, by Carol Swift, Just Let Me Quilt
Finished size is 42” x 42”
Here's what you'll need to make "Share The Love":
HeatnBond Lite, Iron-on Adhesive or HeatnBond EZ Print Lite Sheets
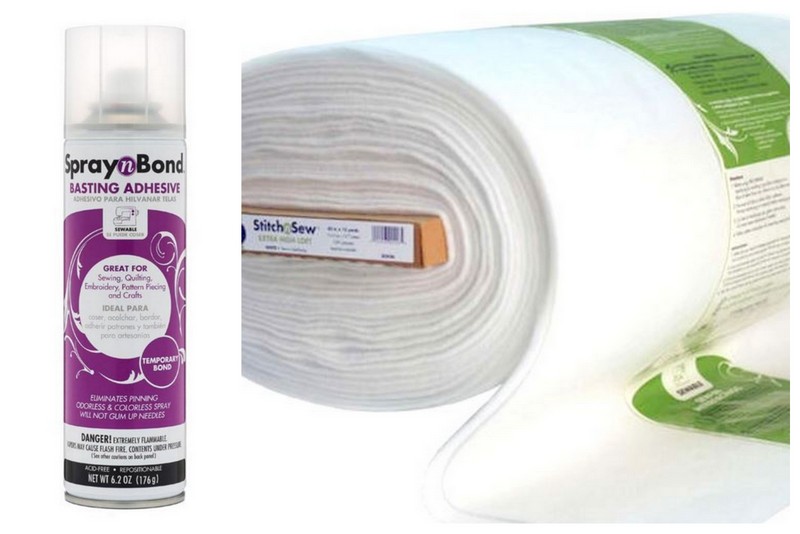
Therm O Web SpraynBond Basting Adhesive
Therm O Web StitchnSew Fleece Sew-in High Loft/Batting
Oliso Purple Iron
Aurifil Thread, 50wt
Share The Love Baby Quilt
"Share the Love" Baby Quilt, by Carol Swift, Just Let Me Quilt
Finished size is 42” x 42”
Here's what you'll need to make "Share The Love":
HeatnBond Lite, Iron-on Adhesive or HeatnBond EZ Print Lite Sheets
Therm O Web SpraynBond Basting Adhesive
Therm O Web StitchnSew Fleece Sew-in High Loft/Batting
Oliso Purple Iron
Aurifil Thread, 50wt
Share The Love Baby Quilt
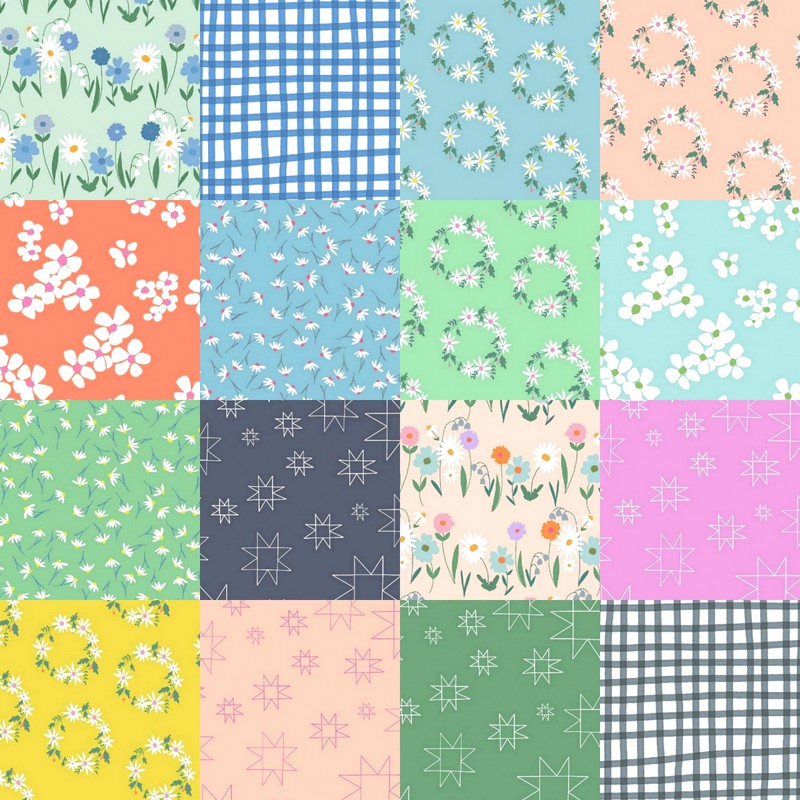
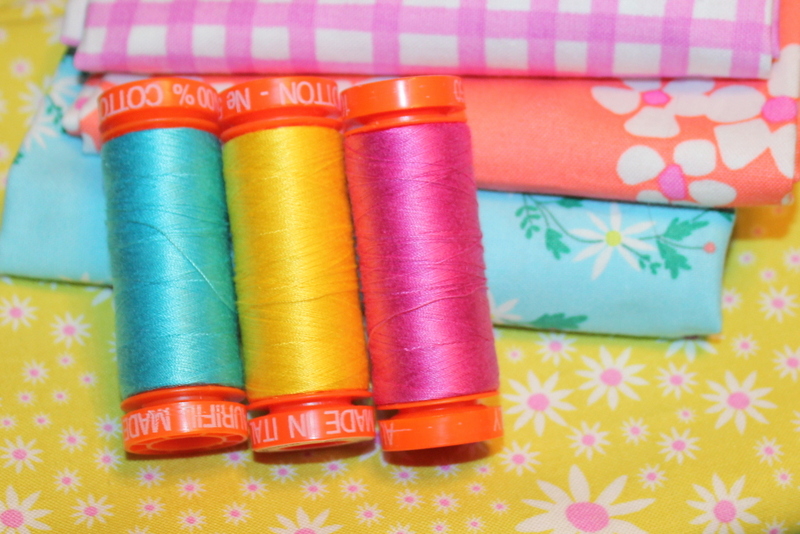 Windham Daisy Chain fabric
 Fabric needed:
18 - 20 fat quarters for applique designs
1-yard white fabric for backgrounds and borders
1/8 yard, Border A
1/4 yard, Border B (plus white for corners)
3/8 yard, Border C
3/8 yard, Border D
1/4 yard, Border E
3/8 yard, Border F (plus white for corners)
3/8 yard, binding
Approximately 1 yard for backing
Fabric needed:
18 - 20 fat quarters for applique designs
1-yard white fabric for backgrounds and borders
1/8 yard, Border A
1/4 yard, Border B (plus white for corners)
3/8 yard, Border C
3/8 yard, Border D
1/4 yard, Border E
3/8 yard, Border F (plus white for corners)
3/8 yard, binding
Approximately 1 yard for backing
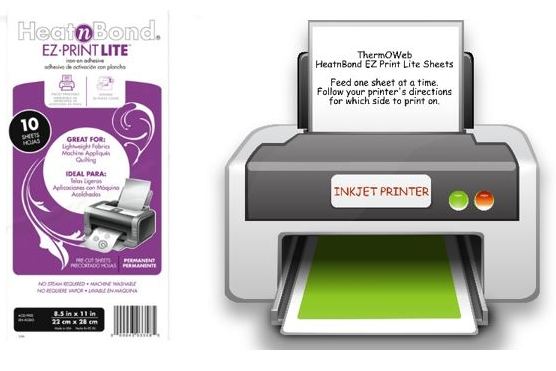 A. Applique with printable Heat n Bond EZ Print Lite sheets: Using your inkjet printer, print out applique pattern pieces using Heat n Bond EZ Print Lite sheets. Load one sheet at a time into the paper tray. The sheet should be placed so printing is on the smooth side of the paper. Print quality at the normal setting and for plain paper. Allow 5-10 seconds for ink to dry.
B. Applique with Heat n Bond Lite: Trace applique designs on the smooth side of Heat n Bond Lite.
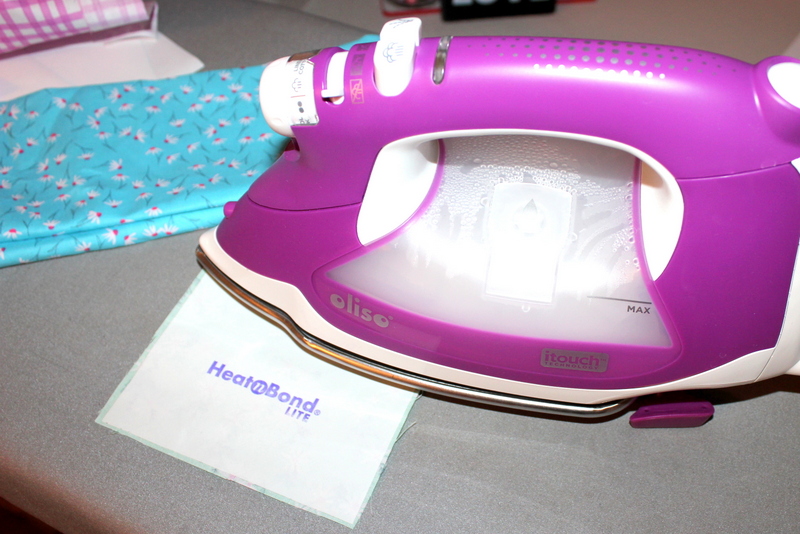
Fusing Applique Instructions - Iron adhesive pieces to wrong sides of fabrics with a medium heat iron, no steam. Press for 2 seconds. Repeat until all surfaces have been bonded to the fabric. Let cool.
Fusing Applique Instructions - Iron adhesive pieces to wrong sides of fabrics with a medium heat iron, no steam. Press for 2 seconds. Repeat until all surfaces have been bonded to the fabric. Let cool.
A. Applique with printable Heat n Bond EZ Print Lite sheets: Using your inkjet printer, print out applique pattern pieces using Heat n Bond EZ Print Lite sheets. Load one sheet at a time into the paper tray. The sheet should be placed so printing is on the smooth side of the paper. Print quality at the normal setting and for plain paper. Allow 5-10 seconds for ink to dry.
B. Applique with Heat n Bond Lite: Trace applique designs on the smooth side of Heat n Bond Lite.
Fusing Applique Instructions - Iron adhesive pieces to wrong sides of fabrics with a medium heat iron, no steam. Press for 2 seconds. Repeat until all surfaces have been bonded to the fabric. Let cool.
Fusing Applique Instructions - Iron adhesive pieces to wrong sides of fabrics with a medium heat iron, no steam. Press for 2 seconds. Repeat until all surfaces have been bonded to the fabric. Let cool.
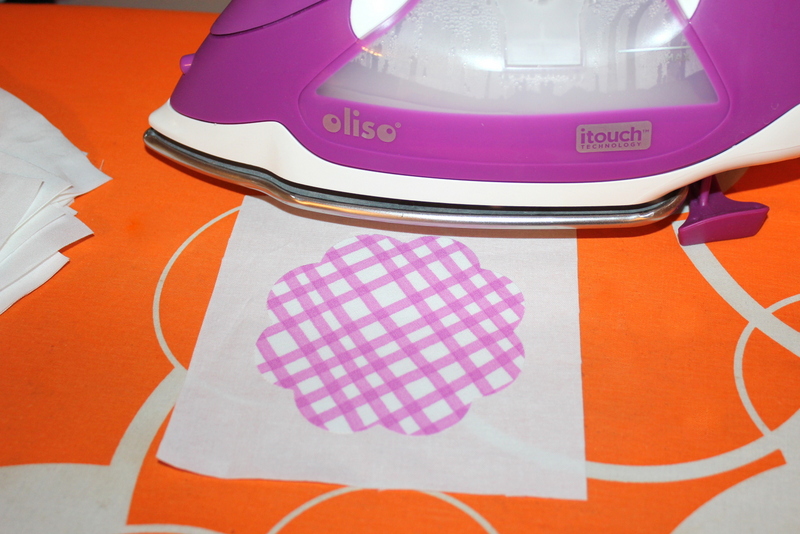
 Cut out applique pieces. Peel off the paper liner. Place applique shape, adhesive side down, on the right side of the fabric. Press and hold iron for 6 seconds on each section until the entire piece is bonded. Let cool.
 *Using a heatproof mat to lay out your applique pieces before ironing them to your fabric is very helpful.
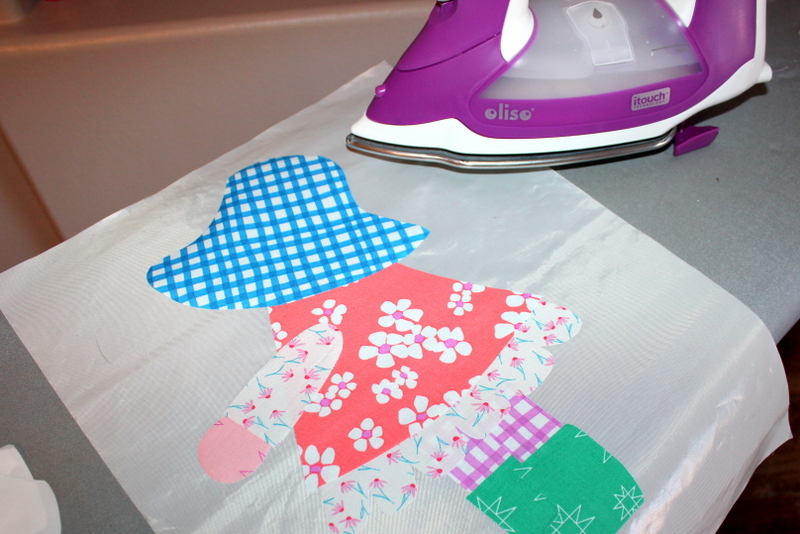 Sewing Applique Instructions: Sew around edges using a straight, zig-zag, or blanket stitch.
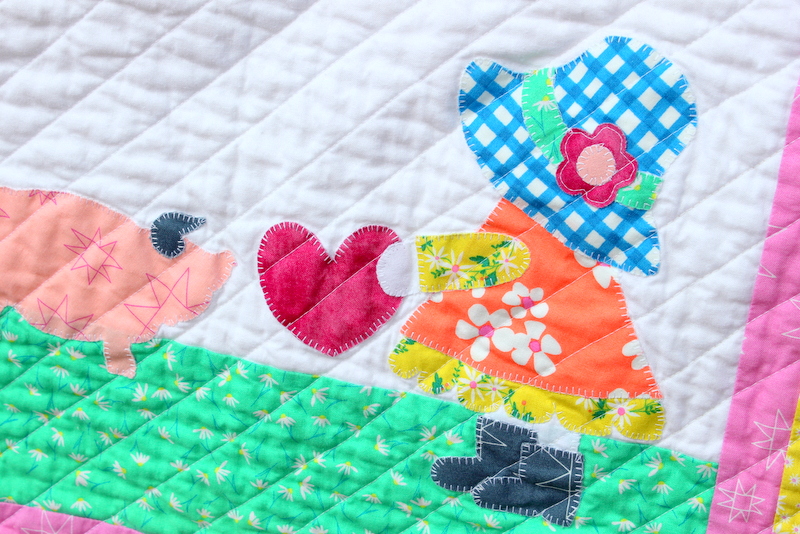 Sew quilt together following the “Share The Love” pattern directions. There's a sweet little helper behind that finished quilt!
 To finish your quilt using Therm O Web Spray N Bond Basting Adhesive and Therm O Web Stitch n Sew Fleece Sew-in High Loft/Batting:
 Lay quilt backing with right side down on protective cloth or paper (to prevent overspray.) Spray the wrong side of backing with Therm O Web Spray n Bond Basting Adhesive following manufacturer’s directions. Lay the batting on backing and smooth to remove wrinkles and creases. Spray batting with adhesive. Lay quilt top, wrong side down, on sprayed batting. Smooth to remove wrinkles and creases. Quilt as desired. Add binding using your favorite method.
Written by Carol Swift