No Products in the Cart
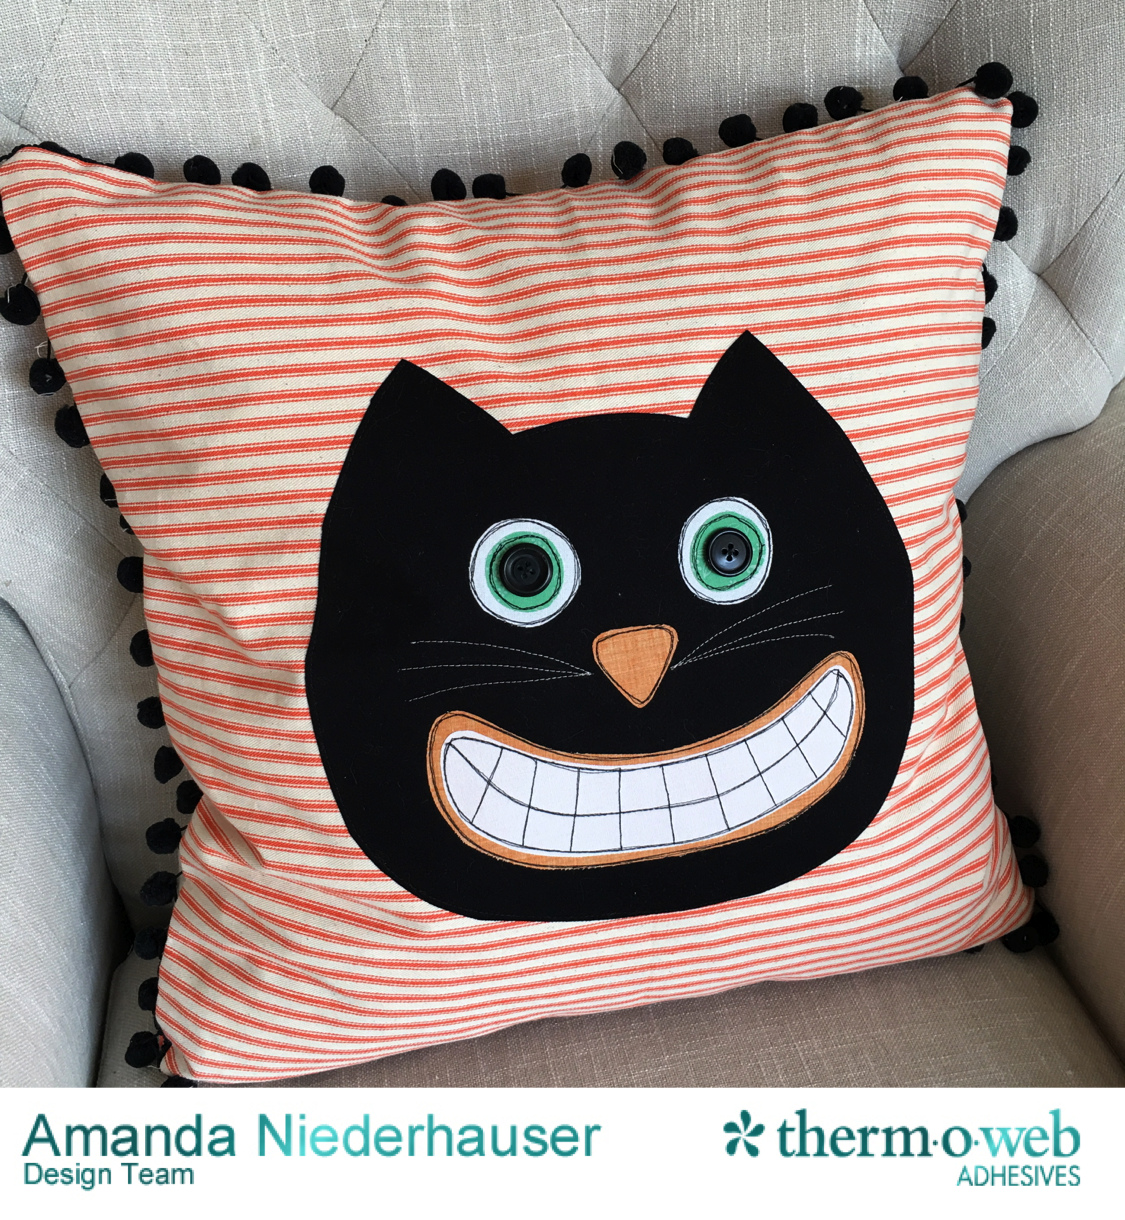 Hello and Happy almost October from Jedi Craft Girl!!! I love black cats and I NEED a silly black cat pillow for my Halloween decor! I love folk art/vintage black cat art and that's where the inspiration came for this pillow.
Supplies:
Heat n Bond® Lite (may use EZ print sheets)
(2) 20" squares orange ticking for pillow body
Fat quarter solid black
scraps of white fabric, green fabric, and orange fabric
2.5 yards pom pom trim
zipper
20" pillow form
Cat Pattern, click HERE
Hello and Happy almost October from Jedi Craft Girl!!! I love black cats and I NEED a silly black cat pillow for my Halloween decor! I love folk art/vintage black cat art and that's where the inspiration came for this pillow.
Supplies:
Heat n Bond® Lite (may use EZ print sheets)
(2) 20" squares orange ticking for pillow body
Fat quarter solid black
scraps of white fabric, green fabric, and orange fabric
2.5 yards pom pom trim
zipper
20" pillow form
Cat Pattern, click HERE

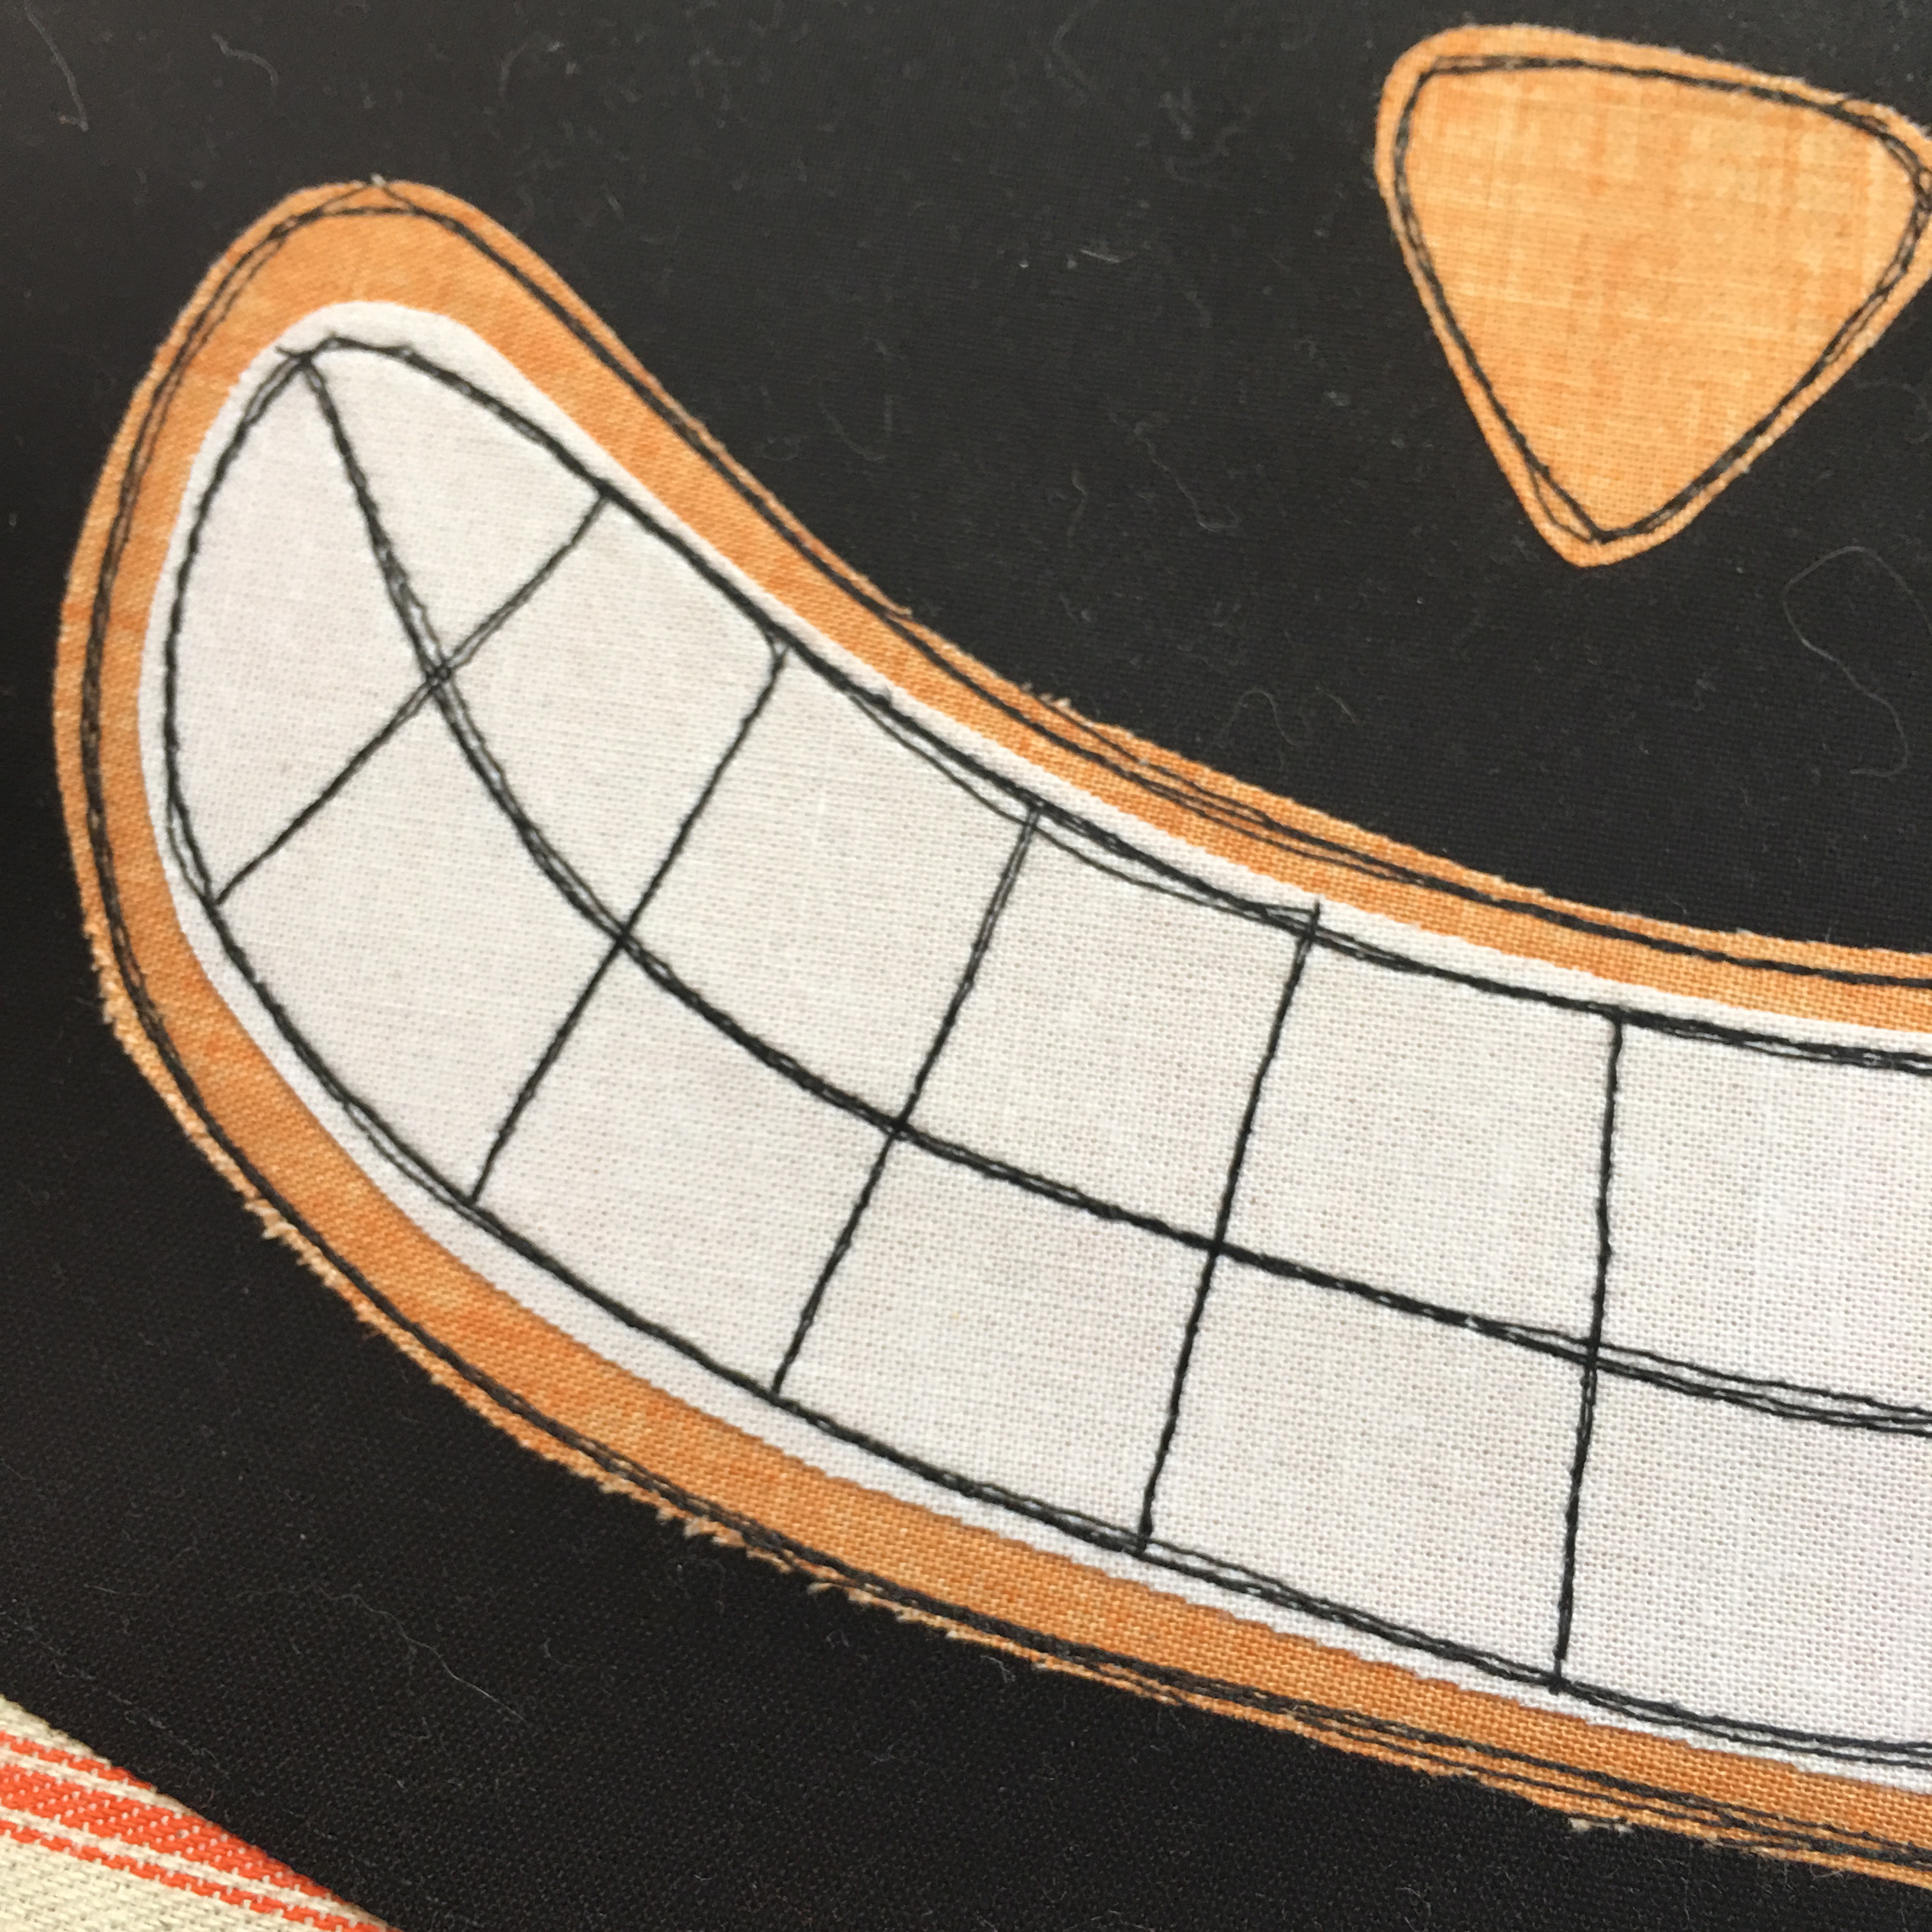 With black thread, straight stitch around each of the applique pieces 3 times. I only stitched around the cat head once because you can't see the stitching. Following the picture, add detail stitching for his teeth.
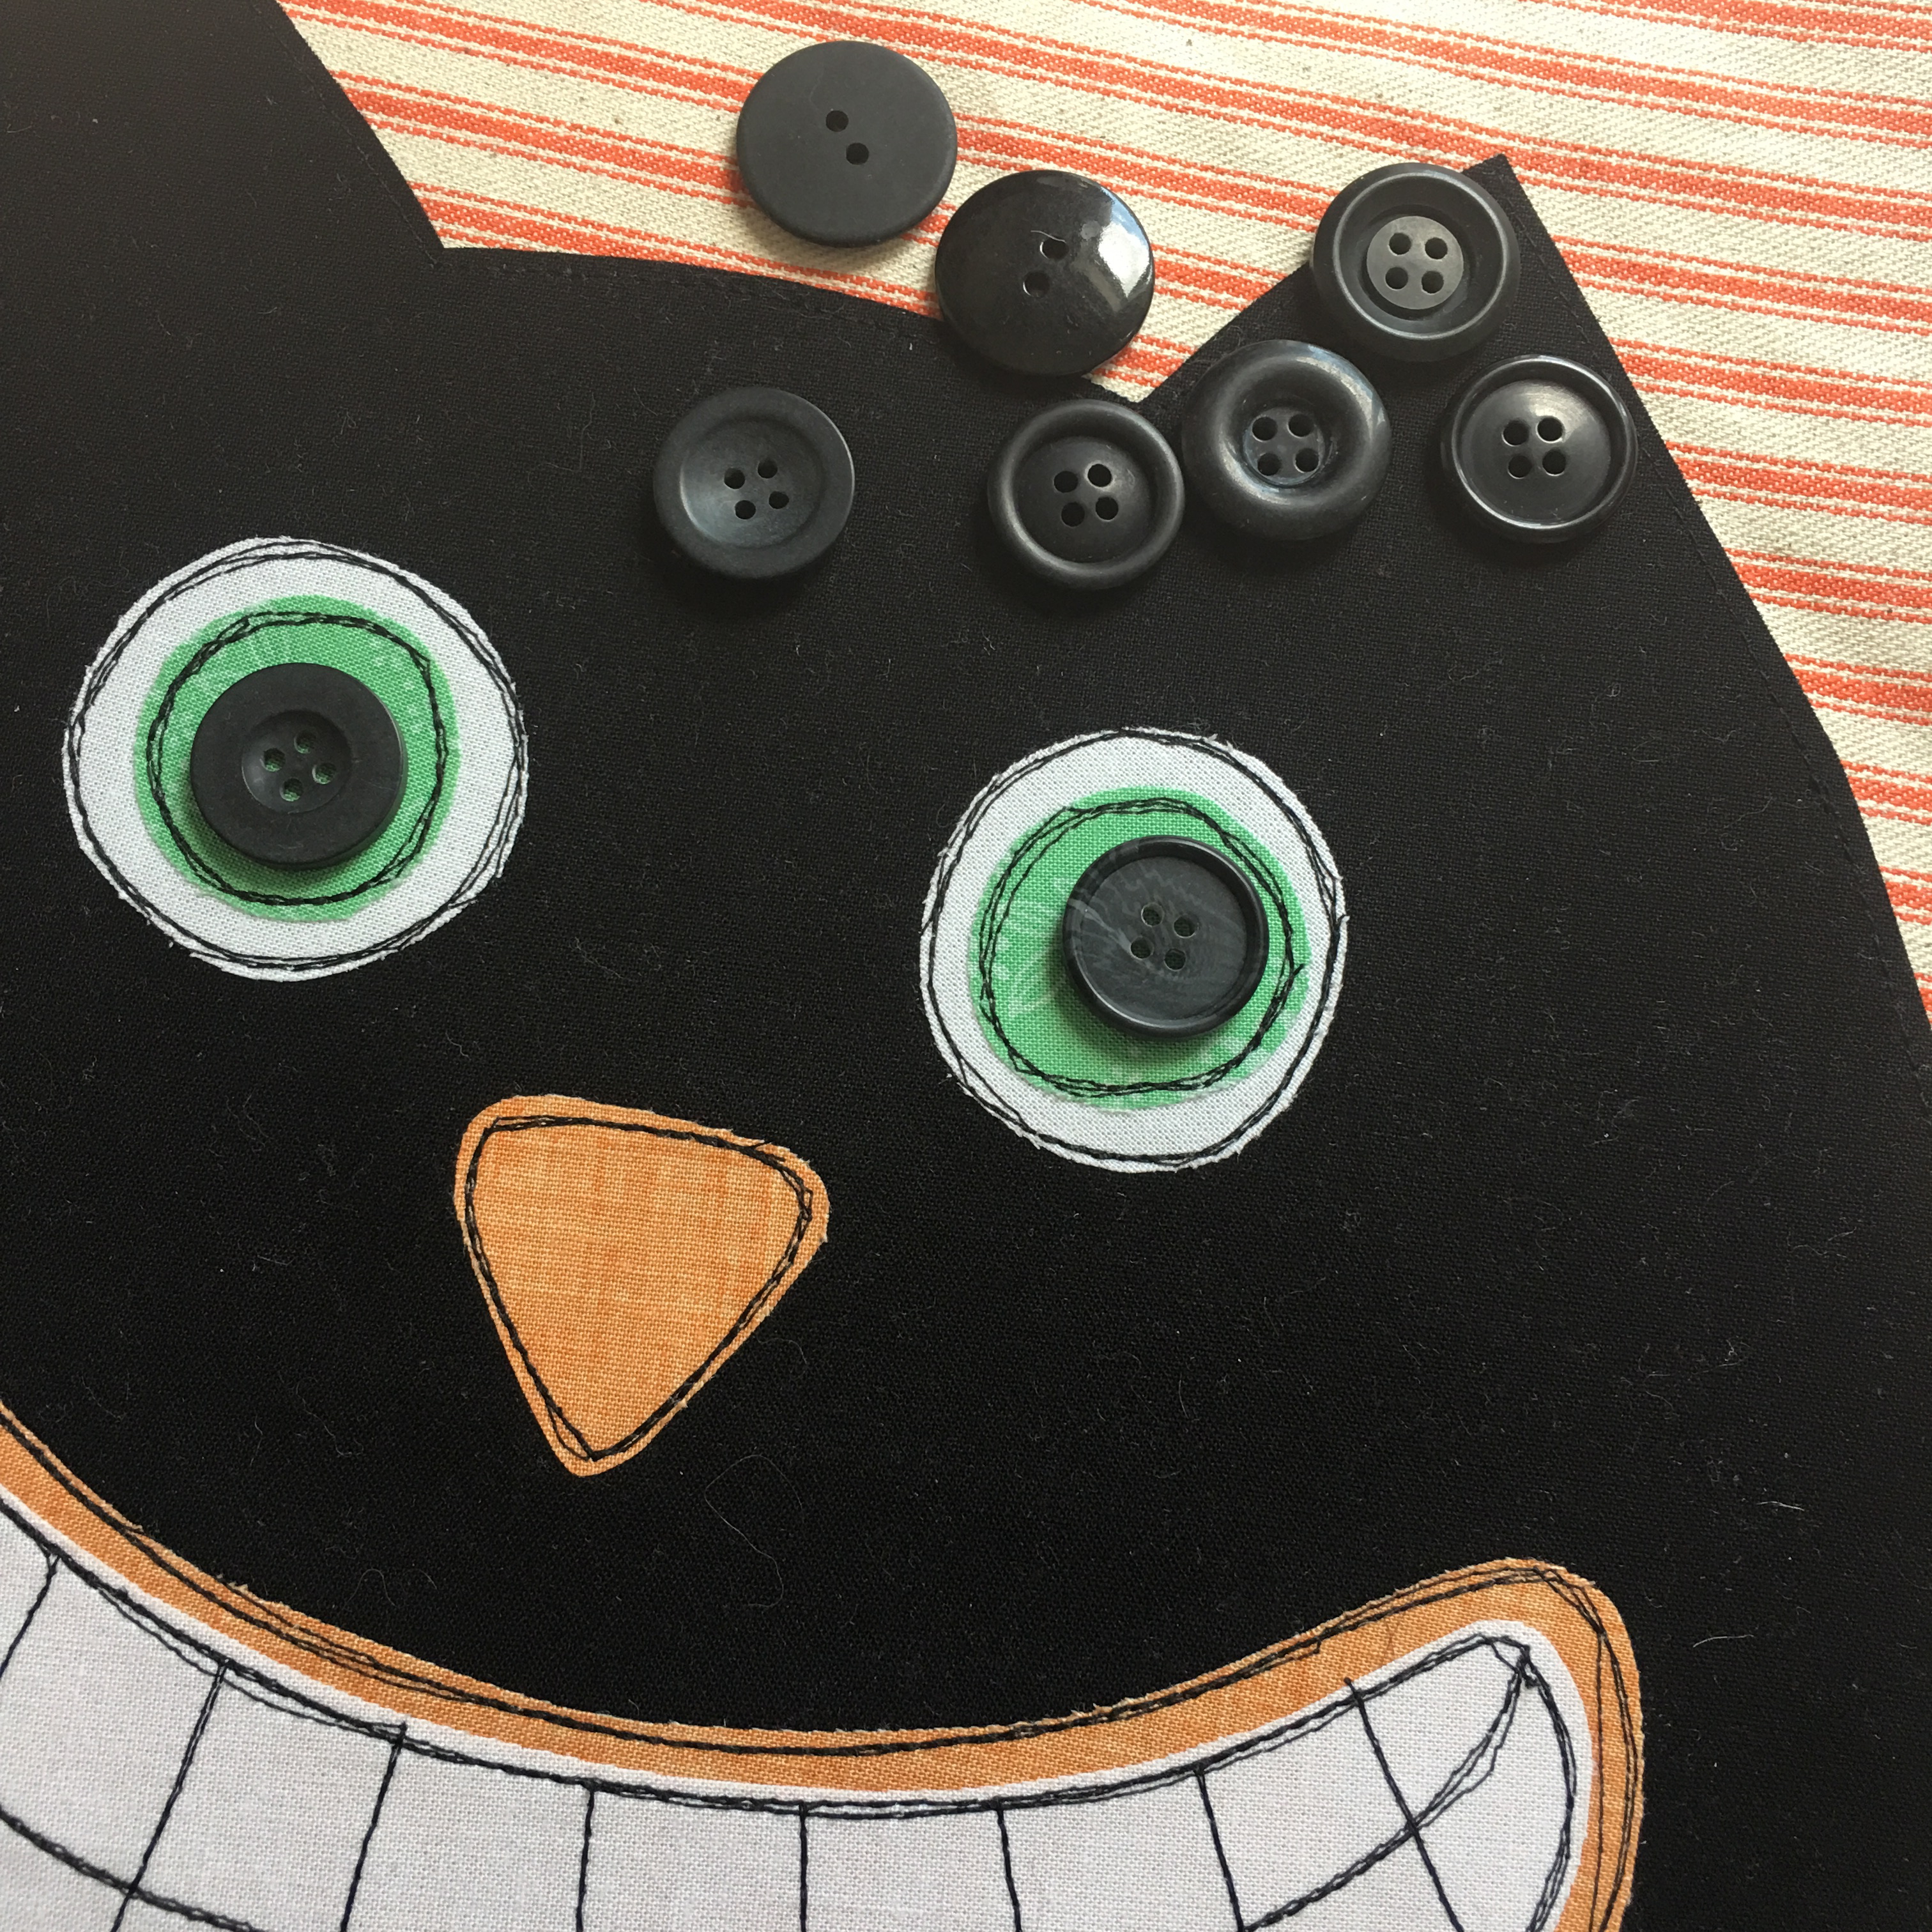 Sew black buttons for the center of his eyes.
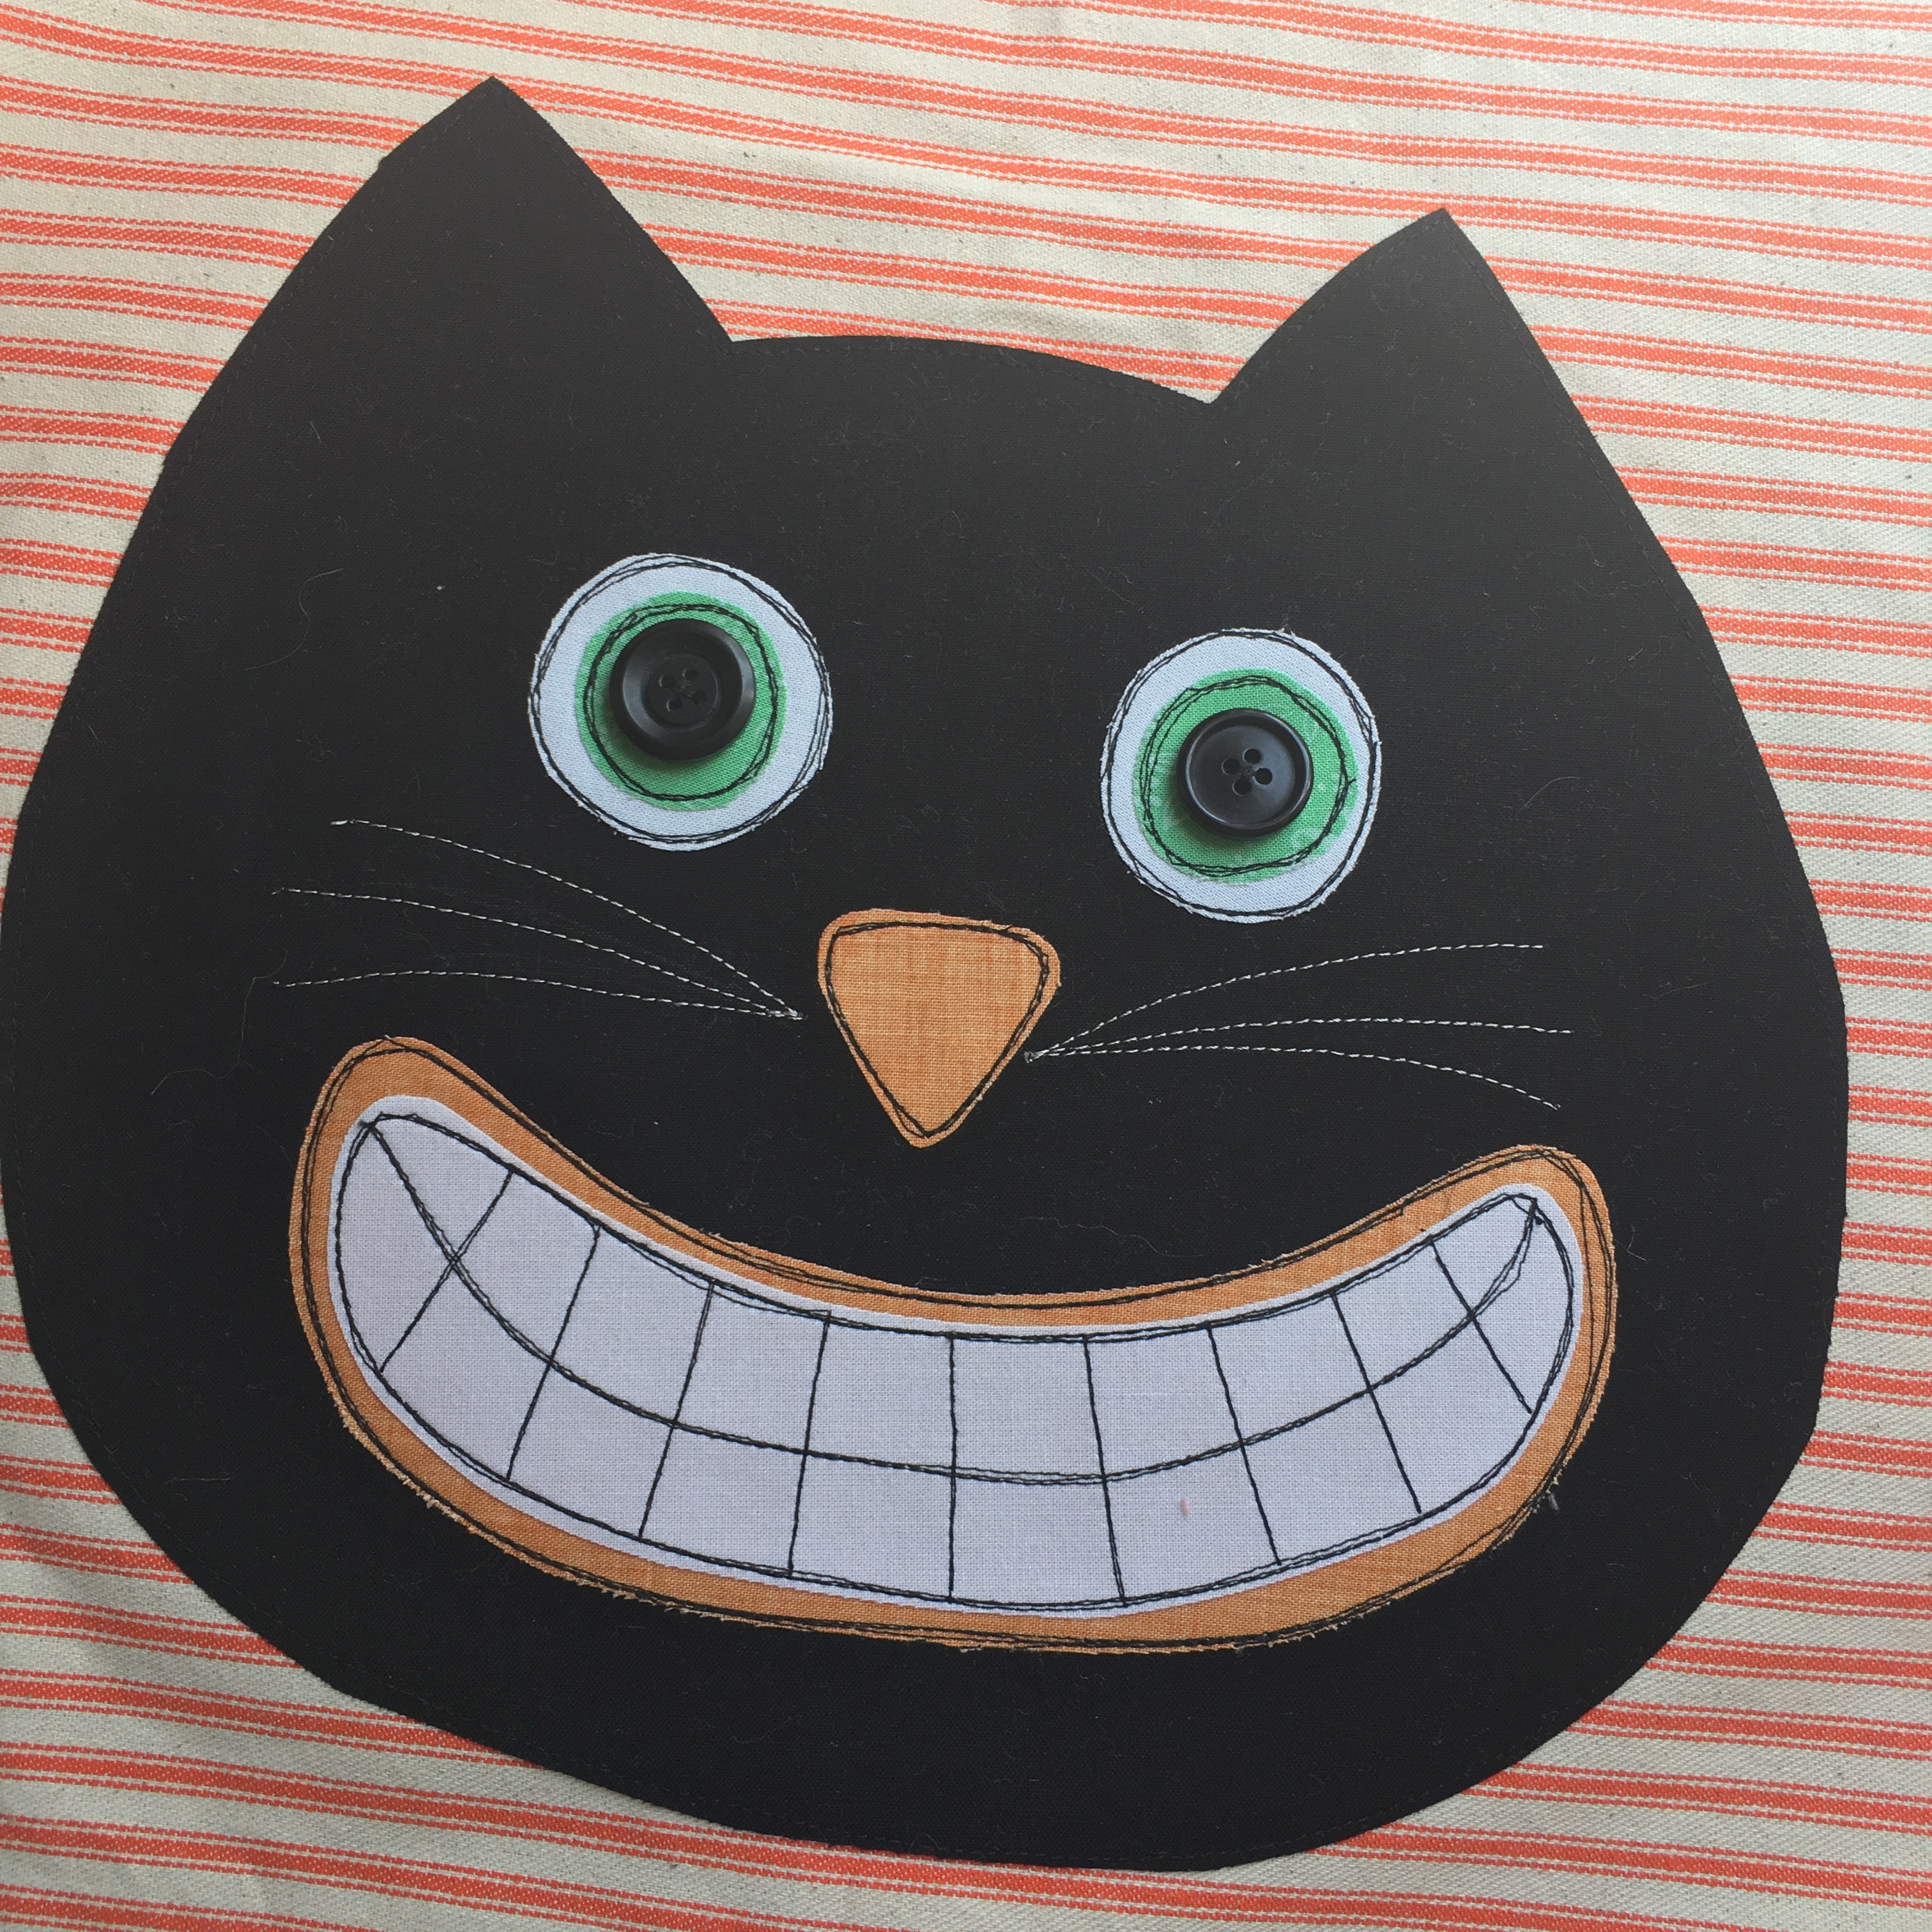 He needs whiskers!!!! I used a light gray thread to stitch the whiskers. You can draw them with a pencil first so you don't mess up :)
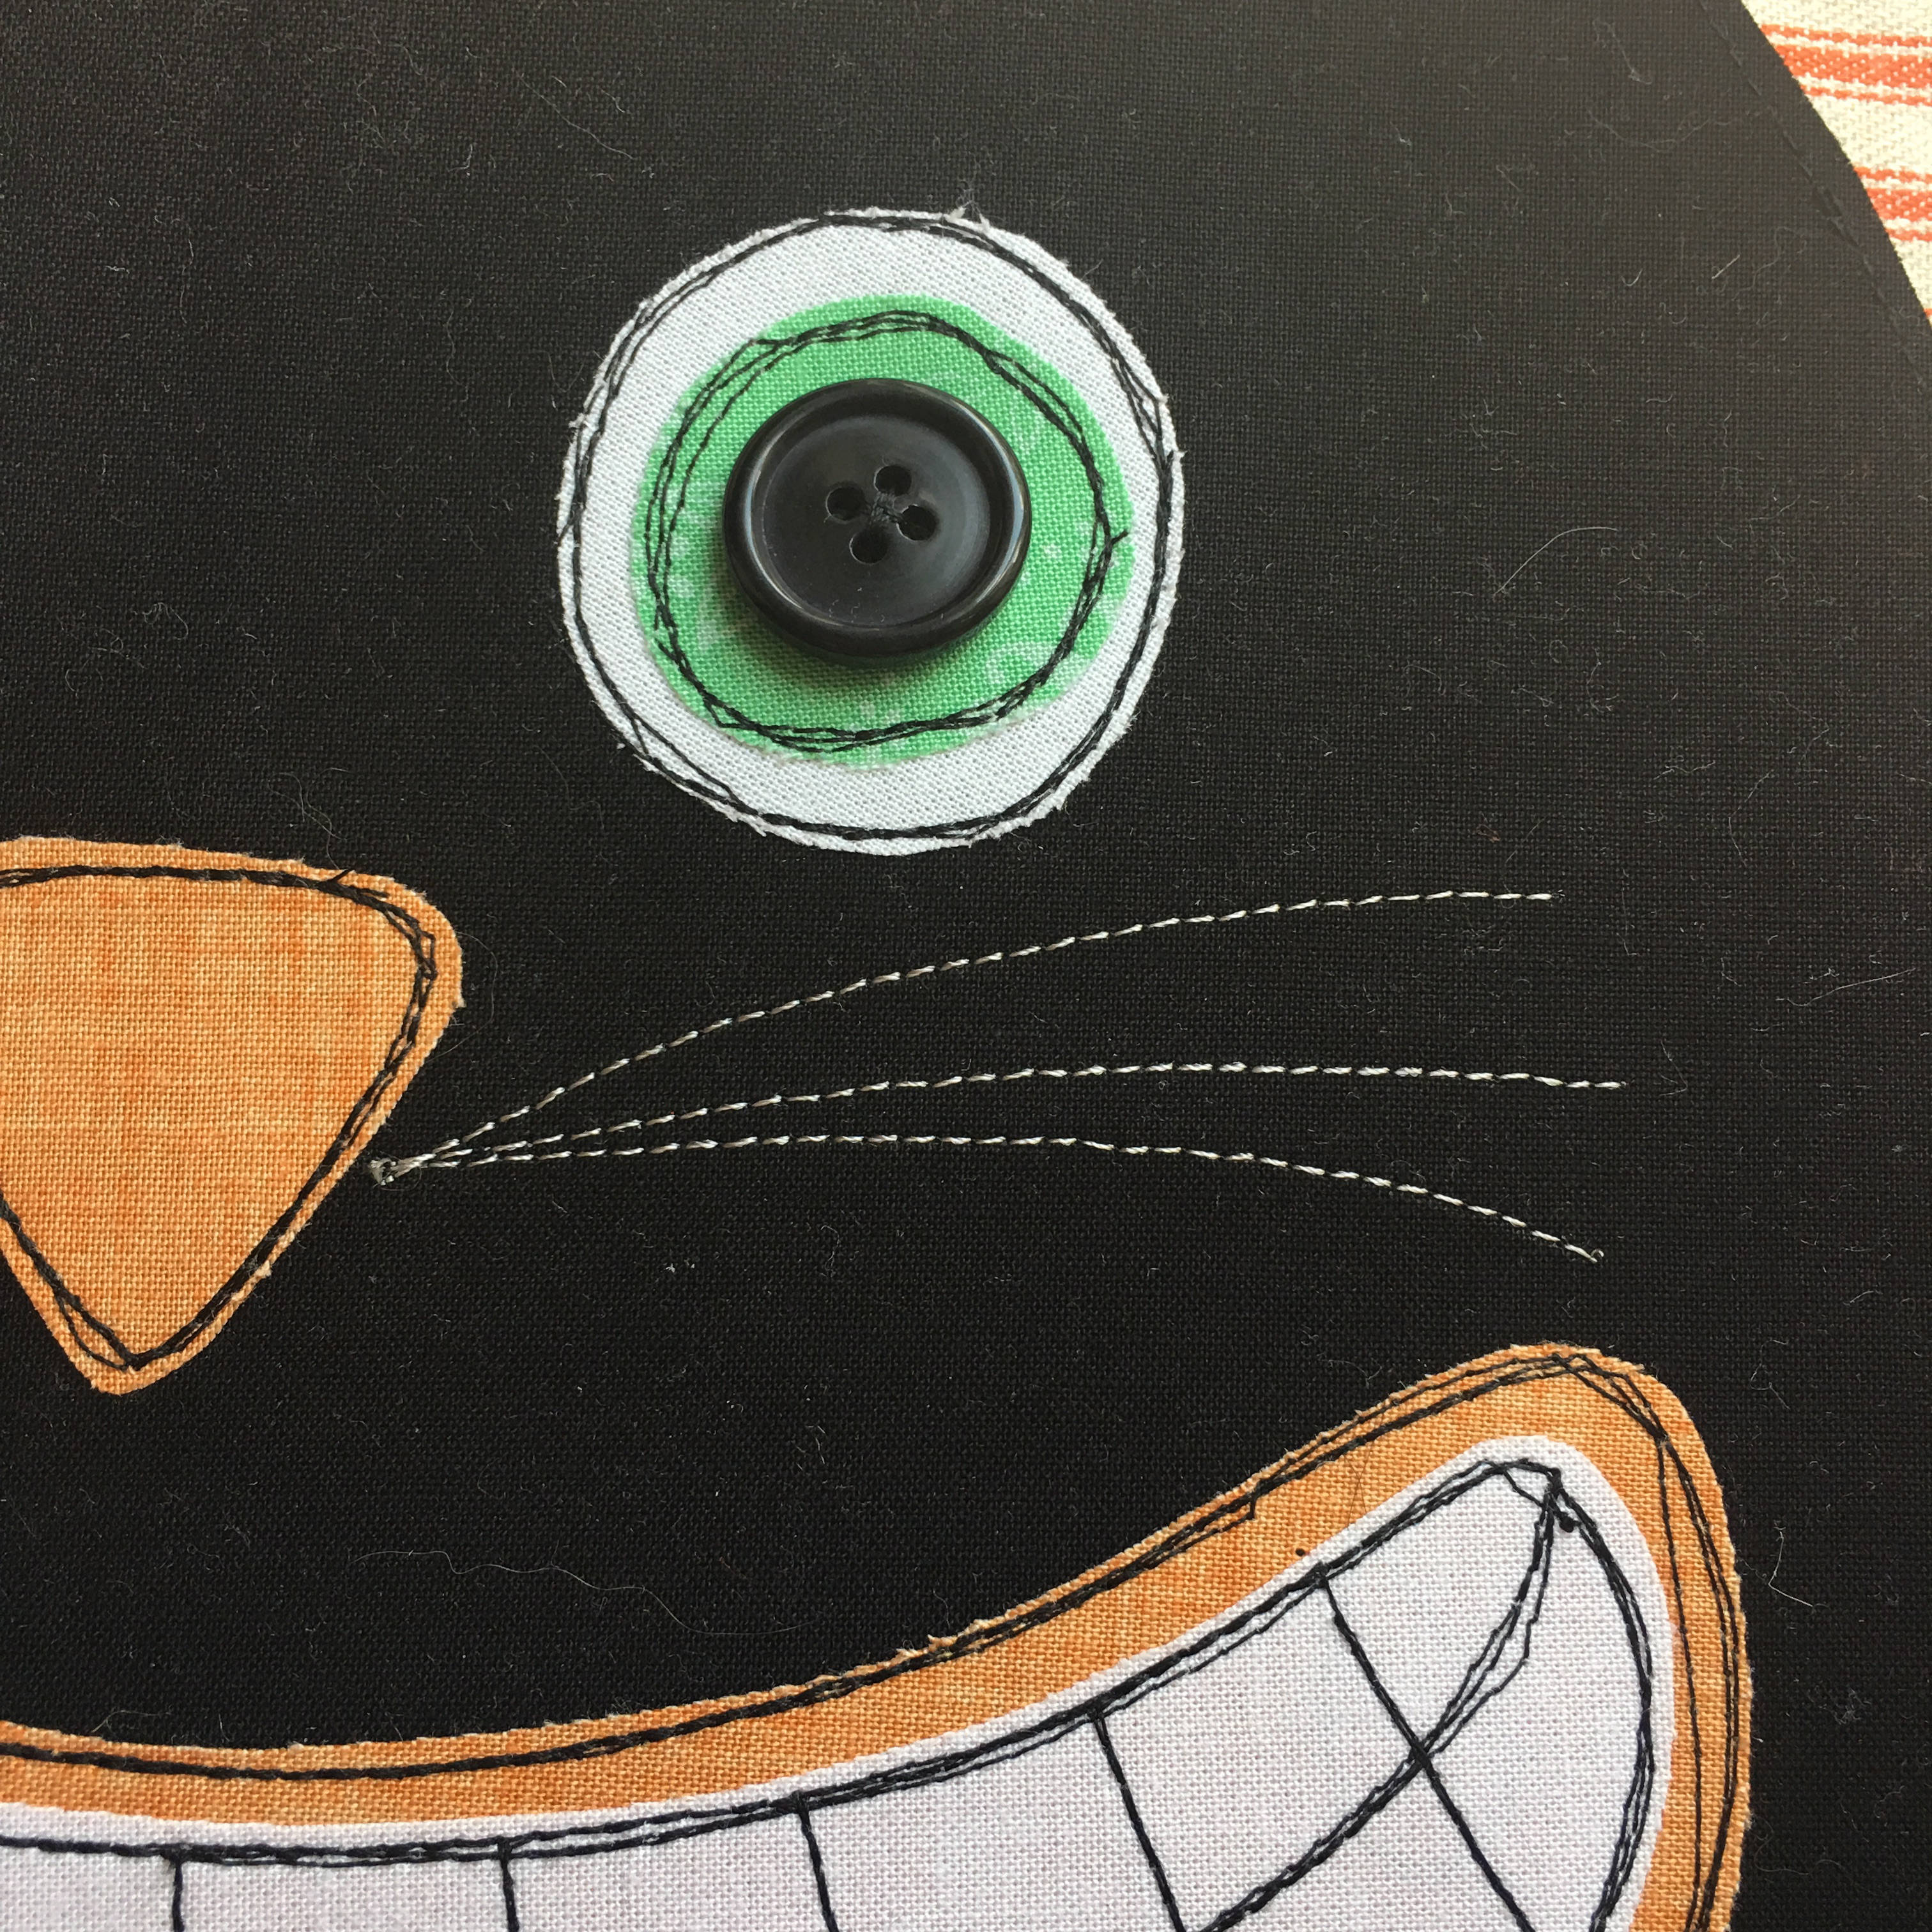 I only stitched the whiskers once and used a stay stitch to start and stop.
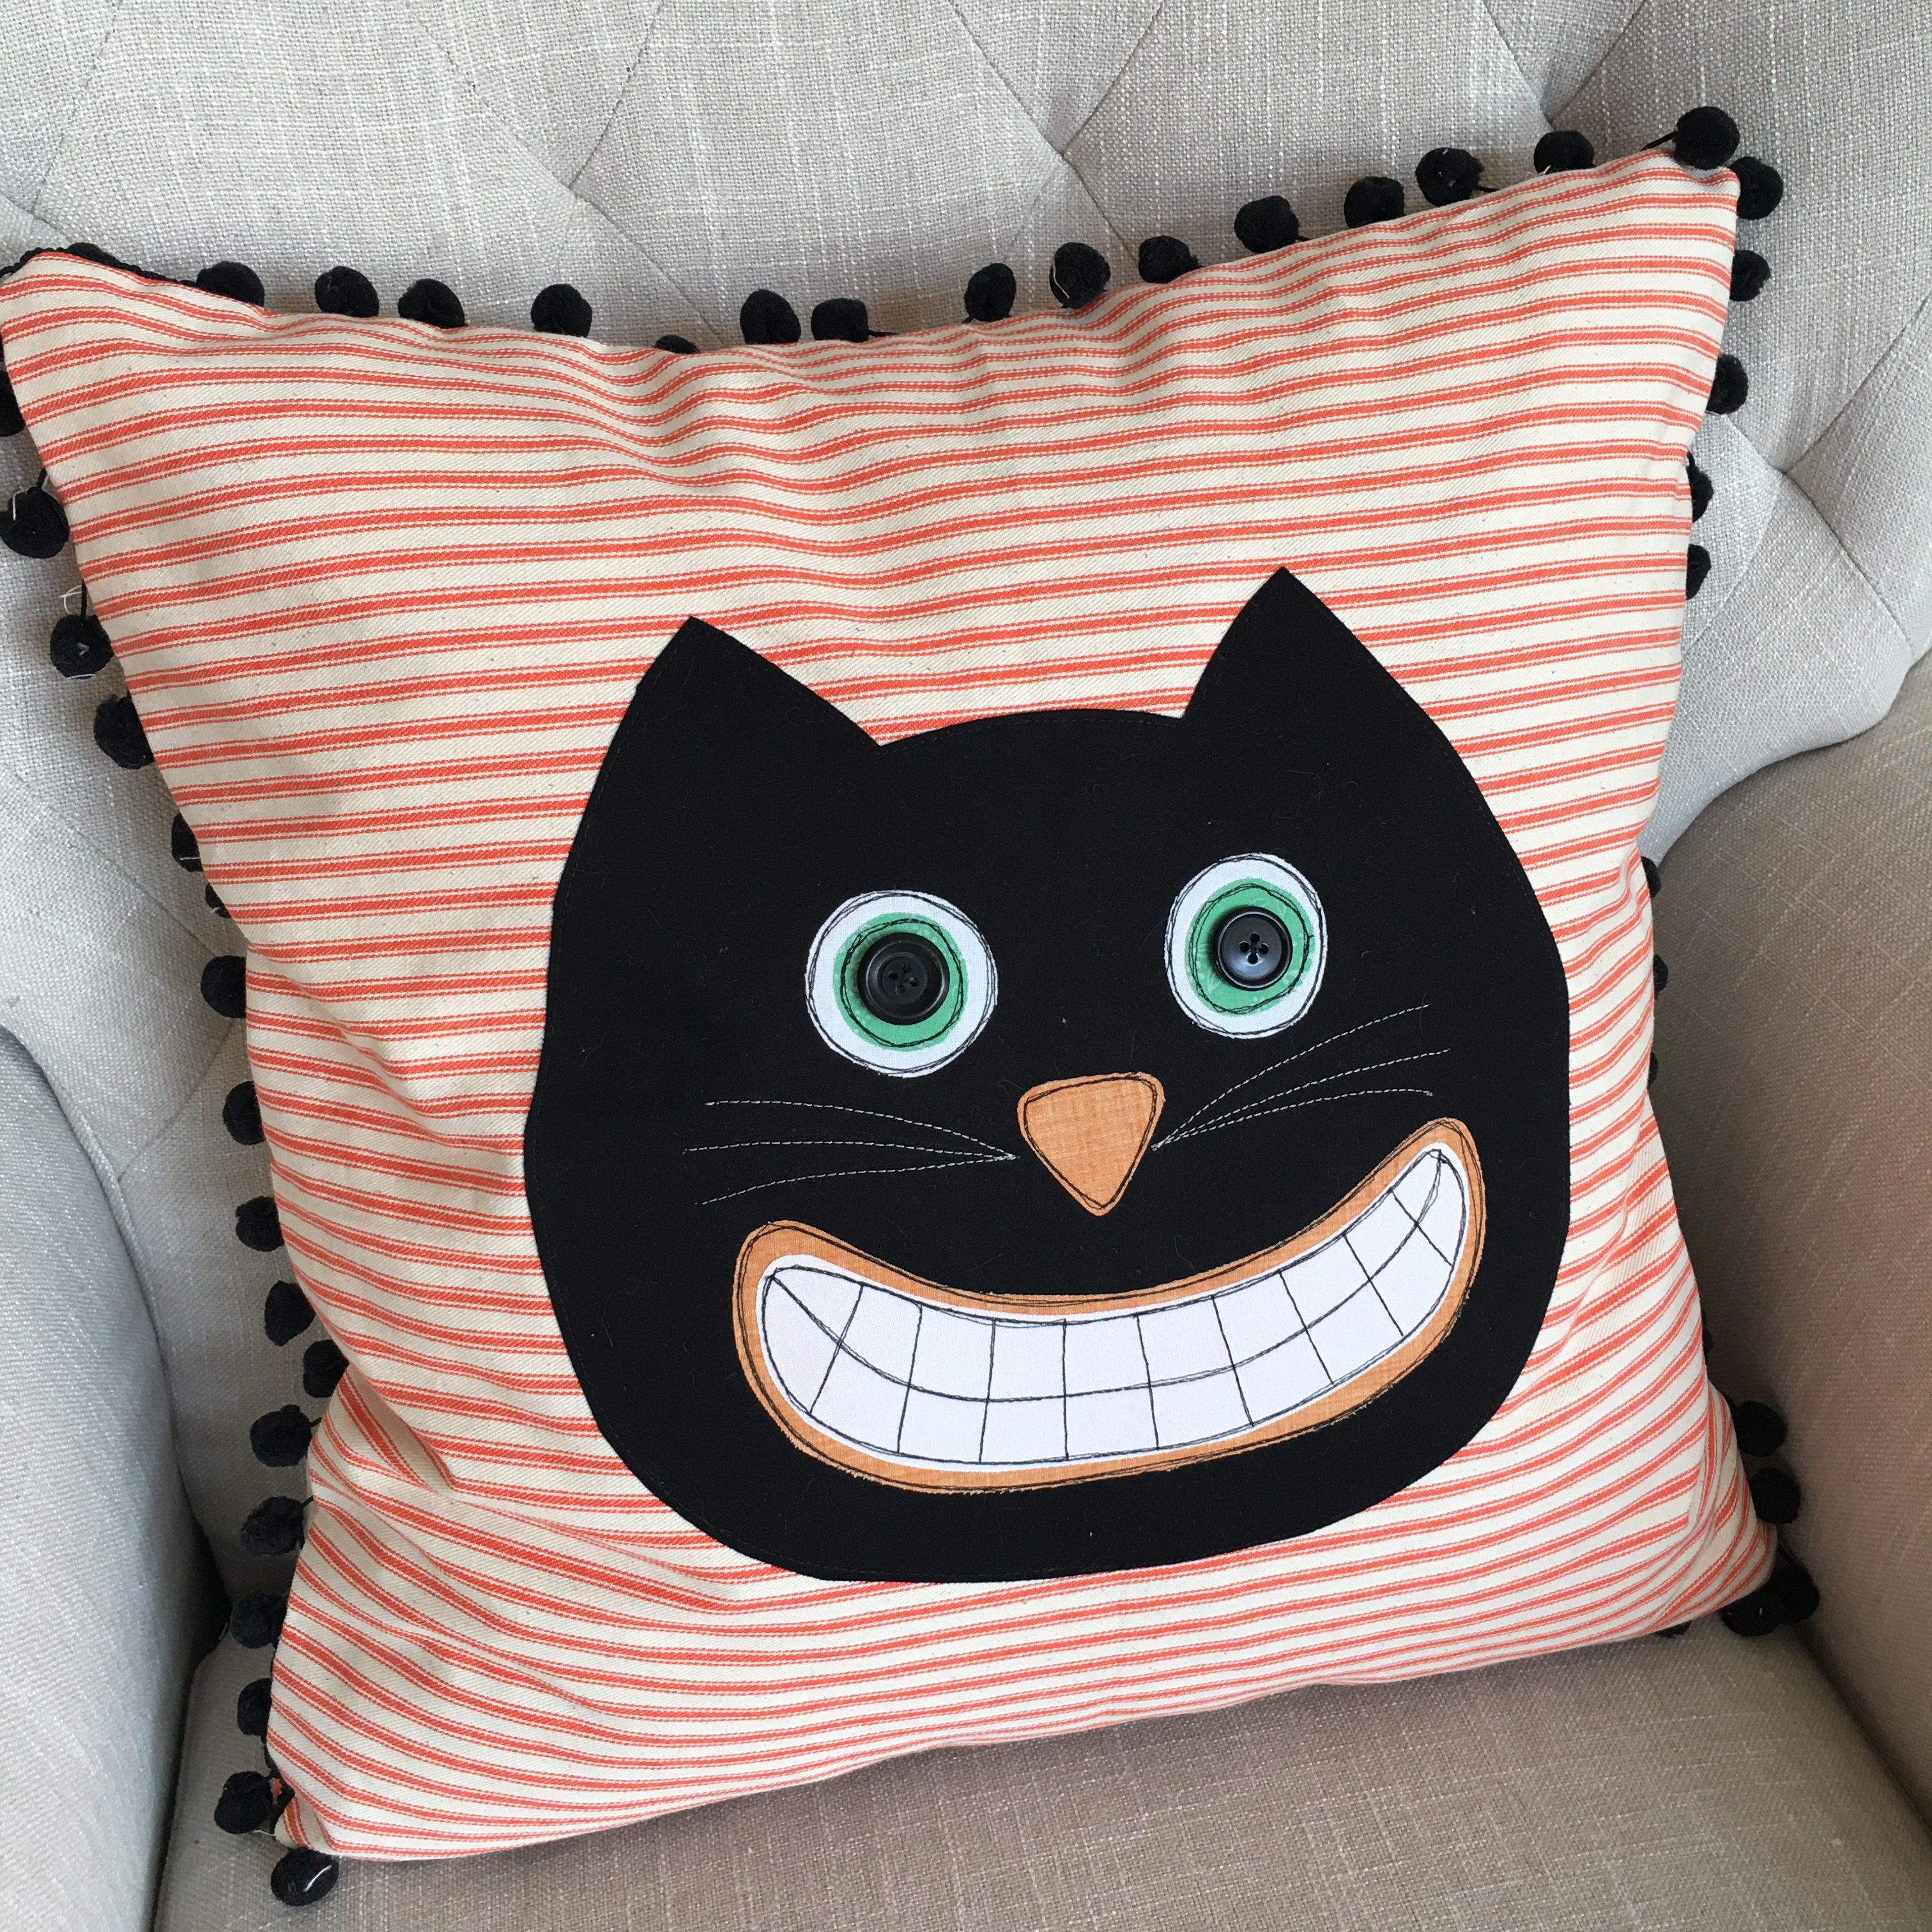 To finish the pillow, baste the pom pom trim around the pillow front, starting and stopping at the bottom center.
[disclaim]I used this method to insert a zipper into the back of the pillow: (note fabrics are different and are used just to show placement)[/disclaim]
To finish the pillow, baste the pom pom trim around the pillow front, starting and stopping at the bottom center.
[disclaim]I used this method to insert a zipper into the back of the pillow: (note fabrics are different and are used just to show placement)[/disclaim]
 To finish the pillow, cut a 3" strip off of the remaining 20" square. This is where the zipper will go. (If zippers make you run for the hills, you can finish this pillow using your favorite method. This just happens to be my favorite way to finish a pillow!)
 Cut the accent strip 4" x 20" and press it in half lengthwise. This will cover the zipper.
Sew the zipper adding the raw edges of the flap in the top portion. Trim off the excess zipper. Now you can treat this as one piece.
Pin the pillow front and back right sides together and sew all the way around the pillow using a generous 1/4" seam. Make sure to leave the zipper open so you can turn the pillow right side out.
Every couch needs this pillow!!!
Cut the accent strip 4" x 20" and press it in half lengthwise. This will cover the zipper.
Sew the zipper adding the raw edges of the flap in the top portion. Trim off the excess zipper. Now you can treat this as one piece.
Pin the pillow front and back right sides together and sew all the way around the pillow using a generous 1/4" seam. Make sure to leave the zipper open so you can turn the pillow right side out.
Every couch needs this pillow!!!