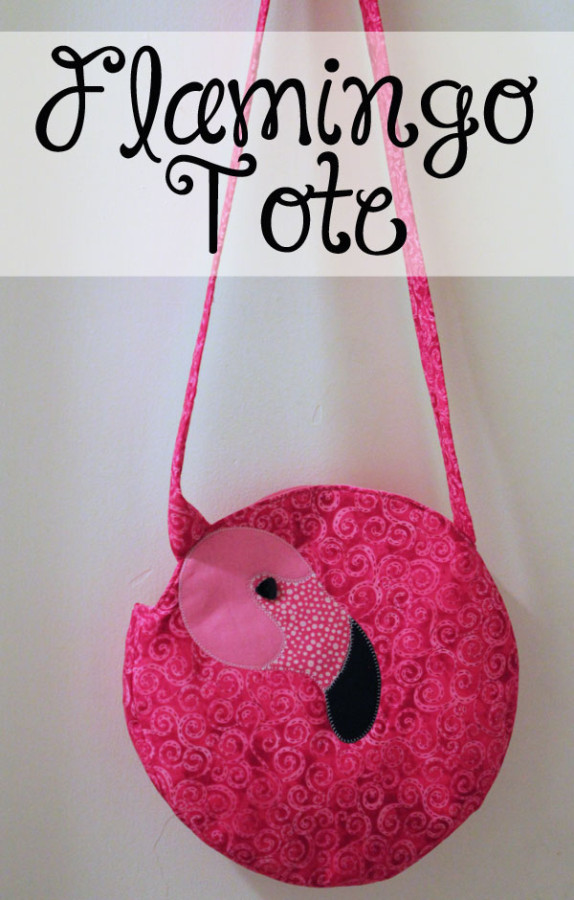
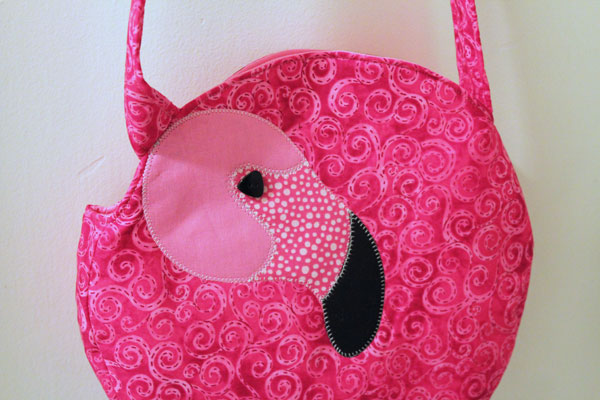
Flamingos are quickly becoming a very trendy fashion accessory! Perfect with the warm weather soon to arrive! Make your own fun flamingo tote using this easy tutorial!
 To make the tote, you'll need:
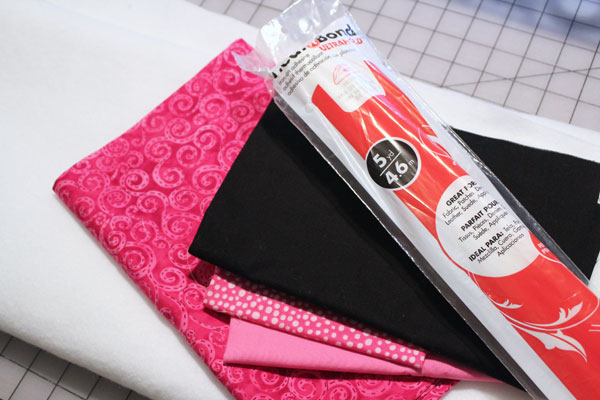
1.5 yards outer fabric
1 yard lining fabric
scraps of black and 2 pinks for flamingo applique
3/4 yard HeatnBond® Fusible Fleece
1/2 yard HeatnBond® Mid-weight Fusible Interfacing
Thermoweb Pressing Paper
Pack of Heat n Bond® Ultra Fusible Adhesive
Black Button
Scissors, rotary cutter, ruler
Magnetic Snap
Flamingo Applique Pattern
All sewing is done with a 1/4" seam allowance unless otherwise noted.
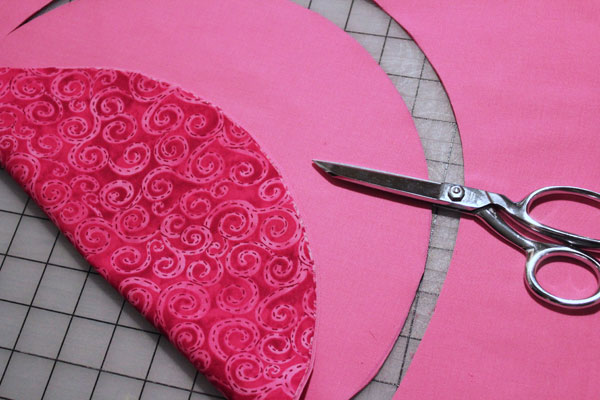
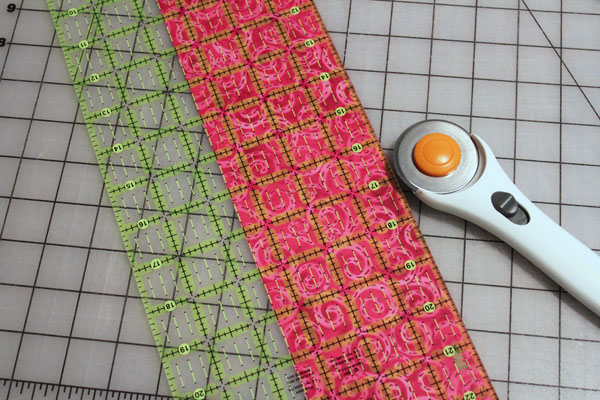
Start by cutting two 12.5" diameter circles from each of the outer and lining fabrics. These are the front and back.
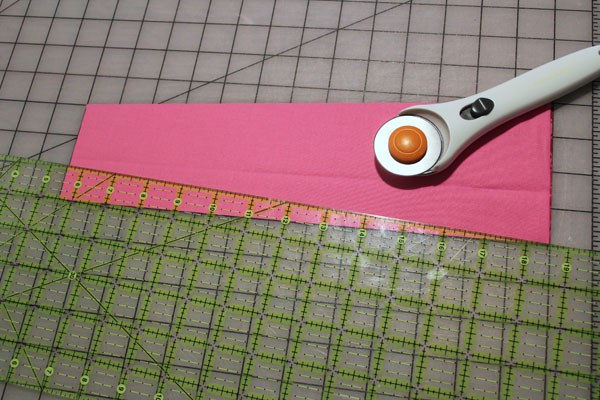
Cut a 4"x 26" strip of fabric from both the lining and outer fabric. Fold in half. Cut in from the fold so the raw edges are 2", and the center is 4". These are the side pieces for the outer and lining.
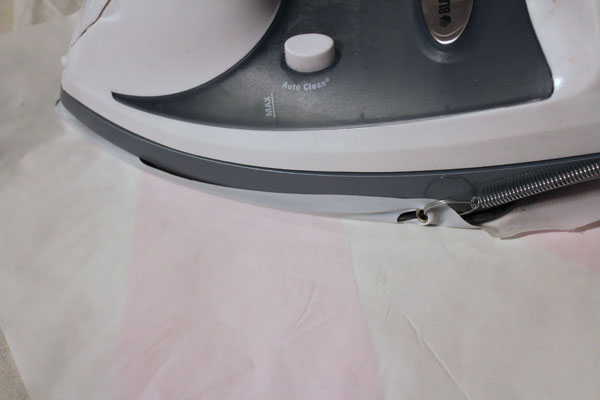
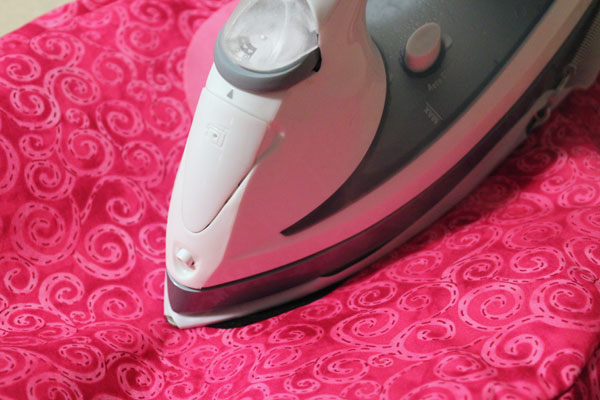
Fuse
HeatnBond® Fusible Fleece to the outer fabric, and
HeatnBond® Interfacing to the lining fabric. Use the pressing papers to protect your iron.
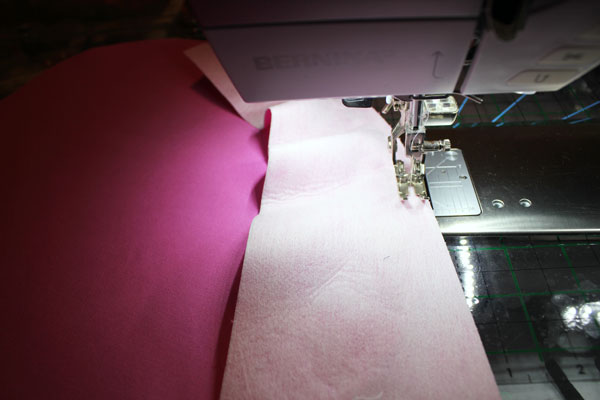
Trim away the
HeatnBond® Interfacing and
Fusible Fleece. Sew the lining side unit to one of the lining circles, using a 1/4" seam allowance.
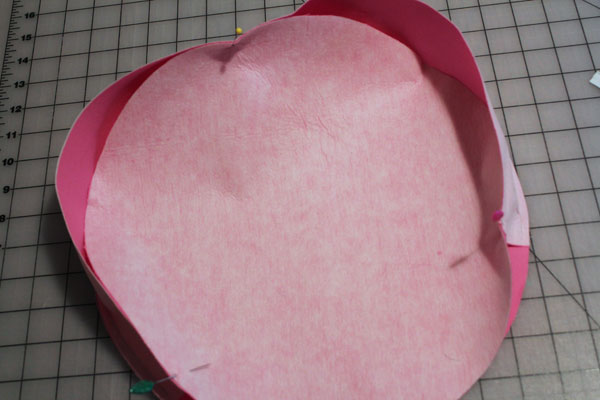
Line up the second circle, pin in place.
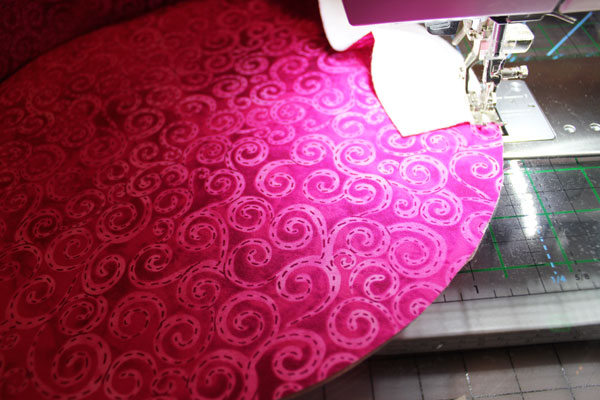
Stitch down. Repeat with the outer pieces.
Cut a 3.5" strip of the outer fabric, and a 3" strip of Fusible Fleece.
Fuse the
HeatnBond® Fusible Fleece to the wrong side of the strip of fabric, leaving a 1/4" margin on each side. Fold in half, right sides together, lengthwise, and stitch using a 1/4" seam allowance. Turn right side out.
Topstitch on both sides. You've created the handle!
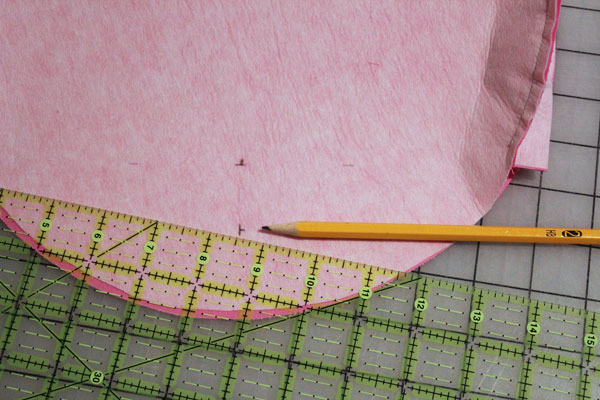
On the lining, measure 1.5" down from the center for placing the magnetic snap. Follow the instructions that come with the snap for securing it in place.
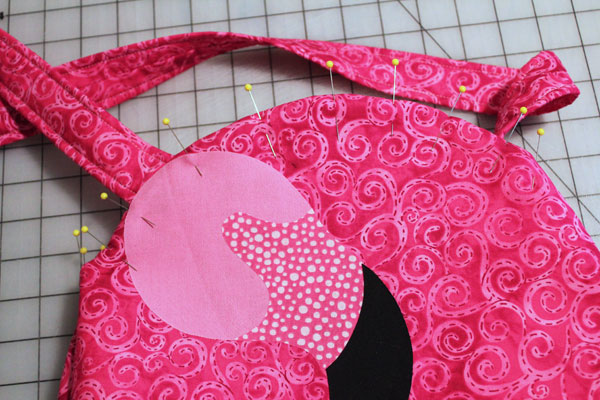
Put the outside into the lining, right sides together, pin the handle in place, with the handle between the two layers. One side of the handle should be pinned on the side, the other on the front. Make sure the handle isn't twisted.
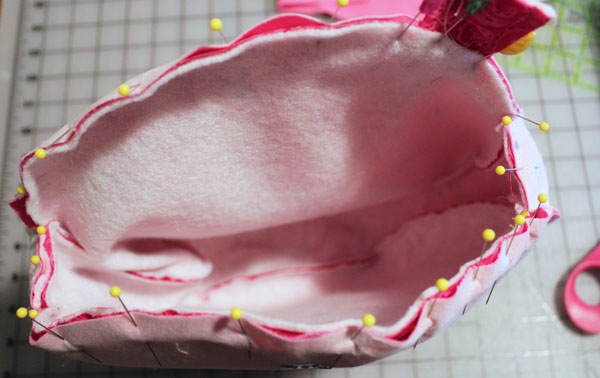
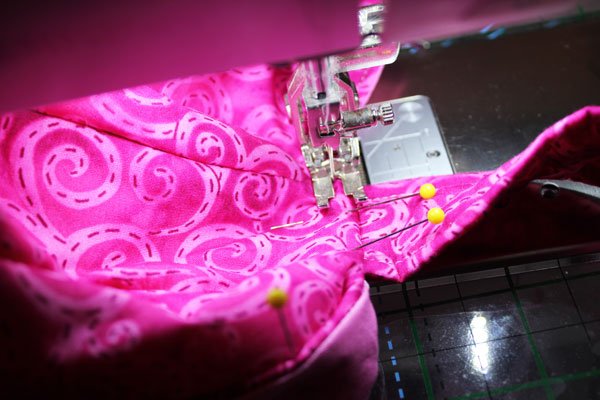
Stitch all the way around the top, using a 1/4" seam allowance.
Use a seam ripper to open the seam at the bottom of the lining. For a curved bag like this, it is better to make a hole for turning than leave a hole for turning when stitching. The marks left by making and then removing the stitches will help you stitch closed the bag later, on the curve.

Turn right side out, through the hole.
Fuse
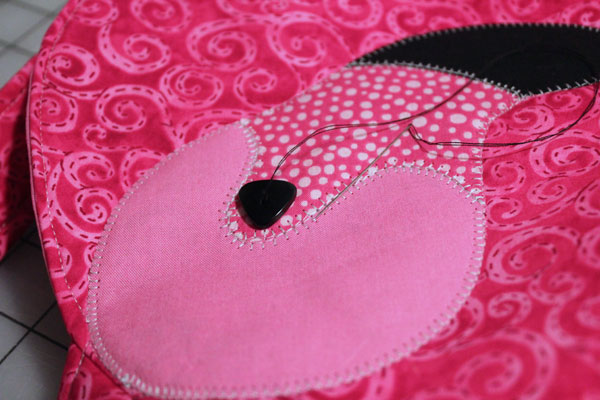
Heat n Bond® Ultra to the back of the fabrics for applique. Cut out the pieces for the flamingo applique. Place on the bag, where the handle attaches to the front. Be sure to avoid the area where the magnetic snap is placed, so you don't try to stitch through it when you stitch down the applique.
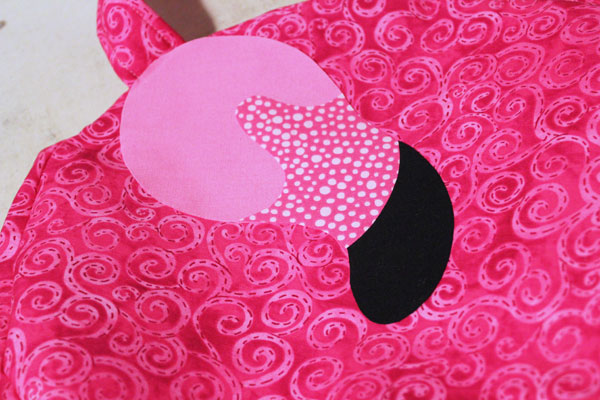
Fuse into place.
Pin all the way around the top of the bag, securing the lining and outer layer.
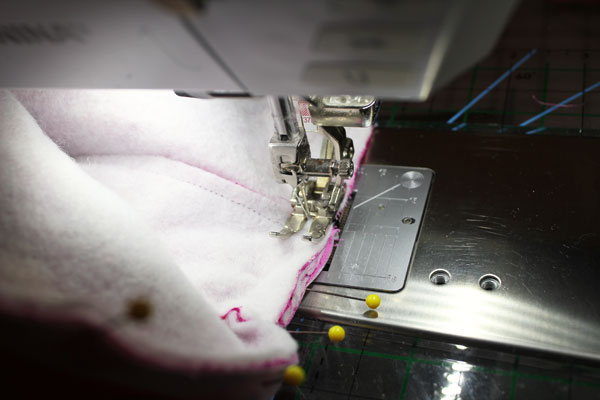
Topstitch the edge.
Stitch down the applique, using a buttonhole or zig-zag stitch.

Stitch a button in place for the eye.
Hand stitch the hole in the lining closed, and your flamingo tote is complete!
How do I get the Flamingo applique pattern? Everything I tried leads back to the directions.