No Products in the Cart
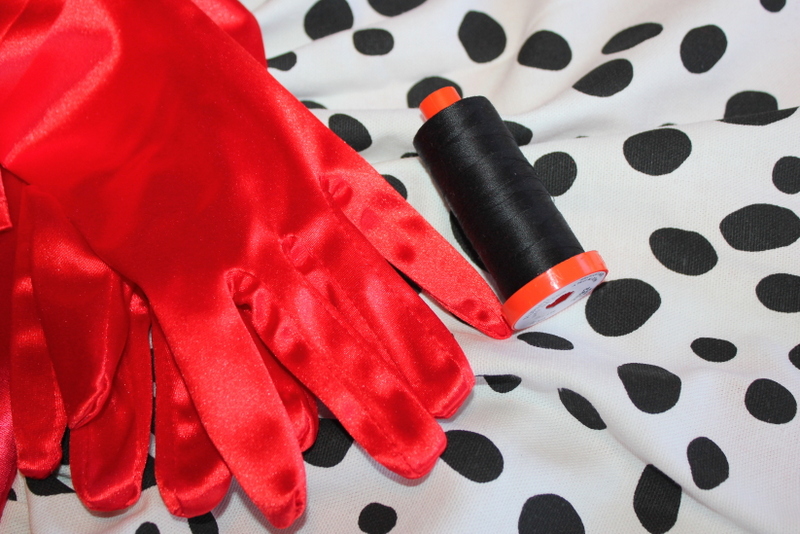
 I hear that Aurifil Thread 50 wt Black #2692 is Cruella Deville's favorite color. It should be! It worked great for stitching and topstitching.
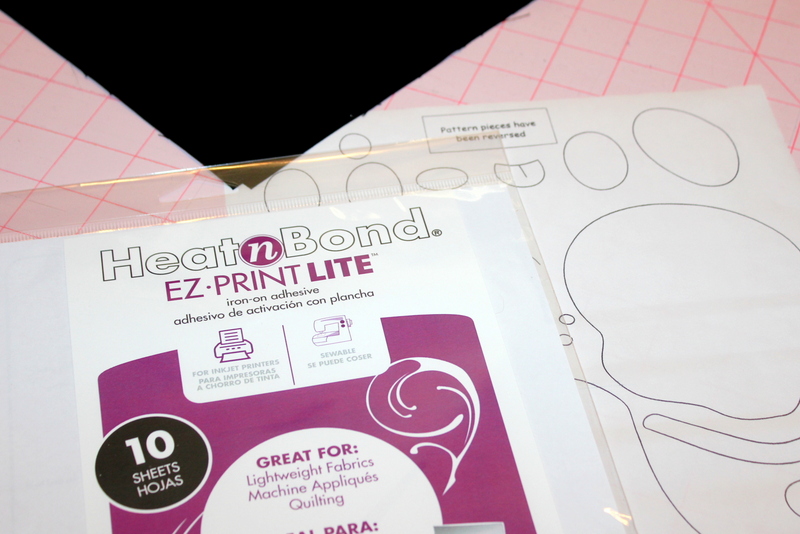 Step 4: Cut out applique pieces. Peel off paper liner. Place applique shape, adhesive side down, on top of the pocket. Press and hold iron for 6 seconds on each section until the entire piece is bonded. Let cool. Sew around edges using a straight, zig-zag, or blanket stitch.
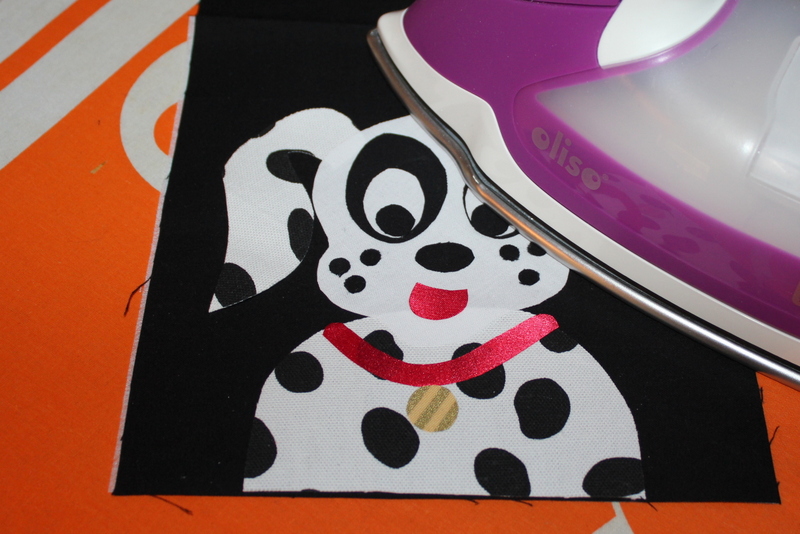 Step 5: After appliqueing is finished, fold pocket in half, right sides together. Sew 1/4" seam around three raw edges of pocket (not on fold edge) leaving a 2" section open on one side for turning. Trim corners. Turn inside out. Press raw edges of the opening inside pocket. Press all edges.
Step 6: Top-stitch ¼" from the edge around pocket on three sides making sure to catch raw edges of turned under the opening.
Step 7: Place appliqued pocket on right side of apron skirt 8" from the right and 3½" from the bottom. Use Therm O Web Fabric Fuse Liquid Adhesive along the edges of the wrong side of pockets (not folded edge.) Press in the correct position and let dry. Top-stitch close to edges of the pocket.
Step 5: After appliqueing is finished, fold pocket in half, right sides together. Sew 1/4" seam around three raw edges of pocket (not on fold edge) leaving a 2" section open on one side for turning. Trim corners. Turn inside out. Press raw edges of the opening inside pocket. Press all edges.
Step 6: Top-stitch ¼" from the edge around pocket on three sides making sure to catch raw edges of turned under the opening.
Step 7: Place appliqued pocket on right side of apron skirt 8" from the right and 3½" from the bottom. Use Therm O Web Fabric Fuse Liquid Adhesive along the edges of the wrong side of pockets (not folded edge.) Press in the correct position and let dry. Top-stitch close to edges of the pocket.
 Step 8: Press ½" hem around two short and one long side of the fabric. Fold over ½" again and press. Sew along inside edge of the hem.
Step 9: Gather raw edges at top of apron to 17".
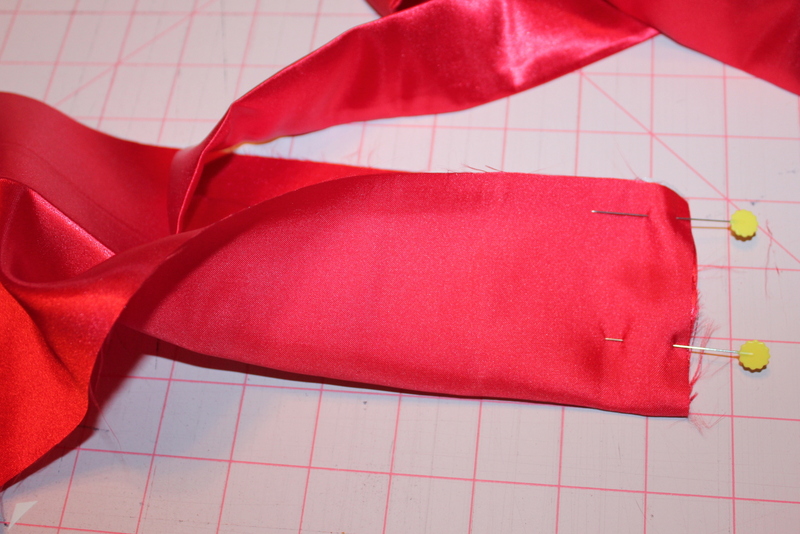
Step 10: Fold one 4" x 42½" tie strip in half lengthwise, right sides together, and sew along one short side and one long side (not on the folded side); leave one short side open. Repeat with the second strip. Clip corners. Turn both tie sections inside out and press flat.
Step 11: Baste/pin raw edge of tie to the right side of the interfaced top of the waistband. Fold upper half of waistband over the lower half of waistband, right sides together. Sew both short sides leaving a bottom raw edge open making sure to catch ties in seam. Clip corners. Turn inside out and press.
Step 8: Press ½" hem around two short and one long side of the fabric. Fold over ½" again and press. Sew along inside edge of the hem.
Step 9: Gather raw edges at top of apron to 17".
Step 10: Fold one 4" x 42½" tie strip in half lengthwise, right sides together, and sew along one short side and one long side (not on the folded side); leave one short side open. Repeat with the second strip. Clip corners. Turn both tie sections inside out and press flat.
Step 11: Baste/pin raw edge of tie to the right side of the interfaced top of the waistband. Fold upper half of waistband over the lower half of waistband, right sides together. Sew both short sides leaving a bottom raw edge open making sure to catch ties in seam. Clip corners. Turn inside out and press.
 Step 12: Baste raw edge of the waistband to raw gathered edge of apron skirt, right sides together. Spread gathers evenly. Set aside.
Step 13: To make the apron top, tape paper pattern sections together on dotted lines.
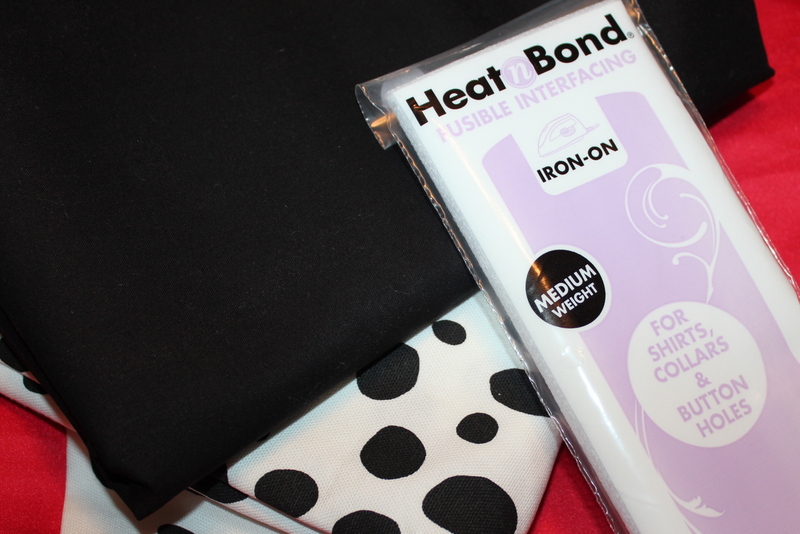
Step 14: Iron Heat n Bond Fusible Interfacing to the wrong side of one neck fabric section following manufacturer's directions.
Step 12: Baste raw edge of the waistband to raw gathered edge of apron skirt, right sides together. Spread gathers evenly. Set aside.
Step 13: To make the apron top, tape paper pattern sections together on dotted lines.
Step 14: Iron Heat n Bond Fusible Interfacing to the wrong side of one neck fabric section following manufacturer's directions.
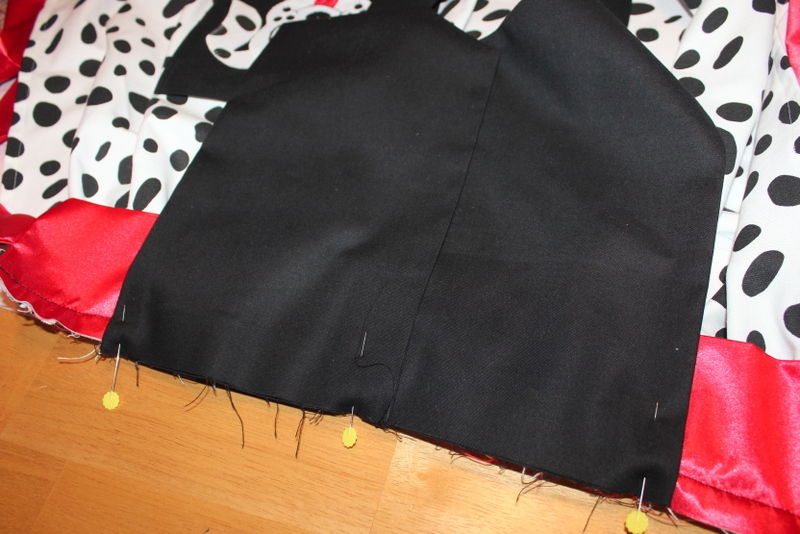
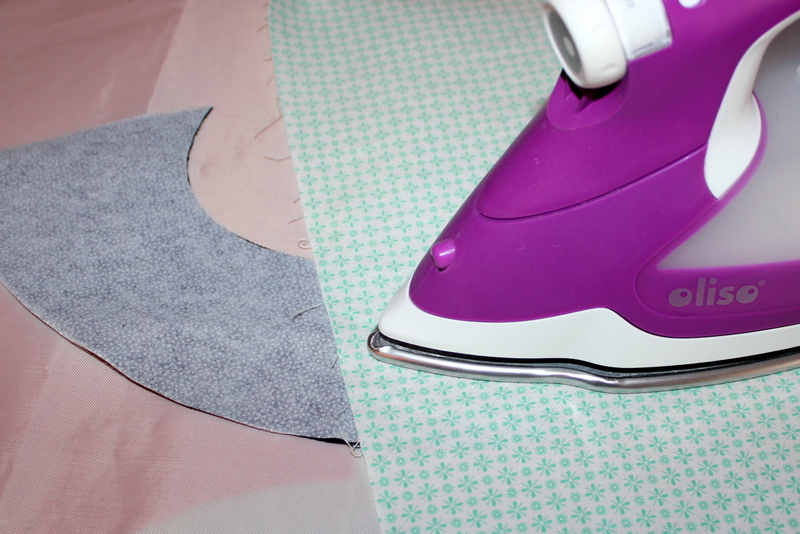 Step 15: With right sides together, sew fabric neck sections to shoulders on apron top. Press seams open. Repeat with lining.
Step 16: With right sides together, sew around apron top leaving bottoms and neck top edge open about 6". Pivot at corners and seams when sewing. Clip curves and corners.
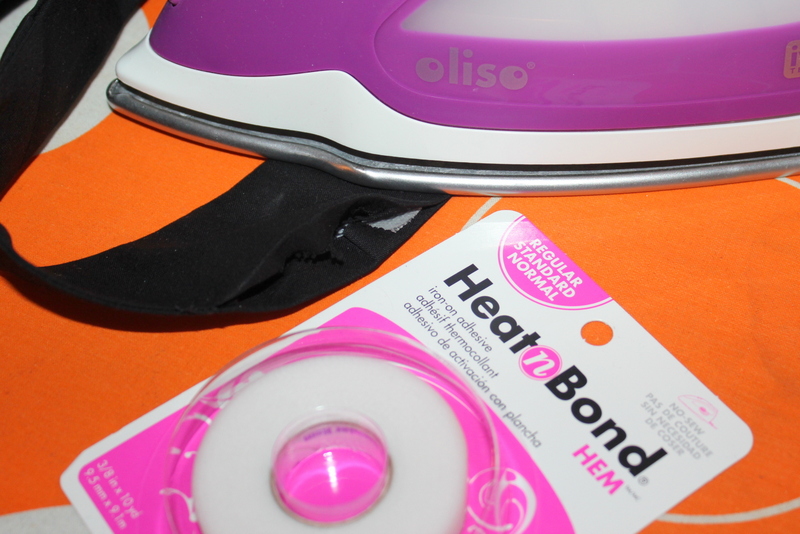
Step 17: Turn inside out through neck opening. Press open neck edge under ½". Use Heat n Bond No-Sew Hem tape to close neck opening seams. When using the tape on a curve, it helps to tear them into smaller pieces when applying.
Step 15: With right sides together, sew fabric neck sections to shoulders on apron top. Press seams open. Repeat with lining.
Step 16: With right sides together, sew around apron top leaving bottoms and neck top edge open about 6". Pivot at corners and seams when sewing. Clip curves and corners.
Step 17: Turn inside out through neck opening. Press open neck edge under ½". Use Heat n Bond No-Sew Hem tape to close neck opening seams. When using the tape on a curve, it helps to tear them into smaller pieces when applying.
 Step 18: Overlap front sections 1". Use Heat n Bond No-Sew Hem tape to secure overlap.
 Step 19: Lay right side of apron top centered on the wrong side of skirt waistband. Stitch raw edges together. Serge or zig-zag edges if desired. Press waistband towards apron top. Stitch in seam line between waistband and apron skirt.
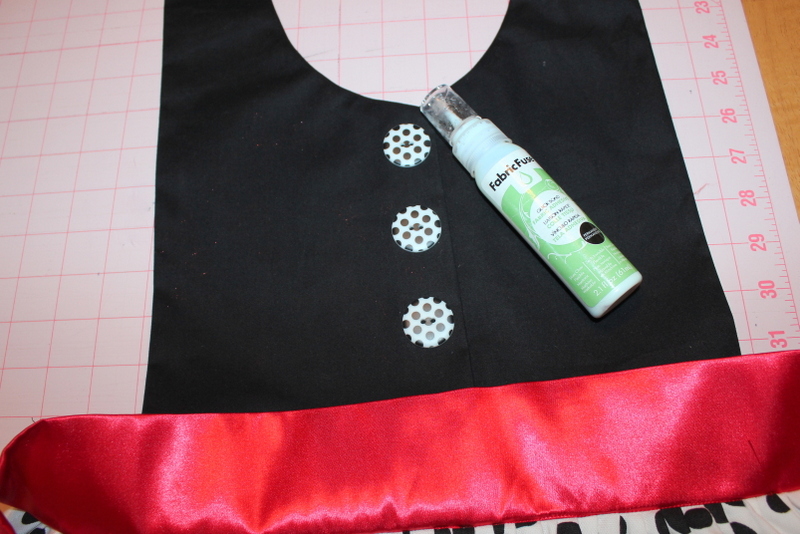
 Step 20: Dab a little Fabric Fuse on the back of each button and place on overlapped fabric on top. Let dry. Sew buttons in place.
 Step 21: If desired, use Heat n Bond No-Sew Hem tape to secure waistband to apron top.
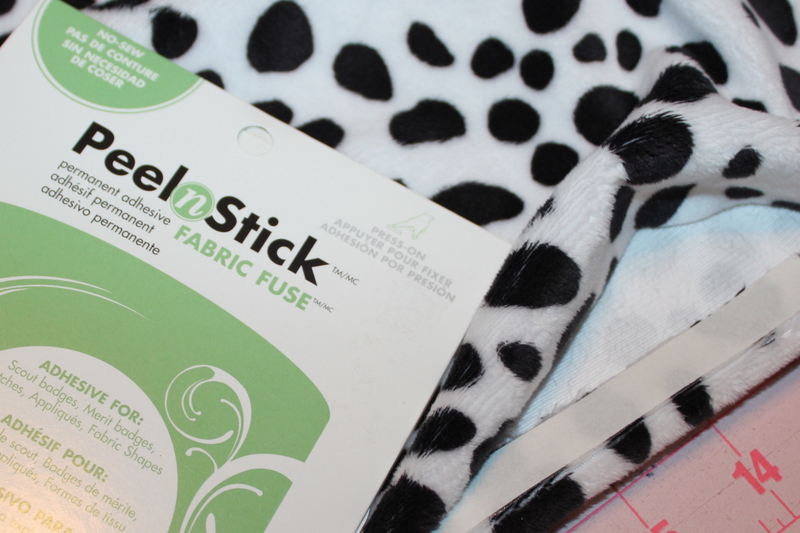
Step 22: With right sides together, fold scarf fabric in half lengthwise, right sides together. Sew around three edges leaving a 5" opening in the center. Turn scarf inside out and slip stitch opening closed or use Peel n Stick Fabric Fuse to securely hold the seam in place.
Step 21: If desired, use Heat n Bond No-Sew Hem tape to secure waistband to apron top.
Step 22: With right sides together, fold scarf fabric in half lengthwise, right sides together. Sew around three edges leaving a 5" opening in the center. Turn scarf inside out and slip stitch opening closed or use Peel n Stick Fabric Fuse to securely hold the seam in place.
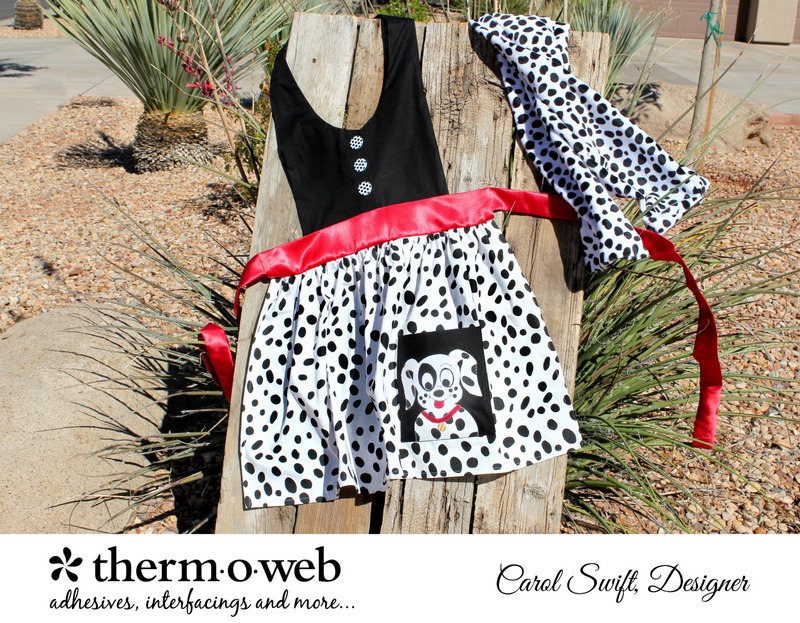
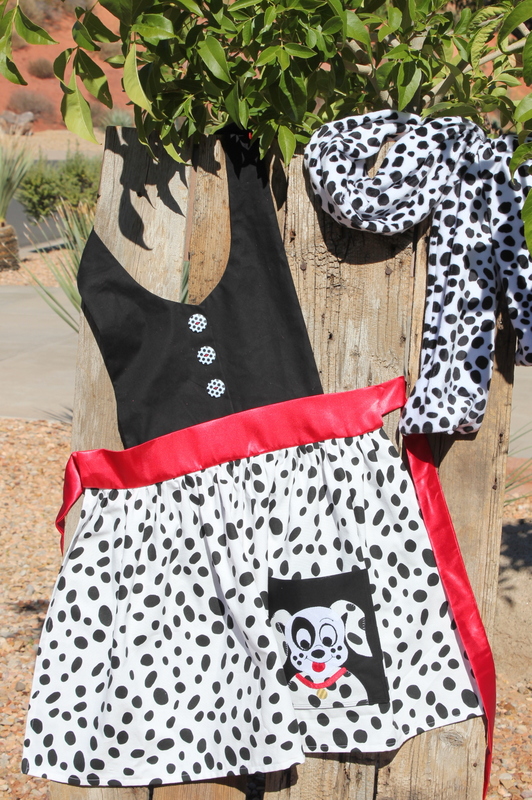
 You find the PDF pattern for Cruella's apron HERE.
Written by Carol Swift