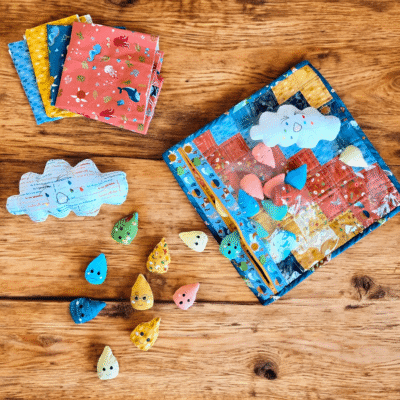
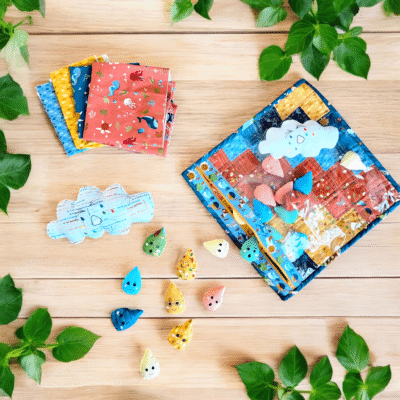
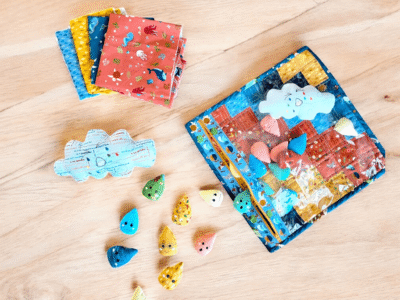
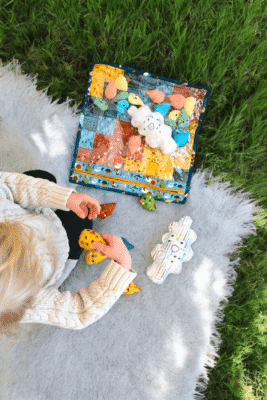
by Jennifer Long of Sew A StoryThis month, I'm sharing a project that brings together sewing, storytelling, and a little bit of creative play. The Raindrop Emotions pouch is a soft, quilted organizer filled with expressive raindrop characters that help children explore their feelings through hands-on interaction.It’s an easy and fun project to sew, and a great way to introduce emotional learning in a playful, approachable way. I used a few of my favorite Therm O Web products to give the pouch structure and durability, and I’ll walk you through the steps so you can create one too.
Materials You’ll Need
Fabric & Supplies:
(2) Created With Love 5-Inch Stackers (515970-42)
½ yard Clay In the Sea
½ yard Sky Seven Days
⅓ yard It Is Written (for binding)
¼ yard Riley White Confetti Cotton (optional contrast)
Optional: Quilty Hemostat for turning the tiny raindrops
Step-by-Step Instructions
1. Make the Patchwork Panels
Cut your 5-inch stacker squares into 2½" × 2½" blocks. Arrange them in a 7×7 layout and sew into rows. Press and join the rows to complete the pouch front.
2. Add Structure
Fuse the panel to a square of HeatnBond Fusible Fleece, then layer with a backing fabric. Quilt as you like and trim to 14½" × 14½".
3. Sew the Vinyl Panel
Cut your Clear Vinyl and leave the paper backing on while sewing to make it easier to handle. Add a folded fabric strip to the top edge and topstitch in place.
4. Attach the Zipper
Sew the zipper to the top edge of the vinyl panel using a zipper foot. Repeat with the opposite side, securing the second folded strip.
5. Assemble the Pouch
Place the vinyl panel over your quilted front and clip it in place. Baste around the edges, trim any excess vinyl or zipper ends, and bind the edges with your prepared fabric strips.
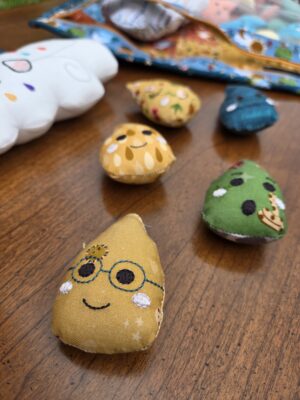
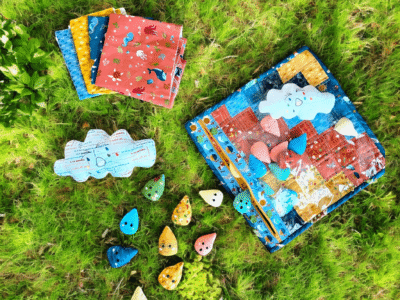
6. Create the Raindrop Emotions
Use the sewing templates or embroidery files to create your felt or fabric raindrops. I made a variety of expressions to help children name and explore their feelings. Lightly stuff each one and hand stitch them closed.
7. Finishing Touch
Sew one raindrop to the zipper pull as a fun detail. Fill the pocket with your raindrop characters and it's ready to use.
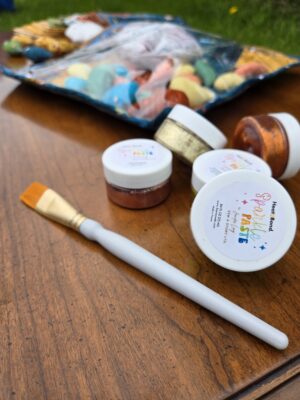
Optional Embellishments
You can personalize the project even more with:
A little Sparkle Paste on the raindrops for shimmer
Fabric markers for writing emotions or names
A handmade name label or custom tag
Try the Pattern Club Free
Therm O Web readers can enjoy one free month in the Sew A Story Pattern Club. Inside, you'll find printable templates, SVG cut files, and exclusive monthly projects.JOIN HEREUse code: RAINBOWCLUB
Let’s Sew Together
At Sew A Story, I believe every handmade project has the power to bring people together. Whether you're sewing with a child, gifting a pouch to a teacher, or just creating something playful, I hope this project brings a little extra joy to your day.