No Products in the Cart
 Therm O Web Supplies:
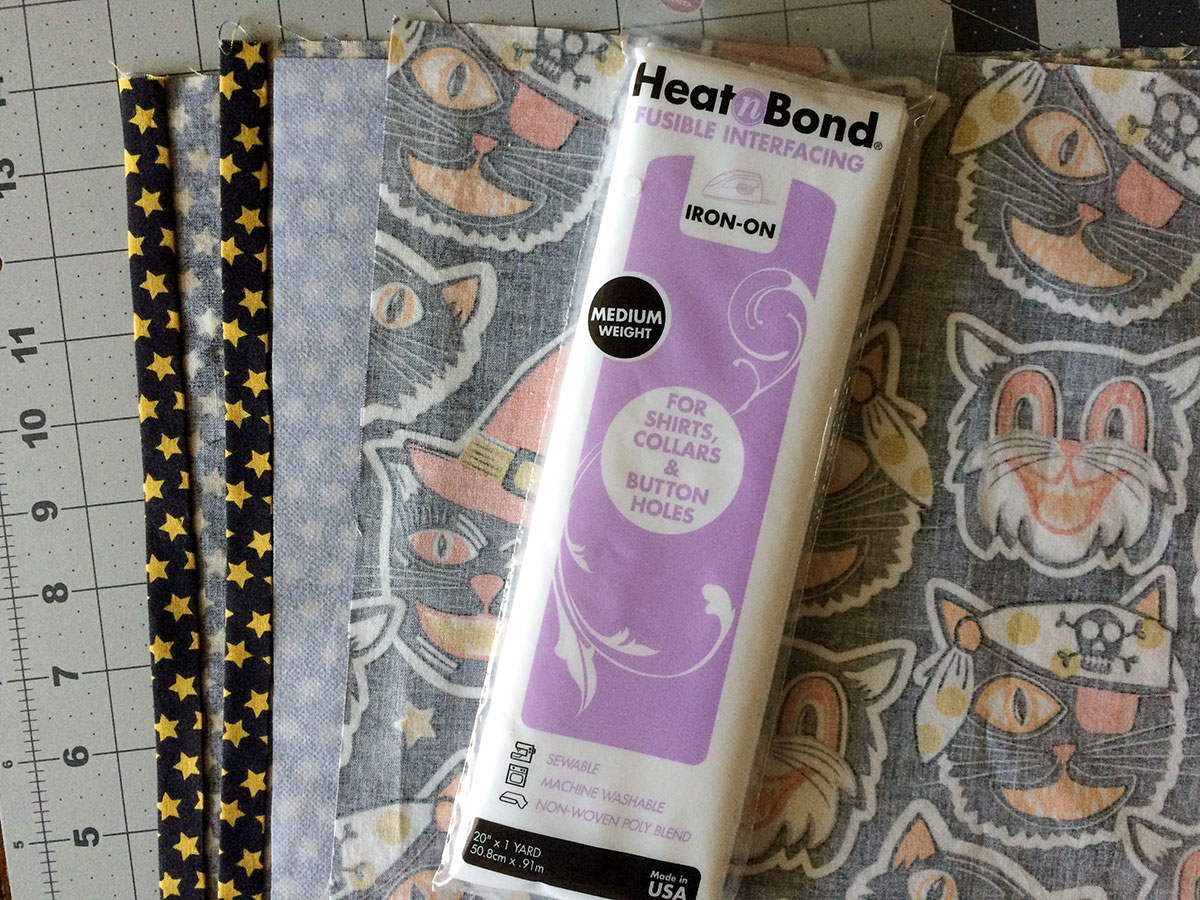
HeatnBond® Hem Adhesive Regular Weight
HeatnBond® Fusible Interfacing Medium Weight
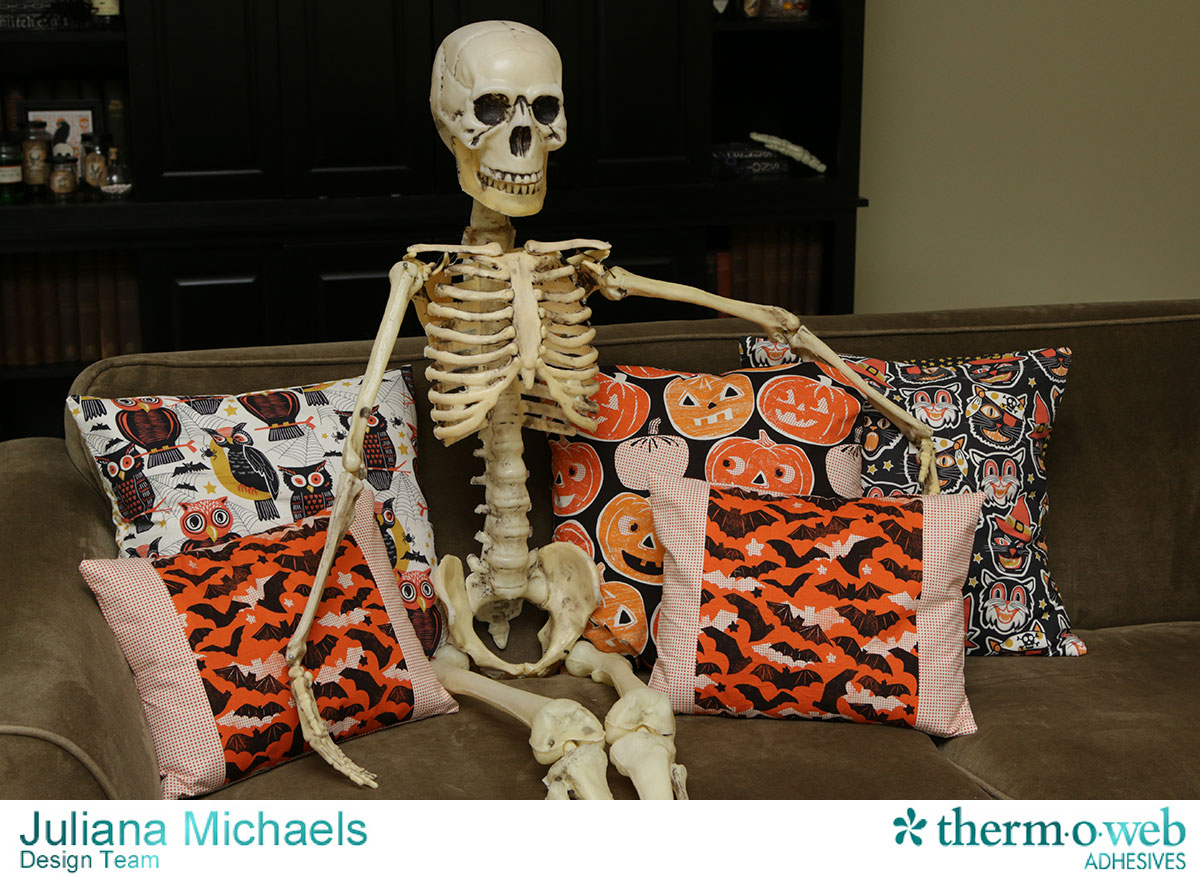
Here is a tutorial on how to create your own envelope pillow covers for a square shaped pillow.
Therm O Web Supplies:
HeatnBond® Hem Adhesive Regular Weight
HeatnBond® Fusible Interfacing Medium Weight
Here is a tutorial on how to create your own envelope pillow covers for a square shaped pillow.
 Fold over a 1/2 inch on the longer edge of each of the back pieces. Iron the hem and fold over another 1/2 inch and iron again. Place a piece of Heat N Bond® Hem Adhesive into the hem and iron. Repeat for the other back piece.
 Now it's time to start sewing:
Position the front piece with the right side facing upward.
Now it's time to start sewing:
Position the front piece with the right side facing upward.
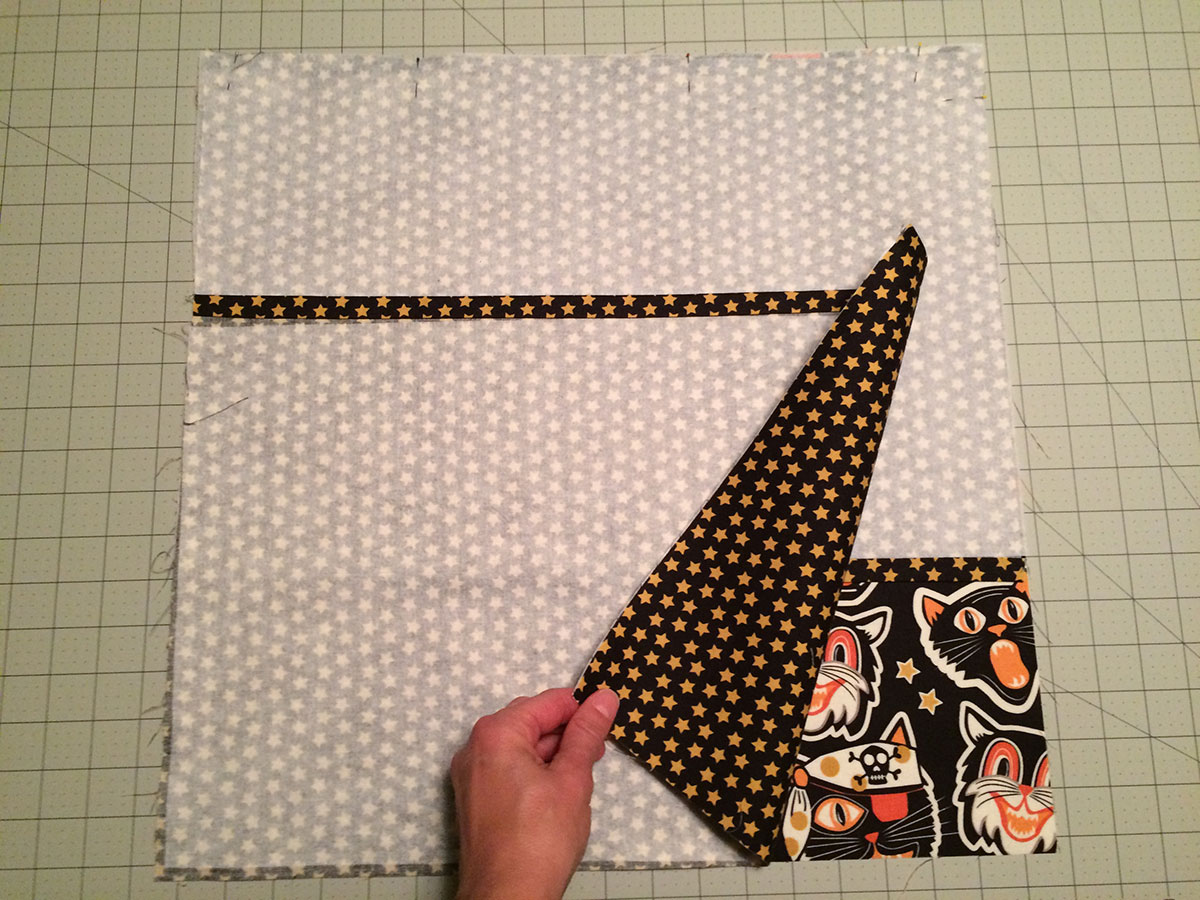 Lay one of the back pieces on top of it with right side facing up. Position the hemmed edge toward the middle. Lay the other back piece on top making sure to overlap the hems you just created. Pin the pieces together.
Sew around the outside edge with a 1/2 inch seam. Turn it right side out and place your pillow inside.
Lay one of the back pieces on top of it with right side facing up. Position the hemmed edge toward the middle. Lay the other back piece on top making sure to overlap the hems you just created. Pin the pieces together.
Sew around the outside edge with a 1/2 inch seam. Turn it right side out and place your pillow inside.
 Here you can see a couple of the pillows from the back side with the overlapping material.
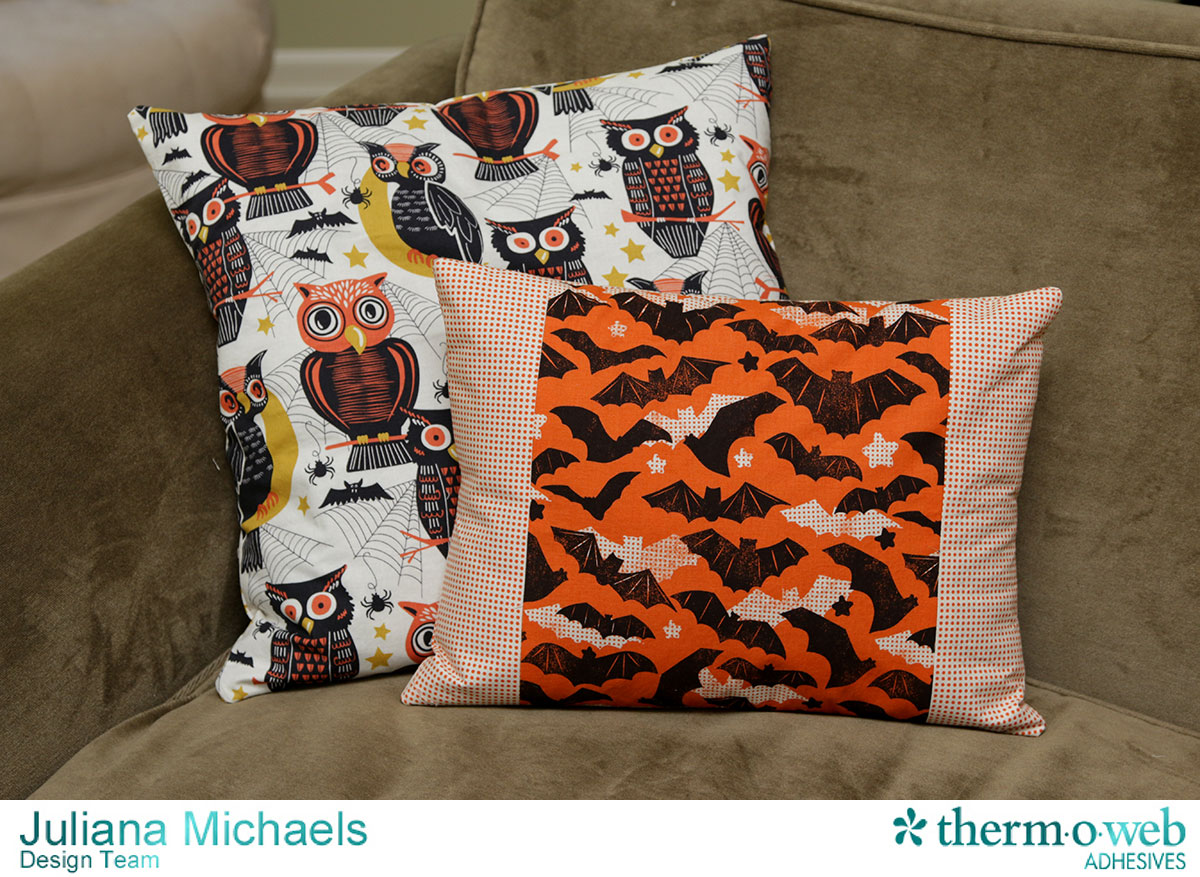
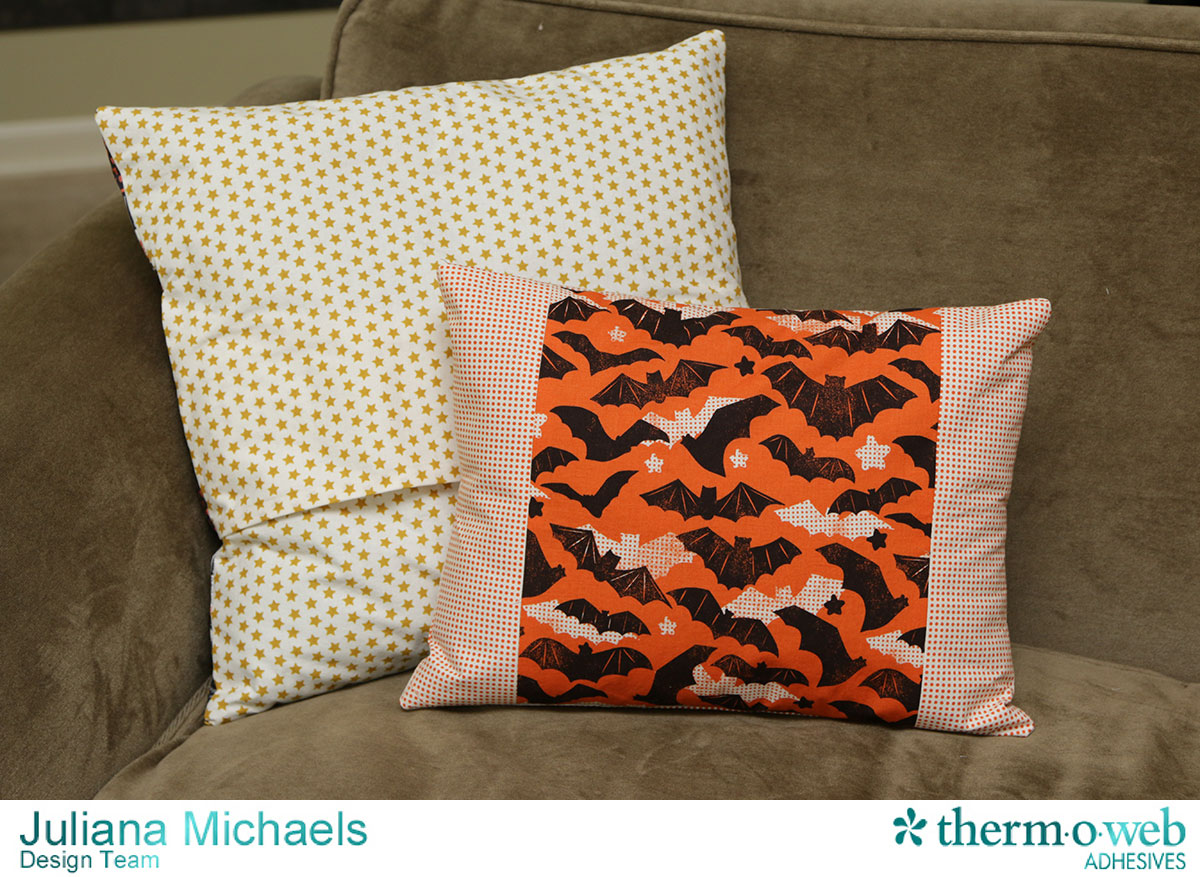 I also followed this same tutorial to create a smaller pillow however, I got a bit "fancier" and did some fabric piecing to create a paneled effect on the front. The two things to keep in mind when creating pillow covers is the seam allowance and the overlap on the back side. I recommend using a tape measure to help determine if you have enough overlap before you beginning cutting your material.
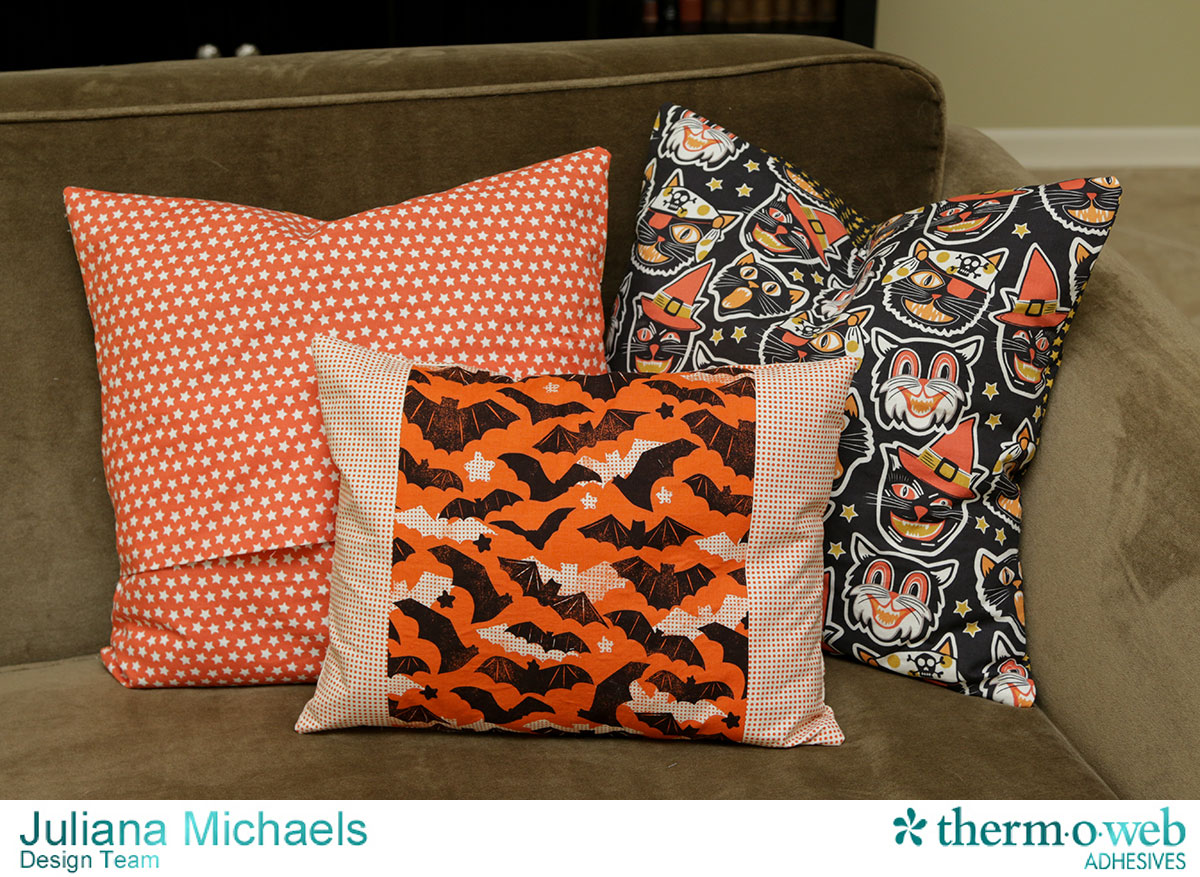
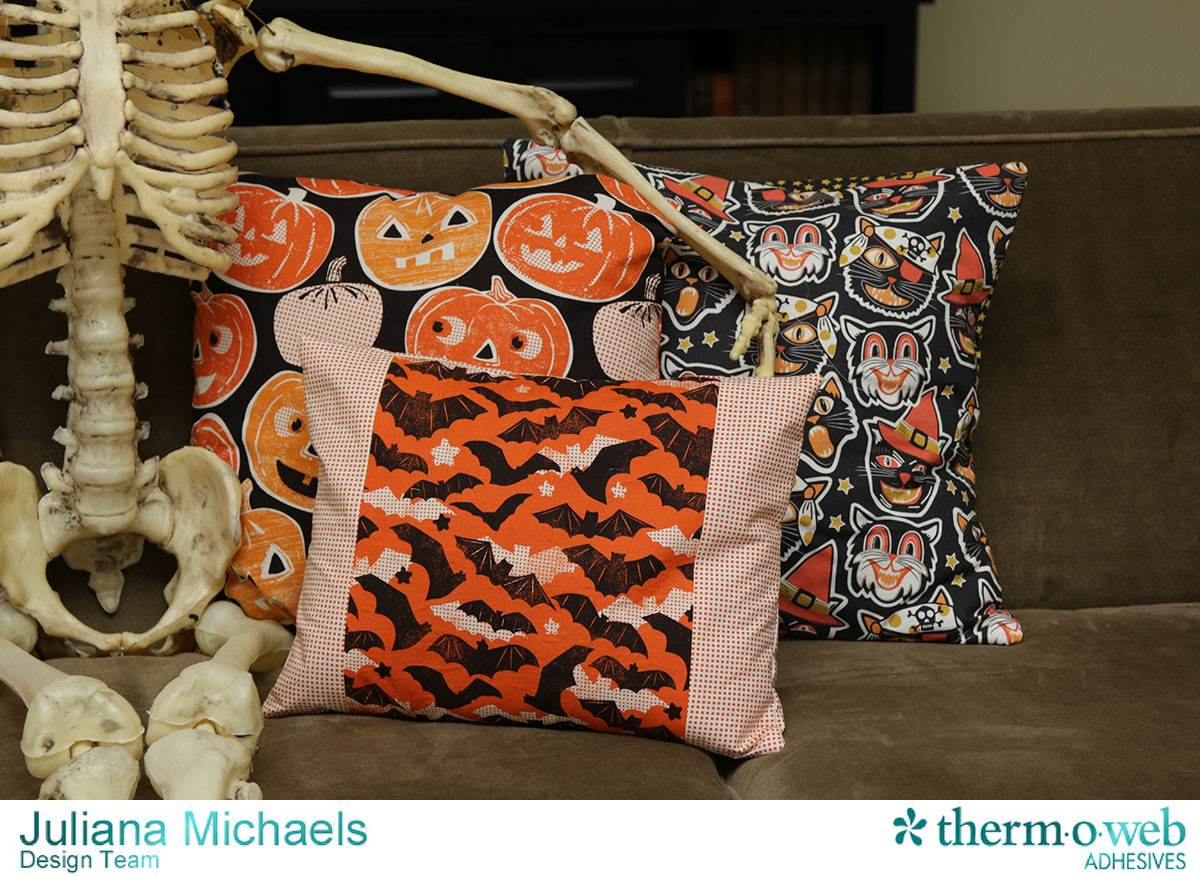 I really love how these pillow covers turned out and I can't wait to make more of them for other holidays or even to easily change out my pillows during the year for a fresh look. I hope you enjoyed learning how to create your own envelope pillow cover with Therm O Web Heat N Bond®.
HUGS!
Juliana
I really love how these pillow covers turned out and I can't wait to make more of them for other holidays or even to easily change out my pillows during the year for a fresh look. I hope you enjoyed learning how to create your own envelope pillow cover with Therm O Web Heat N Bond®.
HUGS!
Juliana