No Products in the Cart
 Hello and welcome! It's Julia from Inflorescence Designs and I am excited to share with you a project you can use for your next trip abroad during Therm O Web's VACATION WEEK!
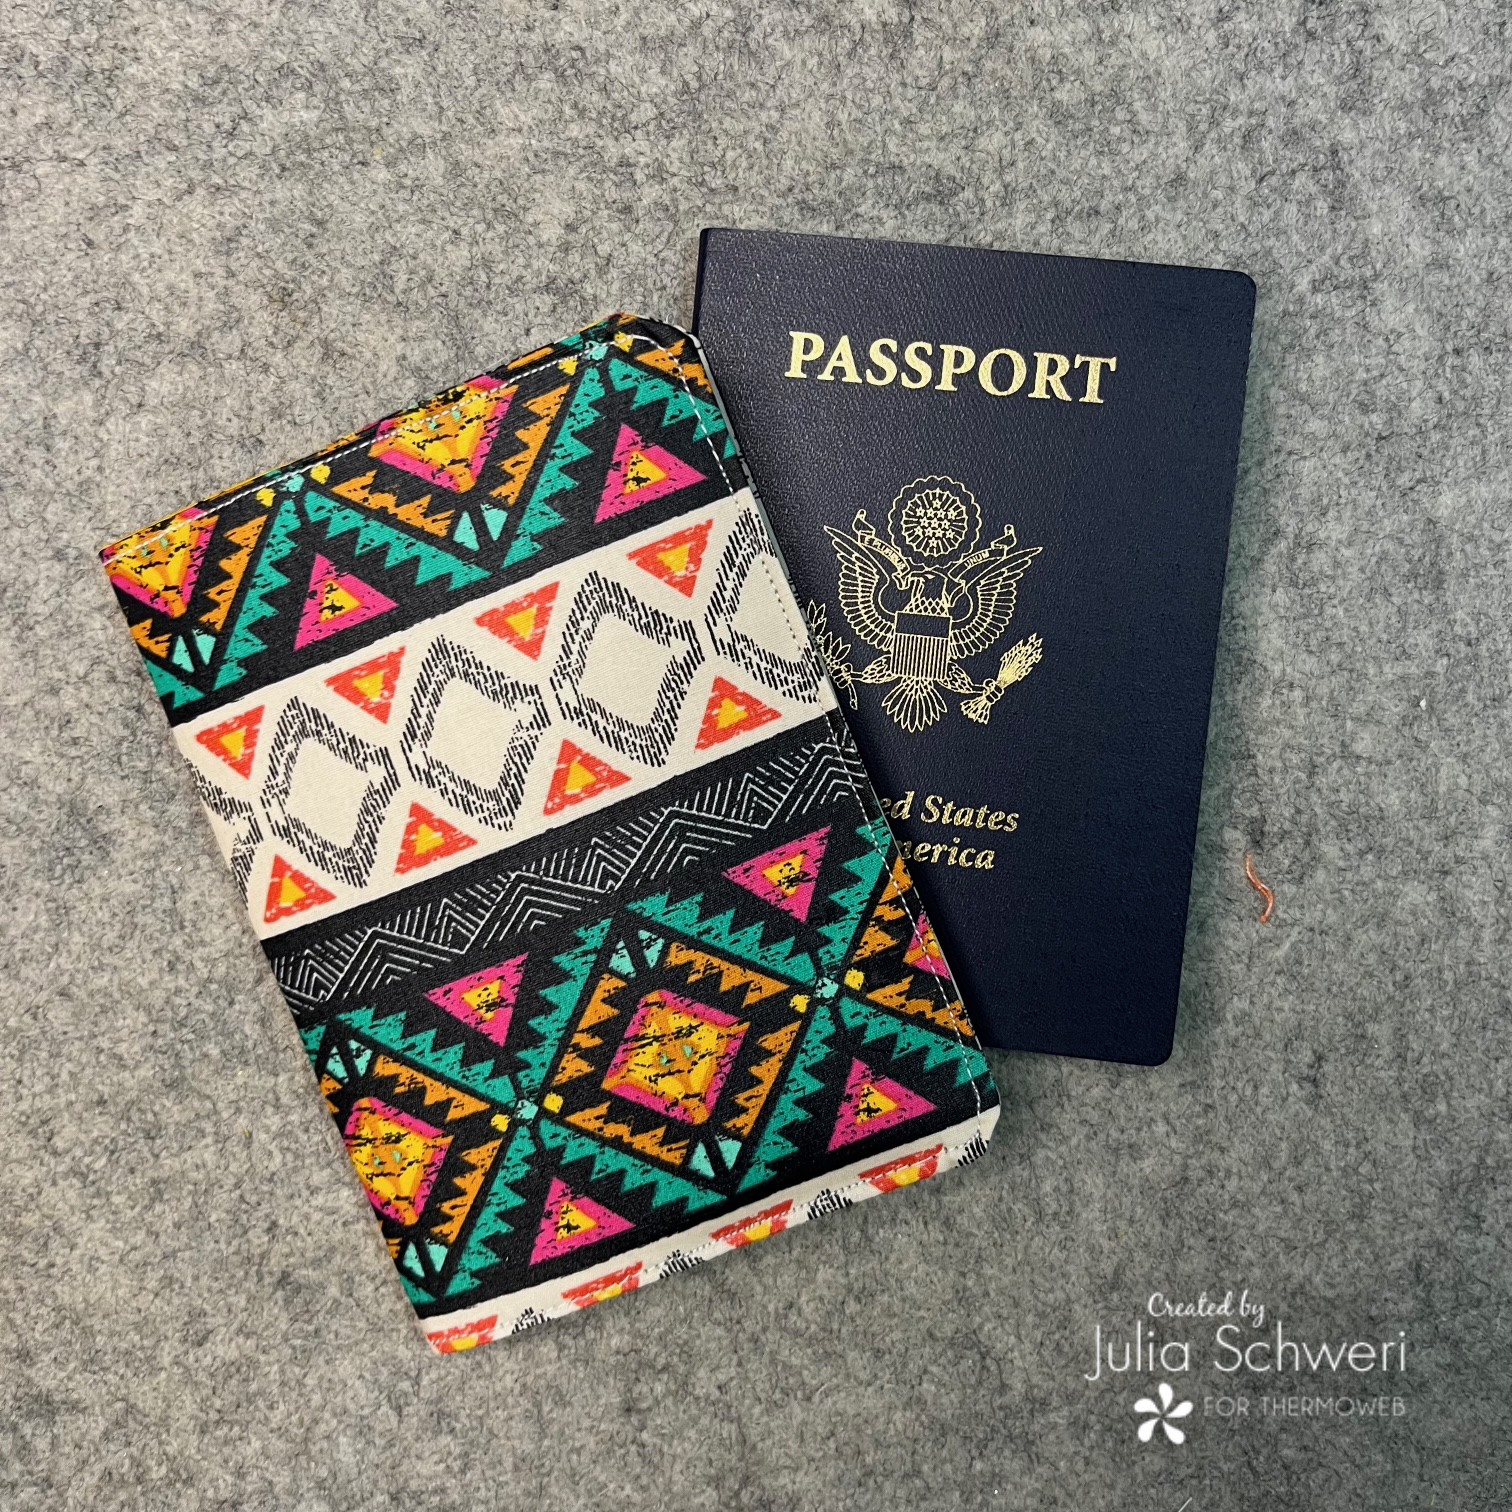
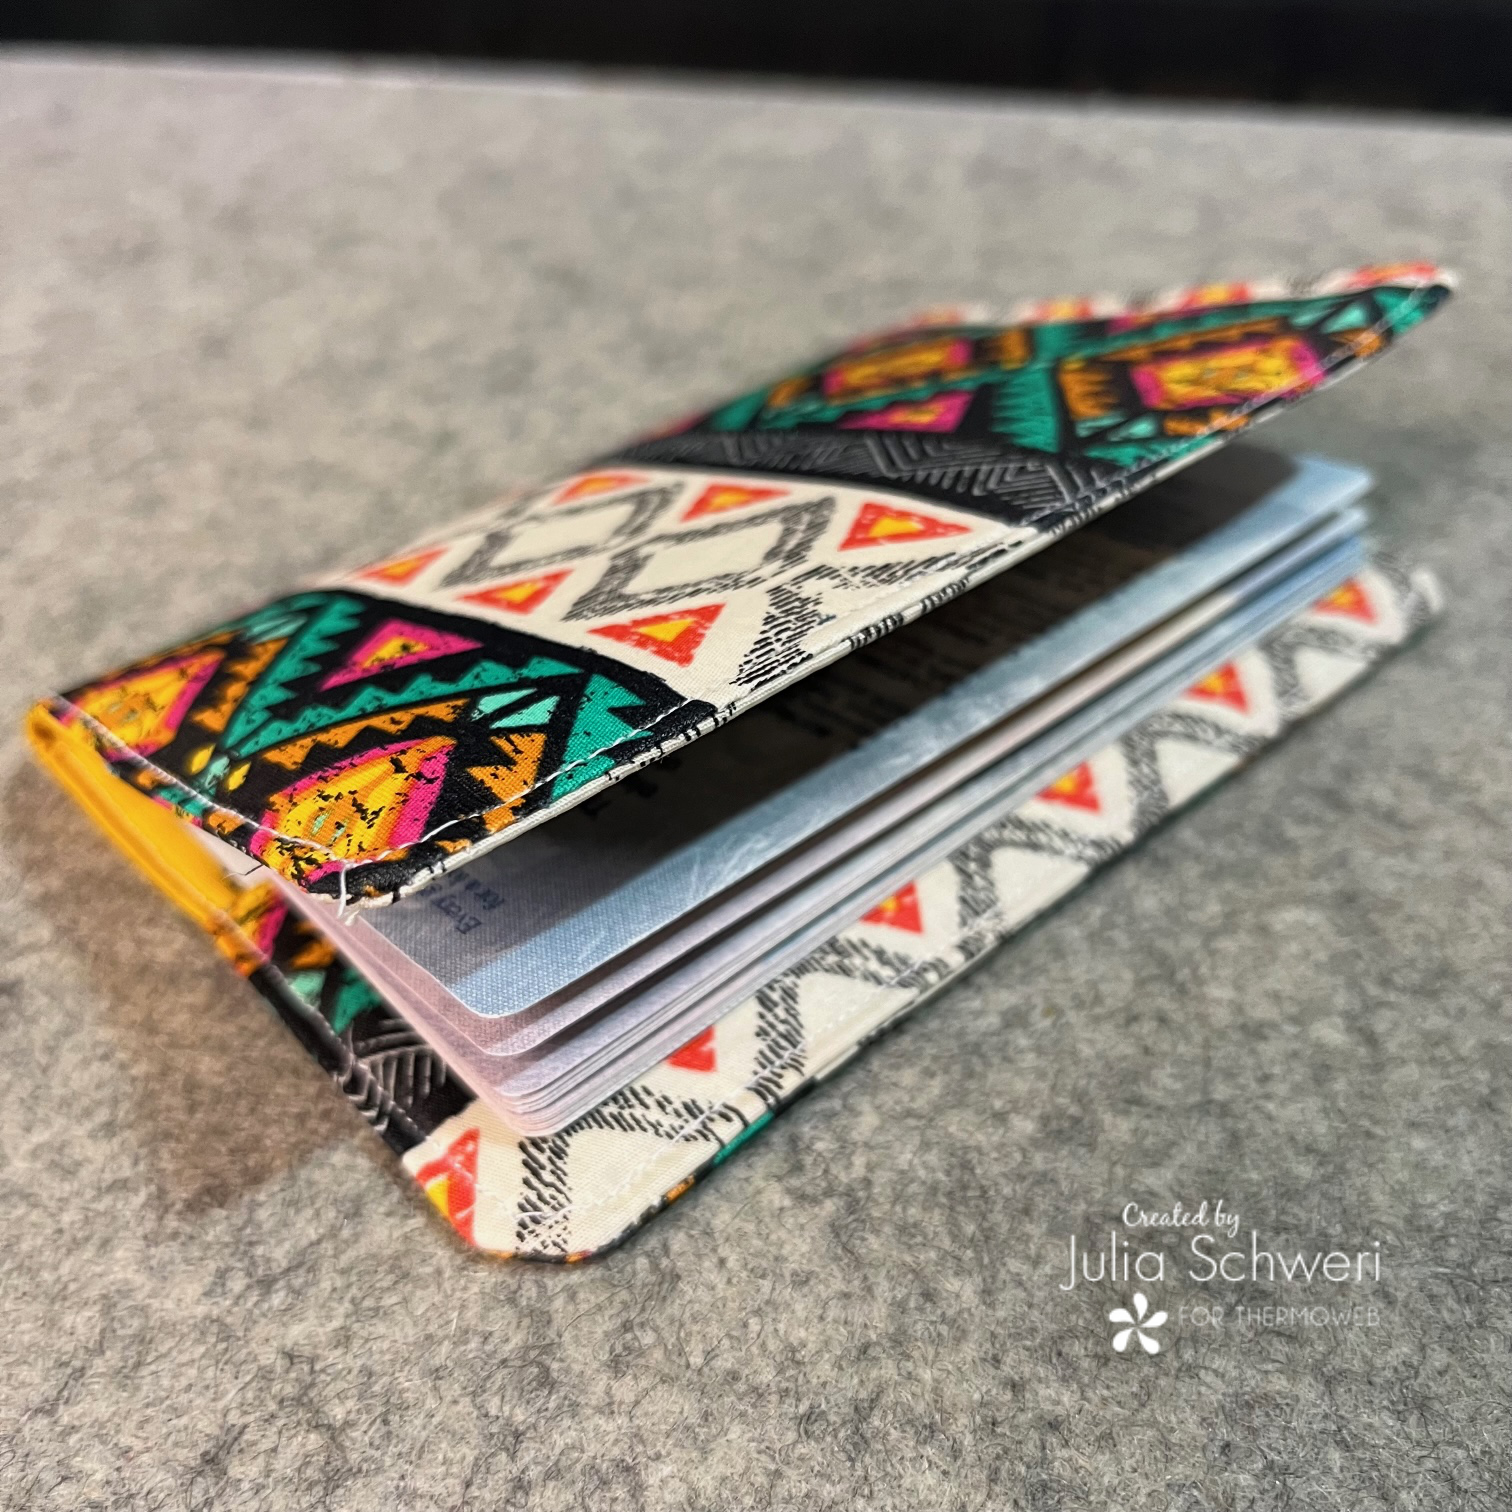
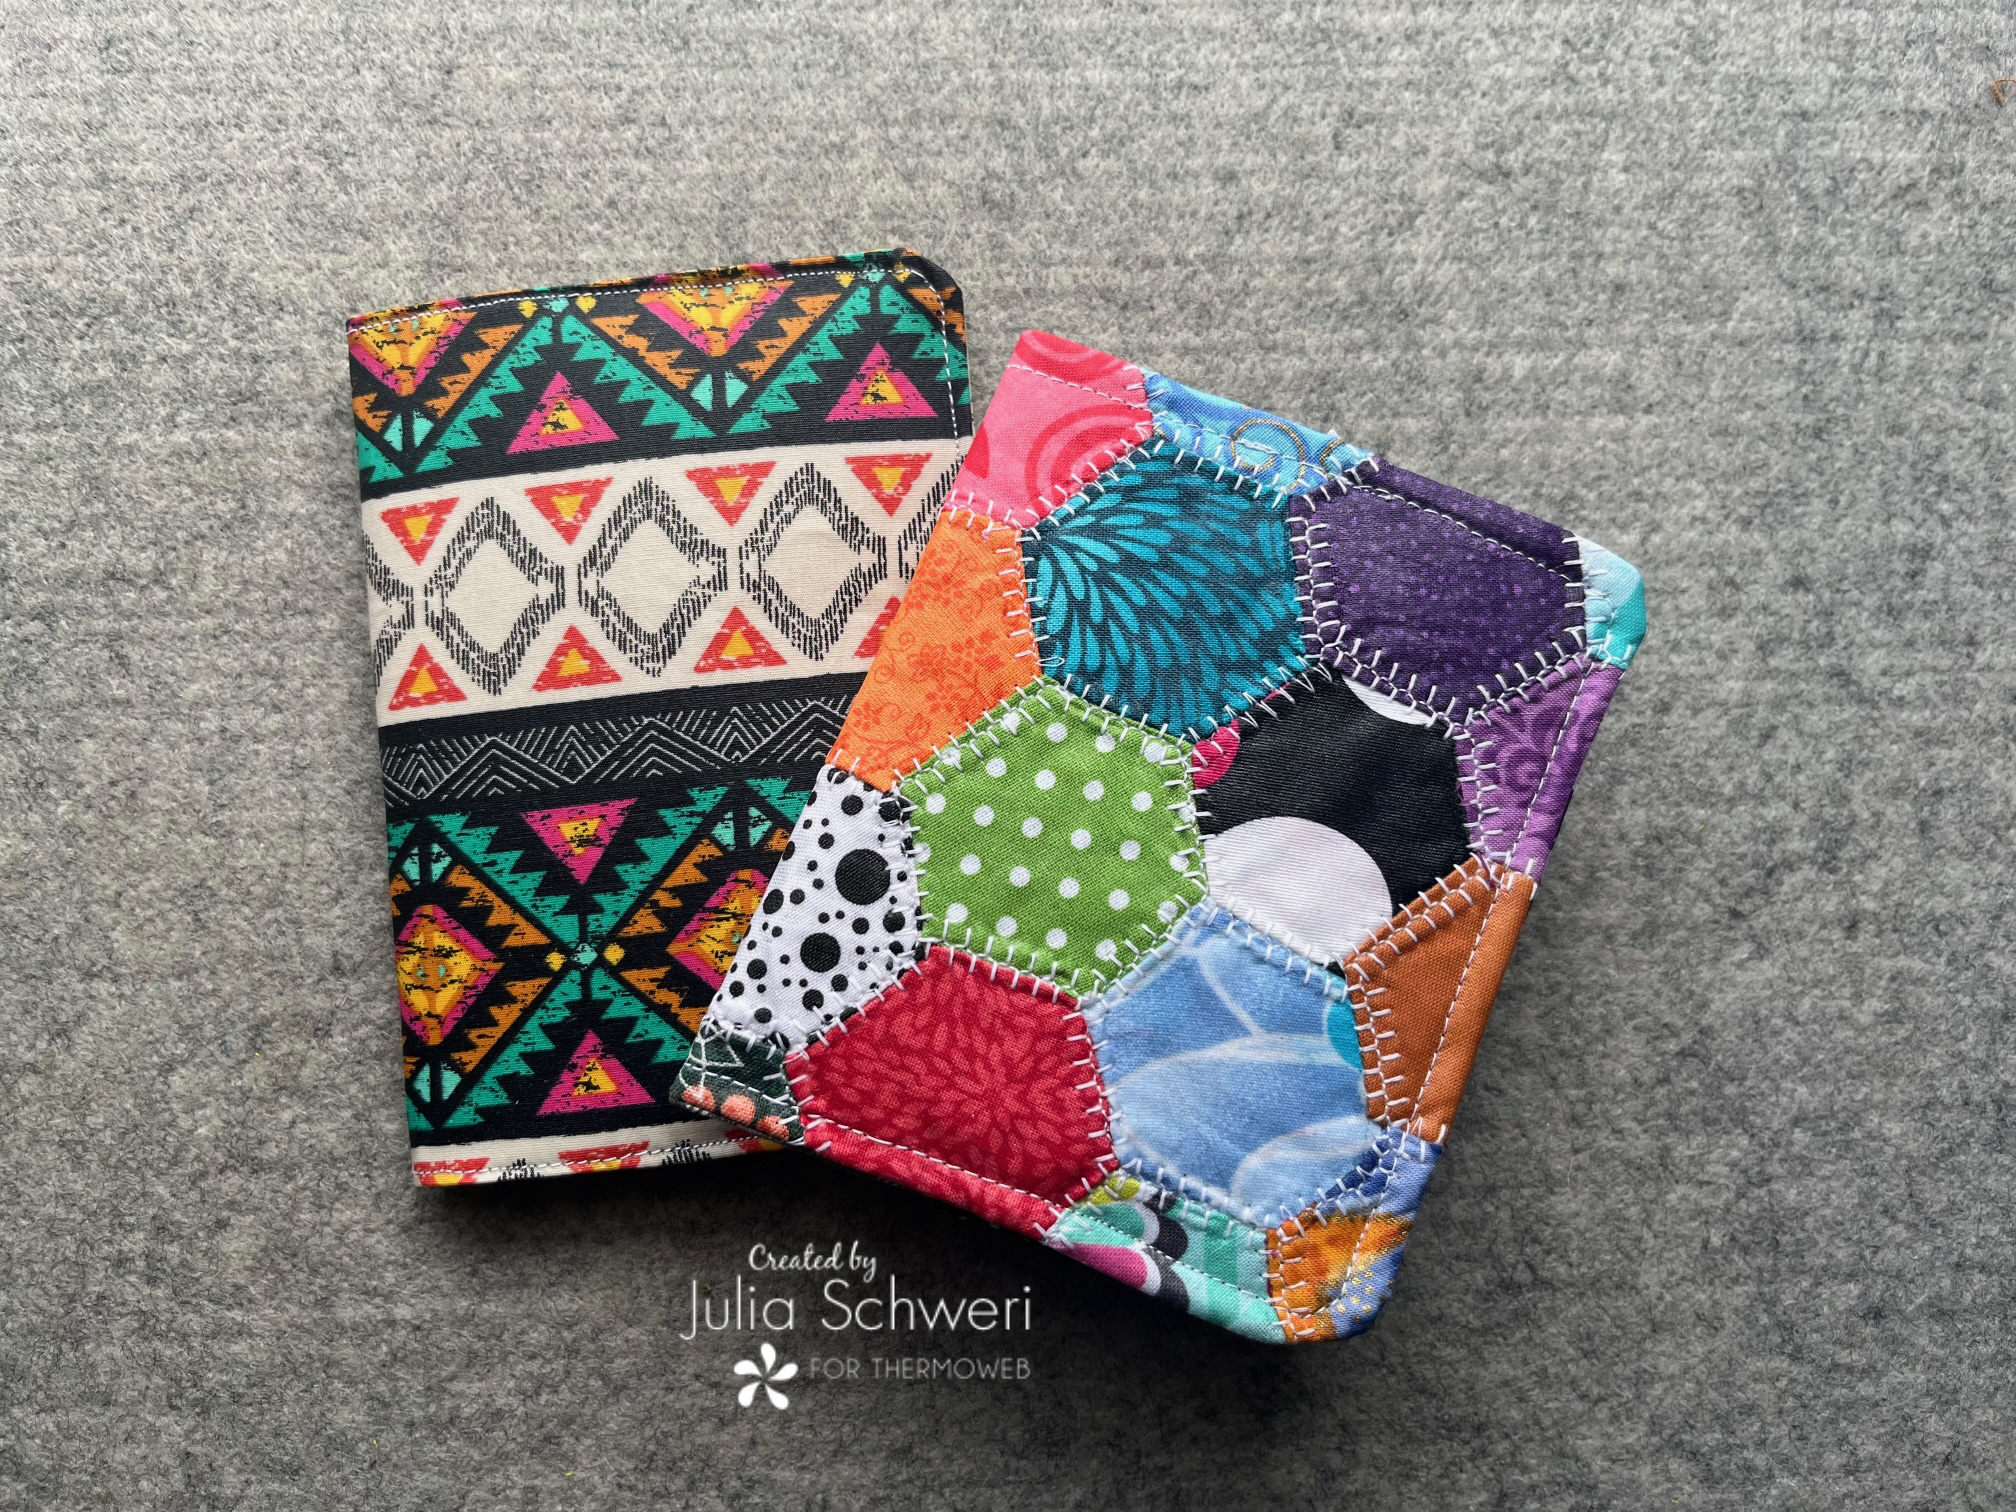
My tutorial today will show you how to make your very own passport holder. It can be really handy to have one of these, so your passport has protection when it's in your bag or purse. It can even hold a credit card and ID too. I love this pattern because you can make it simple and modern or jazz it up with applique or even use English paper piecing. The choice is yours!

To make it water-resistant we are even going to add a layer of Thermoweb's Liquid Vinyl for added protection!
Beginner Sewing Pattern!
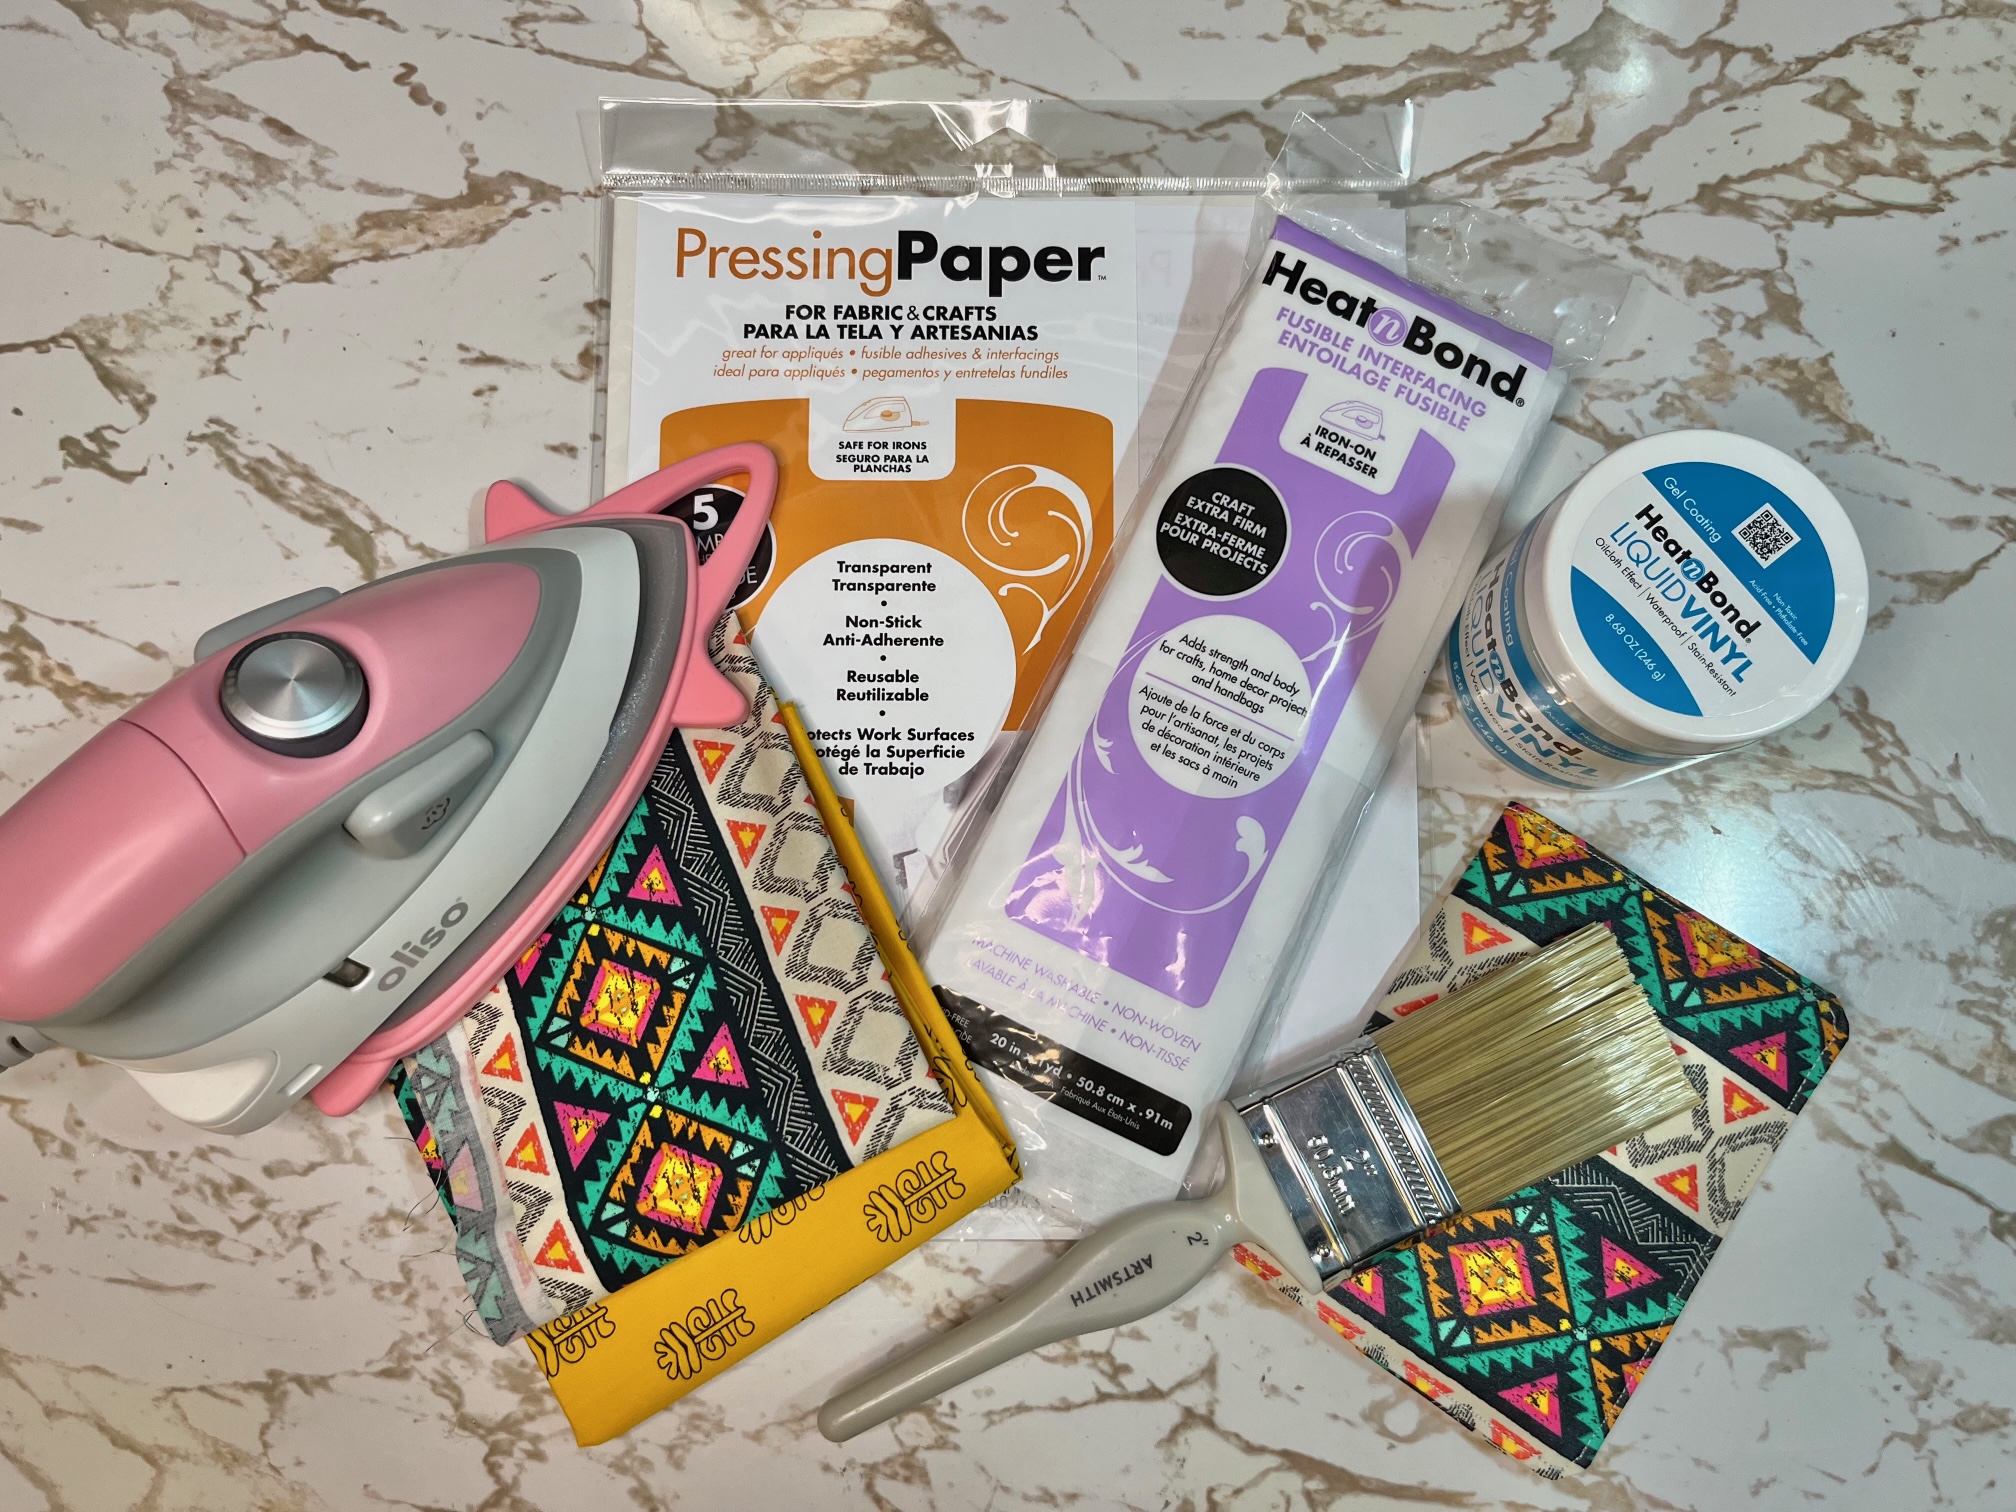
Preparing your workspace before using the liquid vinyl. You will want to paint your fabric on either a piece of pressing paper, parchment paper or silicone craft mat. I used an old plastic cutting board.
There are three ways to use the HeatnBond Liquid Vinyl gel coating:
For this project I used one coat, making my outside water and stain-resistant.
Following the instructions on the liquid vinyl for application.

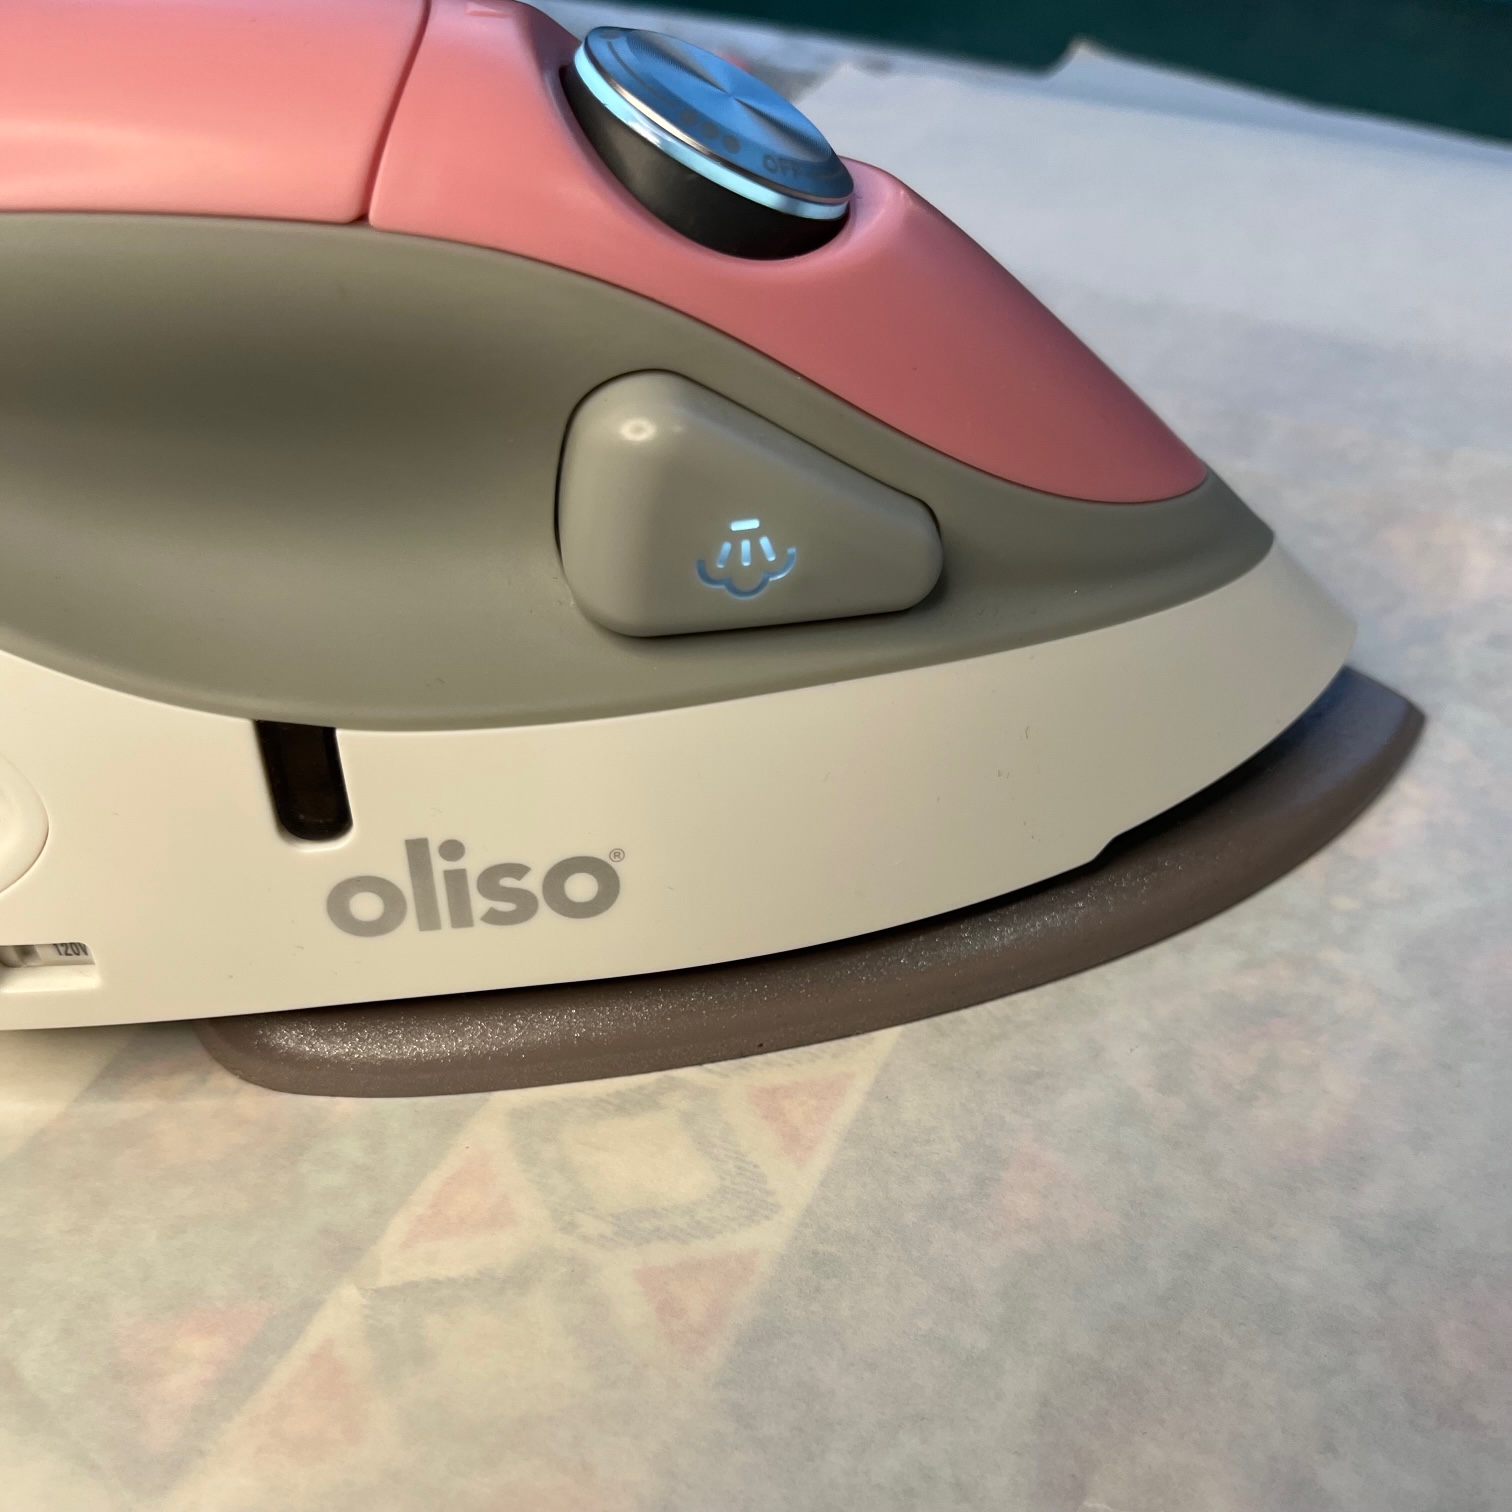
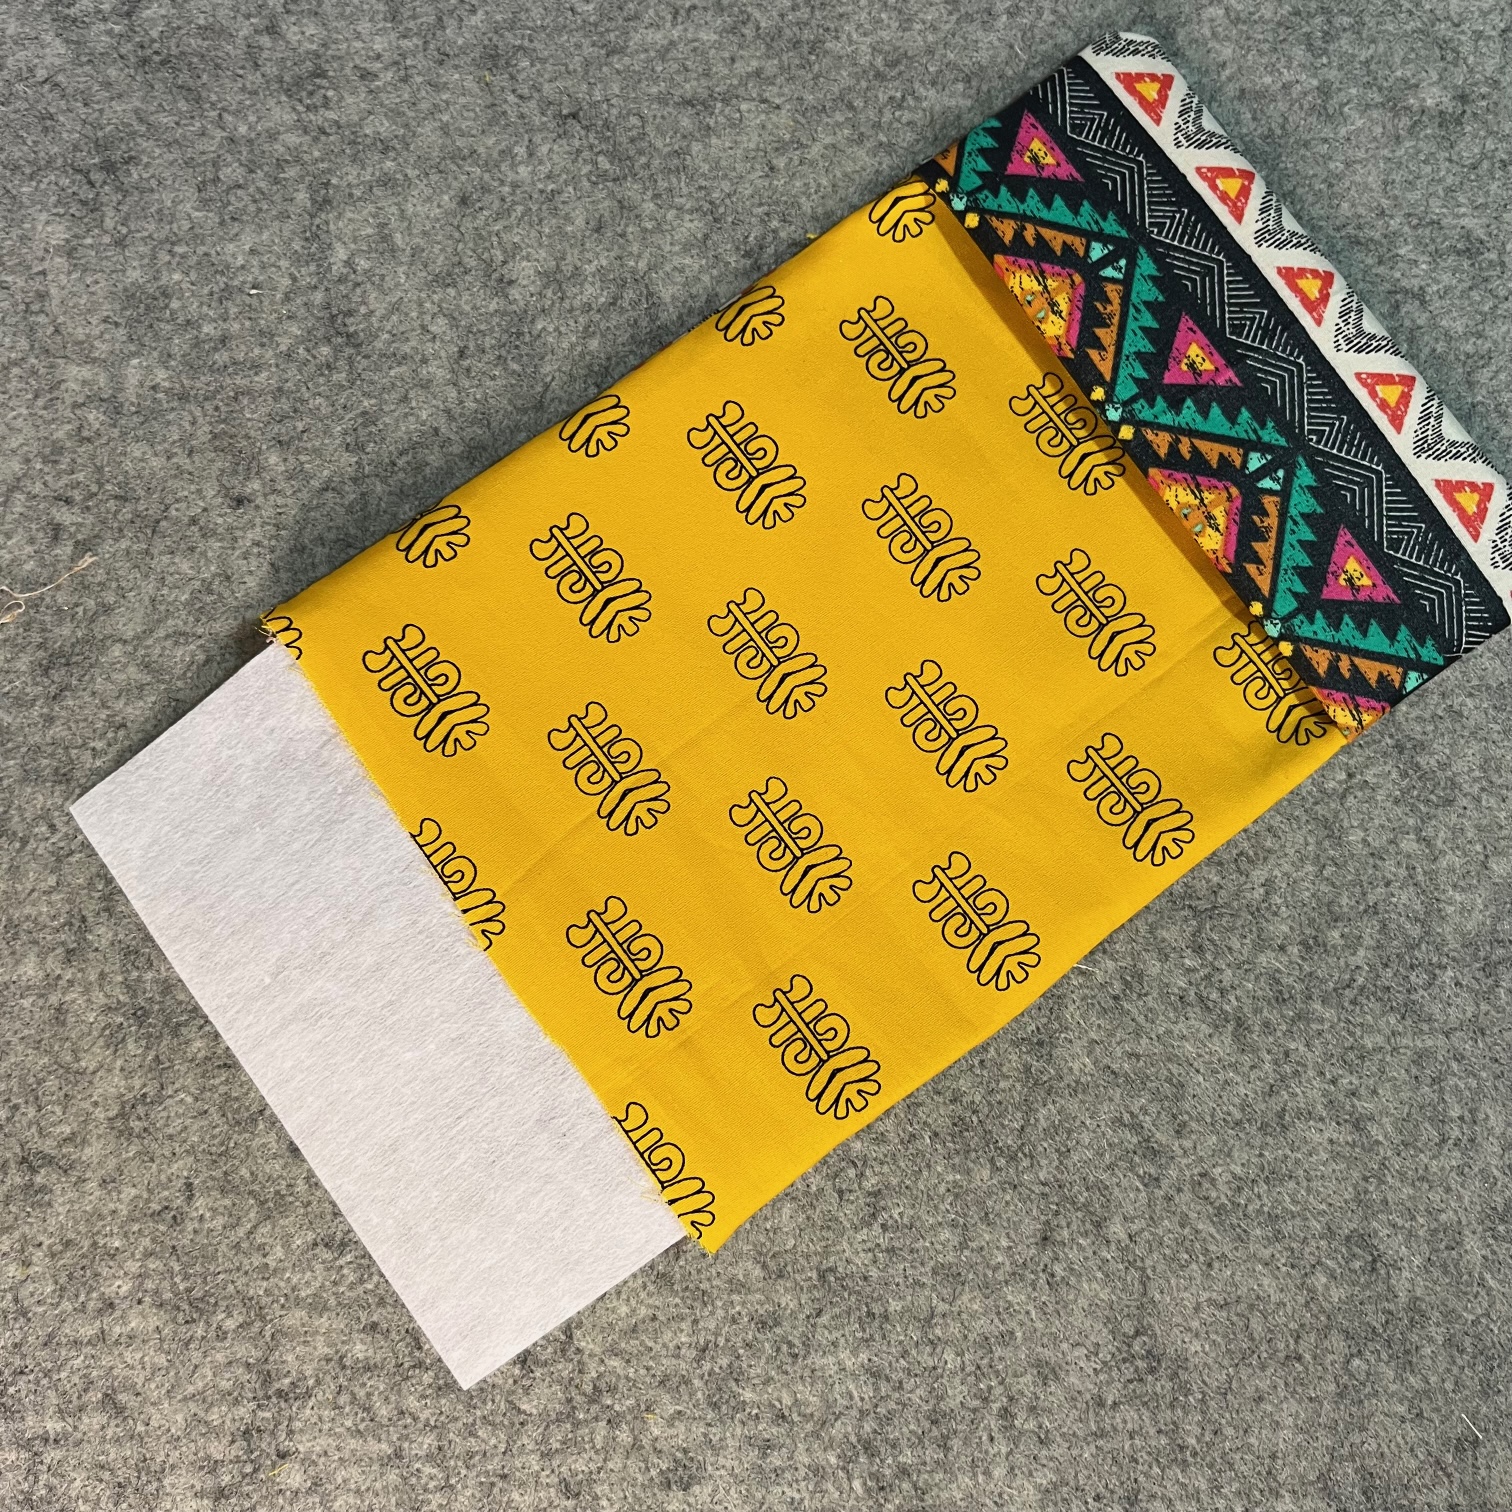
Next, cut your main fabric to 8 1/2" x 6" and cut your main pocket pieces to 5" x 6". During the liquid vinyl application, the fabric may shrink and so that is why we are trimming it to size after applying the liquid vinyl. Press your pocket pieces in half along the long edge. Make sure to use pressing paper when pressing this project due to the application of liquid vinyl. Continue by inserting the interfacing pocket pieces into the folded fabric and clip onto the folded edge.
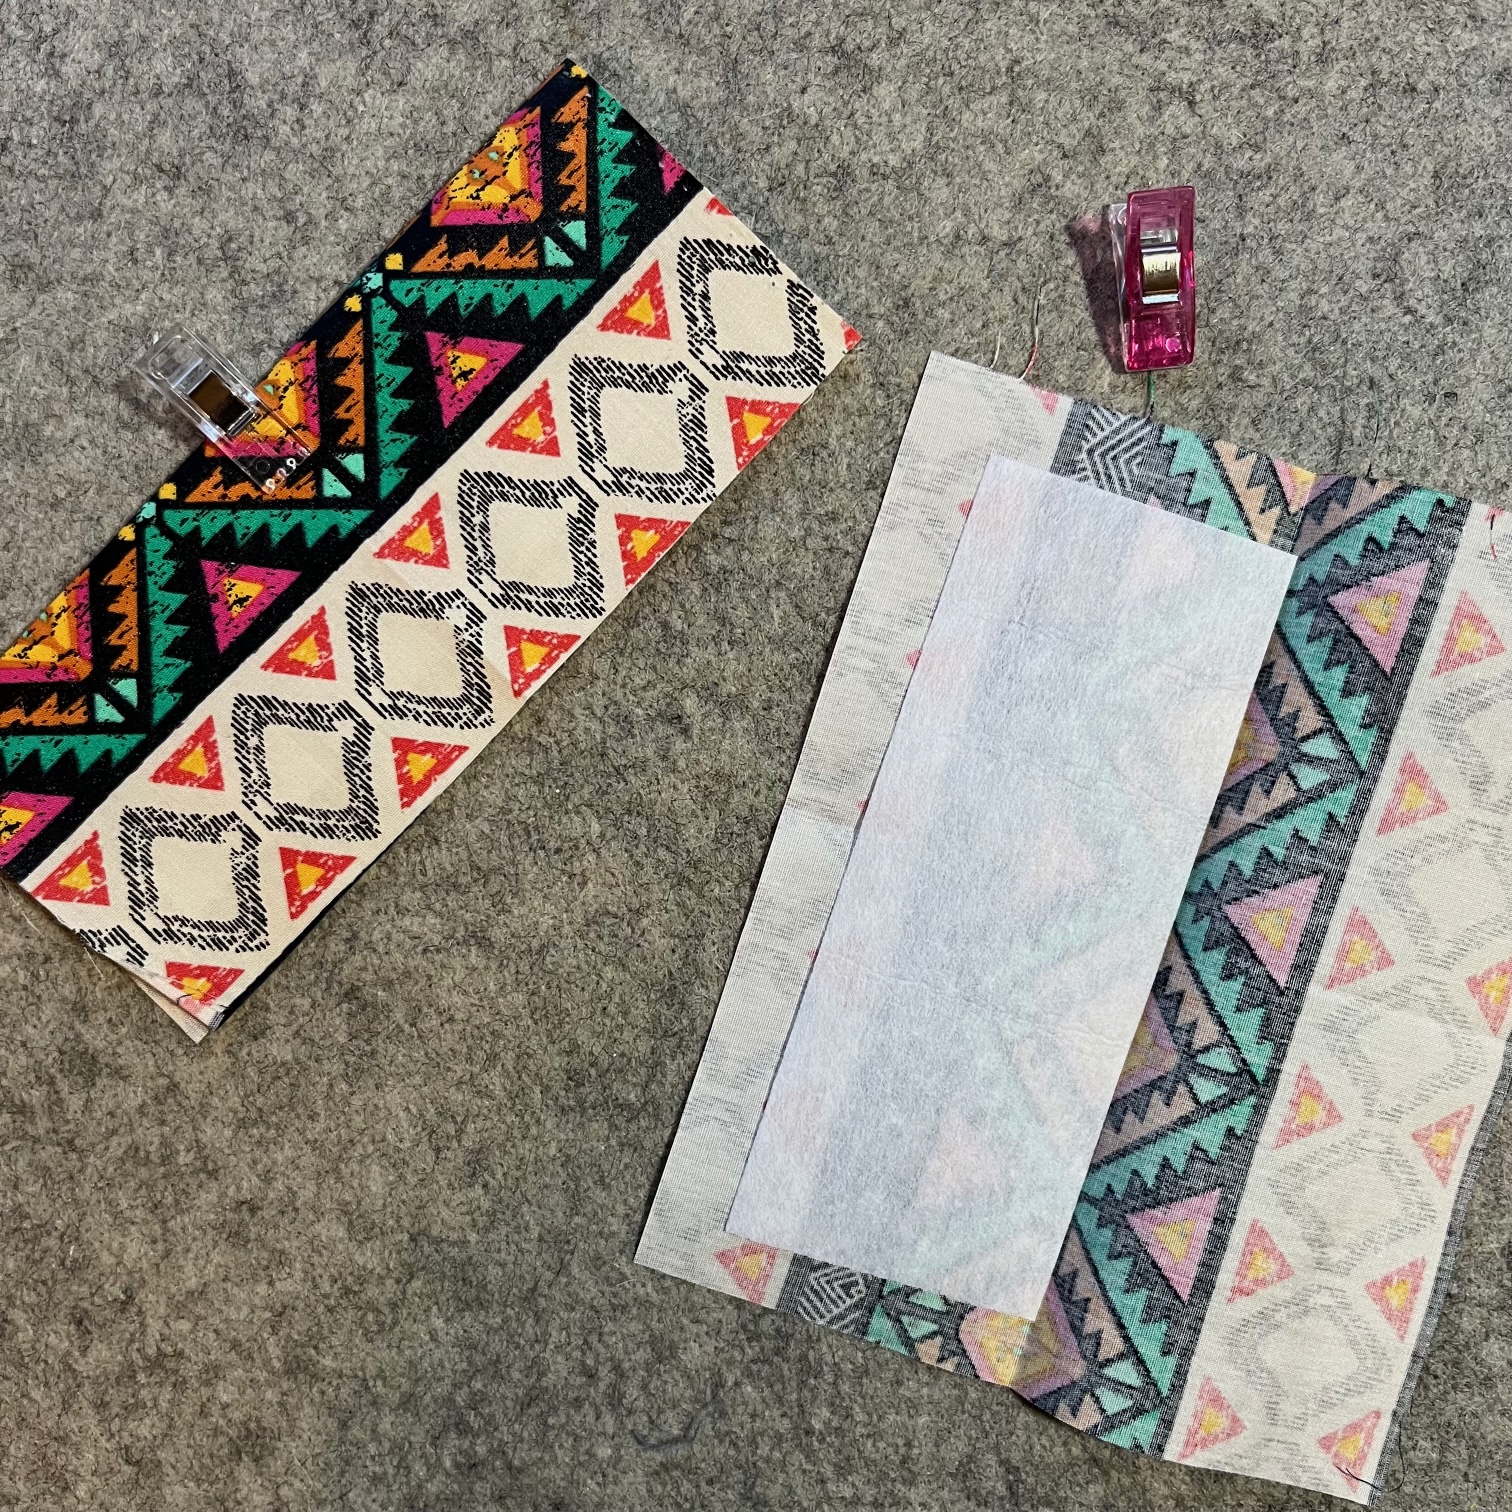
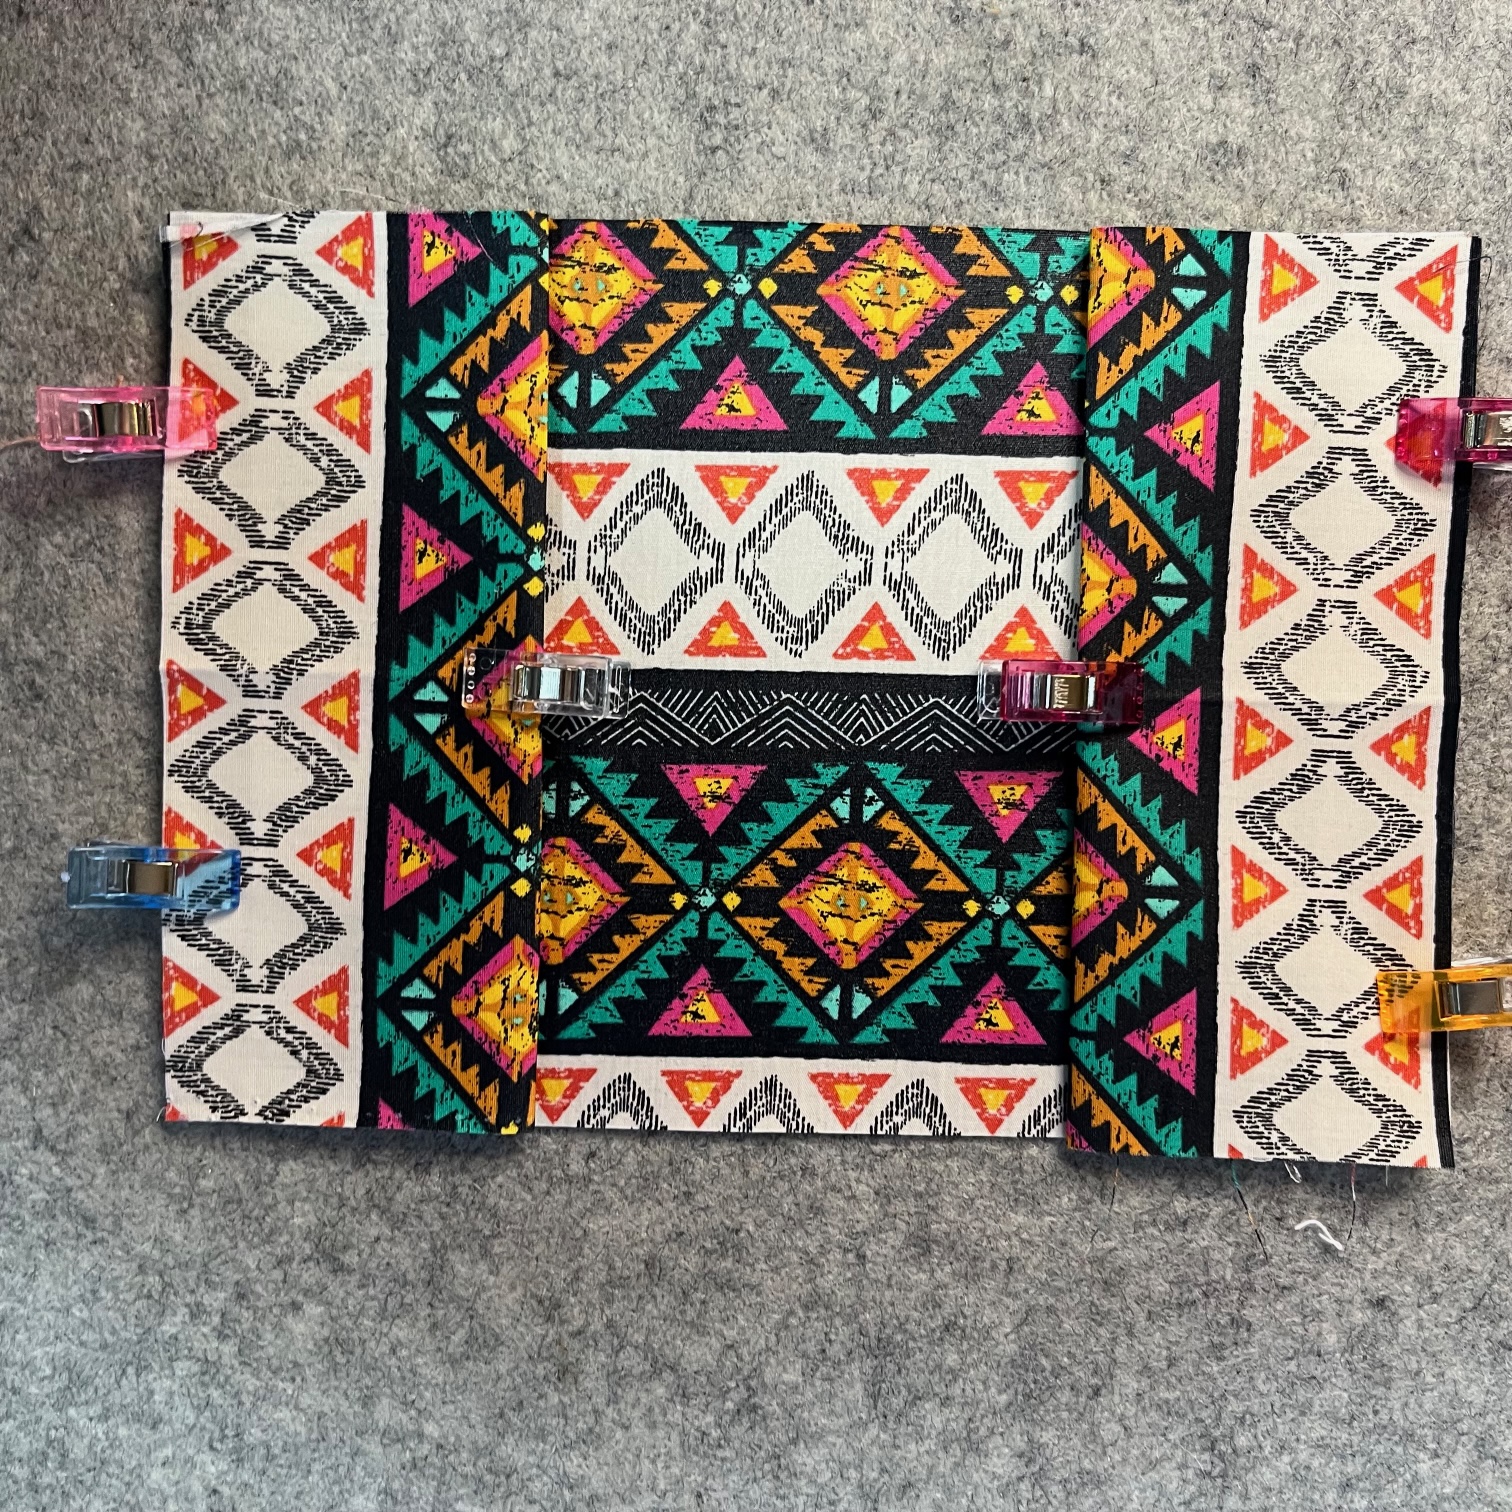
Lay the main fabric piece on your workspace with the right side of the fabric facing up. Align your pocket pieces along the short edge, baste the pockets with a 1/4" seam, then layer the lining fabric on top, with the right side facing down. Clip around your project.
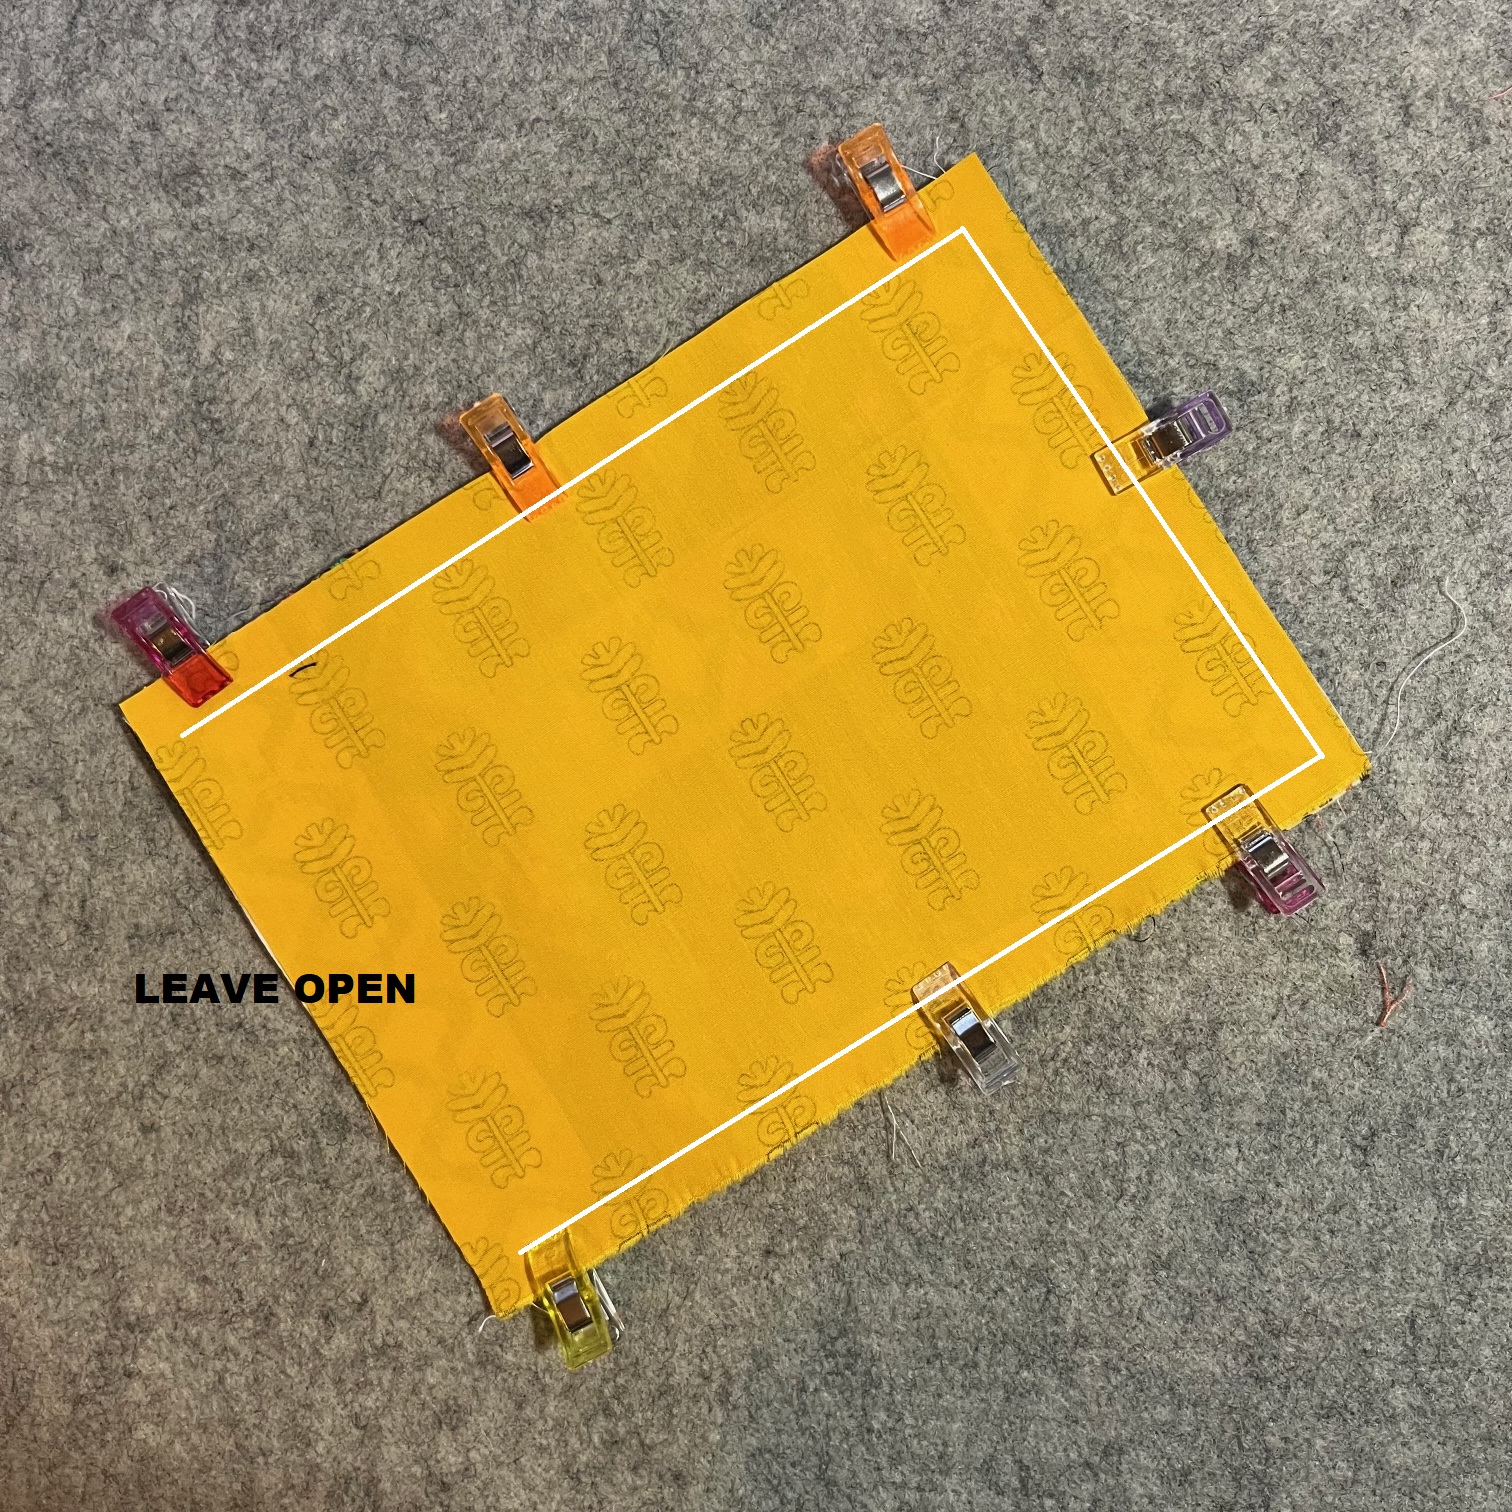
Sew 3 sides of your passport holder with a 1/4" seam, leaving one of the short ends open. Make sure to backstitch the opening of the pocket area. That area will have the most pulling and wear and needs to have reinforcement.
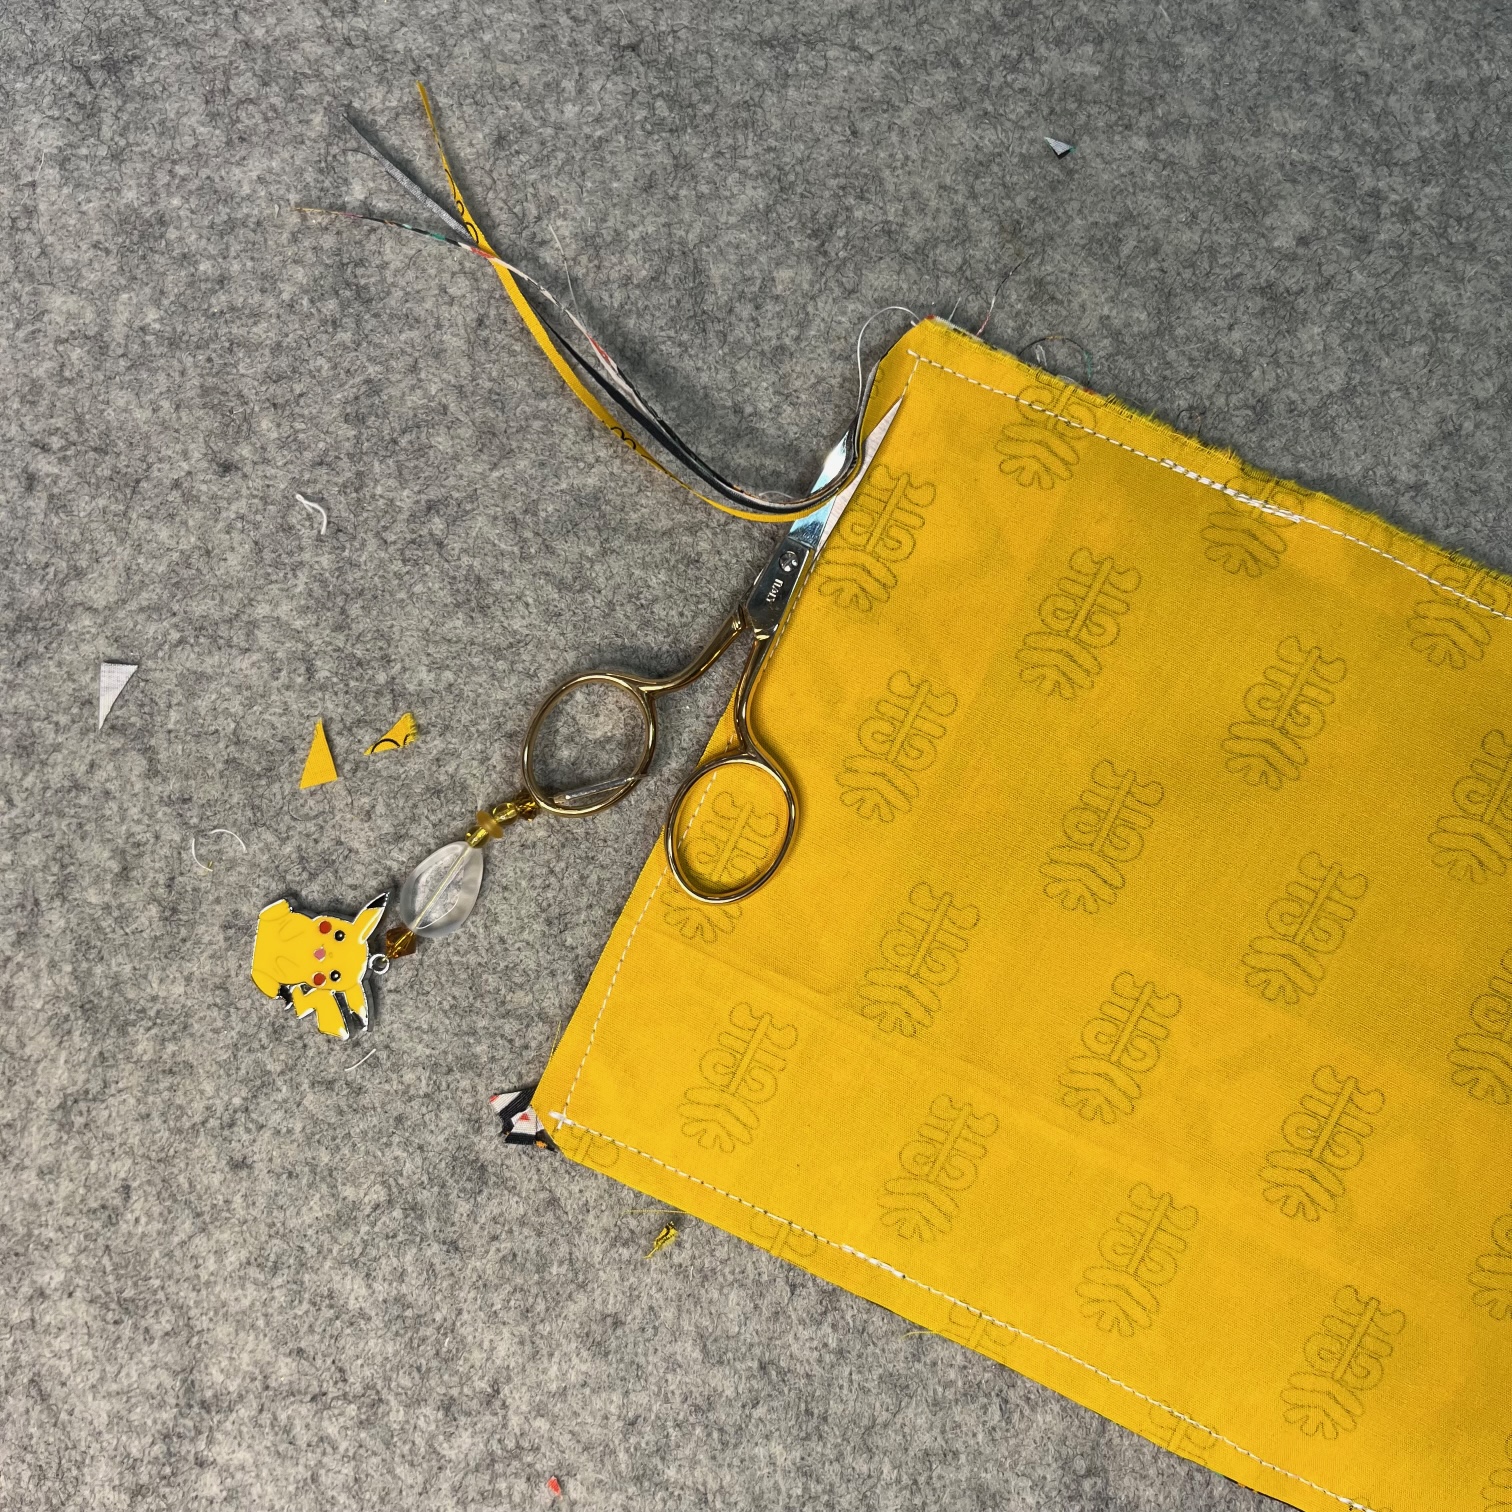
 Clip the corners and trim the extra fabric away from your stitches. Turn your passport holder partially right side out. Stop turning your passport holder right side out after your first pocket is through.
Next, insert the large piece of interfacing into the opening and then continue turning your passport right side out.
Topstitch 1/8" around your passport holder. Press (using pressing paper). Insert your passport and enjoy!
Thank you for following along with me today! I hope you enjoyed my “Passport Cover" tutorial. Come back soon to see what else will be starting to bloom with Inflorescence Designs!
Starting to bloom by choosing JOY ~ Julia
Written by Julia Schweri