No Products in the Cart
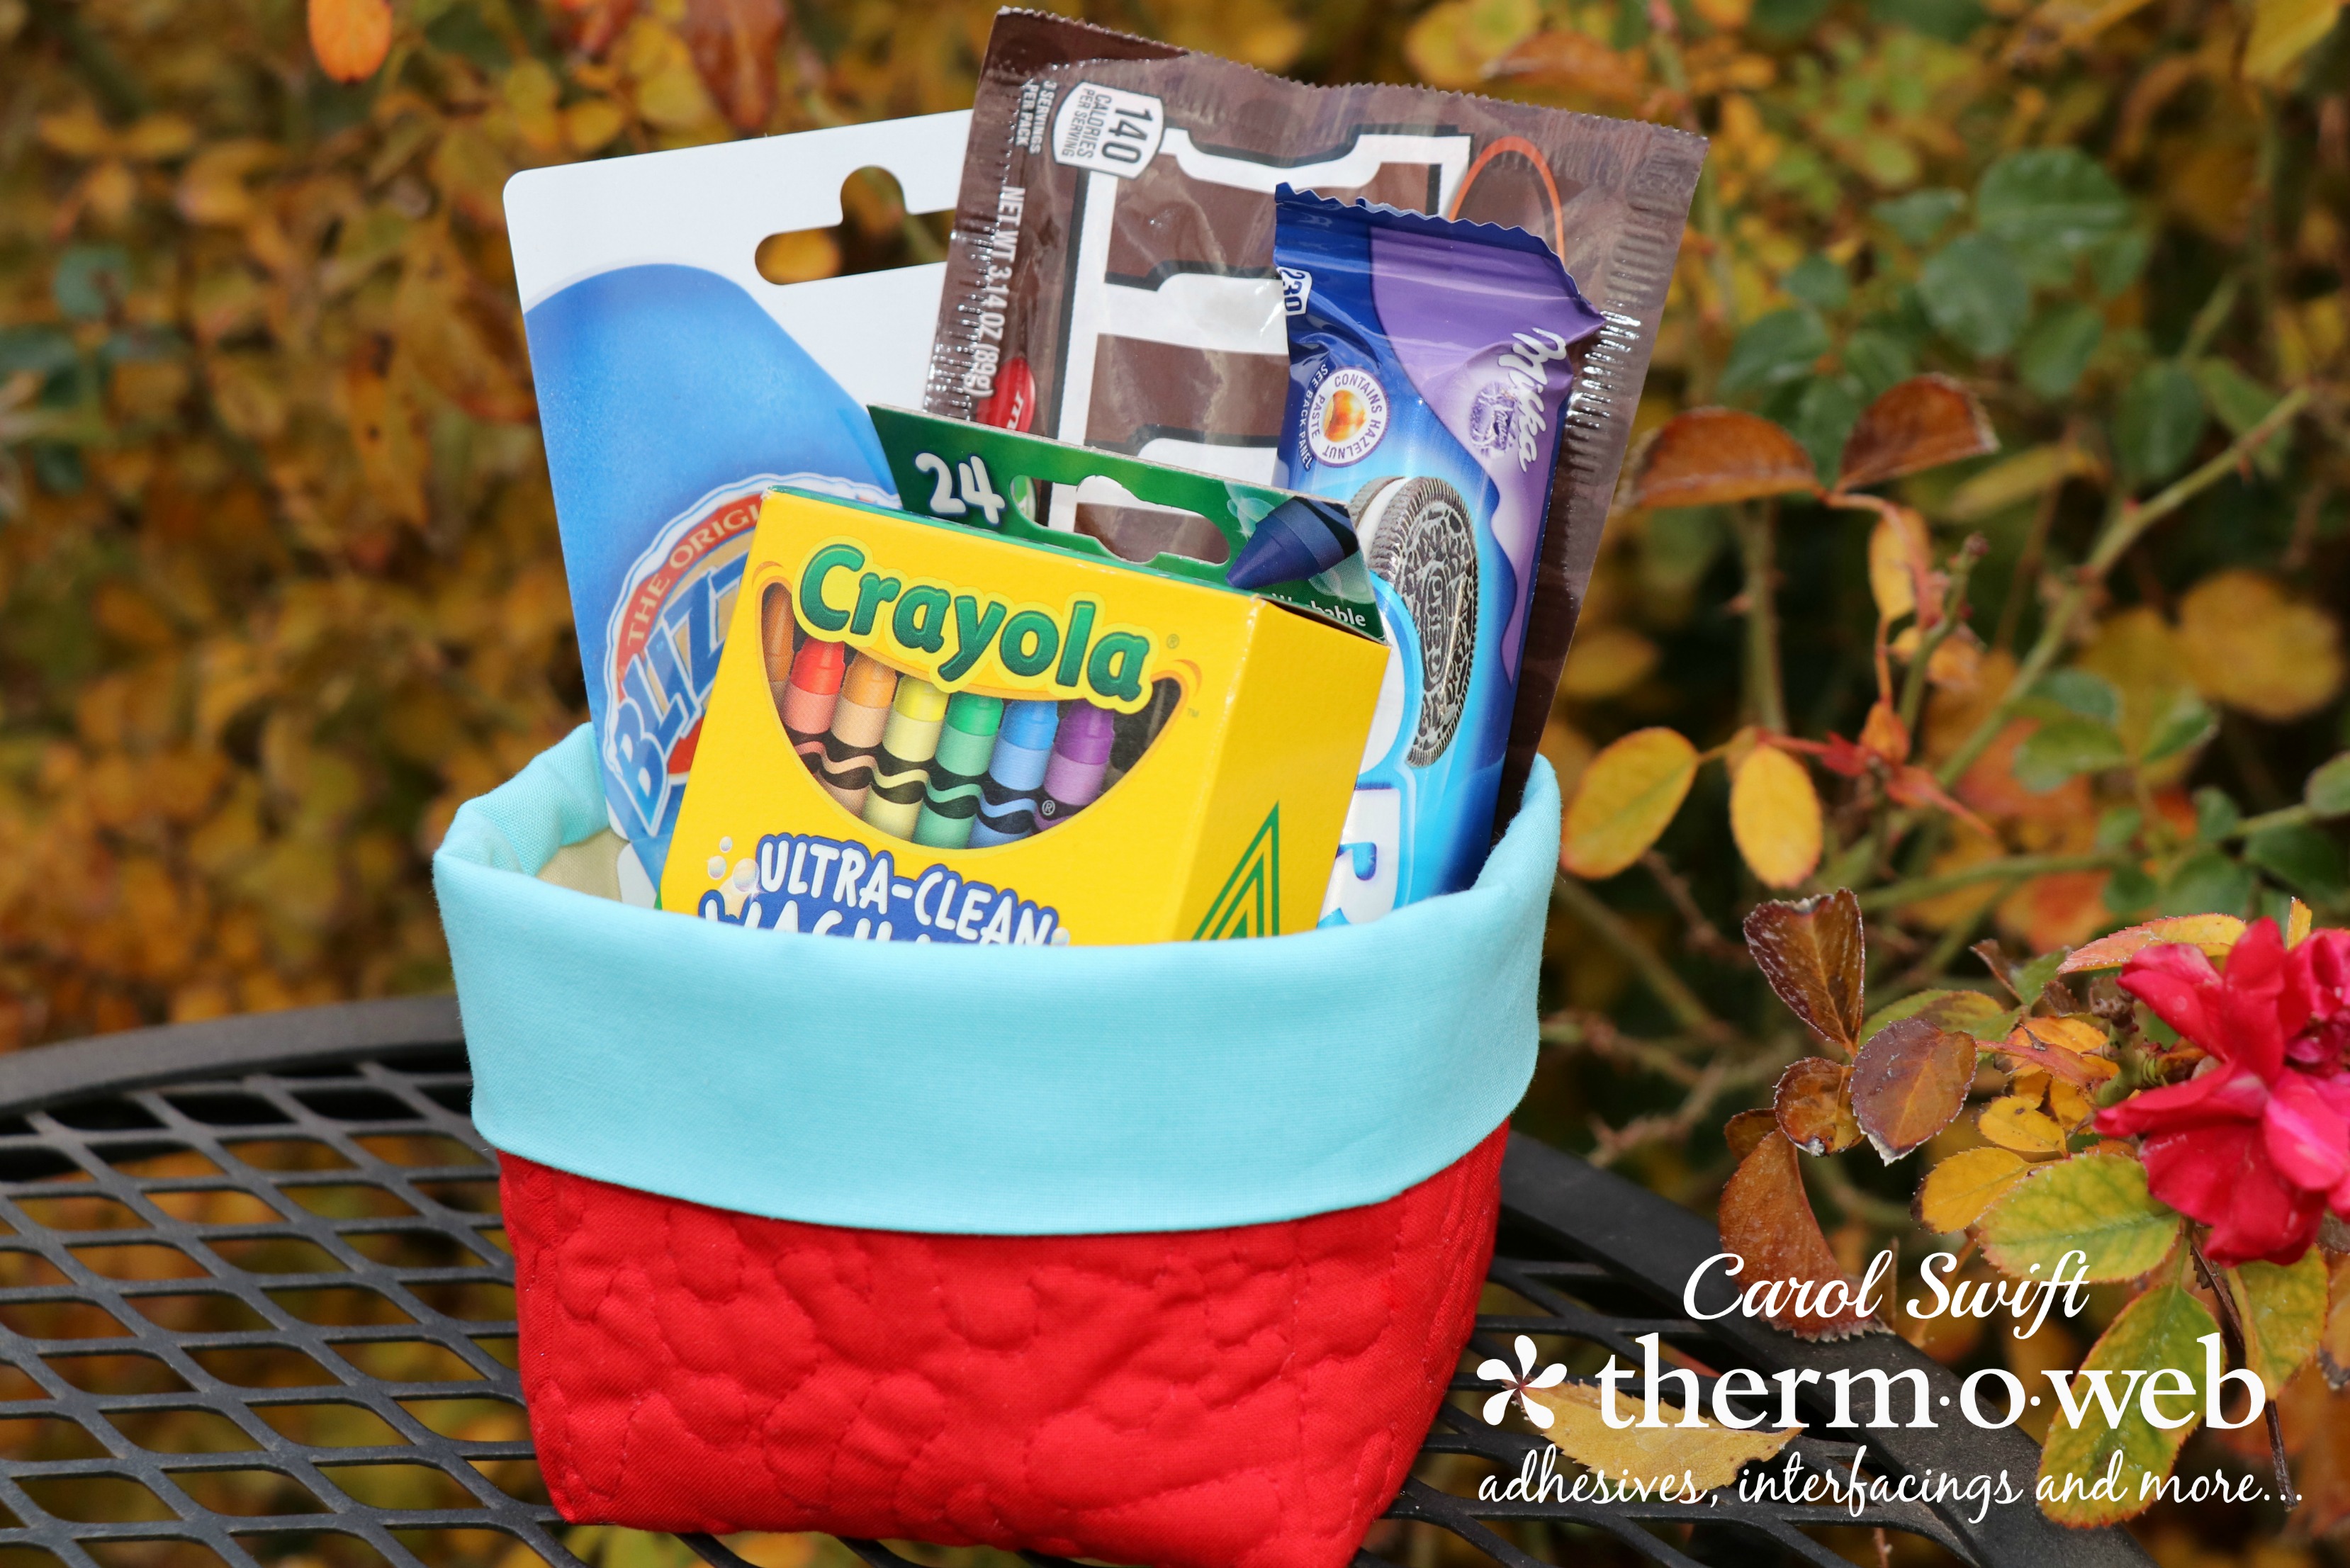
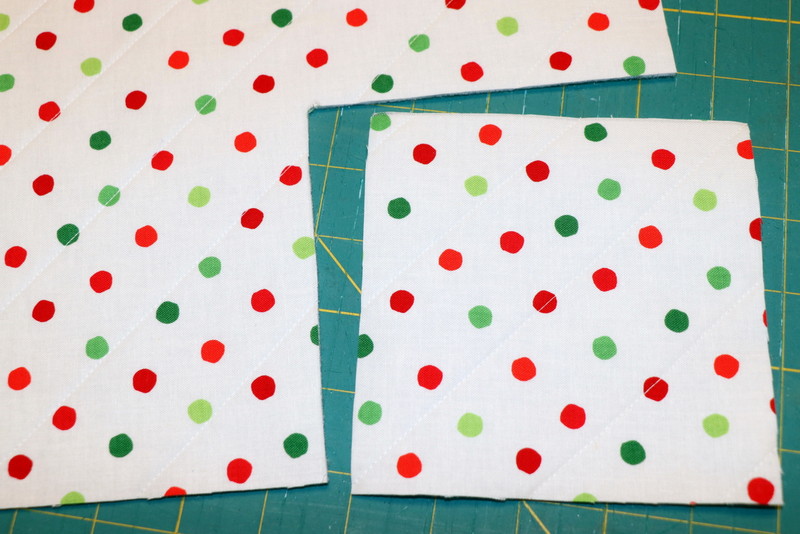
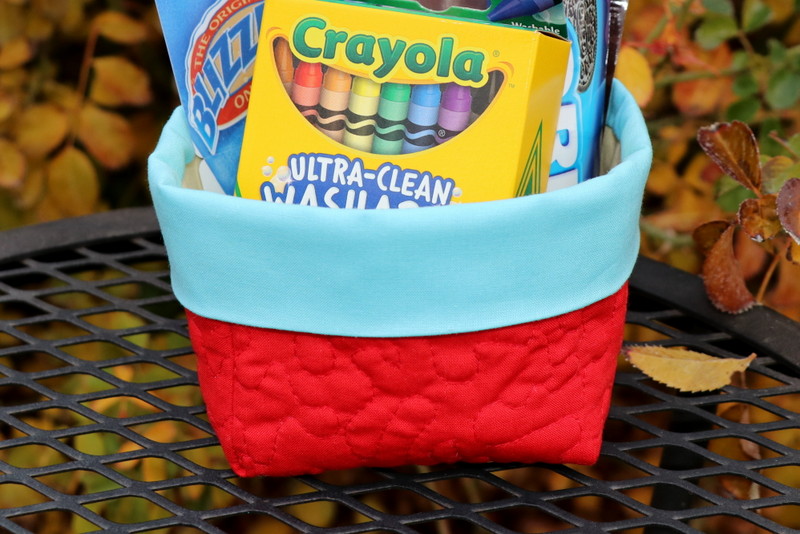
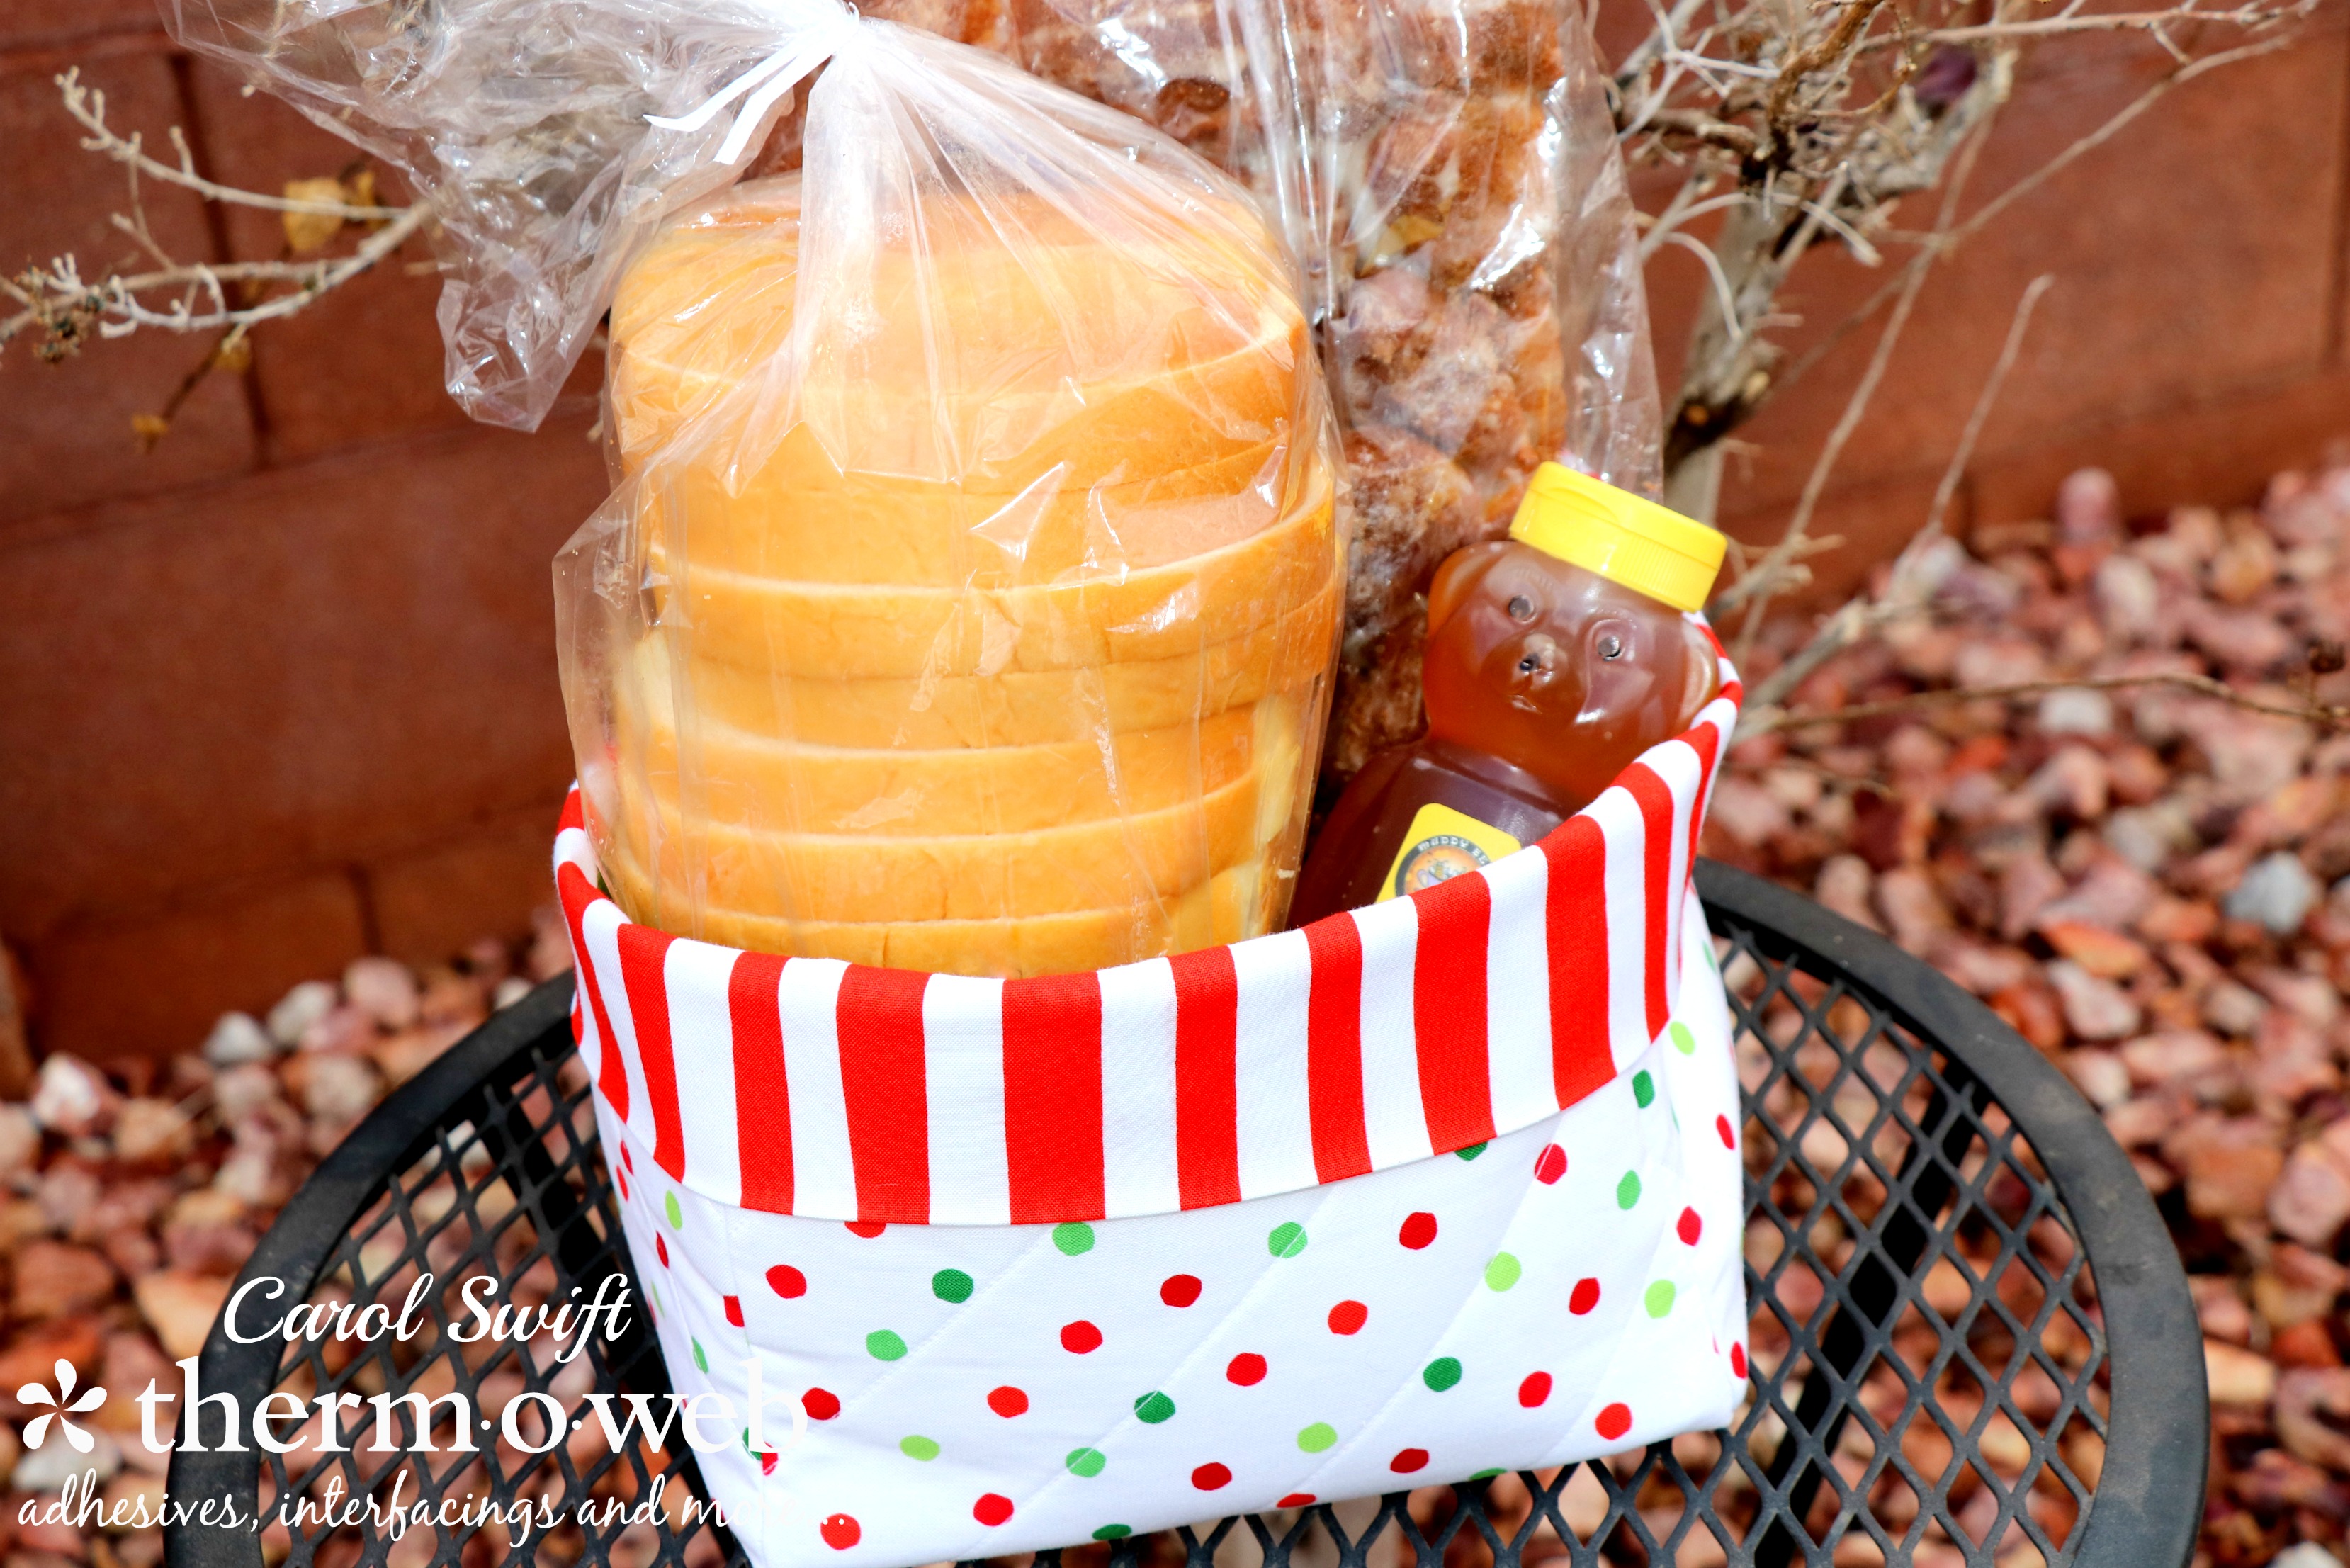 The 3 1/2" x 3 1/2" gift basket would be a fun way to give a gift to child or teenager, and would be a nice gift for them to take to a birthday party. Fill it with some candy, crayons, and a gift card and it can be slipped into a see-through or paper bag. The solid colored fabrics are from Michael Miller Fabrics...soft, vibrant, and are a wonderful quality!
 Cutting instructions for 7½” square basket: Fabric needed - 1/2 yard outer fabric, 1/2 yard lining fabric, 1/4 yard fabric for basket trim
Cut 1 – 19” x 19” outer fabric (extra allows for quilting shrinkage)
Cut 1 – 18” x 18” fabric lining
Cut 1 – 19” x 19” *Heat n Bond Fleece Fusible High Loft
Cut 1 – 6” x 30½” basket trim fabric
Cut 2 – 7½” x 8½” basket base
Cut 1 – 7½” x 7½” cardboard square, basket base
Cutting instructions for 3½” square basket: Fabric needed – three different color fat quarters
Cut 1 – 10” x 10” outer fabric (extra allows for quilting shrinkage)
Cut 1 – 9” x 9” fabric lining
Cut 1 – 10” x 10” Heat n Bond Fleece Fusible High Loft
Cut 1 – 4” x 14½” basket trim fabric
Cut 2 – 3½” x 4½” basket base
Cut 1 – 3½” x 3½” cardboard square, basket base
Cutting instructions for 7½” square basket: Fabric needed - 1/2 yard outer fabric, 1/2 yard lining fabric, 1/4 yard fabric for basket trim
Cut 1 – 19” x 19” outer fabric (extra allows for quilting shrinkage)
Cut 1 – 18” x 18” fabric lining
Cut 1 – 19” x 19” *Heat n Bond Fleece Fusible High Loft
Cut 1 – 6” x 30½” basket trim fabric
Cut 2 – 7½” x 8½” basket base
Cut 1 – 7½” x 7½” cardboard square, basket base
Cutting instructions for 3½” square basket: Fabric needed – three different color fat quarters
Cut 1 – 10” x 10” outer fabric (extra allows for quilting shrinkage)
Cut 1 – 9” x 9” fabric lining
Cut 1 – 10” x 10” Heat n Bond Fleece Fusible High Loft
Cut 1 – 4” x 14½” basket trim fabric
Cut 2 – 3½” x 4½” basket base
Cut 1 – 3½” x 3½” cardboard square, basket base
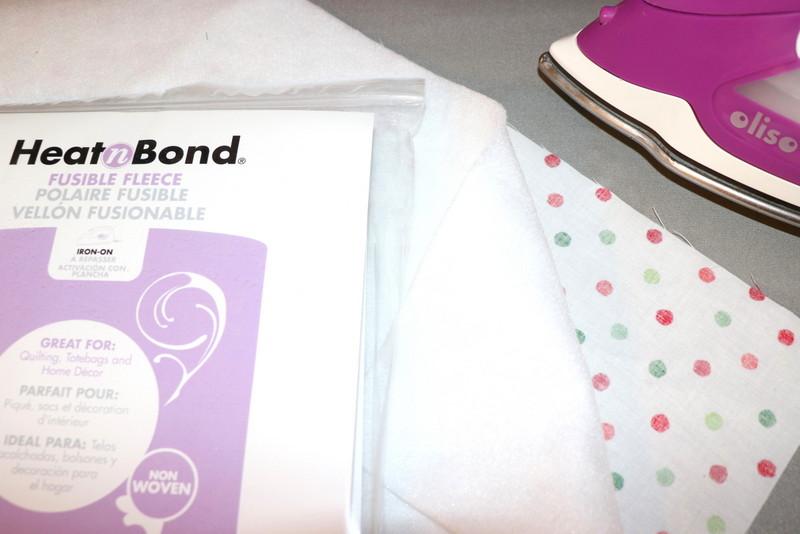 Step 2: Quilt straight lines or other design on the right side of the outer fabric with iron-on fleece.
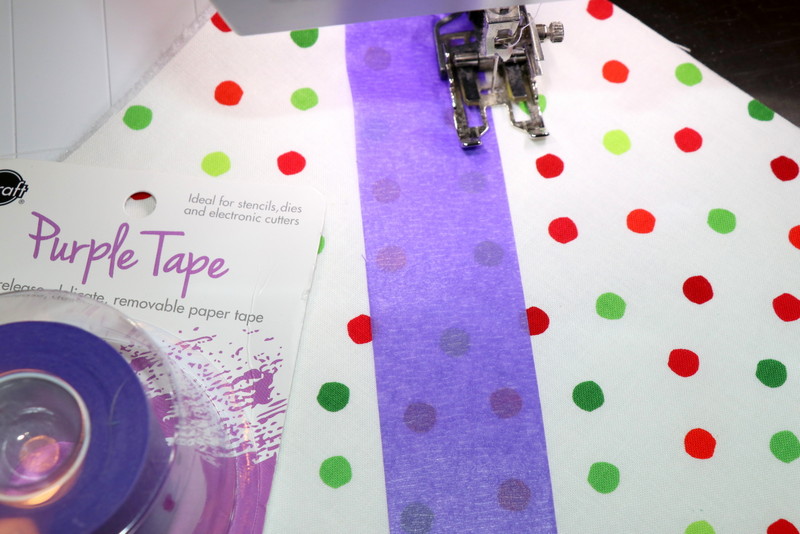
*Tip for the larger basket: Use Purple Tape to quilt lines on your quilts. Lay the tape in a straight line on the right side of the fabric and then sew along both sides of the tape. Pick up the tape and line it up on the side of a sewn line. Stitch along the tape again. Continue moving the tape until the fabric is quilted. Tape easily moves and does not leave any sticky residue.
Step 2: Quilt straight lines or other design on the right side of the outer fabric with iron-on fleece.
*Tip for the larger basket: Use Purple Tape to quilt lines on your quilts. Lay the tape in a straight line on the right side of the fabric and then sew along both sides of the tape. Pick up the tape and line it up on the side of a sewn line. Stitch along the tape again. Continue moving the tape until the fabric is quilted. Tape easily moves and does not leave any sticky residue.
 Step 3: Trim quilted fabric to 18” x 18” square for 7½” basket. Trim quilted fabric to 9” x 9” for 3½” x 3½” basket.
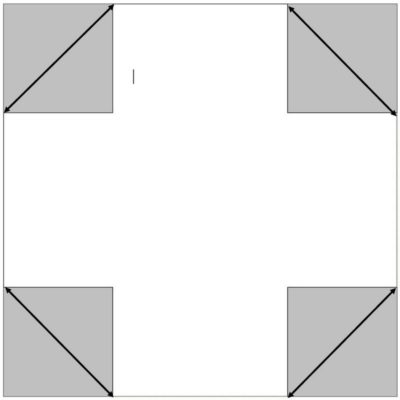
Step 4: Cut a 5” x 5” square out of each corner of 18” x 18” outer fabric and lining. Cut a 2½” x 2½” square out of 9” x 9” outer fabric and lining
Step 3: Trim quilted fabric to 18” x 18” square for 7½” basket. Trim quilted fabric to 9” x 9” for 3½” x 3½” basket.
Step 4: Cut a 5” x 5” square out of each corner of 18” x 18” outer fabric and lining. Cut a 2½” x 2½” square out of 9” x 9” outer fabric and lining
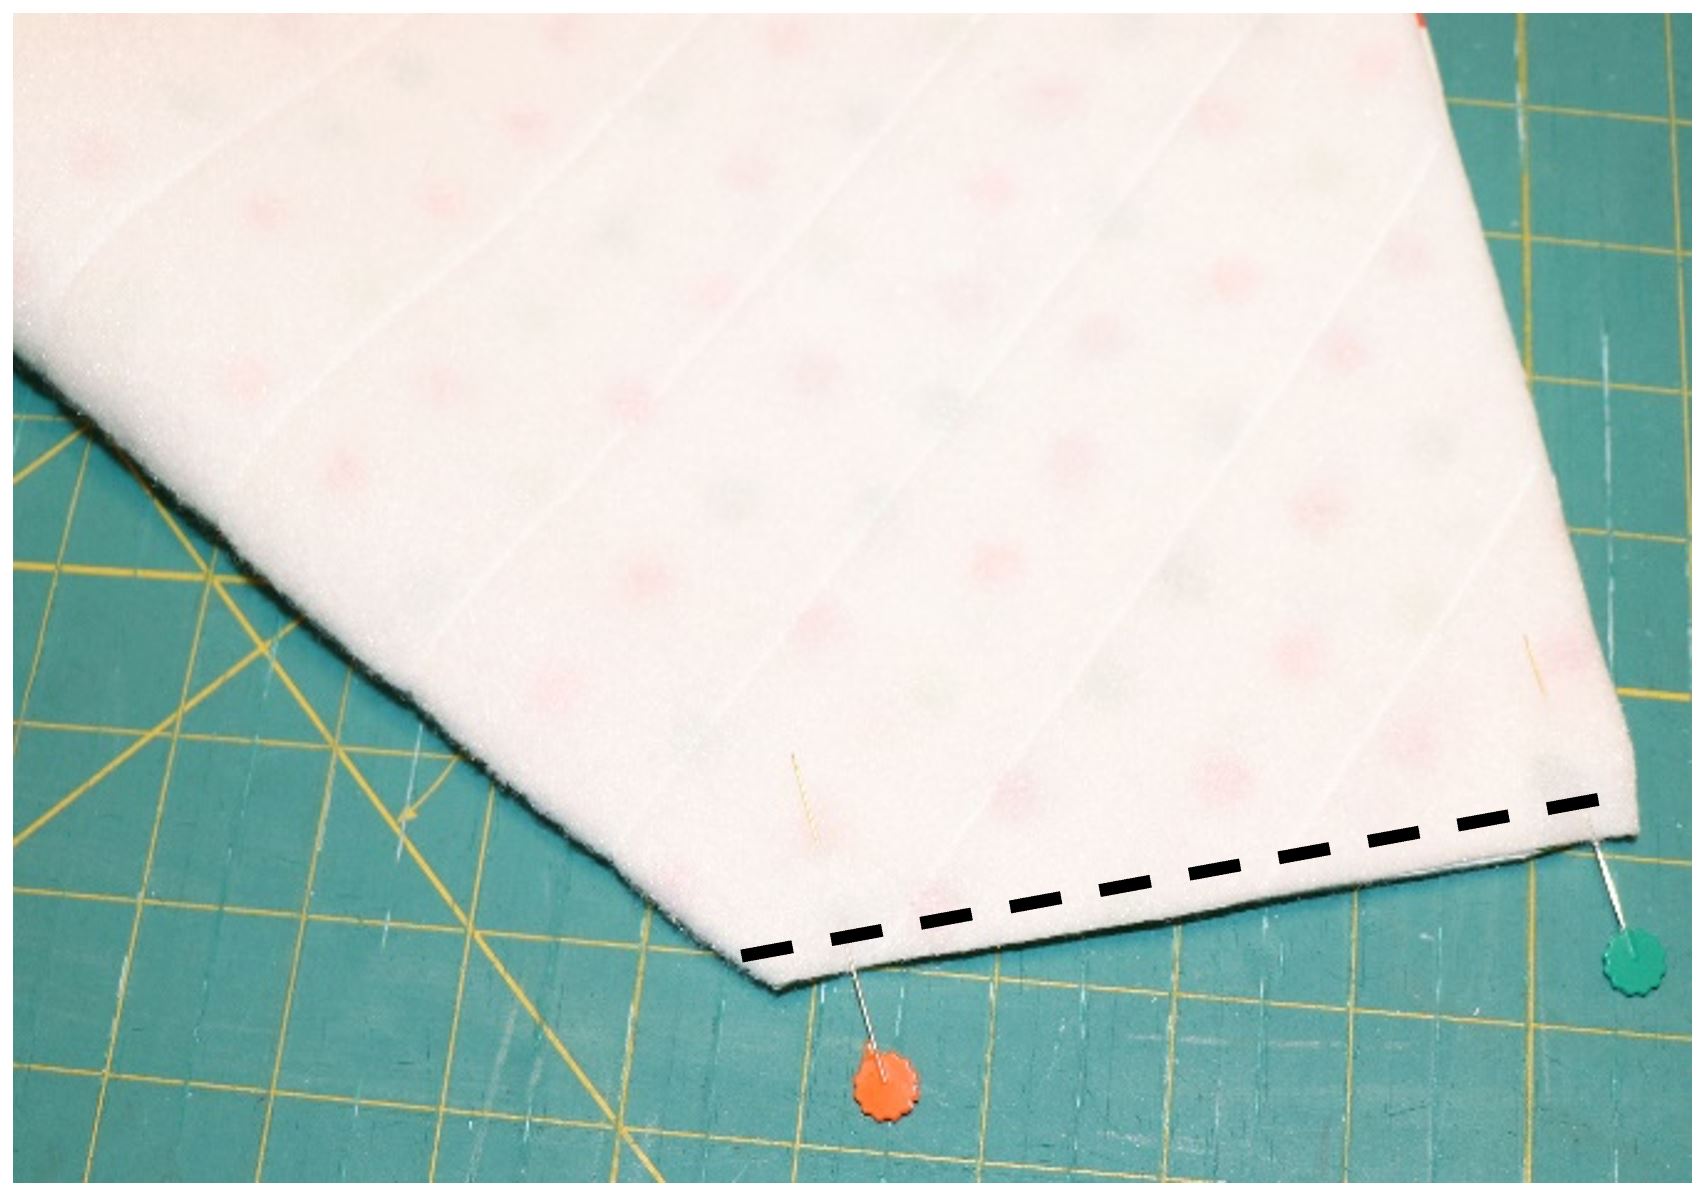
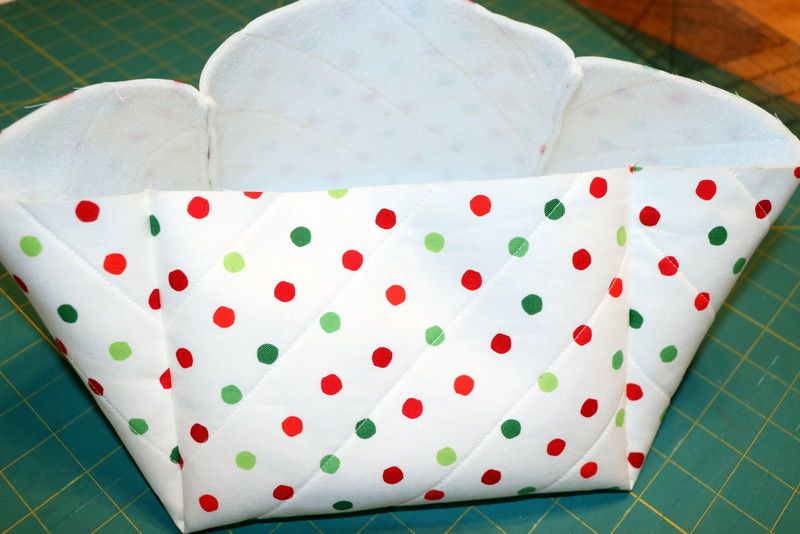
 Step 5: Fold cut out corners of outer fabric, right sides together, as shown by arrows; pin. Sew 1/4” from the edge. Turn right side out. Repeat with lining, but do not turn inside out.
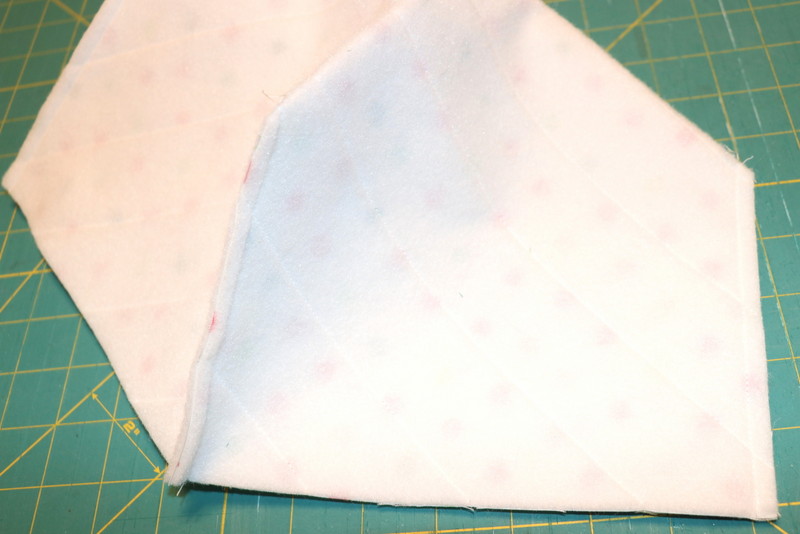
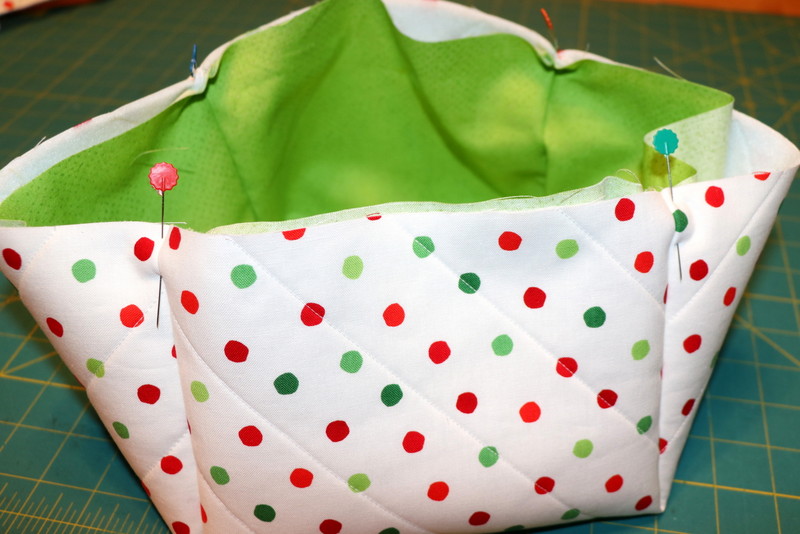
 Step 6: Place lining inside the outer basket, wrong sides together. Pin top edges together matching seams and baste 1/4" from raw edges.
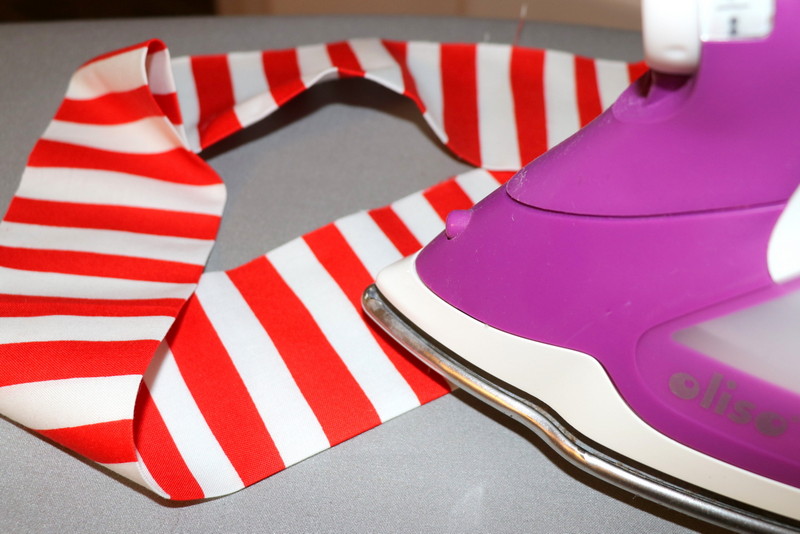
 Step 7: With right sides together, sew short ends of basket trim fabric creating a circle. Press seam open. Fold in half with wrong sides together and press folded edge.
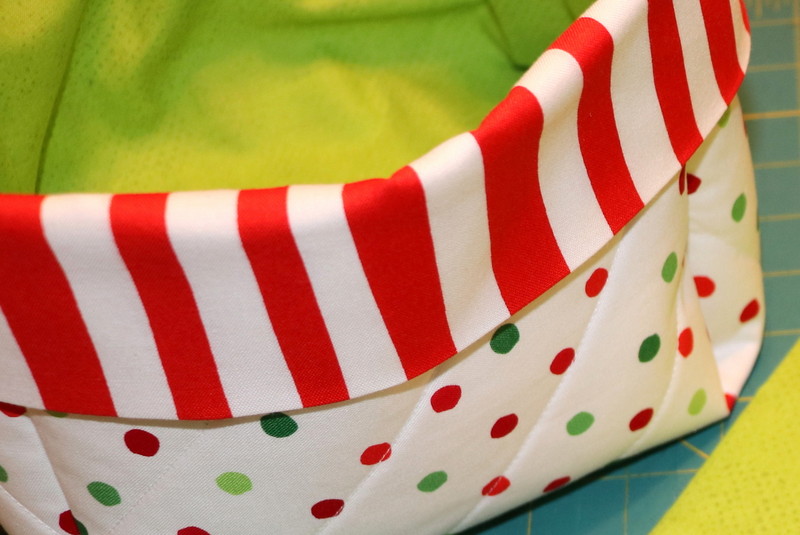
 Step 8: Pin basket trim fabric, raw edges together, to inside of the basket. Sew 1/4" from raw edges. Flip basket trim over to the outside of basket; press fold. *The basket trim will seem larger…pull slightly on the basket as you sew trim to it, easing it together.
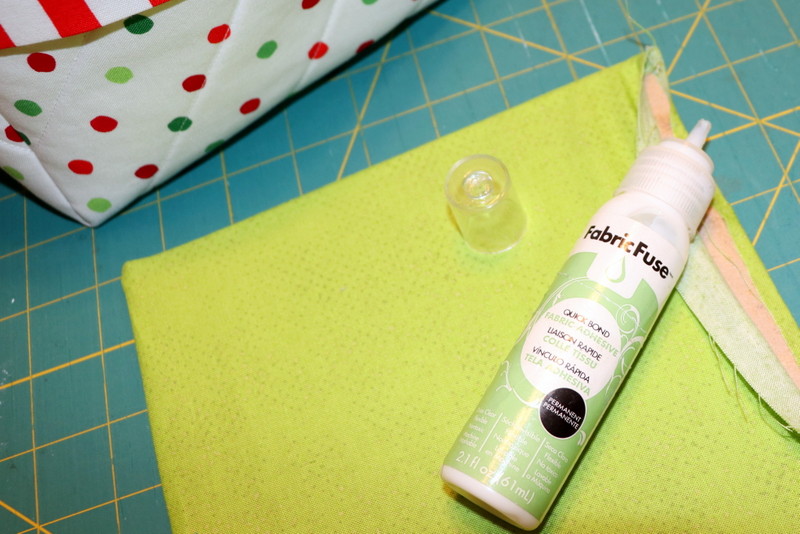
 Step 9: Sew basket base fabric, right sides together around three edges; leave one short end open. Turn inside out and press. Slide cardboard square into the open end. Spread a small amount of Fabric Fuse Adhesive along open ends of fabric; tuck in ends; let dry. Insert in basket bottom.
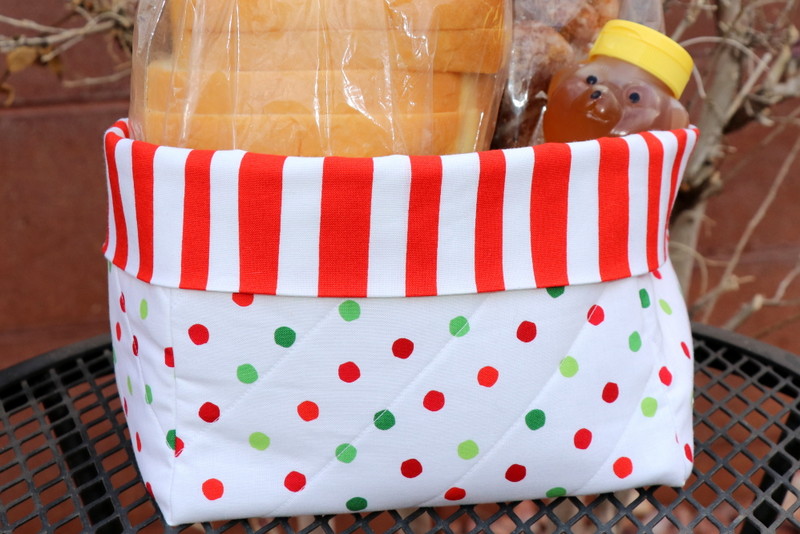
 The ideas for filling these baskets are endless...have fun and make a lot of them like I'm going to!
Written by Carol Swift