No Products in the Cart
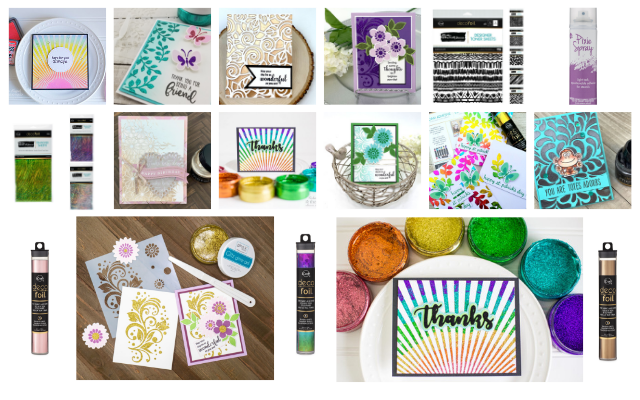 Today, Katrina Hunt has a stunning layout to share that features our Deco Foil Metallix and New Color of Deco Foil Transfer Sheets!
 It's Katrina from Paper, Scissors and Glue on the blog today to show you how amazingly easy the new Deco Foil Metallix is to use and add some shine and fun to your projects!
Therm O Web Supplies Used:
Deco Foil Foam Adhesive Sheets
Therm O Web Memory Runner XL
Therm O Web 3D Foam Squares-1/2 inch
iCraft Deco Foil Metallix - Gold
Deco Foil Transfer Sheets - Pink Quartz
Deco Foil Stencil Pal
iCraft Purple Tape-1.5 inch
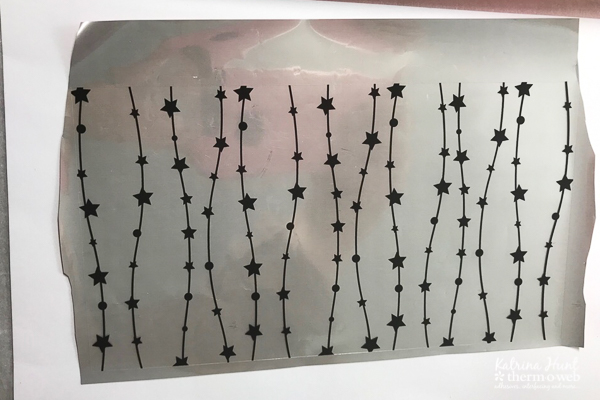
Deco Foil Clear Toner Sheets - Starry Night
Foil Laminator-12 Inch
Other Supplies: Pattern Paper Collection-Jillibean Soup; Stencil-Crafter's Workshop; Twine-The Twinery; Doily-Doodlebug Design
It's Katrina from Paper, Scissors and Glue on the blog today to show you how amazingly easy the new Deco Foil Metallix is to use and add some shine and fun to your projects!
Therm O Web Supplies Used:
Deco Foil Foam Adhesive Sheets
Therm O Web Memory Runner XL
Therm O Web 3D Foam Squares-1/2 inch
iCraft Deco Foil Metallix - Gold
Deco Foil Transfer Sheets - Pink Quartz
Deco Foil Stencil Pal
iCraft Purple Tape-1.5 inch
Deco Foil Clear Toner Sheets - Starry Night
Foil Laminator-12 Inch
Other Supplies: Pattern Paper Collection-Jillibean Soup; Stencil-Crafter's Workshop; Twine-The Twinery; Doily-Doodlebug Design
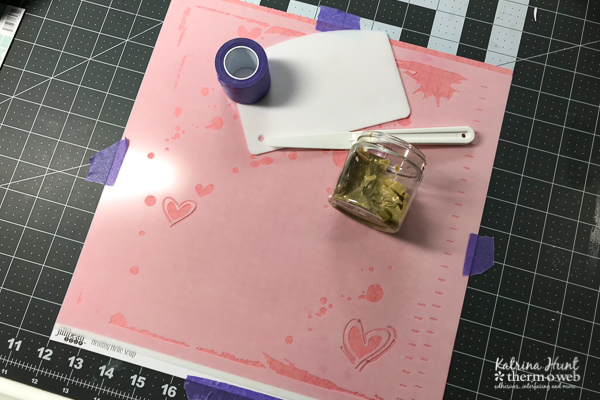 Using a palette knife place the Metallix on the open area of the stencil and smooth on (we're not kidding when we say it is buttery smooth!) with the new Stencil Pal. This new tool covers a lot more area when you are spreading your product around and allows you to get full coverage making it quicker and easier to complete your project. As soon as you are happy with the areas you want to be covered, remove your stencil and wash it and the Stencil Pal with some water and you are good to go for next time! Now let the Metallix dry, it took mine about an hour, times will vary on drying depending on your climate and house temps.
Meanwhile, work on laminating your Deco Foil Clear Toner Sheet with the color of foil you choose. Layout uses the new Pink Quartz color. Don't be afraid to usual unusual colors with the clear toner sheets, They can create a really fun background that you might not have thought of!
Using a palette knife place the Metallix on the open area of the stencil and smooth on (we're not kidding when we say it is buttery smooth!) with the new Stencil Pal. This new tool covers a lot more area when you are spreading your product around and allows you to get full coverage making it quicker and easier to complete your project. As soon as you are happy with the areas you want to be covered, remove your stencil and wash it and the Stencil Pal with some water and you are good to go for next time! Now let the Metallix dry, it took mine about an hour, times will vary on drying depending on your climate and house temps.
Meanwhile, work on laminating your Deco Foil Clear Toner Sheet with the color of foil you choose. Layout uses the new Pink Quartz color. Don't be afraid to usual unusual colors with the clear toner sheets, They can create a really fun background that you might not have thought of!
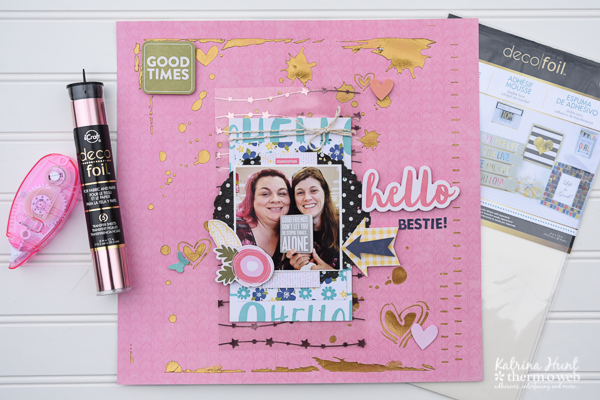
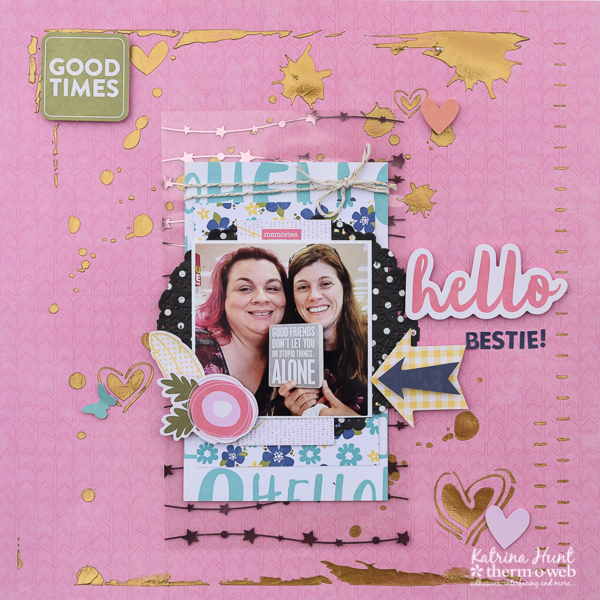
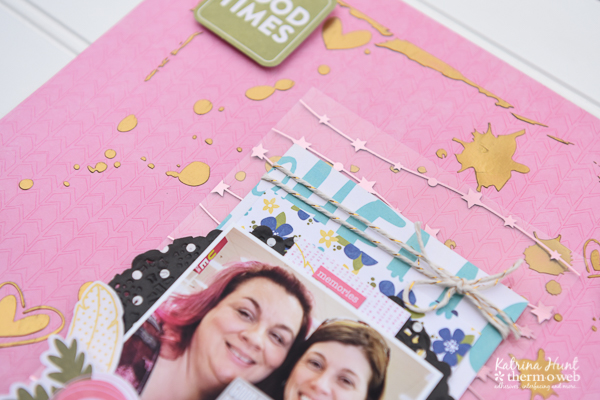
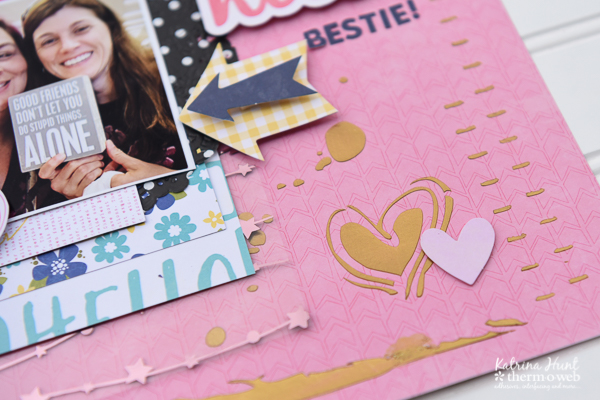
 The Pink Quartz Deco Foil Transfer Sheet just adds a subtle touch, while the Gold Metallix stands out on this layout.
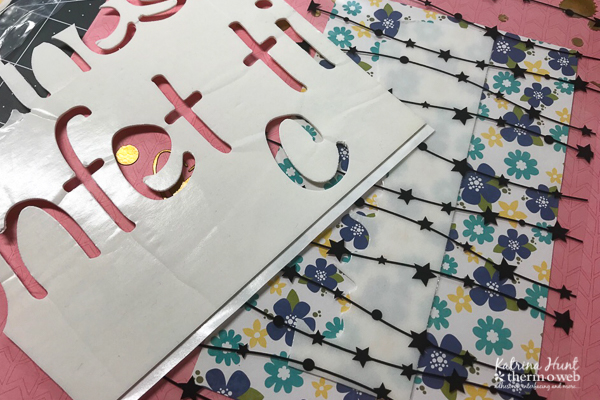
 To create layers behind your picture area use the various foam adhesives that Therm O Web has. Below, you can see that I used some Deco Foil Foam Adhesive scraps from a prior project for some of my layers.
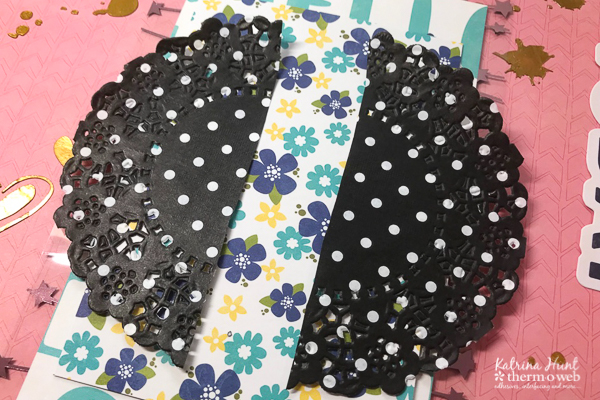
 If you have an item you want to use that isn't quite big enough, you can always cut it in half, like the doily below. The goal was to have it show on the sides the picture and it was a little too small. Cutting in half and "covering" the cut is the perfect way to make something work!
 Thanks for stopping by the blog today! Have a great week!!