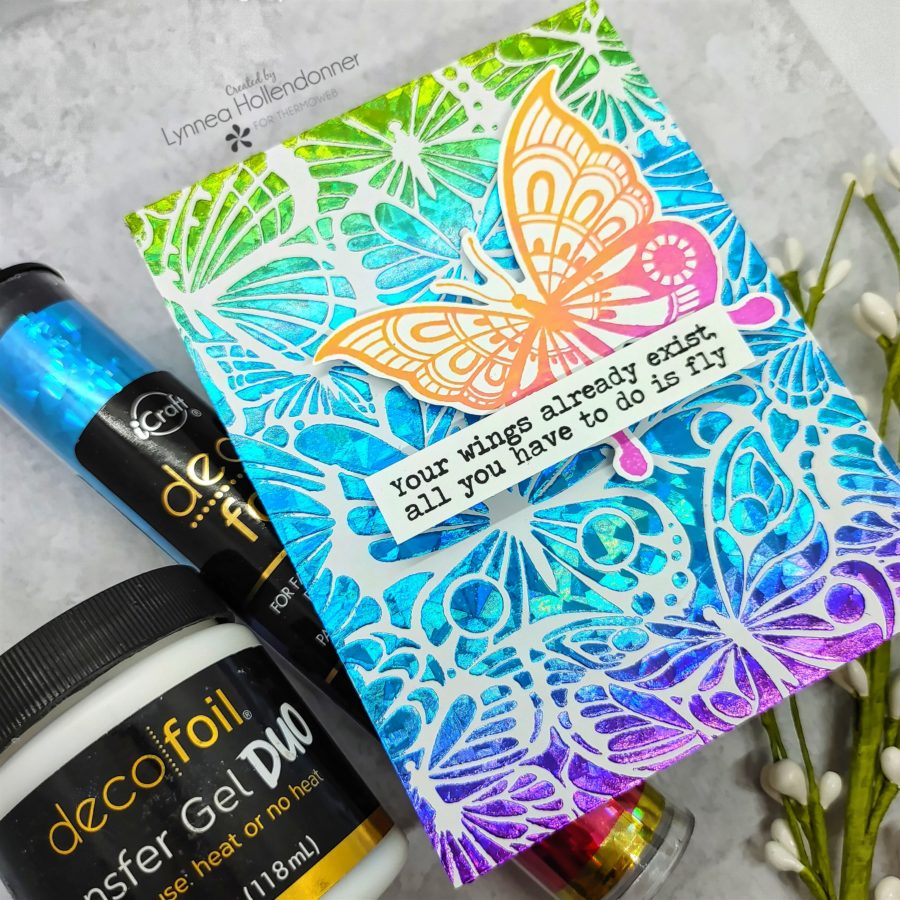
ThermOWeb and Sassy & Crafty recently teamed up with a collaboration between our two companies. Lynnea designs for both companies and shares two beautiful cards featuring Sassy & Crafty Stencils and Stamps and our Deco Foil Transfer Gel DUO and Foils! It's a perfect combination!
Sassy & Crafty Butterfly Cards with Deco Foil Transfer Gel DUO
https://youtu.be/1oAiX94l0XM
The magic of foiling never fades for me! I LOVE the results every single time! I grabbed the
Sassy & Crafty Butterfly Wings Stencil and went to work! I sprayed the back of the stencil with
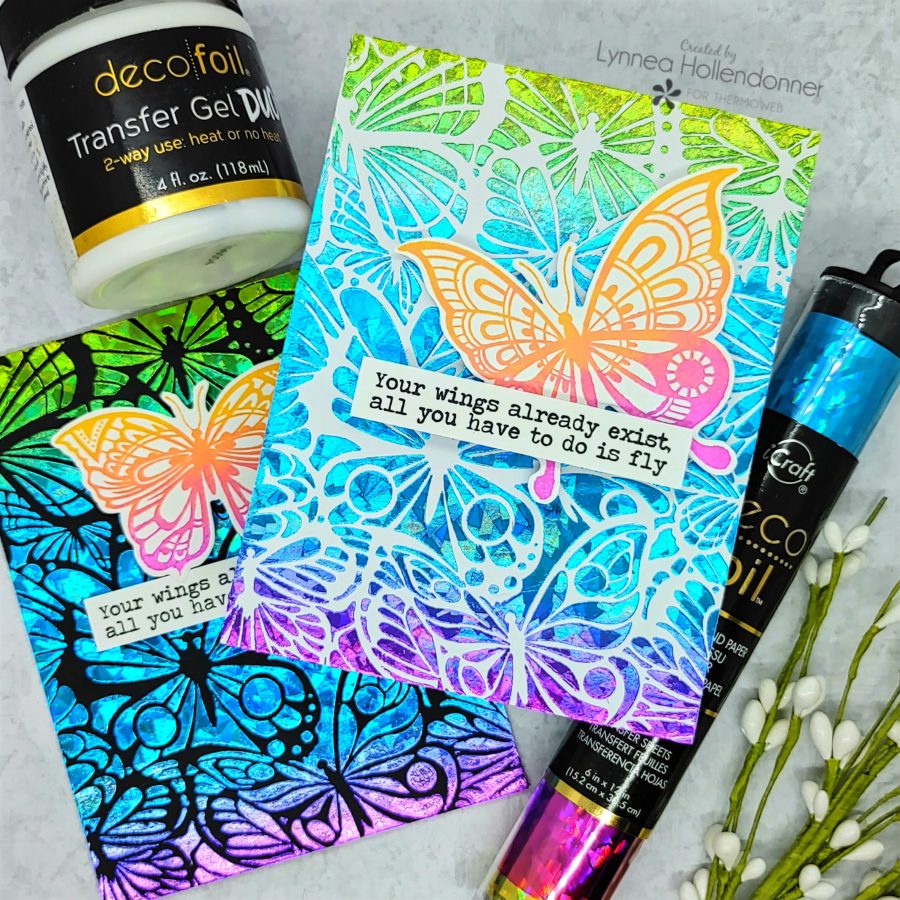
Pixie Spray so that none of those little details would shift while I worked. I decided to show off my favorite Deco Foil of all time -
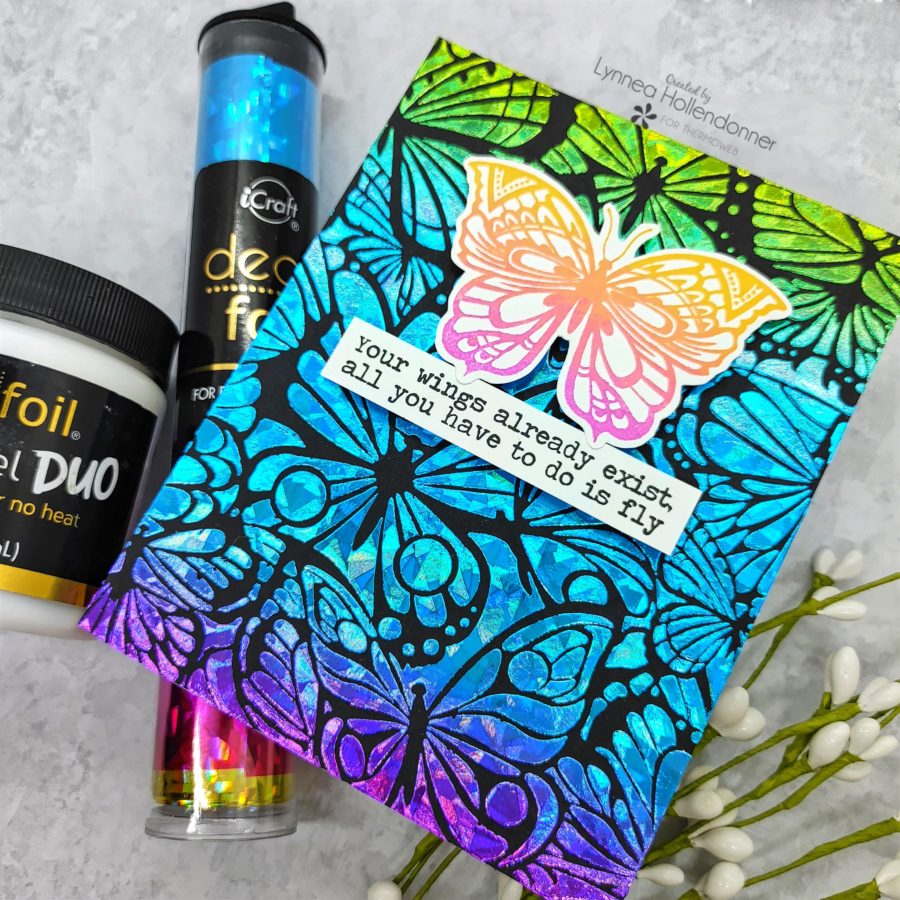
Rainbow Shattered Glass! - on both black and white cardstock.
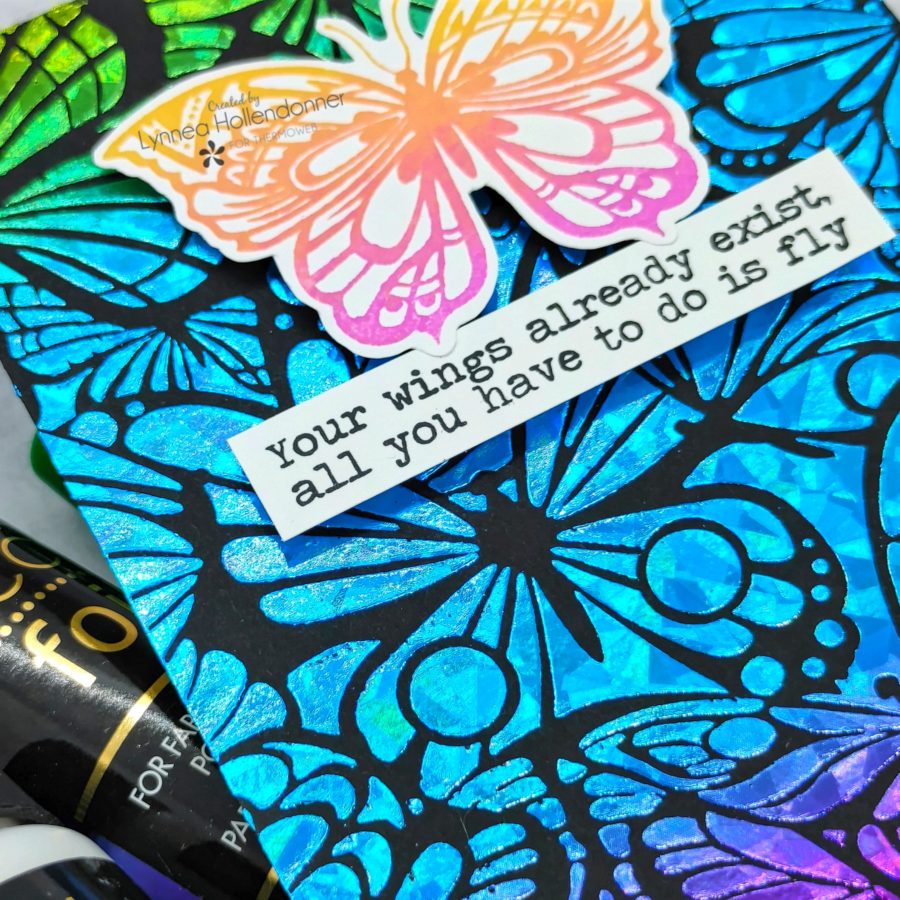
I pressed the
Butterfly Wings Stencil down onto a piece of cardstock and used my
Stencil Pal to spread
Deco Foil Transfer Gel DUO over the stencil in an even layer. I removed my stencil and placed it over my second piece of cardstock and repeated the process. These pieces take a few hours to dry, but I prefer to let them sit overnight to make sure they are fully dried.
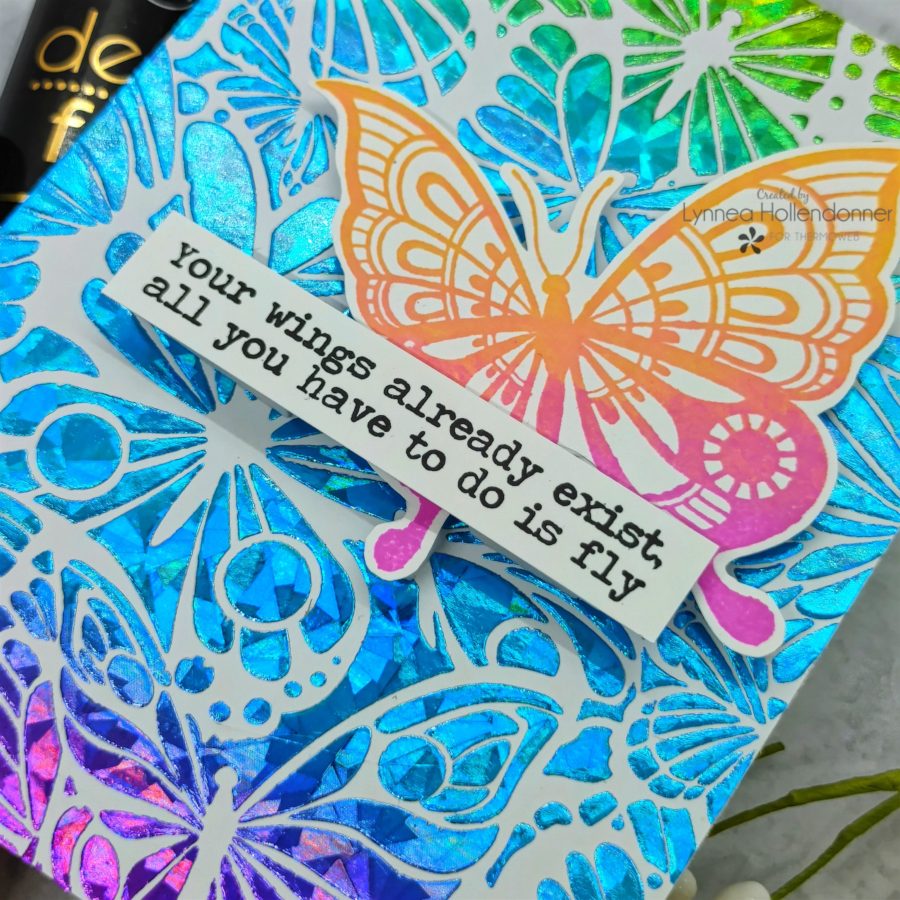
While the backgrounds dried I prepped the rest of my pieces. The
Sassy & Crafty Flutter By Butterfly Stamp Set pairs PERFECTLY with the stenciled backgrounds! I wasn't sure which ones I would use, so in the end I stamped all three and picked the ones that worked best with my design. I knew I would be using
Rainbow Shattered Glass Deco Foil on my backgrounds, so what's better than a rainbow butterfly?! I did a gradient inking technique using the
Catherine Pooler Date Night Ink Collection. I used
Catching Rays,
Do-Si-Do, and
Pucker Up. I LOVE how they turned out! And it was so easy to do!
You'll know the
Deco Foil Transfer Gel DUO is dry when it turns clear (instead of white) and is only slightly tacky. Let's add some foil! Because I used the
DUO Gel I have the choice of transferring foil with the heat and pressure from my laminator or just using pressure from my die cutting machine. I LOVE that! I chose to use my die cutting machine simply because it's easier for me. I cut a piece of
Rainbow Shattered Glass Deco Foil to be slightly larger than my background and placed it pretty side up onto my background. You want to make sure that the silver back side of the foil makes contact with your medium (whether thats gel, toner, or adhesive). I placed my foil and background into a typing paper carrier sheet and ran it through my die cutting machine. I slowly peeled back the foil backer and I had GORGEOUS foiled butterfly backgrounds!
This post contains affiliate links. For more information, see our disclosure
HERE.