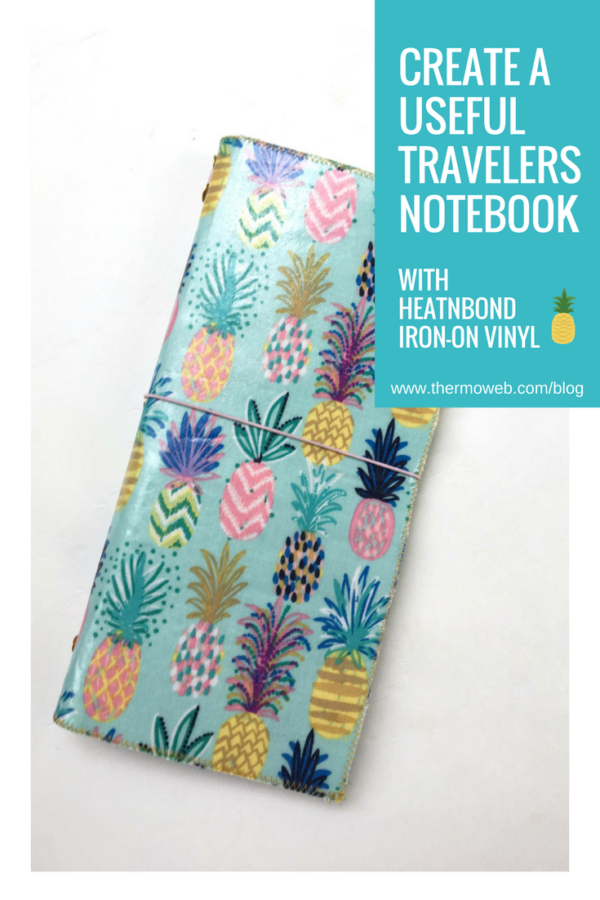
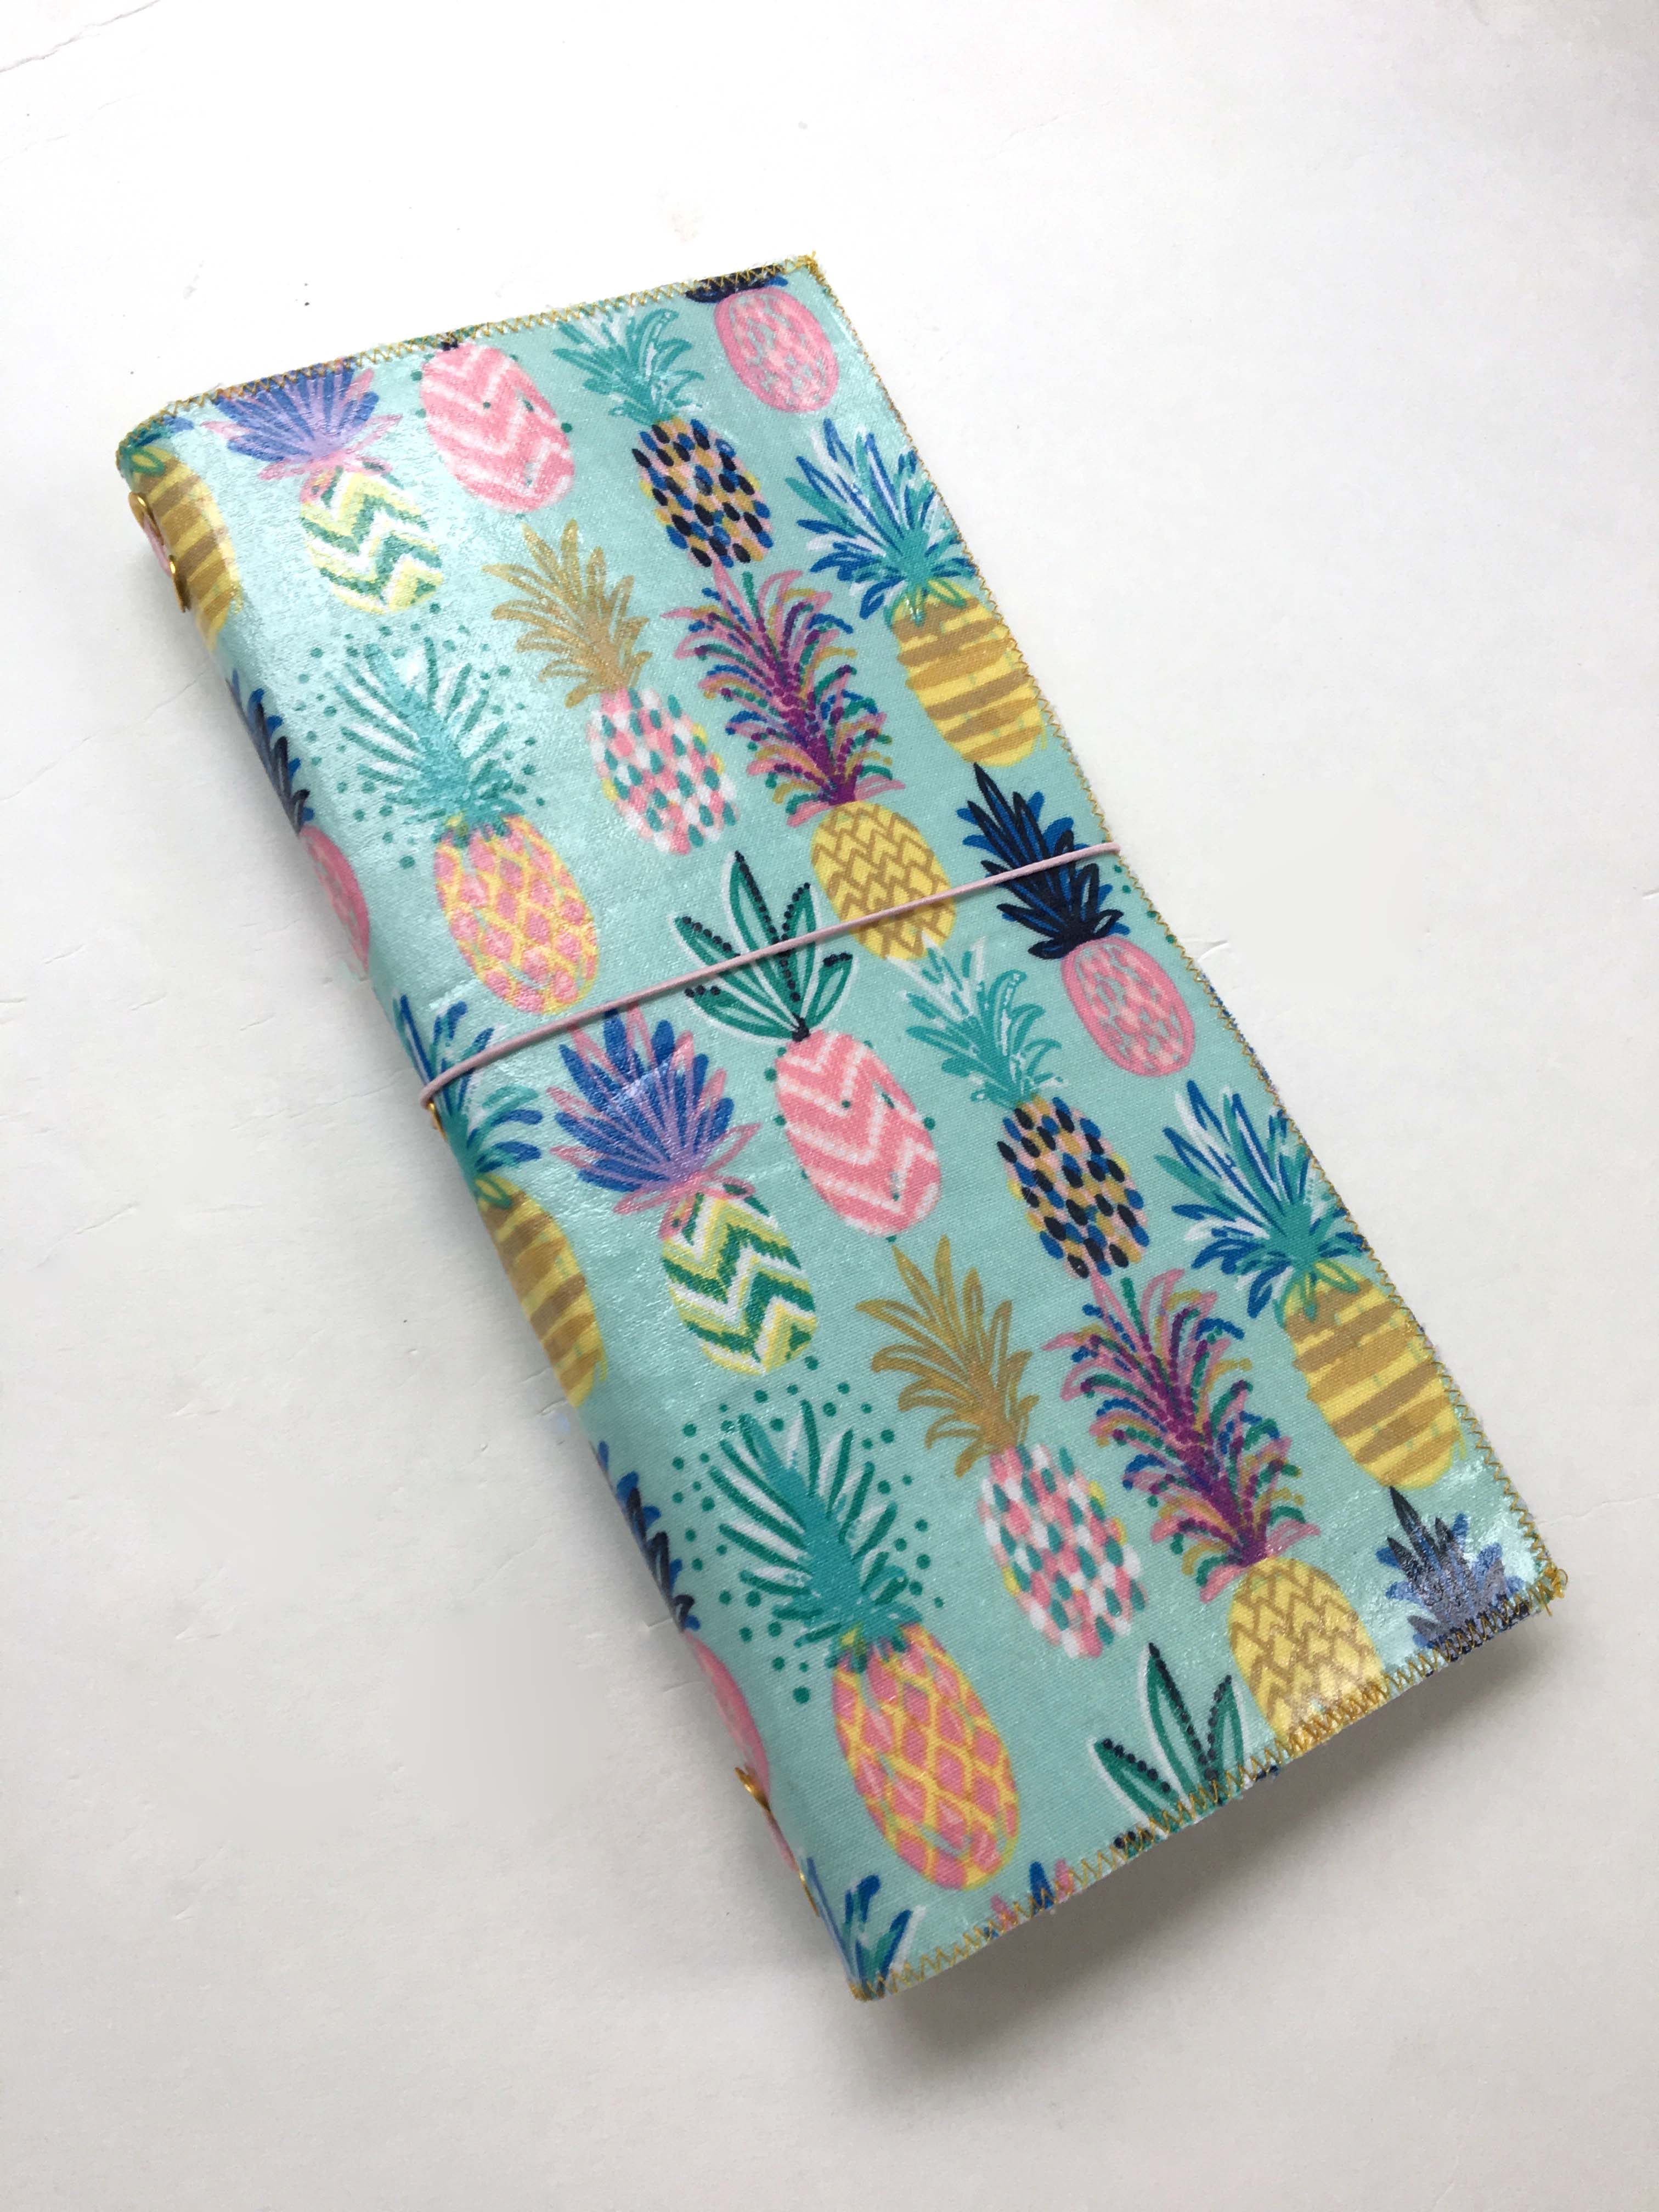
I have recently hopped on the "Traveler's Notebook" bandwagon and decided that there are so many great products from Therm O Web that I could use to make my own. I wanted my cover to be sturdy, so I decided using the HeatnBond® Iron-on Vinyl would be a great touch.
Materials for Notebook Cover:
Fabric for inner and out cover- cut two pieces 9 1/2" x 9 1/4" (folded book will be approximately 4 3/4" x 9 1/4") (pay attention to print direction!)
Fabric for inner pocket (optional)- 9 1/2" x 8". (pay attention to print direction!)
HeatnBond® Fusible Interfacing Xtra Firm-one piece 9 1/2" x 9 1/4"
HeatnBond® Iron-On Vinyl
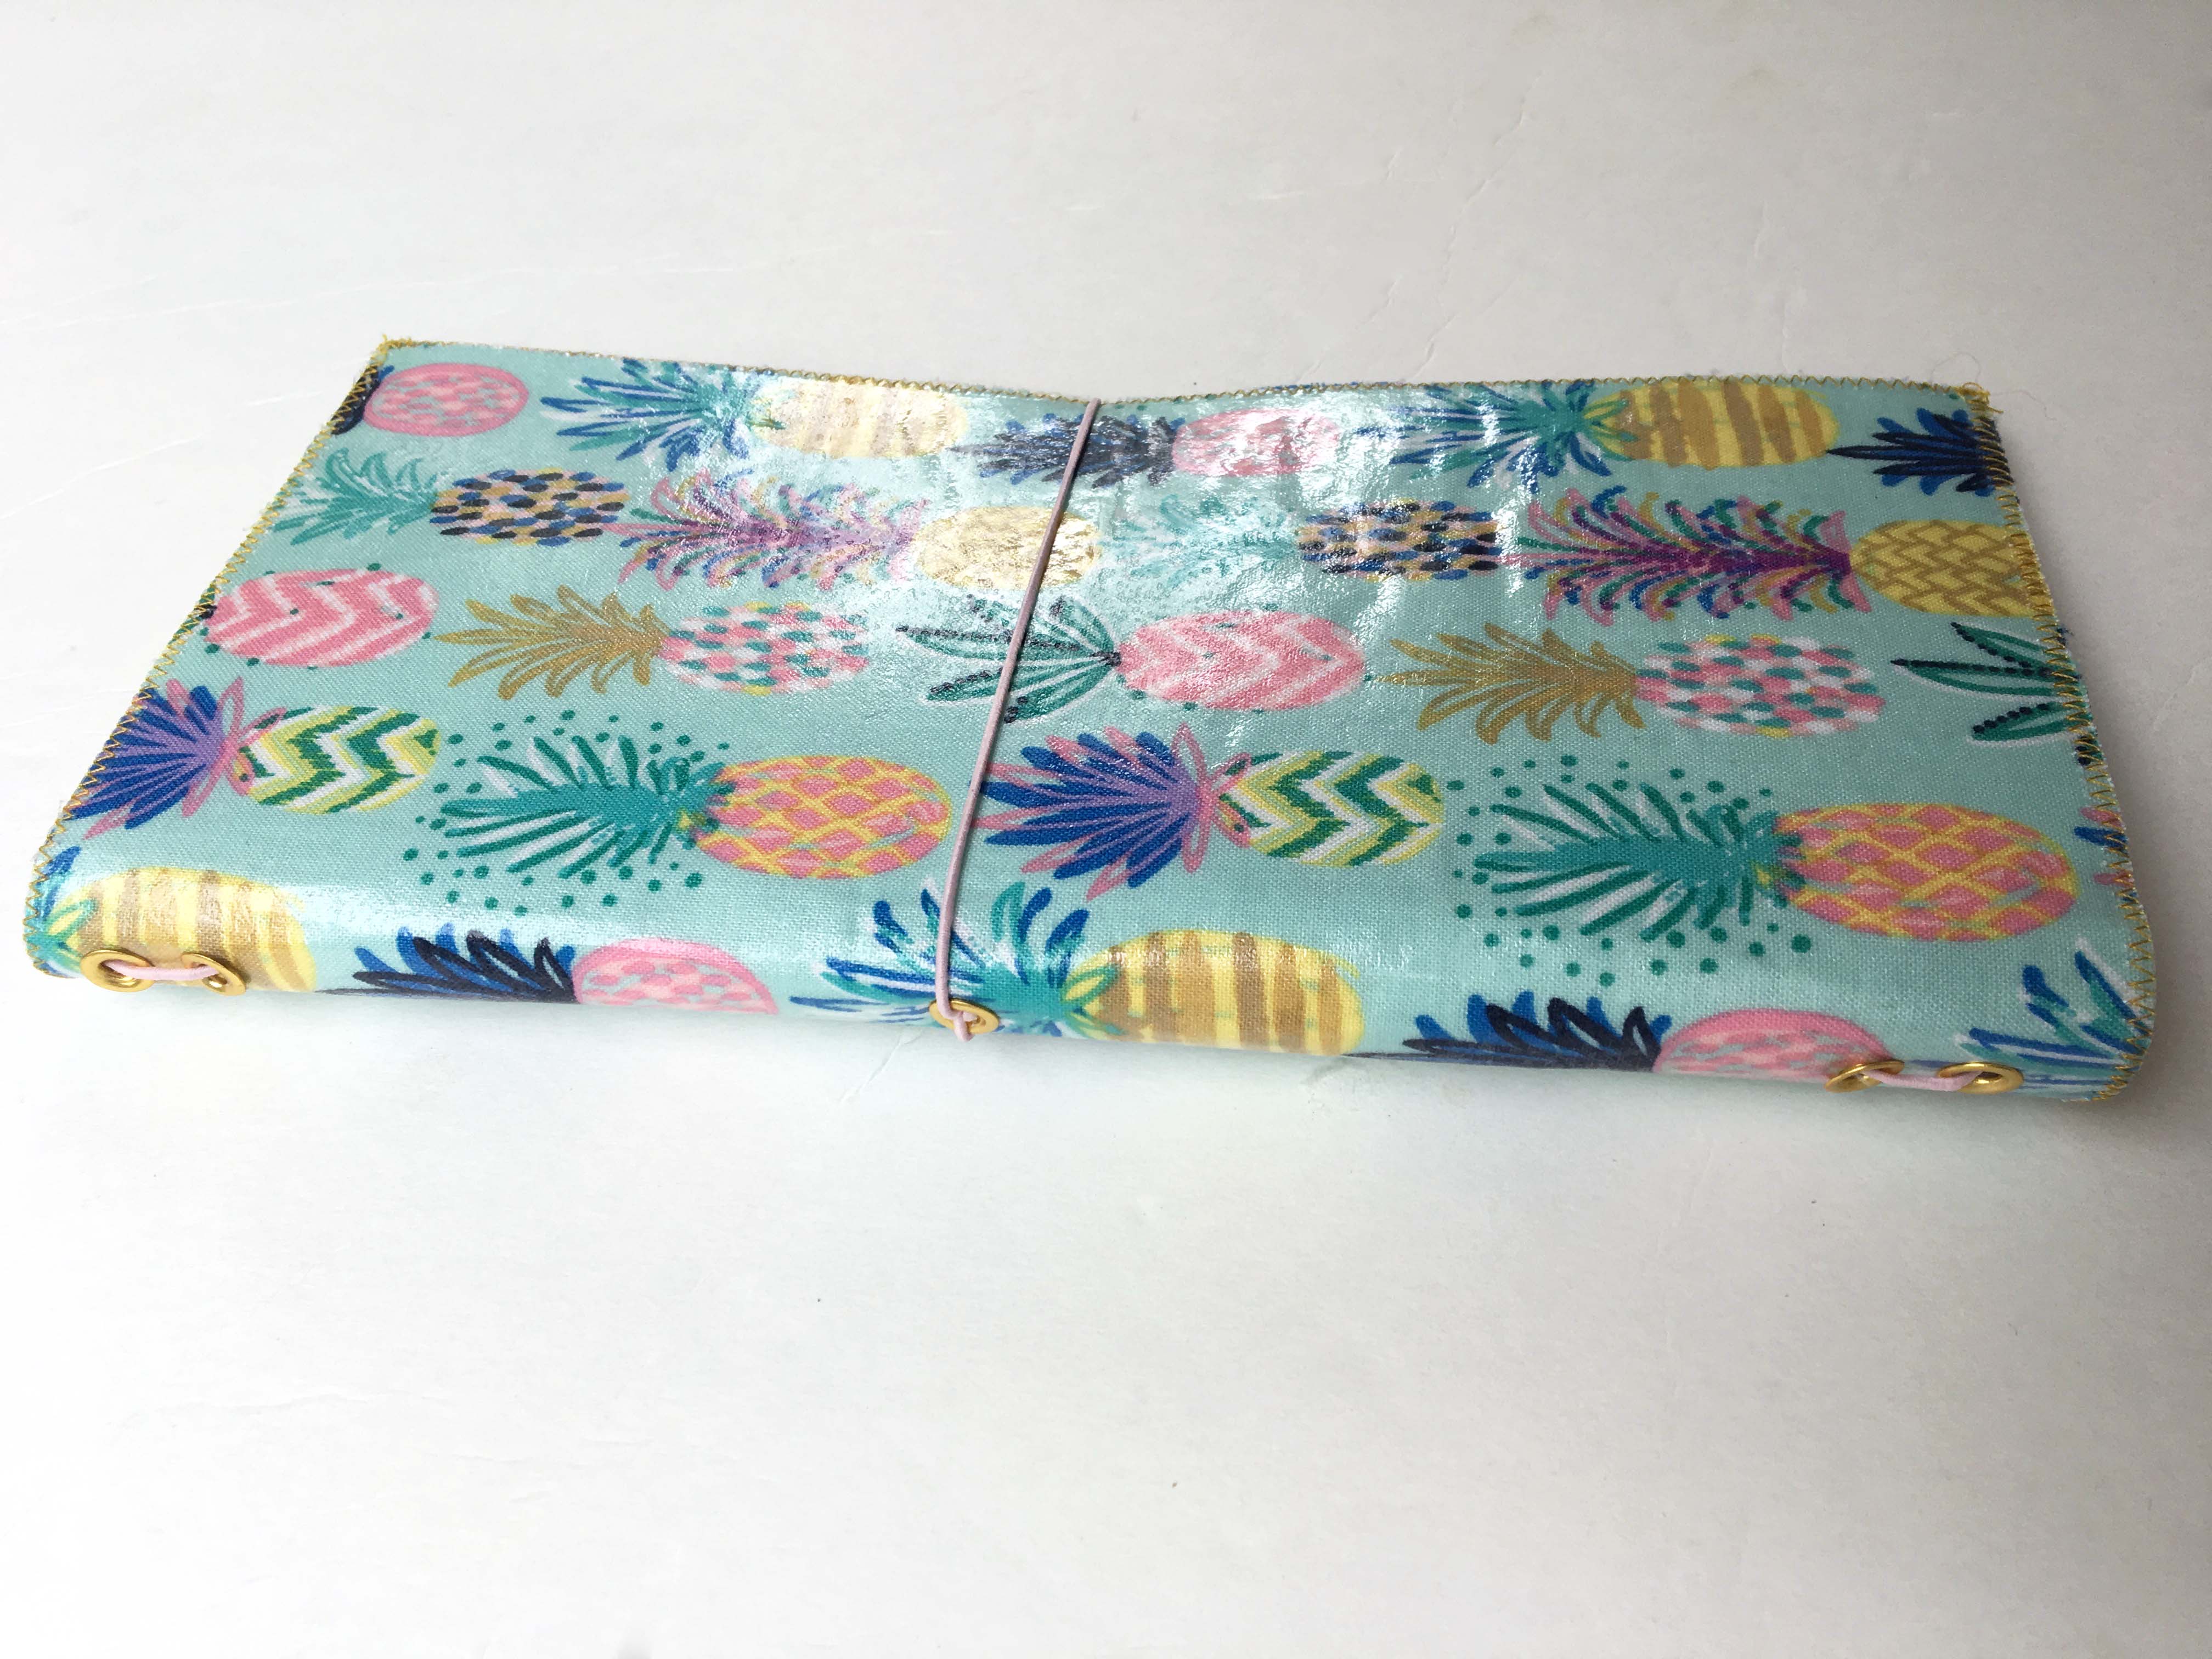
5 Grommets or Eyelets
Elastic Thread (found in the jewelry section of your craft store)
1/4" elastic- about 1 1/2" long for pen holder
Aurifil Thread to match fabric (I used color 2115 to match my Blend Fabrics pineapple print)
Oliso Iron
Instructions for Notebook Cover:
- Iron the HeatnBond® Fusible Xtra Firm interfacing to the wrong side of the front cover fabric.
- Turn over and following directions for HeatnBond® Iron-On Vinyl, iron vinyl to front fabric.
- Fold the pocket piece to measure 9 1/2" x 4" and iron.
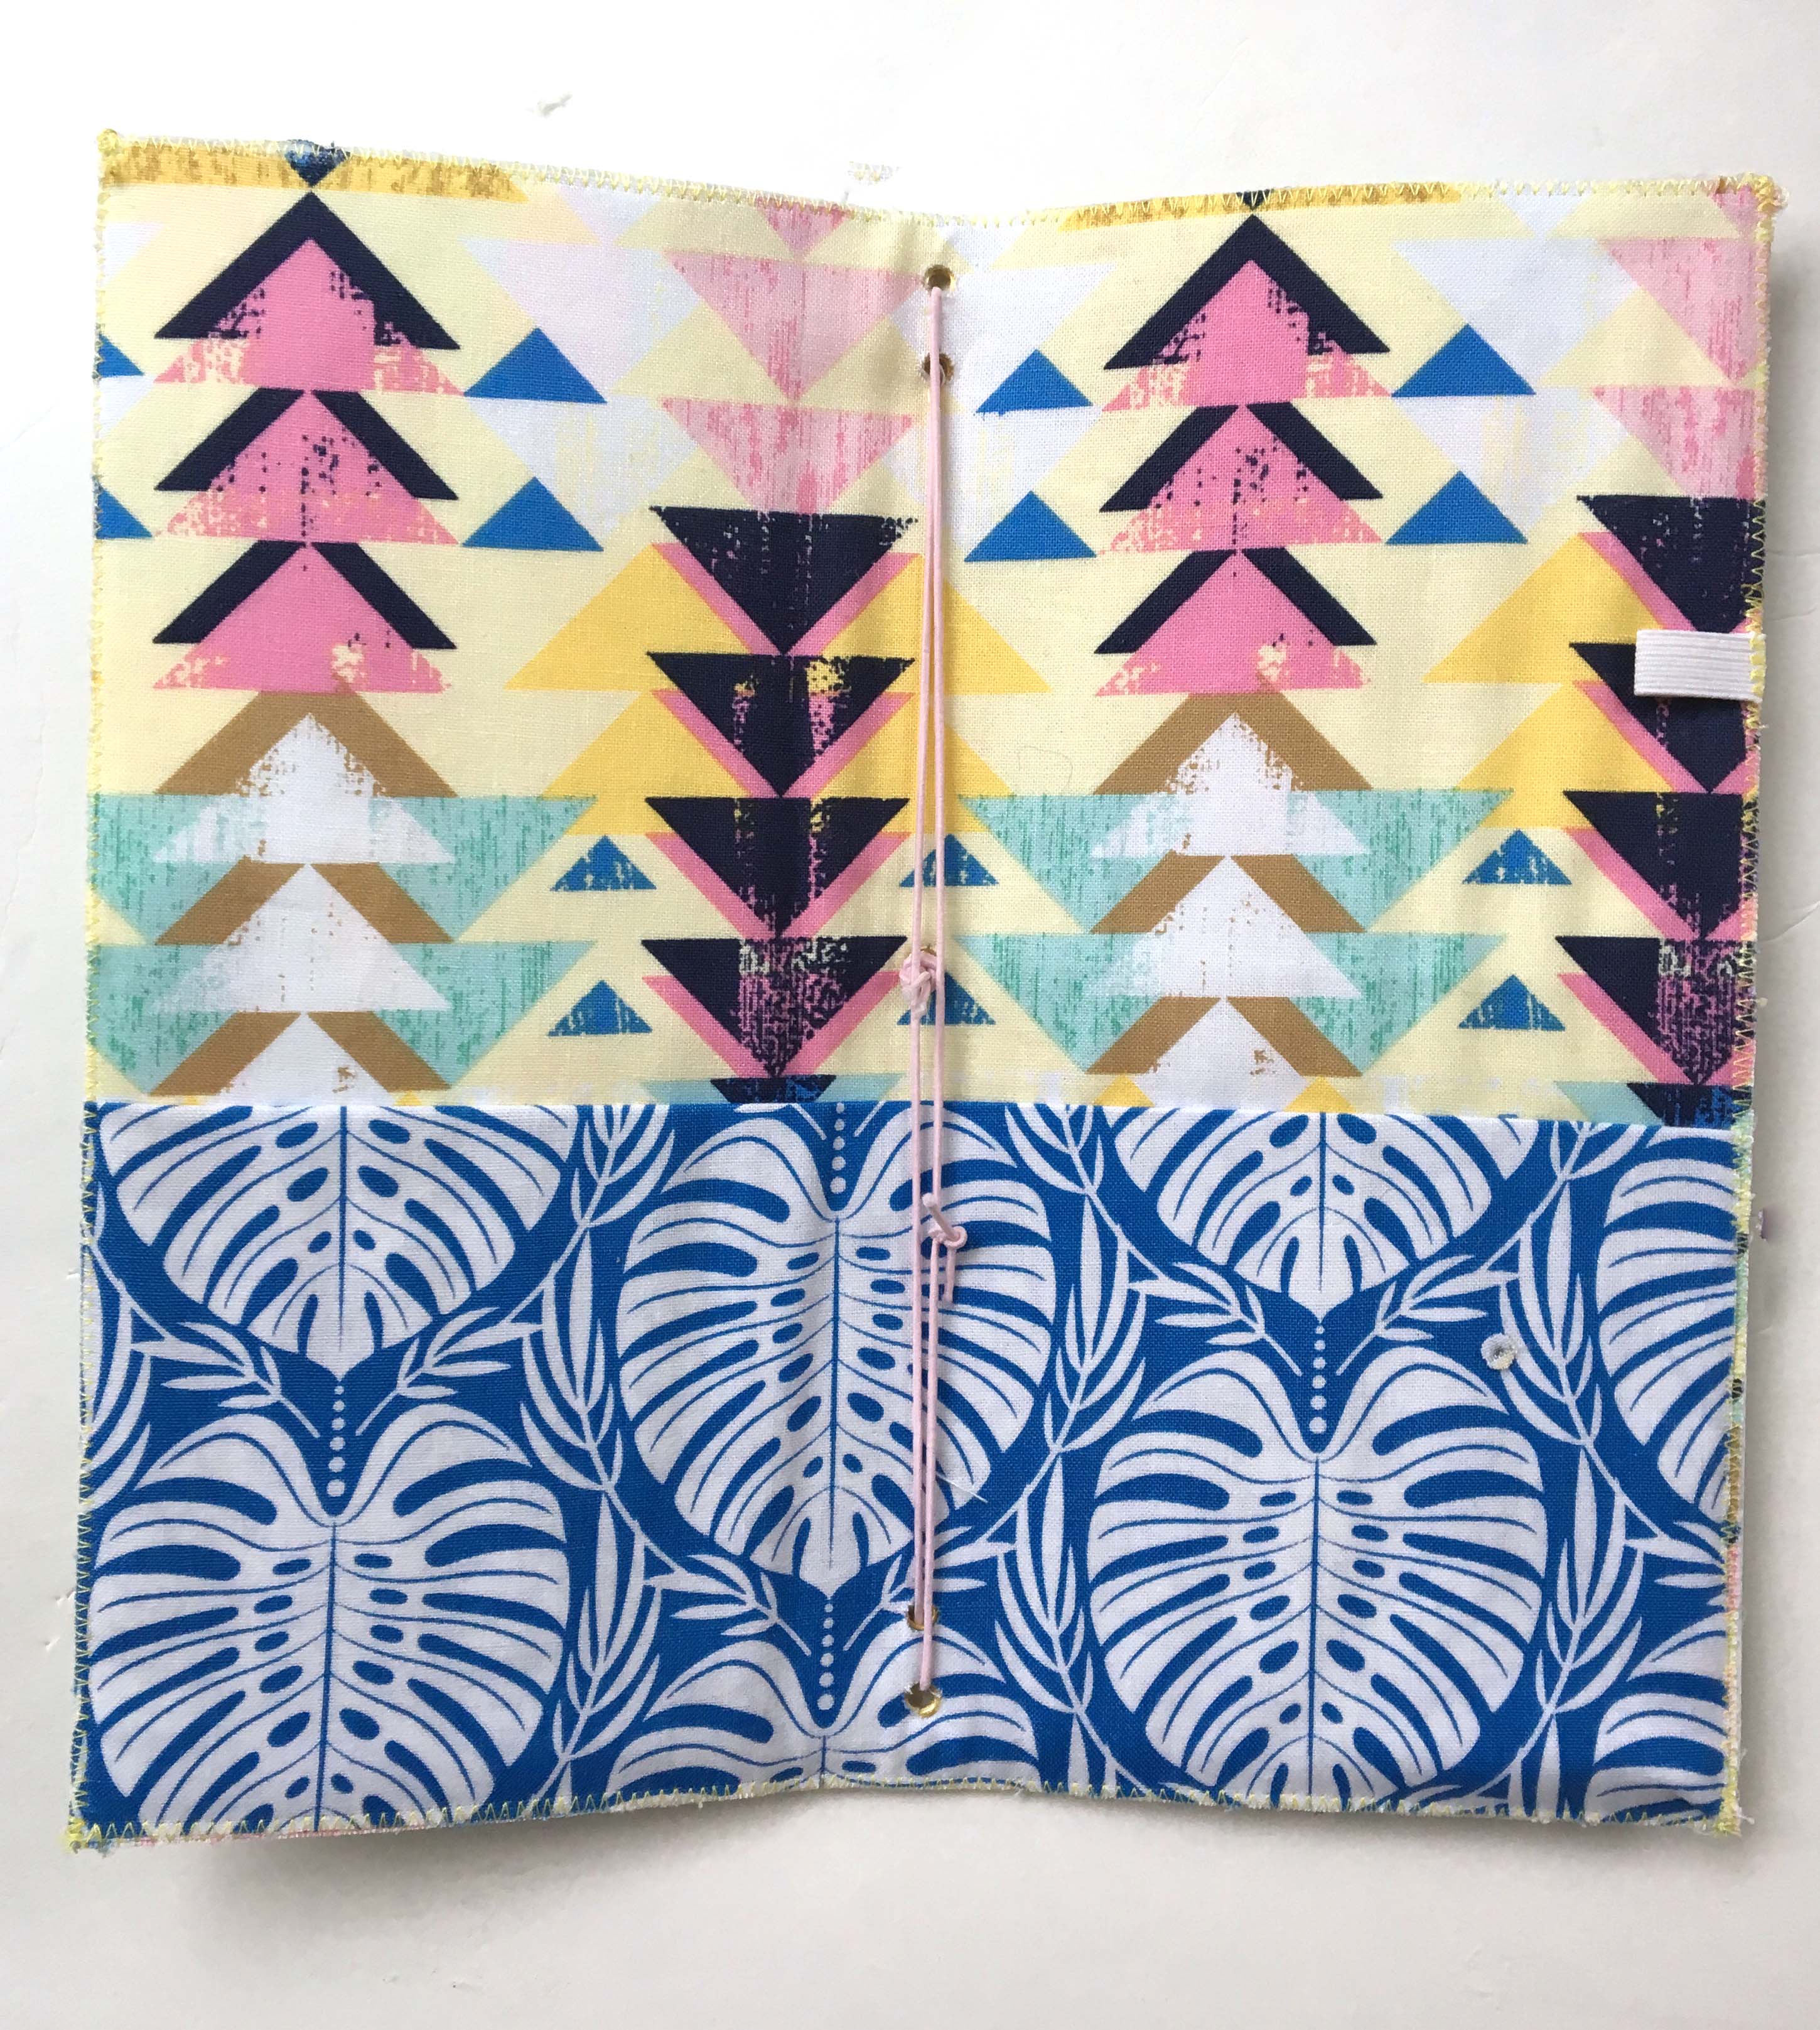
- Layer front cover with interfacing face down, then put the inner fabric face up and then the pocket on top. Machine stitch with a zig zag stitch around the outside edge. (Note: to make the inner fabric stay in place, you could use double sided fusible interfacing, or just use a few pieces of hem tape around the edges to help secure while stitching.)
- Fold small elastic band and stitch on the edge of the back cover for a pen holder.
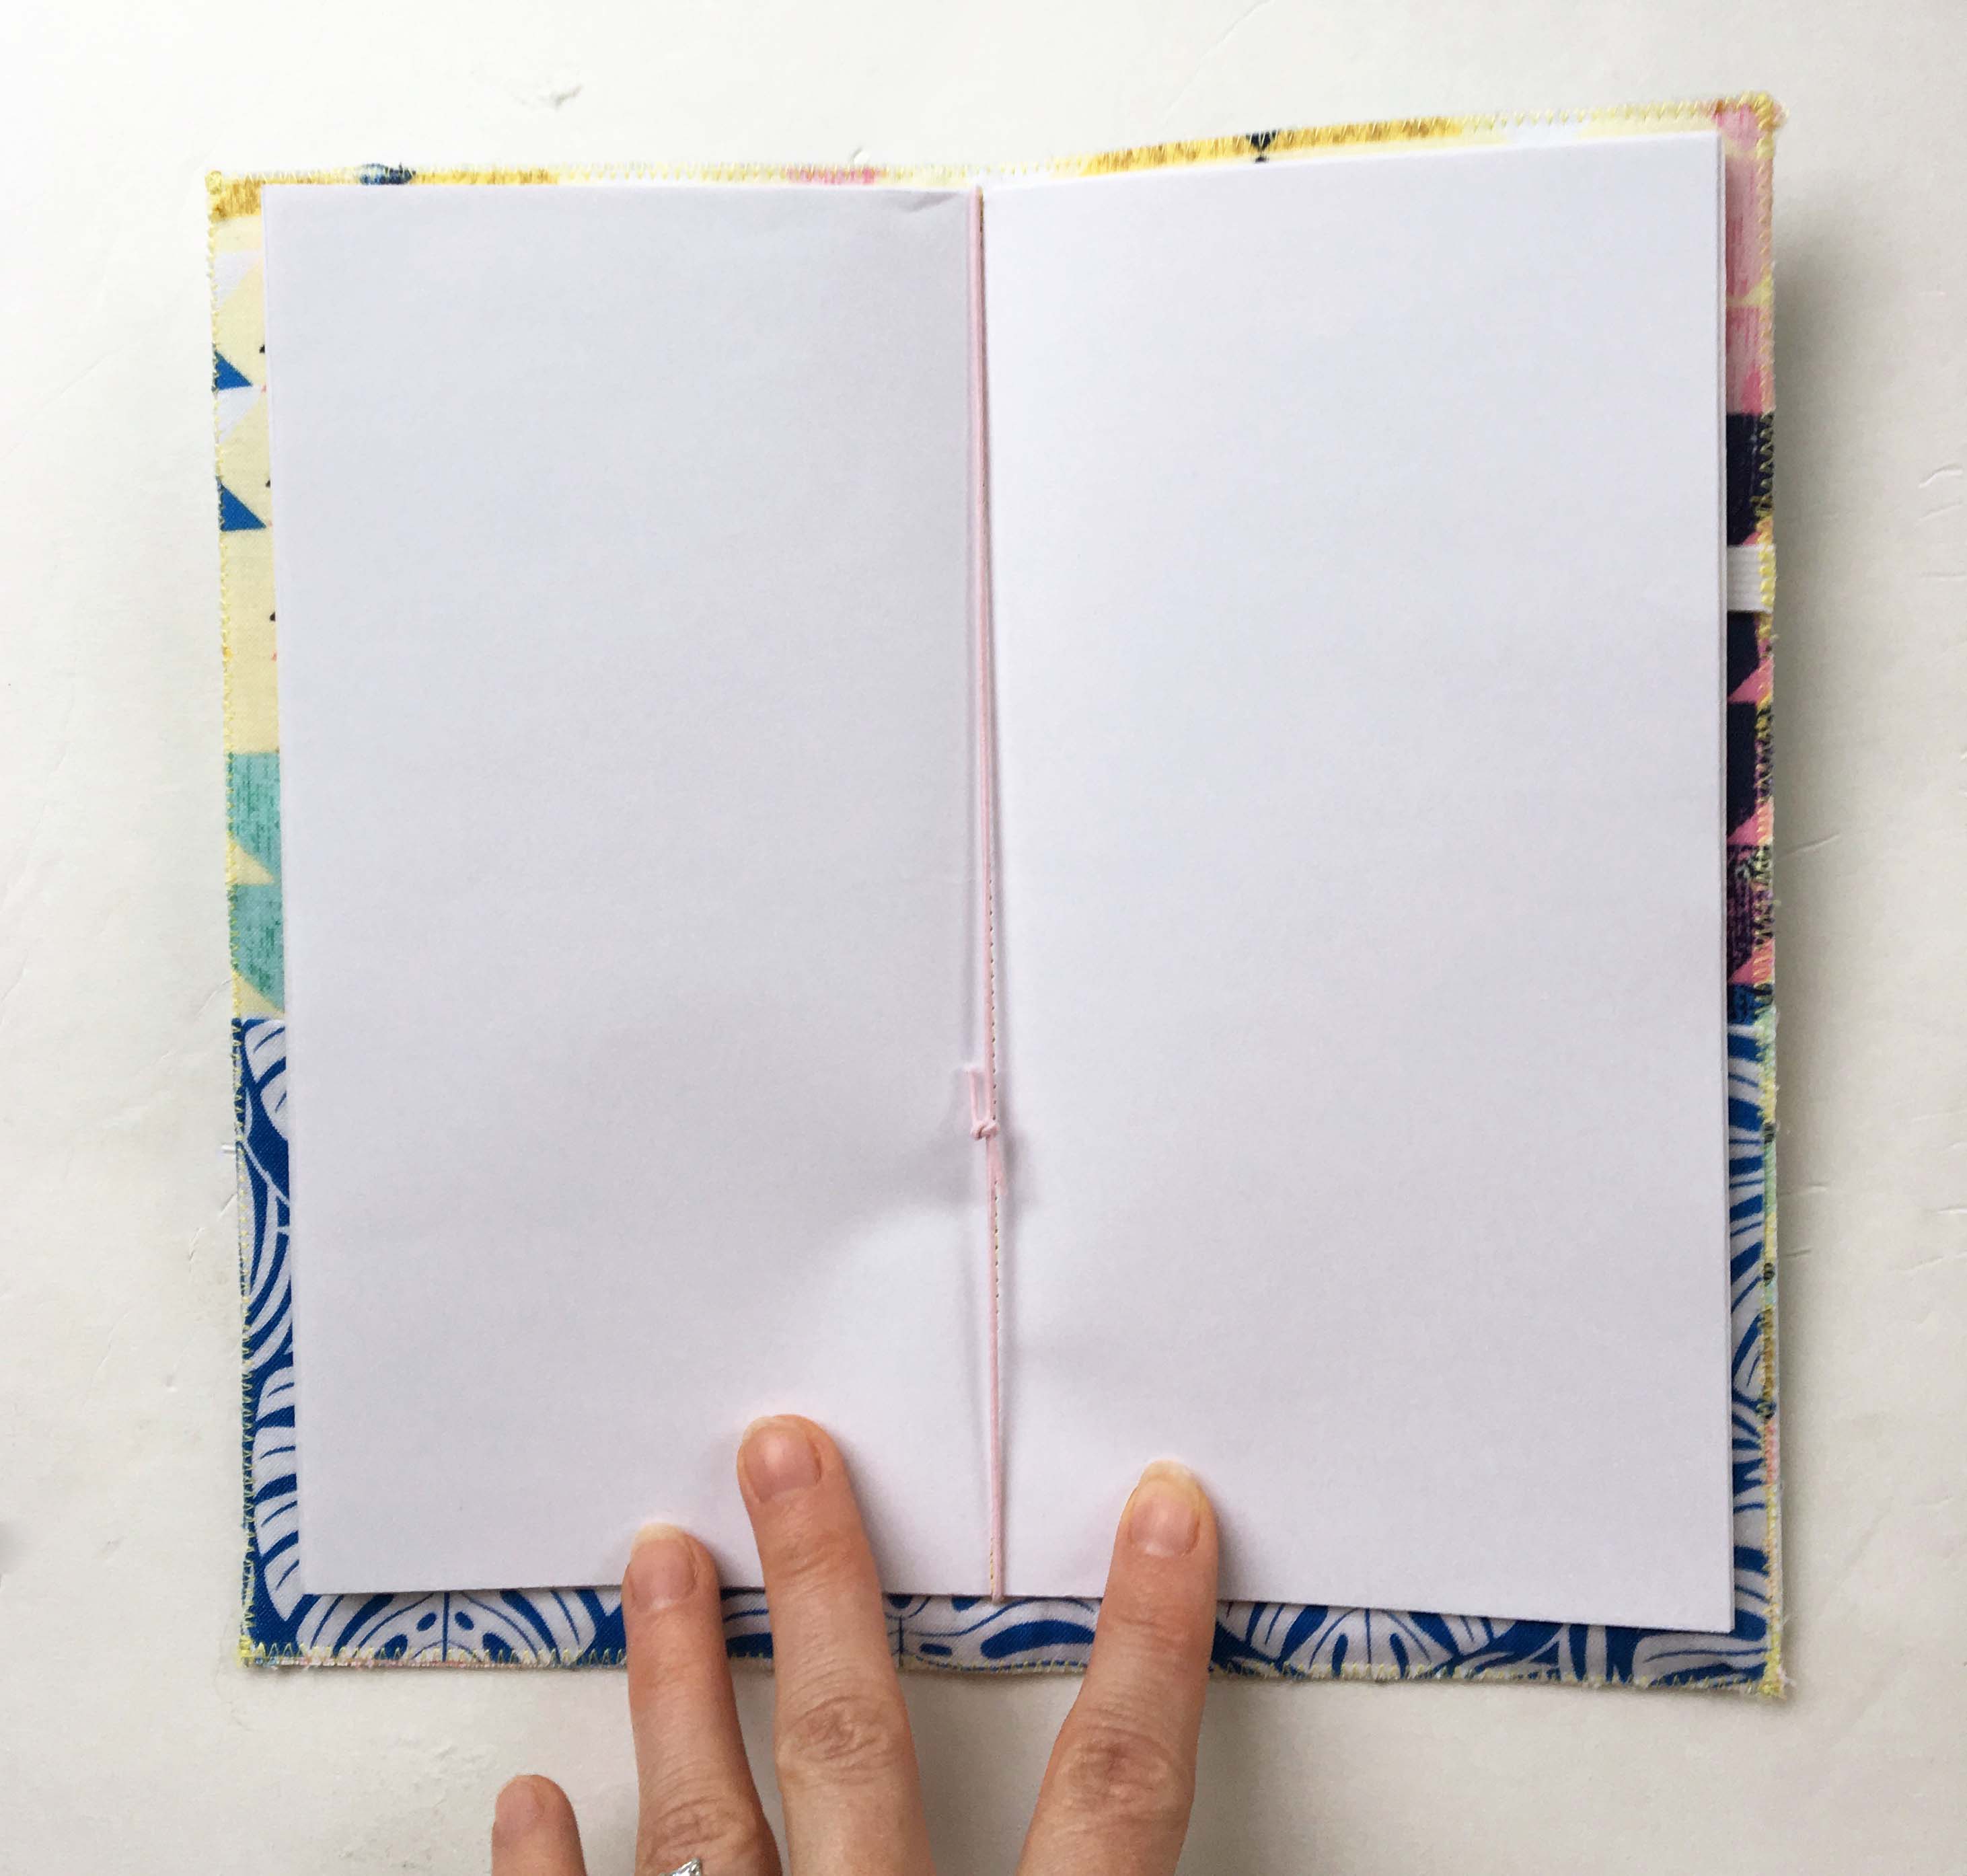
- Measure the middle point on the "seam" of the book and using an awl or strong punch, punch 5 holes: one 1/2" down from the top and a 2nd another 1/2" down (so 1" from the top). Repeat on the bottom. Then punch a hole directly in the center of the seam.
- Use an eyelet or grommet setting tool to set the grommets.
- Thread the elastic thread through for a closure and another long piece to hold the booklets in place inside.
Materials for Inner Pages and Notebook:
iCraft Heavy Weight Mixed Media Sheets
Mixed Media Art Paper by Rebekah Meier
Printer paper
Other assorted papers (graph paper, lined paper, whatever!)
Inner Pages and Notebook Instructions:
- Cut each paper 8 1/2" x 8 1/2". Fold each paper individual and crease on the edge.
- Stack papers together at the seam and either machine stitch or staple booklet on the seam.
- Insert notebook into elastic threads in cover.
You can watch the entire process here to see how this notebook came together:
[embed]https://www.youtube.com/watch?v=2uPu0tU48jI[/embed]
Be sure to take your notebook with you to keep all kinds of notes throughout your days!
Stay tuned for a 2nd video showing how I decorated the inside of my notebook and filled my pages.