No Products in the Cart



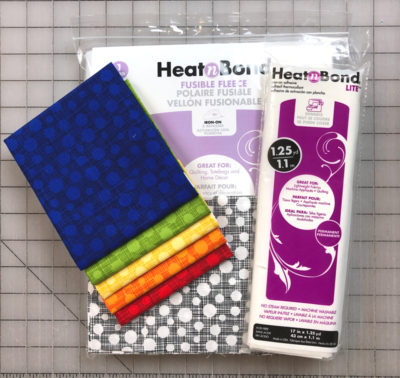 The supplies you will need for this project include:
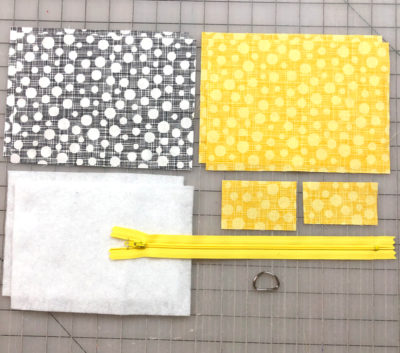 Cutting directions:
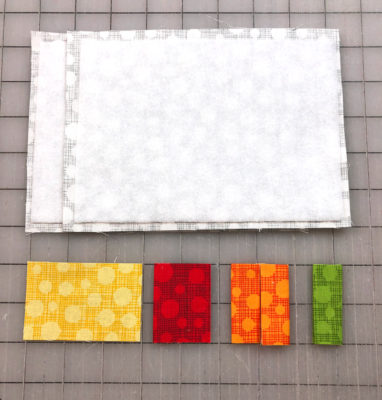
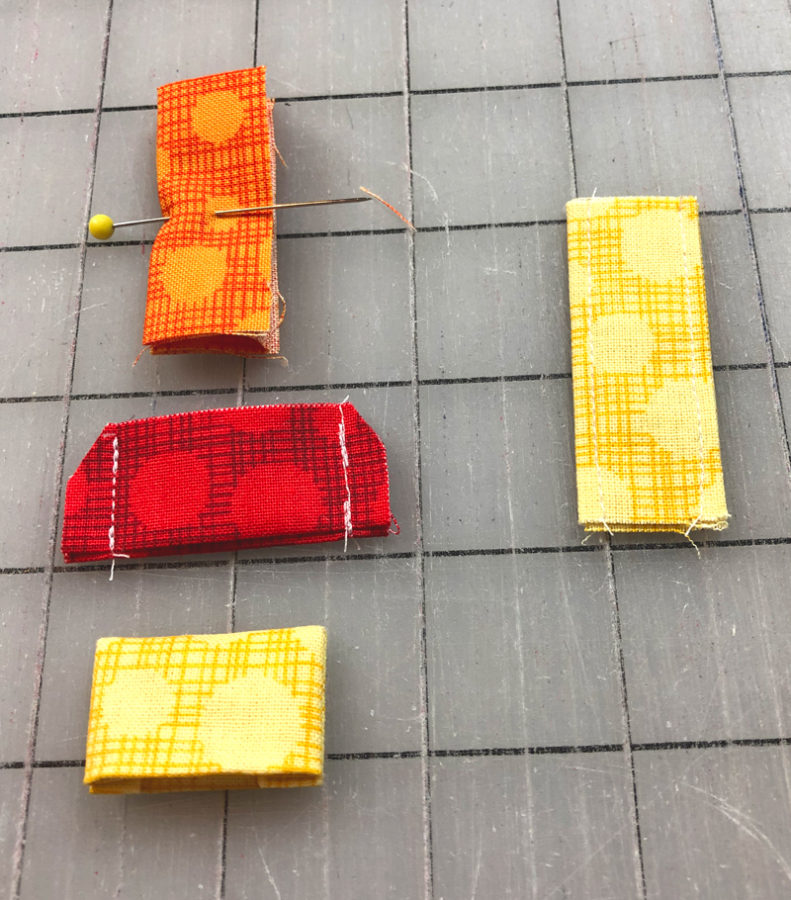 Take your two pressed pieces to your sewing machine. On the piece that is now 2"X3/4"- sew an edge stitch along both long sides. (the piece on the right)
On the piece that is now 1 3/4" X 3/4":
Take your two pressed pieces to your sewing machine. On the piece that is now 2"X3/4"- sew an edge stitch along both long sides. (the piece on the right)
On the piece that is now 1 3/4" X 3/4":
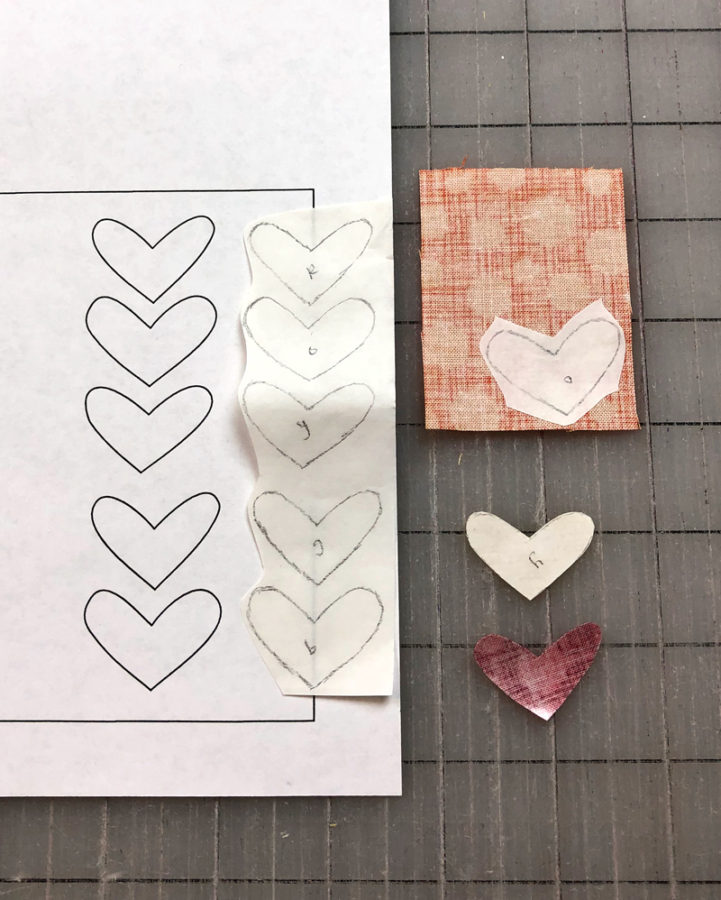
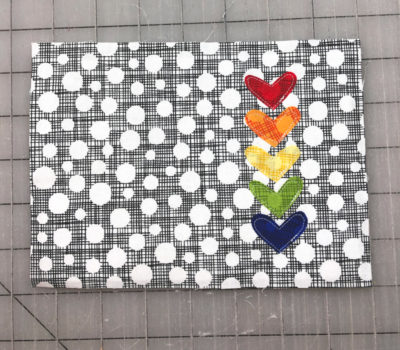 Line up the hearts 3/4" down from the top and 1 1/4" in from the right side. (or you can totally place them how you like them) Position the hearts so there is 3/4" from the bottom as well and they are evenly spaced.
Sew around each heart using a straight stitch or a narrow zigzag stitch.
Line up the hearts 3/4" down from the top and 1 1/4" in from the right side. (or you can totally place them how you like them) Position the hearts so there is 3/4" from the bottom as well and they are evenly spaced.
Sew around each heart using a straight stitch or a narrow zigzag stitch.
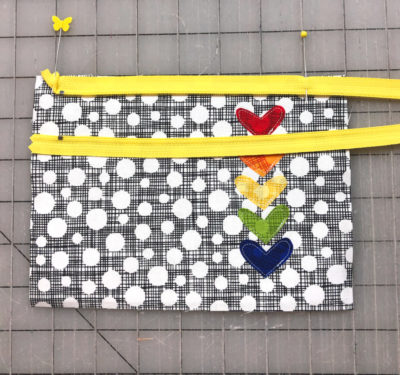 Open up your zipper. Place your zipper right side down and line it up with the top of the front of your pouch. Fold up the edge of the zipper tape to the metal stop and pin in place. Measure 1" from the opposite end of the fabric and pin the zipper down.
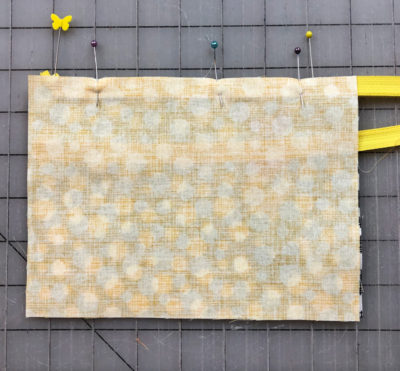 Place your lining fabric right side down on top of your zipper and line up the top edge and sides. Pin in place and then sew using a 1/4" seam allowance. When you reach the pin marking 1" from the edge of the fabric- STOP sewing.
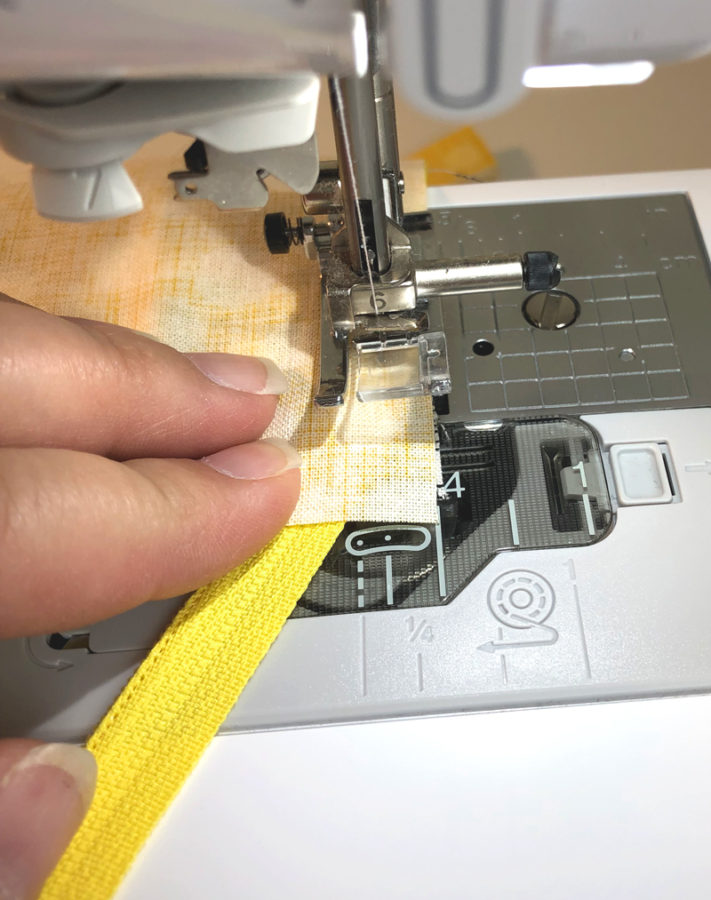 Leave your needle in the down position and lift up your presser foot. Pull the zipper tape ONLY out of the seam allowance, then make sure the lining and outer fabrics are still lined up, then put the presser foot back down. Continue stitching to the end of your fabric. Press both sides of fabric away from the zipper.
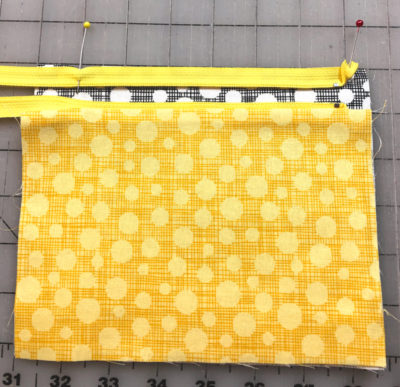 Repeat the previous steps with the back side of the pouch. Make sure that the metal tabs from the zipper tape line up.
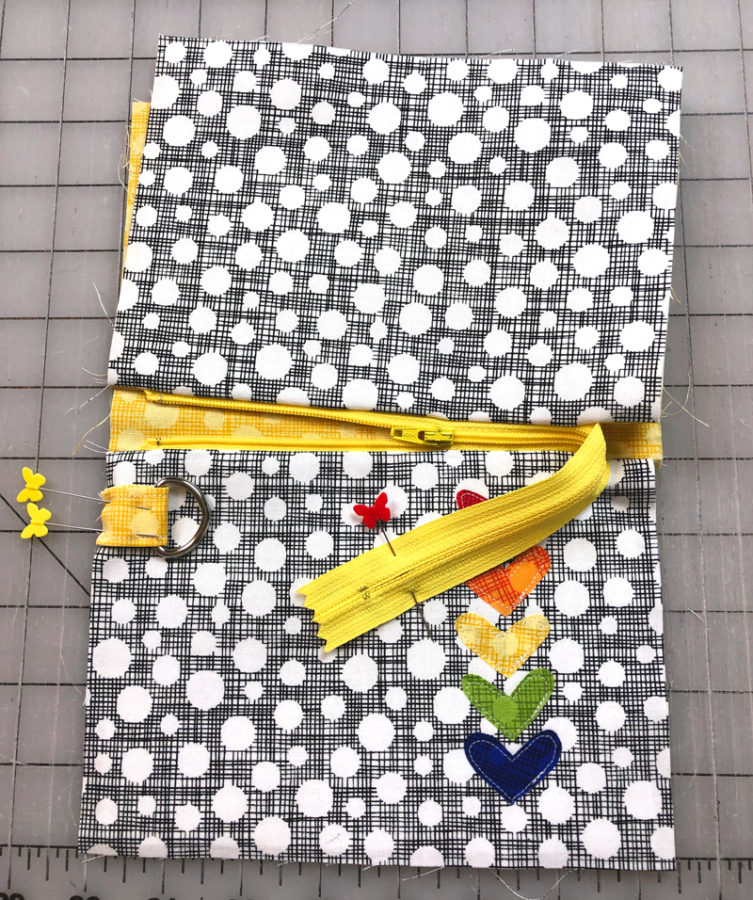 Close your zipper so it is just under half way closed. Lay your pouch out on your table and fold the lining from the front piece up and away from the outer front piece. Pin the tail of the zipper to the middle of this piece to keep it out of your seams when sewing the pouch. Take your 2" X 3/4" strip and fold it in half, slide the d-ring onto the strip. Pin the raw edges of the d-ring strap to the left side of the pouch front 1" down from the zipper.
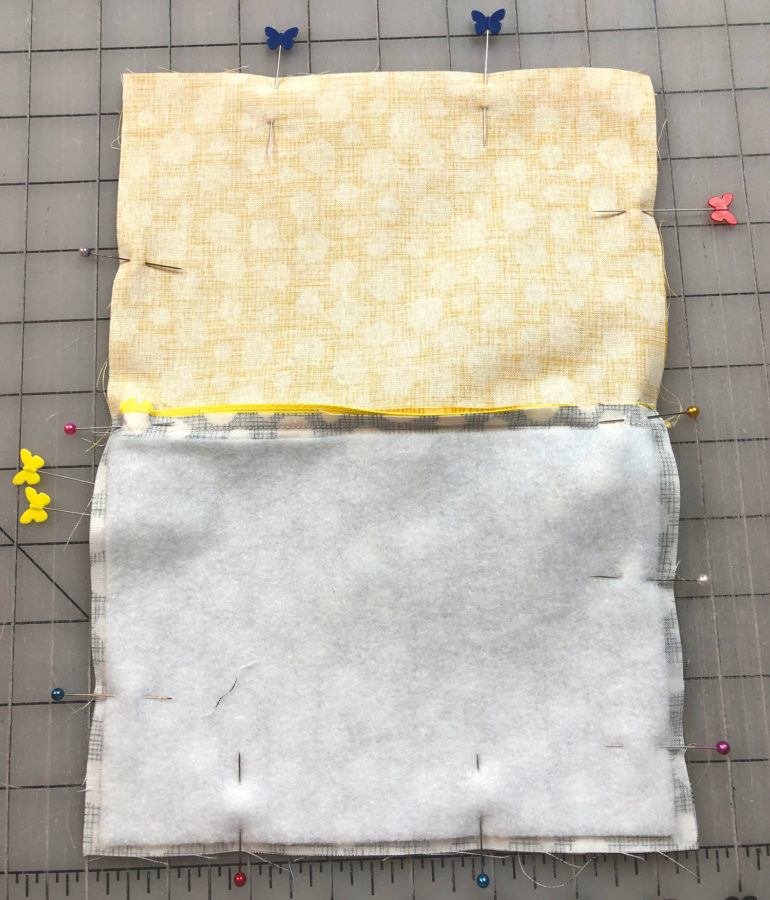 Fold down the back outer fabric to line up the outer fabric pieces and the lining pieces. Pin the seam allowance from the zipper toward the lining. Sew around all sides of the pouch using a 1/4" seam allowance, leaving an opening in the lining for turning. (between the blue butterfly pins in the picture) Clip the seam allowance on all 4 corners.
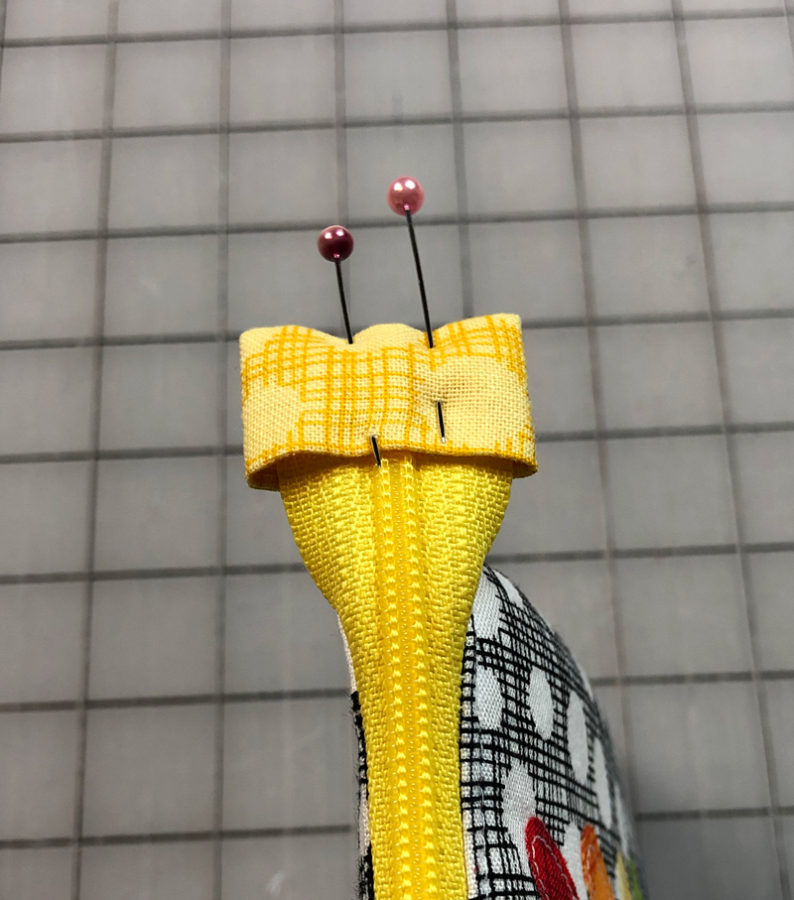 Reach into the pouch through the opening and pull out the pin holding the zipper. (you'll thank me) Turn the pouch right side out and push out all the corners. Fold under the seam allowance in the opening of the lining and edge stitch it closed. Push the lining inside the outer pouch pieces and press around the zipper. Top stitch around the pouch at the zipper. Close the zipper all the way. Trim the zipper tape to the desired length. Slide the edge of the zipper tape into the pocket of the zipper tab. Pin in place and then sew around the tab using an edge stitch.
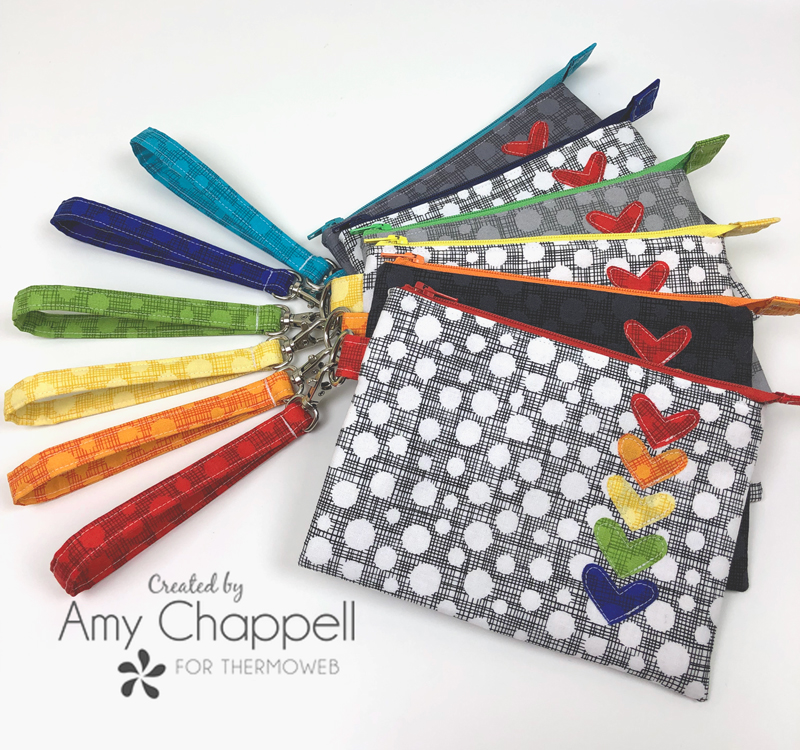
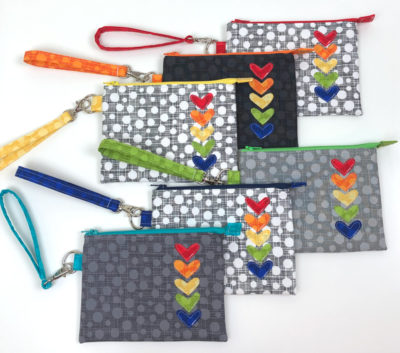 Now you have a pouch with a rainbow of hearts! They are so fun in a rainbow of colors! If you would like to make the wrist straps as well, I have a free tutorial on my blog here.
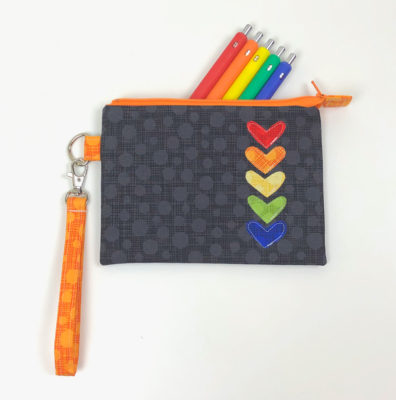 Be warned: these are super addicting and you will find yourself making more and more! But, since they do make fabulous gifts, I'm sure you won't mind having a few extra on hand.
If you'd like to watch the video of this project...just click below!
https://youtu.be/FSWFNInZ1dw
Happy Sewing!
Be warned: these are super addicting and you will find yourself making more and more! But, since they do make fabulous gifts, I'm sure you won't mind having a few extra on hand.
If you'd like to watch the video of this project...just click below!
https://youtu.be/FSWFNInZ1dw
Happy Sewing!
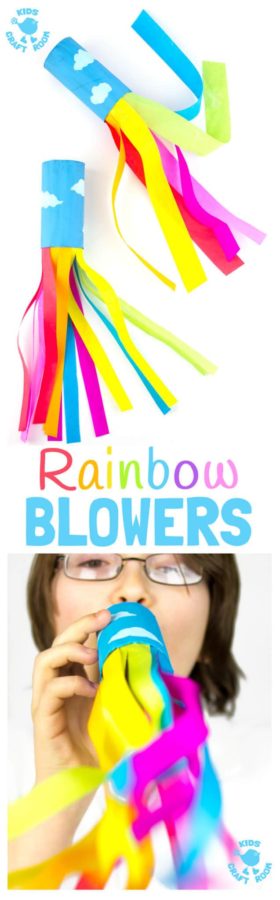 We think you can never have enough rainbow crafts! You'll find details on how to make this sweet Rainbow Flyer HERE! Perfect craft for those rainy days when they're "bored"!
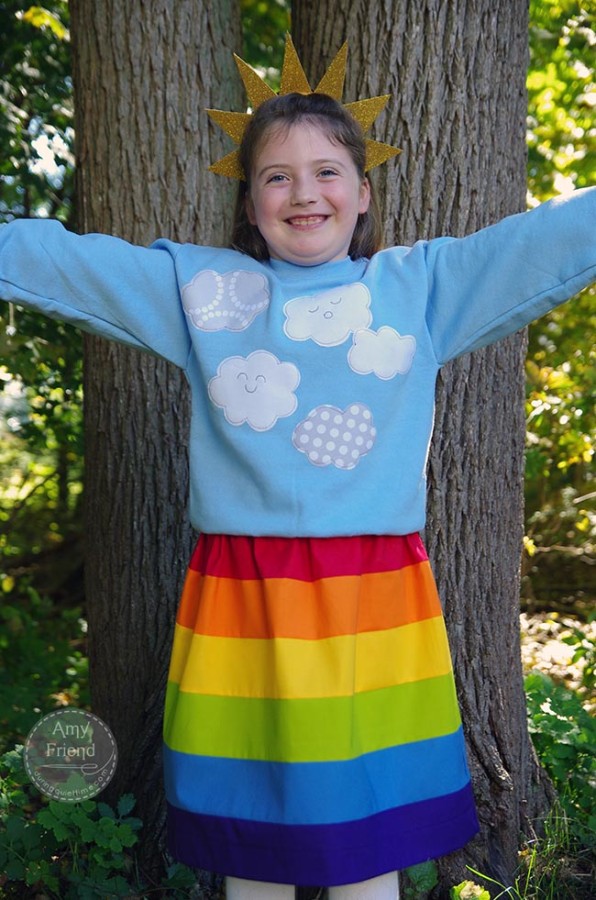 And why not dress rainbow! You'll find this sweet project right here on our blog to fulfill your love of all things rainbow!
ENJOY!
And why not dress rainbow! You'll find this sweet project right here on our blog to fulfill your love of all things rainbow!
ENJOY!
