No Products in the Cart
 The whole collection is so yummy and you can't help but crave a freshly baked apple pie after peeking at the color palette and different prints.
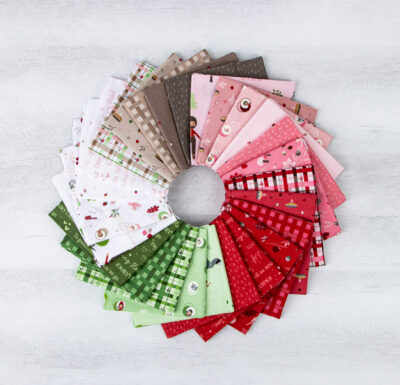
SUPPLIES:
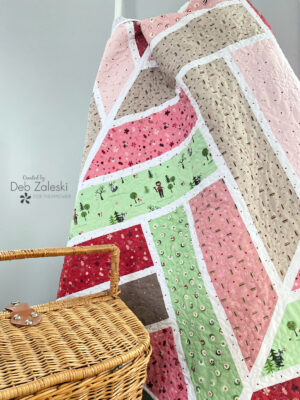
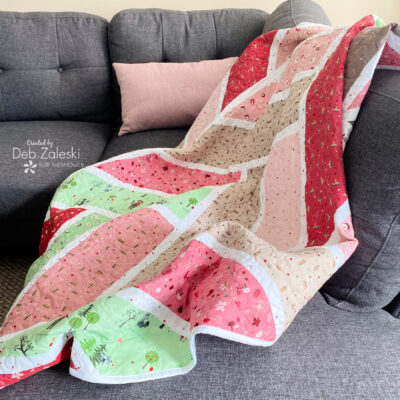
- Broken Herringbone Quilt Pattern by Violet Craft (For fabric requirements please refer to the pattern)
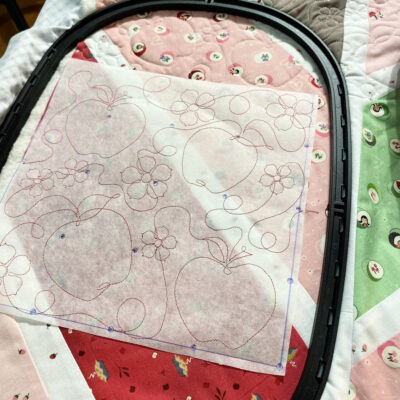
- StitchNsew Tear-Away Medium Weight Stabilizer (To fit your embroidery hoop)
- 2 yards of StitchNsew High Loft Sew in Fleece
- SprayNbond Basting Adhesive
- Coordinating thread
TOOLS:
- Oliso Project Iron & ironing board
- Sewing machine/Embroidery machine
- Scissors
- Rotary cutter and self-healing mat
- Ruler

GETTING STARTED:
1. Using the rotary cutter and 24" long ruler, cut the fabrics according to the directions in the pattern. 2. The assembly is quite quick since the fabric pieces remain large. This is one of the reasons I love this pattern, it's also easy to use larger prints and smaller low volume prints.
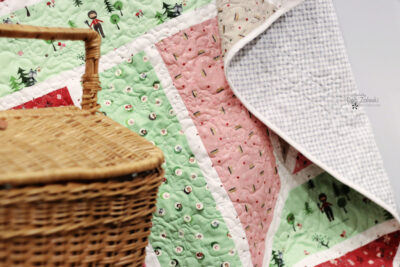
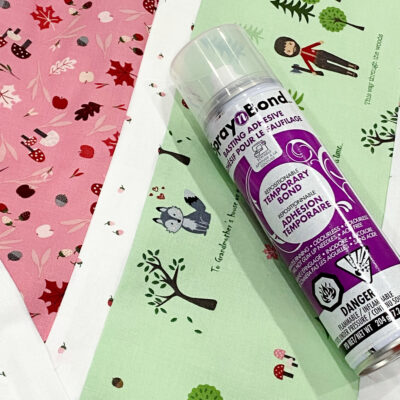 3. Once the quilt top assembly is complete, it's time to make your quilt sandwich. Lay your backing, then the layer of StitchNsew Sew-In High Loft Fleece, followed by the finished quilt top. Baste the layers using SprayNbond Basting Adhesive. No need to add safety pins of hand baste when you're using SprayNbond!
QUILTING YOUR SANDWICH:
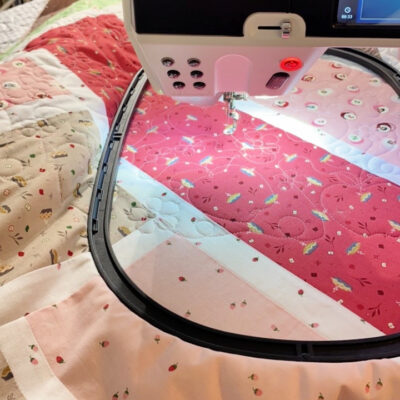 5. Place the hoop on the quilt sandwich and stitch out the full design. Move the hoop over, use the stitched out stabilizer template to match up the last stitch made to the first stitch that will be made in the sequence. Keep moving the hoop to matching up the ends of the quilting pattern for a nice seamless look, row after row.