No Products in the Cart
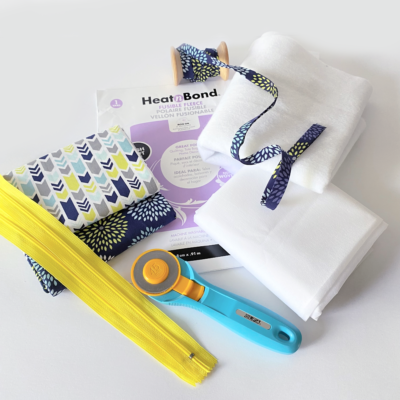
 It's time to get creative so gather your supplies and tools!
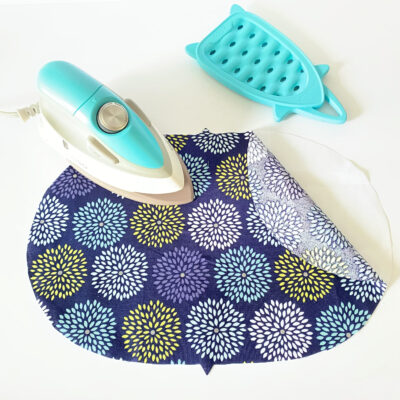
 2. Fuse the Fusible Fleece to the main fabric (the outside fabric) and fuse the interfacing to the lining according to manufacturer's instructions.
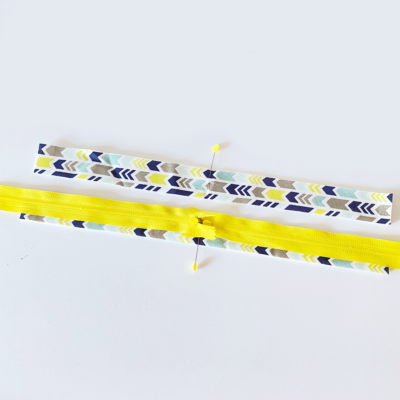
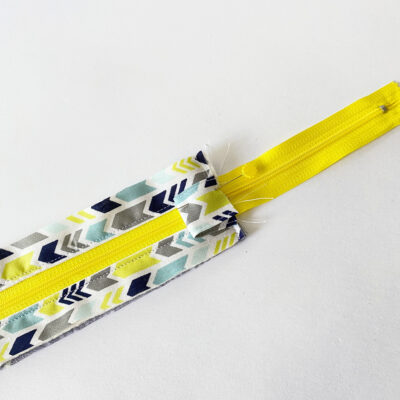
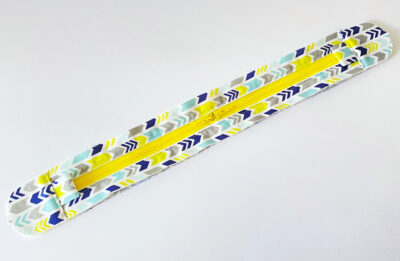
 3. Using a pin or a fabric marker, mark the half way point on the top strips. You can do this even if you'll be using only one zipper. This is to better position the rounded shape to the top strip. Lay the zipper right side down over the right size of the main fabric with the openings of the two zippers butting at the center of the top strip. Pin into place. If you're only using one zipper just lay the zipper tape with right sides together.
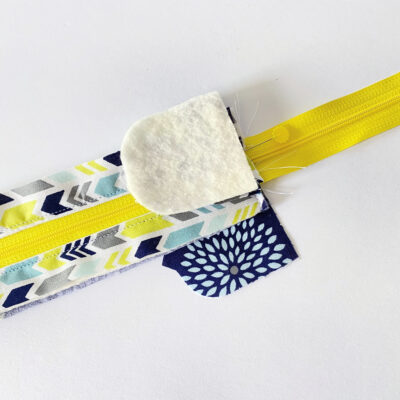
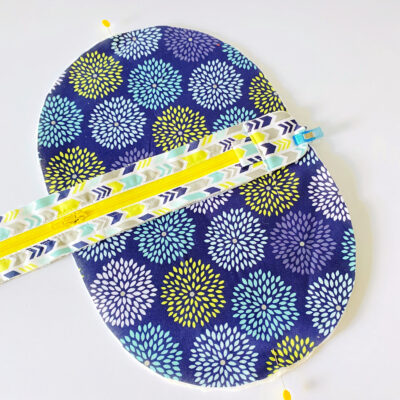
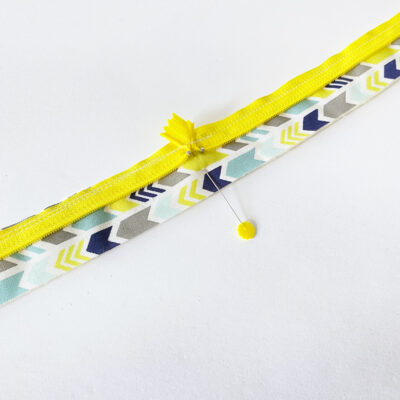 4. Baste the zipper tape to the main fabric. Now place the lining fabri with right side down to sanwich the zipper tape in the middle. Sew into place.
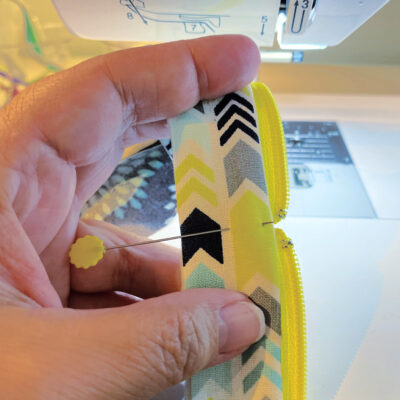
 5. Fold the main fabric and the lining fabric back and top stitch about 1/4" away from the folded edge.
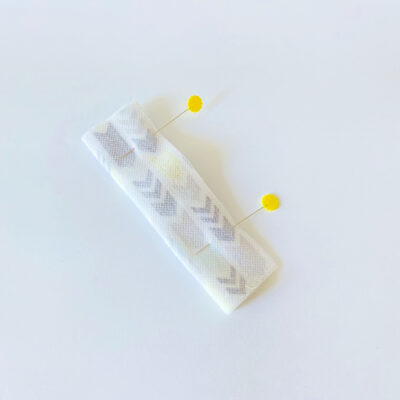
6. Repeat the process for the other top strip. Make sure to line up your zippers at the center on both sides. Set your work aside.
5. Fold the main fabric and the lining fabric back and top stitch about 1/4" away from the folded edge.
6. Repeat the process for the other top strip. Make sure to line up your zippers at the center on both sides. Set your work aside.
 8. Press the seam open, and turn the piece right side out.
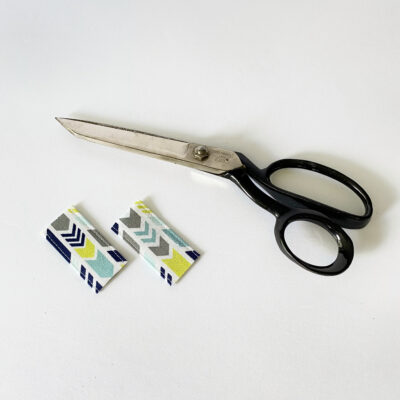
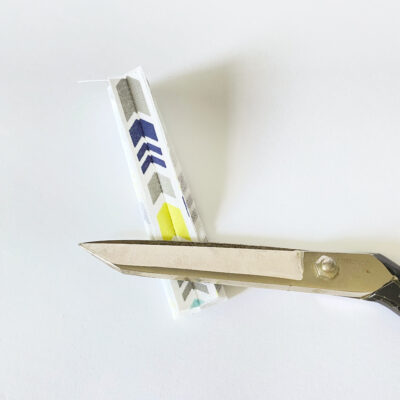 9. Cut the piece in two to create two tab units. Top stitch along the folded edges about 1/8" away from the edge.
 11. Layer the next pieces as follows: side piece lining face up, zipper with top strip face up and finally side piece face down. Line up the edge and sew into place. Repeat the process for the other side.
 12. Fold the side pieces down and top stitch into place about 1/8" from the edge.
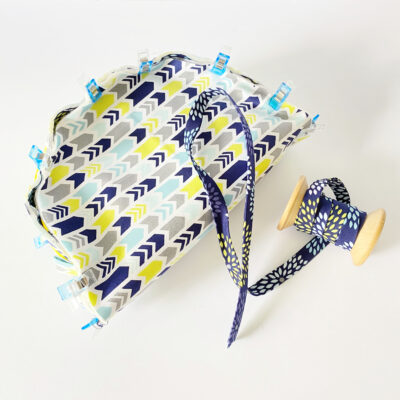
 13. Baste the main pouch to the lining pouch with wrong sides together. Line up the top strip to the main pouch wrong sides together (or lining in the inside) using the markings on the pattern pieces.
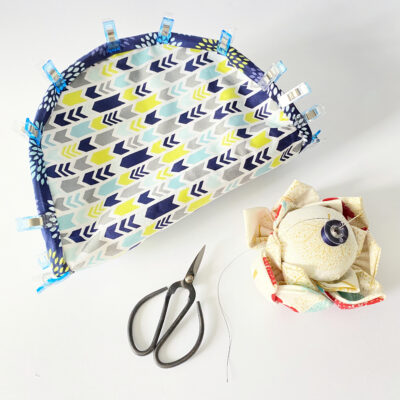
 14. Gradually clip the perimeter of the pouch. You'll end up with what my daughters like to call an oddly shaped fabric taco. Once satisfied that everything is in place and evenly distribute, you can now baste the top strip to the main pouch.
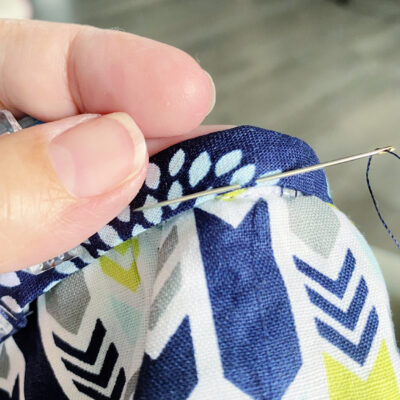
 15. Stitch the bias into place on one side using a little more than a 1/4" seam allowance.
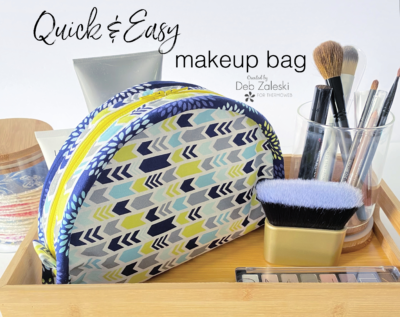
 17. Now that you're done, fill up your cosmetic bag with your beauty essentials and take that trip you've been planning!

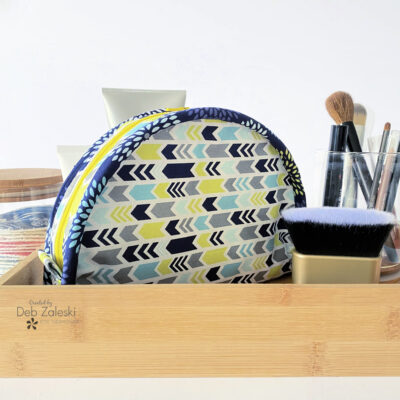
 Thanks for joining me and I hope I’ve inspired you to create a new cosmetic bag for your beauty essentials. If you liked this project please let me know by posting a comment. And don’t forget to stop by my Instagram and say HI!
Written by Deb Zaleski