No Products in the Cart
 Therm O Web Supplies used:
Deco Foil Flock Transfer Sheets – White Latte
Deco Foil Metallix Gel – White Pearl
Deco Foil™ Transfer Gel
Deco Foil Stencil Pal
Gina K. Designs (3) Nested Rectangle Dies • Single Stitch Design • Large Set
iCraft Ultra Bond Adhesive 2 fl oz
Purple Tape - 1.5"
SuperTape™ Roll • 1/4 in
Other supplies used:
Foil Laminator • 12 inch
Sizzix - Tiny Houses Bigz L die; Mini Crazy Cats & Dogs Thinlits dies
Stampers Anonymous - Mini Cats & Dogs stamps; Birch & Pine stamps
Ranger Ink - Distress Markers; Distress Oxide Inks; Distress Inks; Distress Archival Ink; Stickles Glitter Glue; Distress Mixed Media Heavystock
Southern Ridge Trading Company - Heart stencil
Miscellaneous - white cardstock; die cutting machine; heat gun; computer and printer
Therm O Web Supplies used:
Deco Foil Flock Transfer Sheets – White Latte
Deco Foil Metallix Gel – White Pearl
Deco Foil™ Transfer Gel
Deco Foil Stencil Pal
Gina K. Designs (3) Nested Rectangle Dies • Single Stitch Design • Large Set
iCraft Ultra Bond Adhesive 2 fl oz
Purple Tape - 1.5"
SuperTape™ Roll • 1/4 in
Other supplies used:
Foil Laminator • 12 inch
Sizzix - Tiny Houses Bigz L die; Mini Crazy Cats & Dogs Thinlits dies
Stampers Anonymous - Mini Cats & Dogs stamps; Birch & Pine stamps
Ranger Ink - Distress Markers; Distress Oxide Inks; Distress Inks; Distress Archival Ink; Stickles Glitter Glue; Distress Mixed Media Heavystock
Southern Ridge Trading Company - Heart stencil
Miscellaneous - white cardstock; die cutting machine; heat gun; computer and printer
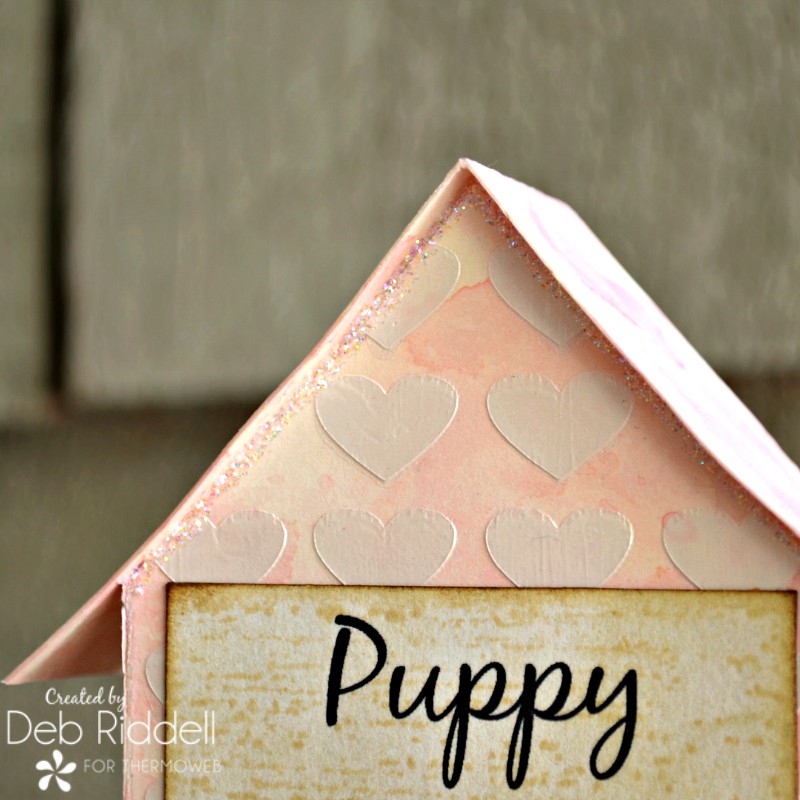
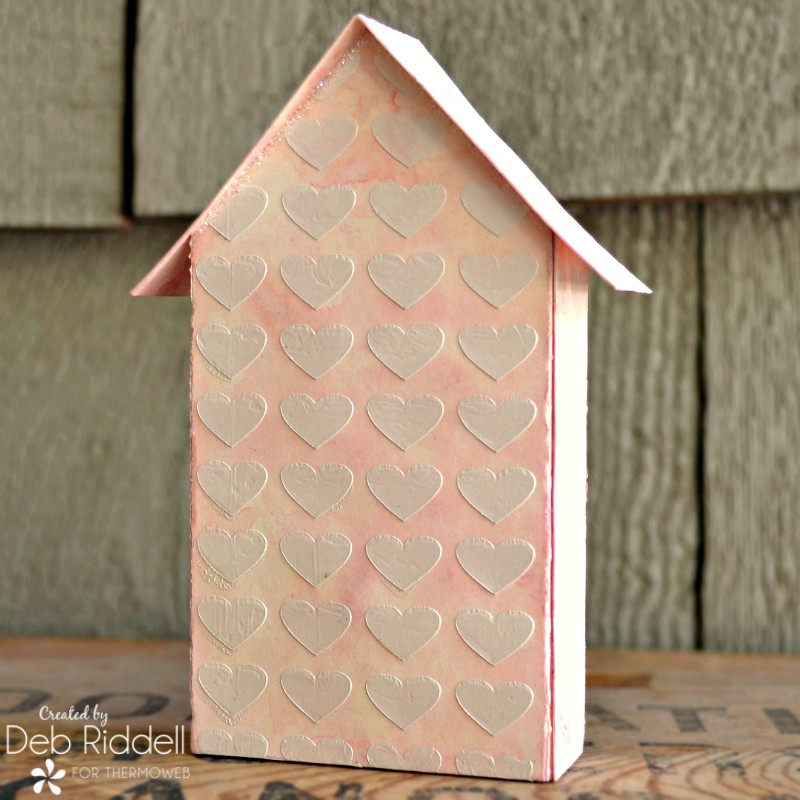
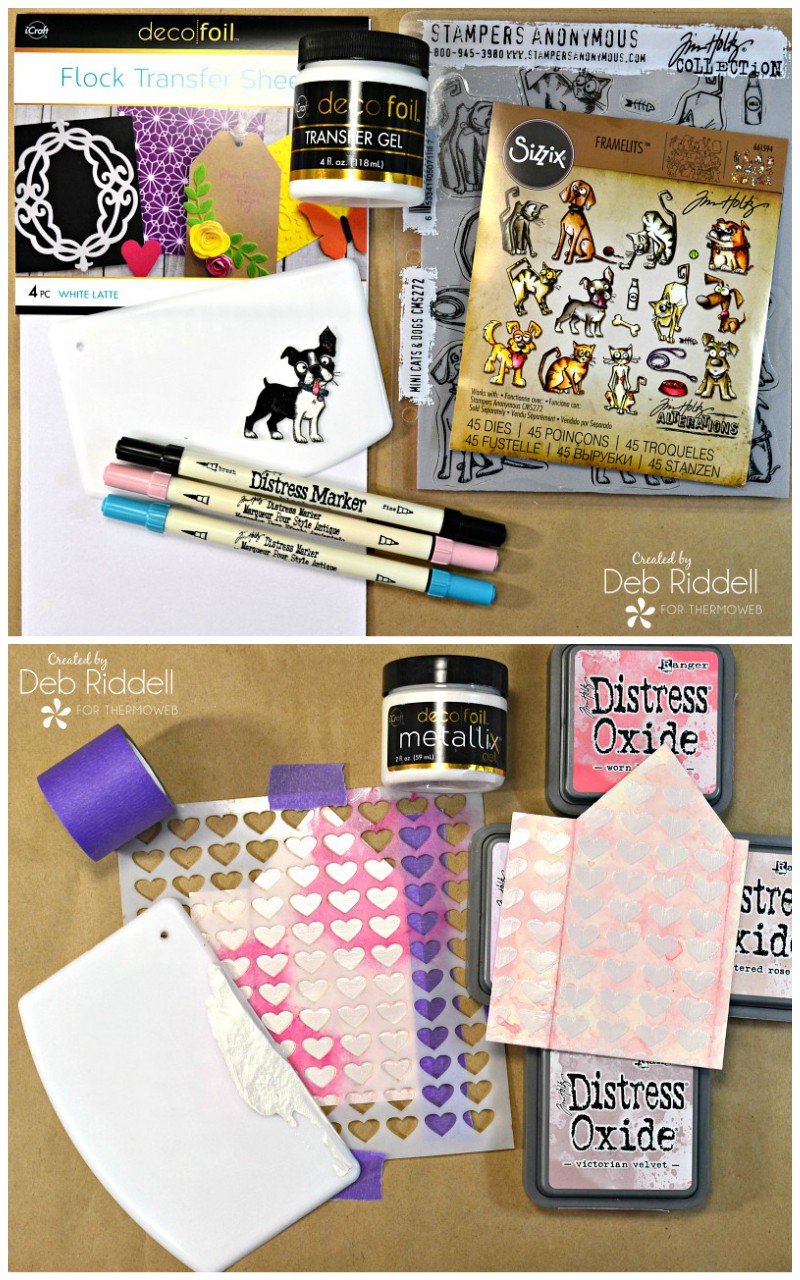 Die cut the largest Tiny House from cardstock, you will need two house pieces (one for the front and one for the back) as well as the roof piece. Colour the die cut house with Distress Oxide Inks (Worn Lipstick, Spun Sugar, Tattered Rose and Victorian Velvet), dipping the die cuts front and back in pools of the Oxide inks until you are happy with the colour. Let dry completely and stencil the front and back pieces of the house with a heart stencil and White Pearl Deco Foil Metallix Gel and your Stencil Pal, holding the stencil in place with Purple Tape. You can also stencil the roof if you'd like. Let the Metallix Gel dry (about an hour or so). I love how the White Pearl Metallix Gel reactivates the pink Oxide inks below to give the stenciled hearts a faint pink glow.
Die cut an opening in the front of the Tiny House with the smallest of Gina K. Designs Single Stitch Nested Rectangle dies.
Die cut the largest Tiny House from cardstock, you will need two house pieces (one for the front and one for the back) as well as the roof piece. Colour the die cut house with Distress Oxide Inks (Worn Lipstick, Spun Sugar, Tattered Rose and Victorian Velvet), dipping the die cuts front and back in pools of the Oxide inks until you are happy with the colour. Let dry completely and stencil the front and back pieces of the house with a heart stencil and White Pearl Deco Foil Metallix Gel and your Stencil Pal, holding the stencil in place with Purple Tape. You can also stencil the roof if you'd like. Let the Metallix Gel dry (about an hour or so). I love how the White Pearl Metallix Gel reactivates the pink Oxide inks below to give the stenciled hearts a faint pink glow.
Die cut an opening in the front of the Tiny House with the smallest of Gina K. Designs Single Stitch Nested Rectangle dies.
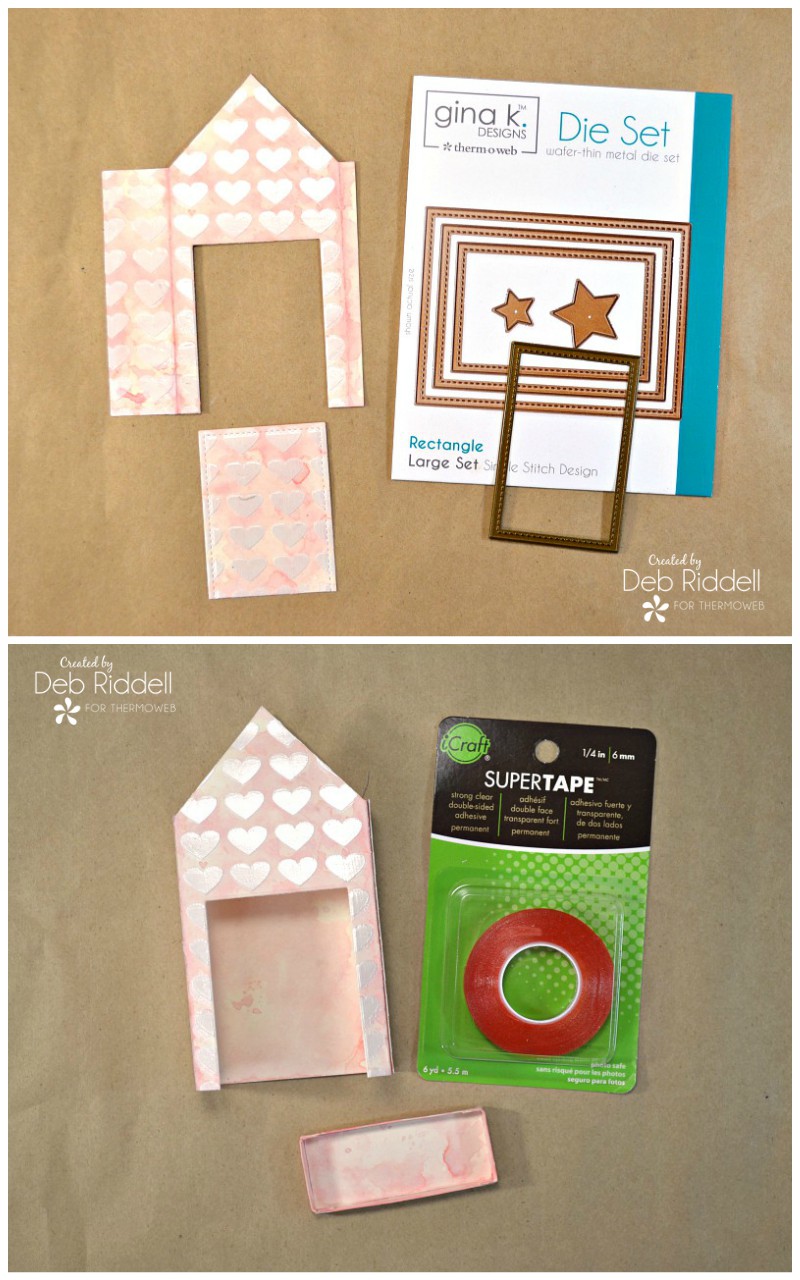 Put the front and back of the Tiny House together with 1/4" iCraft SuperTape. To give the Tiny House stability and to have a place to glue your little Boston terrier, make a 'tray' to fit inside the house. Cut a piece of cardstock coloured with the same colours of Distress Oxide inks to 2 1/2" x 1 1/2", score at 1/4" on all sides, fold up the scored sides and adhere at the corners to form the tray.
Adhere the tray inside the Tiny House with iCraft Ultra Bond Adhesive. Adhere the roof onto the Tiny House with more Ultra Bond Adhesive.
Put the front and back of the Tiny House together with 1/4" iCraft SuperTape. To give the Tiny House stability and to have a place to glue your little Boston terrier, make a 'tray' to fit inside the house. Cut a piece of cardstock coloured with the same colours of Distress Oxide inks to 2 1/2" x 1 1/2", score at 1/4" on all sides, fold up the scored sides and adhere at the corners to form the tray.
Adhere the tray inside the Tiny House with iCraft Ultra Bond Adhesive. Adhere the roof onto the Tiny House with more Ultra Bond Adhesive.
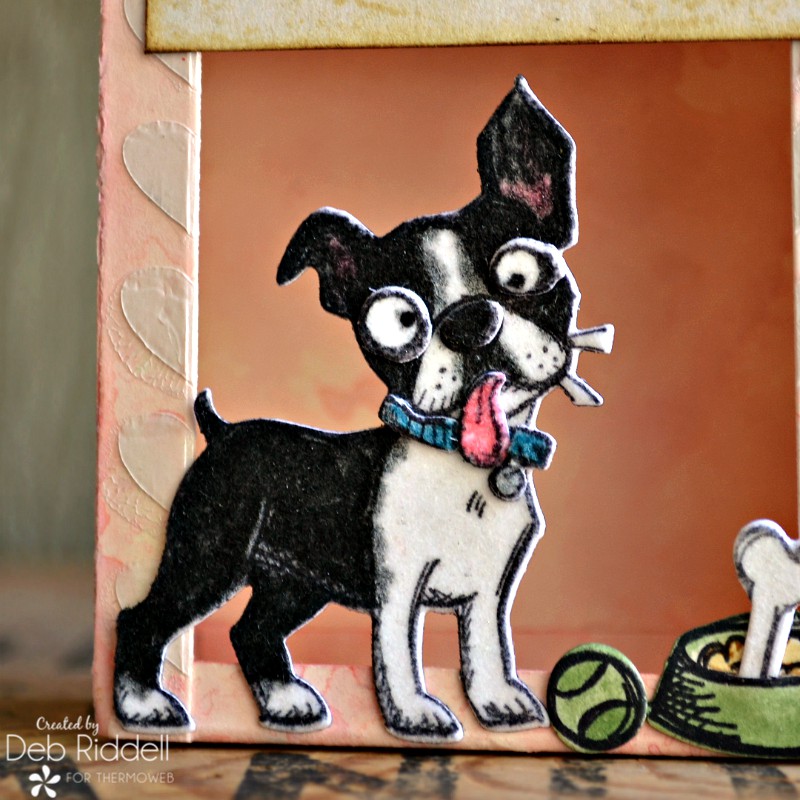
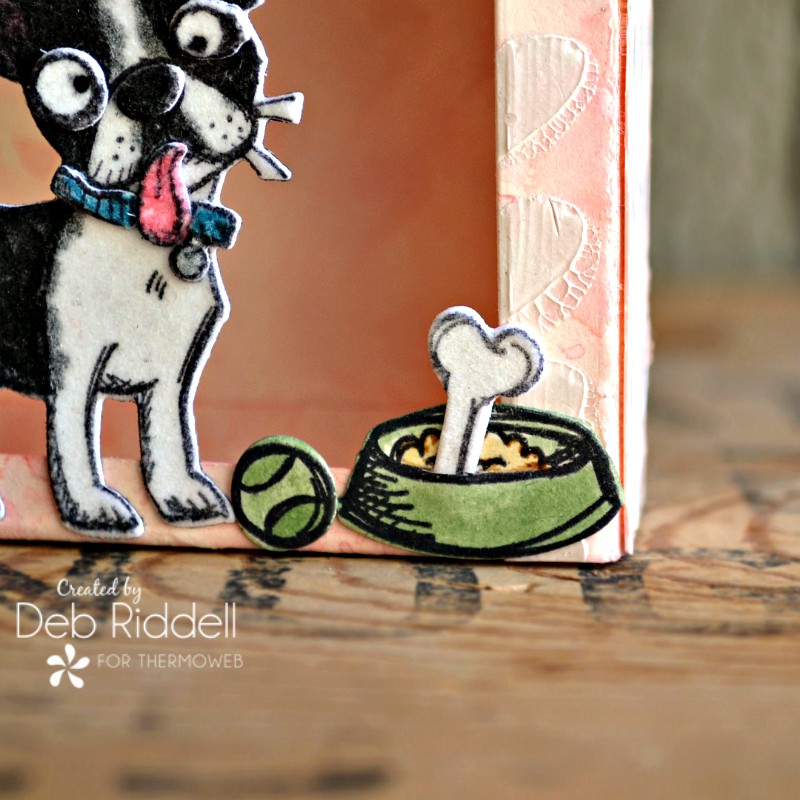
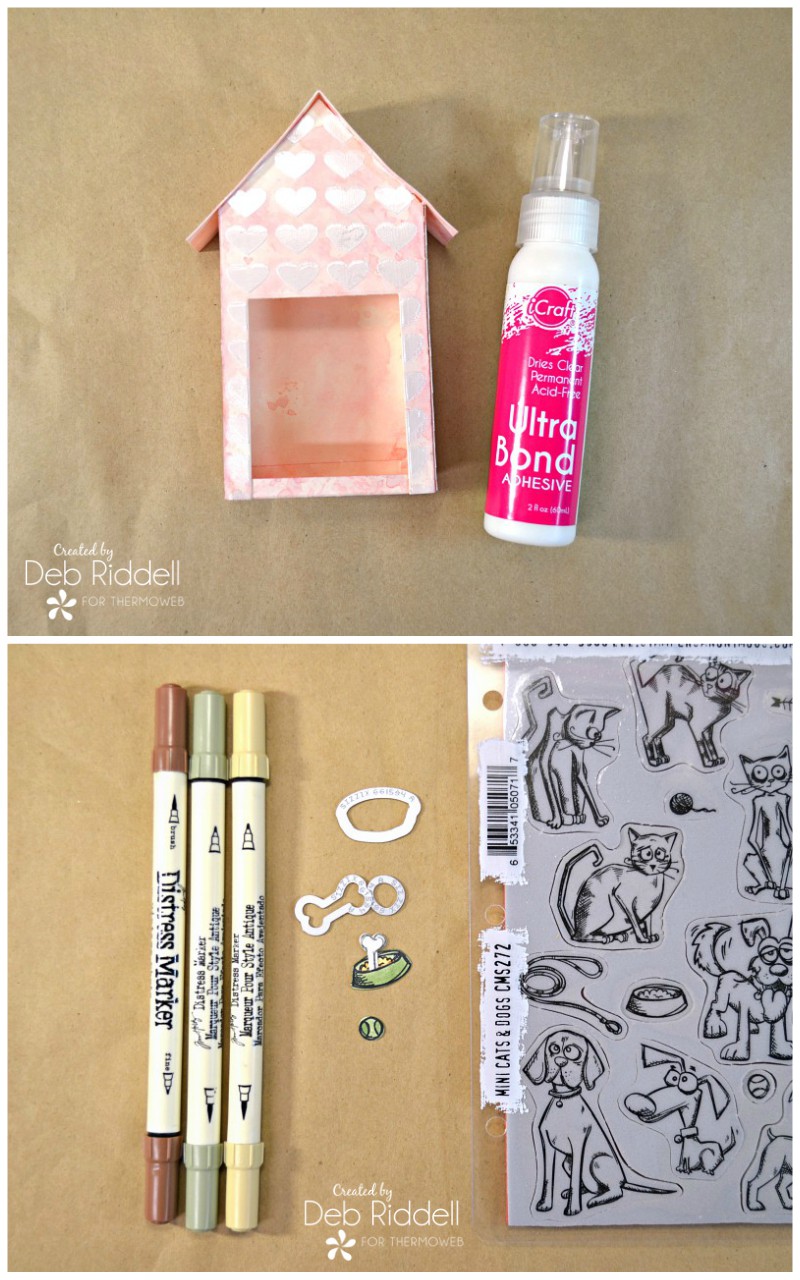 Stamp and die cut a bone from the White Latte flocked cardstock. Stamp and die cut the food dish and ball from cardstock. Colour the dish and ball with Distress Markers (Bundled Sage, Vintage Photo and Antique Linen). Cut one end off of the bone, cut a small slit in the food dish and slide the bone into the slit so it looks like it's in the bowl, adhering it in place with iCraft Ultra Bond Adhesive.
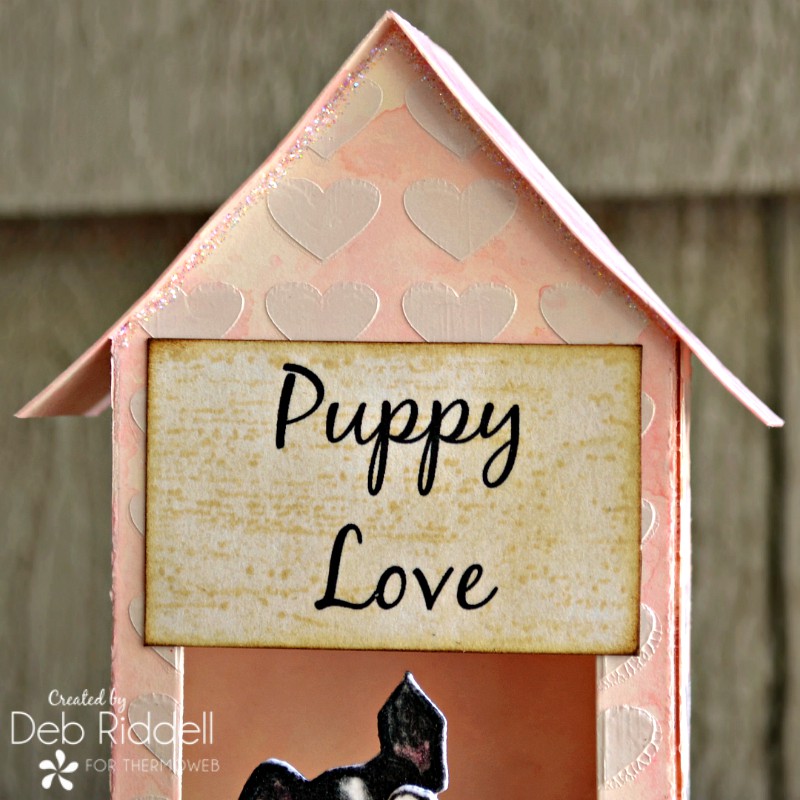
Print out the 'puppy love' sentiment onto white cardstock with your computer (or you can also stamp it if your prefer). Lightly ink the cardstock with Distress Inks (Antique Linen and Old Paper) and then lightly stamp a wood pattern overtop with the Pine background stamp.
Stamp and die cut a bone from the White Latte flocked cardstock. Stamp and die cut the food dish and ball from cardstock. Colour the dish and ball with Distress Markers (Bundled Sage, Vintage Photo and Antique Linen). Cut one end off of the bone, cut a small slit in the food dish and slide the bone into the slit so it looks like it's in the bowl, adhering it in place with iCraft Ultra Bond Adhesive.
Print out the 'puppy love' sentiment onto white cardstock with your computer (or you can also stamp it if your prefer). Lightly ink the cardstock with Distress Inks (Antique Linen and Old Paper) and then lightly stamp a wood pattern overtop with the Pine background stamp.
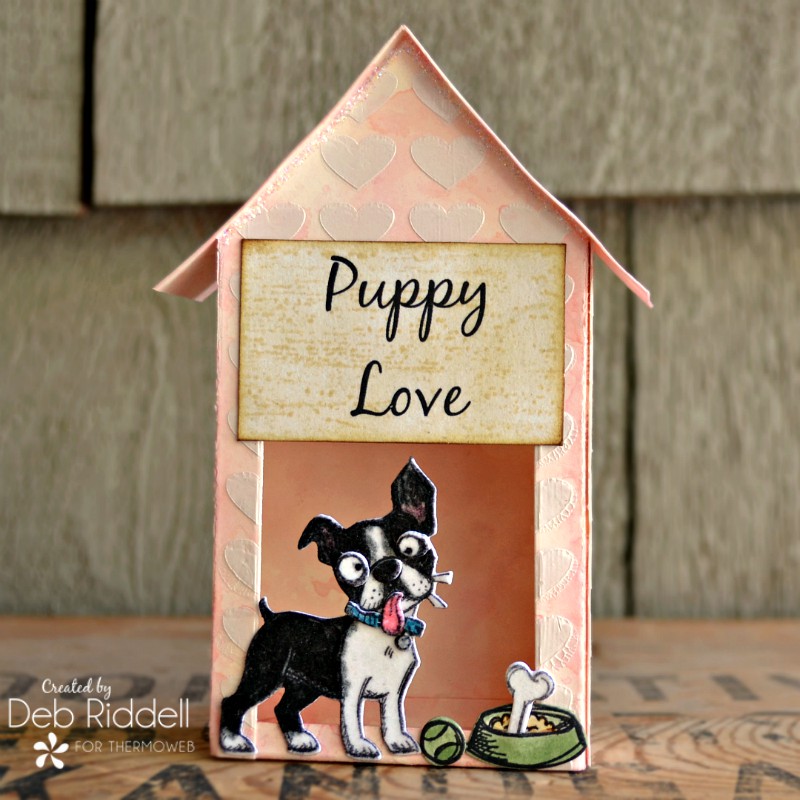
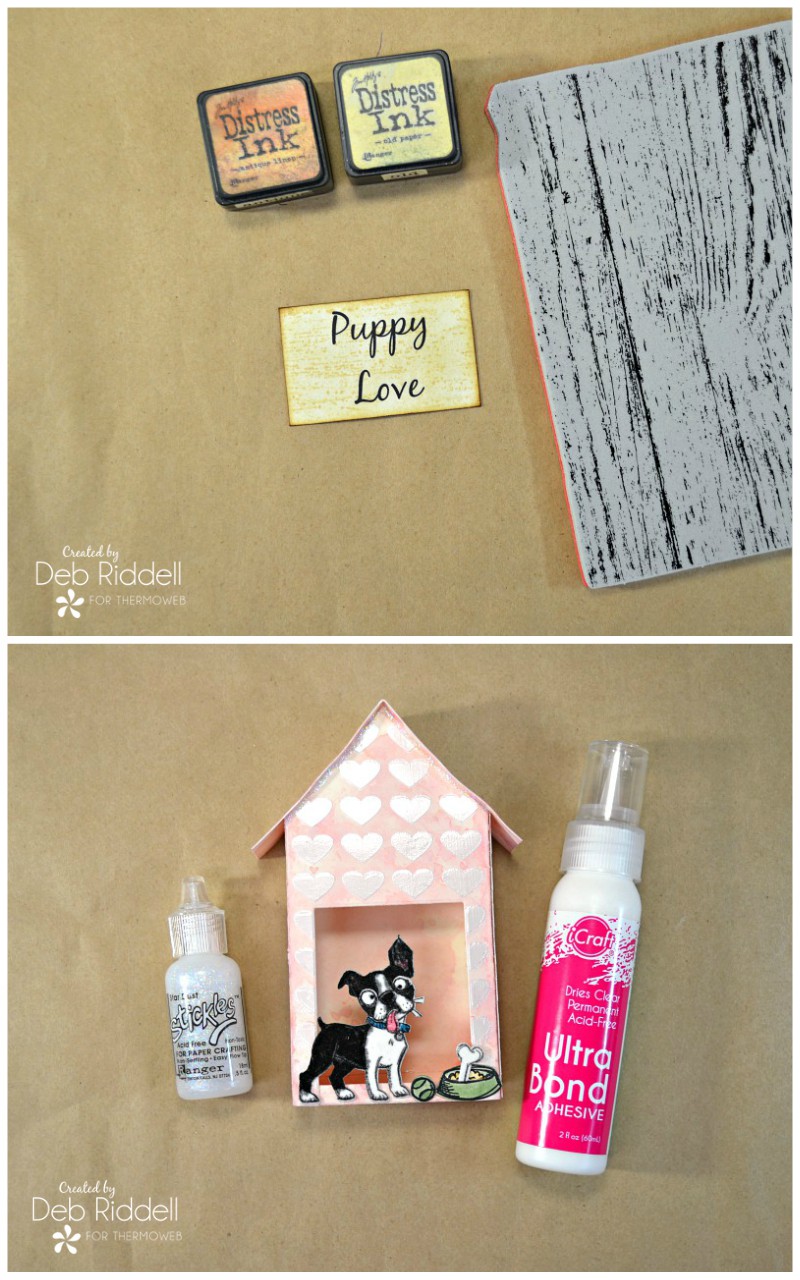 Adhere the Boston terrier, his food dish and bowl along the bottom edge of the Tiny House. Add a line of Stardust Stickles Glitter glue underneath the 'eaves' of the house to cover any gaps.
Adhere the puppy love sentiment to the Tiny House with iCraft Ultra Bond Adhesive and you are done!
Adhere the Boston terrier, his food dish and bowl along the bottom edge of the Tiny House. Add a line of Stardust Stickles Glitter glue underneath the 'eaves' of the house to cover any gaps.
Adhere the puppy love sentiment to the Tiny House with iCraft Ultra Bond Adhesive and you are done!
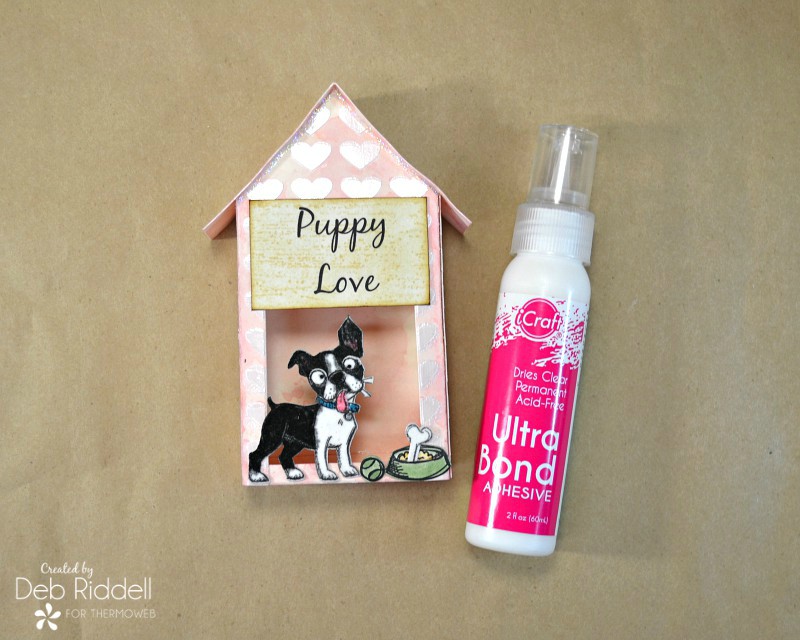 Here are a few close-ups of the finished project.

 This would make such a fun gift for someone who just got a new puppy or you could change up the sentiment and add the dog's name as a keepsake.
Lots of fun possibilities with this one, hope that you've enjoyed seeing it and happy creating!
Deb xo
This would make such a fun gift for someone who just got a new puppy or you could change up the sentiment and add the dog's name as a keepsake.
Lots of fun possibilities with this one, hope that you've enjoyed seeing it and happy creating!
Deb xo