No Products in the Cart

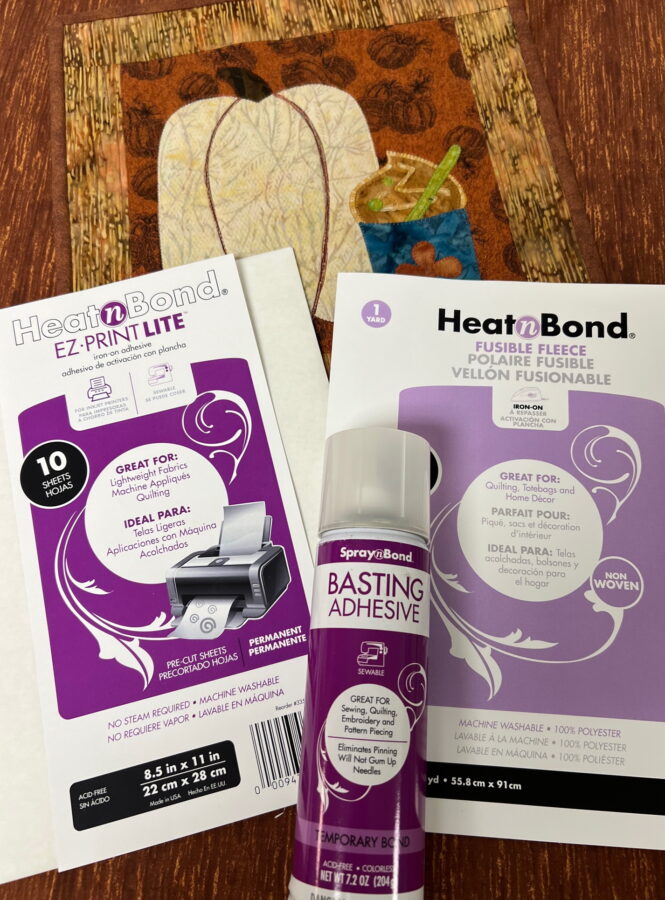
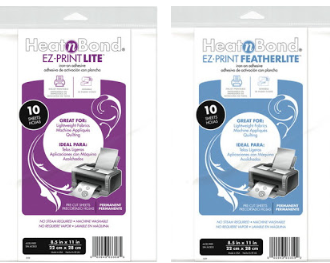 The pattern is printer-friendly using HeatNBond EZ Print Lite sheets. I love that I don't have to trace anymore. I just pop a sheet into my printer and hit the print button. It comes in two different weights, "EZ Print Lite" and "EZ Print Featherlite" for multi-layer projects.
Cut apart the pieces and fuse them on the back side of the fabrics. Cut out when cool. Before removing the paper from the pumpkin, using a light box or window, trace the stitching lines on the front side of the fabric using an erasable pencil.
The pattern is printer-friendly using HeatNBond EZ Print Lite sheets. I love that I don't have to trace anymore. I just pop a sheet into my printer and hit the print button. It comes in two different weights, "EZ Print Lite" and "EZ Print Featherlite" for multi-layer projects.
Cut apart the pieces and fuse them on the back side of the fabrics. Cut out when cool. Before removing the paper from the pumpkin, using a light box or window, trace the stitching lines on the front side of the fabric using an erasable pencil.
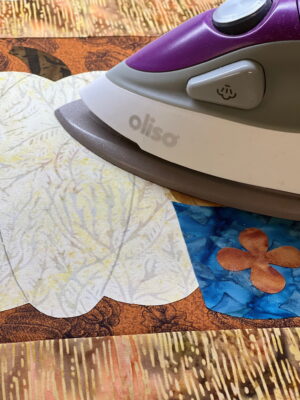 Arrange appliques on an applique pressing sheet and fuse in place. Once cool move to the background piece and fuse using the manufacturer's instructions.
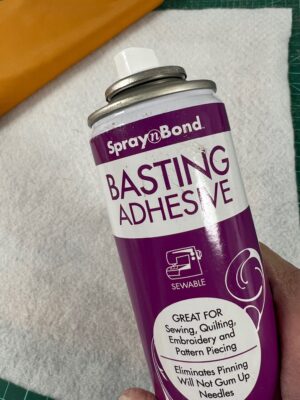 Turn the piece over on the back and spray with SprayNBond®Basting Adhesive. Lay backing down over it and smooth it in place. The basting spray will keep it from shifting, as you stitch.
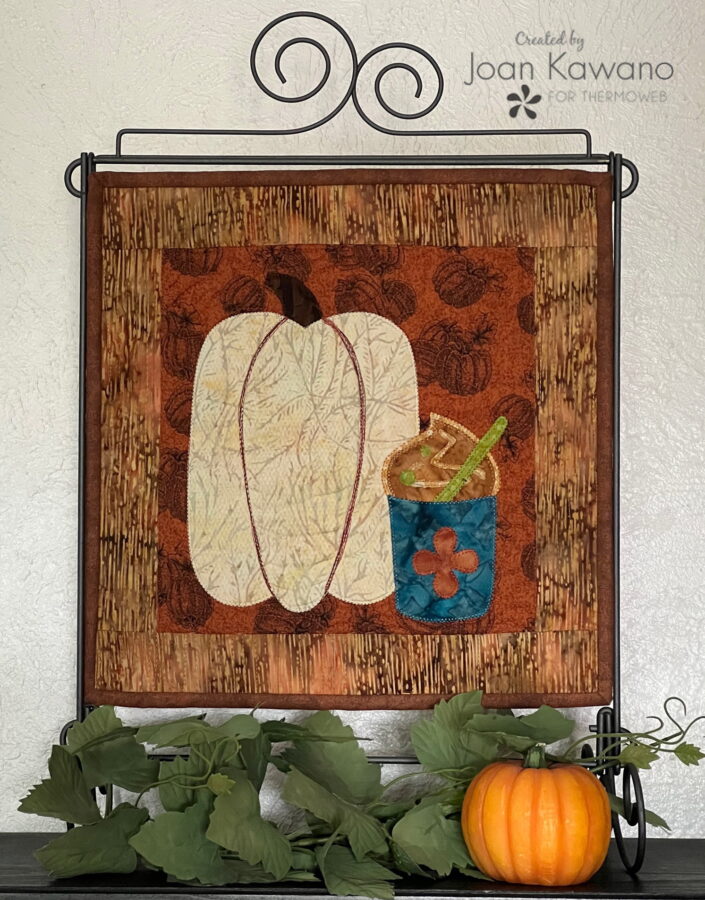
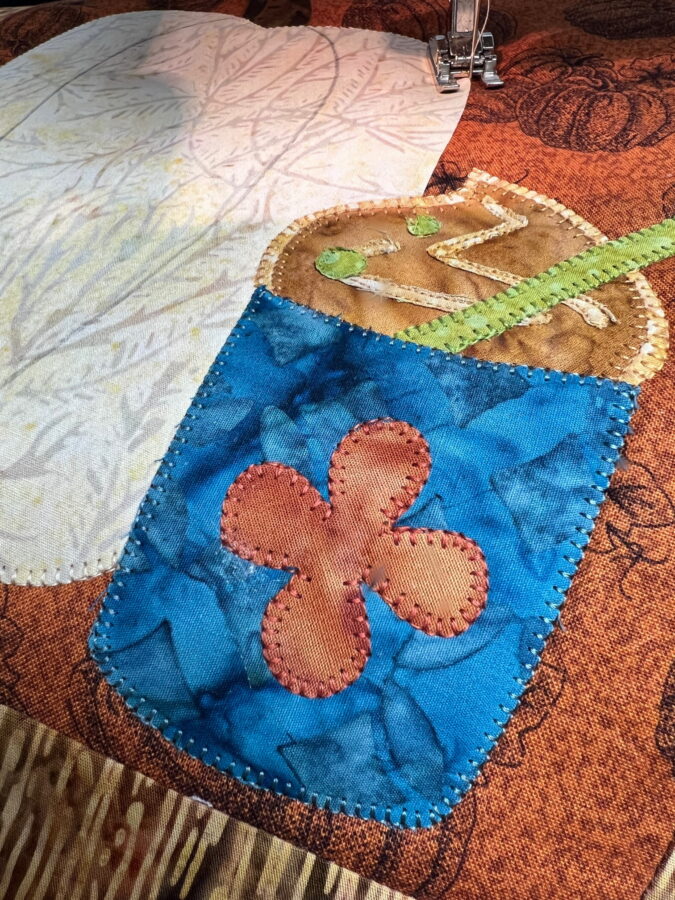 Stitch as desired. Try some thread painting on the pumpkin by layering your thread colors. Start with the darkest first and work up to the lightest. It’s fun to do and adds so much to the overall look. When complete trim off excess batting, then trim the piece to 12 ½” x 12 ½”.
Fold the ends of the 12”x 2” backing strip under ¼” and stitch.
Fold in half lengthwise and press. Attach to the top of your mini quilt using a scant ¼” seam.
This will create a sleeve that will be used as a hanger.
Attach binding.
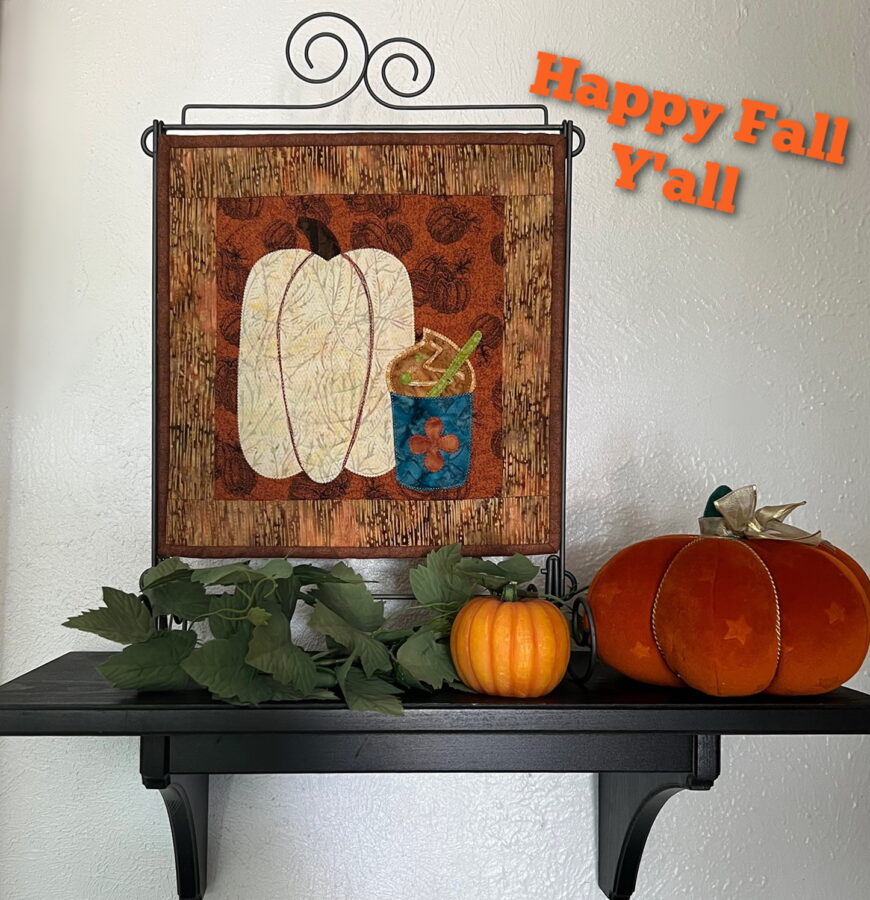
Mini fits on a standard 12” mini hanger.
Stitch as desired. Try some thread painting on the pumpkin by layering your thread colors. Start with the darkest first and work up to the lightest. It’s fun to do and adds so much to the overall look. When complete trim off excess batting, then trim the piece to 12 ½” x 12 ½”.
Fold the ends of the 12”x 2” backing strip under ¼” and stitch.
Fold in half lengthwise and press. Attach to the top of your mini quilt using a scant ¼” seam.
This will create a sleeve that will be used as a hanger.
Attach binding.
Mini fits on a standard 12” mini hanger.
 Enjoy!
Joan
Enjoy!
Joan