No Products in the Cart
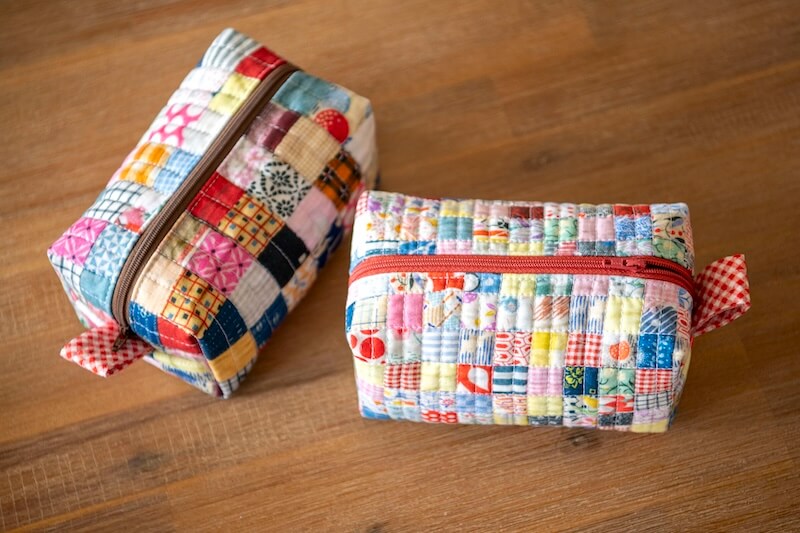 Today we are going to be sewing with a fun Treasured Threadz patchwork panel by Amy Barickman called “Postage Stamp Retro”. Looks like you spent all day cutting out tiny fabric squares and sewing them together when in reality it’s all been done for you. The panel block we will be using is the exact measurements we need as well. Win, win. Let’s get started.
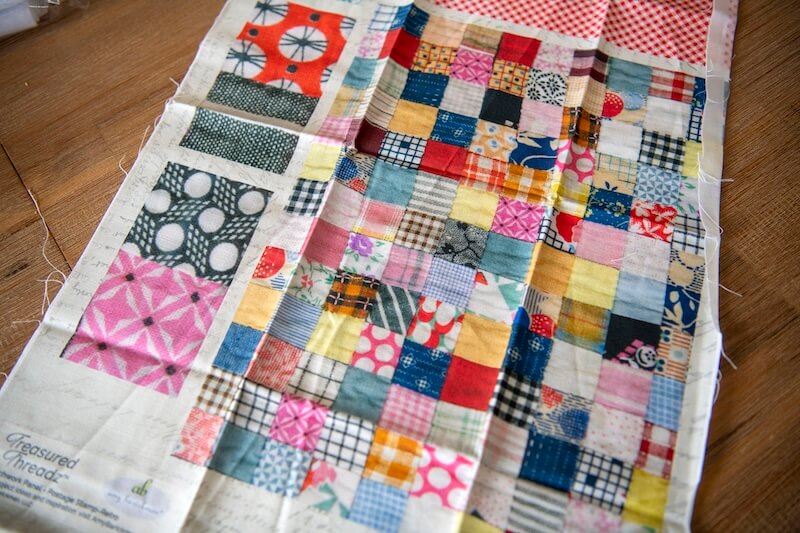 Open your Treasured Threadz panel. We will work with one of the larger patchwork panels.
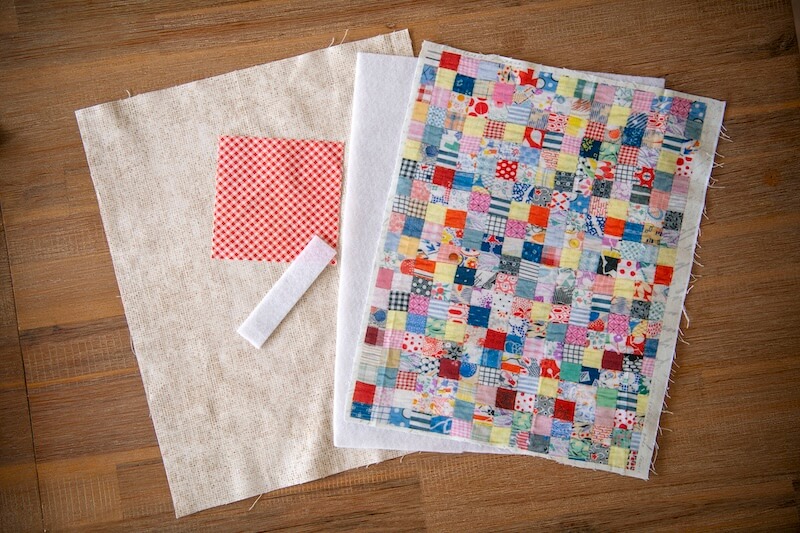 Cut out one of the larger panels (10.5”x13.5”) leaving approximately ¼” extra around the outside. From one of the solid fabric blocks cut a 4.5” square (this will be our tab).
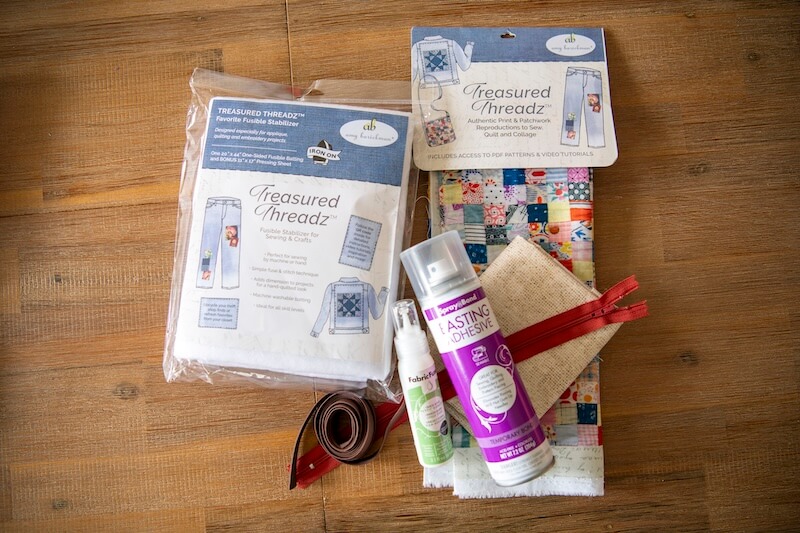
From your Favorite Fusible Stabilizer, cut a 10.5”x13.5” rectangle as well as a 1”x4.5” strip.
From your lining cut a rectangle a tad larger than your main panel. I cut mine at 12”X15”. We will be trimming it down later.
Cut out one of the larger panels (10.5”x13.5”) leaving approximately ¼” extra around the outside. From one of the solid fabric blocks cut a 4.5” square (this will be our tab).
From your Favorite Fusible Stabilizer, cut a 10.5”x13.5” rectangle as well as a 1”x4.5” strip.
From your lining cut a rectangle a tad larger than your main panel. I cut mine at 12”X15”. We will be trimming it down later.
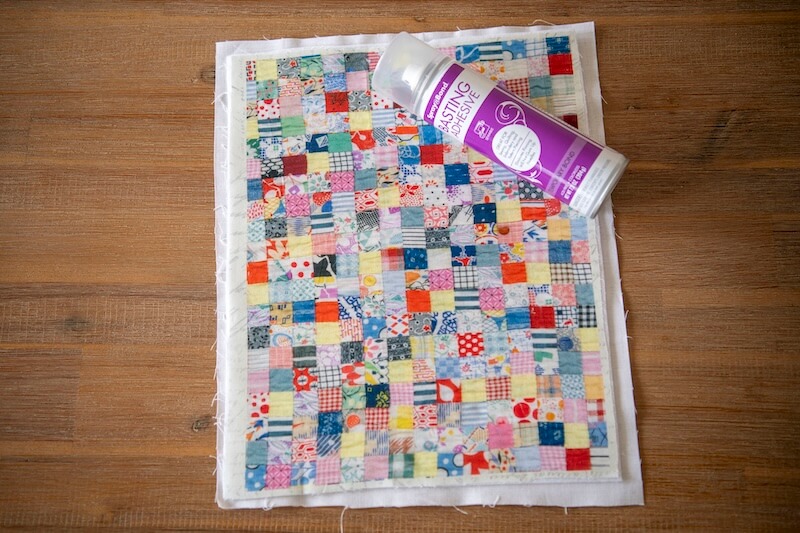 Ok, let’s get assembling. Take your fusible stabilizer and your main patchwork panel. Adhere the fabric to your stabilizer. Next grab your backing fabric and your SpraynBond Basting Adhesive. Use the spray to adhere the backing fabric to the back of the stabilizer. You want the right sides of your fabrics facing out with the stabilizer sandwiched between the two.
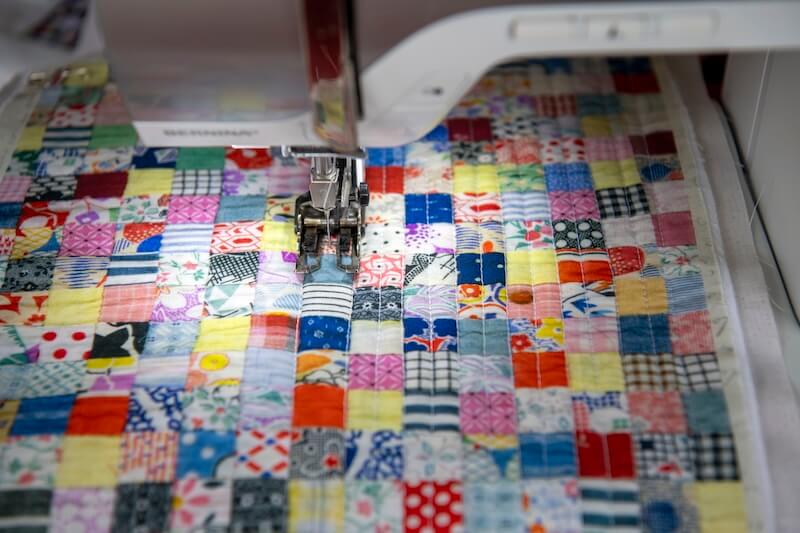 Quilt your panel as desired.
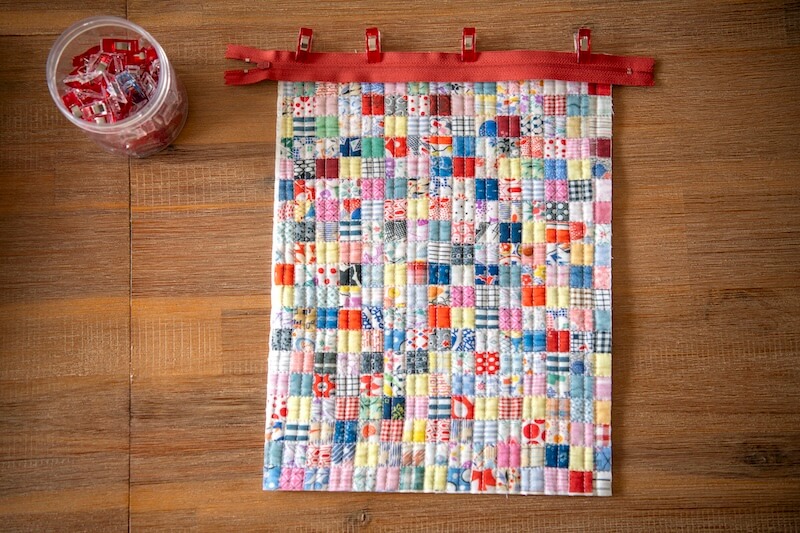 Trim and square up your panel after you finish your quilting. Next, install your zipper on the shorter sides of your panel.
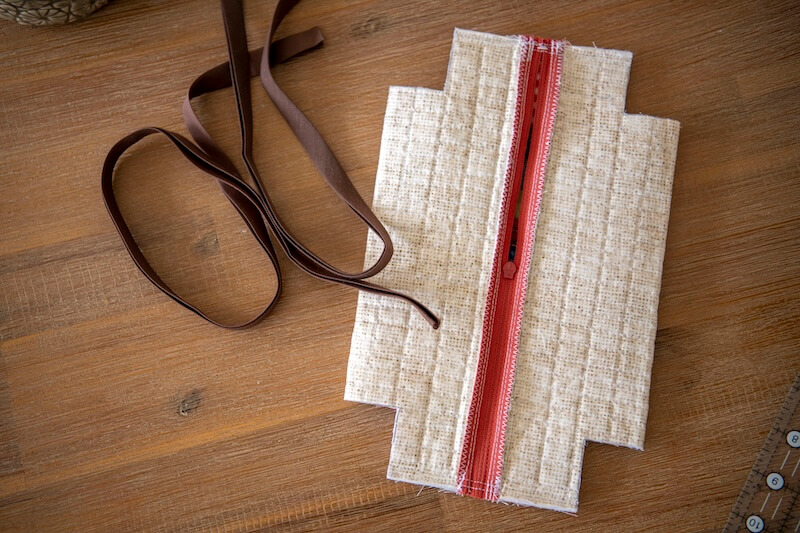
 After installing your zipper, your panel should look like this. Next we will be making the tab.
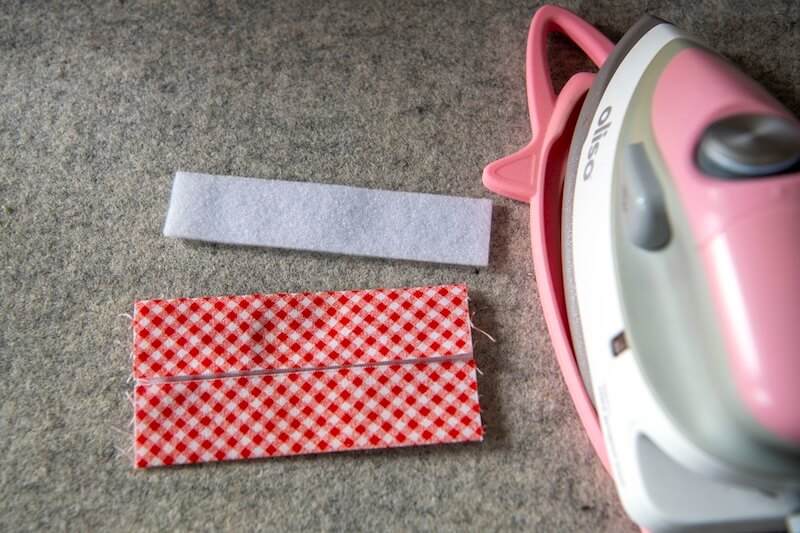 Take your remaining strip of stabilizer and your 4.5” square. Fold your square as you would double-fold bias tape. Fold down the middle to find the center, then fold both outer edges in to meet that point and press as shown above. Place the stabilizer on one half, fold fabric to sandwich the stabilizer in the middle and stitch closed, adding more quilting if desired. Fold in half and sew together at the short ends to create a loop.
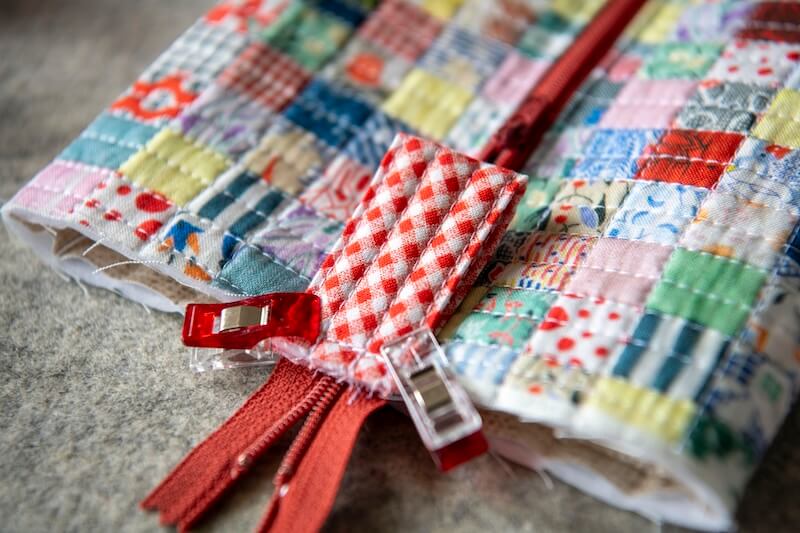 Take your loop and attach it to your main panel, lining it up with the zipper pull side of your zipper tape. Make sure not to catch the underside of the panel. Move the zipper pull toward the center of the zipper to leave an opening for turning later. Turn your panel wrong side out.
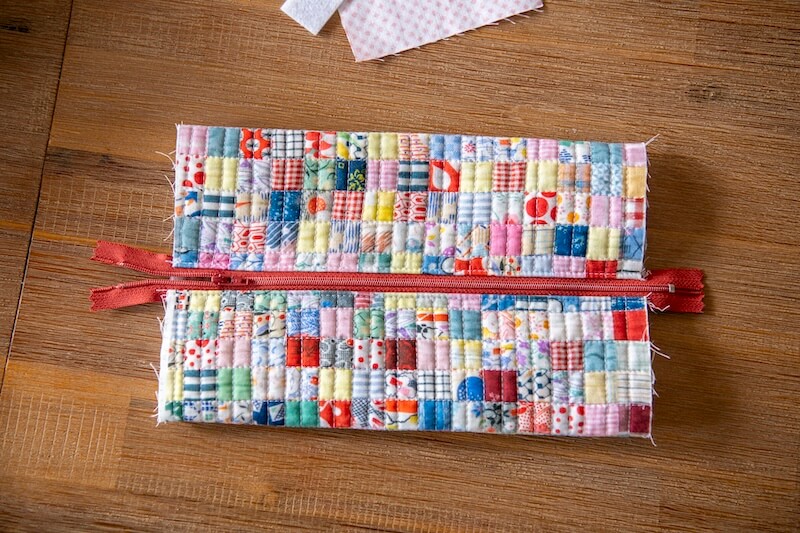
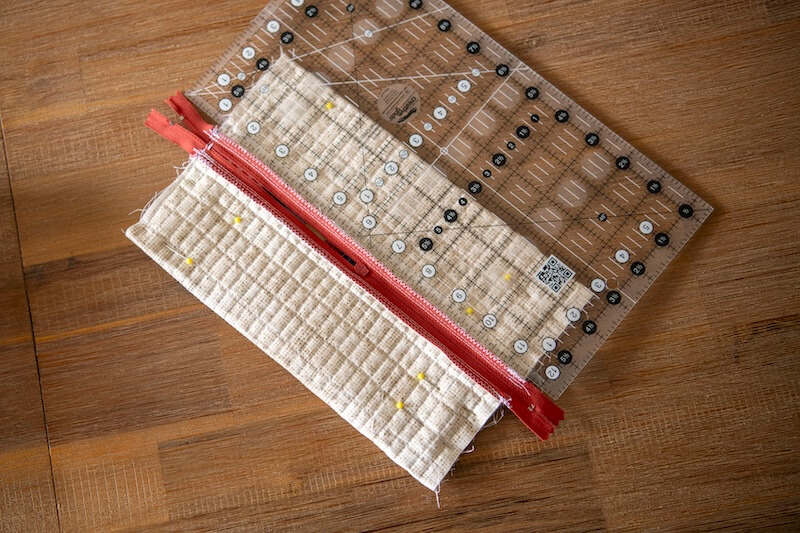 Lay the panel flat and move it about until the zipper tape is centered and equal on both sides. There should be approximately 2-3 ⁄ 4'' on both sides of the zipper tape. Pin the raw edge ends together.
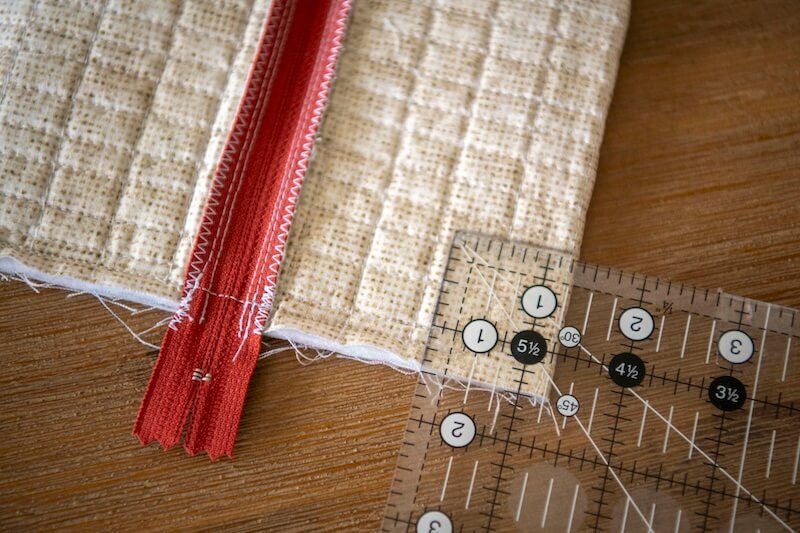 Sew along the ends using a ¼” seam allowance. Then, box the sides by drawing 1-¼” squares in each corner. Make sure to measure from your seam line on the ends (so on the ends where you just sewed, you’d measure in 1-½” inches from the end to make up for that ¼" seam).
 Cut out your squares and trim up the excess zipper tape.
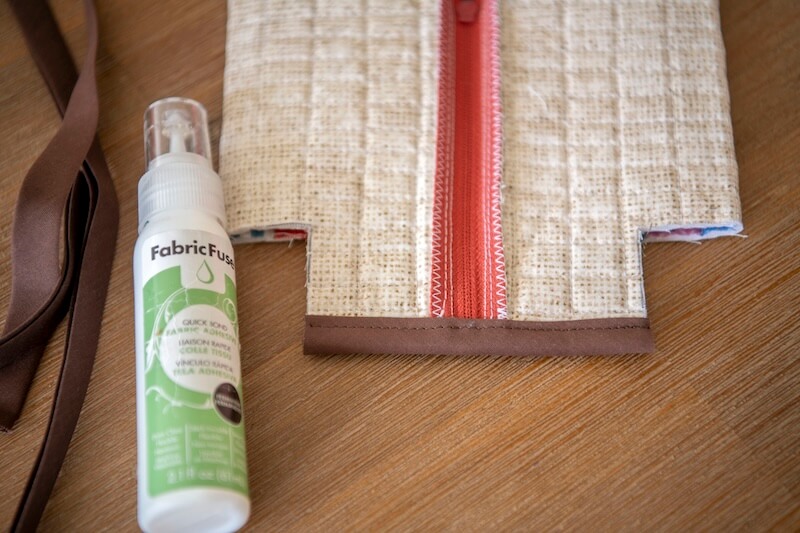 Either zigzag your seams or cover in double-fold bias tape. I use the Fabric Fuse glue to help secure the bias tape in place before topstitching. Repeat at both ends.
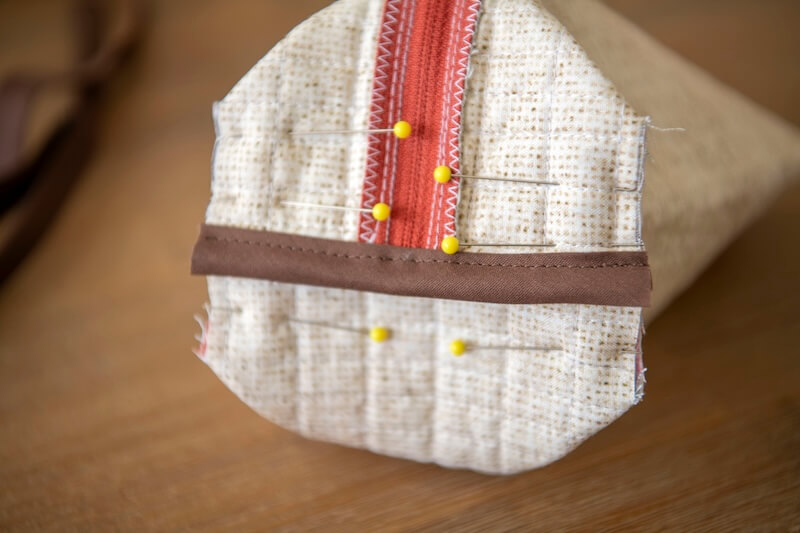 Once the bias tape is done, we will sew our boxed corners. Place your fingers inside the first corner and pull until the two cut edges come together. Flatten out the fabric and pin. Repeat with the other three corners. Sew each, making sure to back stitch at the beginning and end.
 Cover those seams with your bias tape or zigzag the ends so your raw edges are treated.
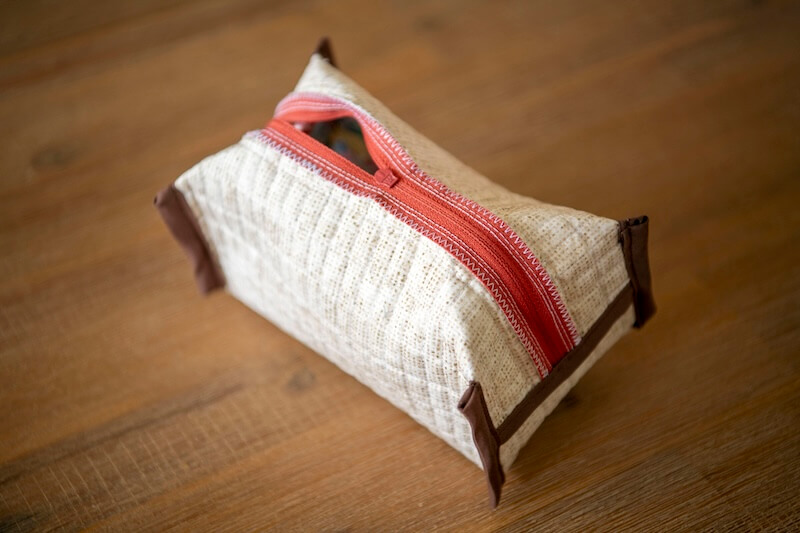
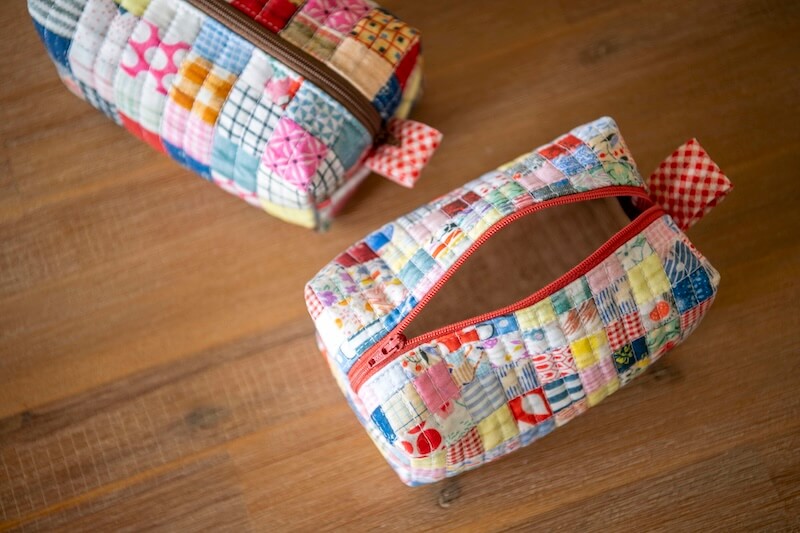 Turn right side out through zipper opening and you are finished! Such a fun little project and makes a great quick gift. Thanks for sewing along with me today!