No Products in the Cart
 Noriko caught our eye when we were browsing on Instagram...we loved her use of color and style and thought she would be perfect to join us this month!
Hello, and Welcome!
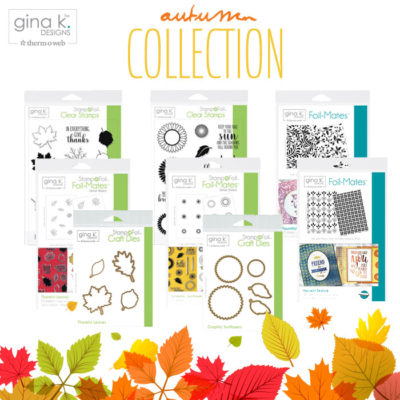
My name is Noriko and I am thrilled to be joining you all as a Guest Designer for Thermoweb sharing a card project featuring the new Gina K. Designs Graphic Sunflowers StampnFoil! These products are sure to warm your heart and prepare you for a beautiful Fall season. Let’s get started! Below are step-by-step instructions on how I created this card.
Noriko caught our eye when we were browsing on Instagram...we loved her use of color and style and thought she would be perfect to join us this month!
Hello, and Welcome!
My name is Noriko and I am thrilled to be joining you all as a Guest Designer for Thermoweb sharing a card project featuring the new Gina K. Designs Graphic Sunflowers StampnFoil! These products are sure to warm your heart and prepare you for a beautiful Fall season. Let’s get started! Below are step-by-step instructions on how I created this card.
 Title: Graphic Sunflowers
Guest Designer: Noriko Fairchild
Thermoweb Supplies:
Gina K Designs Supplies:
Title: Graphic Sunflowers
Guest Designer: Noriko Fairchild
Thermoweb Supplies:
Gina K Designs Supplies:
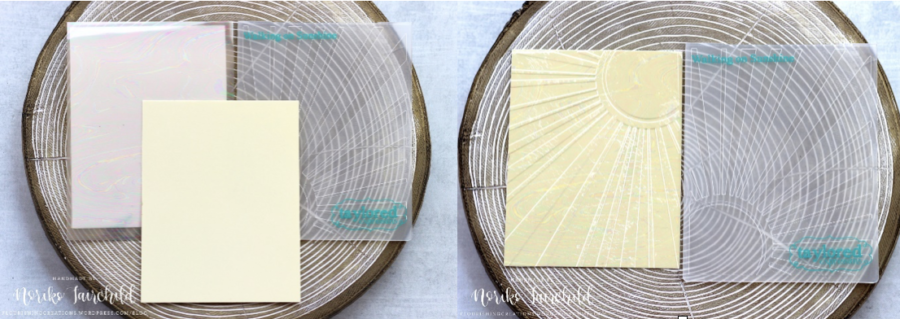 Next, die cut a piece of cream colored cardstock using the Gina K. Designs Single Stitched Circle Dies (smallest circle die). This small circle will be adhered in the upper right-hand corner of the card along with a stamped sentiment, “Hello Sunshine”, from the new Gina K. Designs Graphic Sunflowers stamp set.
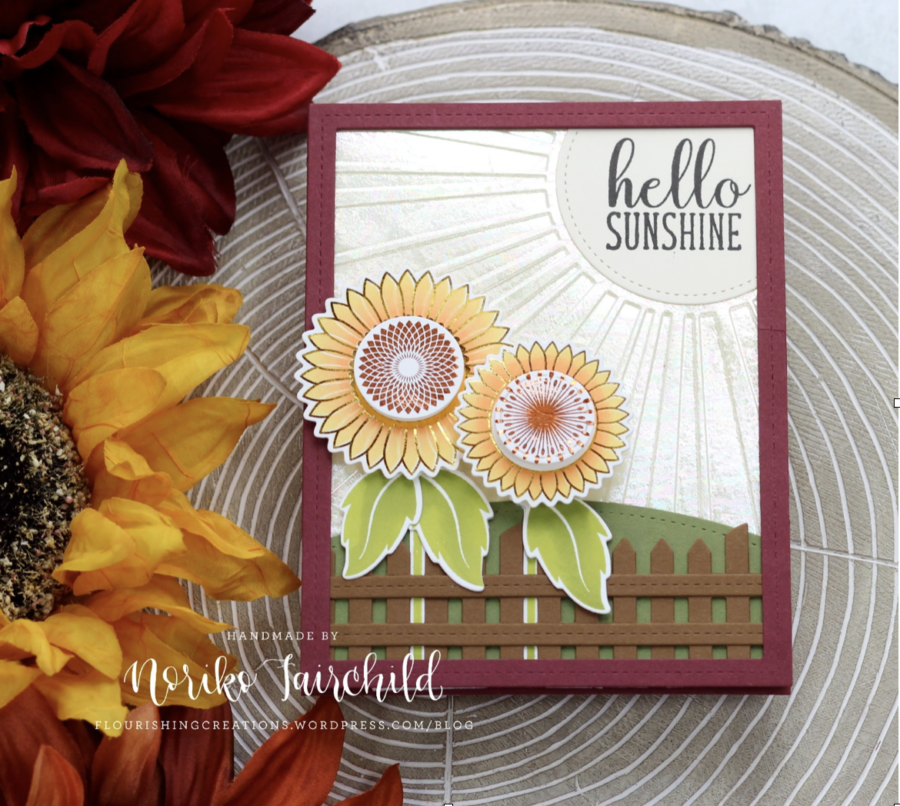
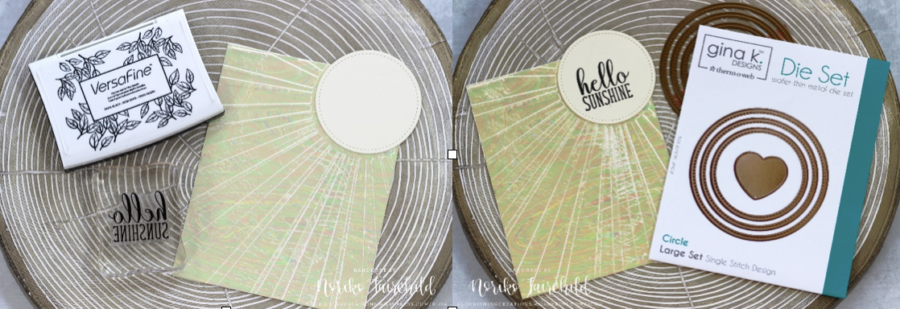 Now, the background panel is complete with beautiful foiled rays of sunshine and a happy sentiment!
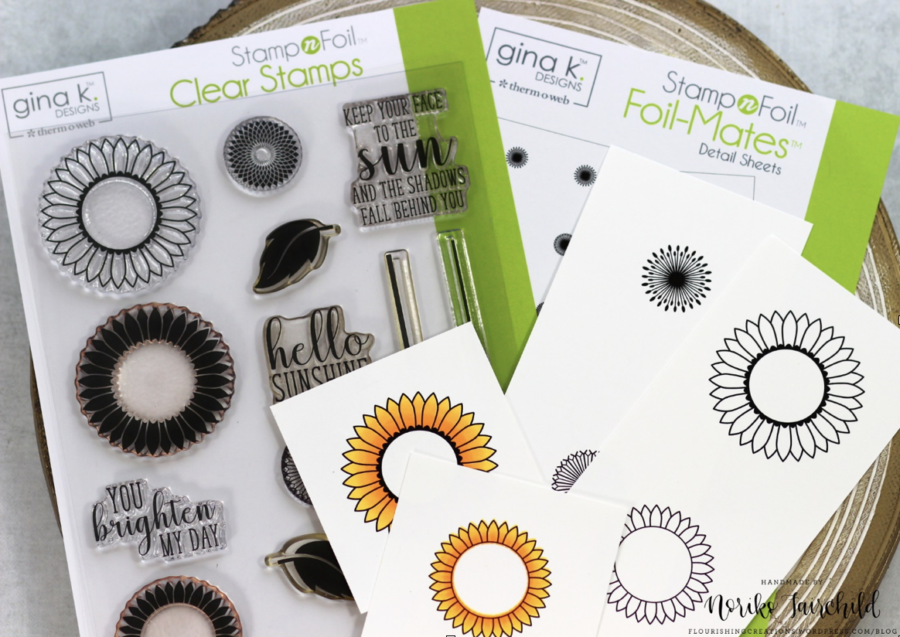
Onto the “StampnFoil” technique! Gather the pre-toner Gina K. Designs Graphic Sunflowers StampnFoil images as well as the coordinating stamp set. Ink the sunflower stamps with your desired colors over the coordinating pre-toner images. This will allow you to color the pre-toner images by inking and stamping.
Now, the background panel is complete with beautiful foiled rays of sunshine and a happy sentiment!
Onto the “StampnFoil” technique! Gather the pre-toner Gina K. Designs Graphic Sunflowers StampnFoil images as well as the coordinating stamp set. Ink the sunflower stamps with your desired colors over the coordinating pre-toner images. This will allow you to color the pre-toner images by inking and stamping.
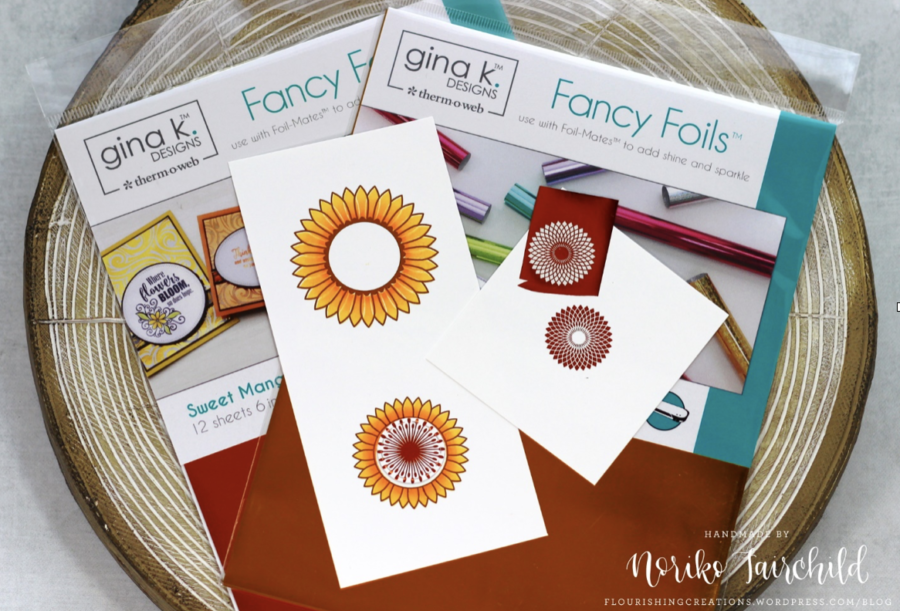
 After the ink has dried, get your heating element ready for foiling! Once your heating element is hot, place the now inked and pre-toner images into a carrying sheet with Gina K. Designs Fancy Foils (colored side facing up).
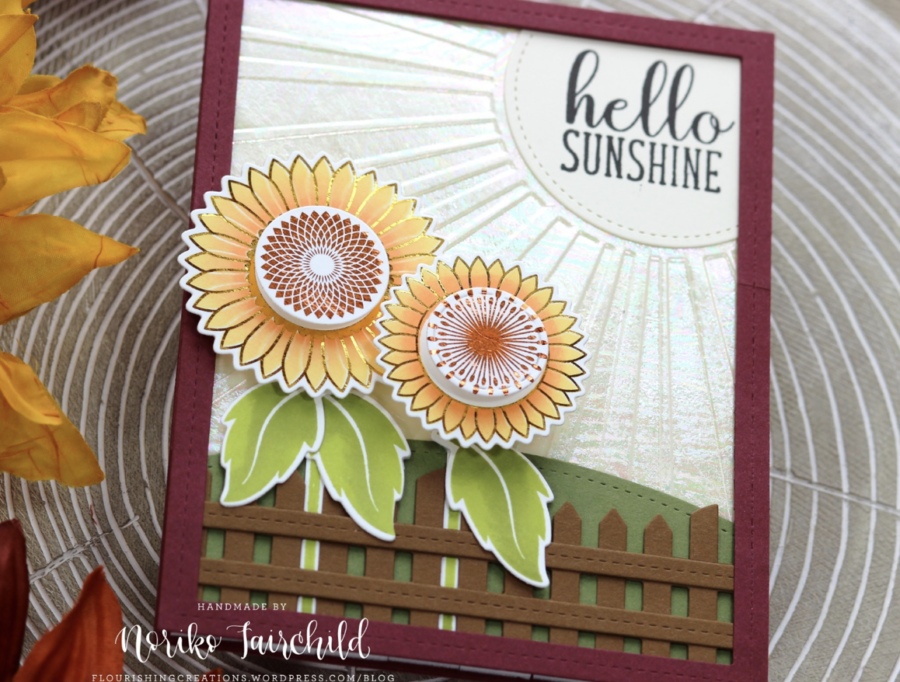
 Once the images are finished running through your heating element, carefully remove the foil to reveal the most beautiful foiling effect! Die cut your images, securing them with ThermOWeb Purple Tape, using the coordinating Gina K. Designs Graphic Sunflowers Dies. Set die-cut images aside to be added to the card project at the end.
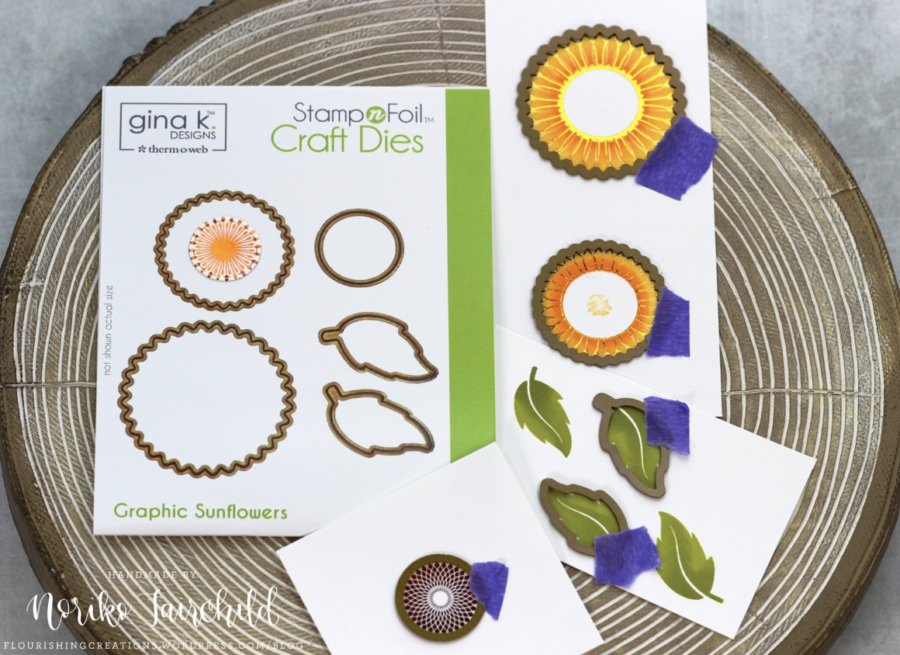 Ink and stamp (with desired colors) the stem and leaf images from the Gina K. Designs Graphic Sunflowers stamp set. Die cut the leaf images out and hand cut (optional) the stem images. Set cut images aside to be added to the card project at the end.
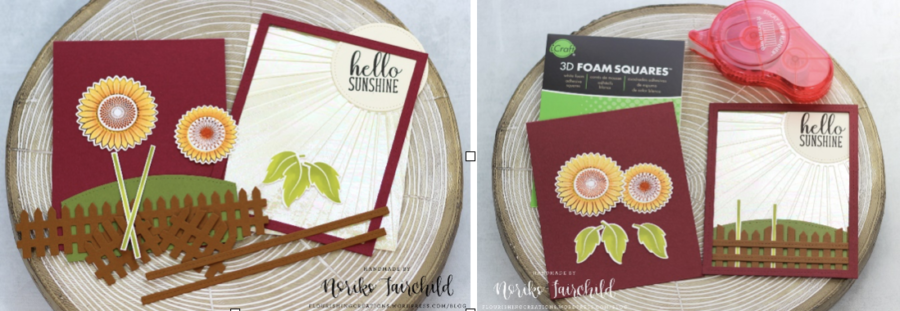 Using a few Lawn Fawn stitched dies, die cut a picket fence, hillside border and rectangle frame to create a scene for the sunflowers to sit upon. The warm-toned cardstock colors that were used to build the scene were from Gina K Designs and Taylored Expressions. They provide the richest colors of cardstock, while at the same time providing a good thickness for sturdy die cut images and card bases.
Lastly, layer/adhere/pop-up all the images together to build a wonderful scene.
Using a few Lawn Fawn stitched dies, die cut a picket fence, hillside border and rectangle frame to create a scene for the sunflowers to sit upon. The warm-toned cardstock colors that were used to build the scene were from Gina K Designs and Taylored Expressions. They provide the richest colors of cardstock, while at the same time providing a good thickness for sturdy die cut images and card bases.
Lastly, layer/adhere/pop-up all the images together to build a wonderful scene.
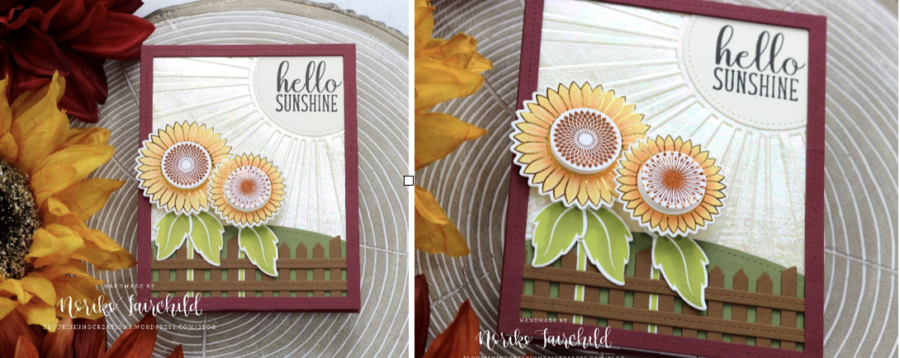 That’s it for my card project today featuring the new Gina K. Designs Graphic Sunflowers StampnFoil set! A huge thank you to Thermoweb for having me! I hope everyone has the most wonderful day! Ciao!
-Noriko
THANKS NORIKO!
Our special thanks to Noriko for joining us for our NEW Gina K. Designs Autumn StampnFoil Release! Be sure to follow her on Instagram and stop by her blog for more tutorials ideas and inspiration! Noriko will be back with us again this month so be sure to keep a watch out! She's one talented designer!!
That’s it for my card project today featuring the new Gina K. Designs Graphic Sunflowers StampnFoil set! A huge thank you to Thermoweb for having me! I hope everyone has the most wonderful day! Ciao!
-Noriko
THANKS NORIKO!
Our special thanks to Noriko for joining us for our NEW Gina K. Designs Autumn StampnFoil Release! Be sure to follow her on Instagram and stop by her blog for more tutorials ideas and inspiration! Noriko will be back with us again this month so be sure to keep a watch out! She's one talented designer!!