No Products in the Cart
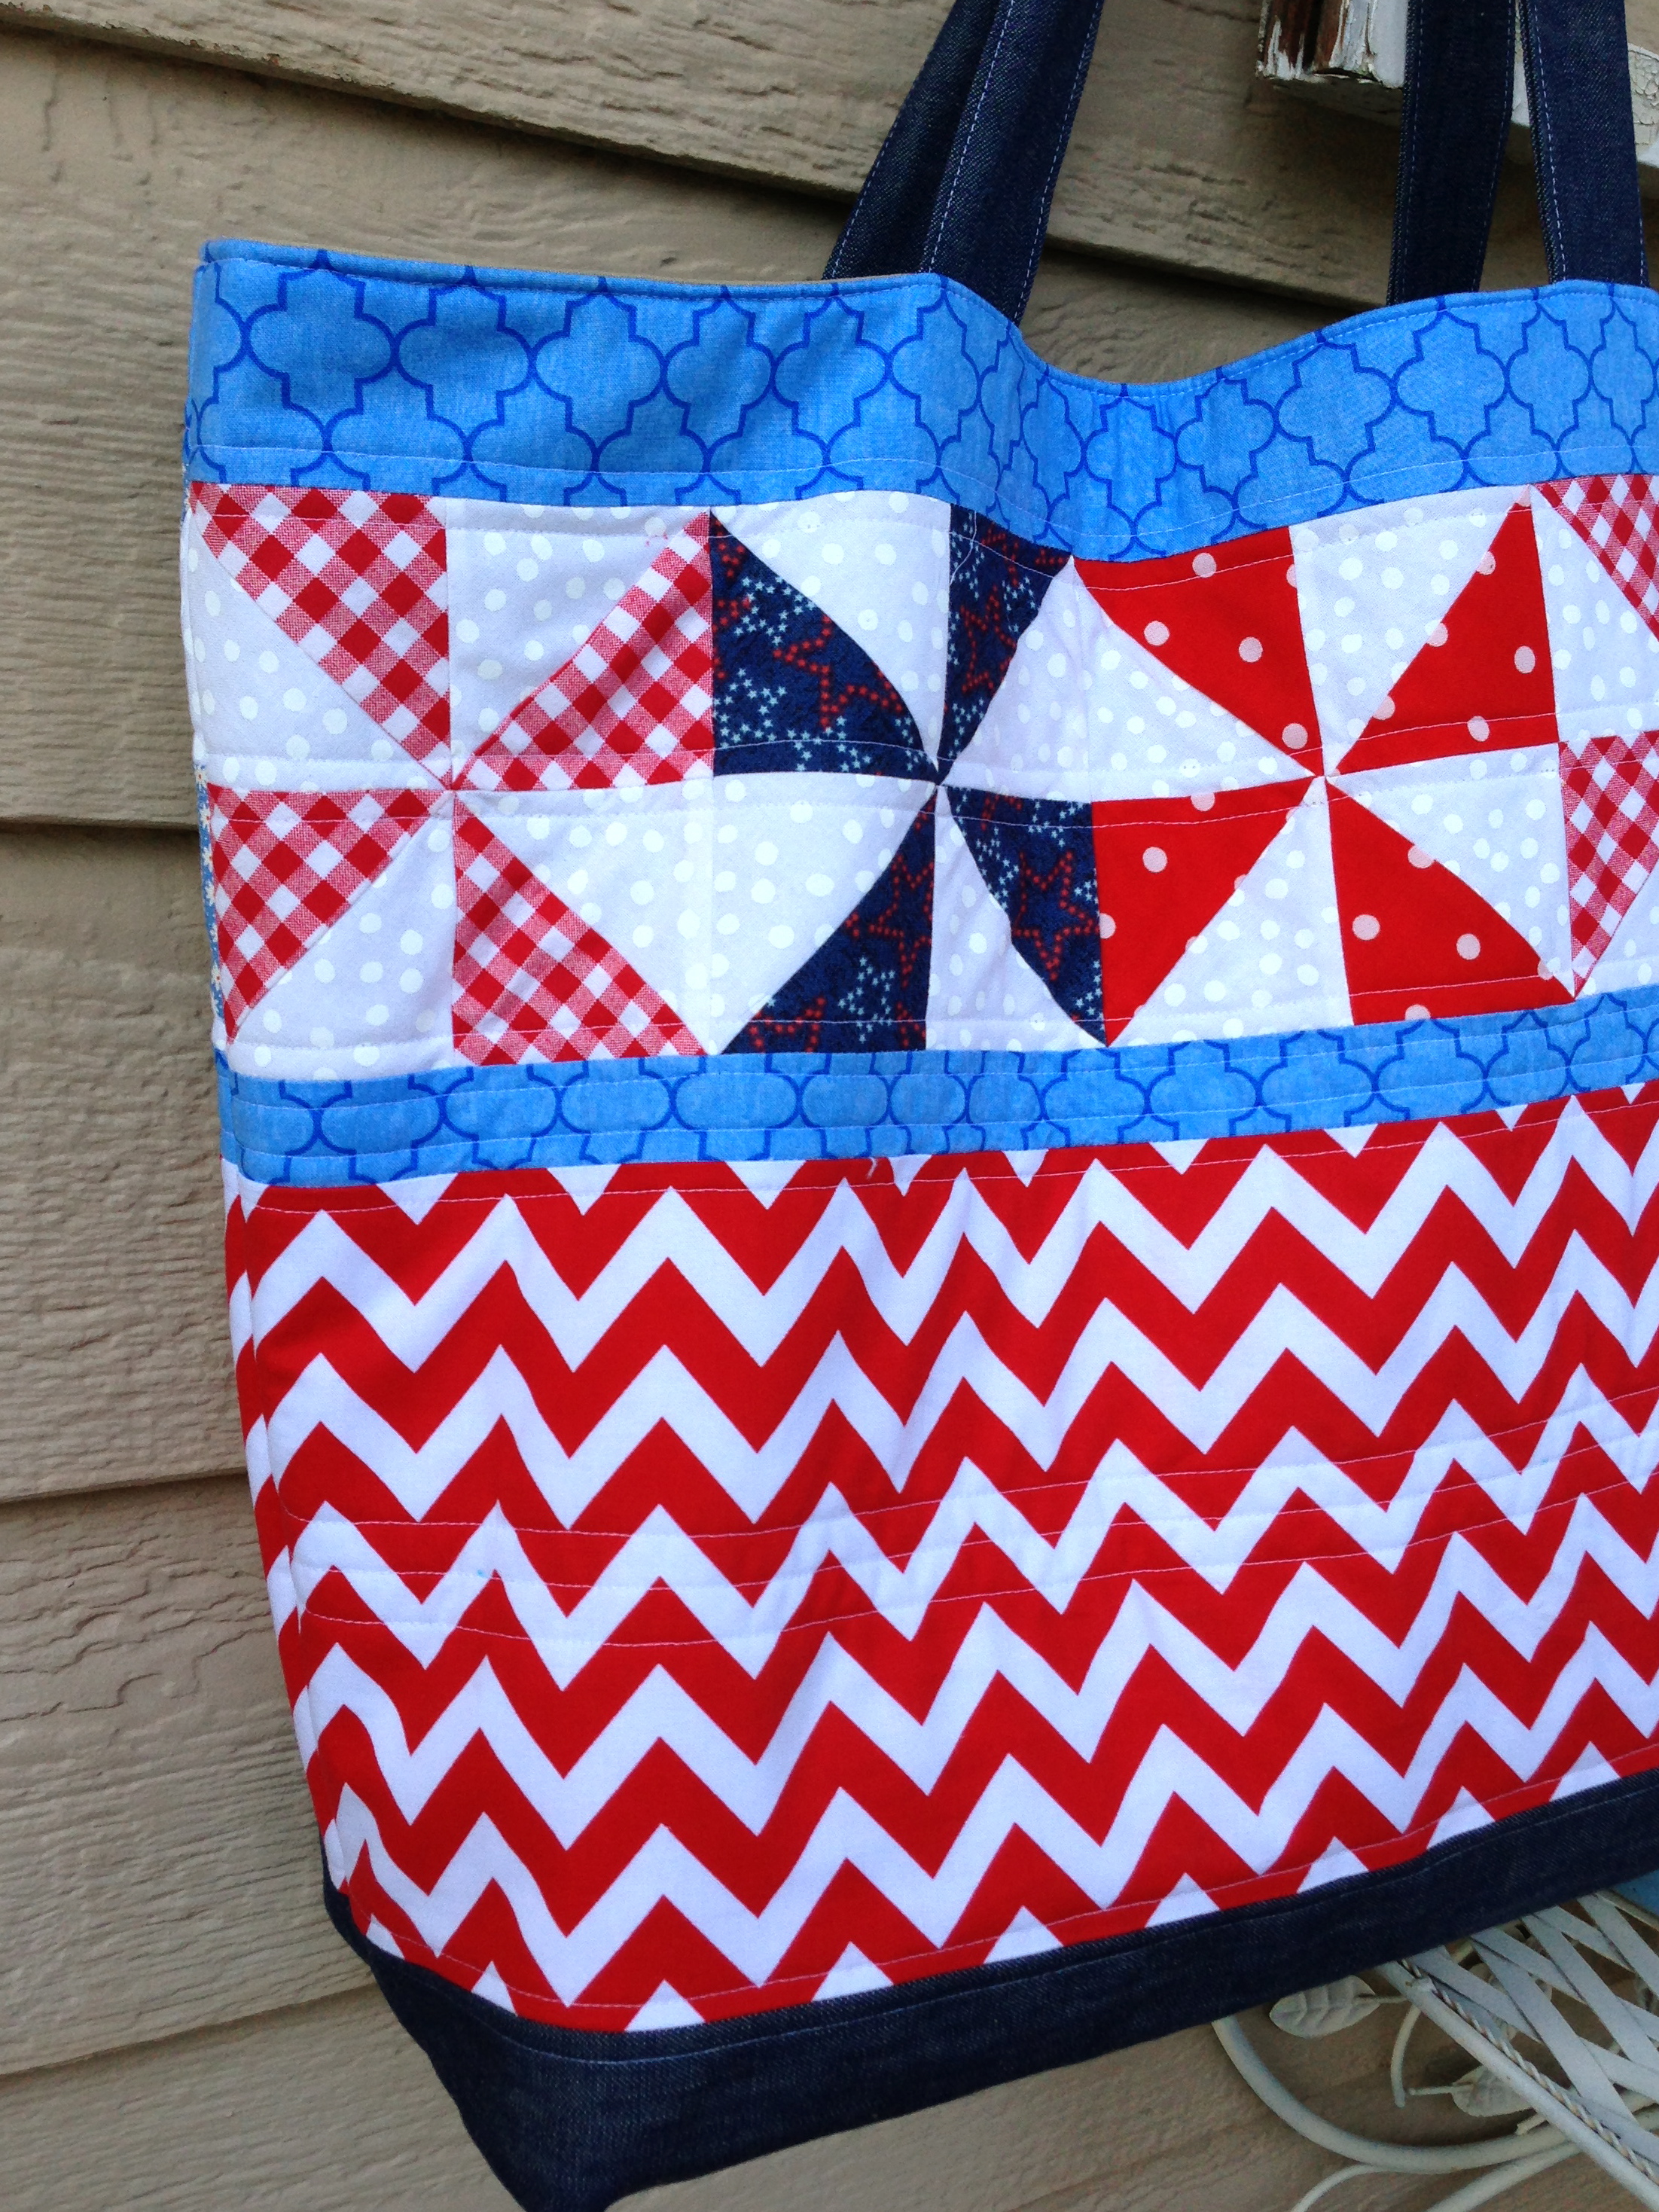
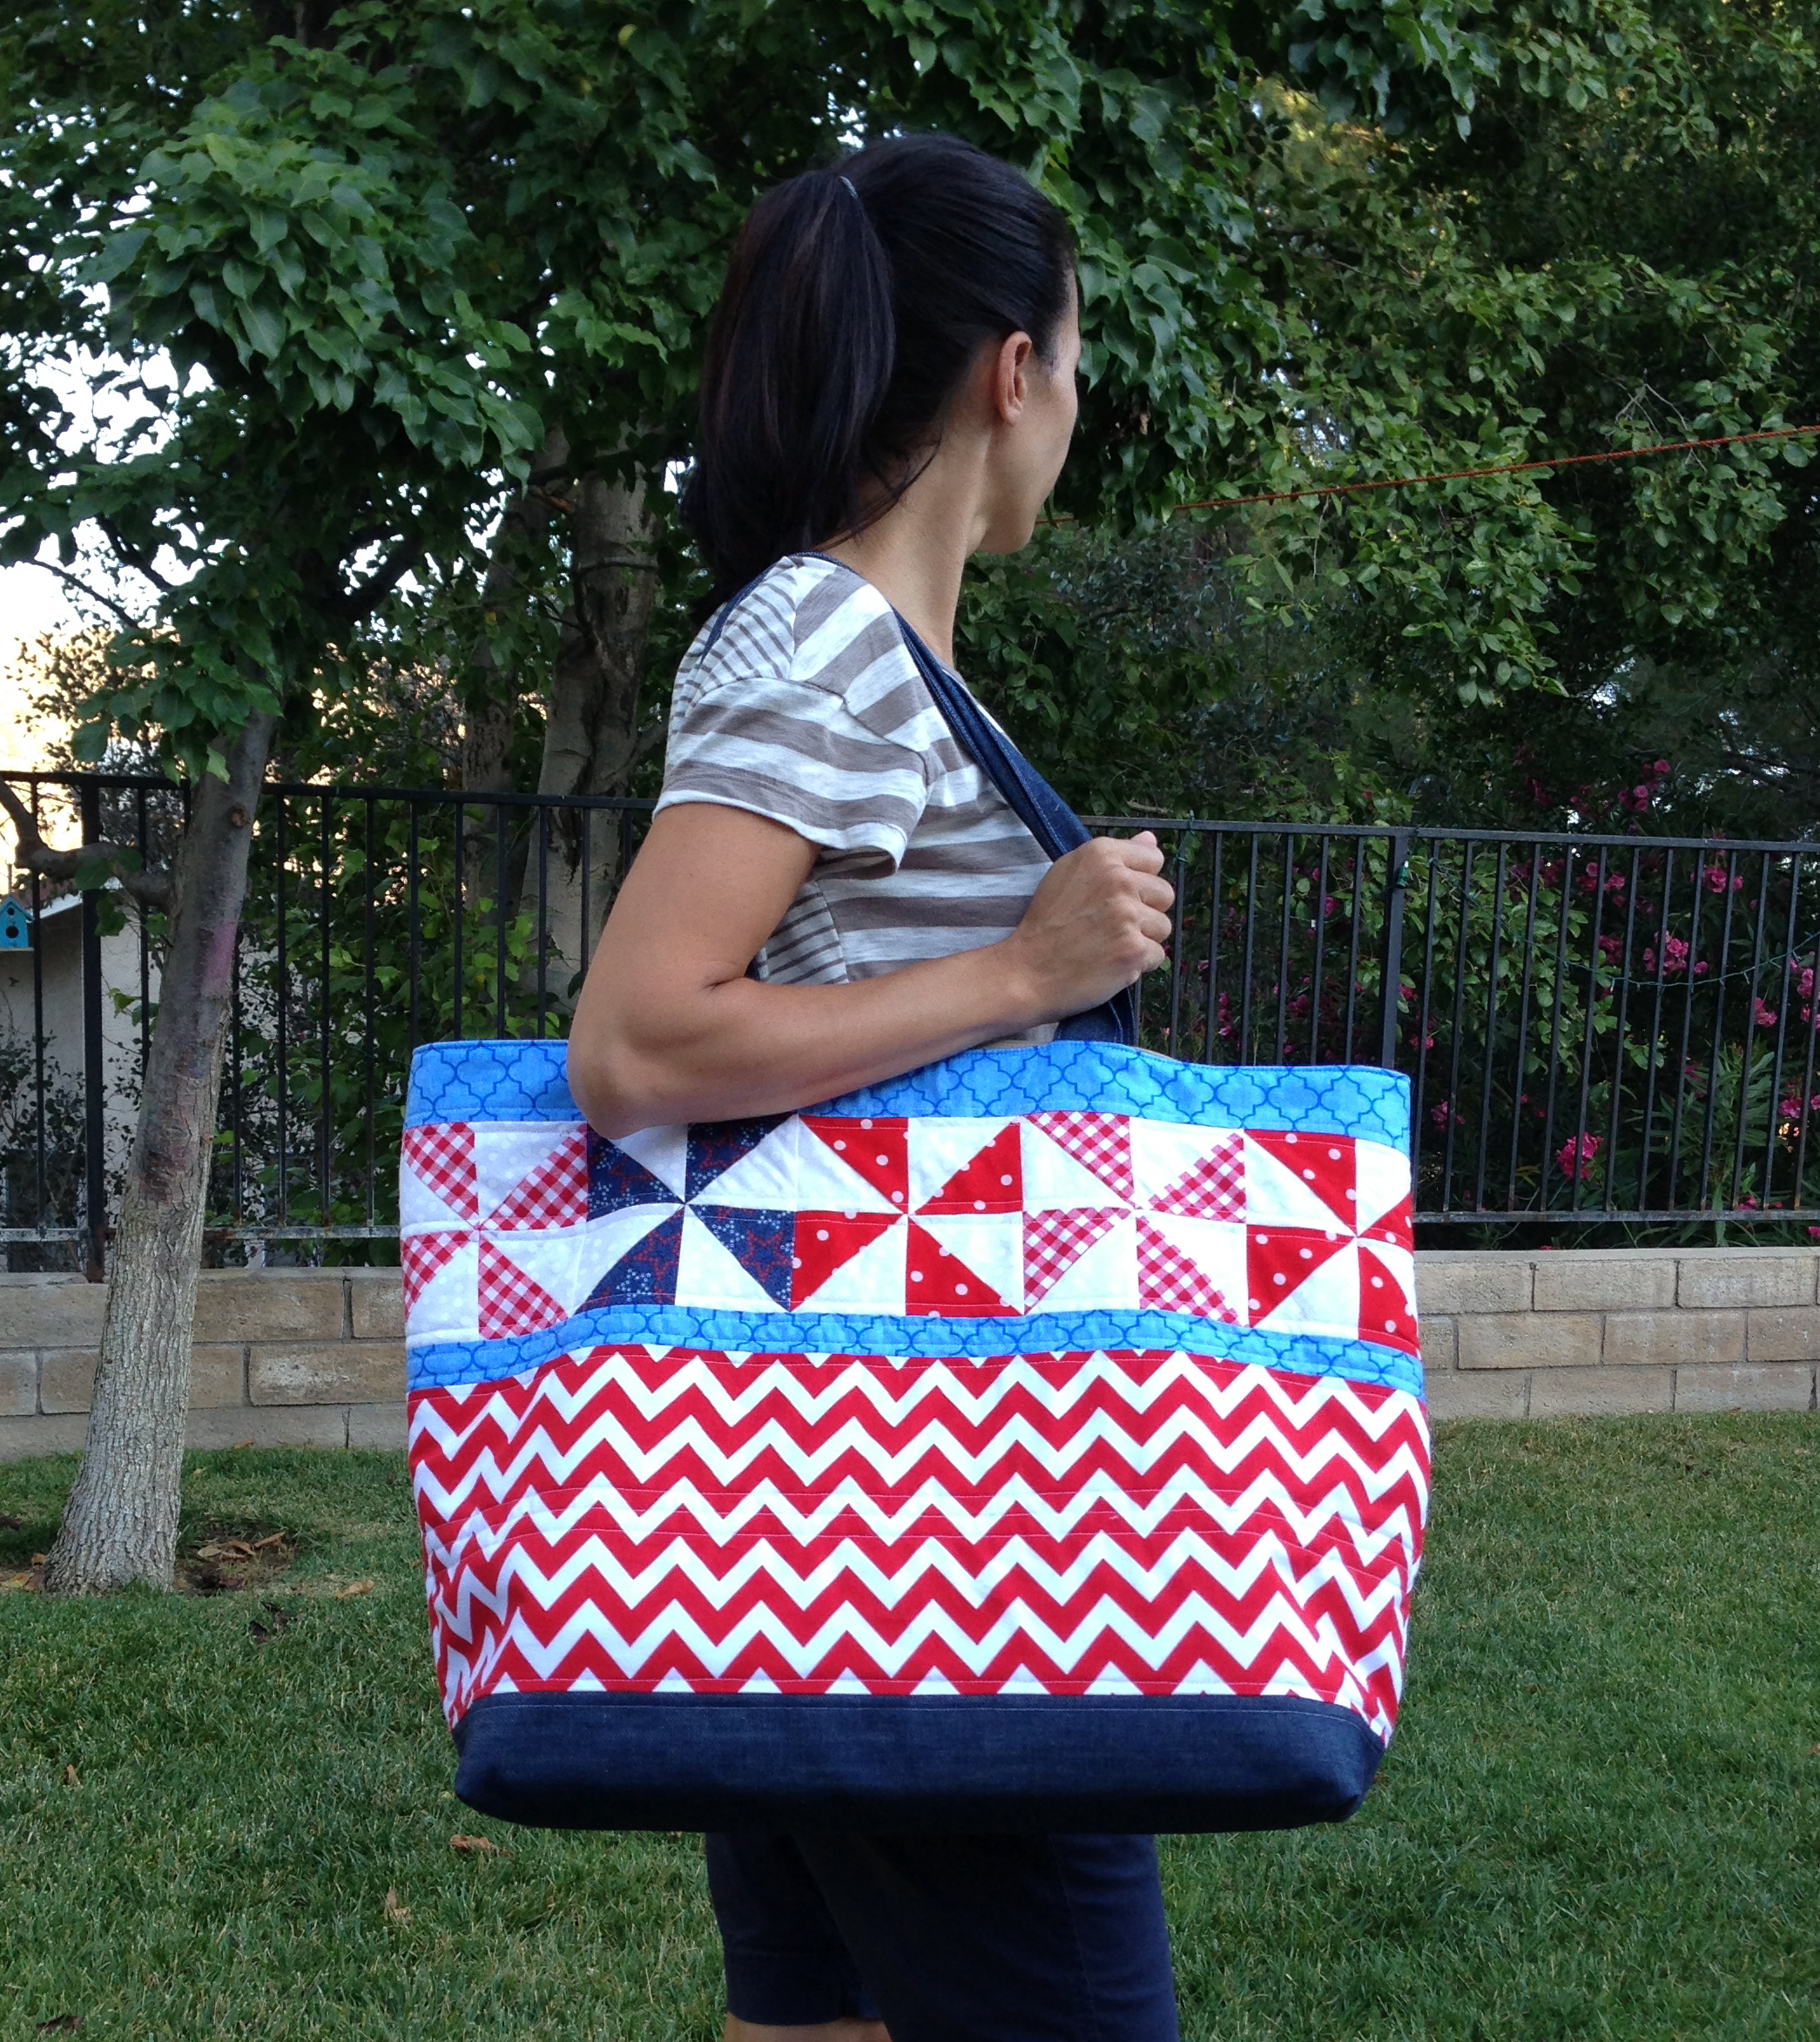
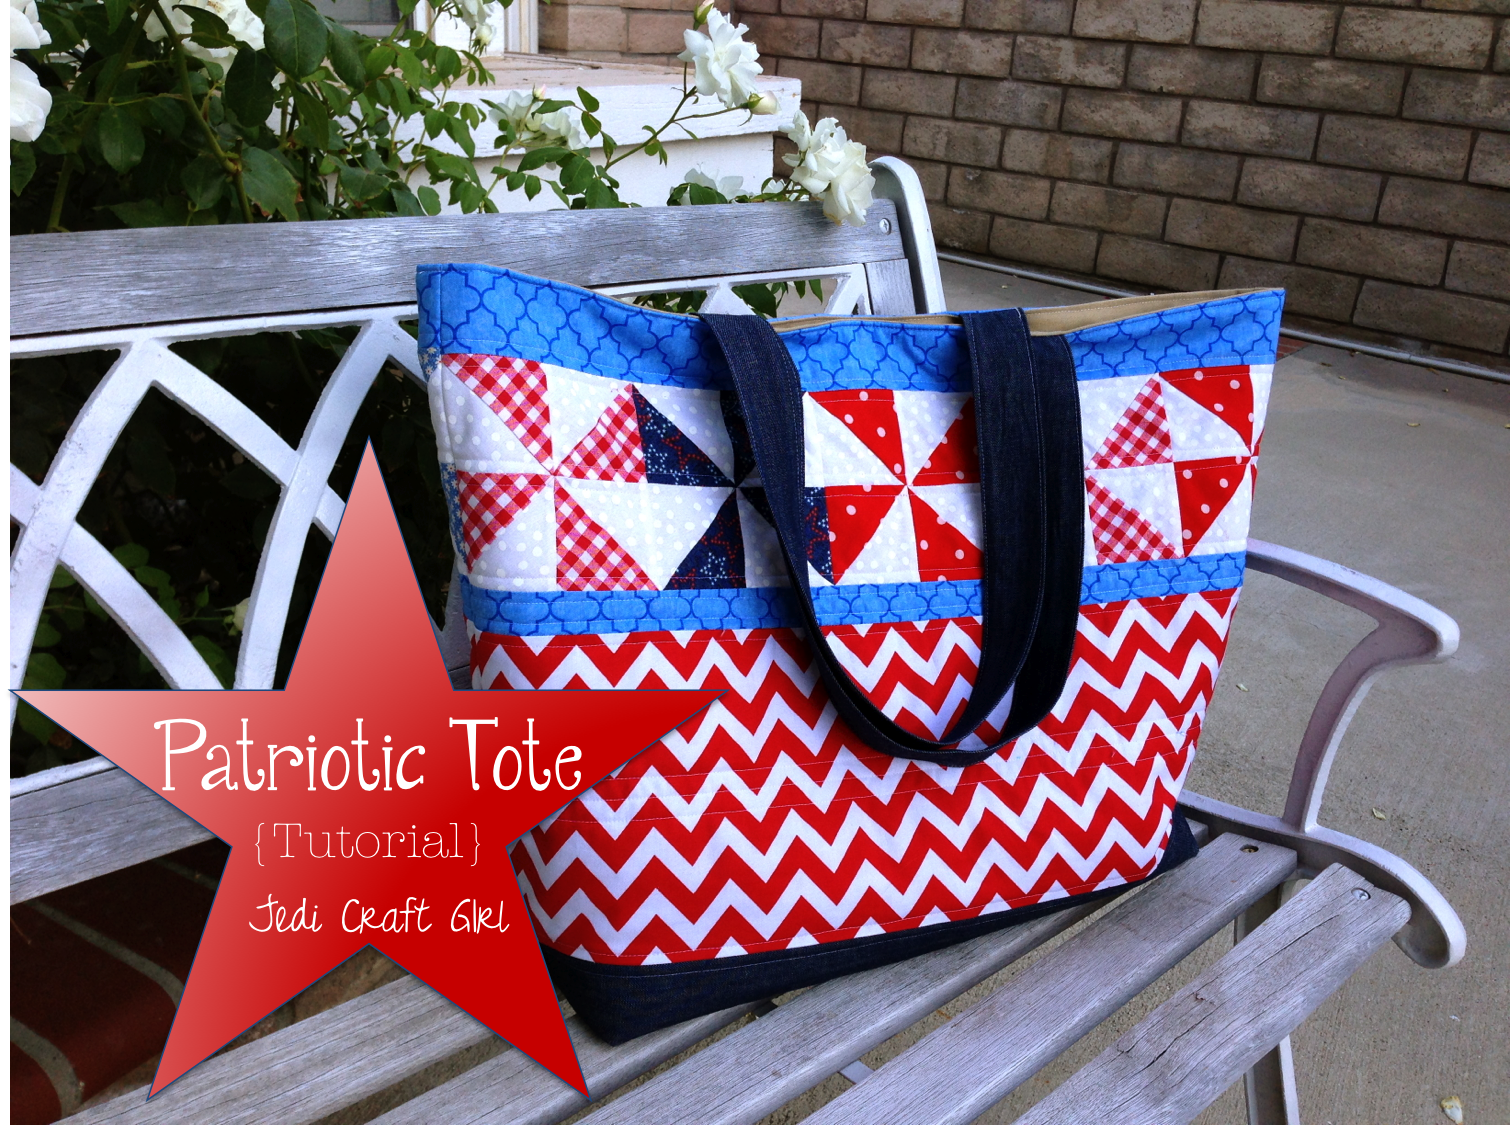 Hi! It's Amanda from Jedi Craft Girl! I love the 4th of July and I am excited to share with you this tutorial for my Patriotic Tote Bag. I love this bag because it is perfect to fit EVERYTHING in! Finished Bag measures 24" wide, 17" tall and 8" deep Supplies: HeatnBond® Fusible Fleece Step #1 Make the Pinwheel Blocks (seams 1/4") If you want to save time and skip all the piecing, you can cut a strip of fabric 5 1/2" wide and sew in place of the pinwheel strip. I think pinwheels scream 4th of July!!! There are 10 total pinwheel blocks. You will need (10) 5" squares of light and (10) 5" squares of darker fabric
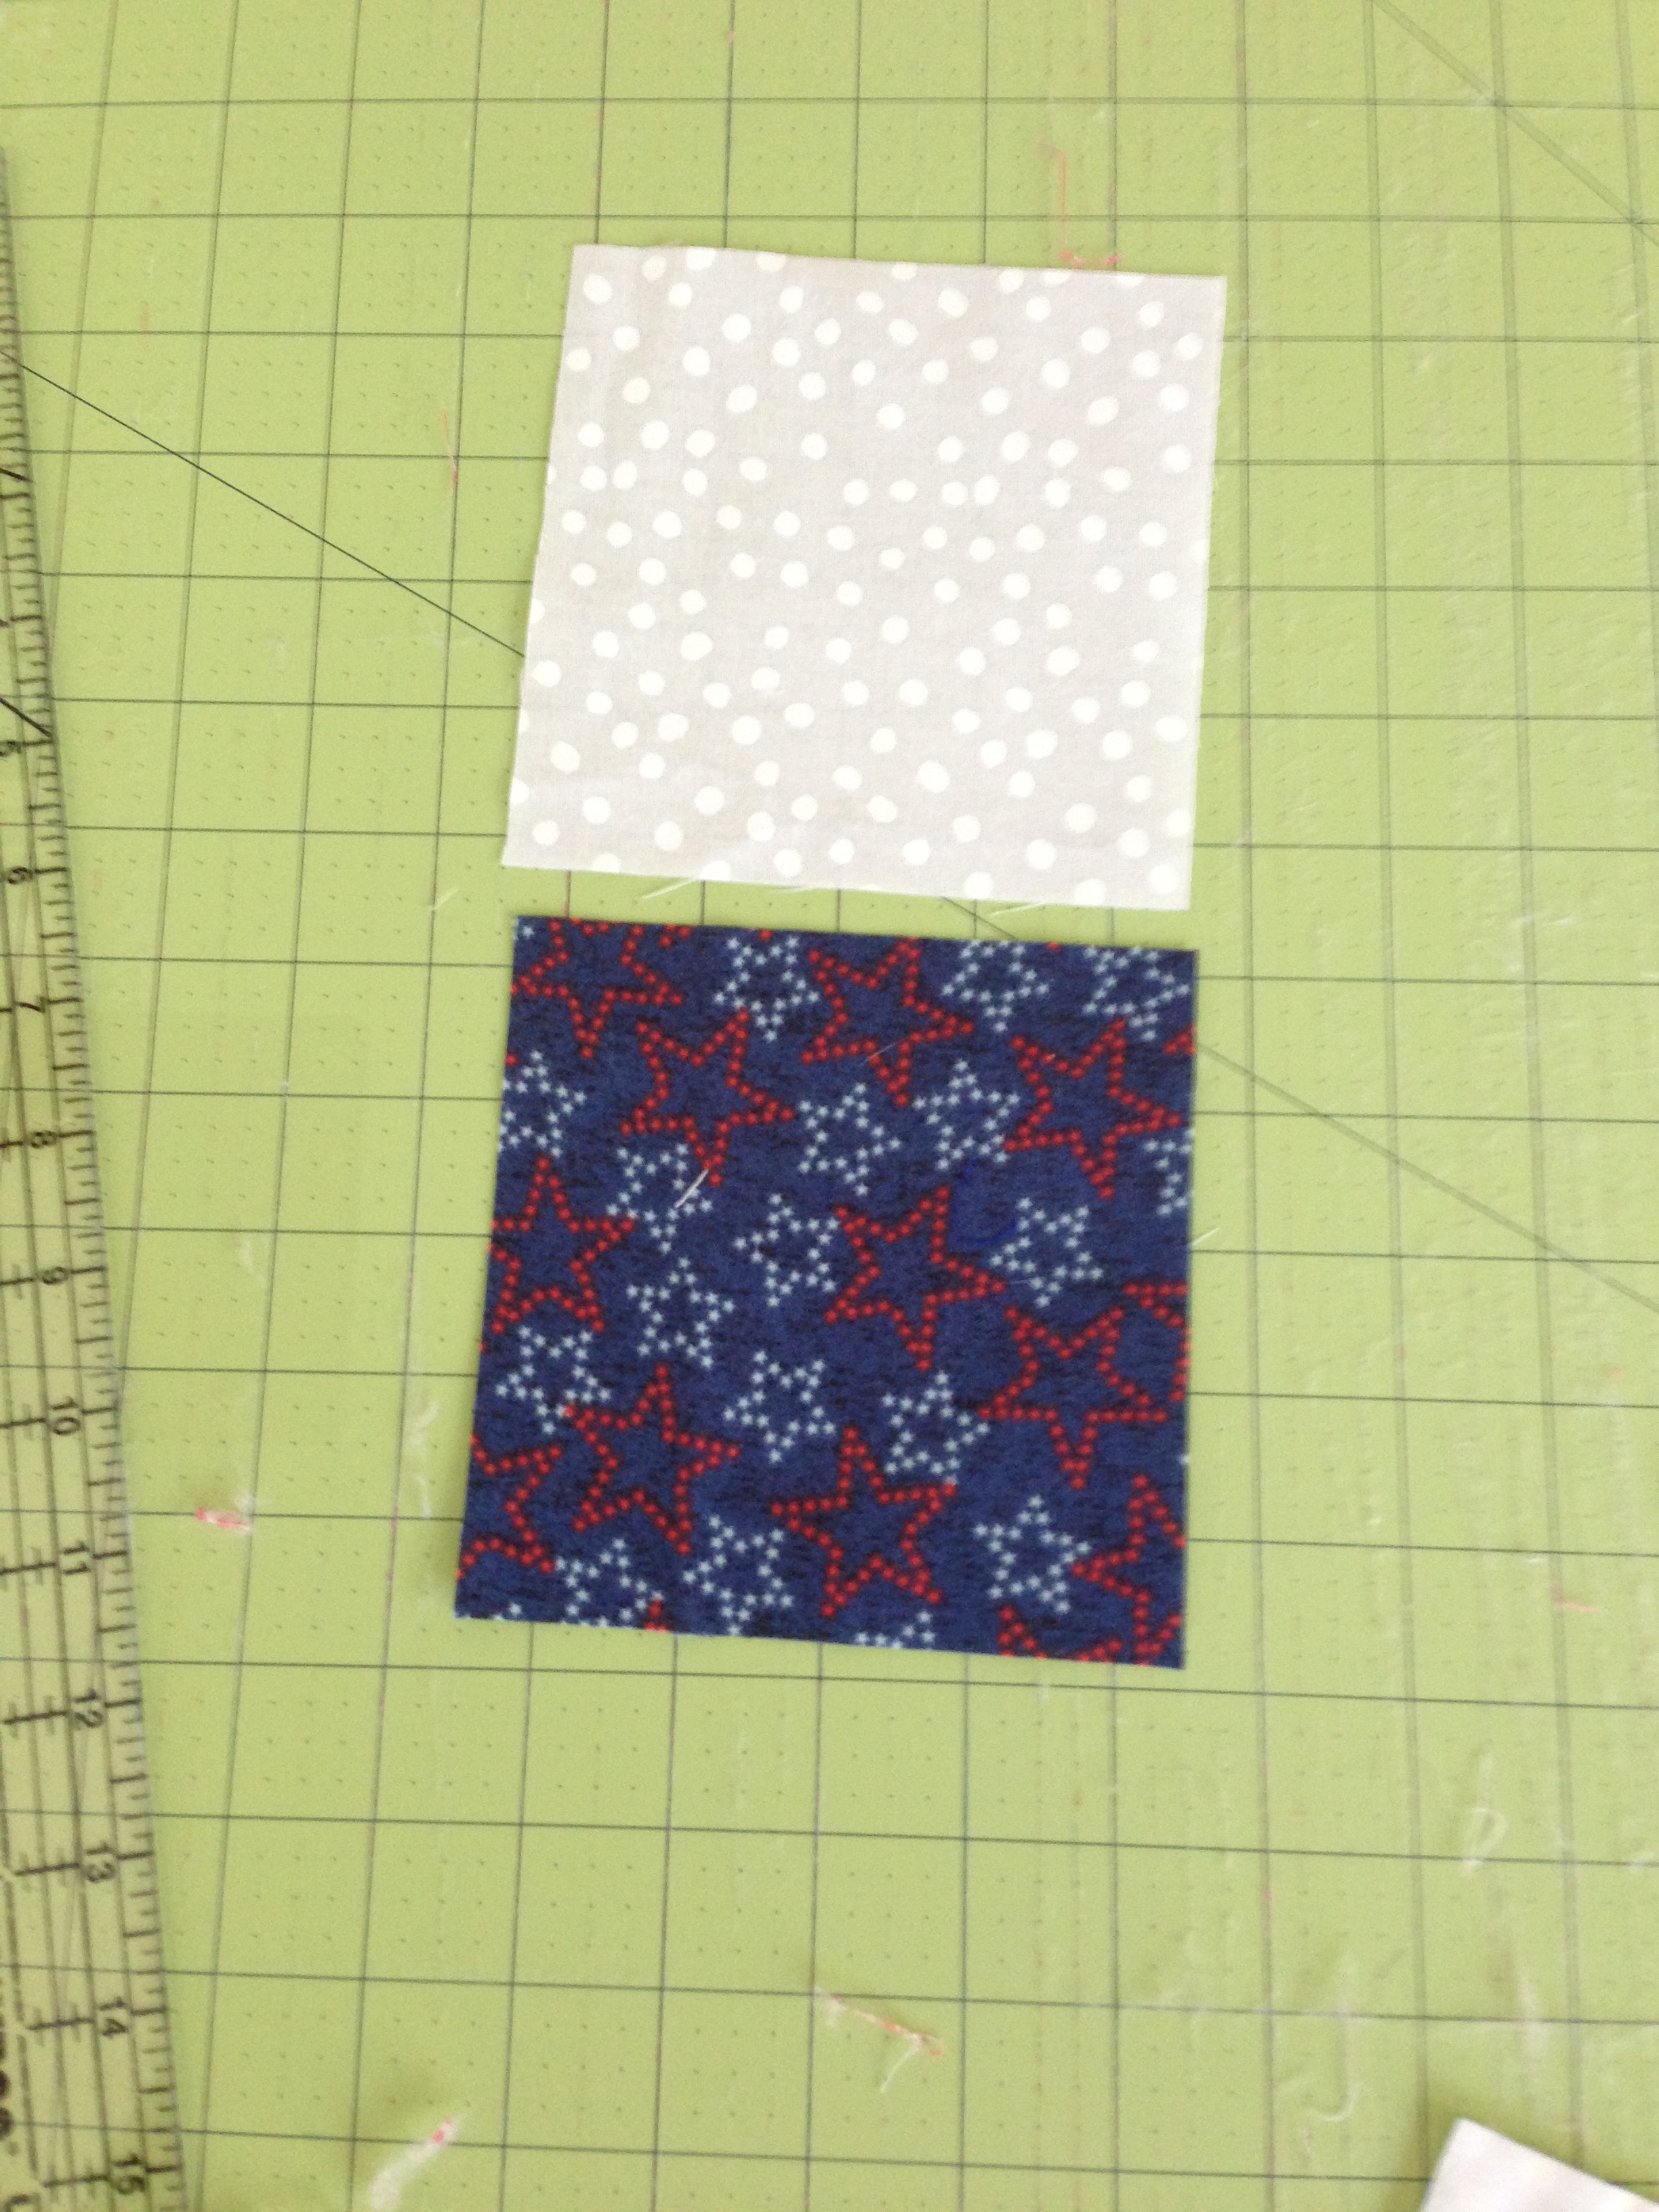
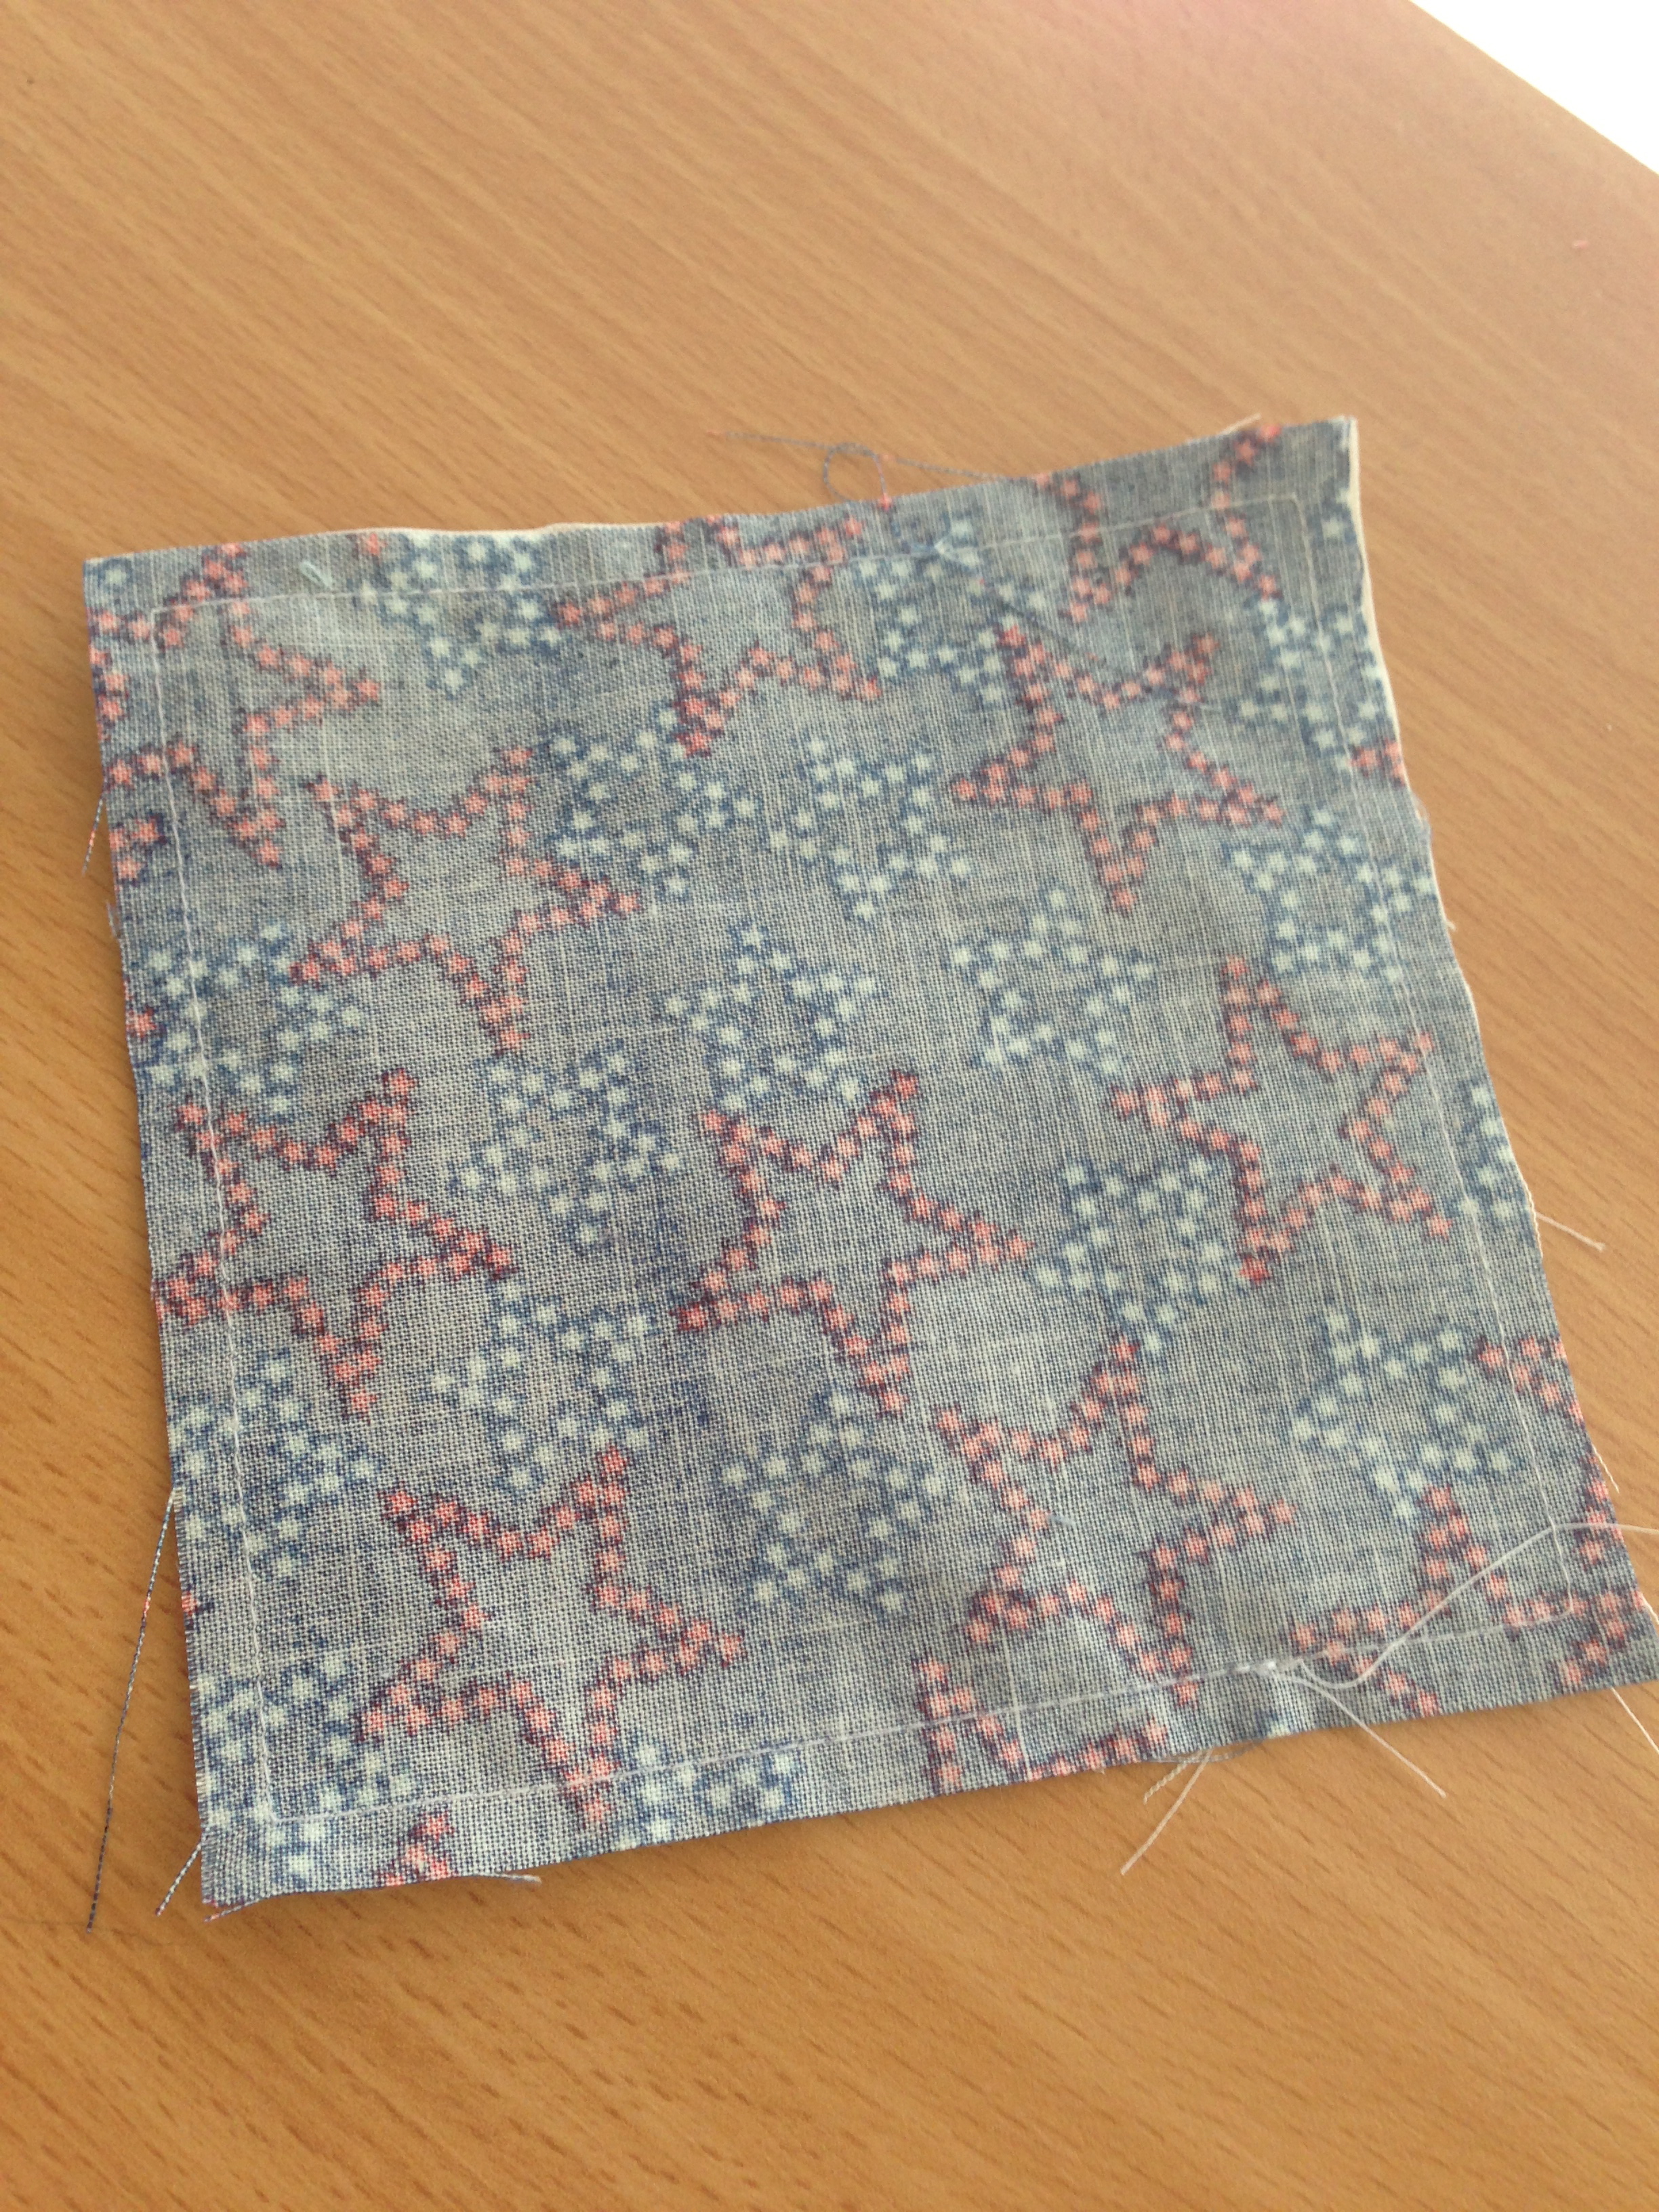
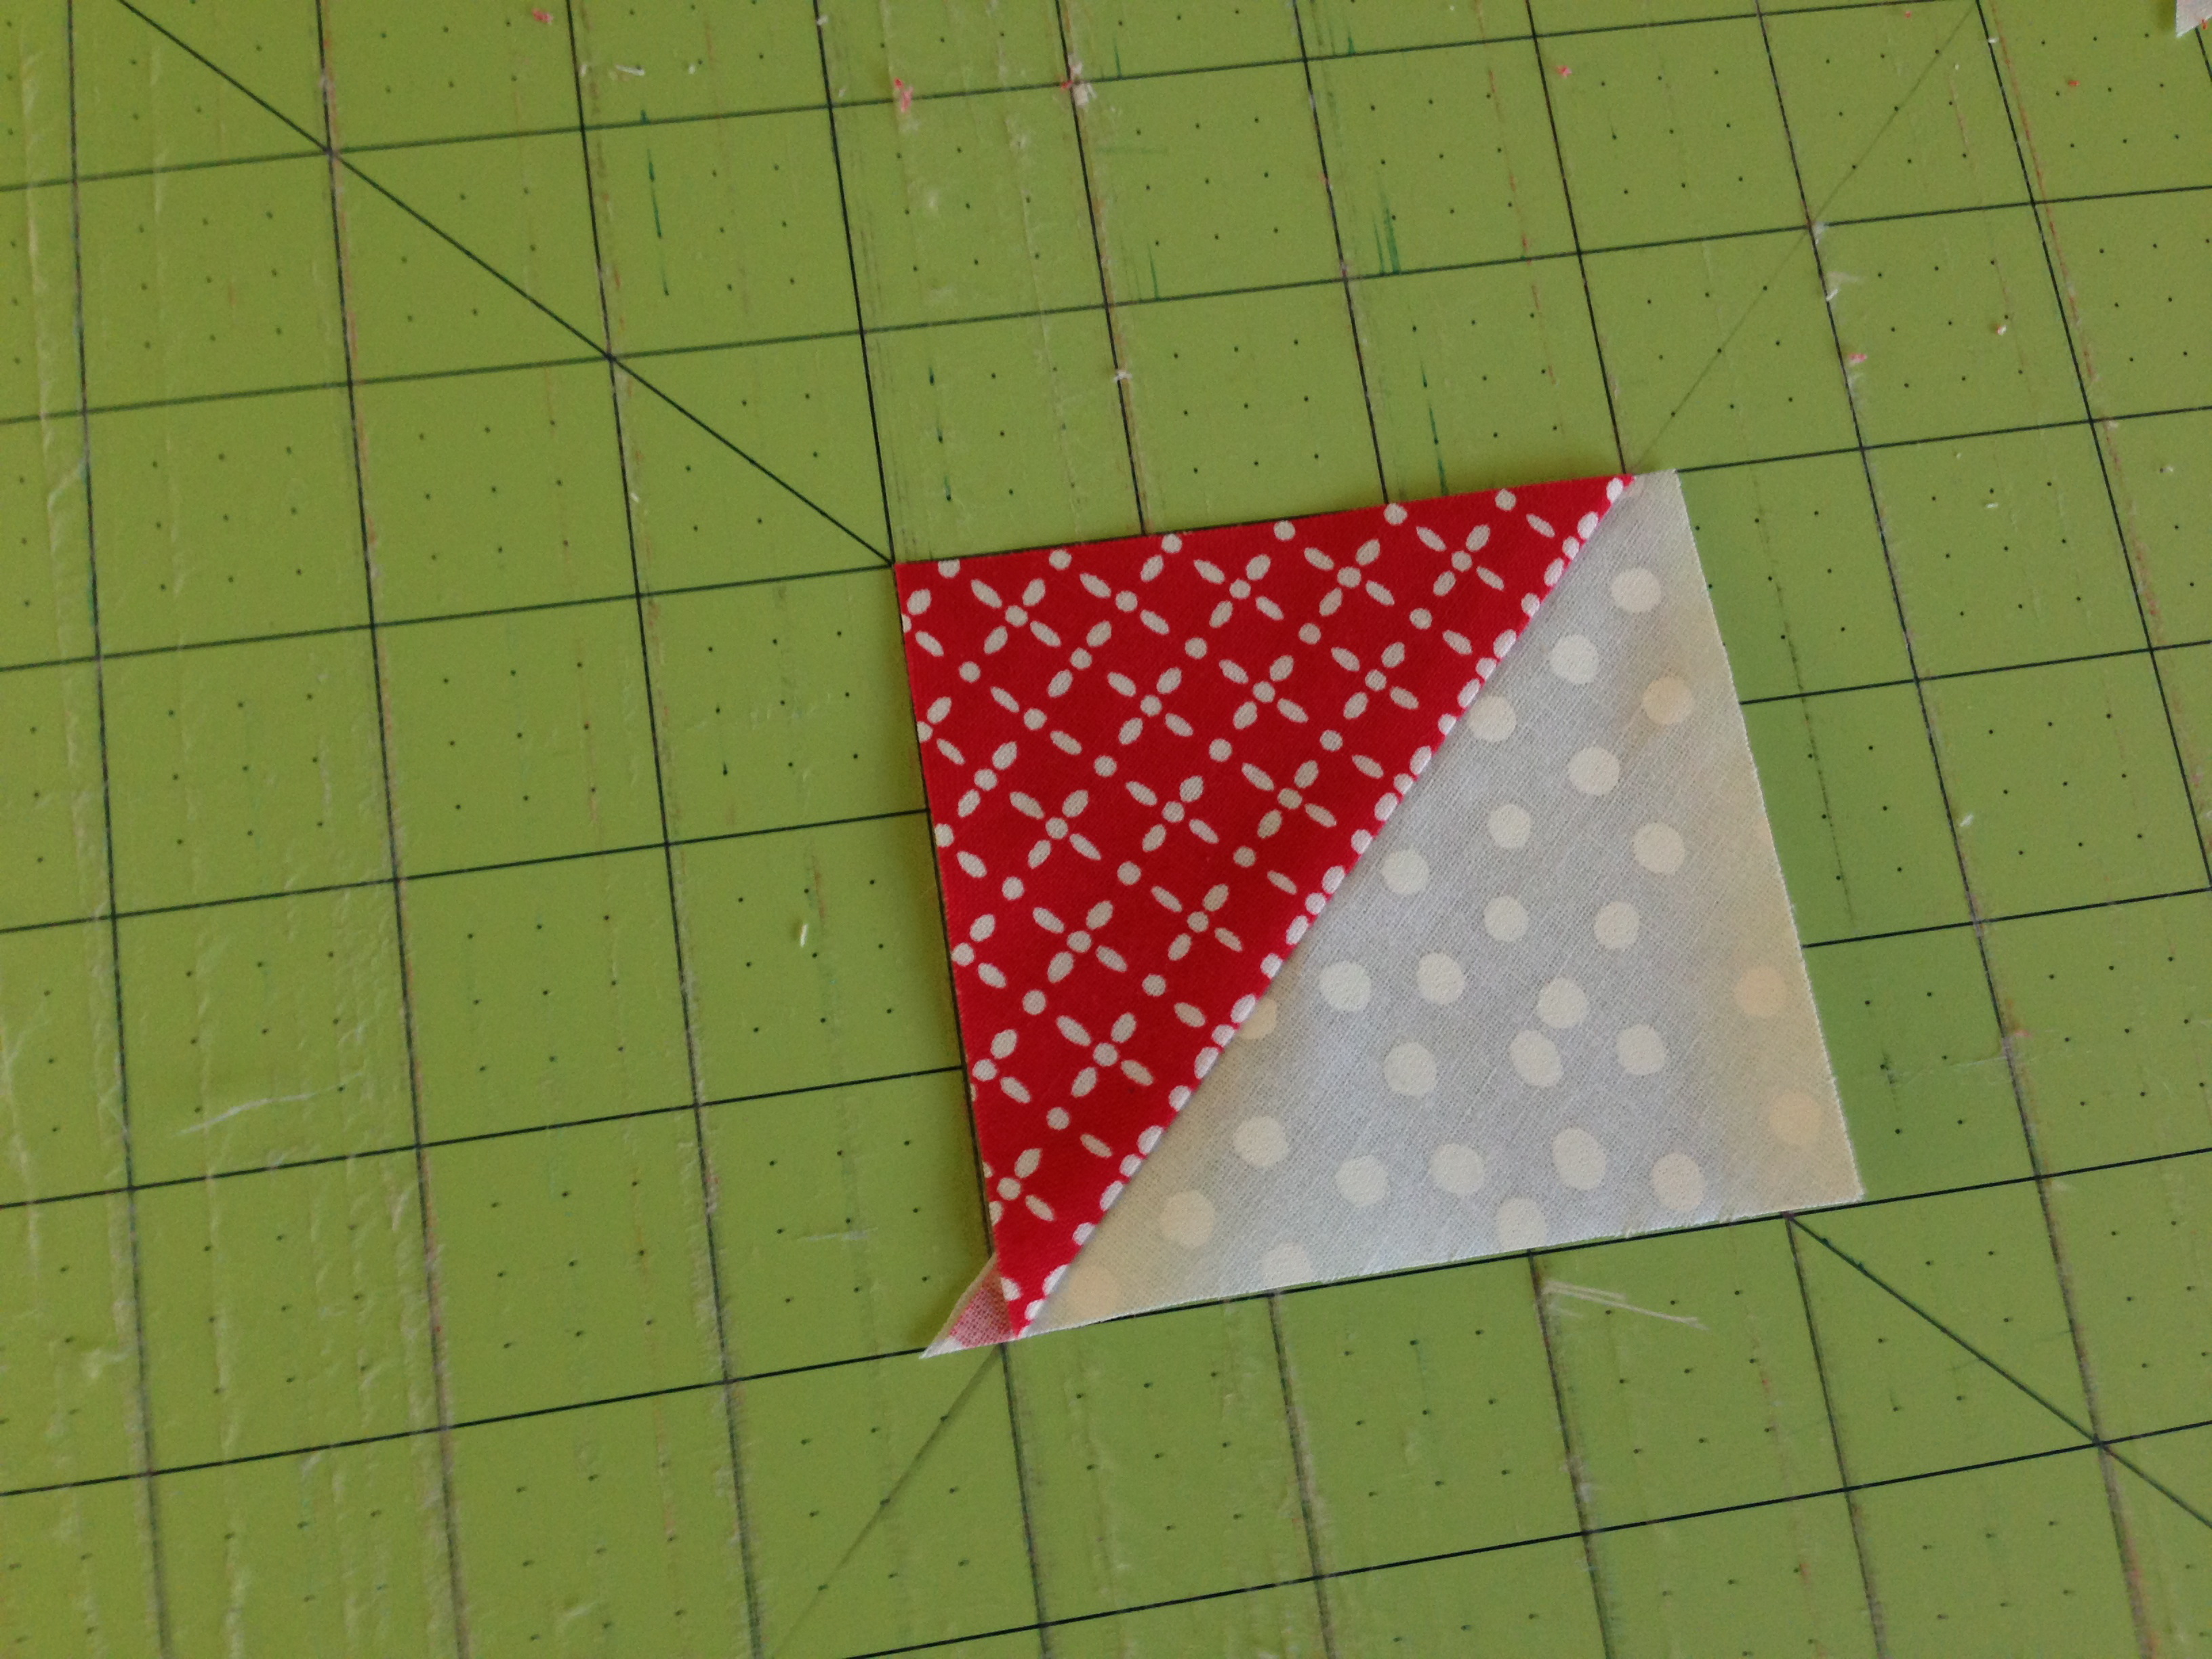
Layer your squares right sides together; one light and one dark. Sew 1/4" inch around the entire square, back stitching to start and stop.
Using your rotary cutter, cut your square along both diagonals like this:
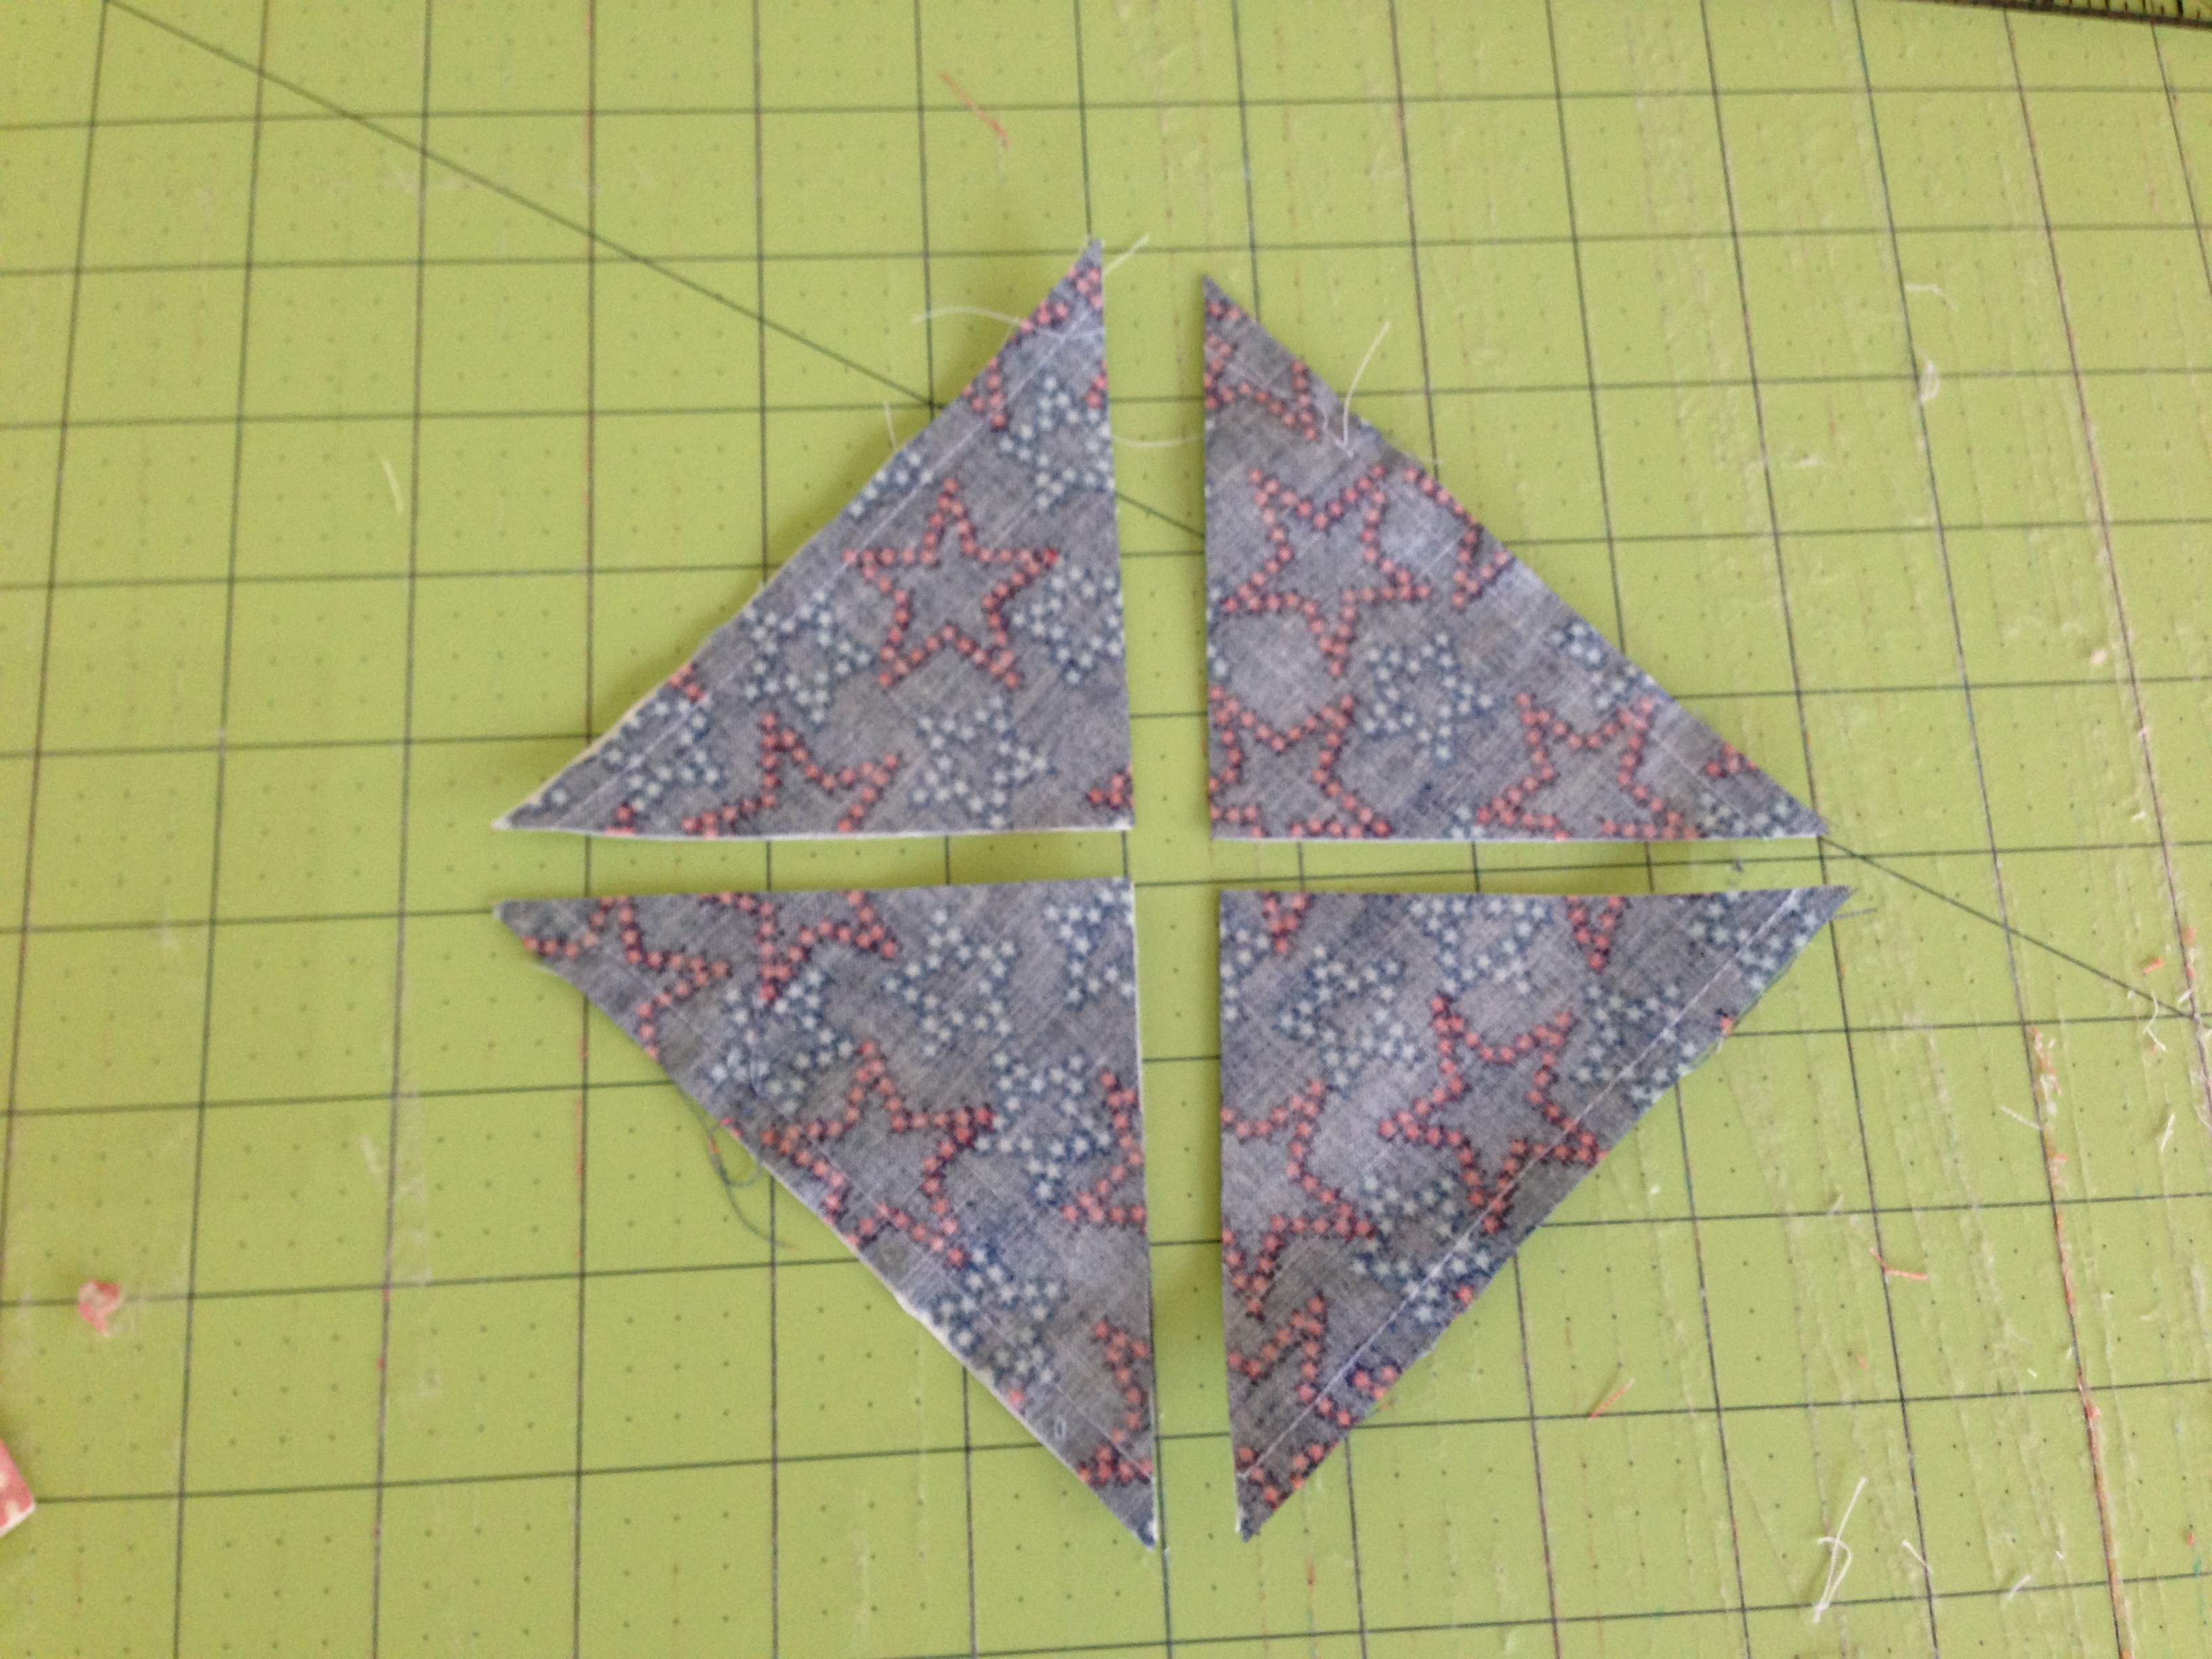
Press the seams toward the dark.
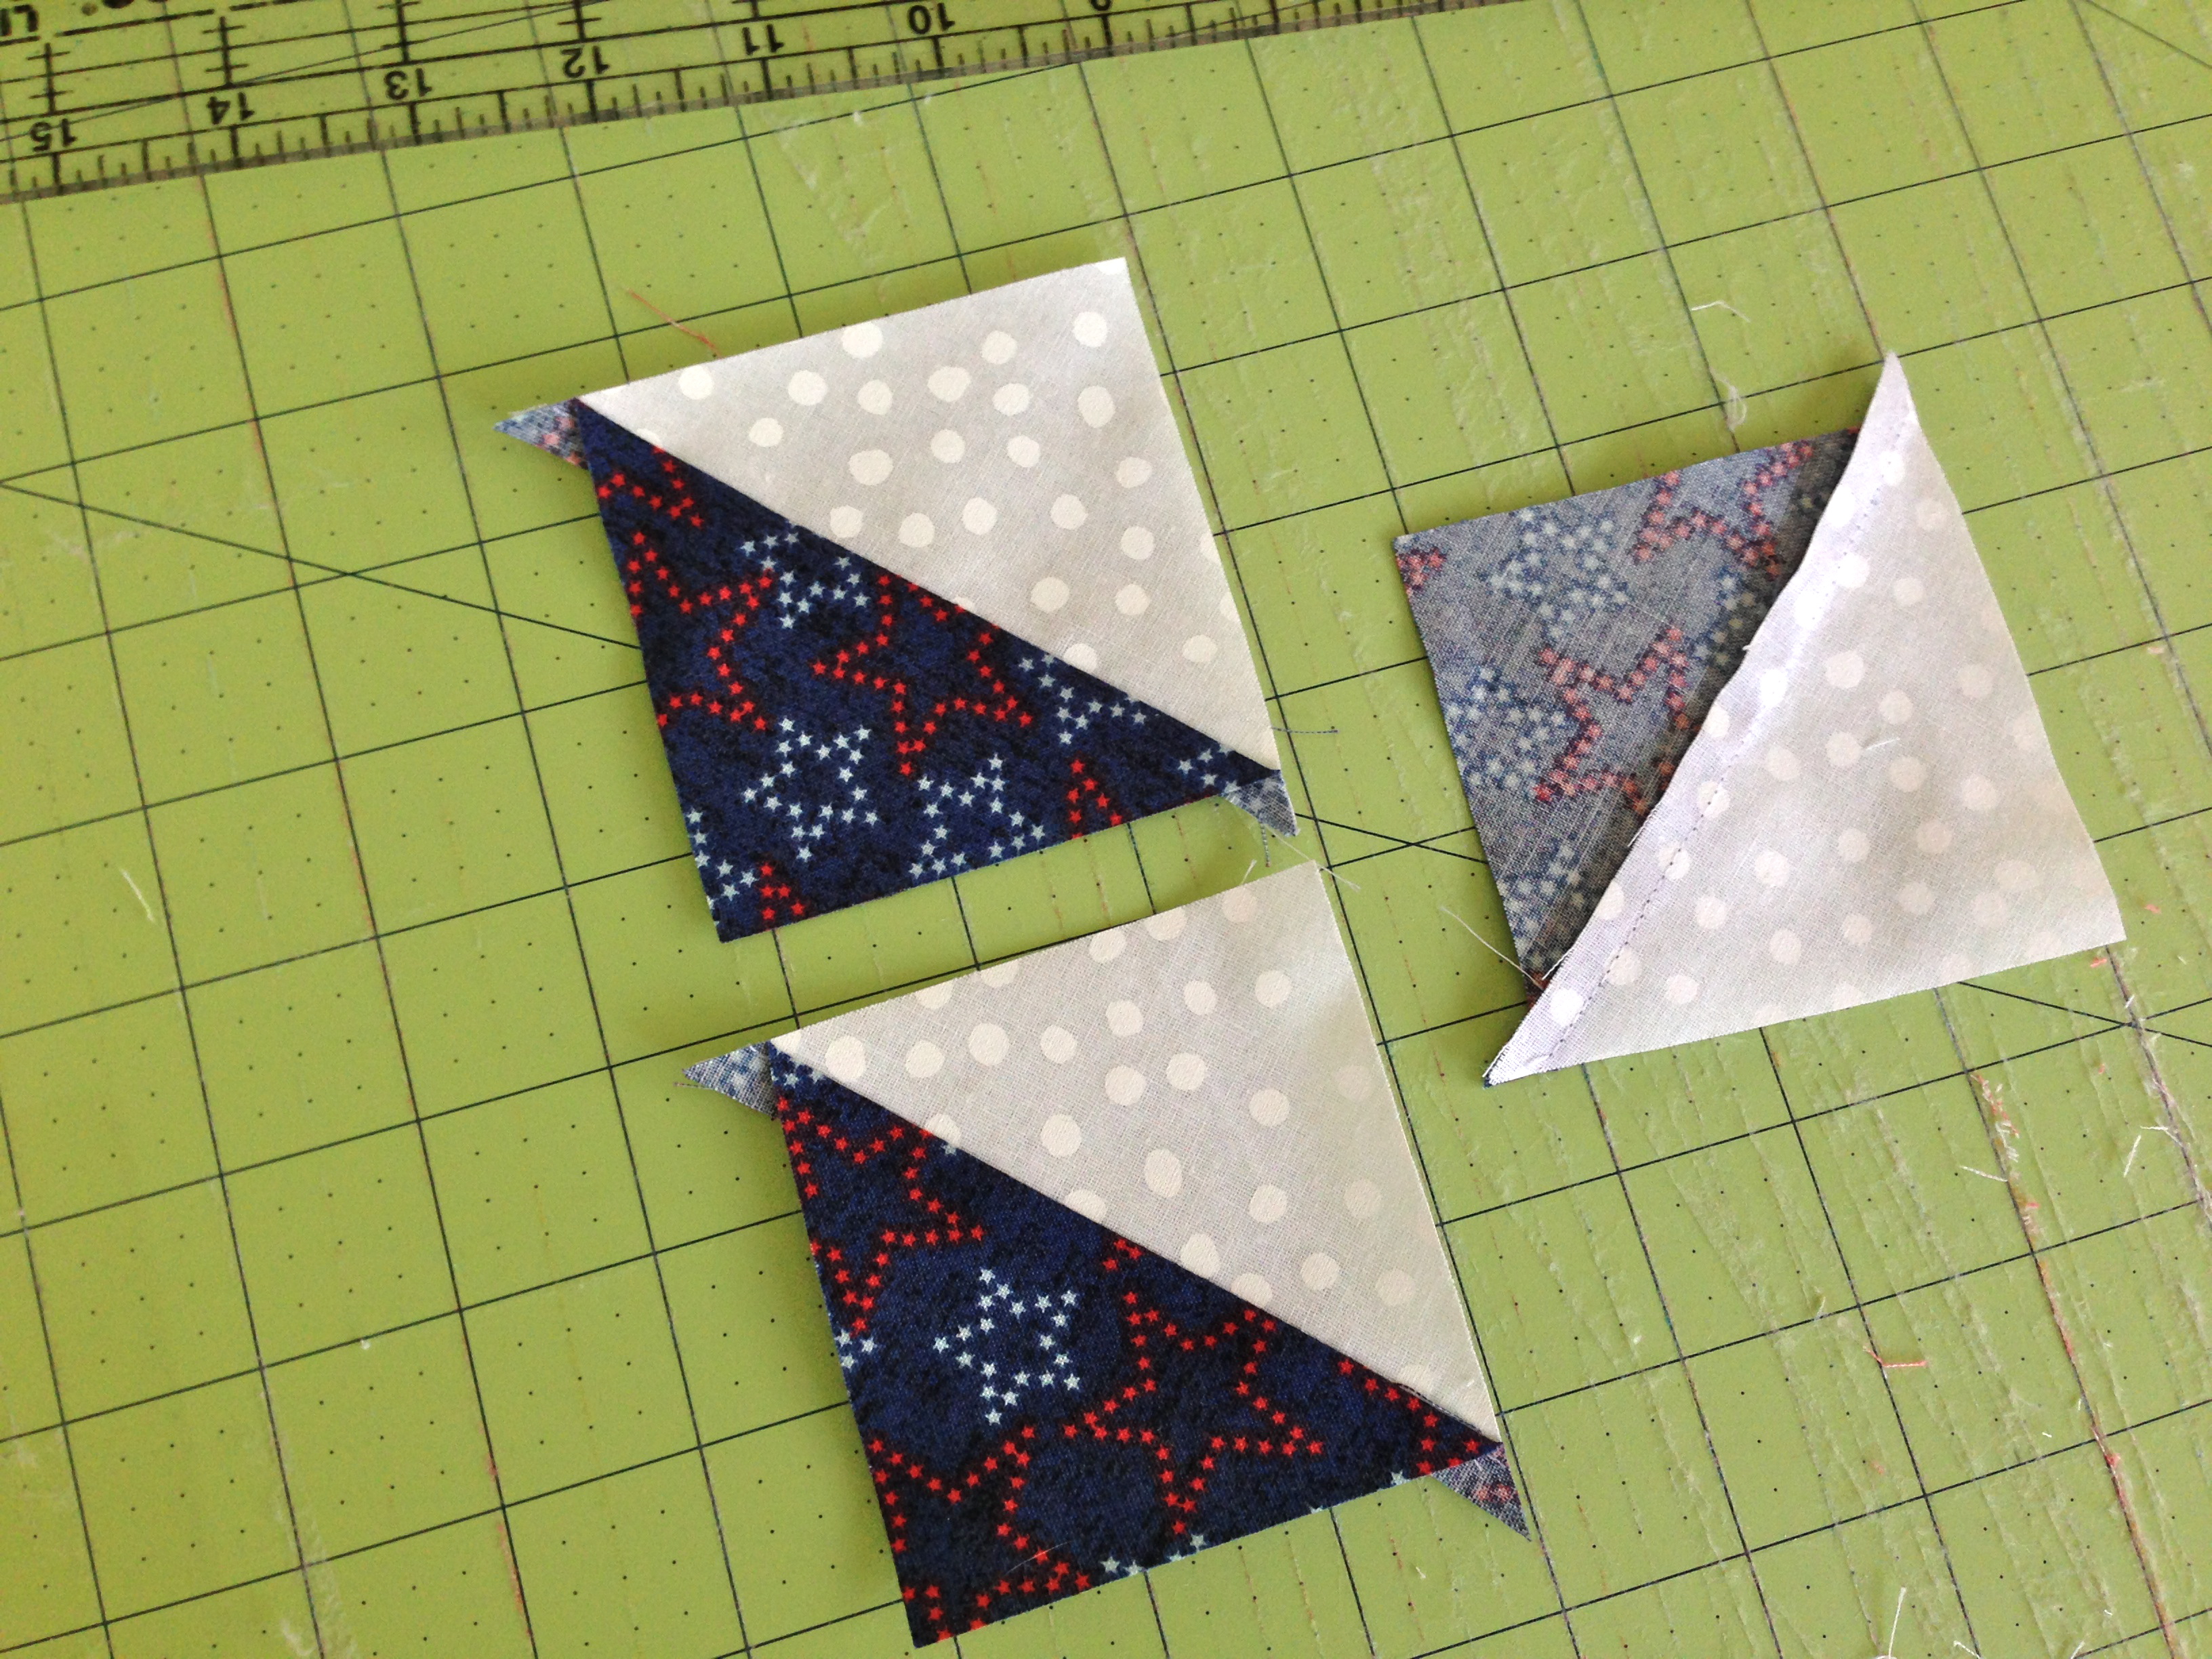
In order for the pinwheel blocks to turn out nicely, you need to square each half square triangle block to a perfect 3". It is easy to do if you use the diagonal lines on your cutting mat. Line up the seam along the line and trim to 3". Turn it the other way and trim the other sides.
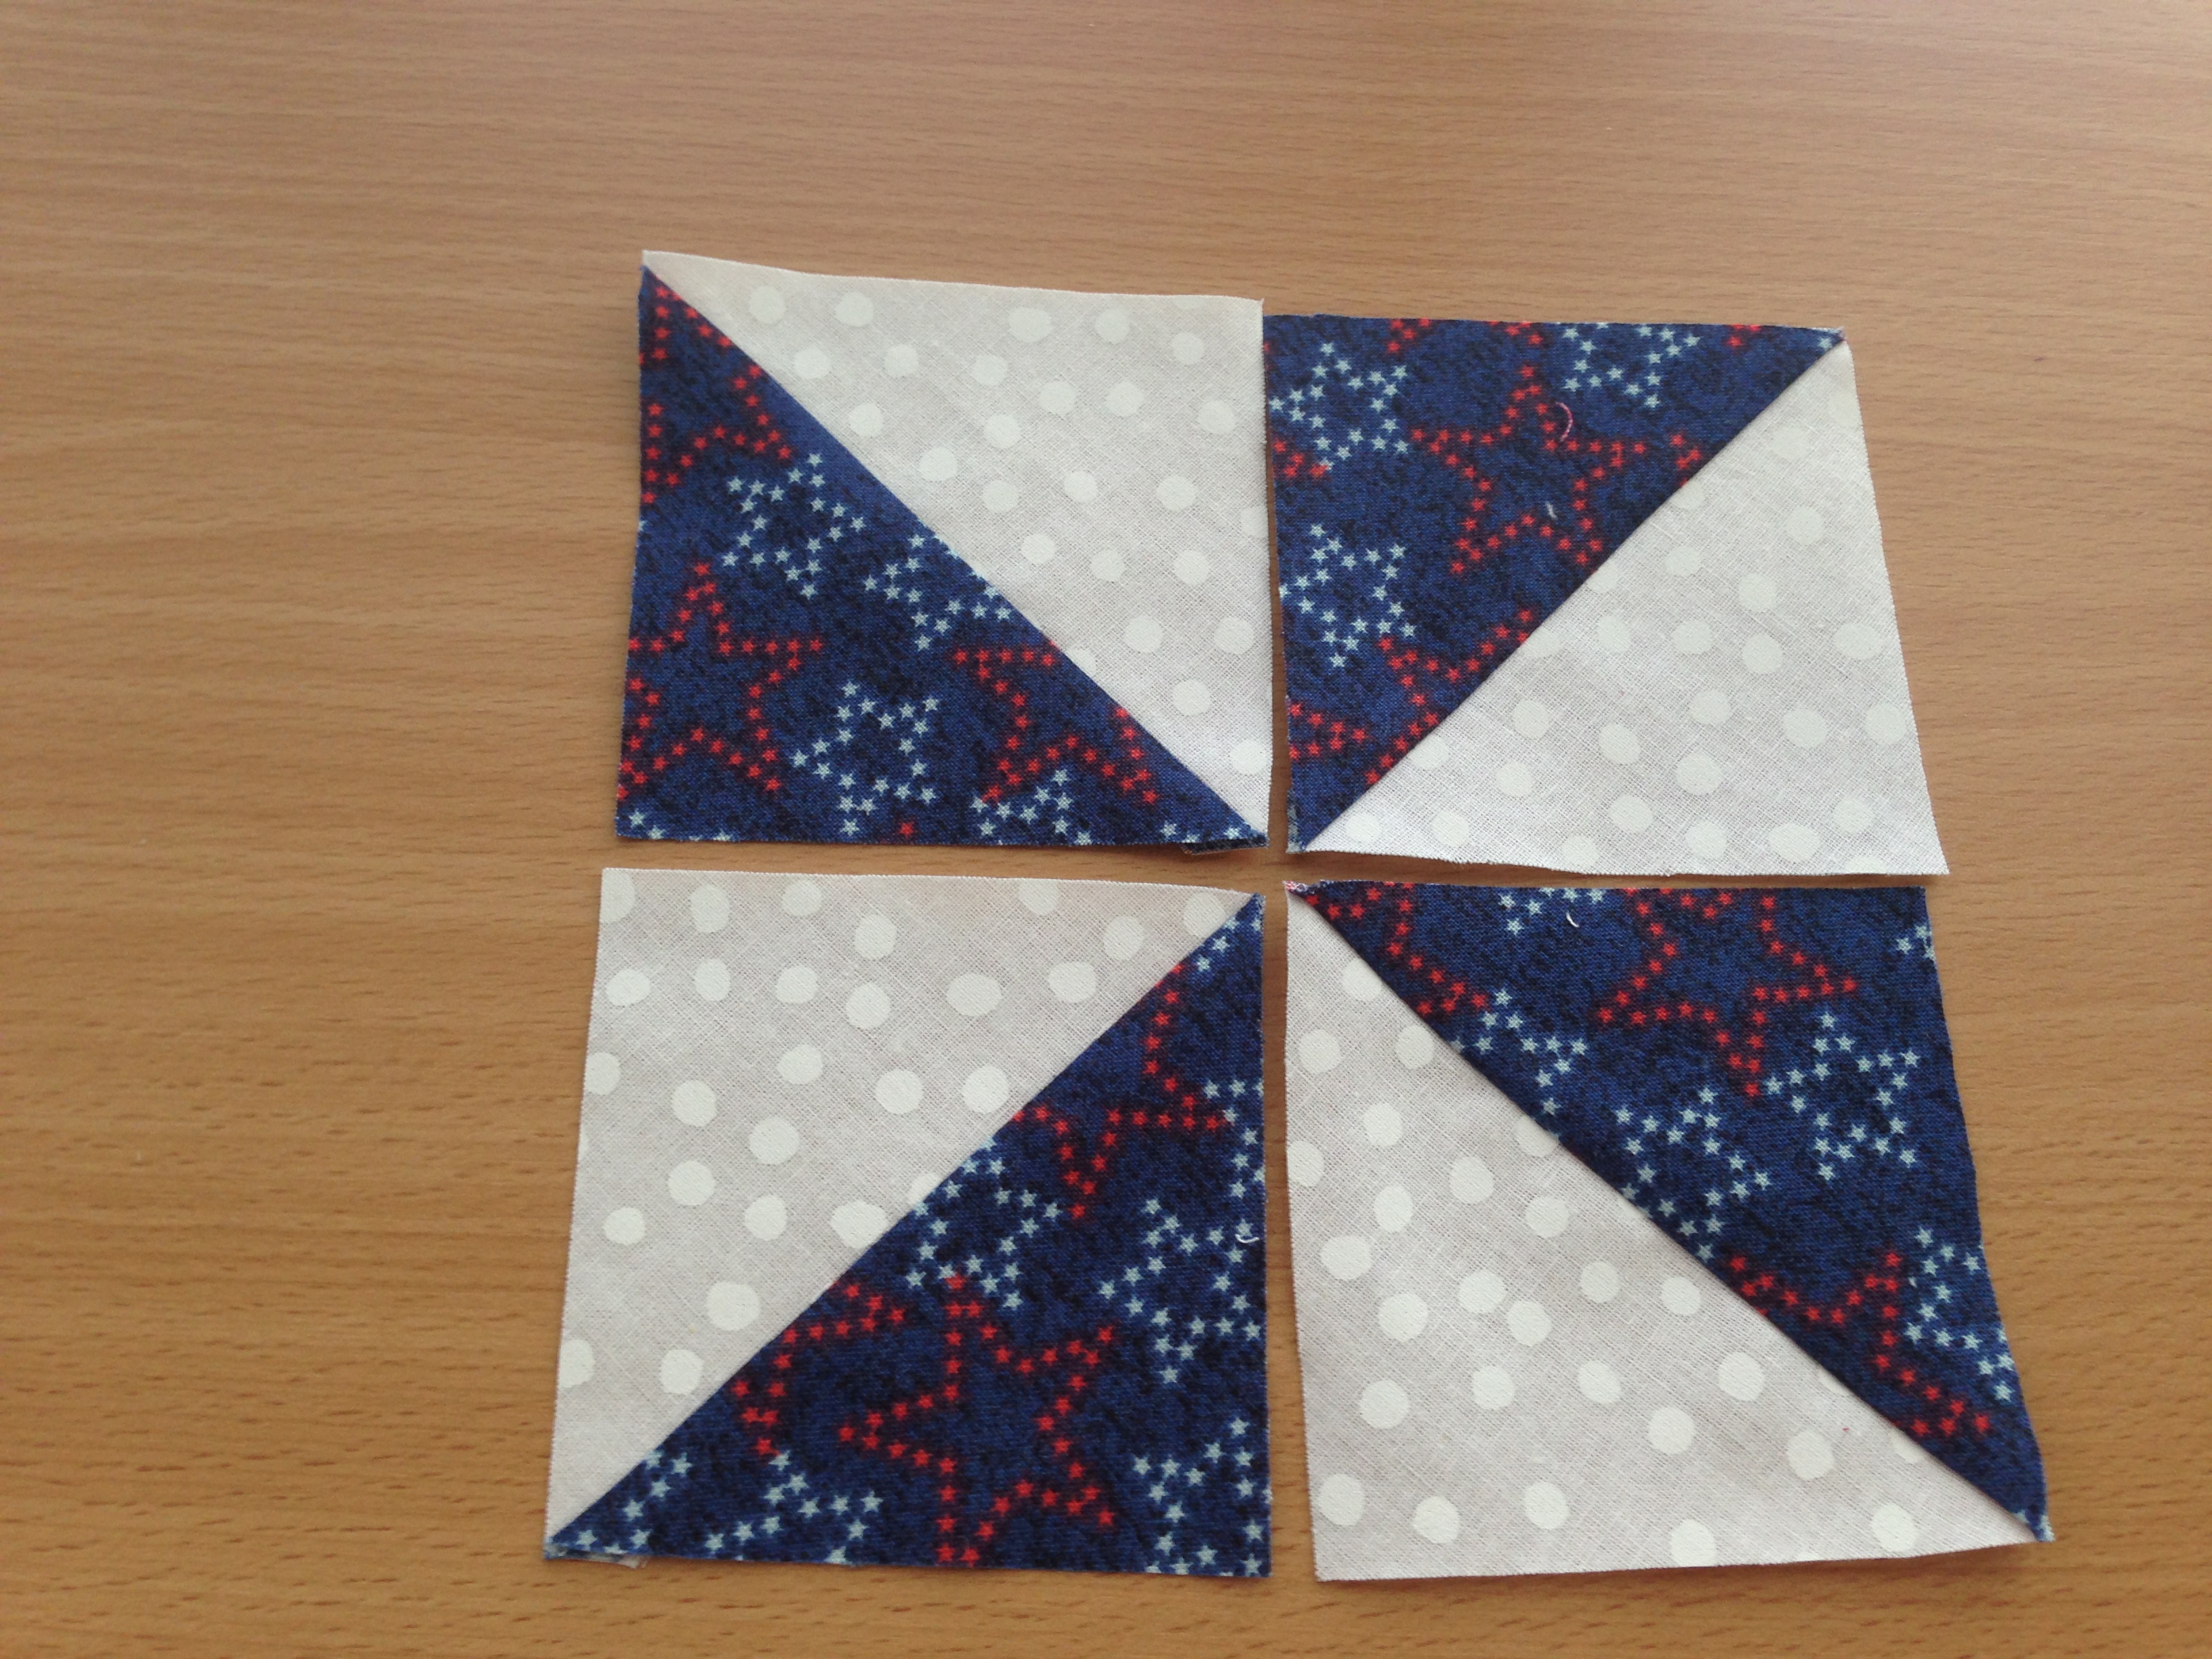
Once you have all your half square triangle blocks squared up to 3", you are ready to sew your pinwheels together. Lay them out like this. Make sure to note if you have dark or light on the fist square. They all need to be in the same order. (I totally messed up on mine!!)
Sew the top two units together like this: (press seams toward the dark)
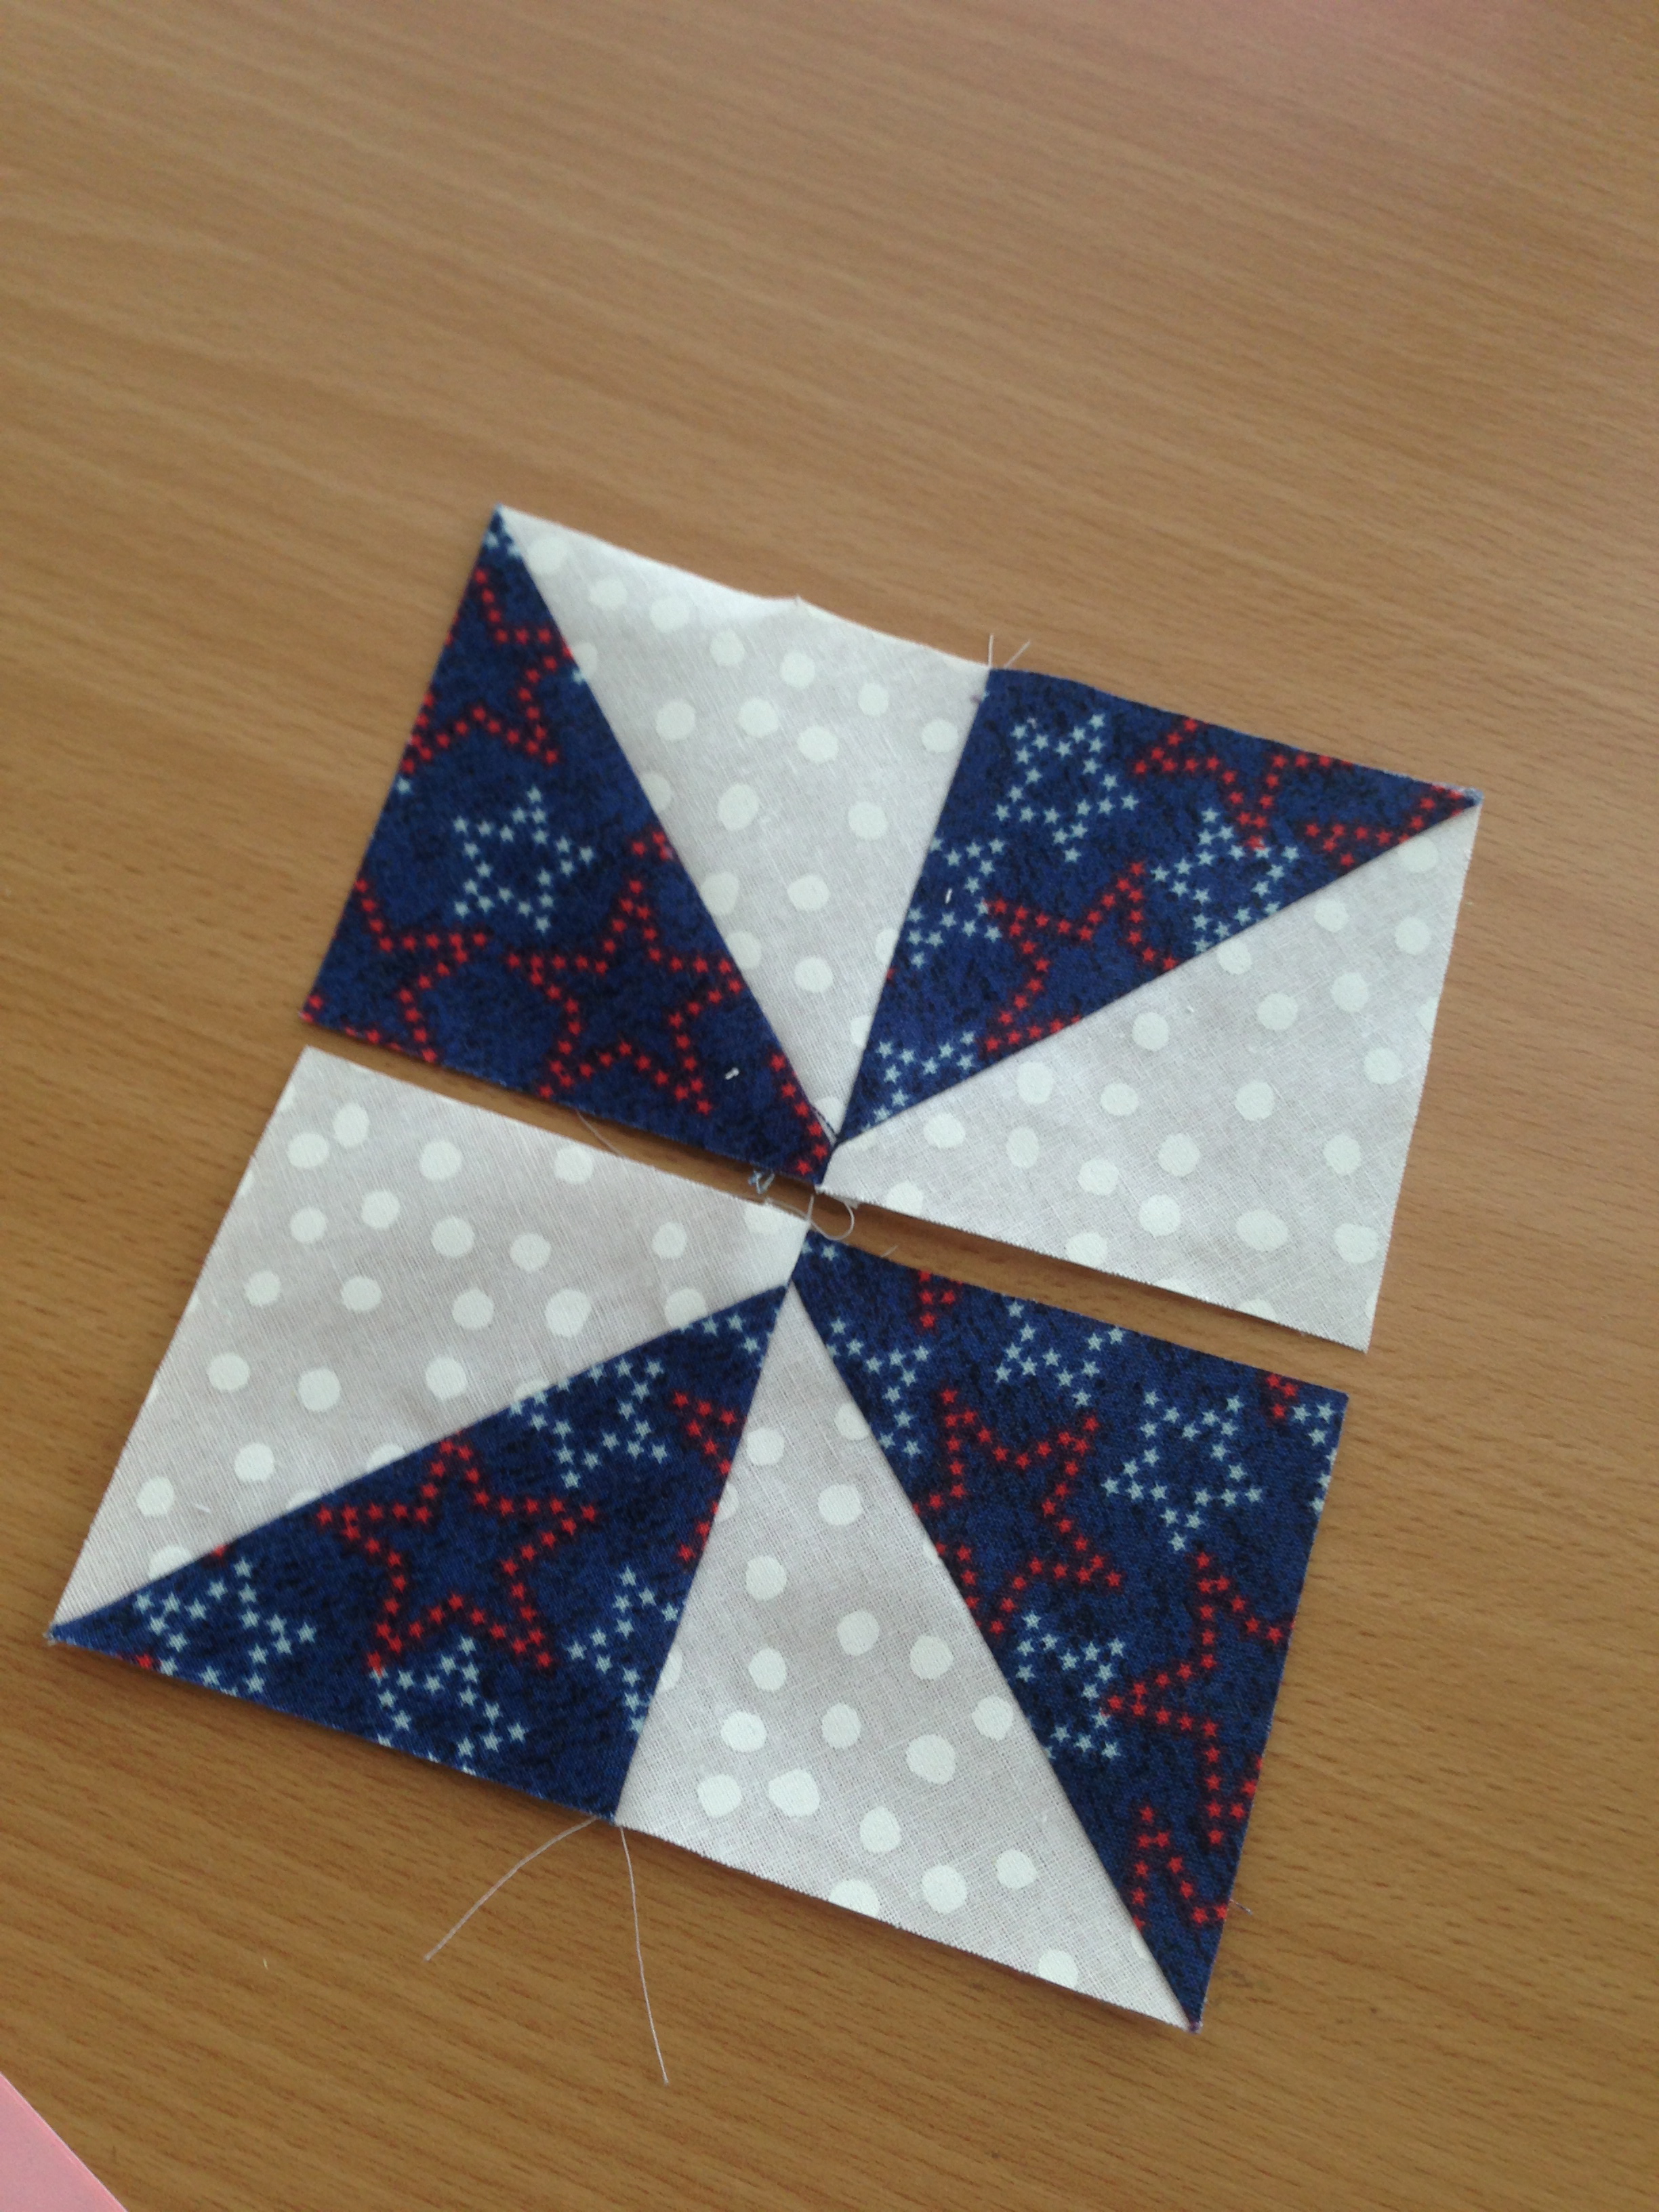 With right sides together, pin the matching seams and sew the block together. Make sure your seams line up like this:
 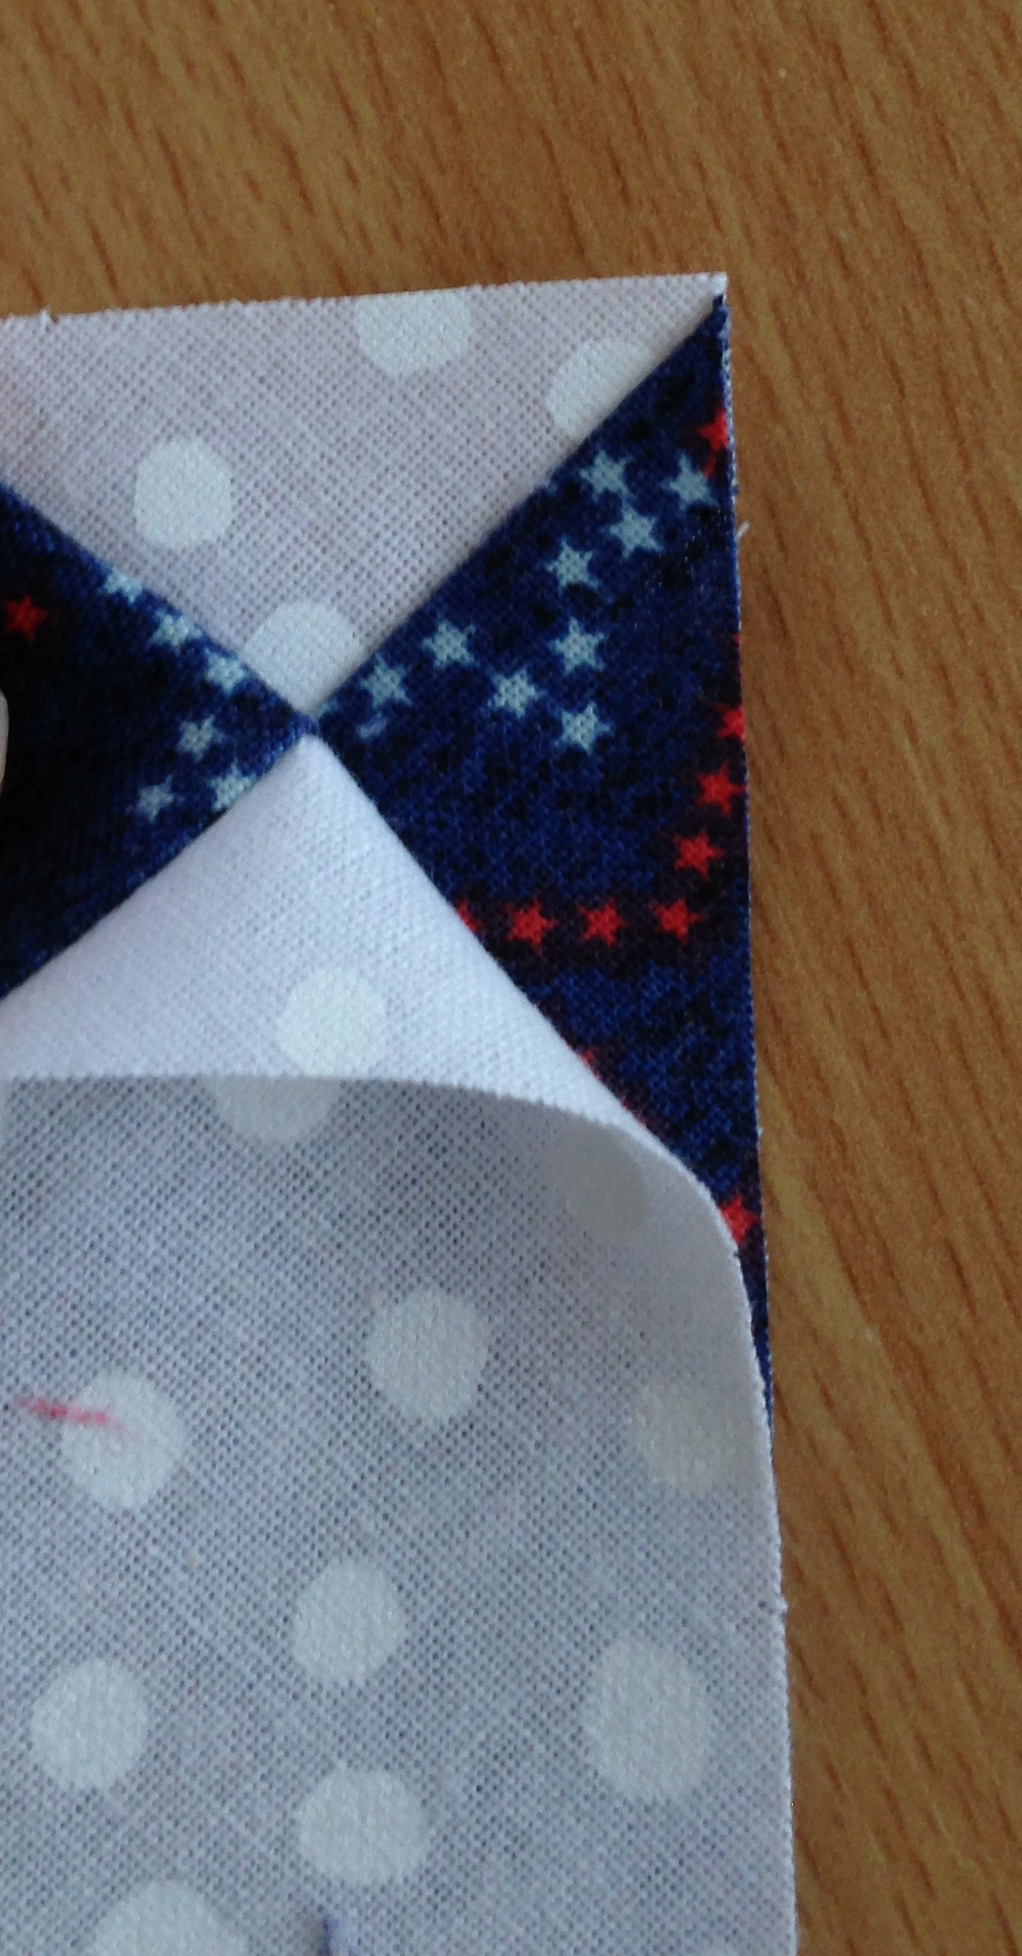 I like to press the final seam open to reduce the bulk.
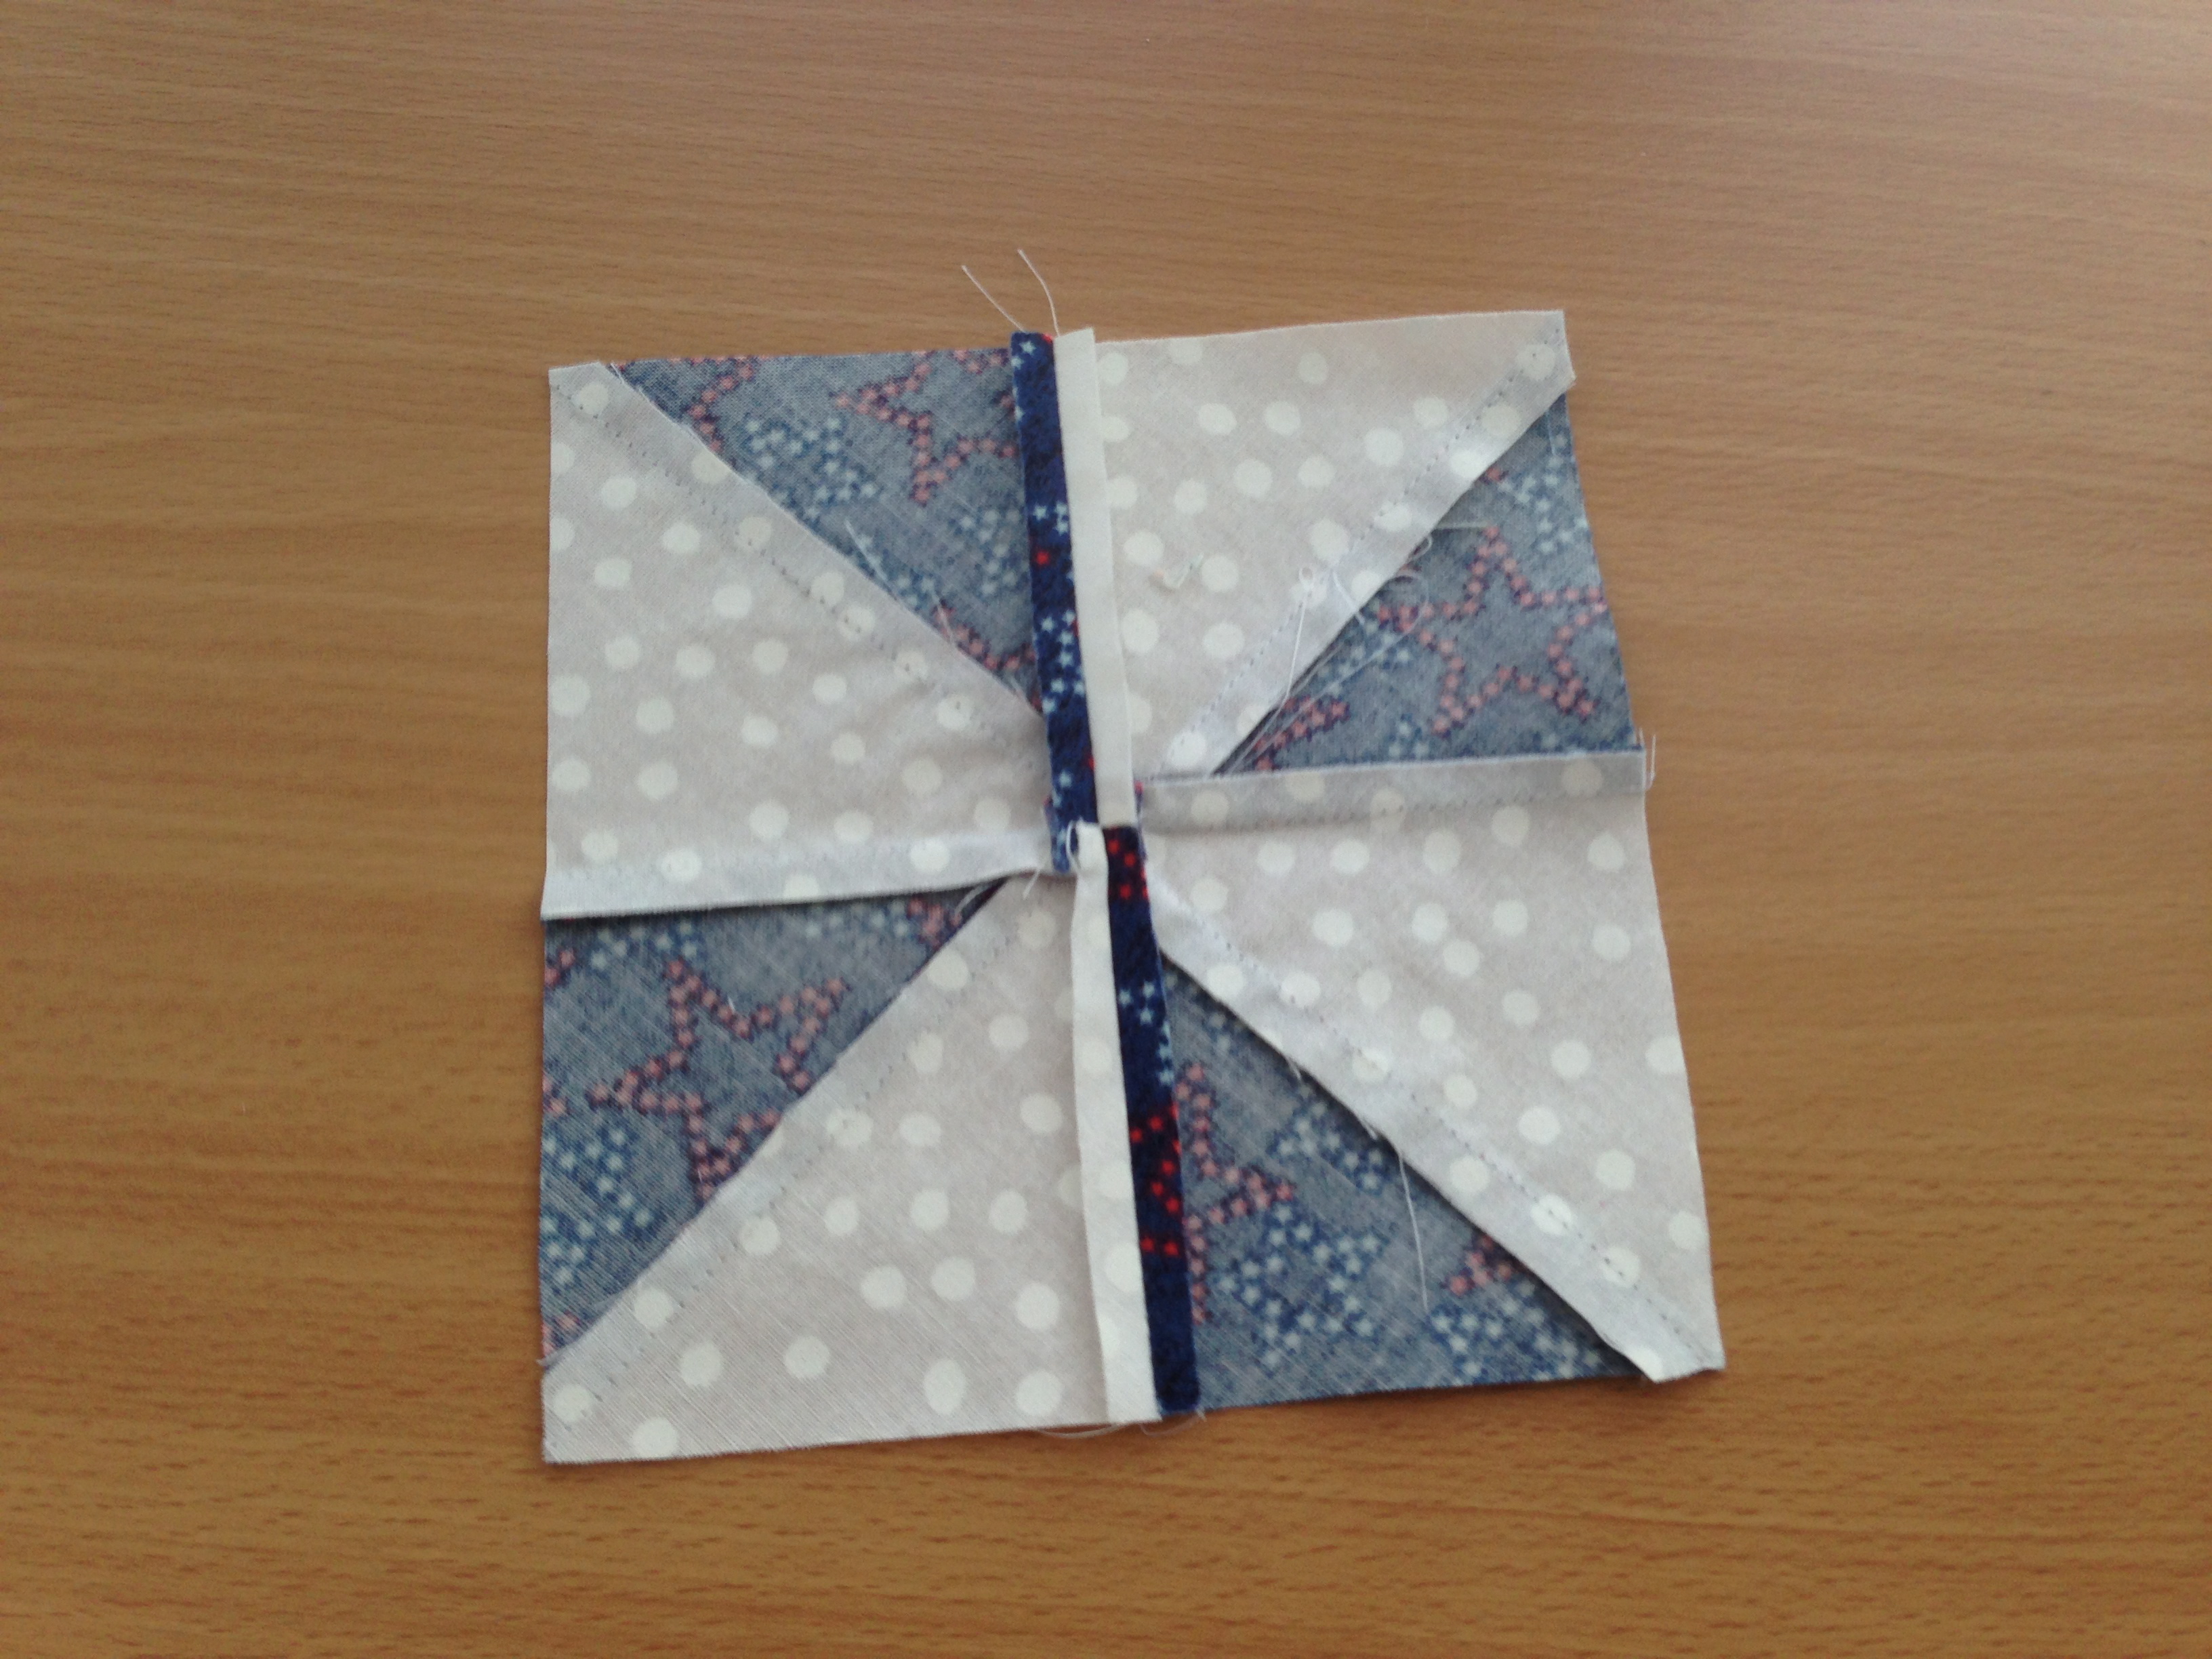 Continue to do the same process with all 10 pinwheel blocks.
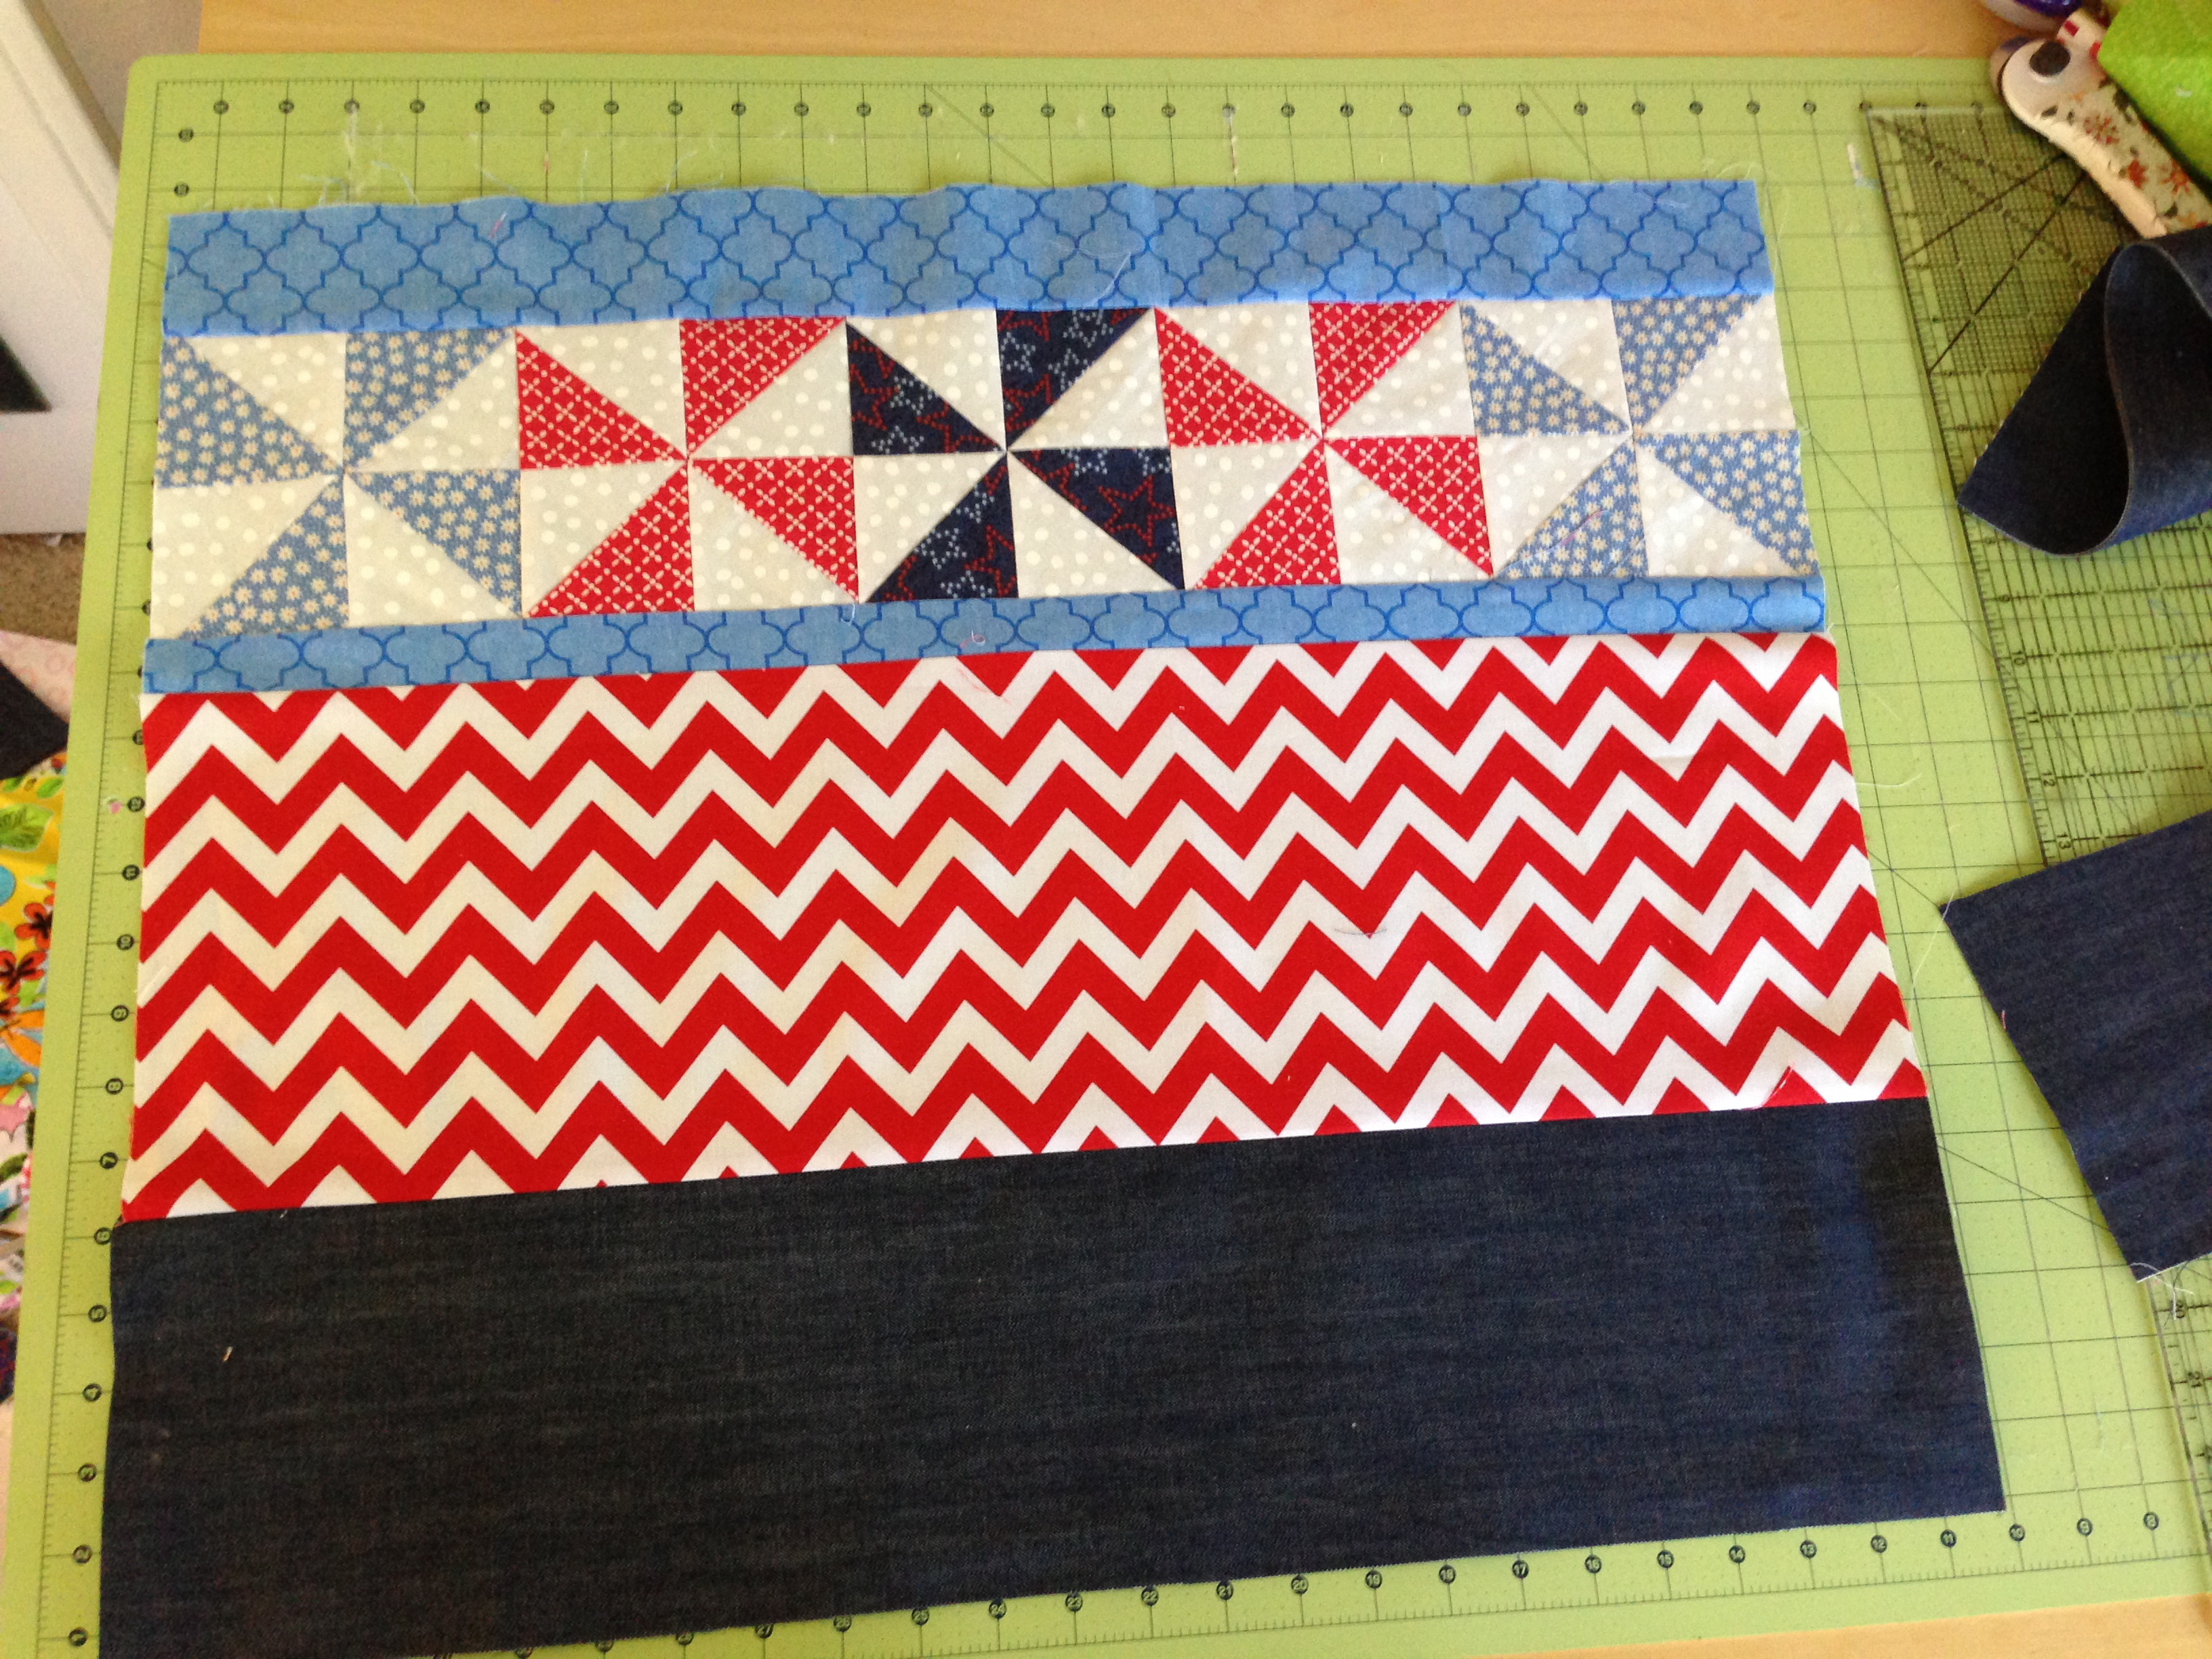
 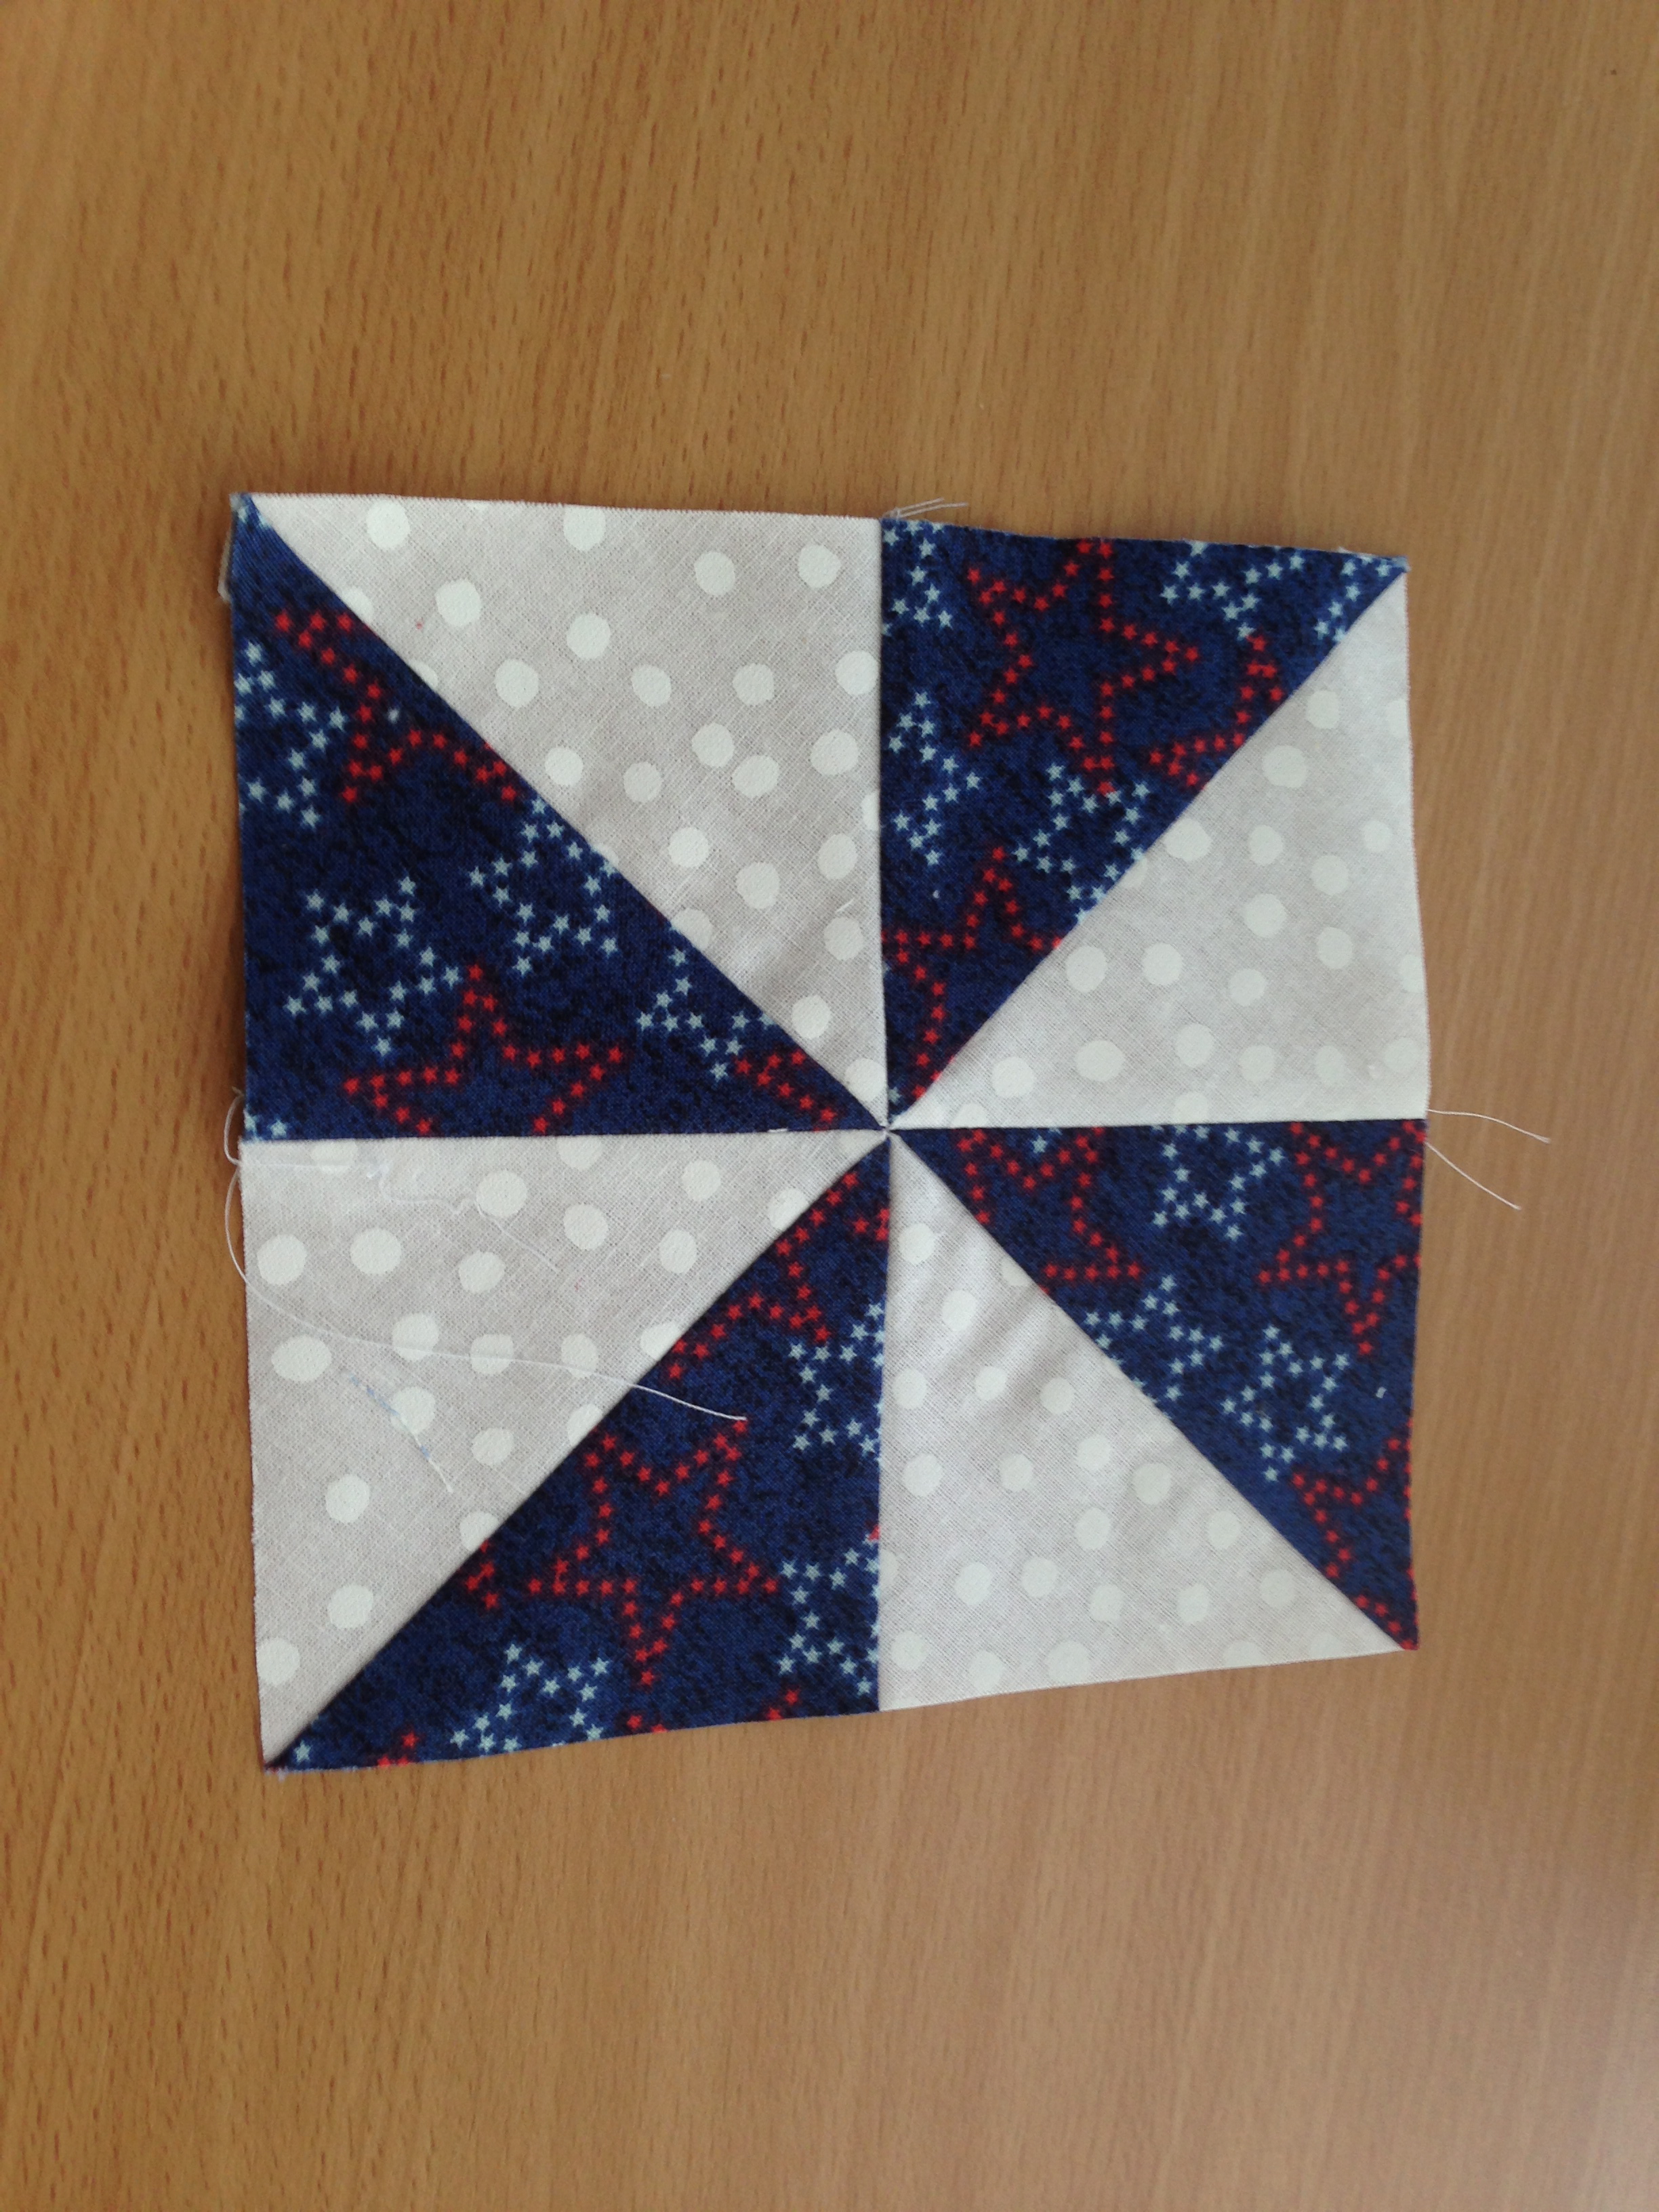 Now you are ready to sew your pinwheels together. Sew two rows of 5. Step #2 sew the main body of the bag Once you have your pinwheel blocks sewn together, you can add the other strips of fabric. Here are the measurements for one side, you need to make 2. Blue fabric, top: 2 1/2" x 25 3/4" Pinwheel strip 5 1/2" x 25 3/4" narrow blue strip 1 1/2" x 25 3/4" Red Chevron 8" x 25 3/4" Navy Blue Denim 6" x 25 3/4" (I like to use the denim on the bottom because it is more durable for such a large tote.)
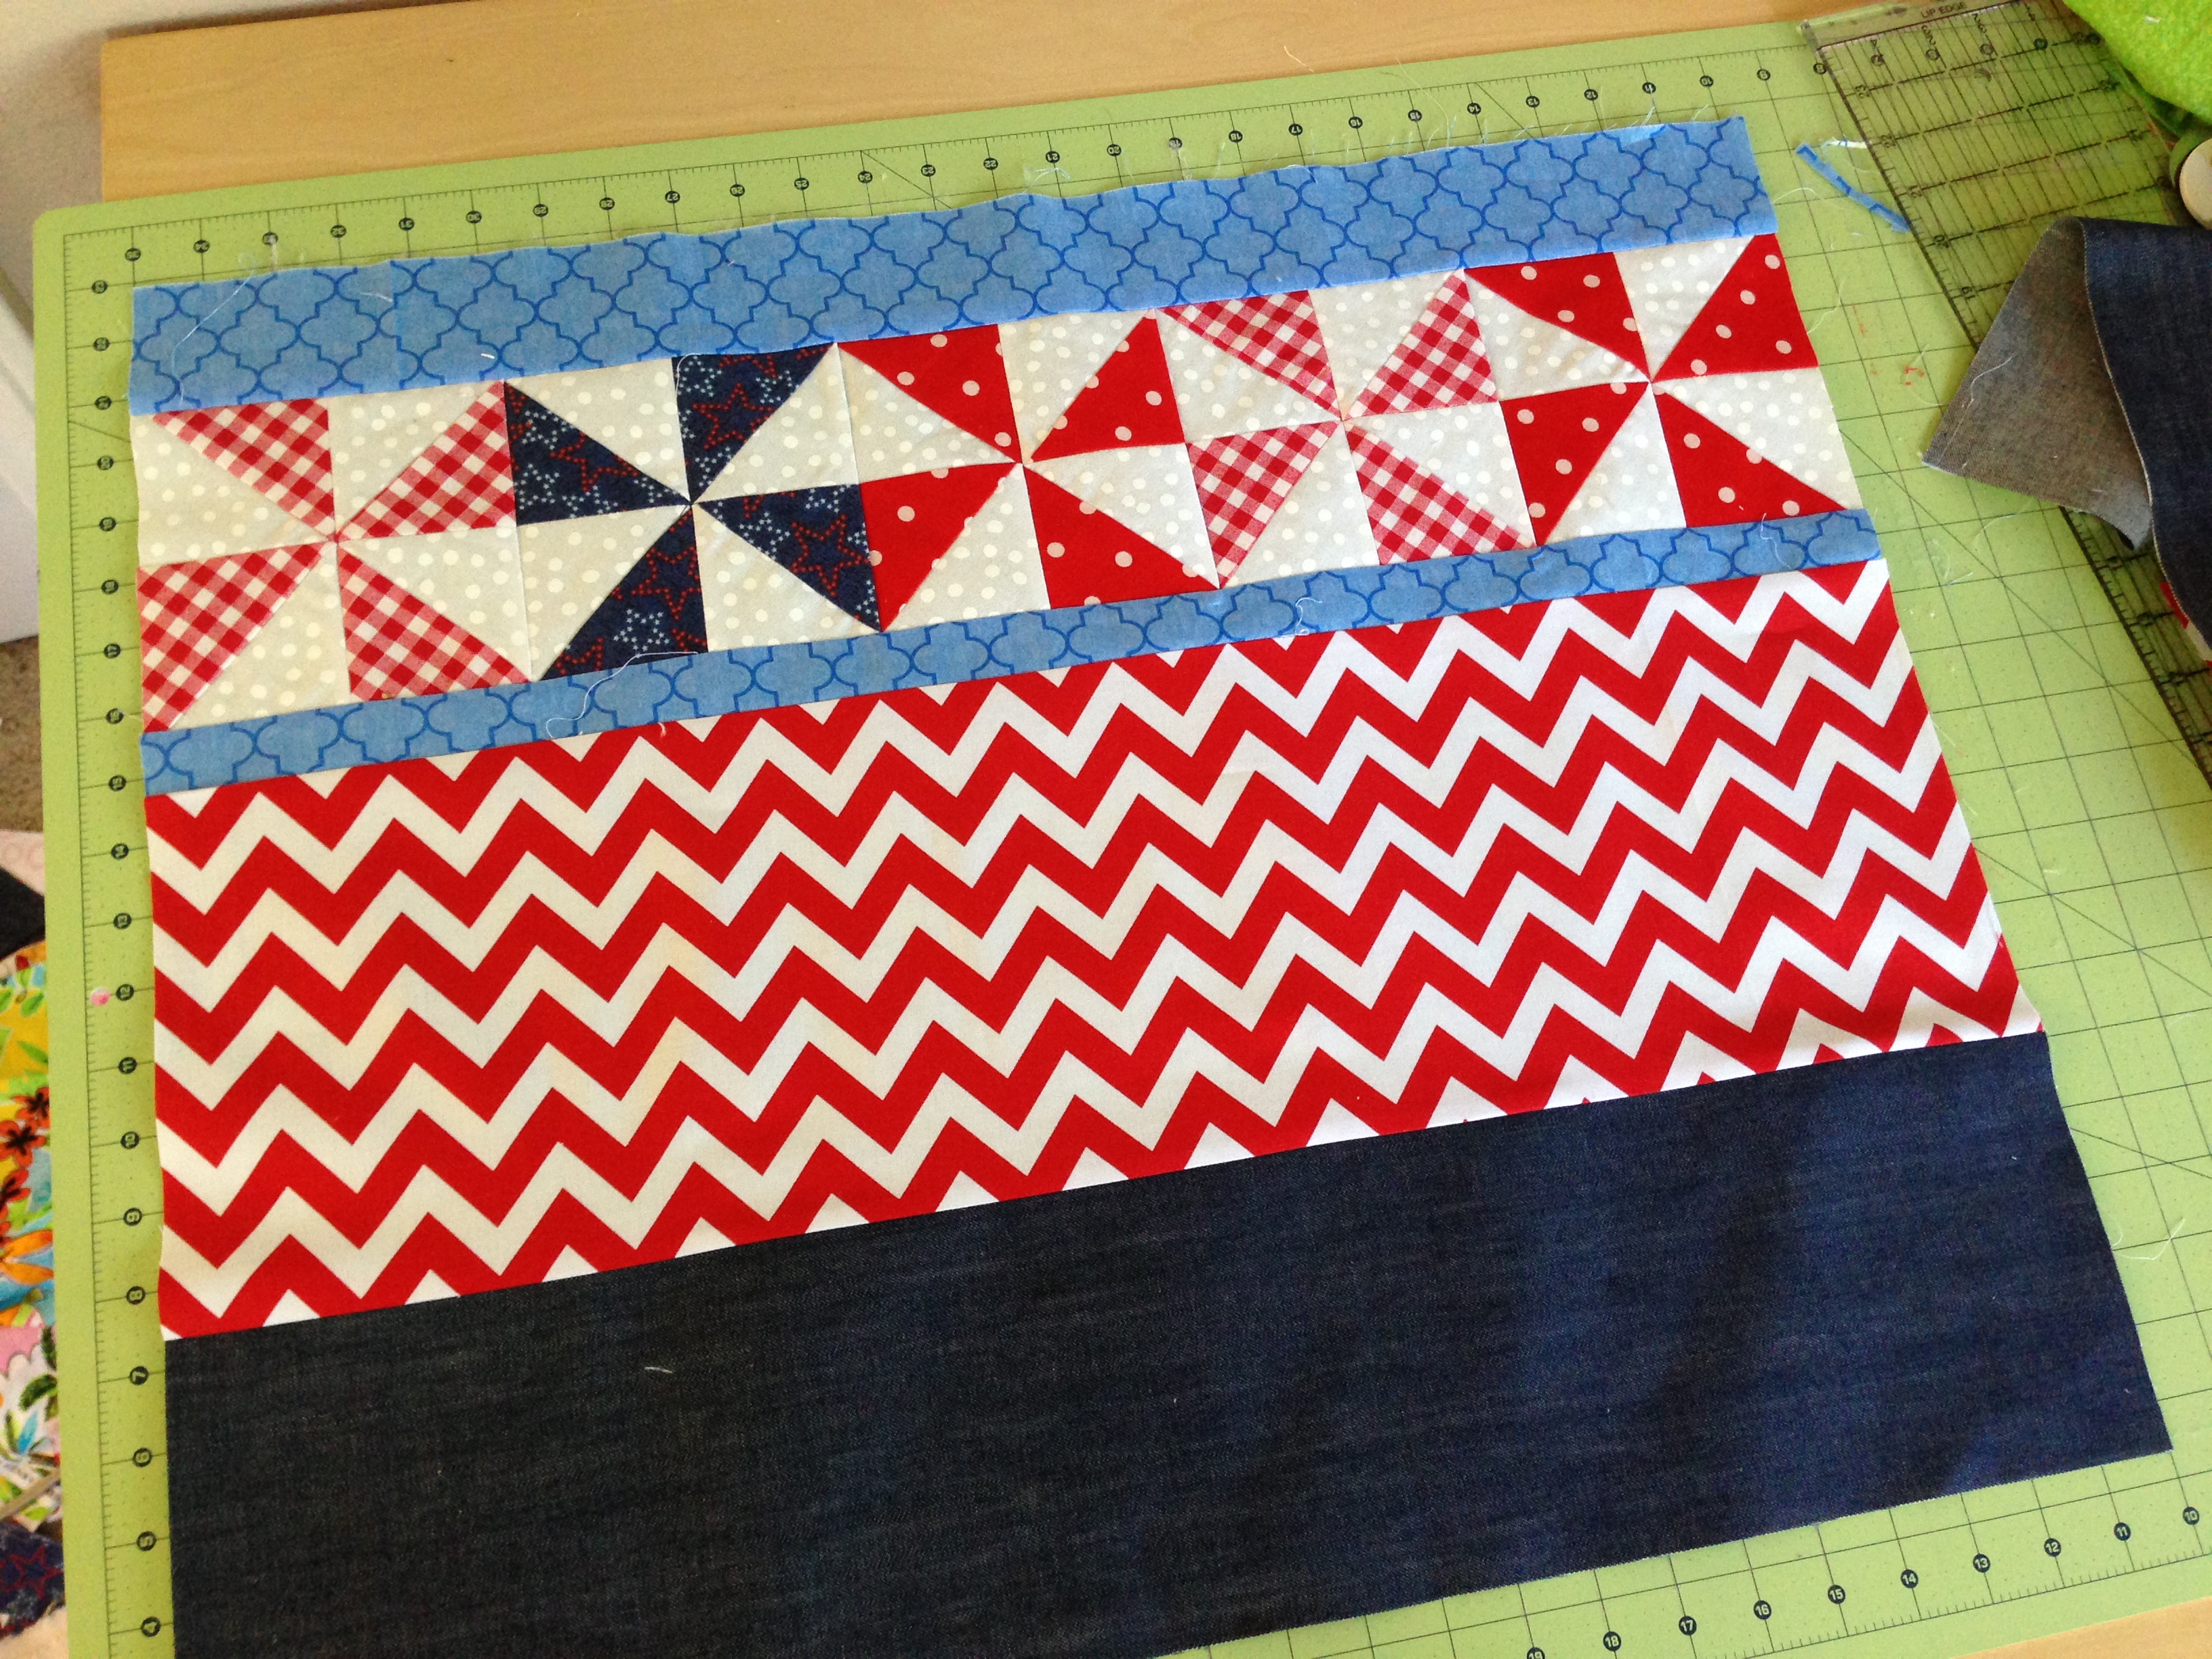
Side 1
Side 2
 Step #3 Iron HeatnBond® Fusible Fleece I love fusible fleece - it is so fast and easy. Cut 1 piece the size of each of the outer bag pieces (21 1/4" x 25 3/4"). Using a hot dry iron, press the HeatnBond® fusible side of the fleece to the wrong side of the fabric. Do this to both sides.
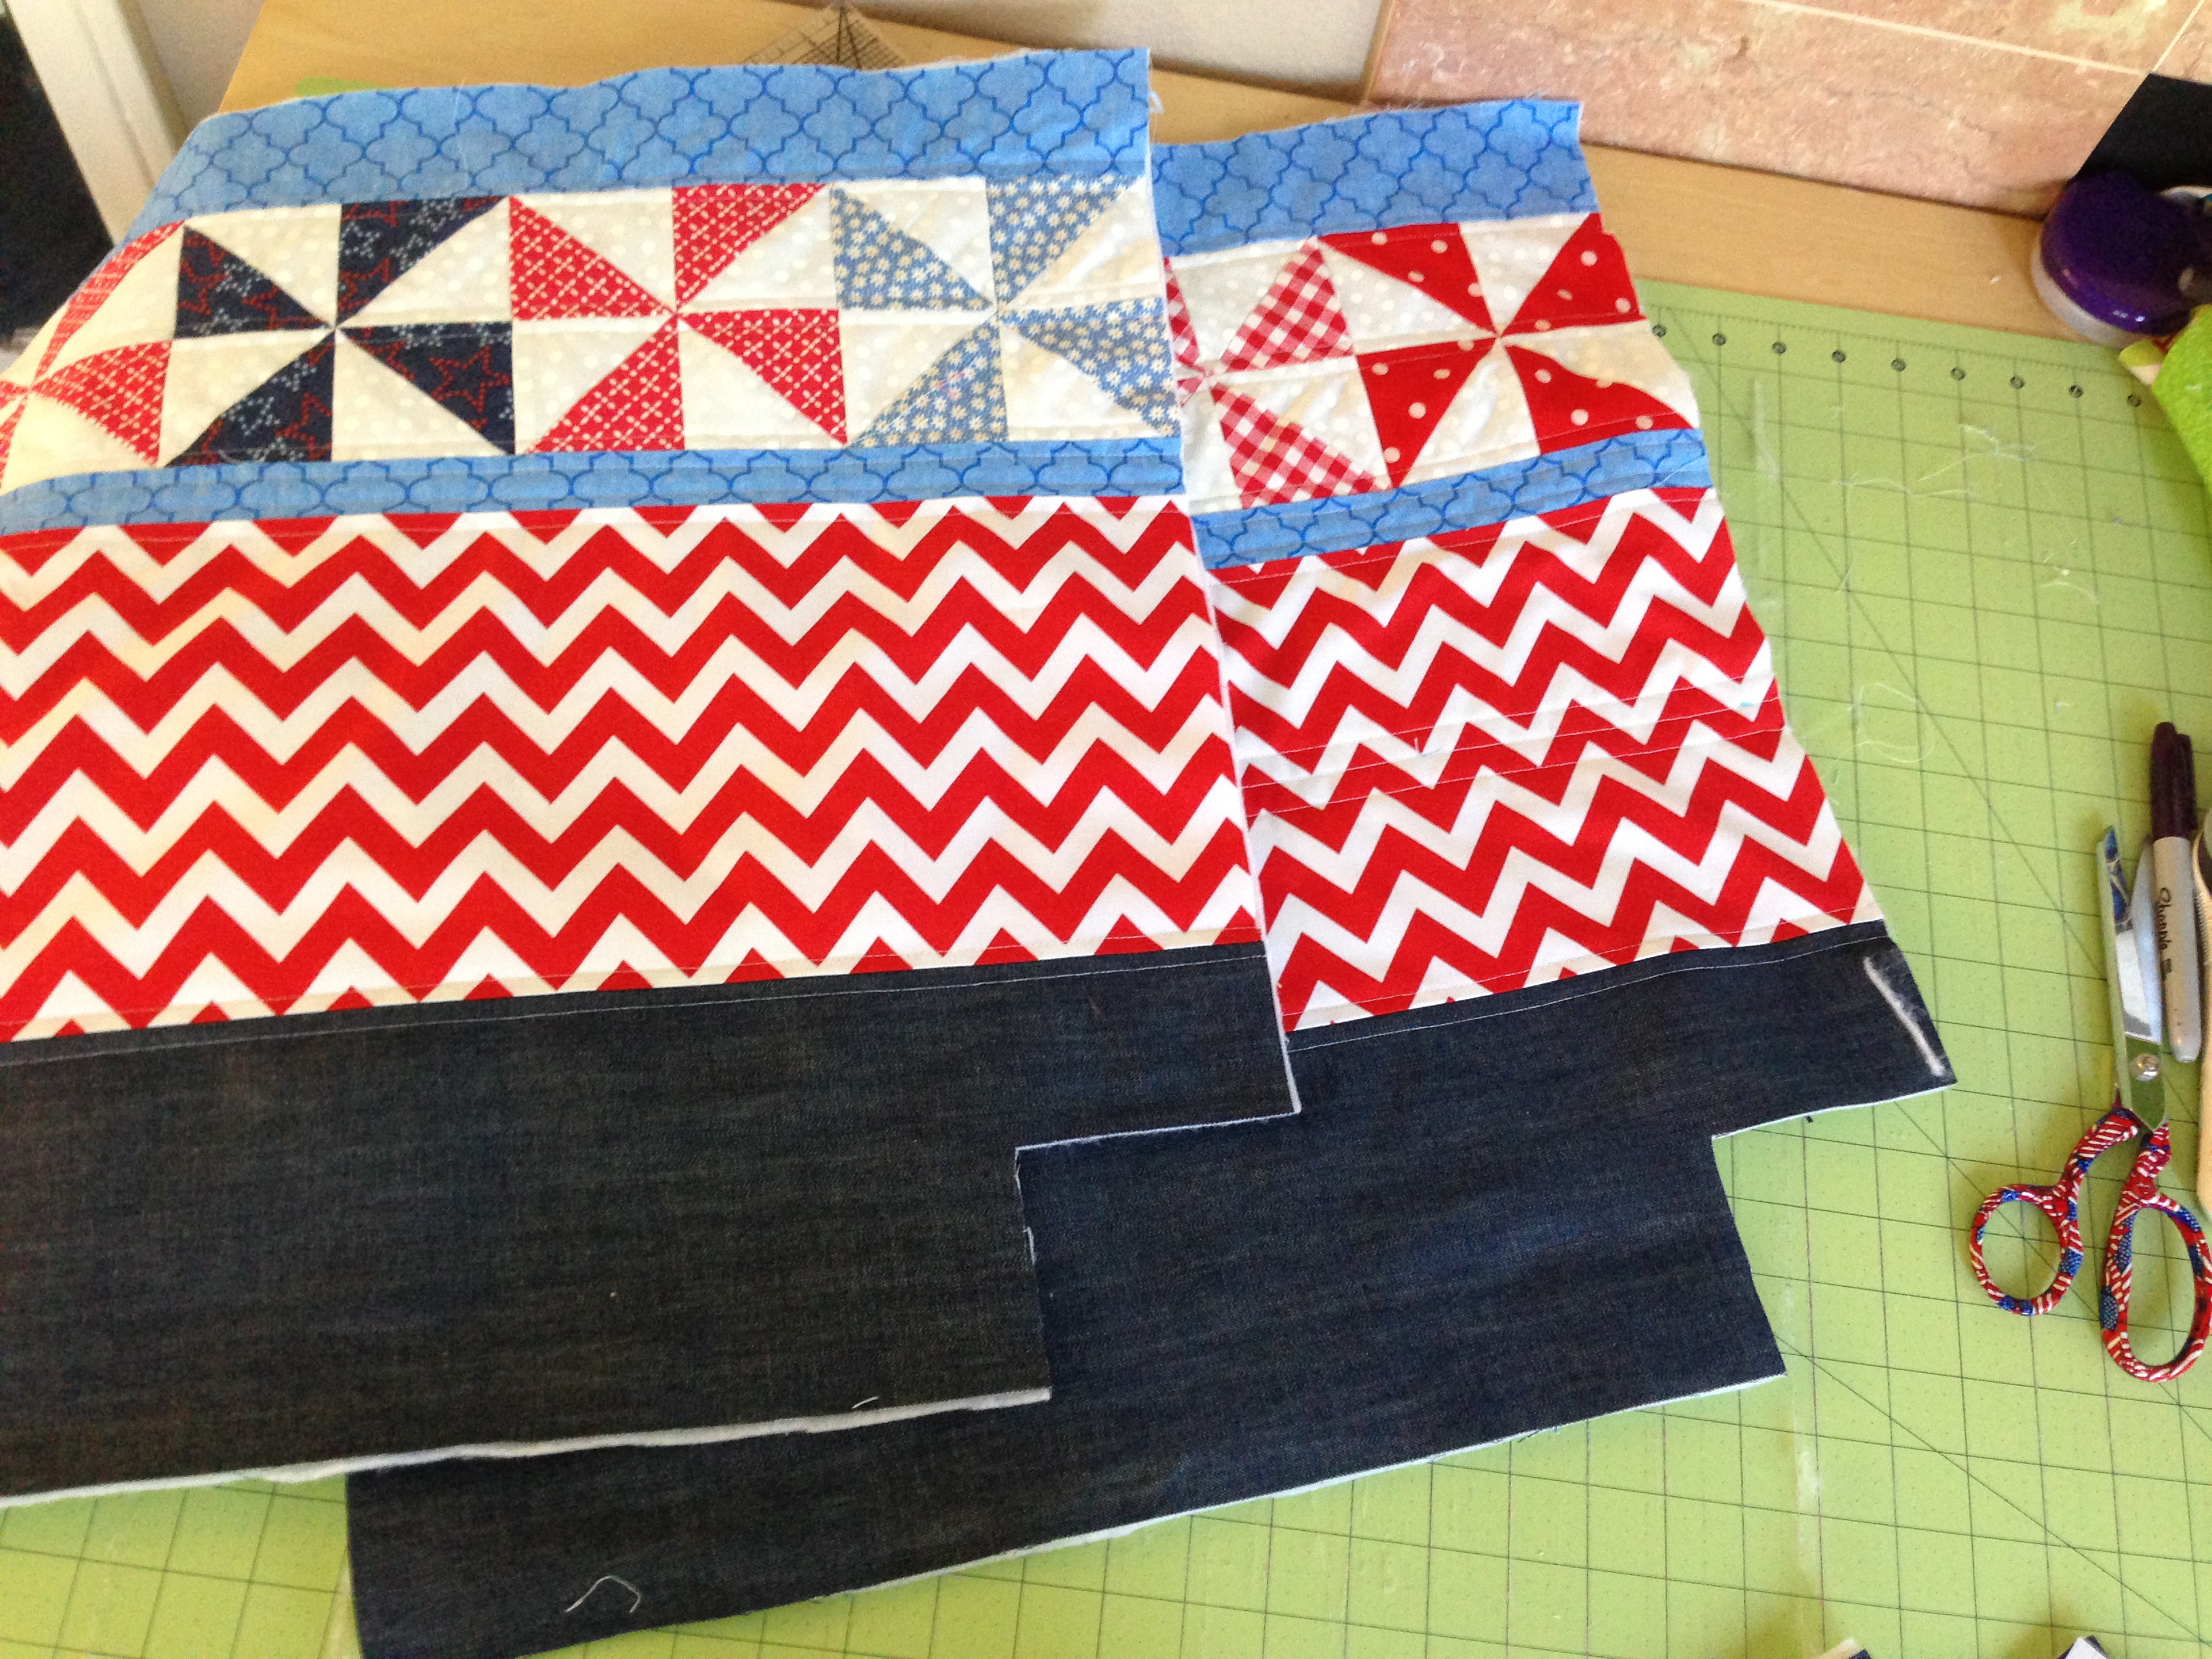
 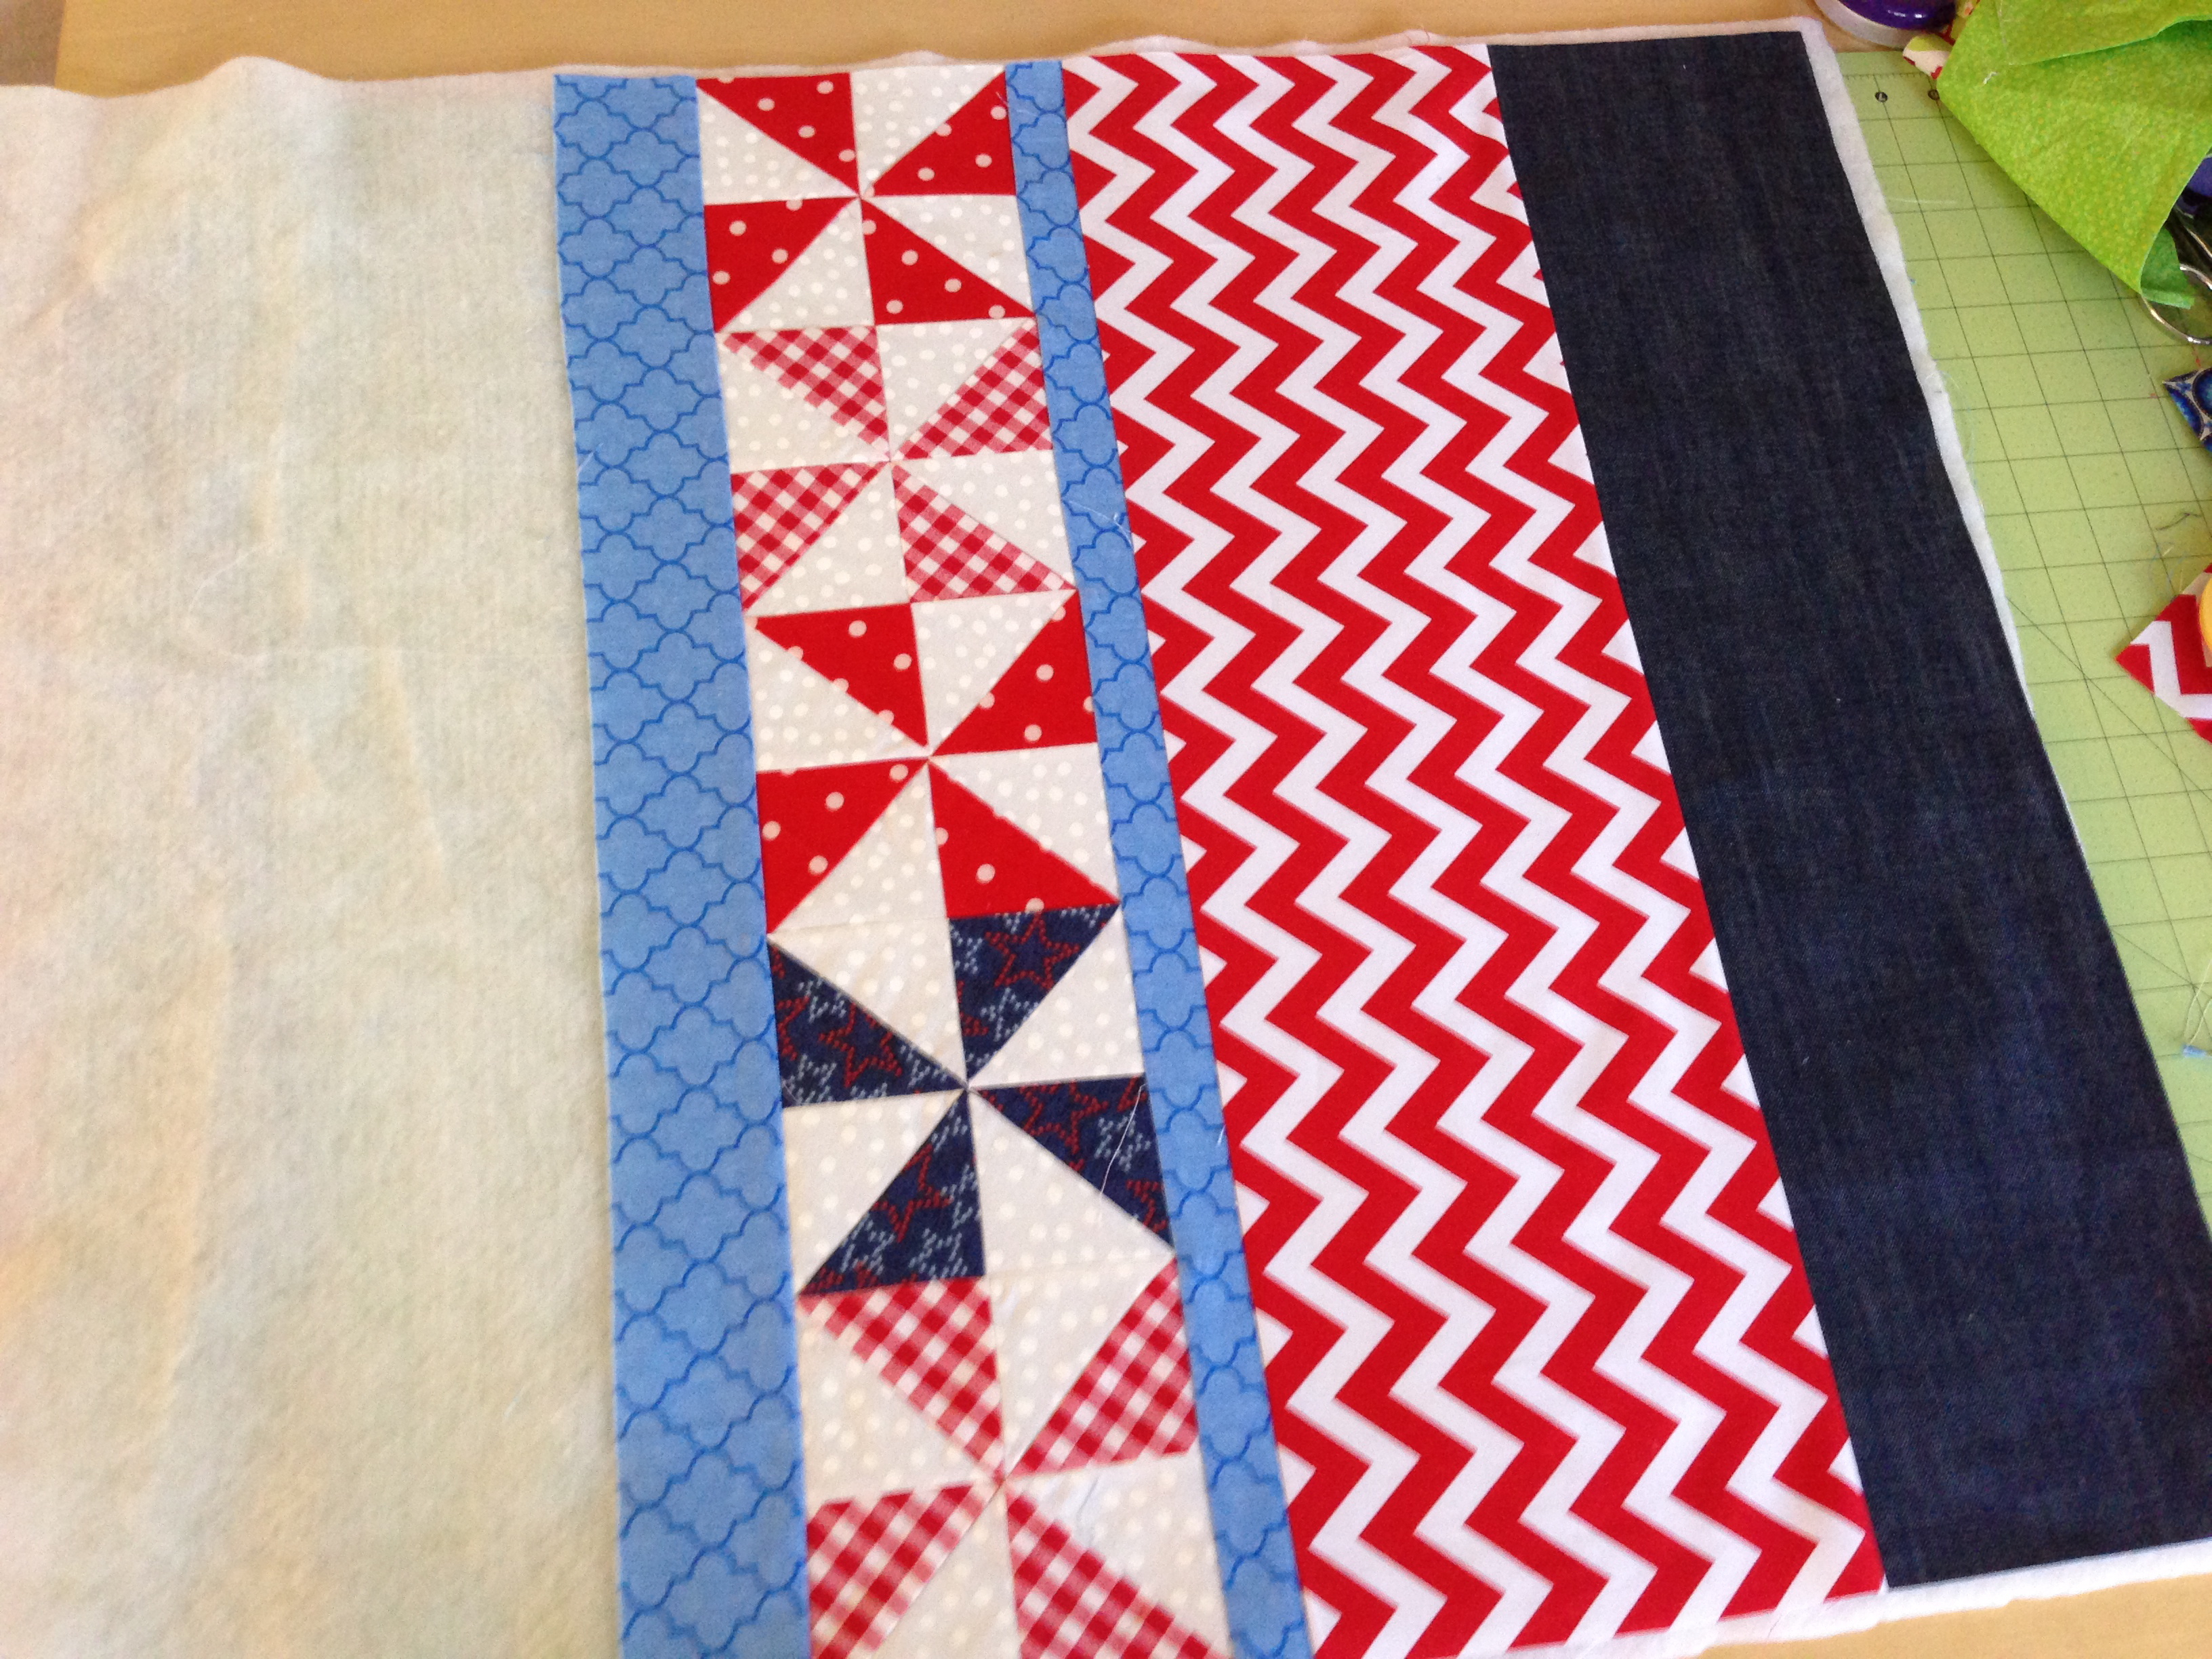 Step #4 Quilting or Top Stitching The fusible fleece is strong enough to not need quilting or topstitching. I like how a little top stitching looks. I used my walking foot and stitched some straight lines. You can get creative!! Step #5 Notch the Bottom Cut a 3 3/4" x 3 1/4" rectangle out of the bottom corners of both of the outer bag pieces.
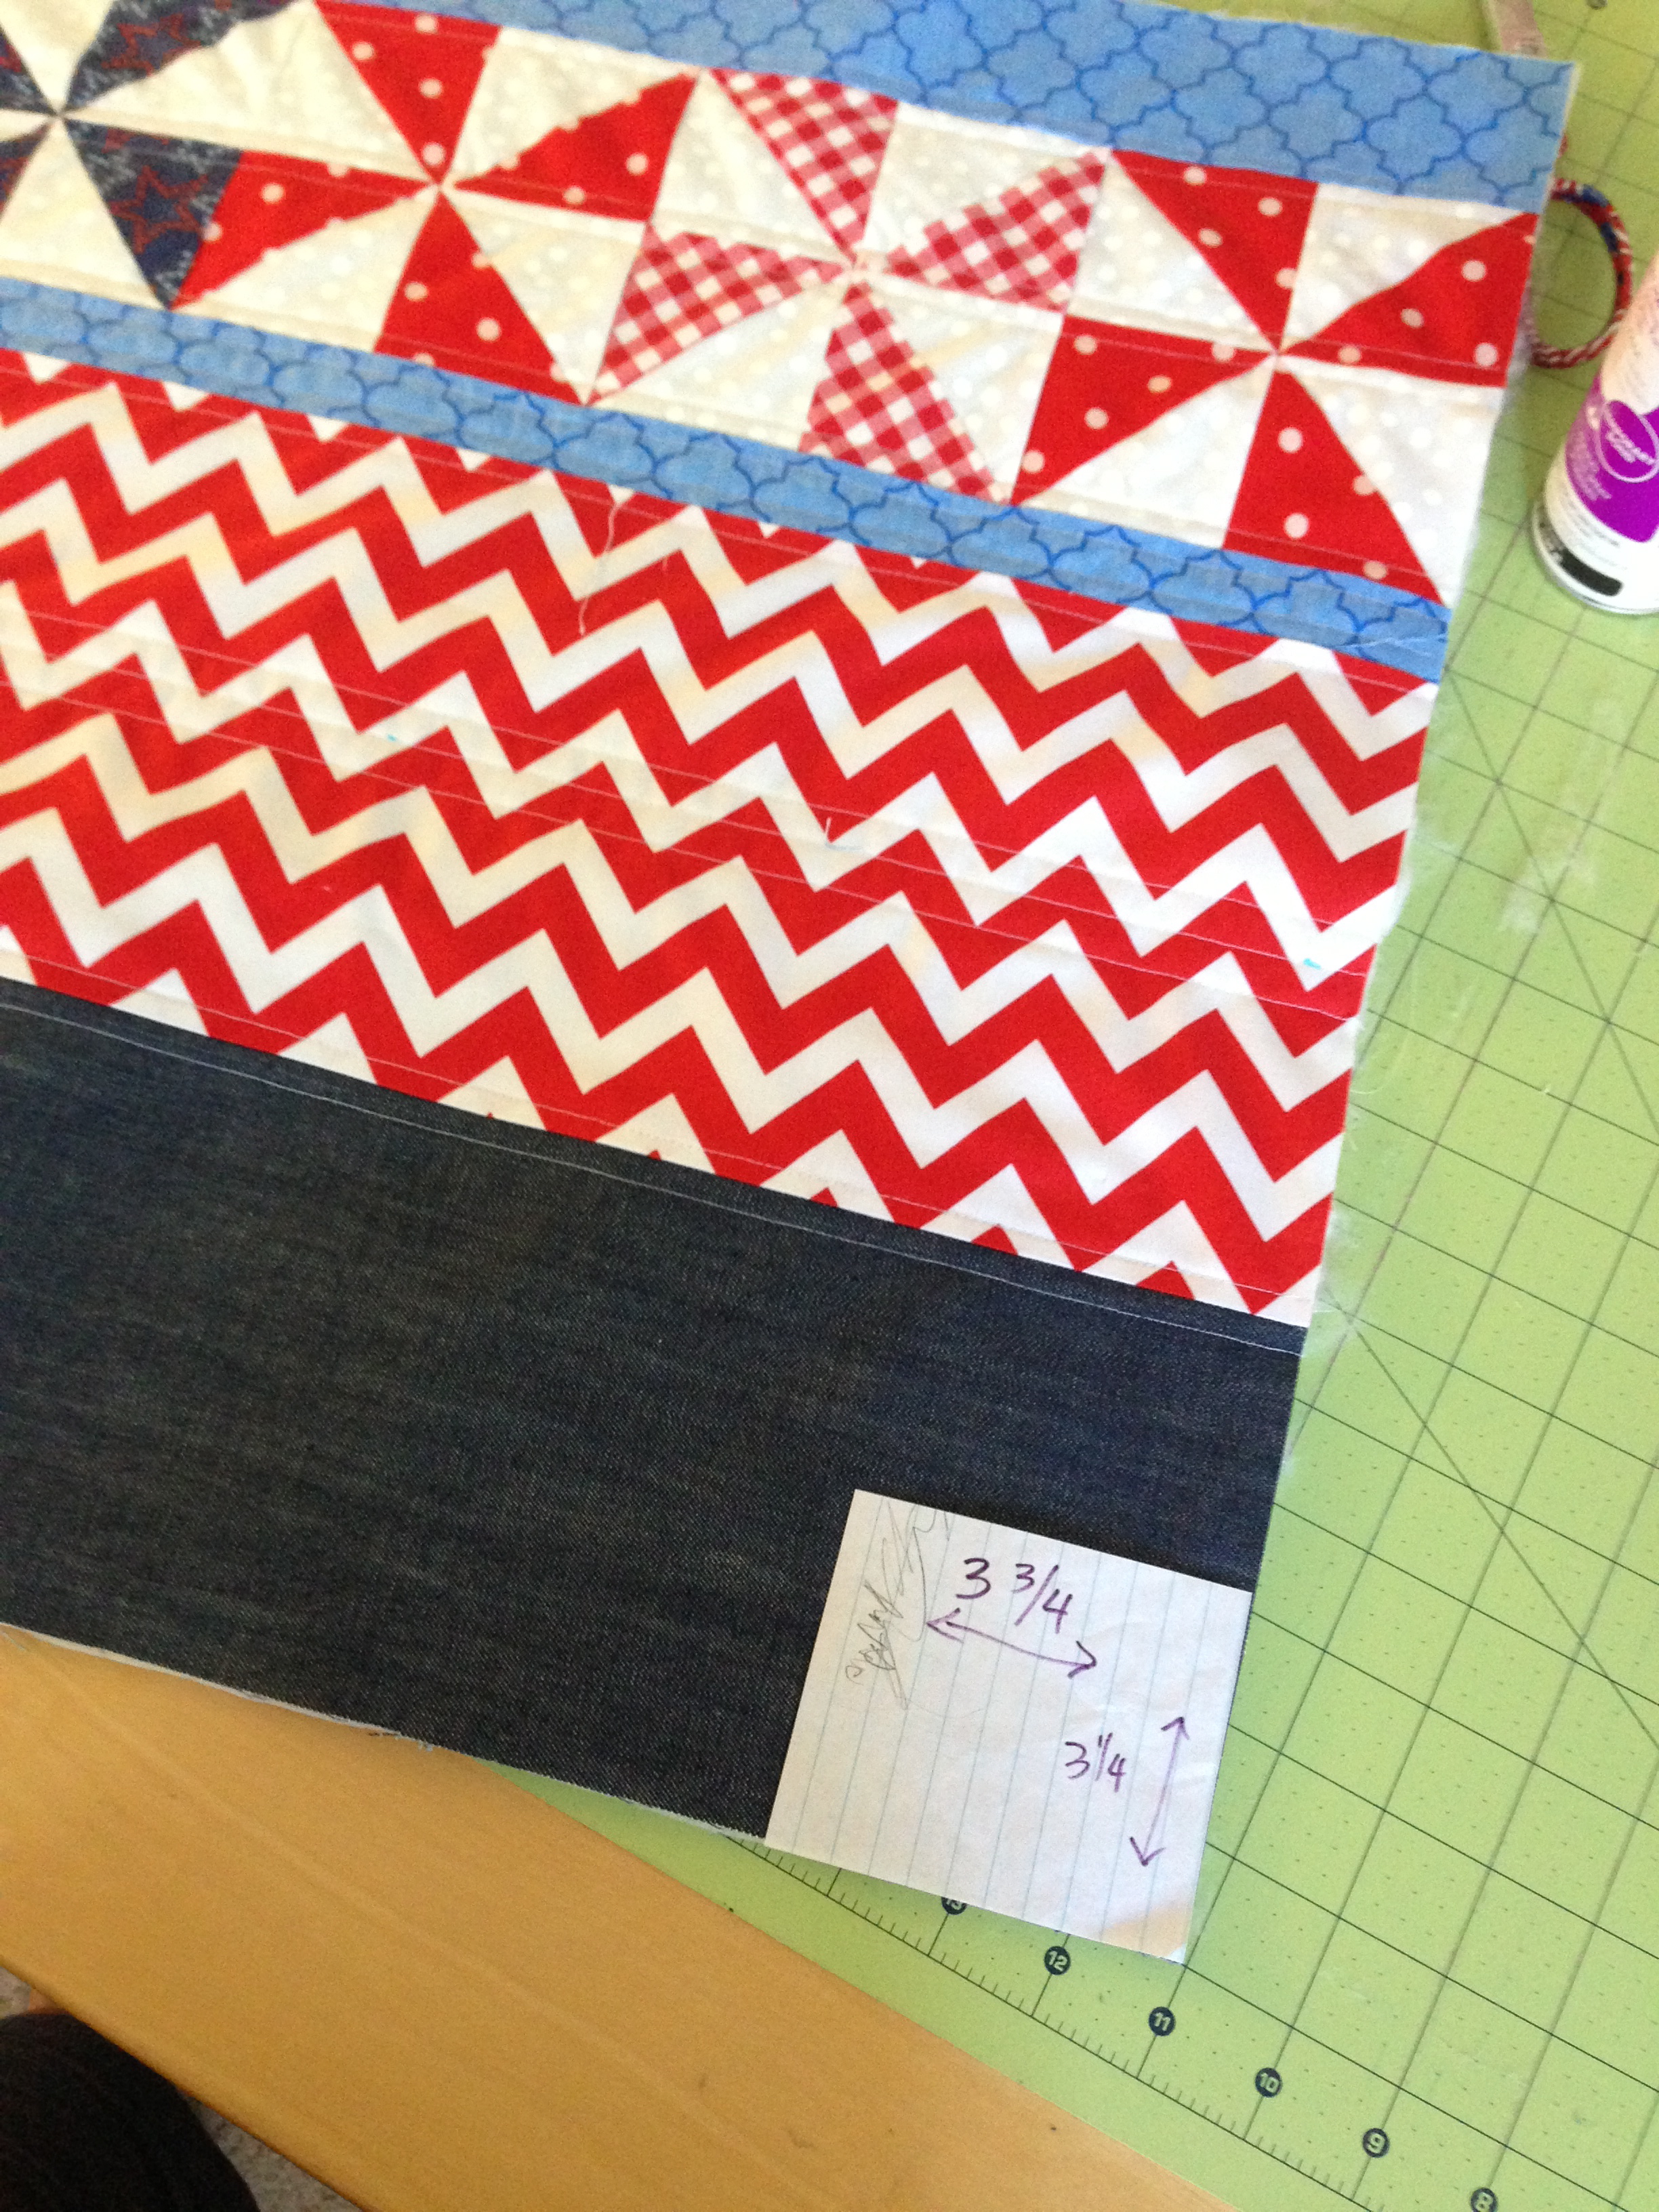
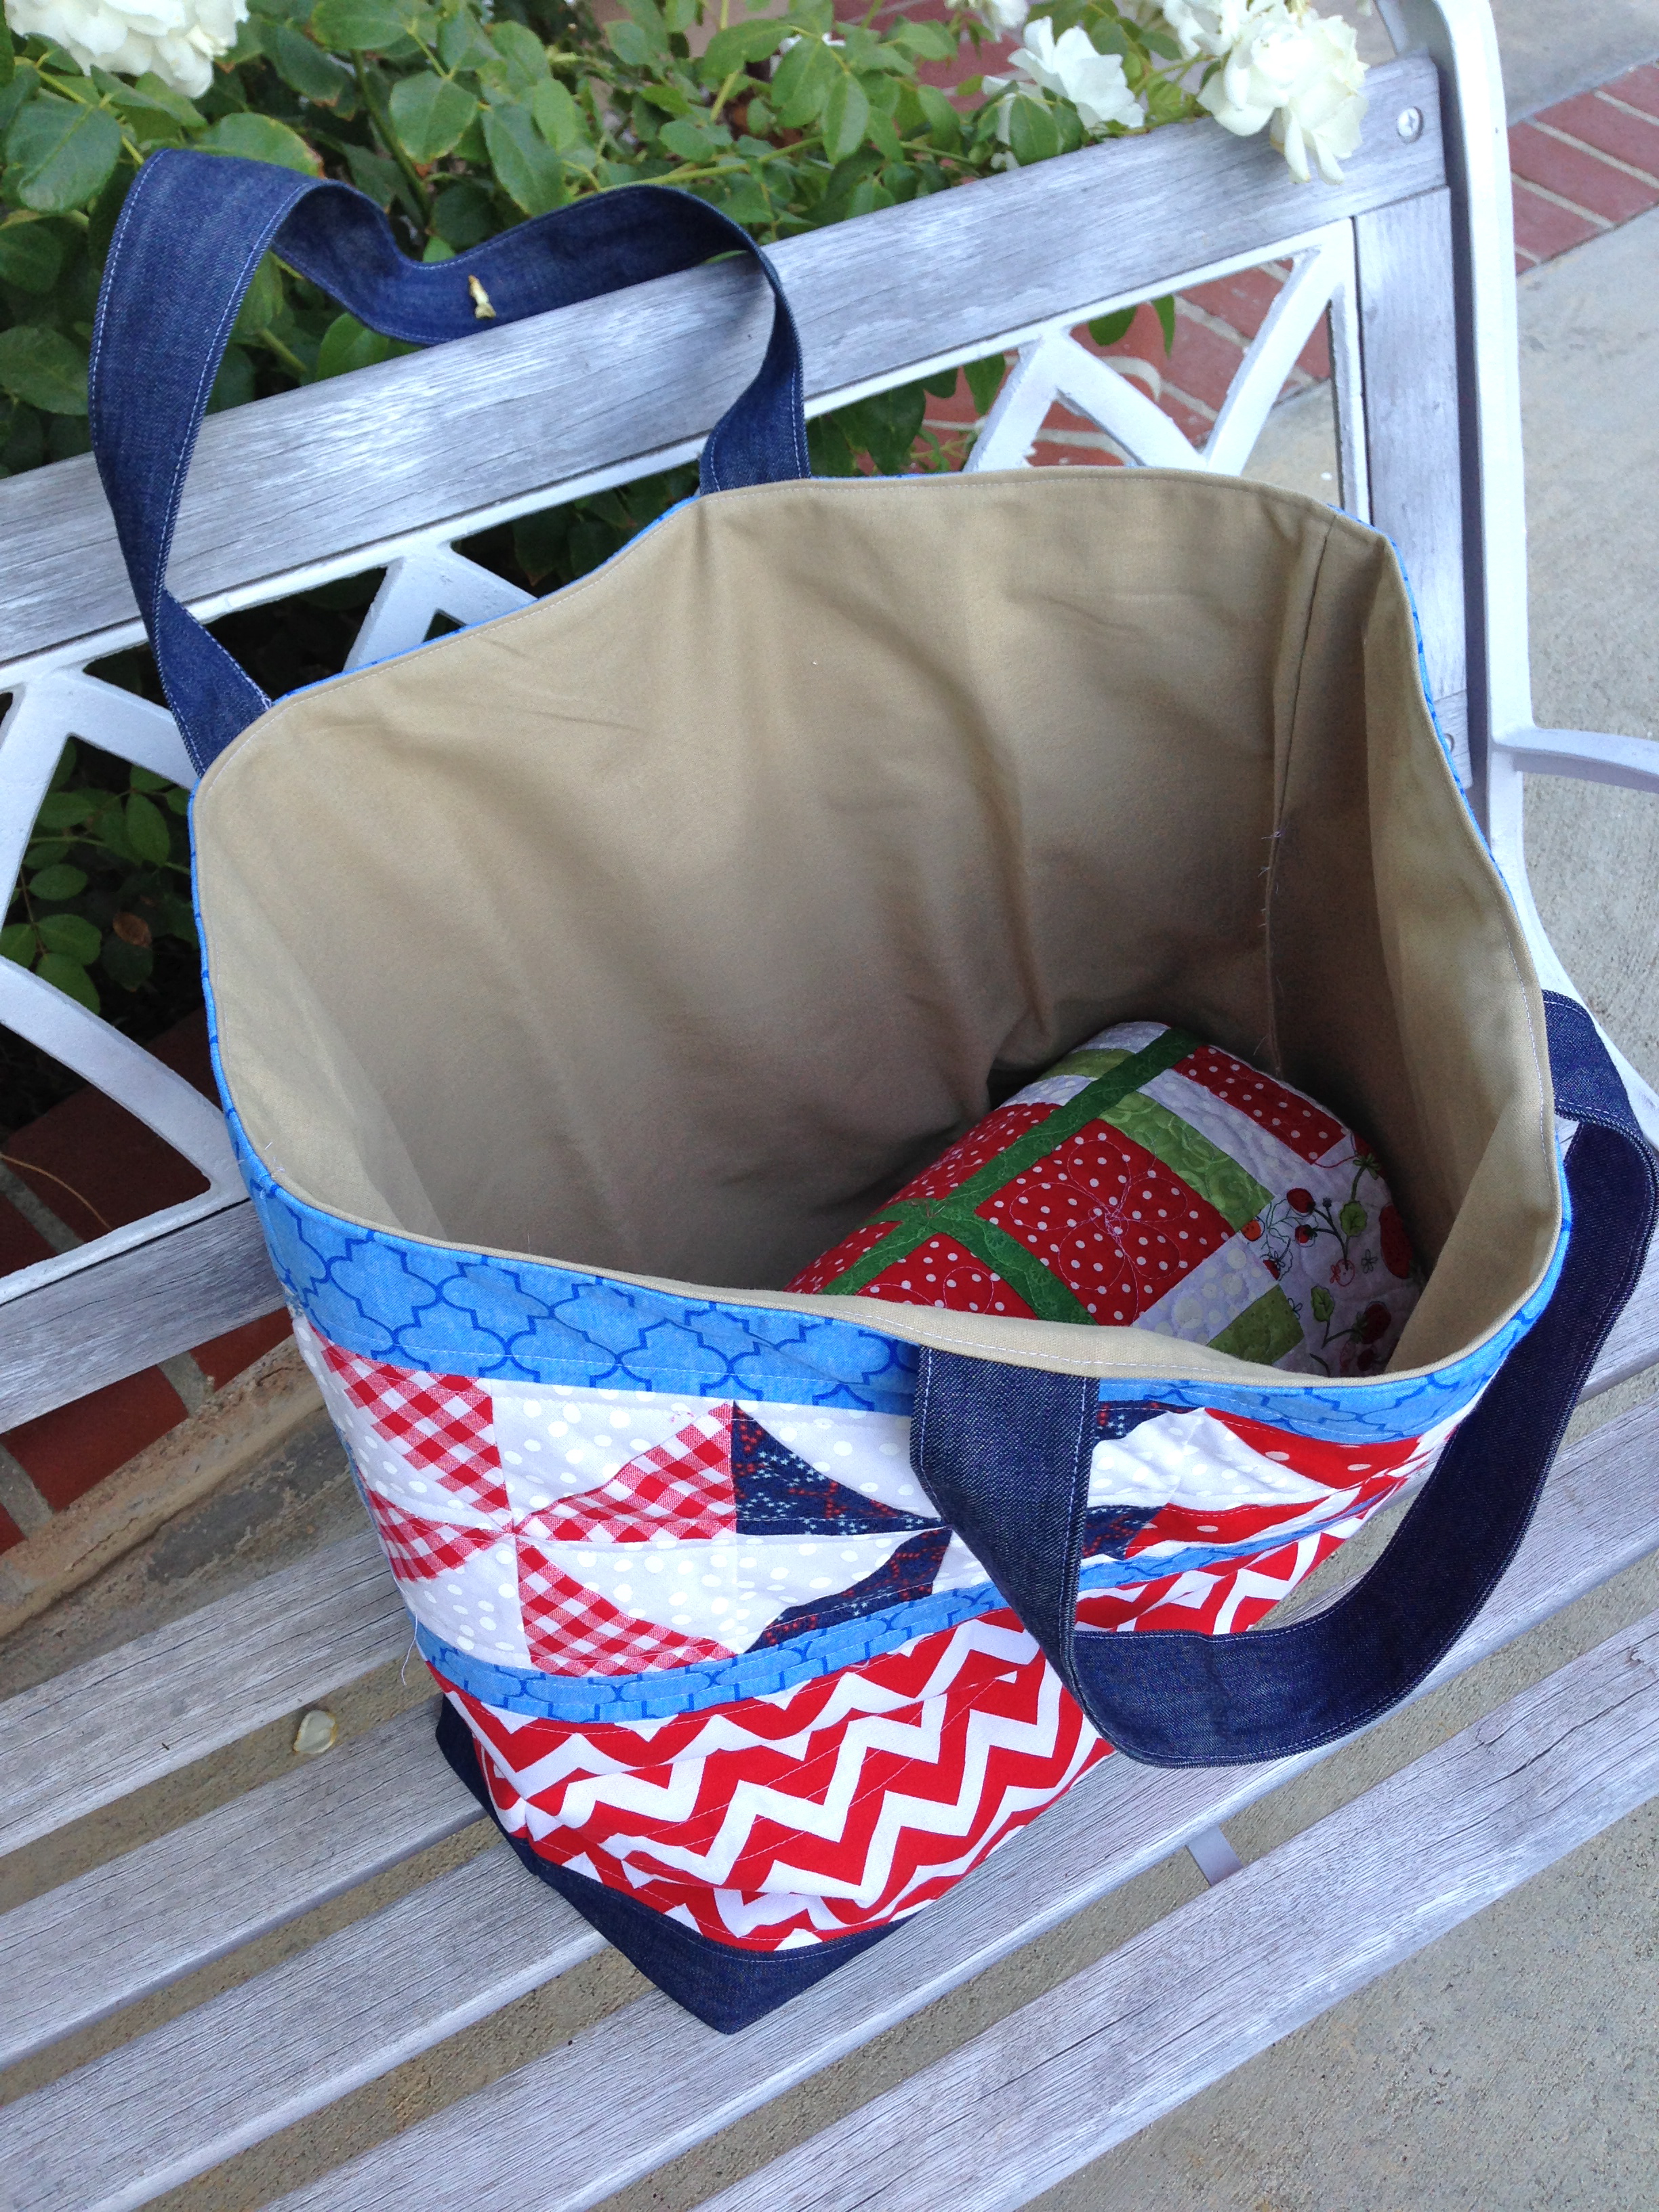
 Step #6 Cut the lining & notch the bottom of the lining Cut your lining fabric (2) 21 1/4" x 25 3/4". I choose a heaver canvas/duck cloth/twill fabric. I wanted my bag lining to be a bit heaver since the bag is so large. Quilting cotton will totally work too (and be cuter!)
 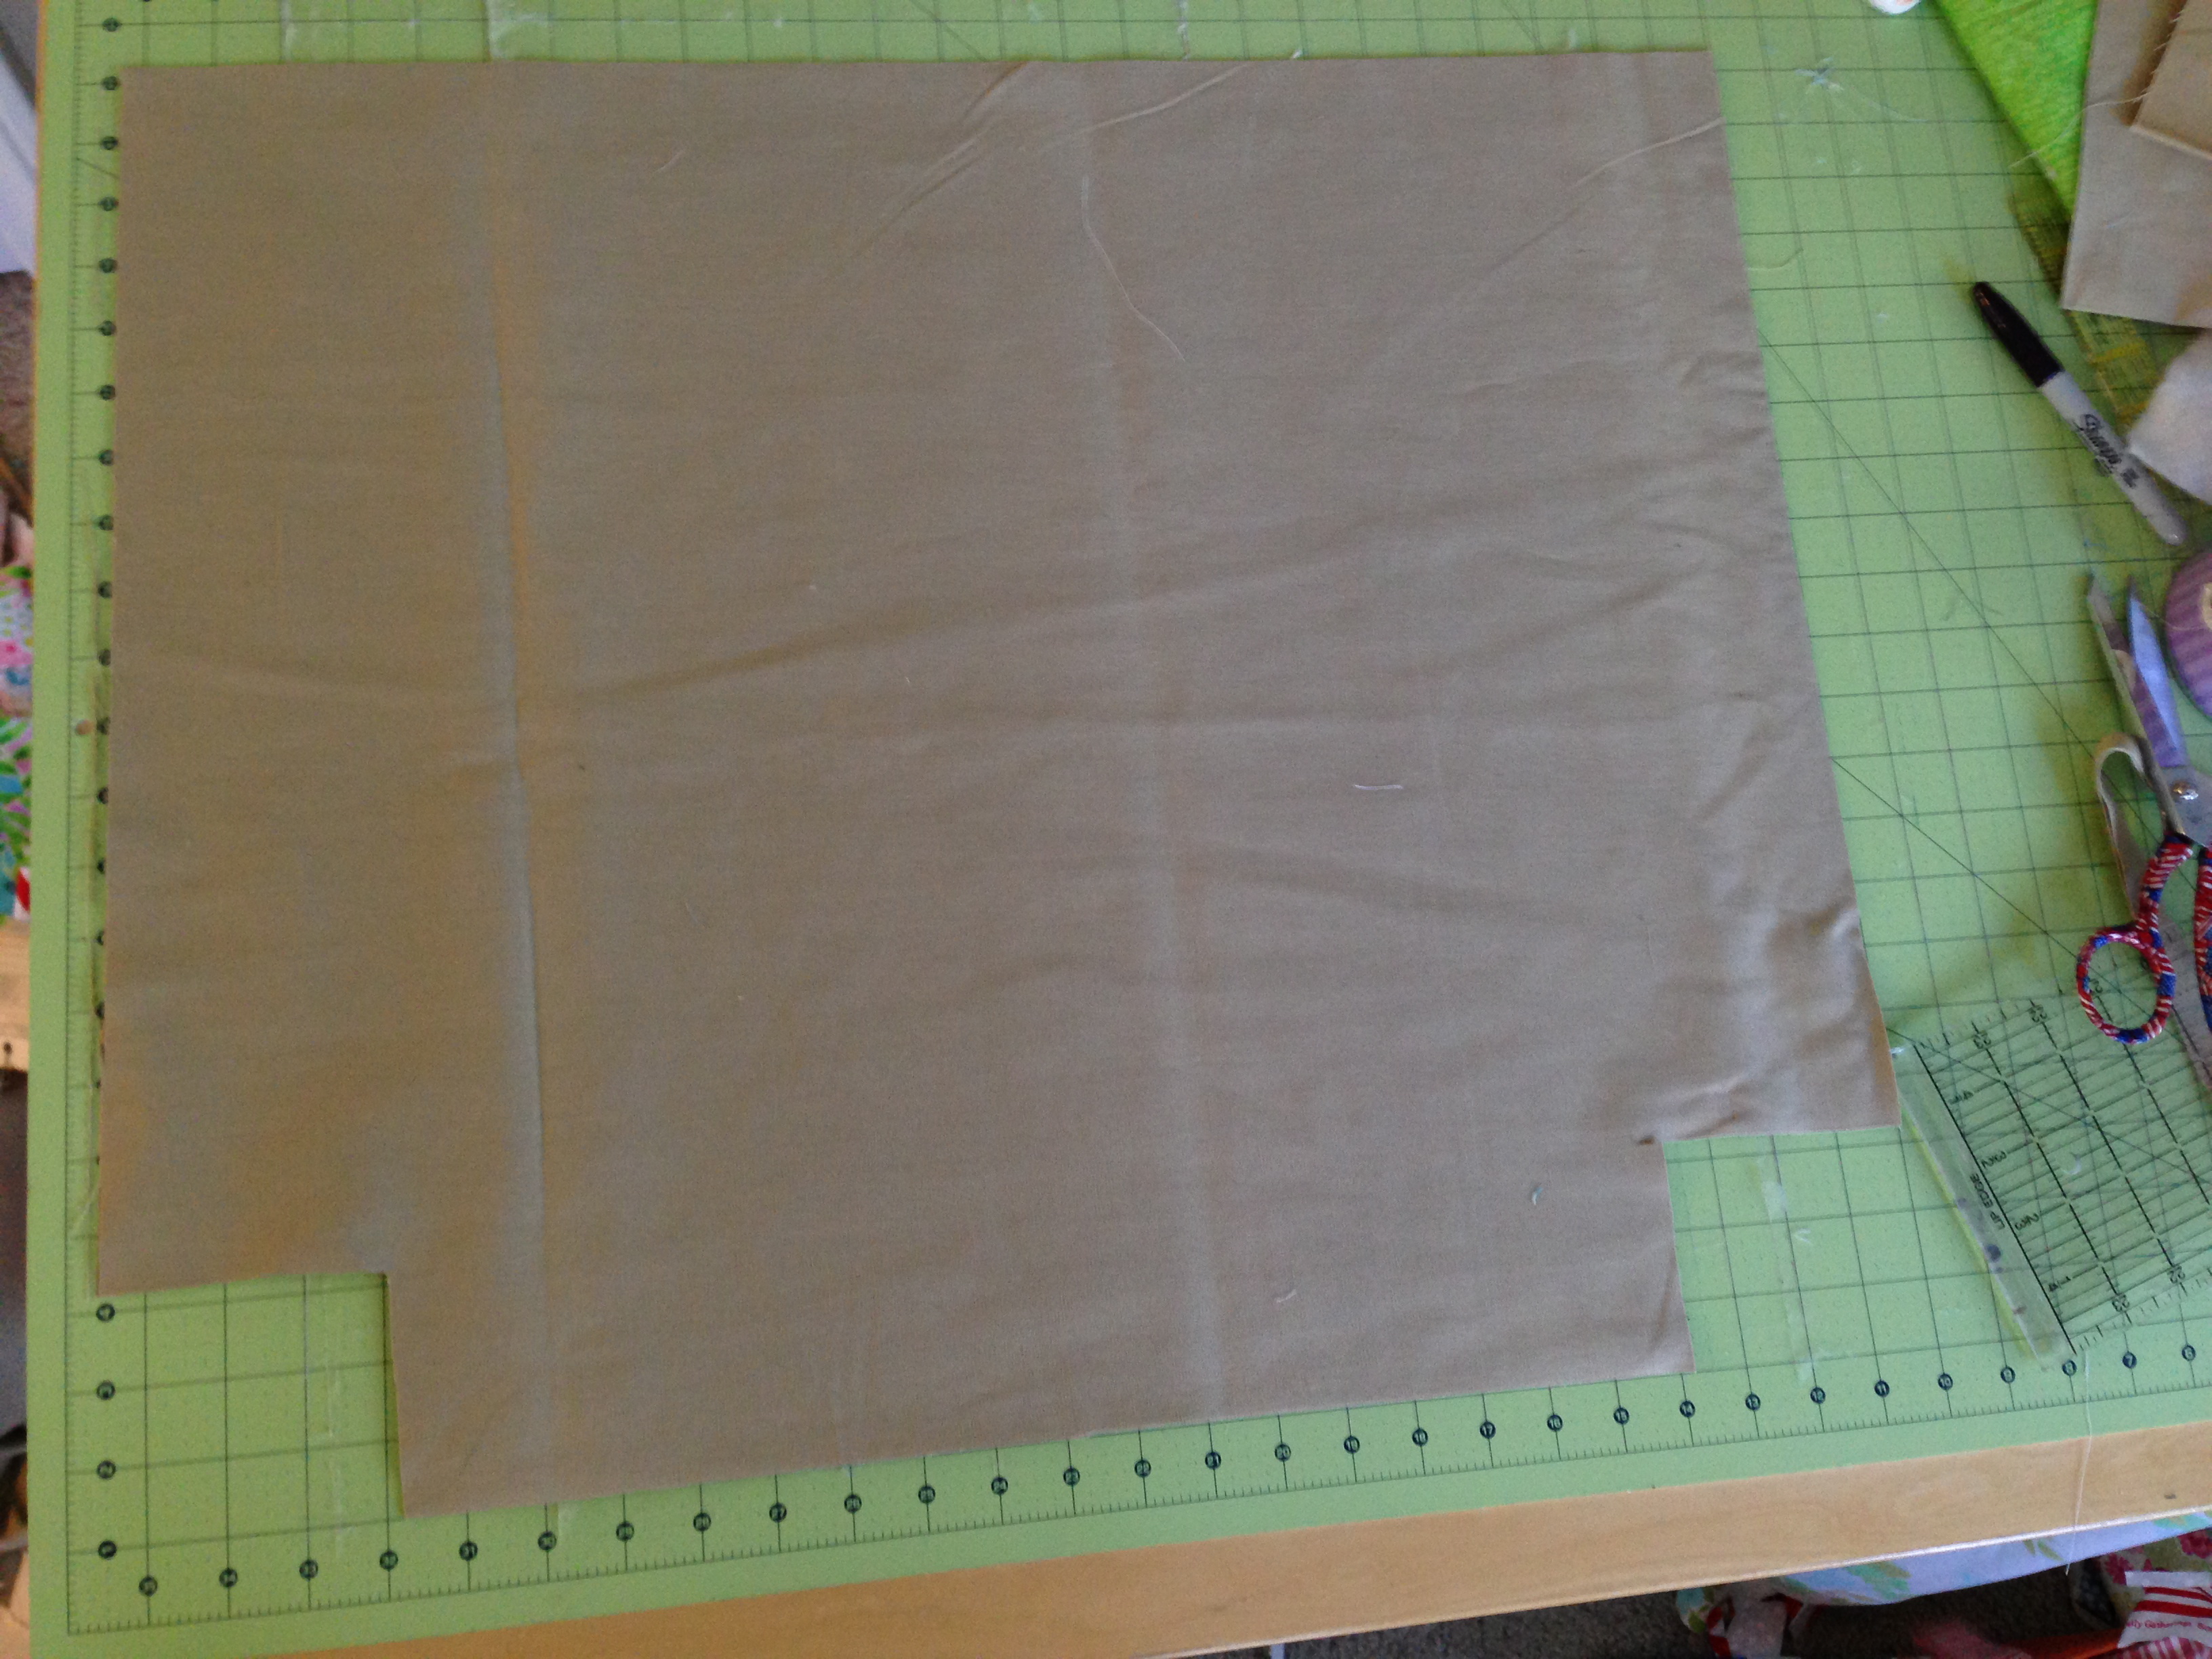 Step # 7 Sew the outer bag and the lining - use 1/2" seams With right sides together, pin your outer bag pieces matching up side seams. Sew along the sides and the bottom. Leave the notched area open. We will sew that next.
 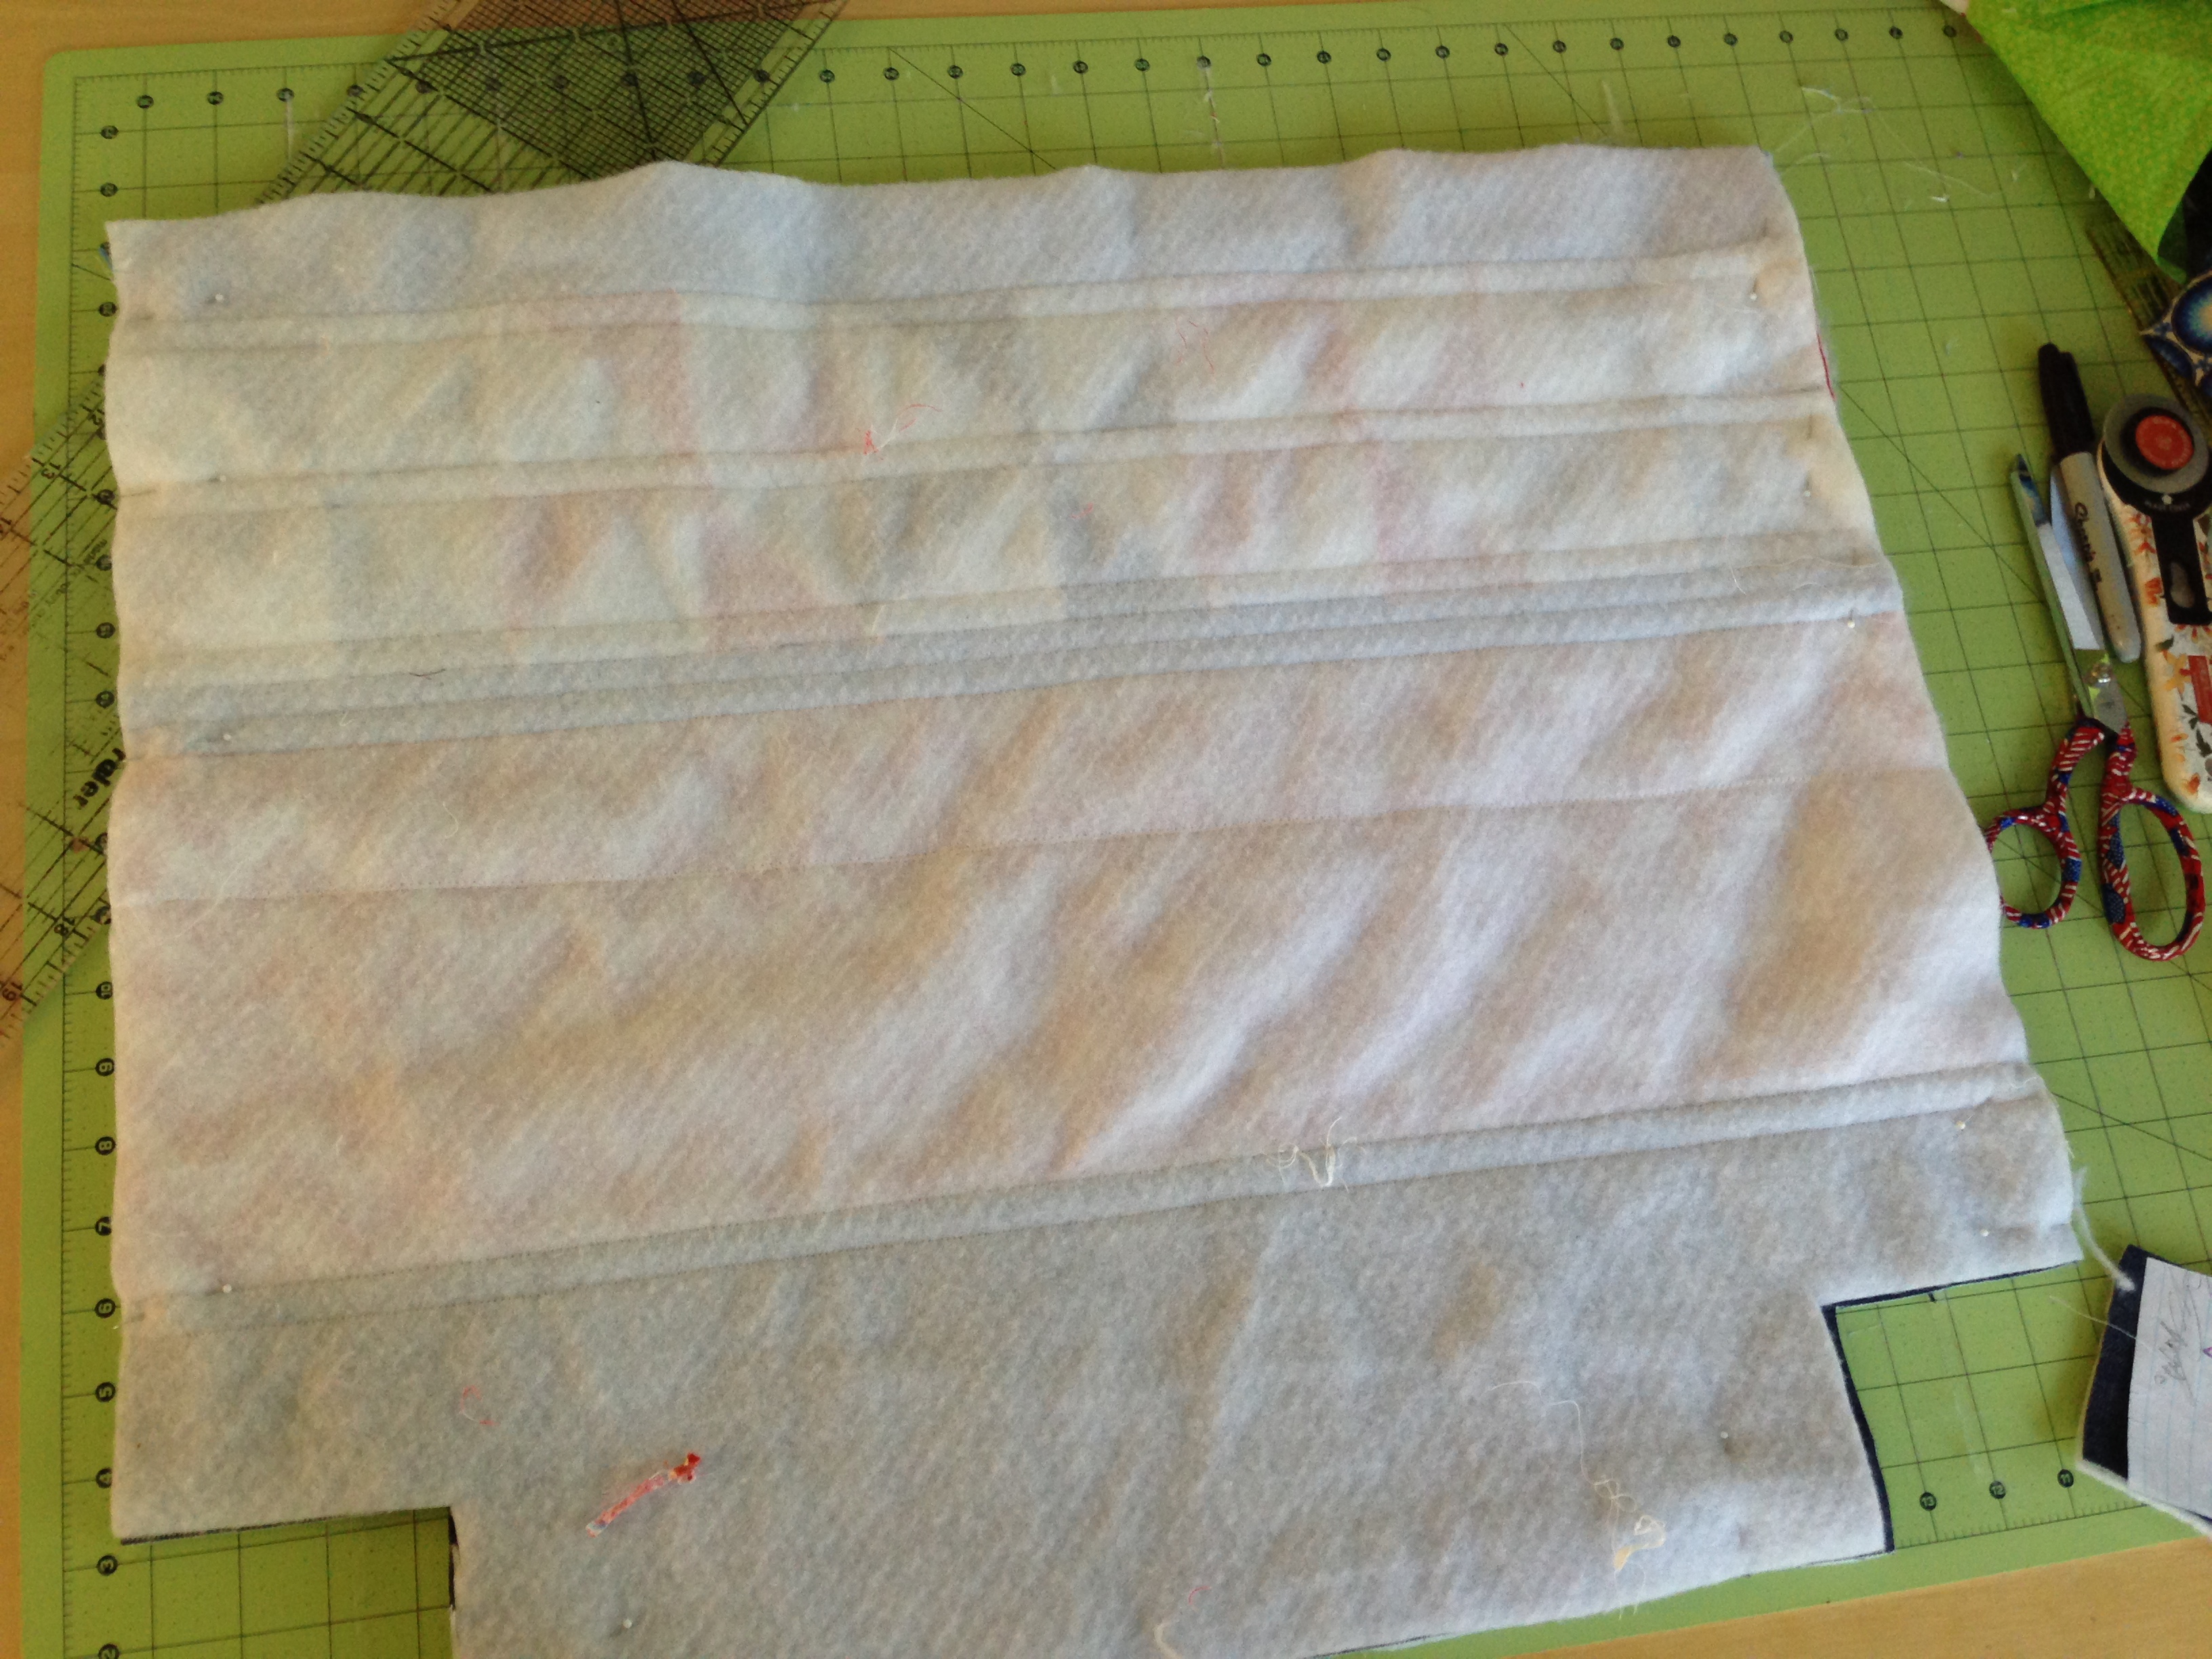 Do the same with your lining. Make sure your seams are exactly the same on your lining and your outer bag: 1/2" Step #8 Sew the bag bottom Open the bag and match up the seams in the notched bottom like this: Sew along the raw edge using 1/2" seam. Do this to your lining as well.
 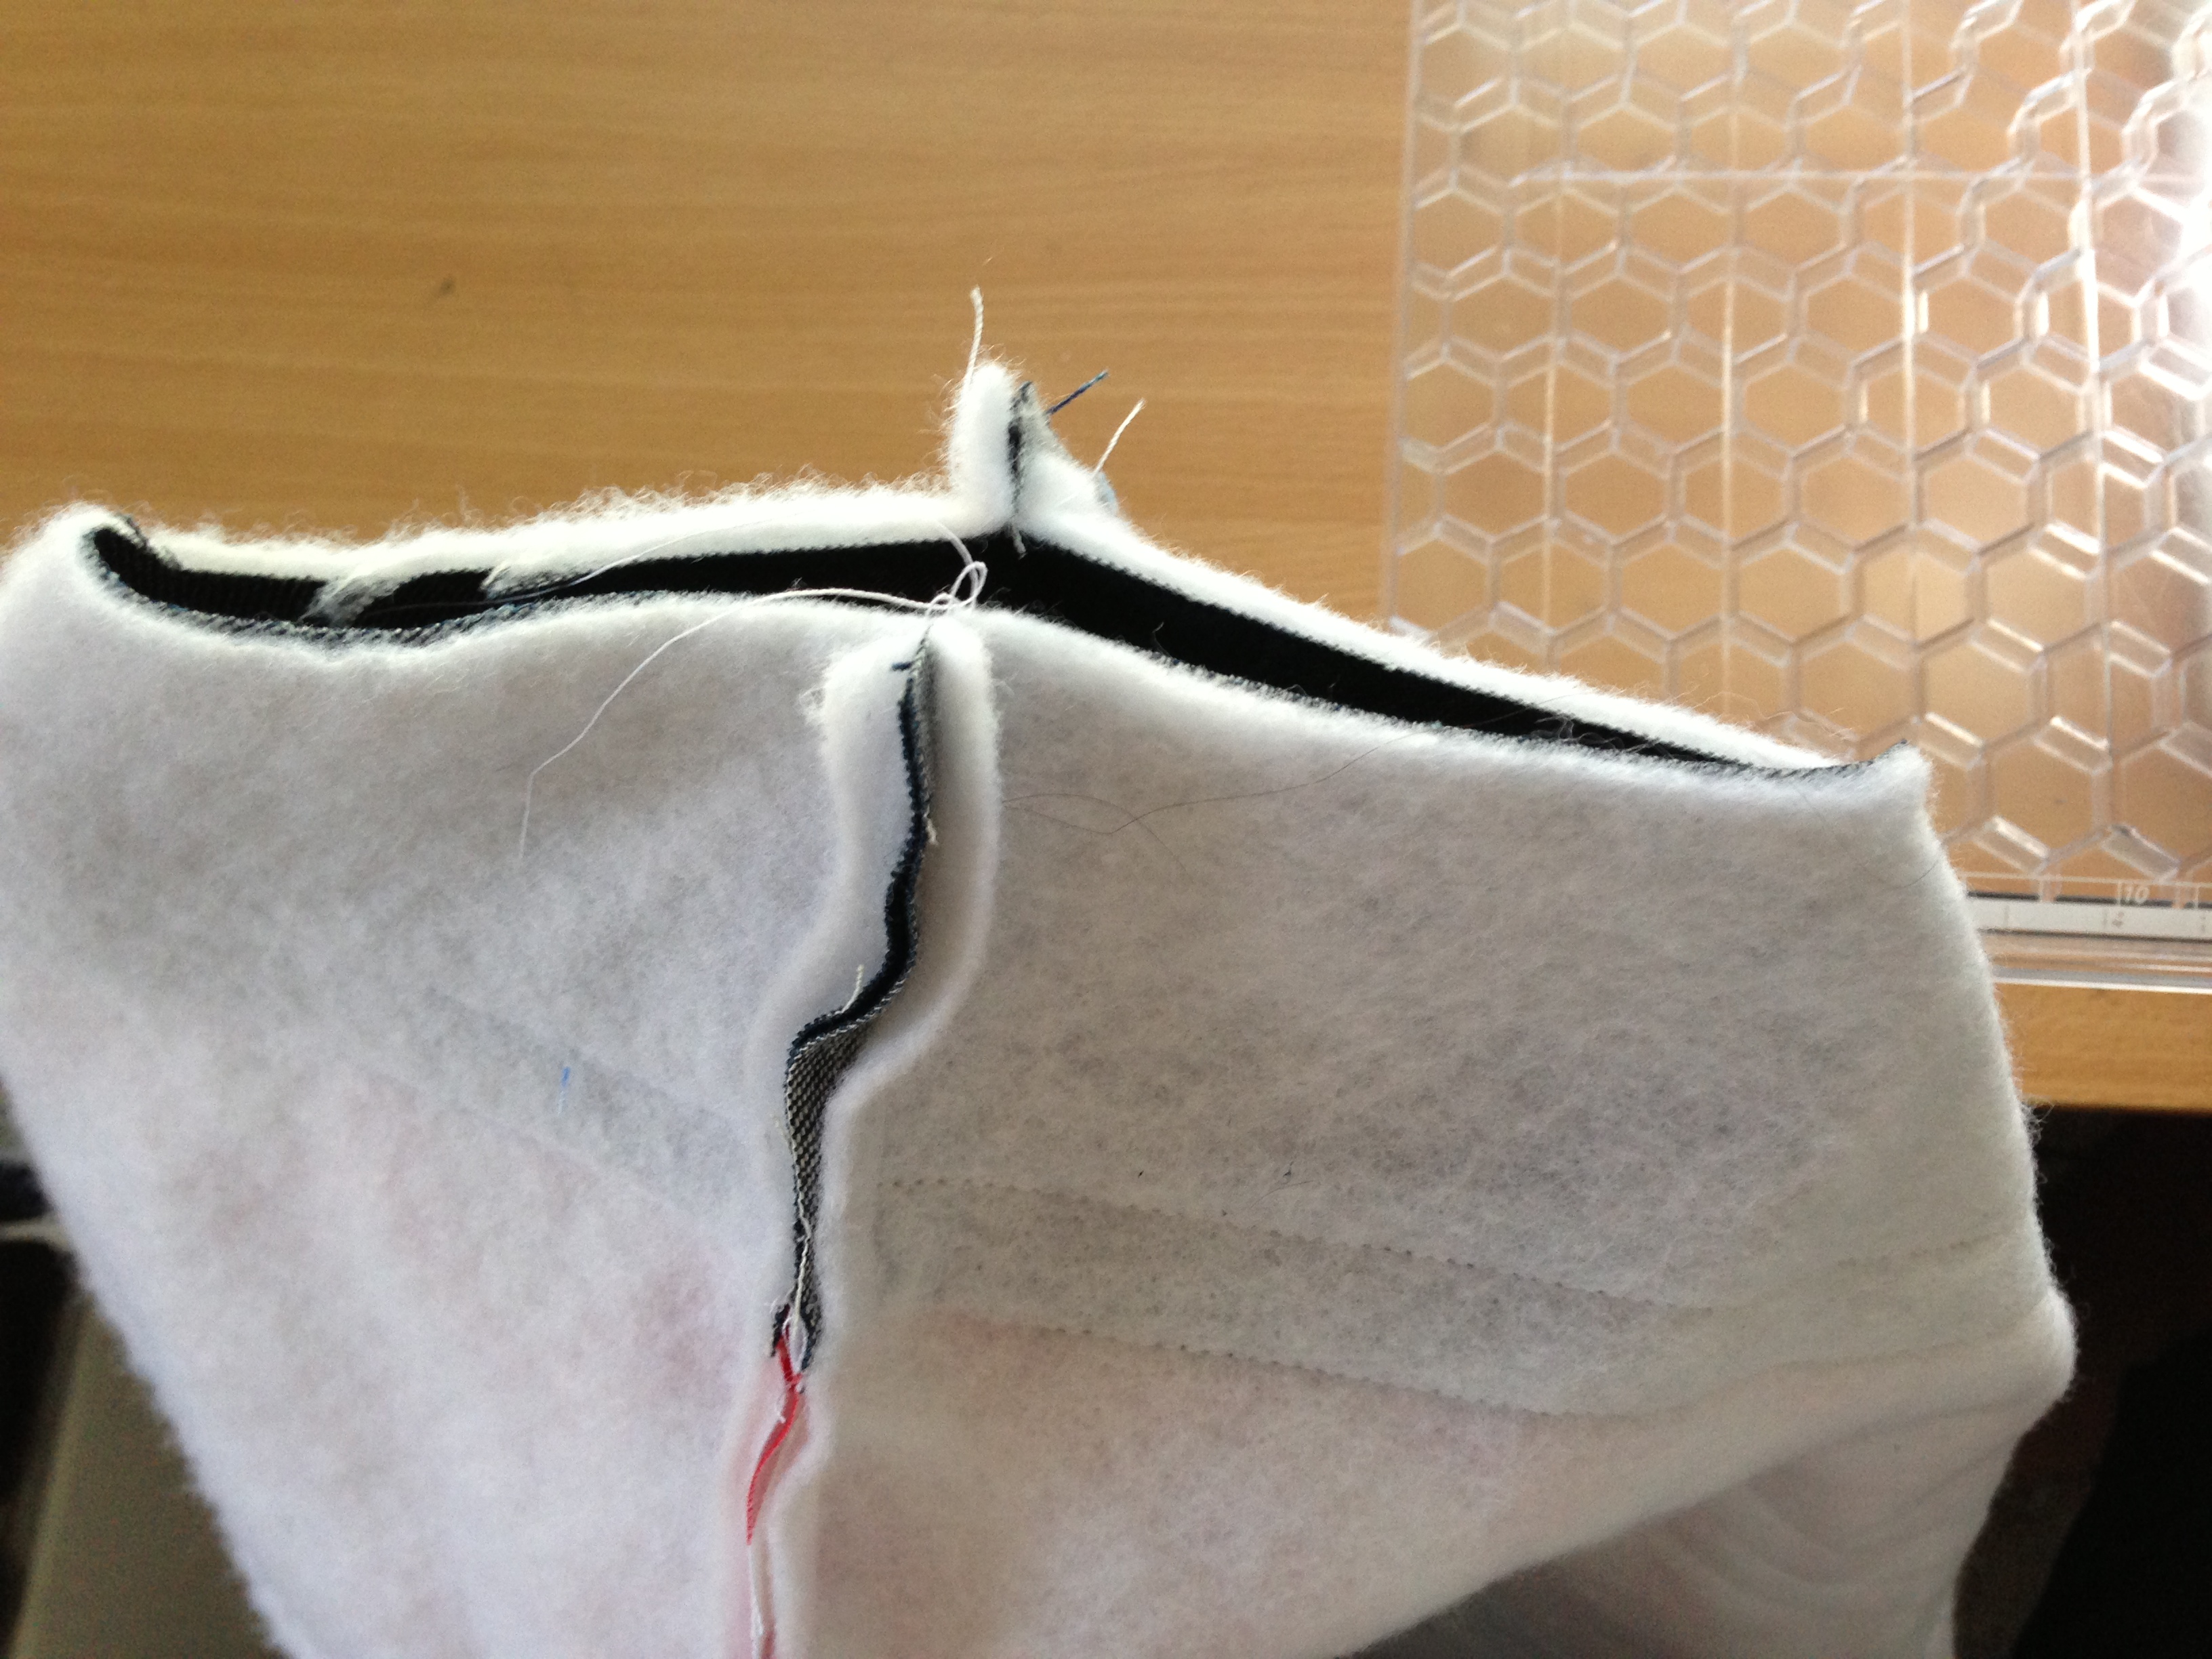 Step #9 Prepare the handles Cut your handle fabric (2) 4"x 25". Fold them in half (right sides together) and sew a seam up the long side, leaving the top and bottom open. I used denim so they were heavy. If you want to use cotton, it would be best to iron on more HeatnBond® Fusible Fleece, or some HeatnBond® stabilizer to make the handles more sturdy.
 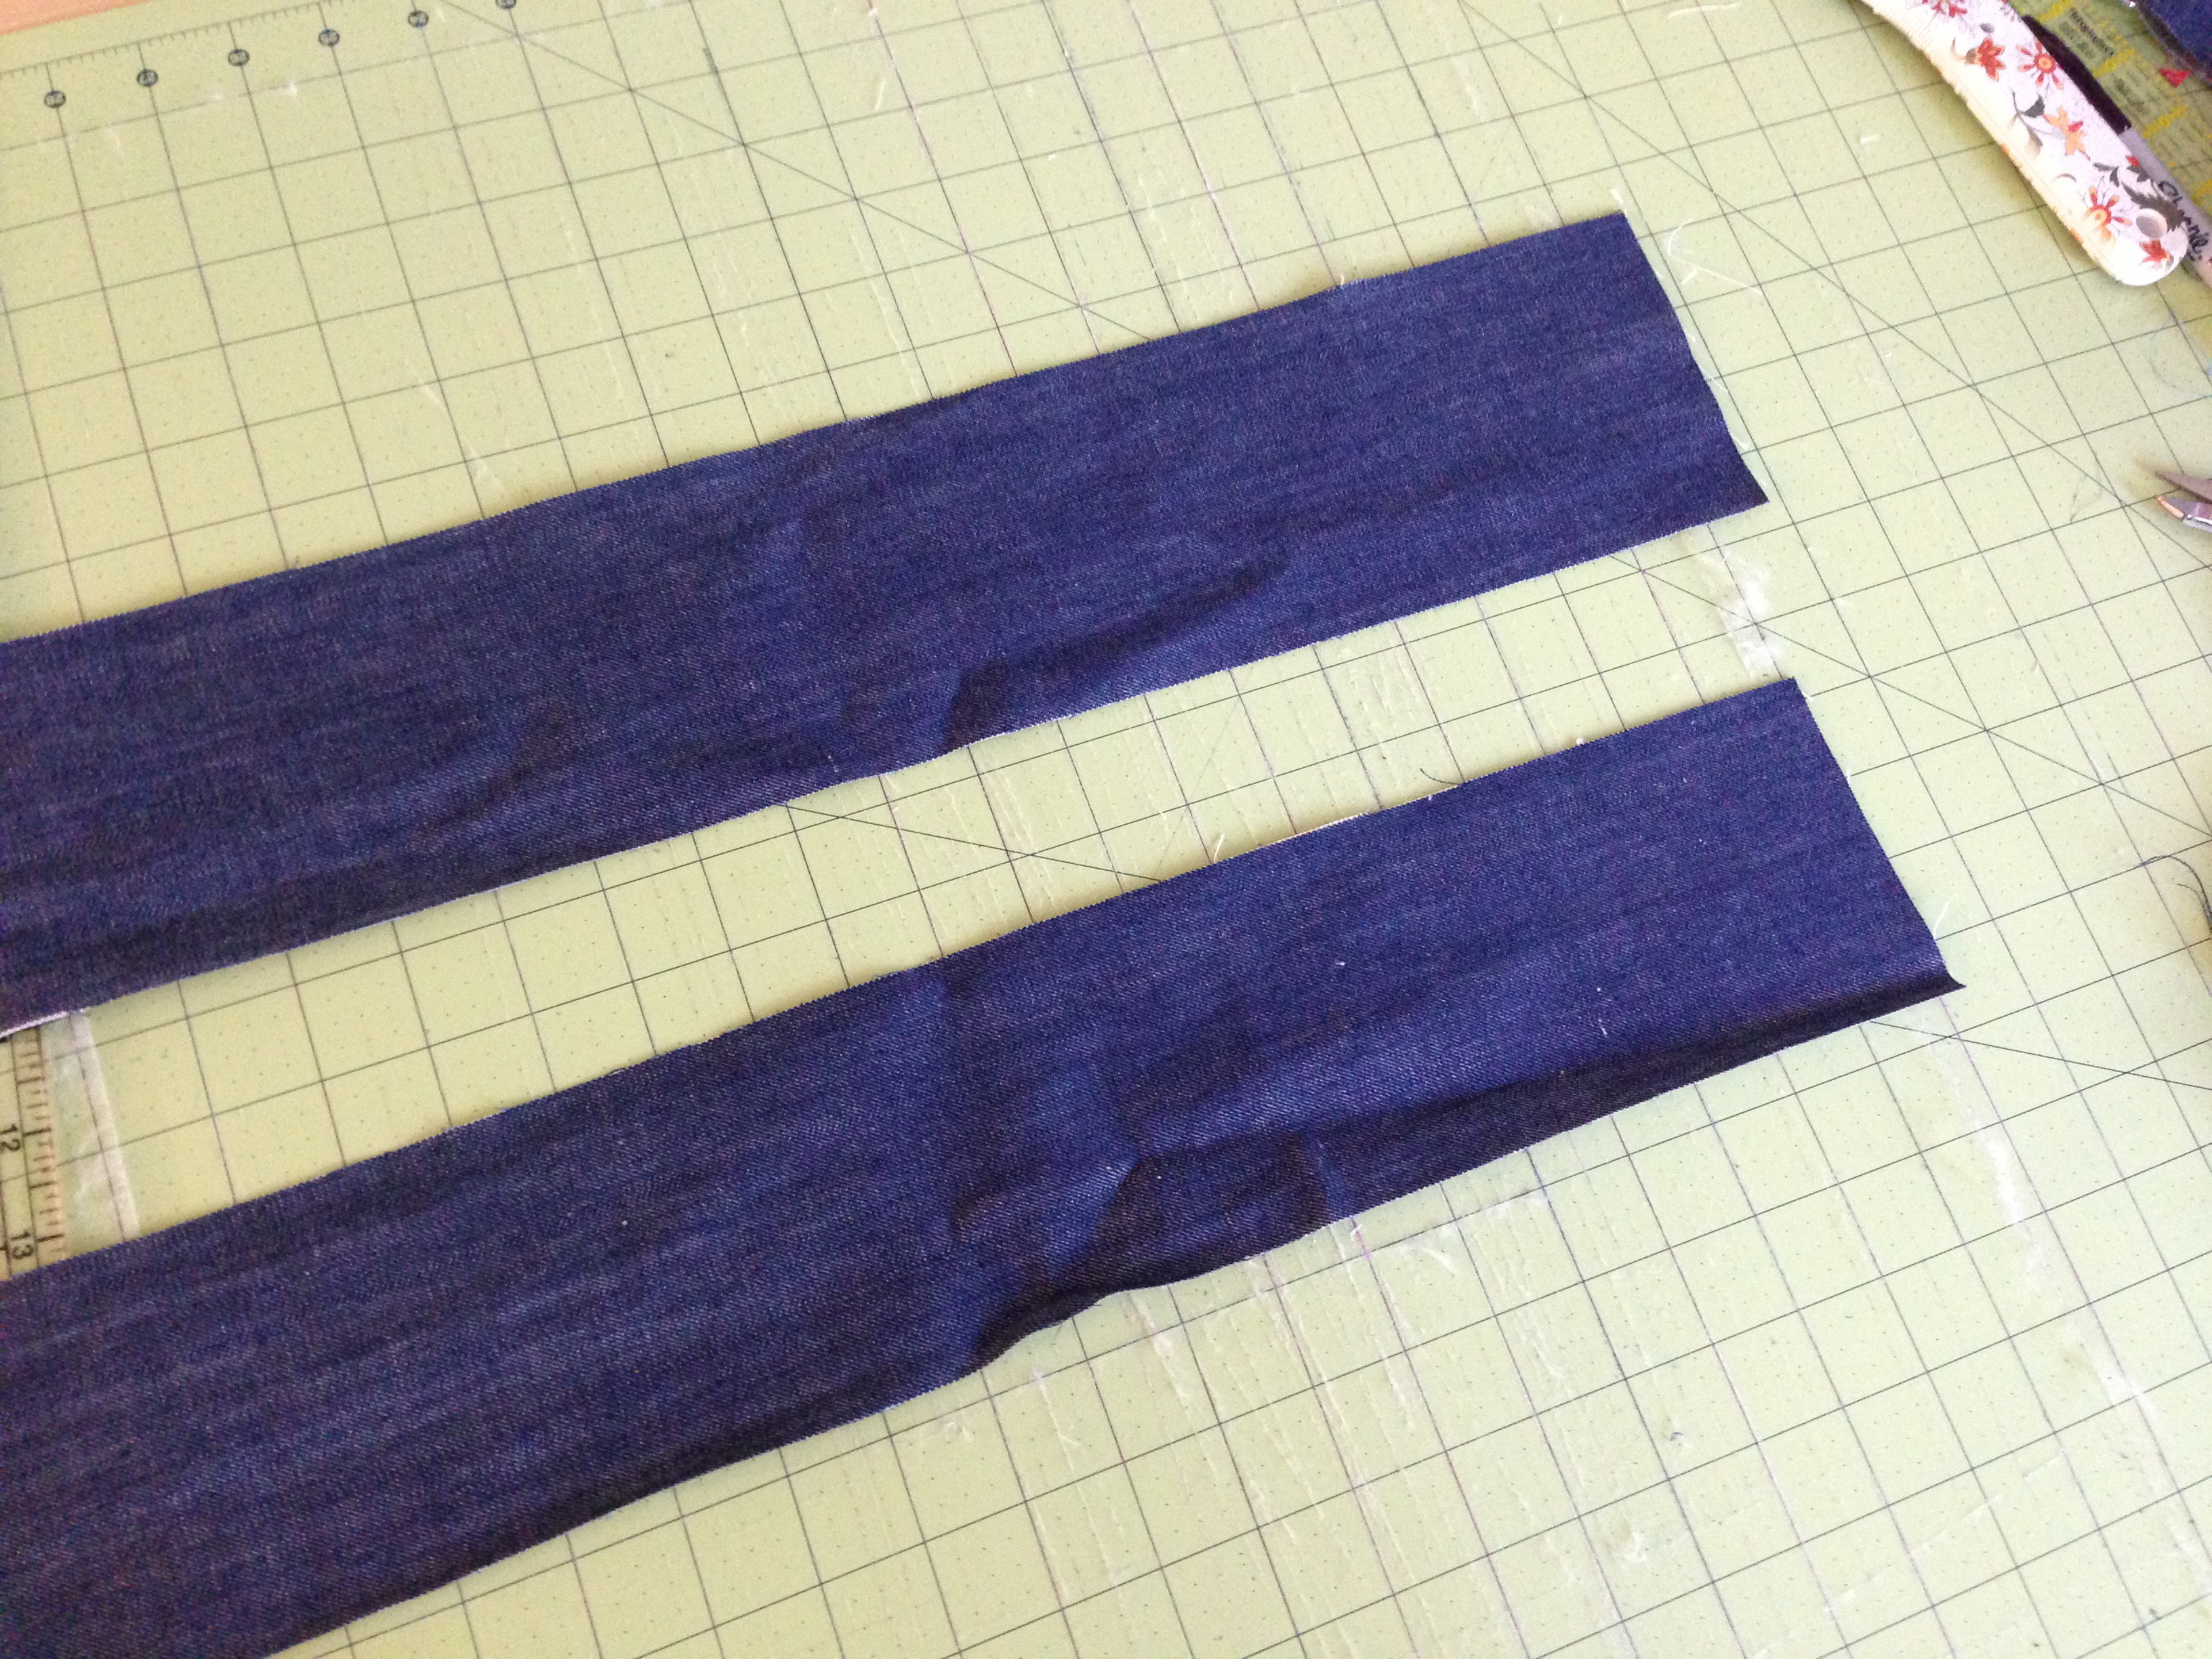 Turn the handles right side out and press. Top stitch the handles 1/8" from each edge.
 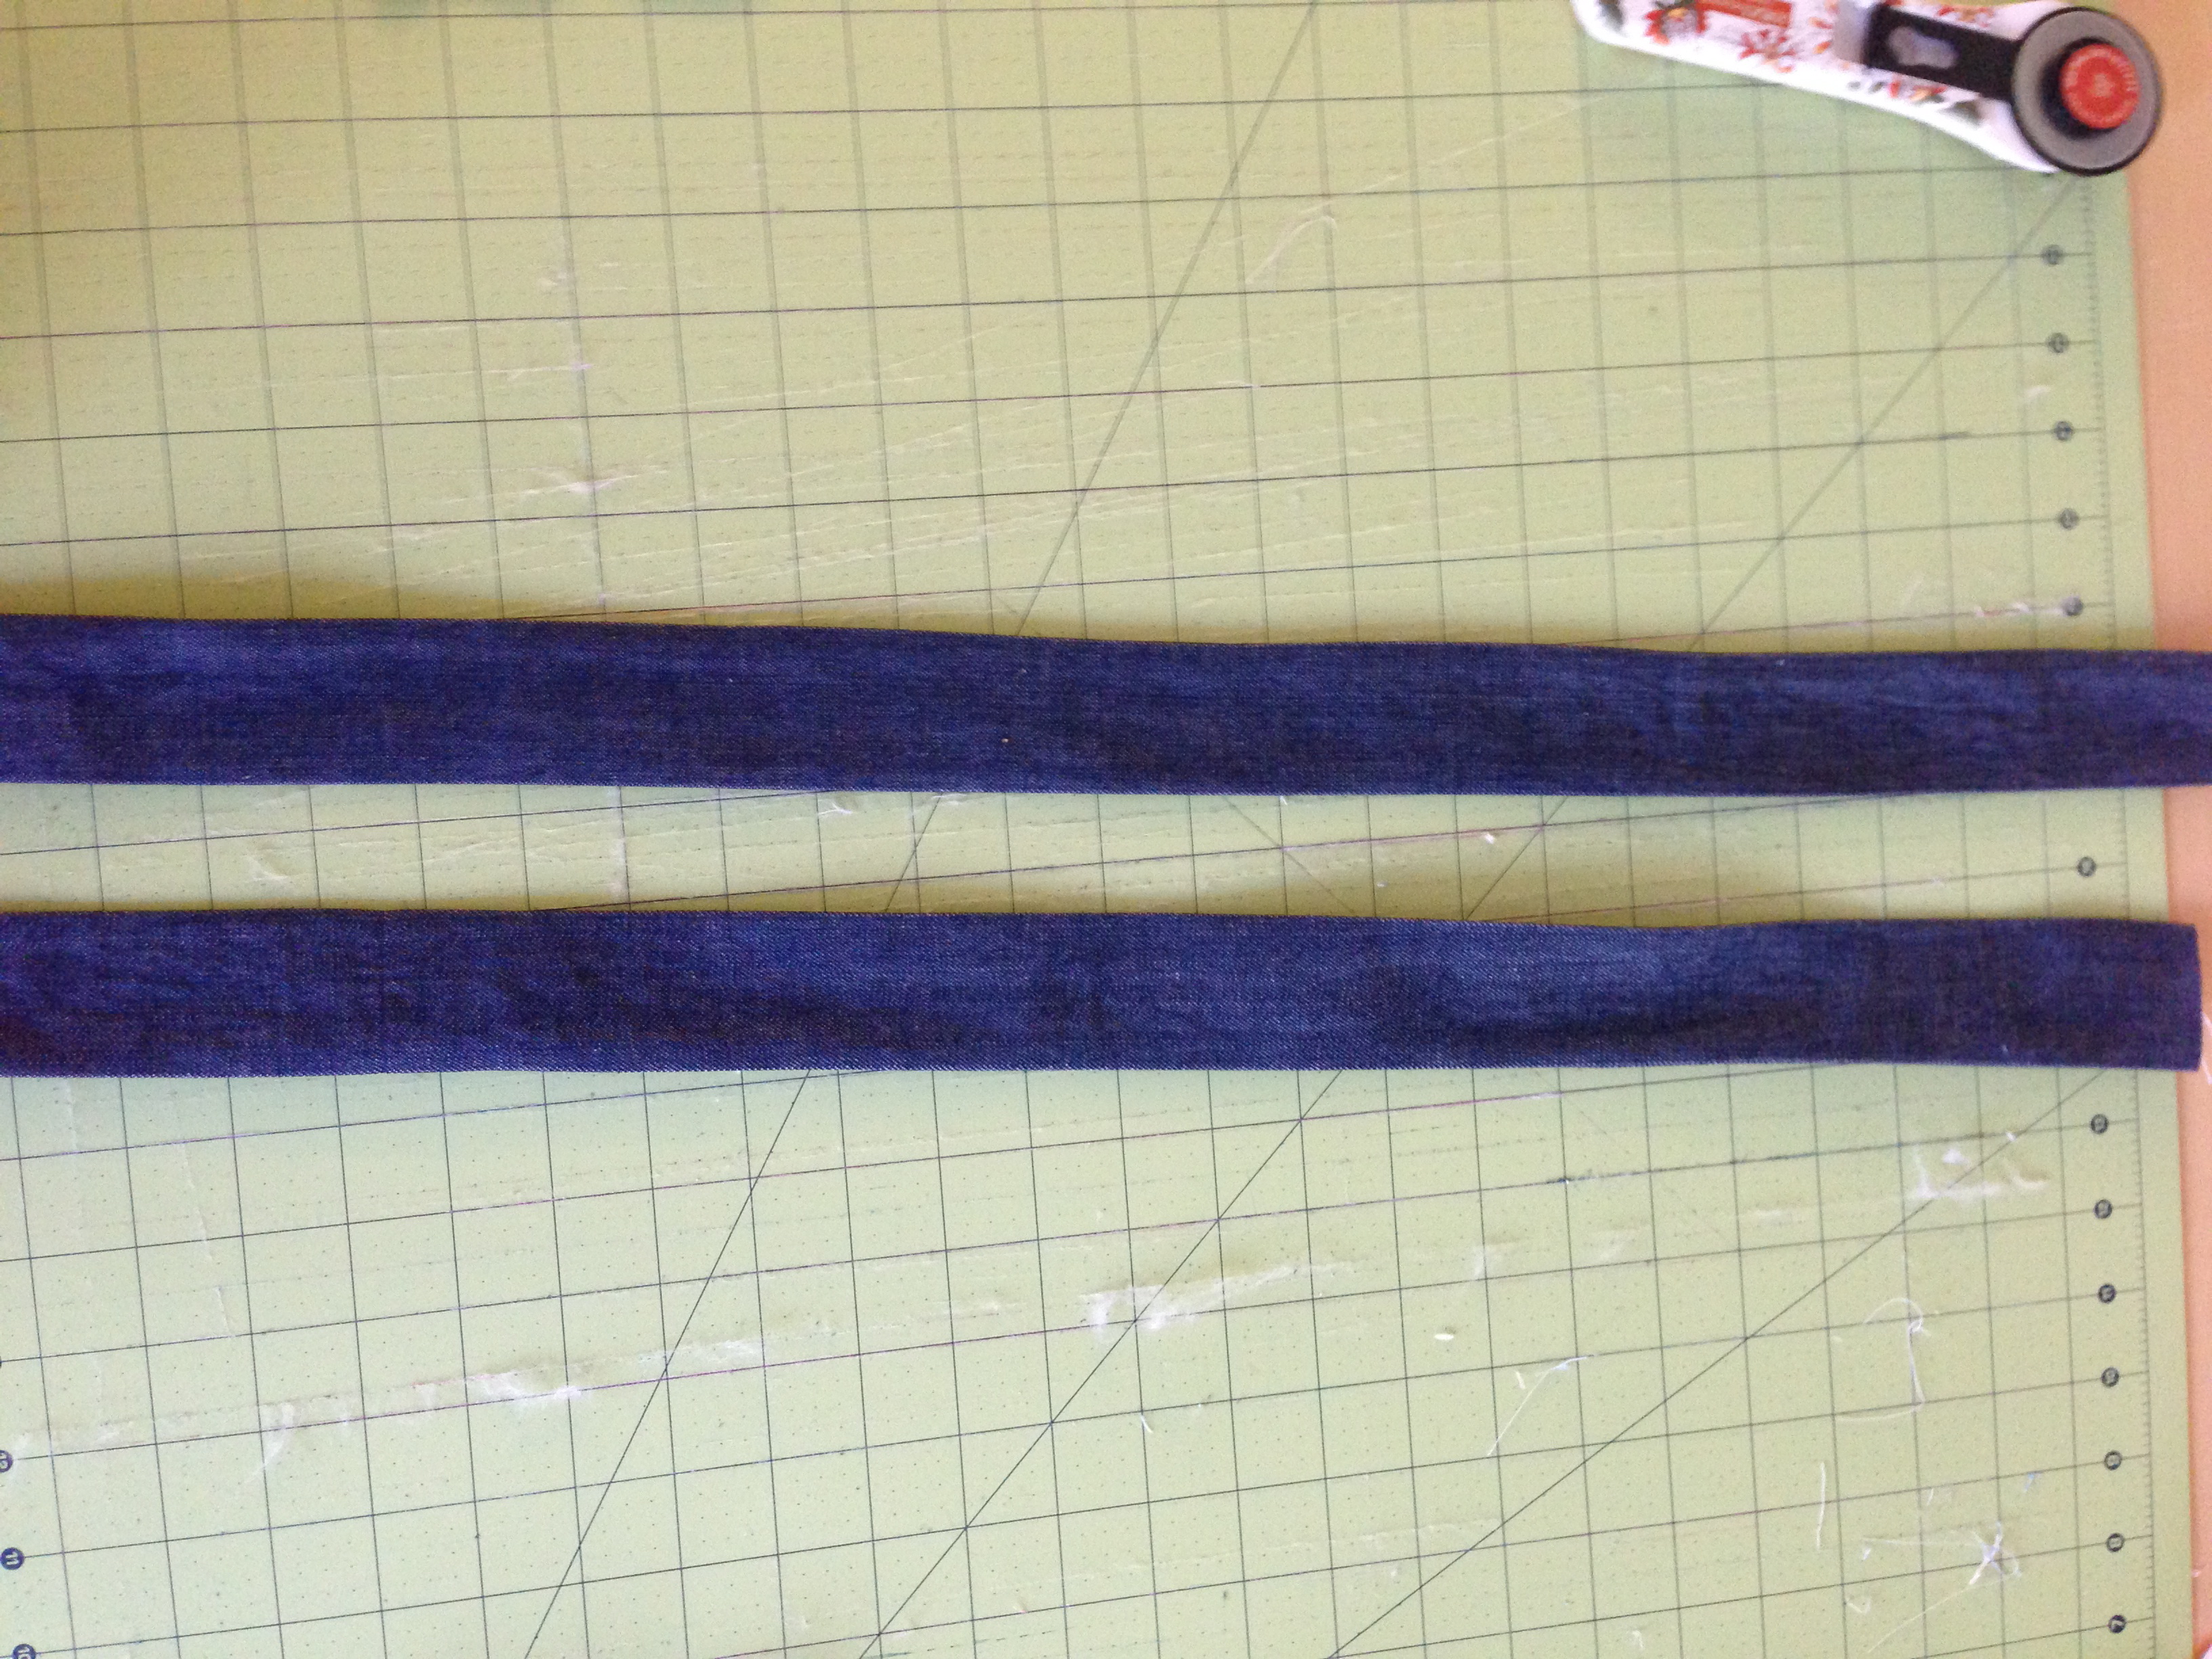 With your outer bag constructed and lining constructed, you are ready to finish your bag!! Step # 10 Attach the Handles Pin the handles 7" in from each side seam. Match the raw edges like this:
 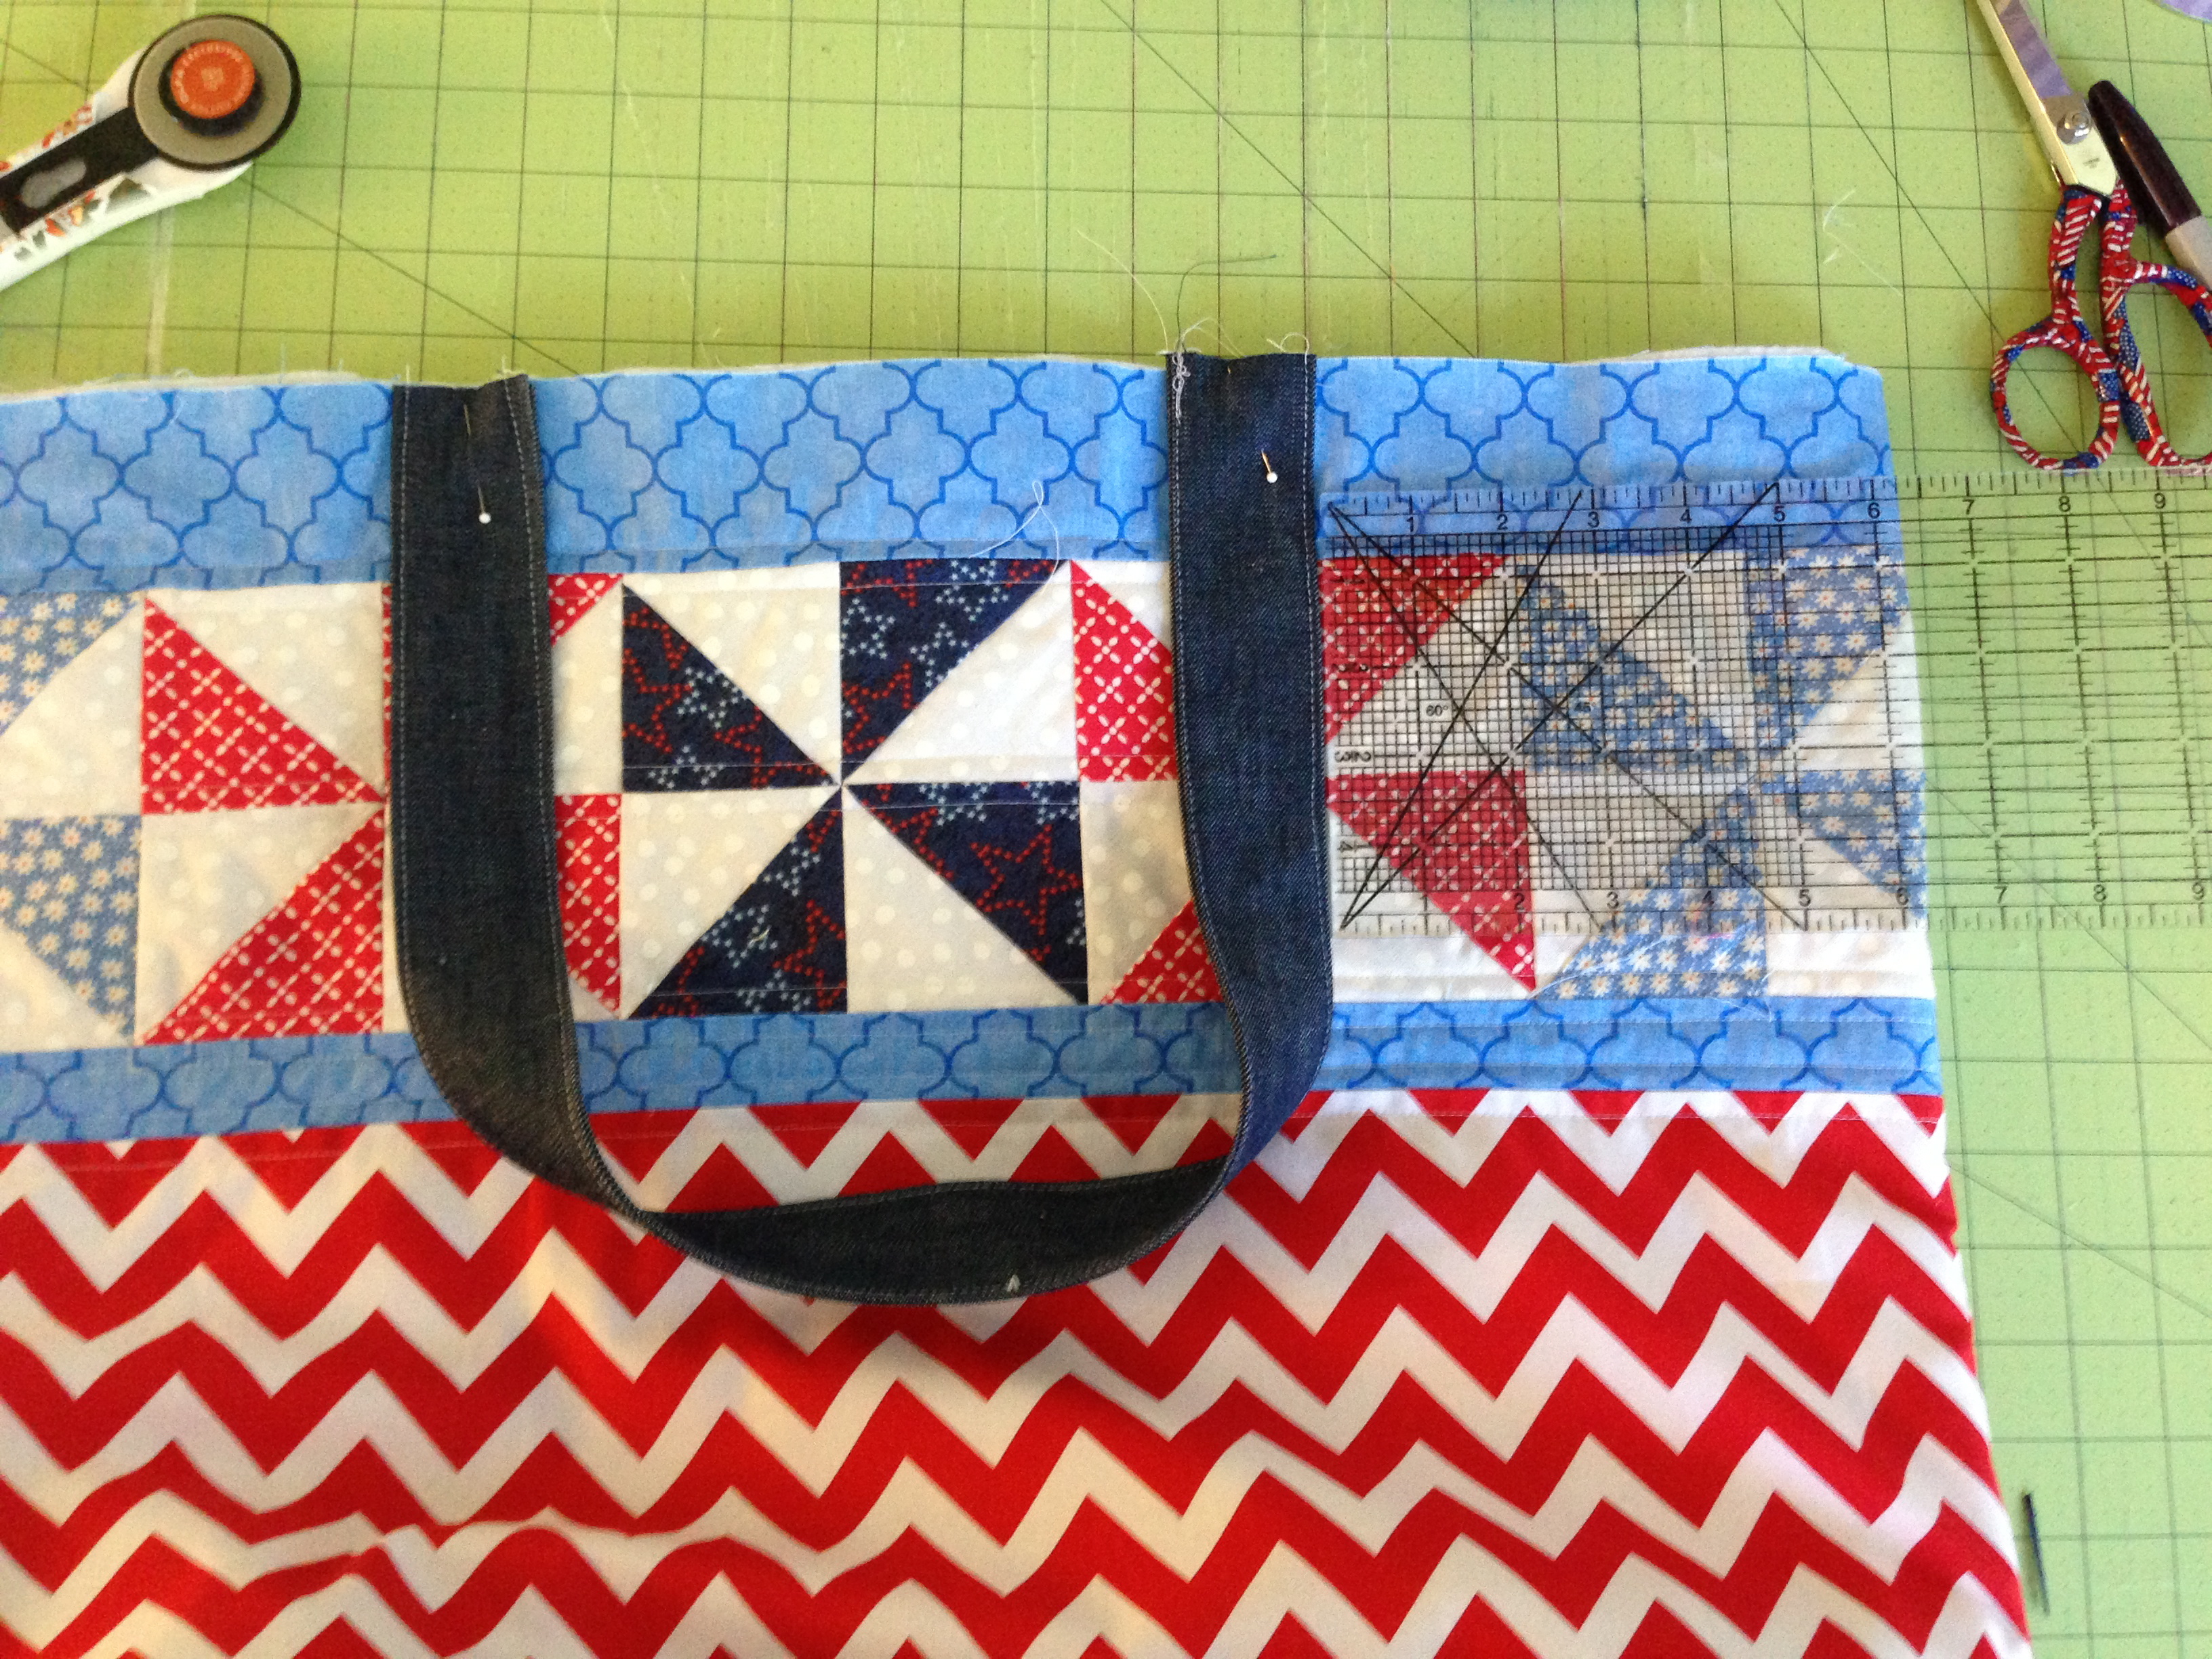 Baste handles on using a 1/8" seam
 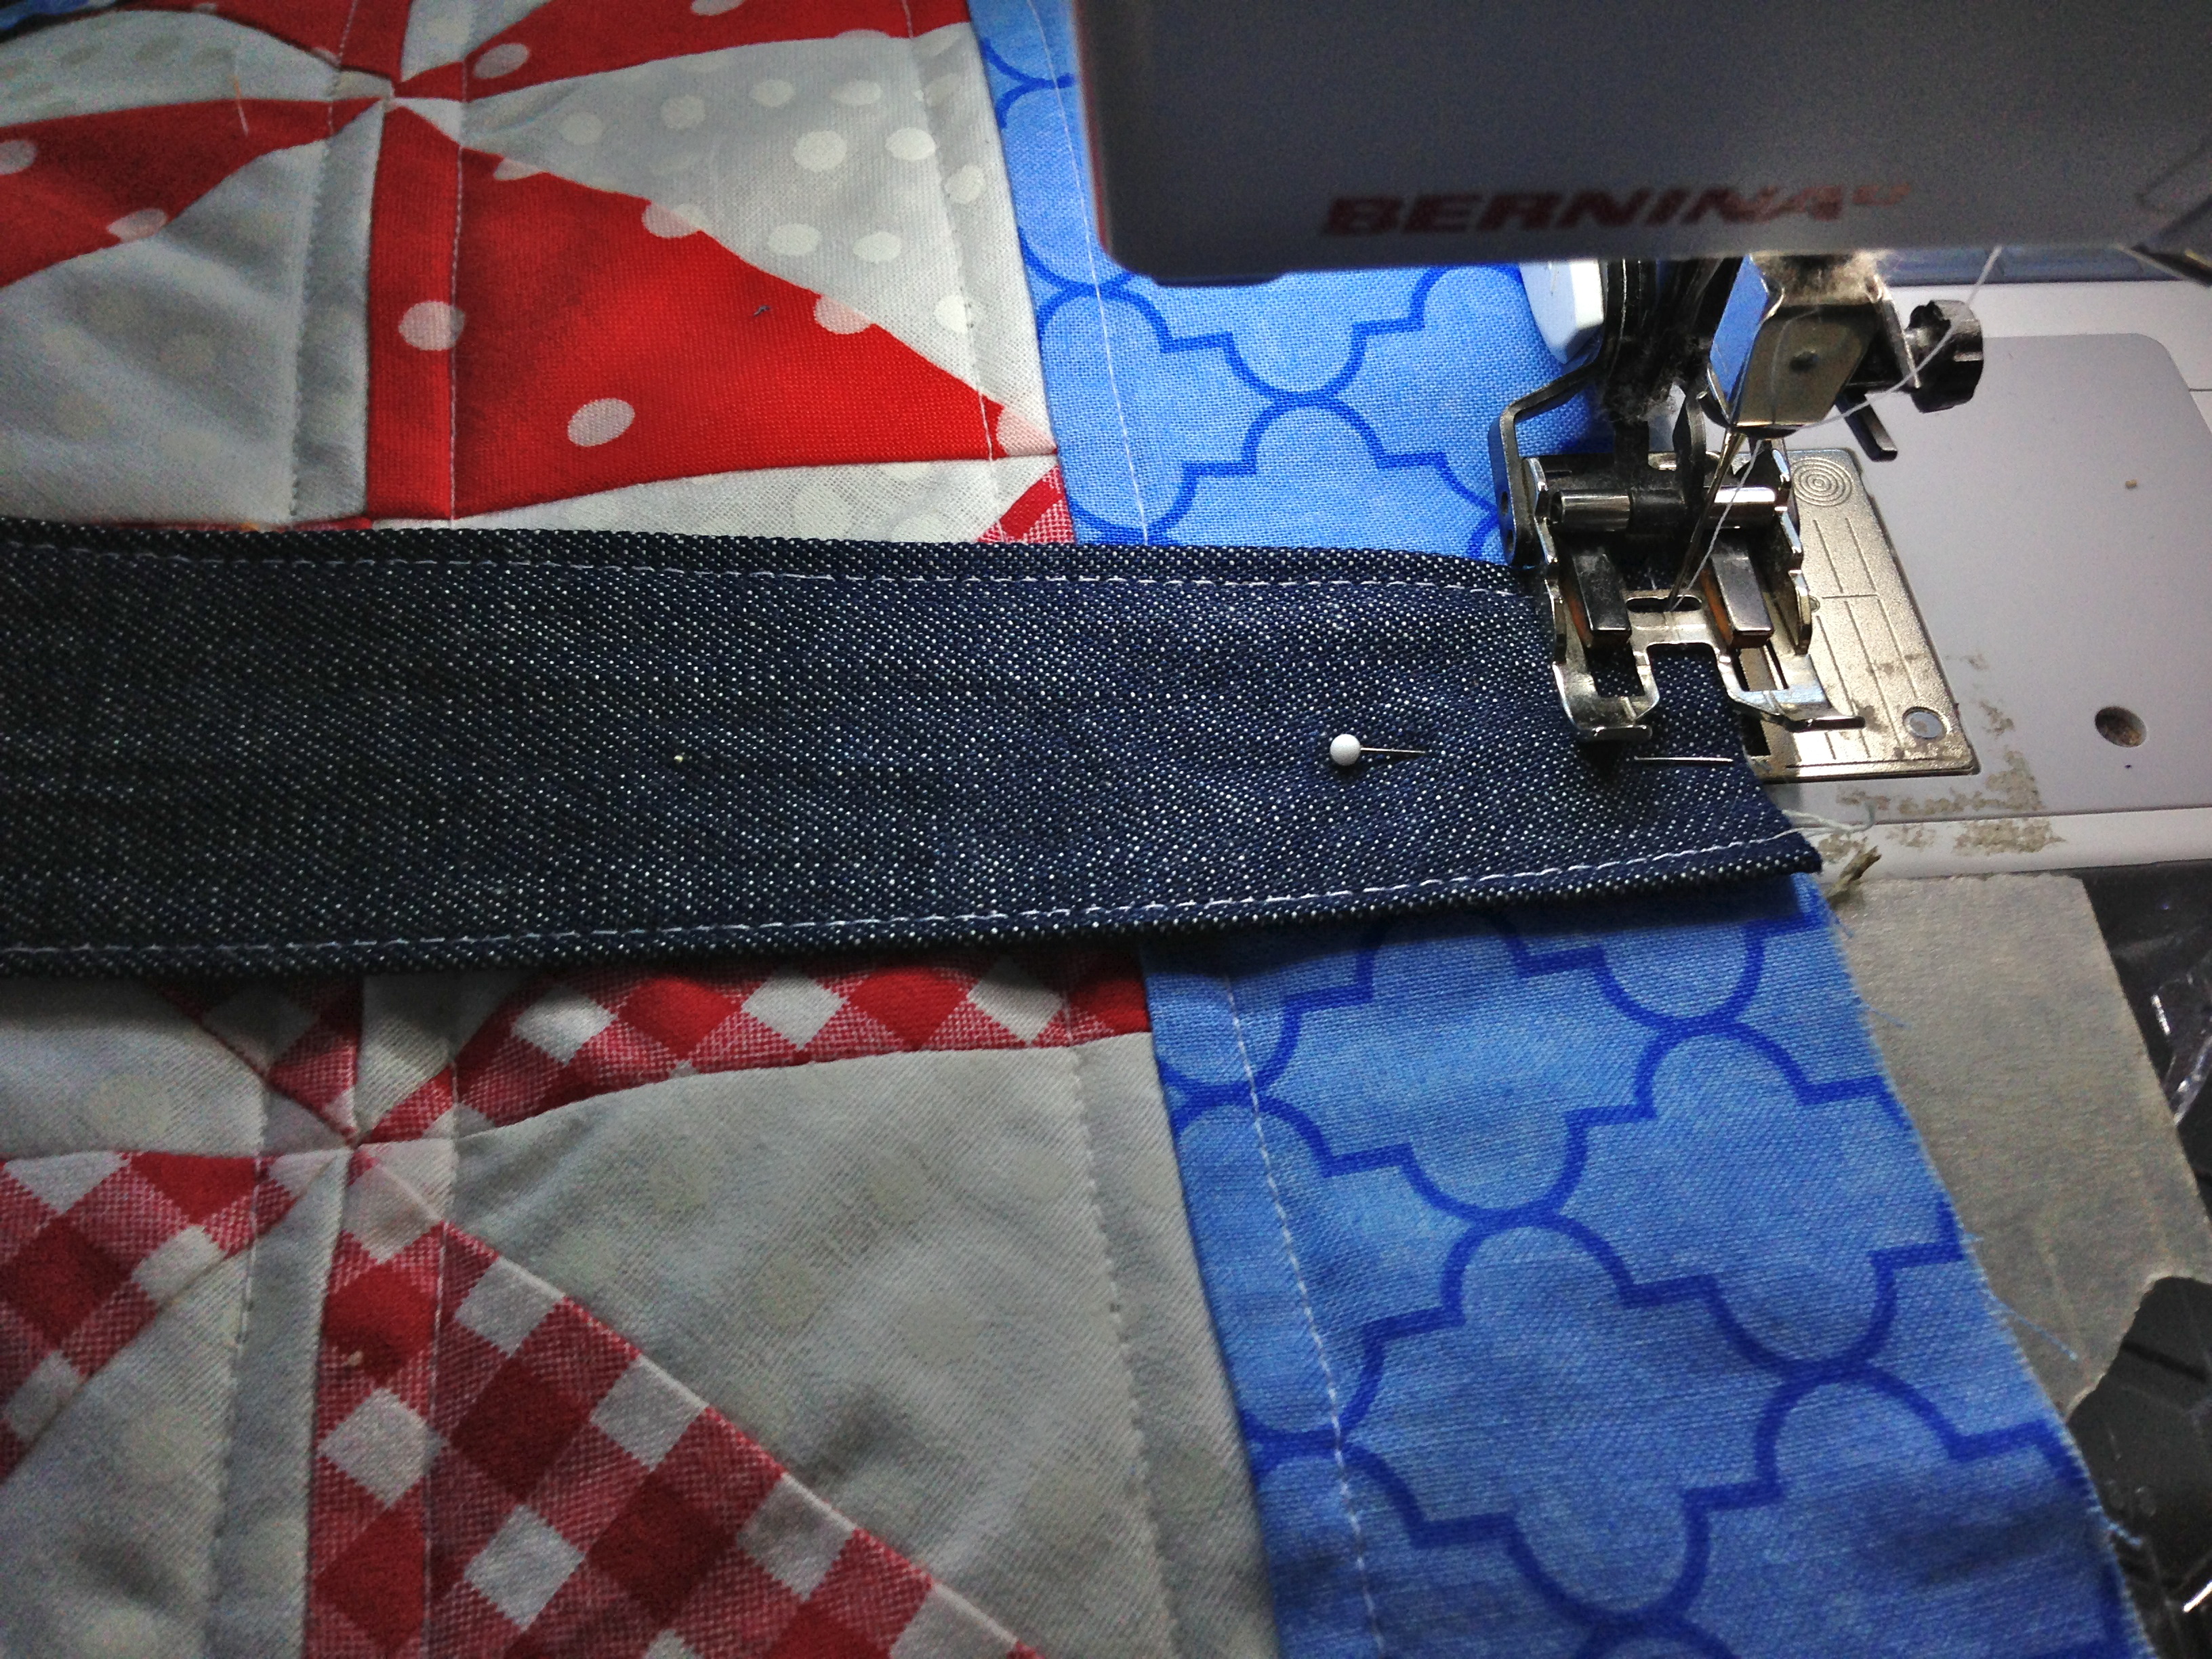 I like to pin my handles down a few inches so when I sew the bag together the handles don't move around. No one likes crooked handles!
 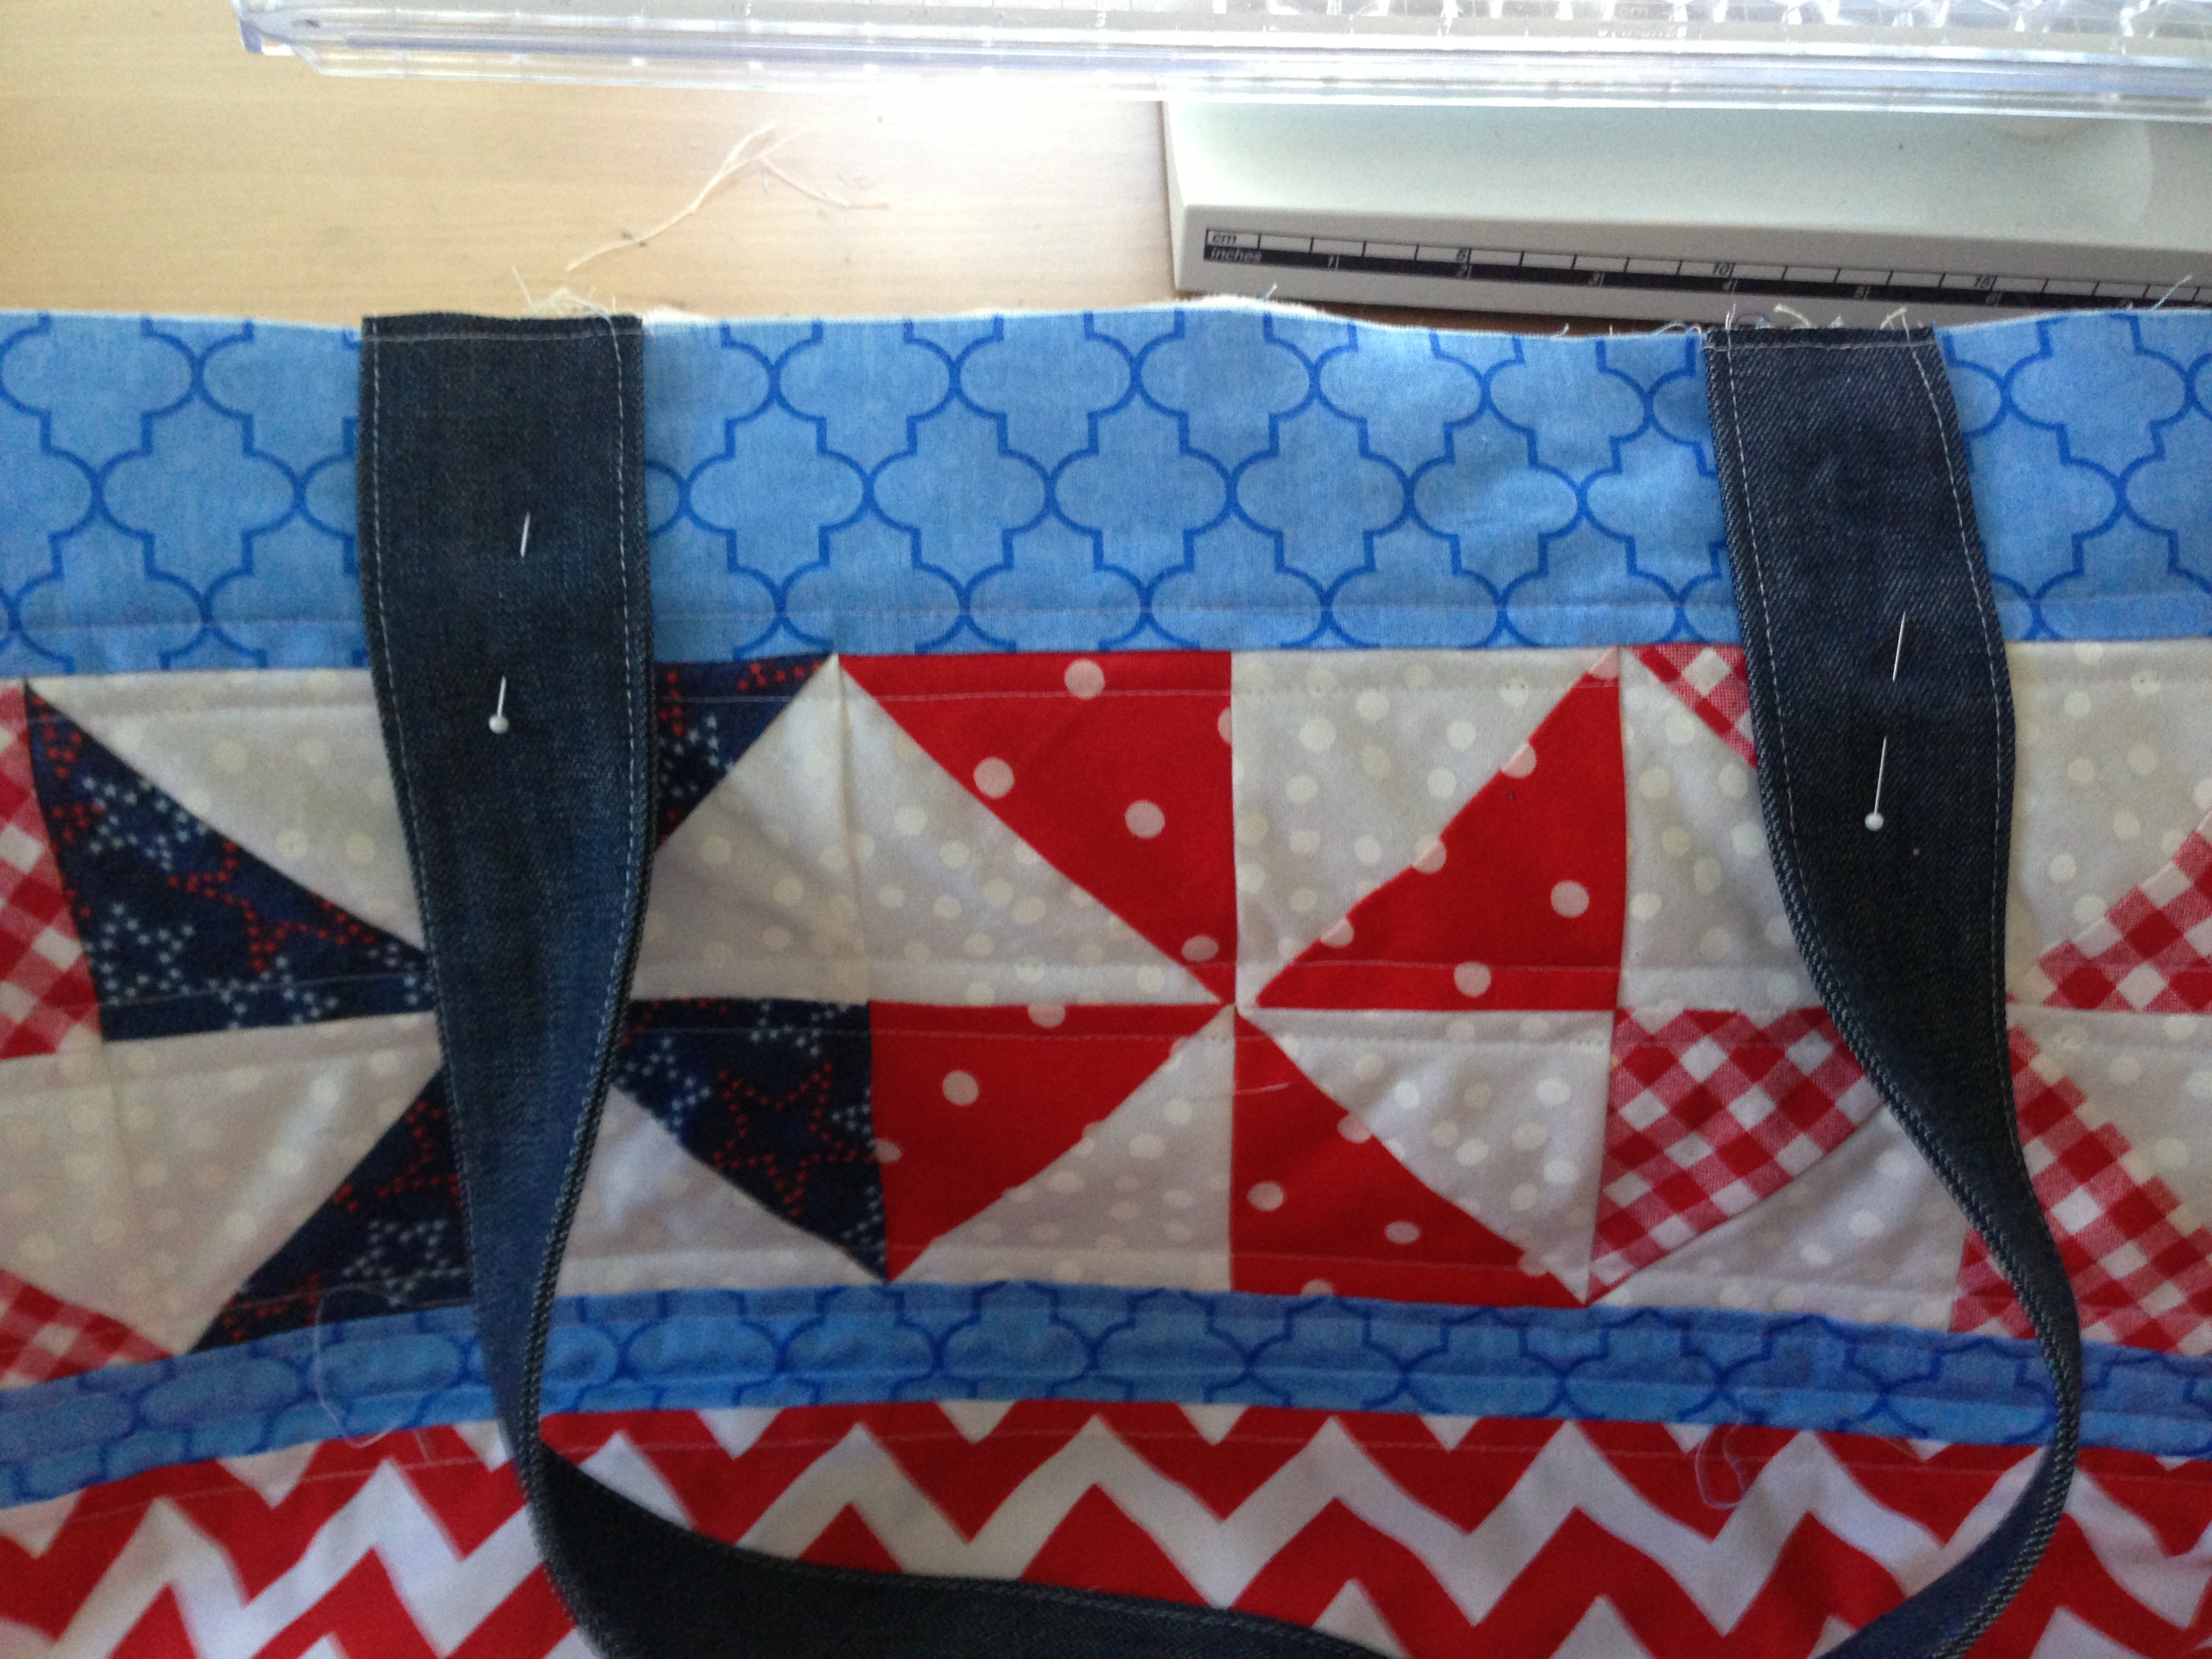 Step # 11 - you are almost there! Sew the bag together - yea! Turn the lining bag inside out and insert your outer bag inside the lining. Right sides should be together. Match side seams and pin. Then pin all the way around the bag. Sew around the the bag using 1/4" seam.
 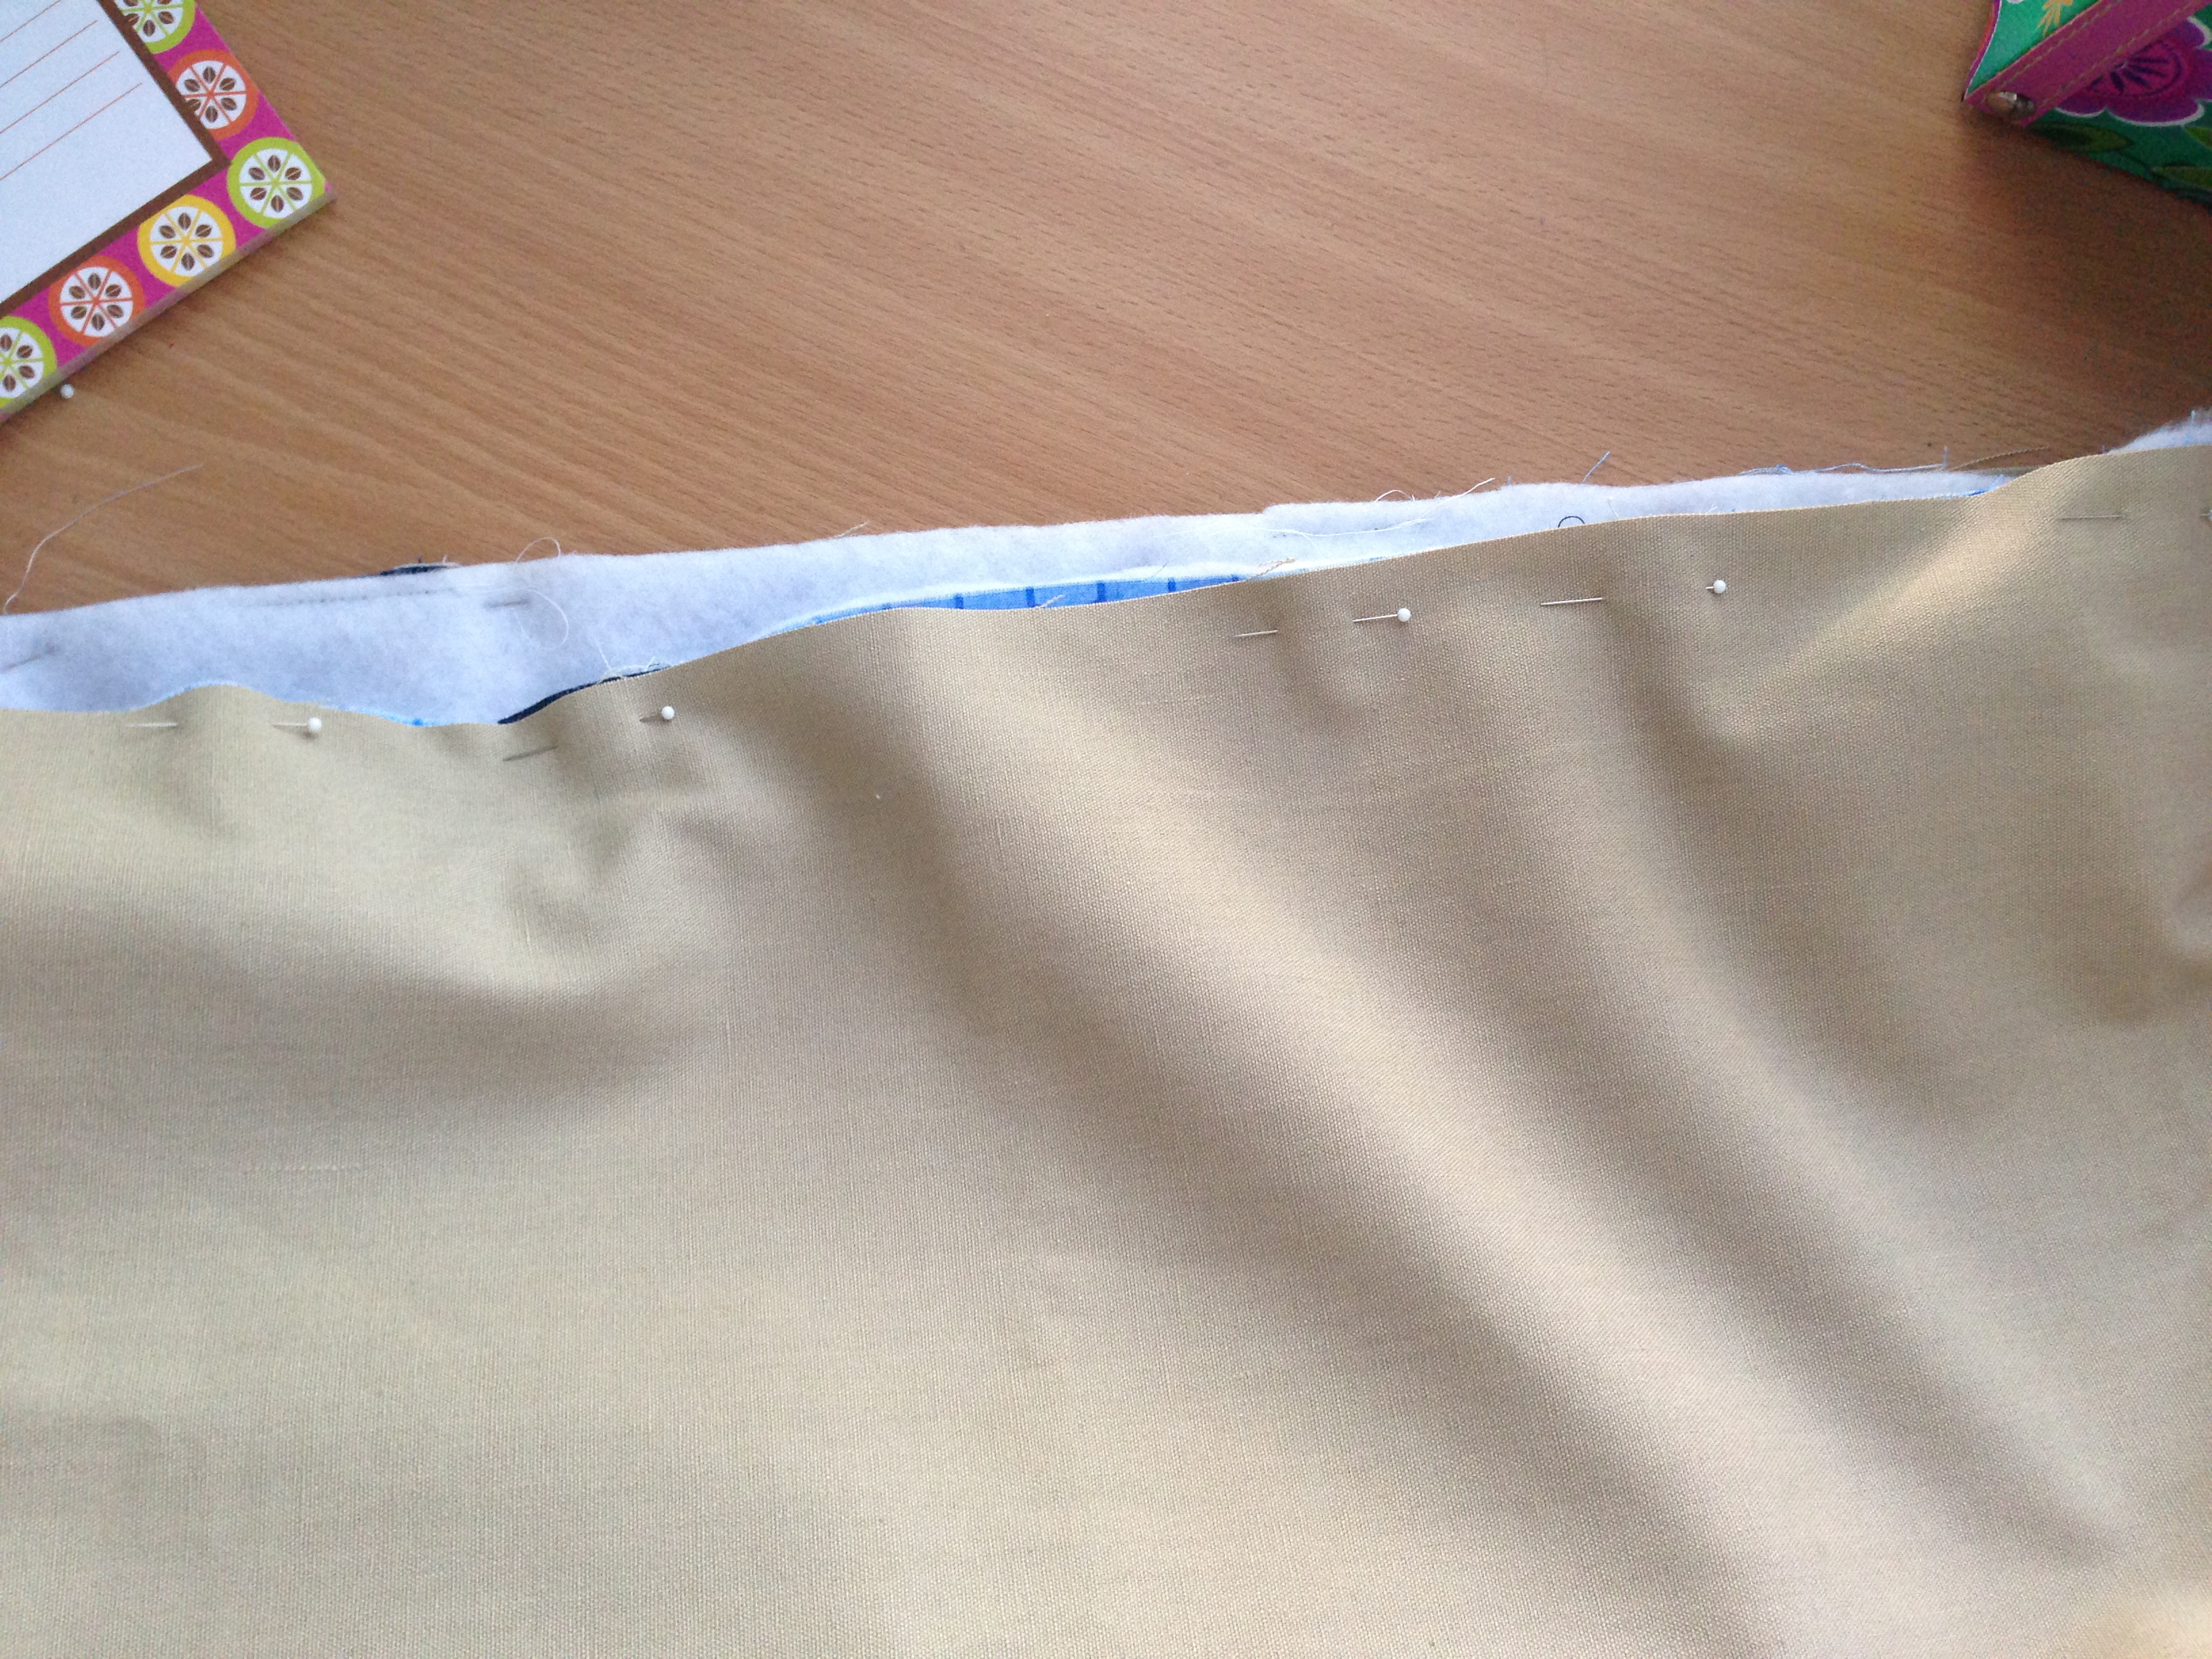 Step #12 - How do we get the bag right side out? Using your seam ripper, unstitch a little section on the side of the lining. We will top stitch it closed at the end.
 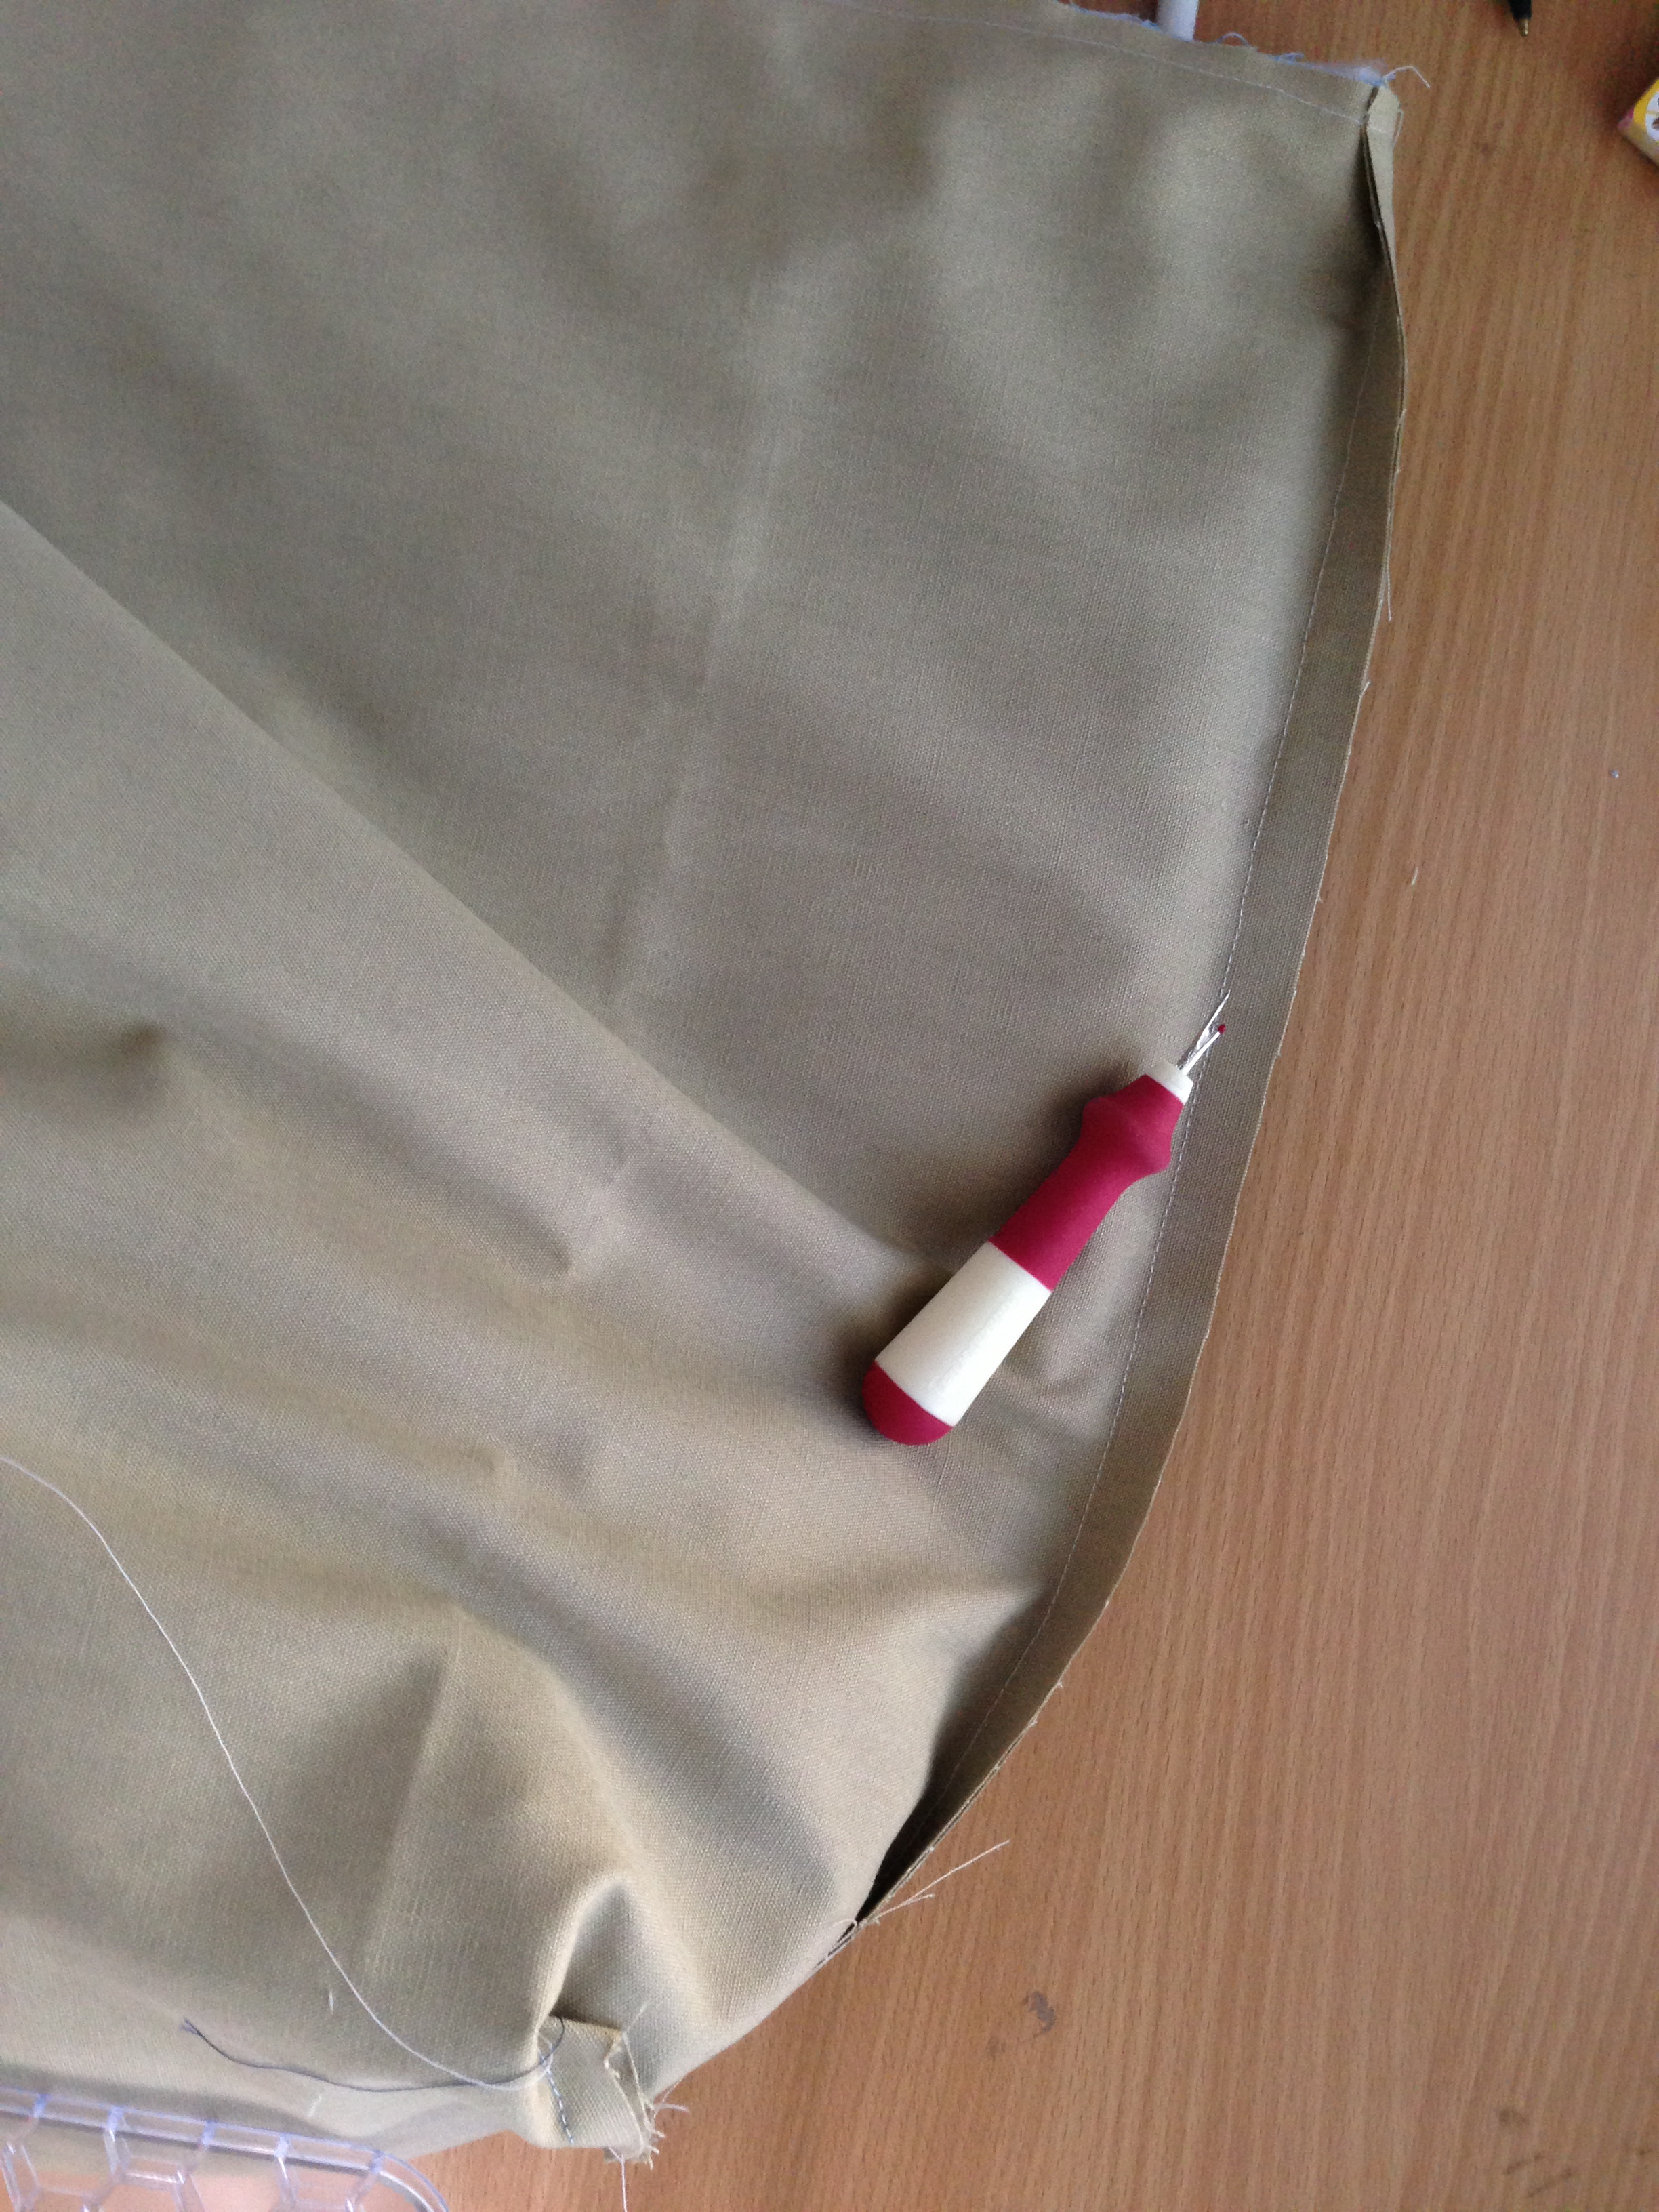 Turn the bag right side out and push out all the corners. Top stitch the open seam closed. Step #13 - Finishing Press your lining down inside the bag. Sometimes the lining can be a little un-coorporative and not want to lay flat. Press it with seam then pin the top like this. Using your walking foot, stitch 1/8" from the edge of the bag. Make sure the lining is laying flat, if you are not careful it can pucker.
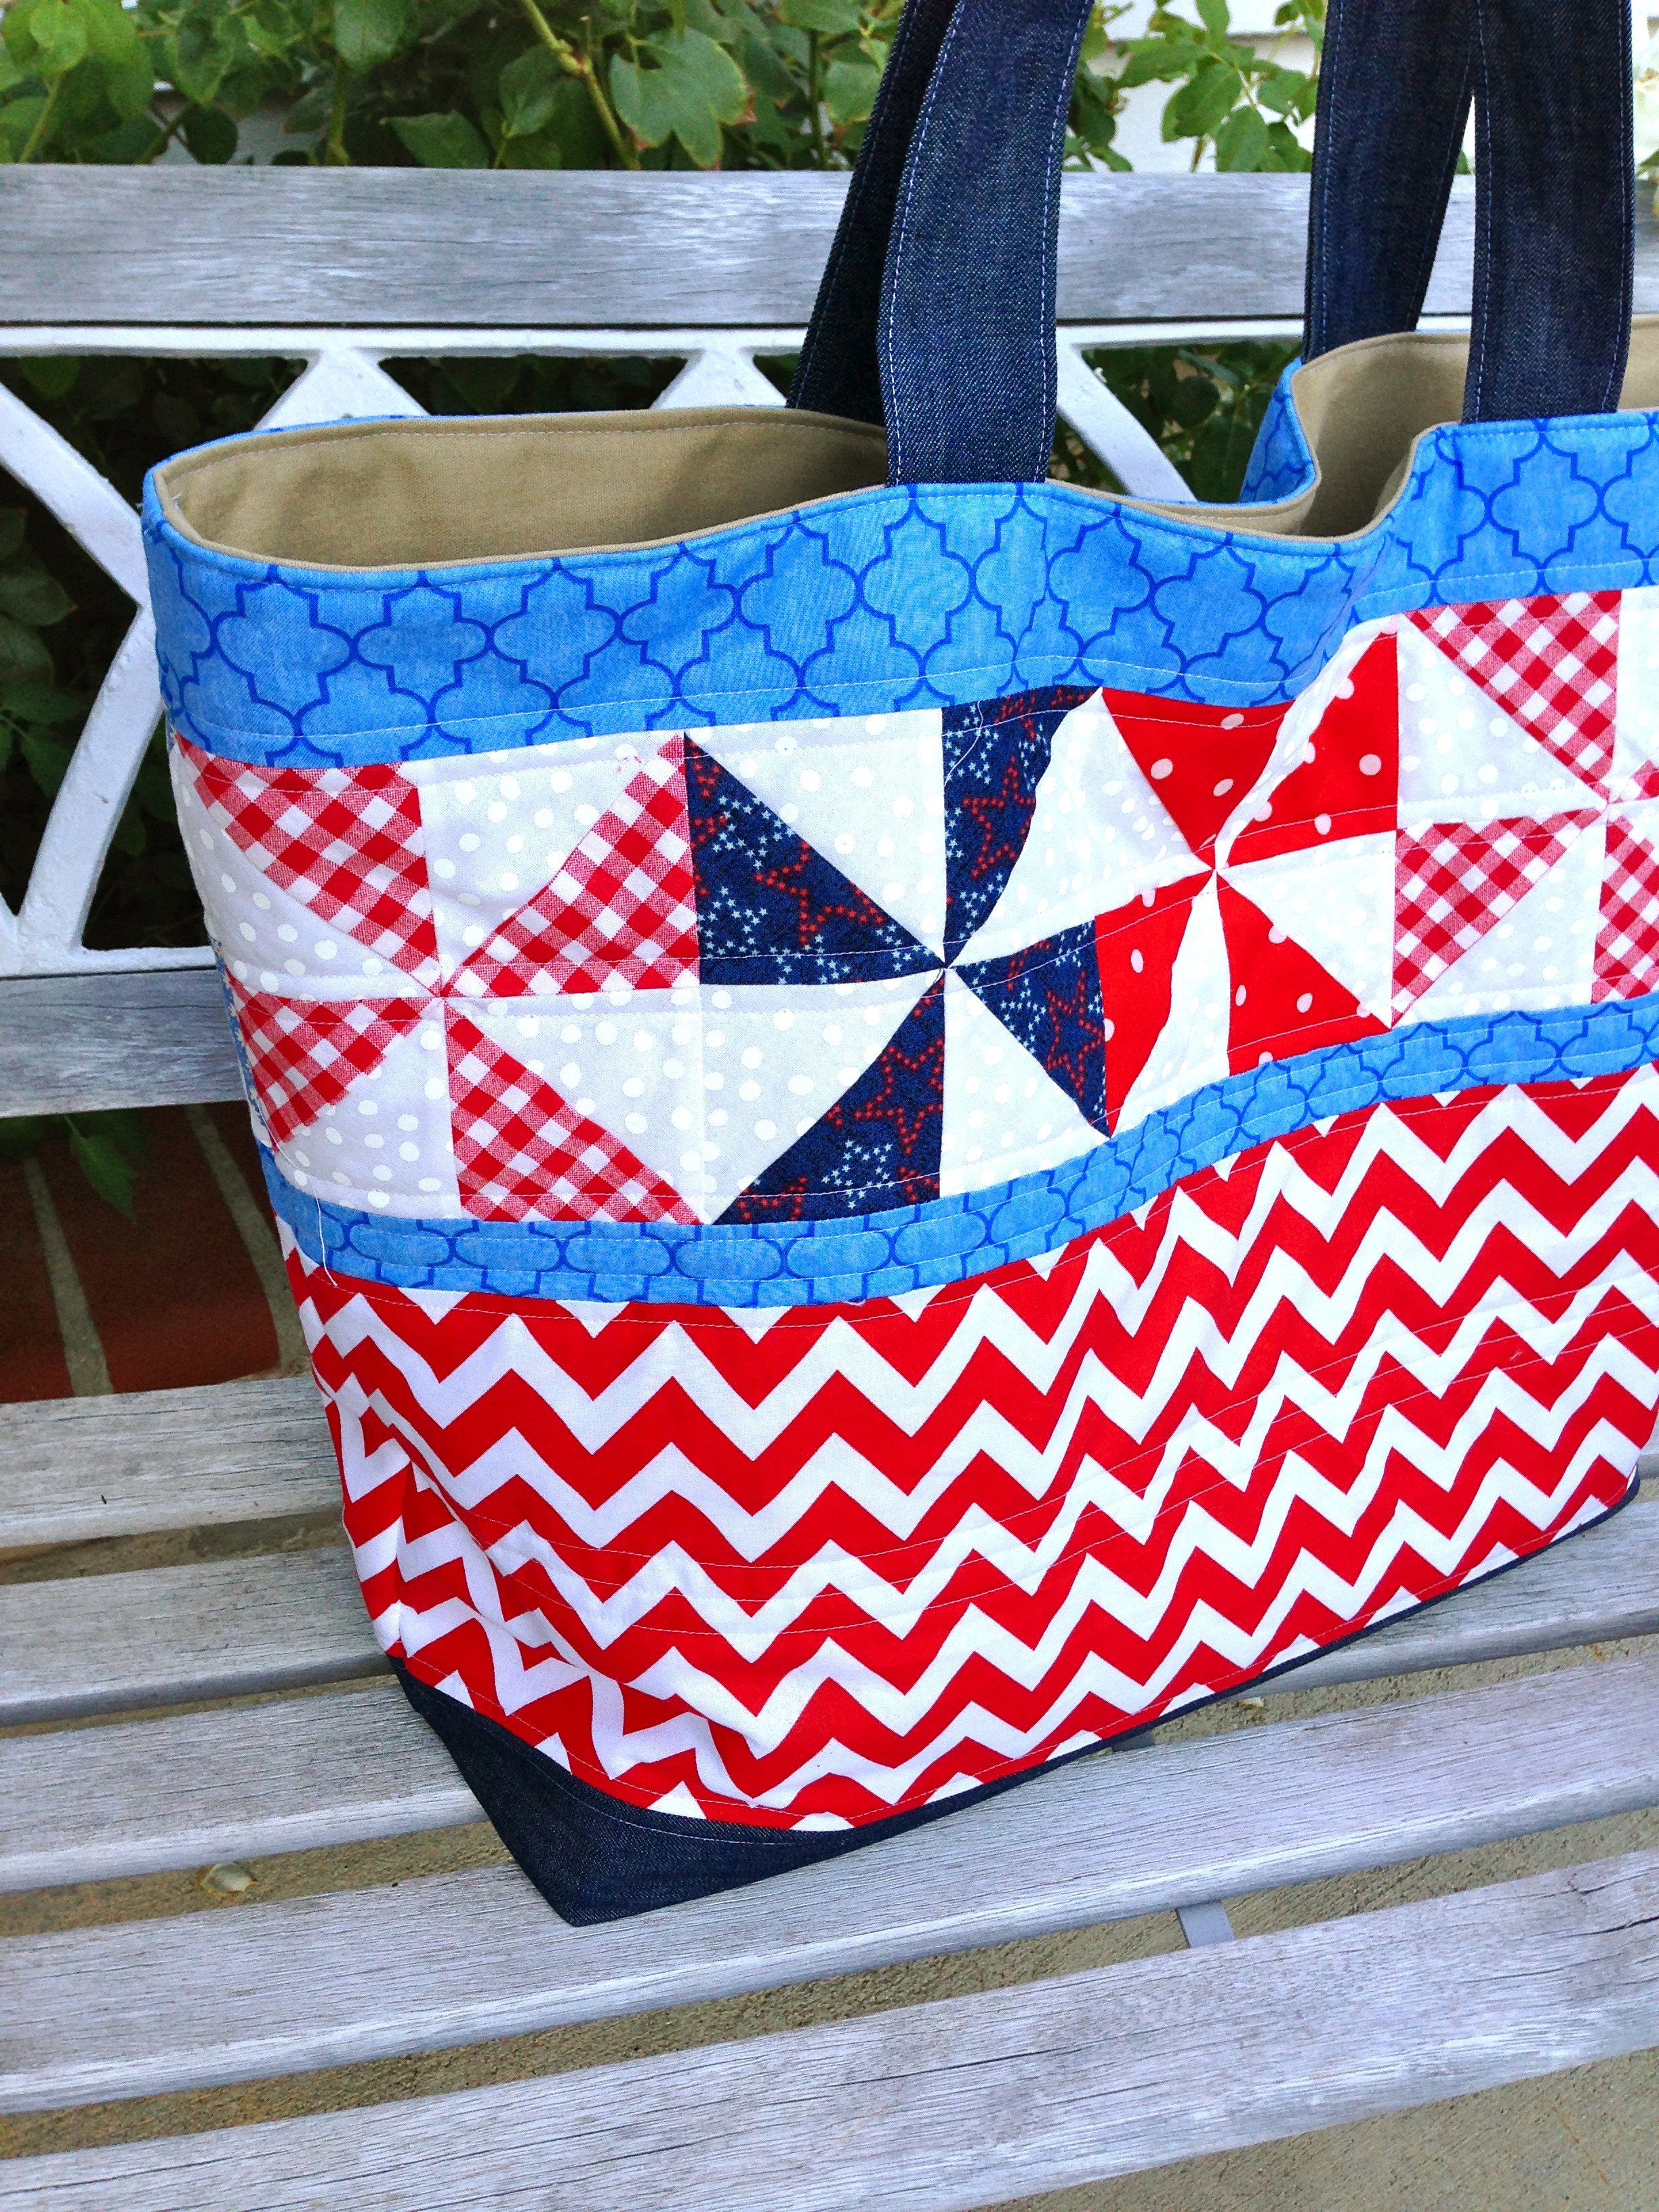
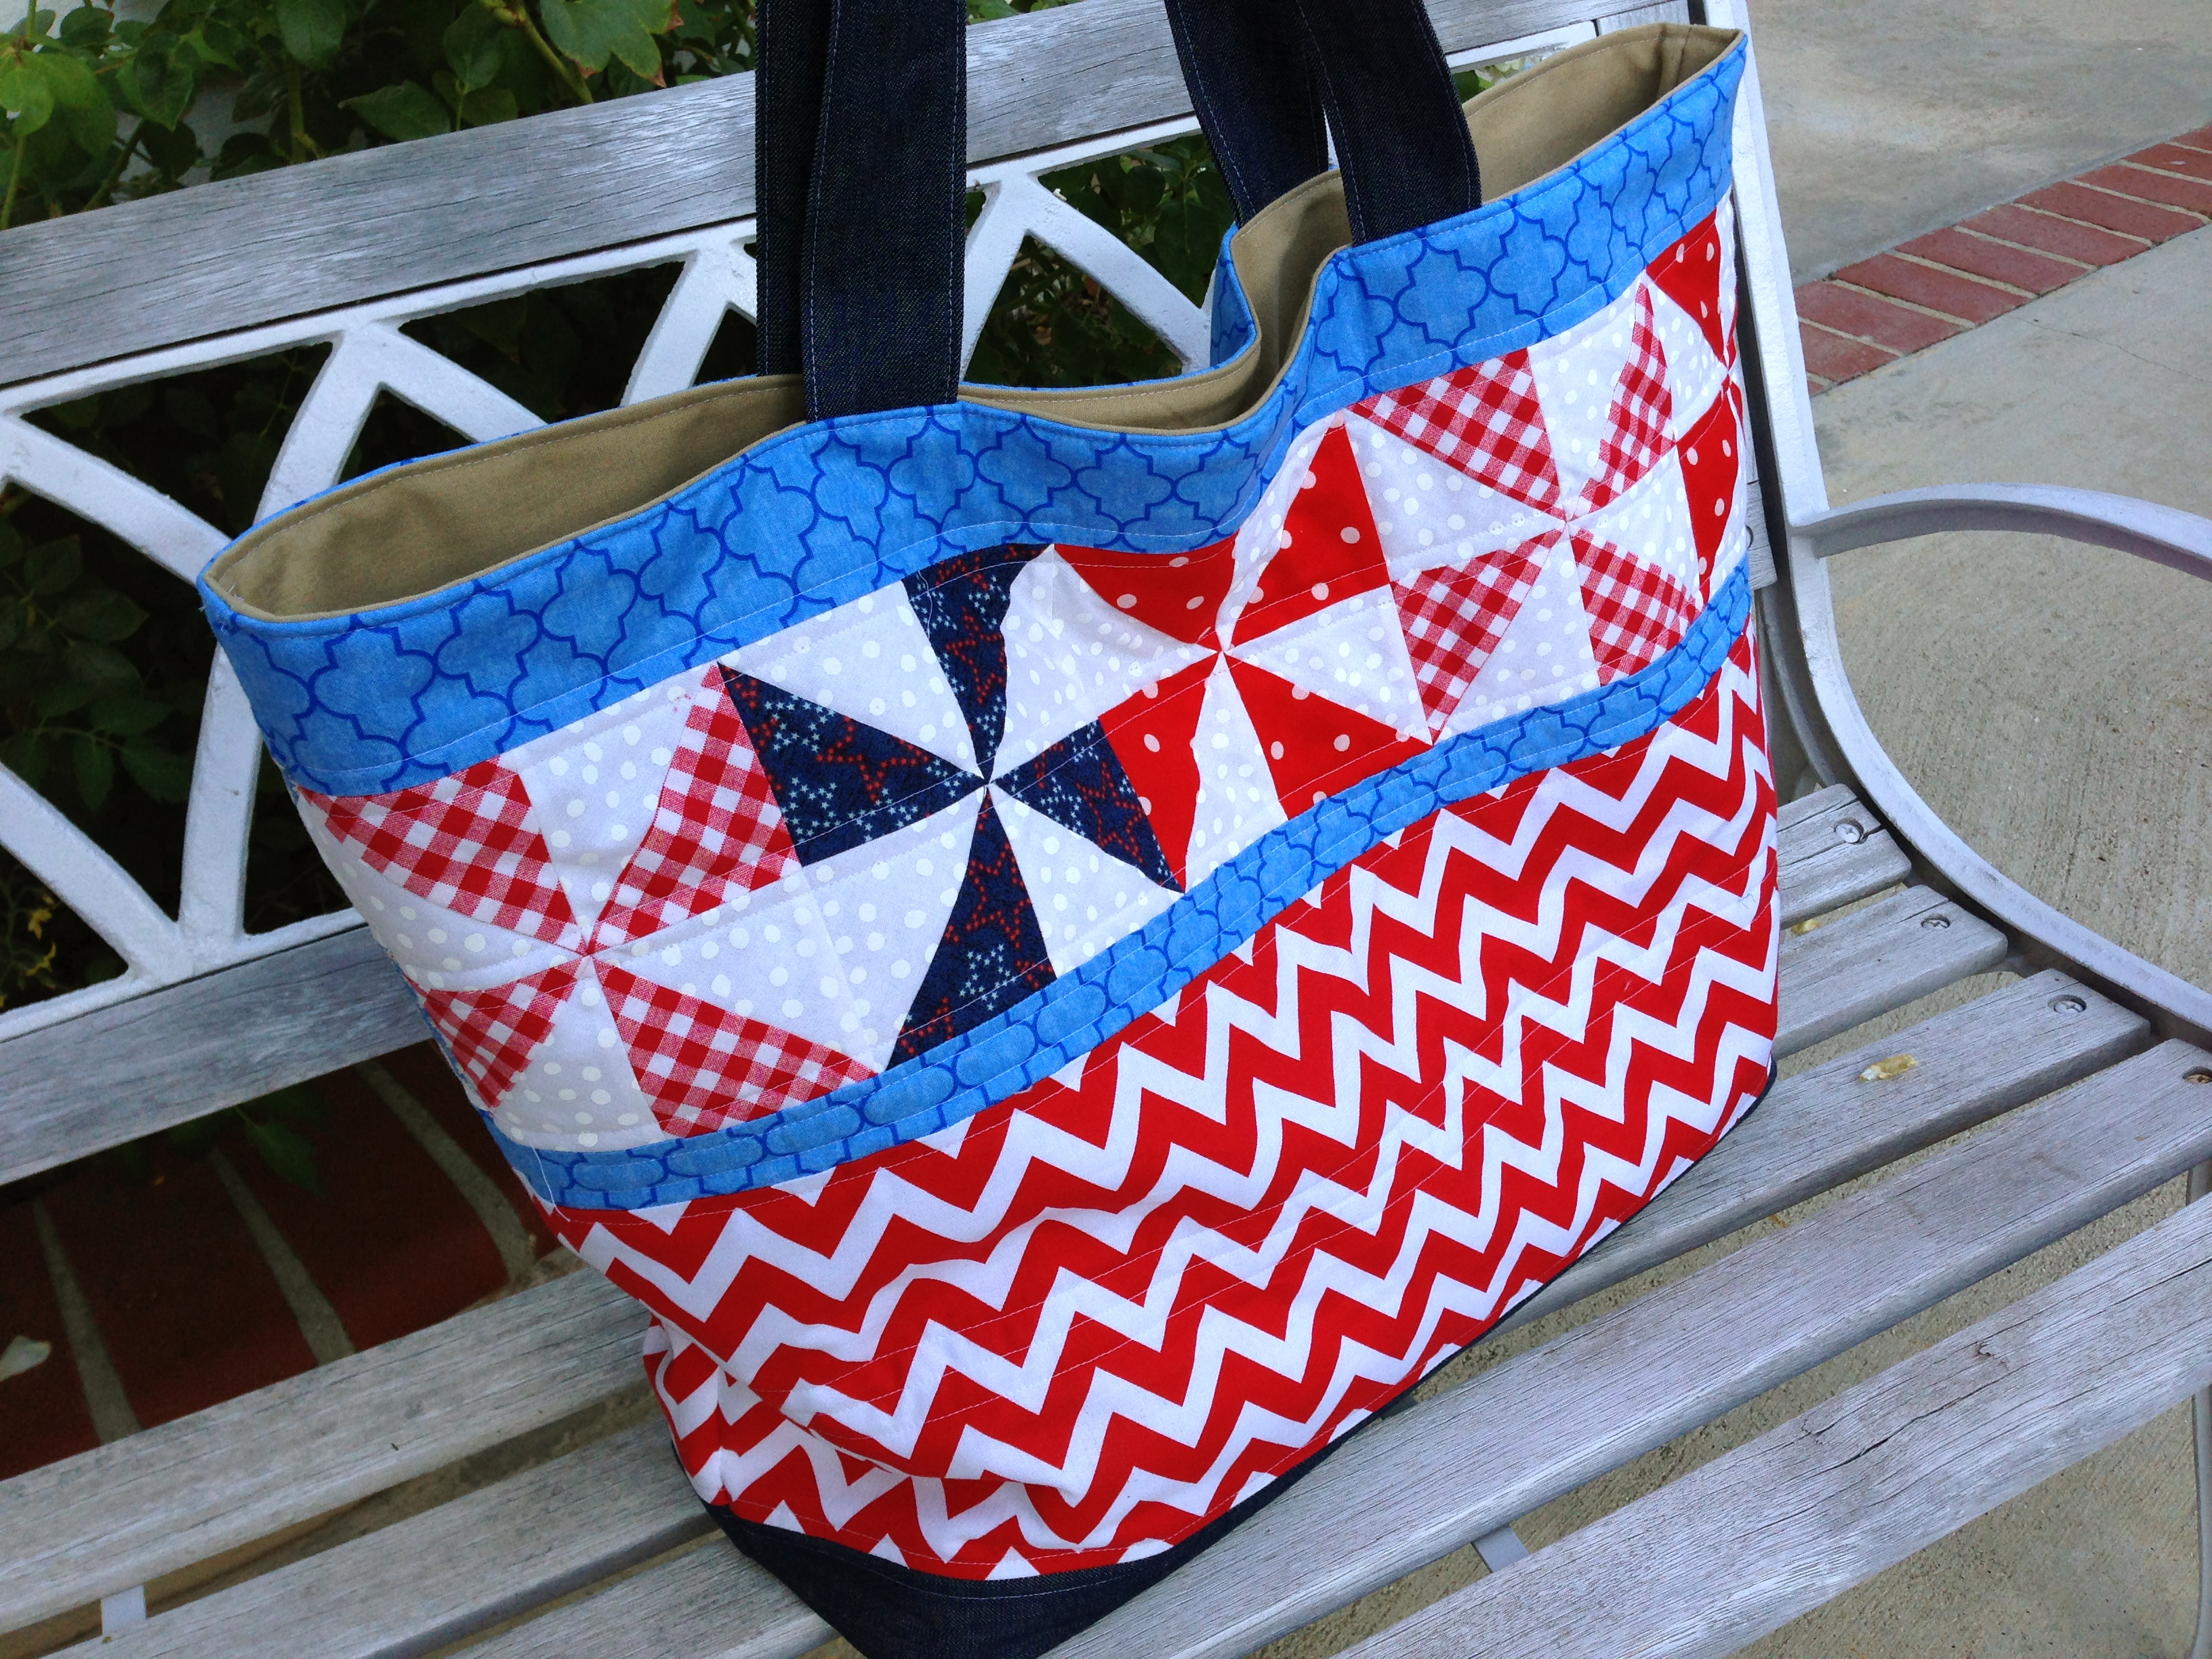
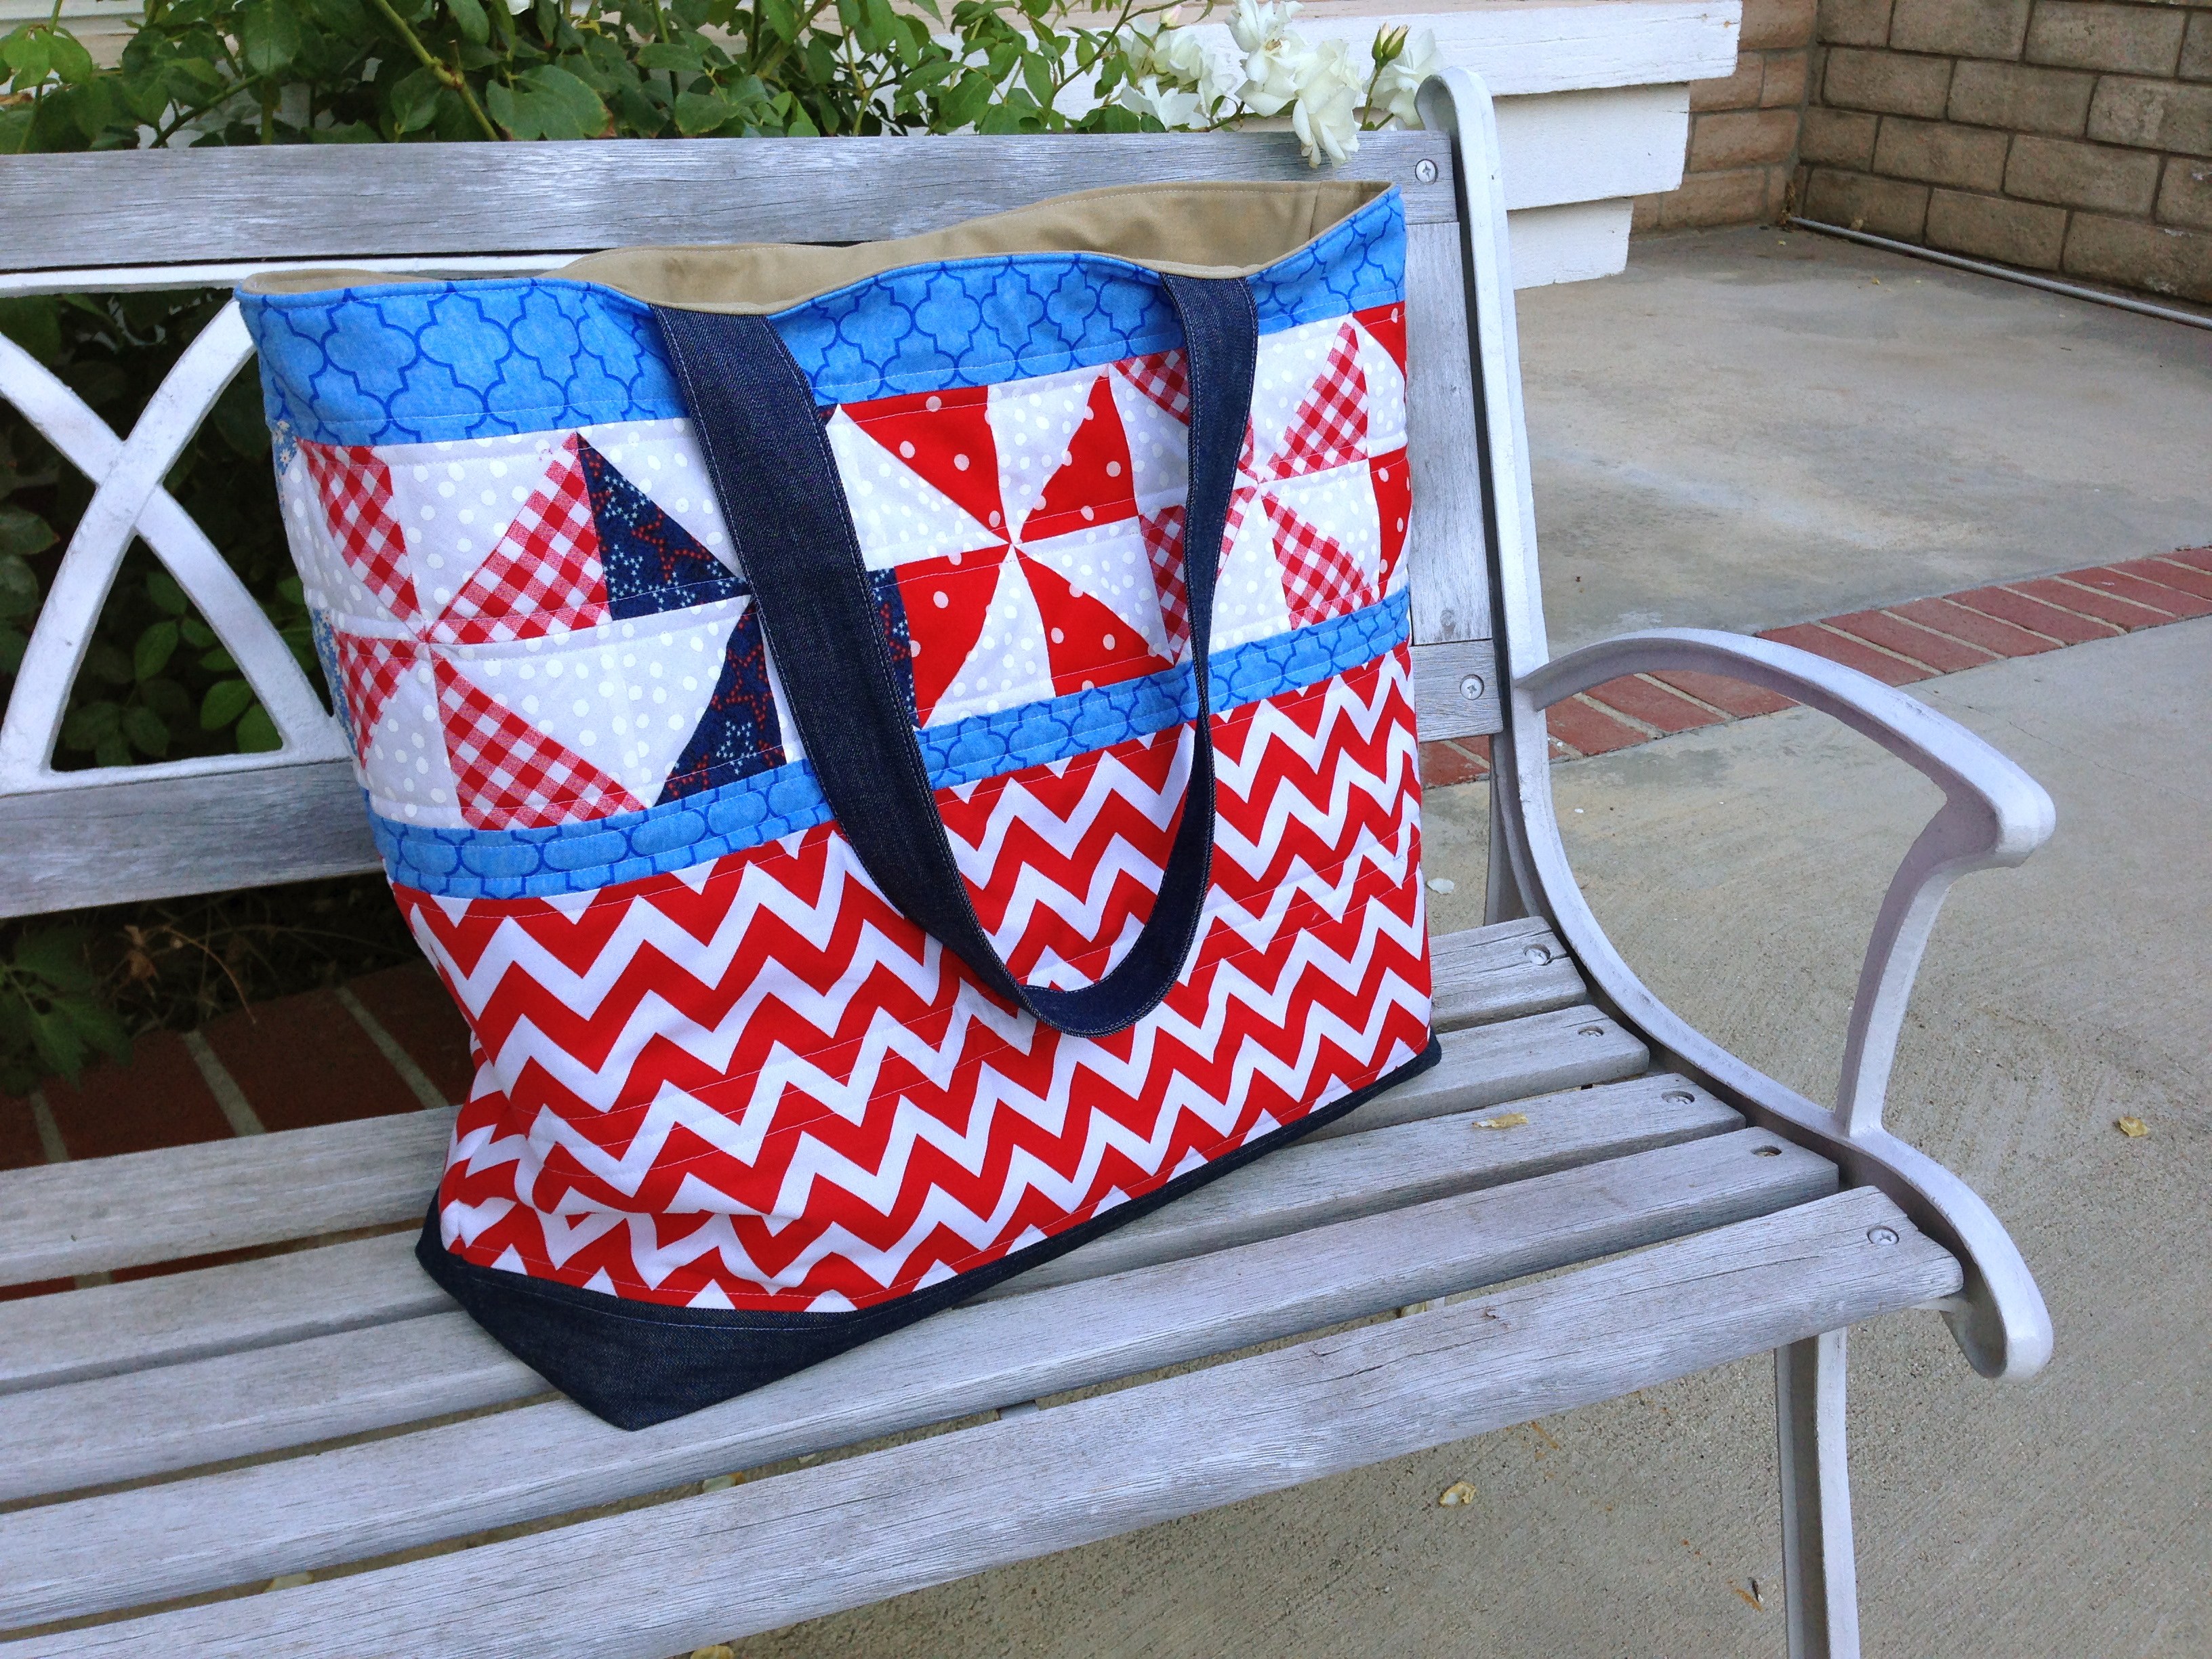
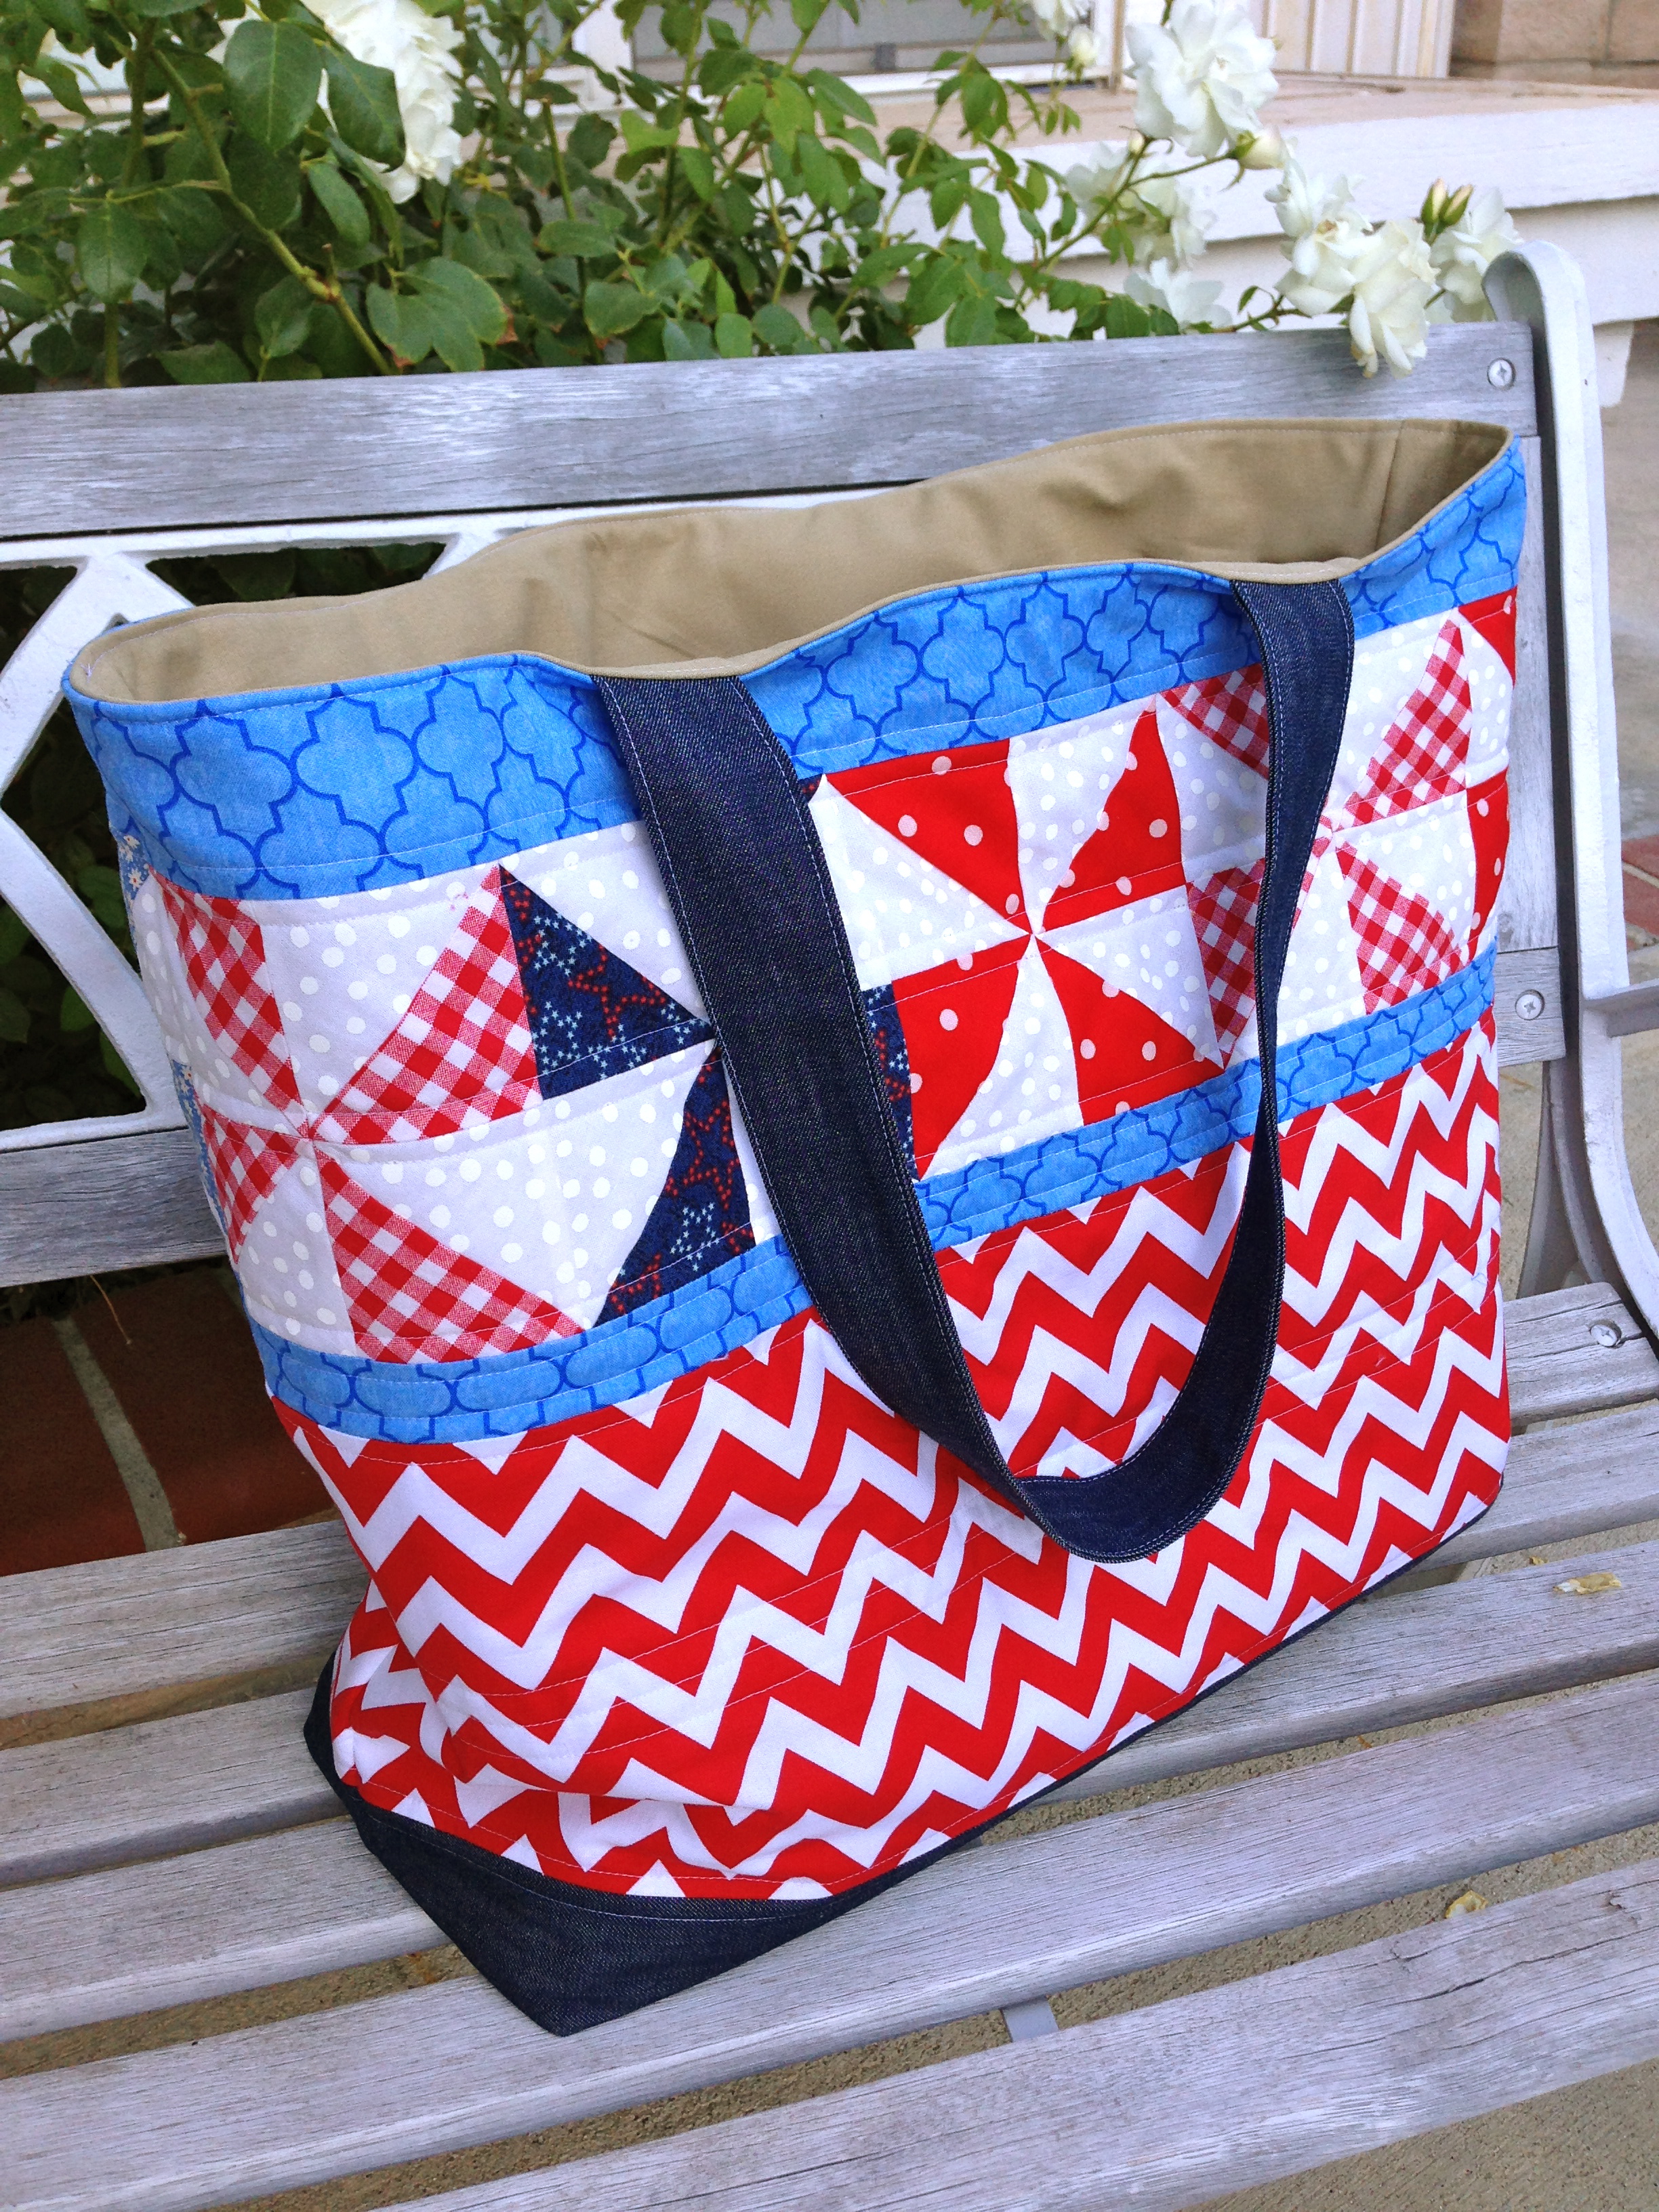
 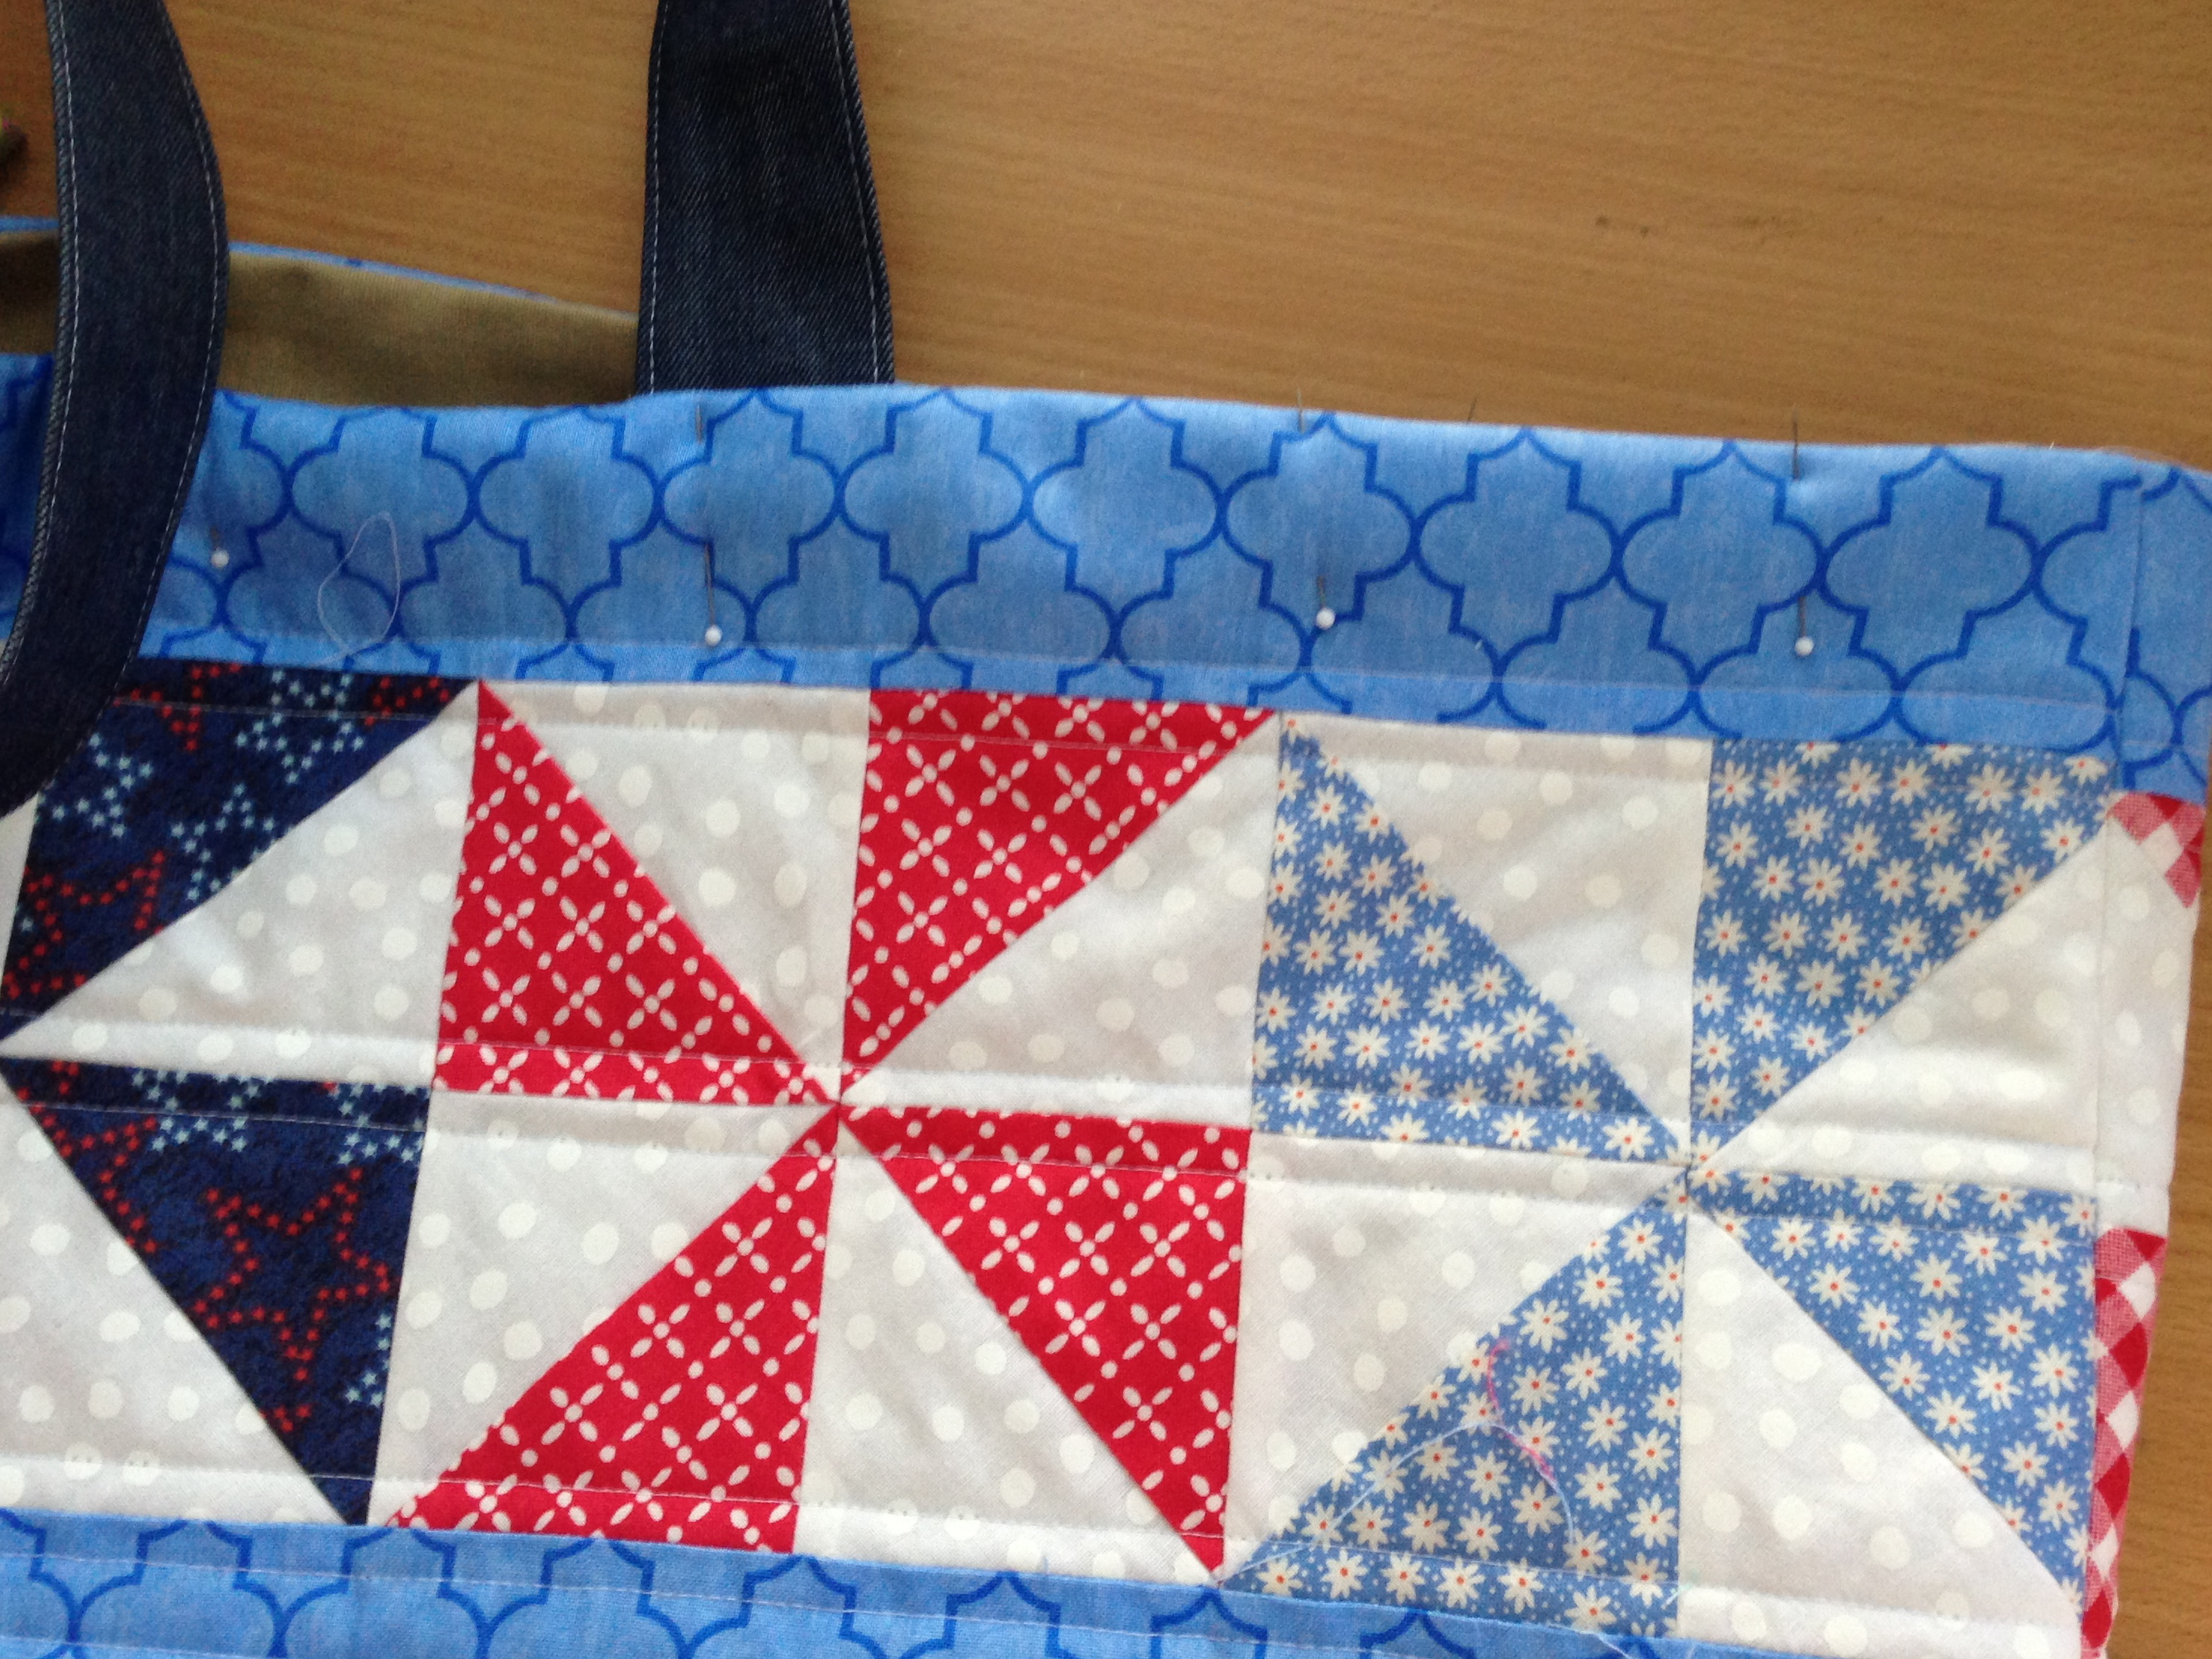 Finished! I love it! I am going to use it all summer long!!